|
|
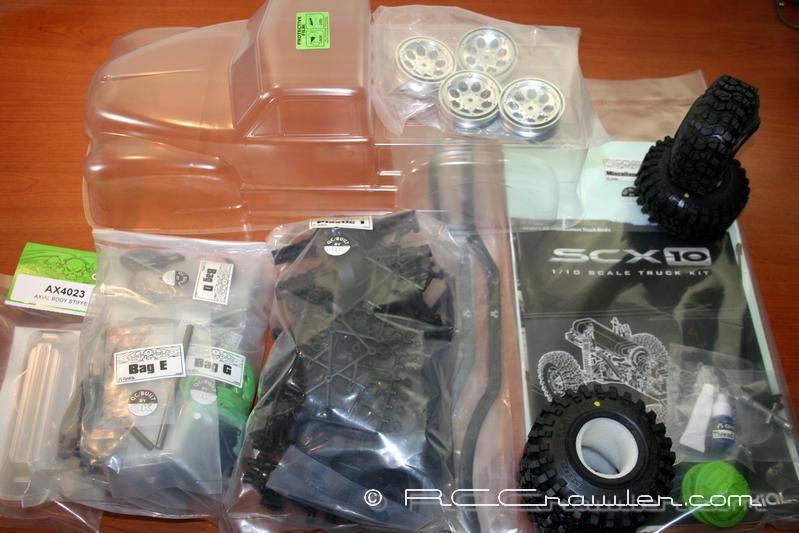
Axial hit another home run with this awesome new 1/10 scaler! The SCX-10 went together extremely fast and just like the AX-10 it was a breeze to put together.
Pulled everything out of the box and got ready to build.
|
Grabbed my Axial tool kit and the manual and got started.
 
|
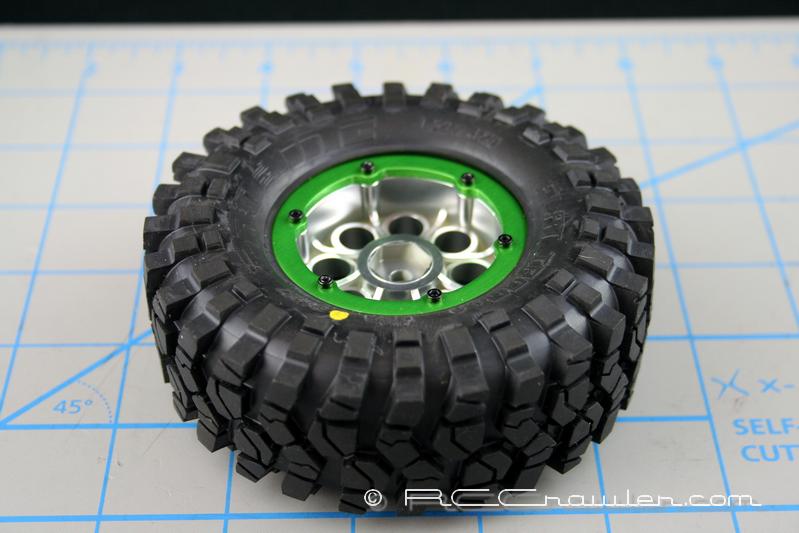
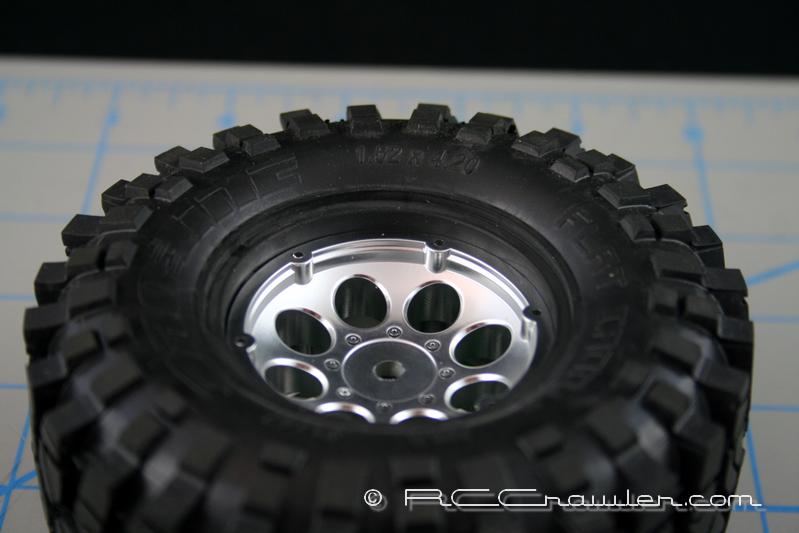
I always start my builds by putting the tires and rims together. I just love offroad tires. The tires were very easy to mount to the stock beadlocks.

|
When I working with the second bead and mounting the second beadlock ring, I place the rim/tire on another bare wheel so I can firmly push the tire bead into the wheel then place the beadlock ring down on the tire and start adding the beadlock screws.


|
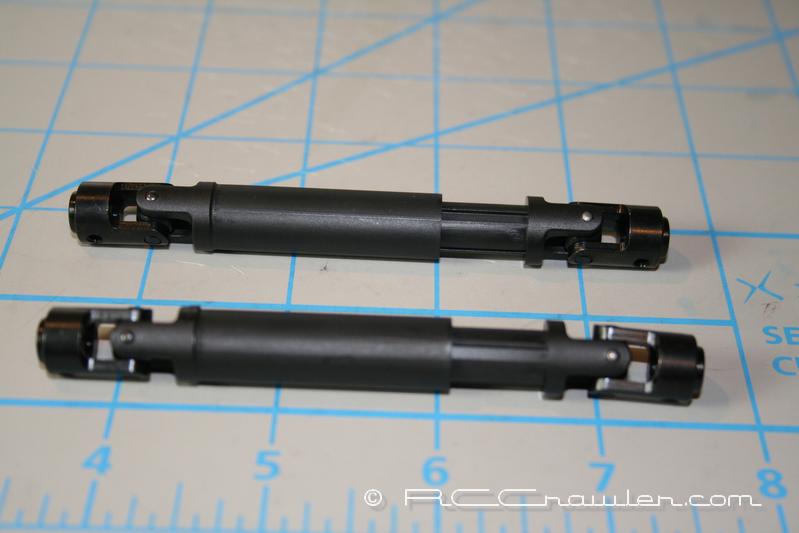
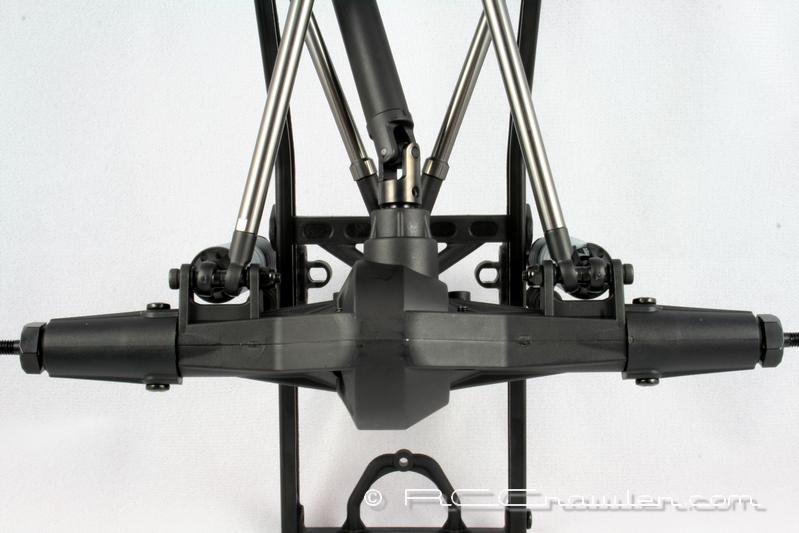
On to the axles, nothing new here, same quality axles from the AX-10, only these come with the nice metal lockers. Full bearings included.

|
The drive shafts come with metal yokes standard.
|
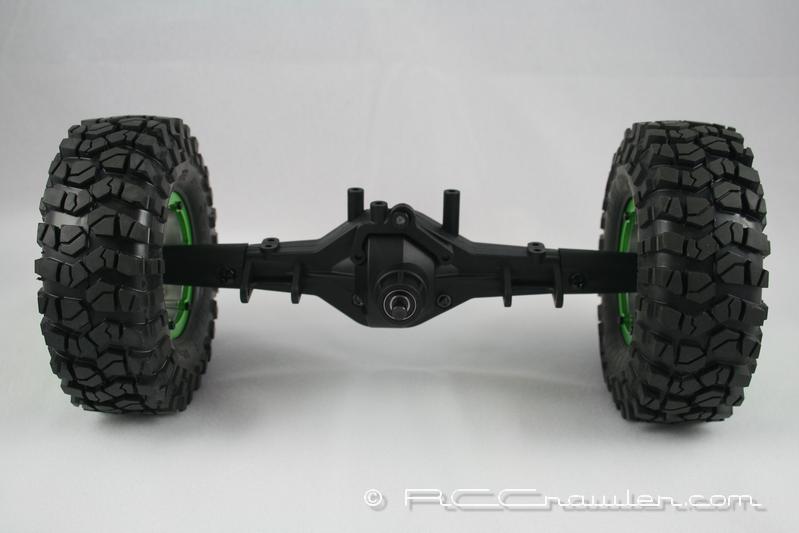
Axles completed.

|
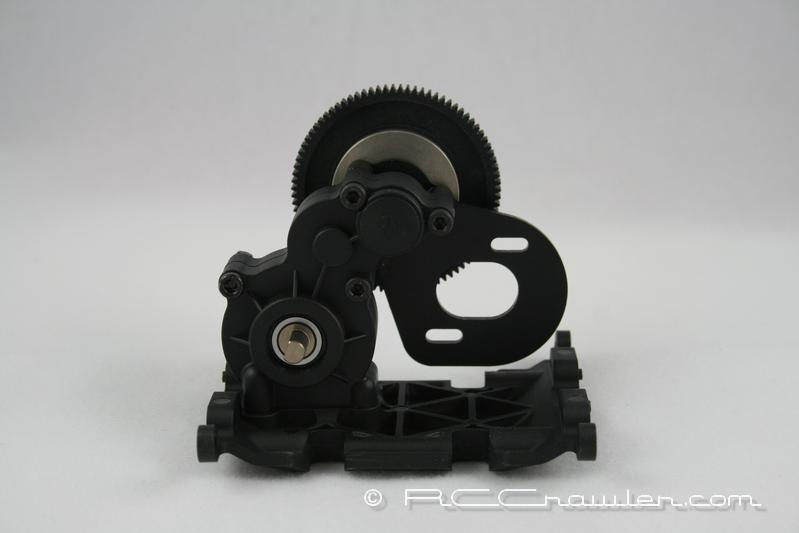
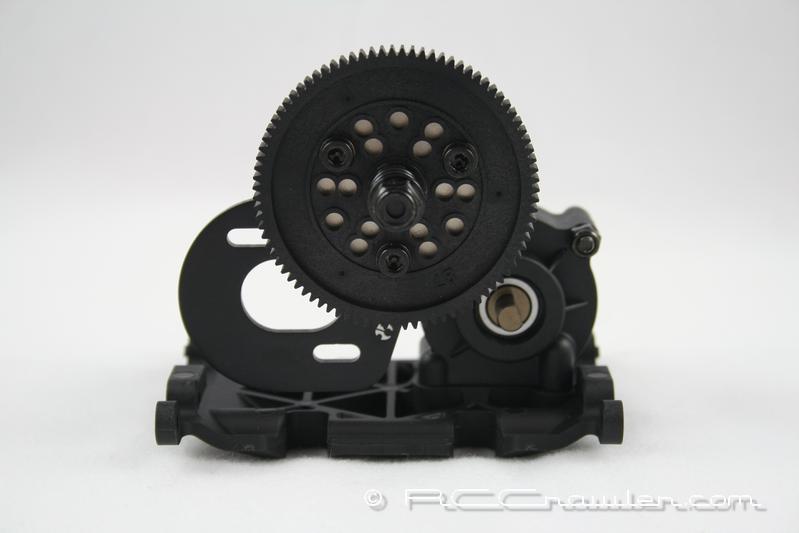
The Transmission is also the same quality tranny from the AX-10, with full bearings as well.

|
I mounted a 35T Lathe motor with the stock pinion. Used some paper to set the gear mesh just right.

|
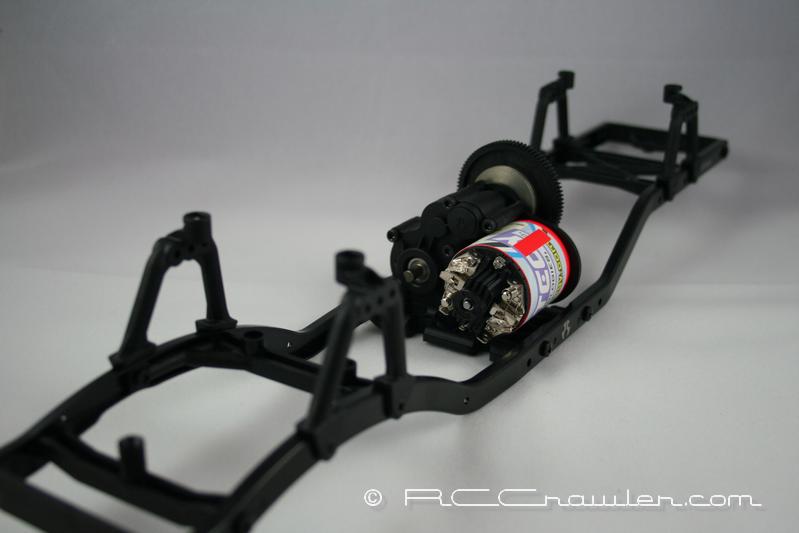
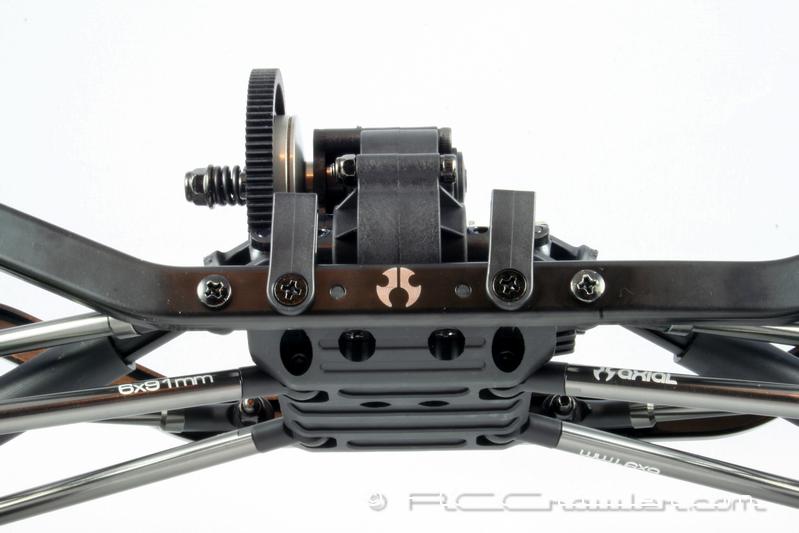
The kit comes with steel frame rails that taper out in the middle to increase articulation and add to the superb out of the box performance of this rig.
|
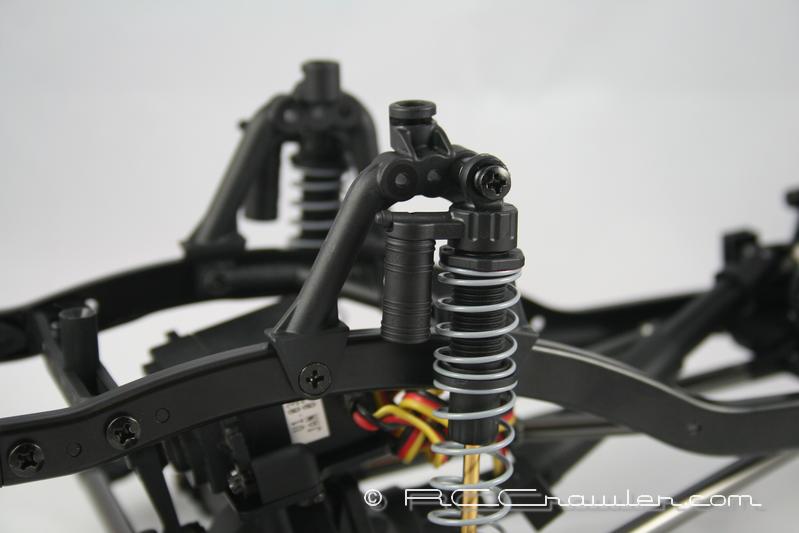
Here are the axles with the links and shocks mounted.


|
The shock towers have three different mounting positions and incorporate a trick body post system.
|
The contoured skid plate is another one of the SCX-10's great additions.

|
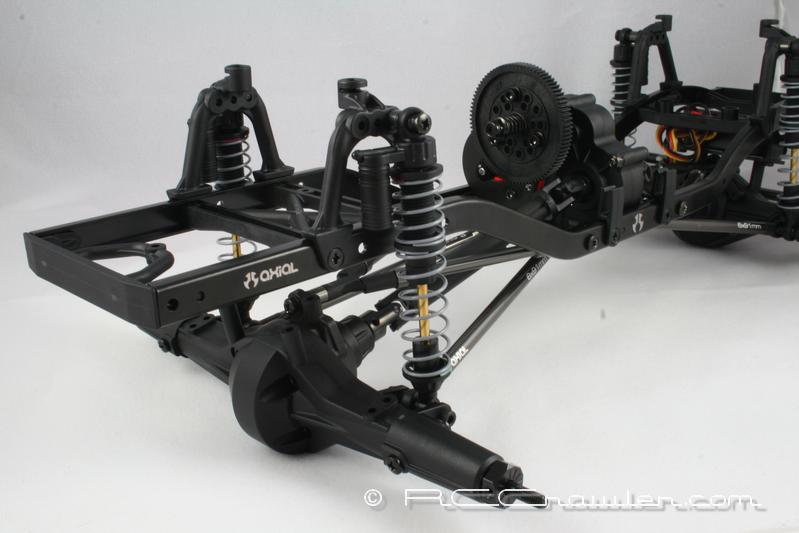
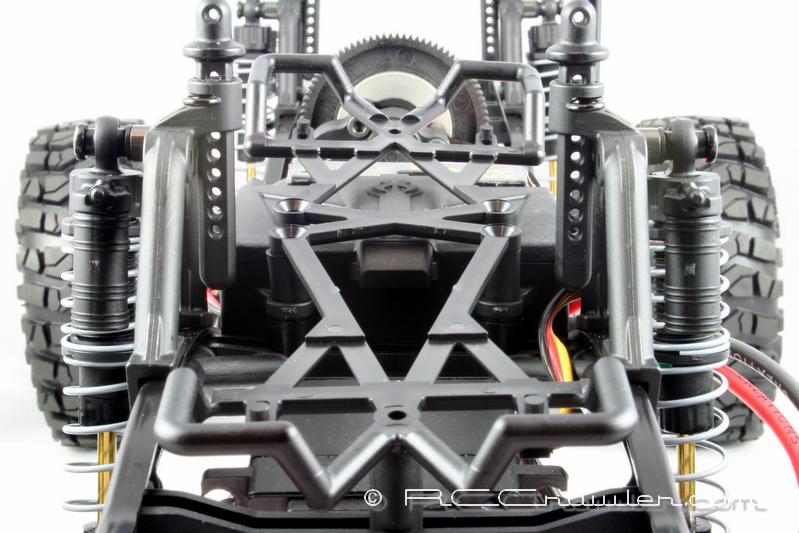
Here is the complete rolling chassis.


|
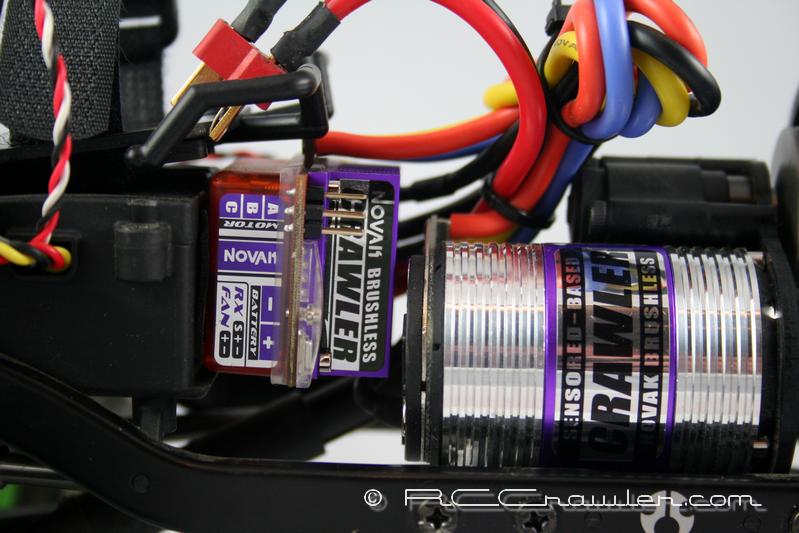
For electronics I installed a Mamba Max with a 35T Lathe motor and a spectrum receiver. The final install with have a Novak Goat Crawler system, but I wanted to show this config as well.


|
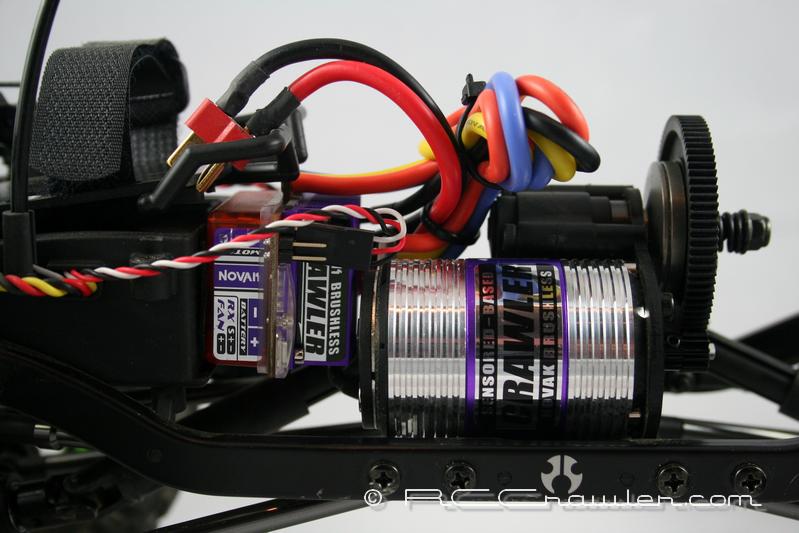
On to the Goat system, the installation was a breeze but as you can see from the pics, the stock location of the ESC with the Goat Crawler motor installed has little wiggle room. Fortunately with this setup, it barely gets warm at all after an hour of solid crawling so I am not worried about the ESC or motor overheating each other.

|
I did not want to mount the battery in the stock location on the back of the frame and thought the optional mounting position on the front of the frame was to high with the spacers the manual suggested to install.
So I cut approx. 10mm off of the battery tray spacers to lower it down so the tray sits on top of the battery box and I did not use the spacer for the front mount. This makes the steering servo bottom out on the battery tray when you cycle the entire front suspension straight down. I'm not worried about that because I don't plan on jumping this rig all that much and even with the battery tray lowered 10mm's in the back and even more in the front, the suspension can articulate completely on either side and the servo never hits the battery tray. This should help lower the COG a little.
Here is the two rear spacers not cut down.

|
You can see in this pic the spacer on the left is cut down on the spacer on the right is stock.

|
And here is both rear spacers cut down.

|
With the battery tray installed.


|
And finally the complete build with the stock body panted a gun metal gray.


|
|
|