| |
 03-15-2009, 07:24 PM
| #21 |
| Newbie Join Date: Jan 2009 Location: Western Australia
Posts: 30
|
Man that is one very neat build .. I've been looking at a couple of these MRC/Suzuki builds and yours has to be the best so far .. I am getting so tempted to do my own for our scale class comps .. can't wait to see what you come up with for the body .. keep up the good work
|

|  |
| Sponsored Links | |
| | |
|
03-16-2009, 04:06 PM
| #22 |
| RCC Addict Join Date: Nov 2007 Location: Massachusetts
Posts: 1,184
|
Had some time to get a little more done on the Sammy today.. I started thinking about the endless possibilitys I could try with this body.. Heres how it comes in "stock" form with the stock stickers... 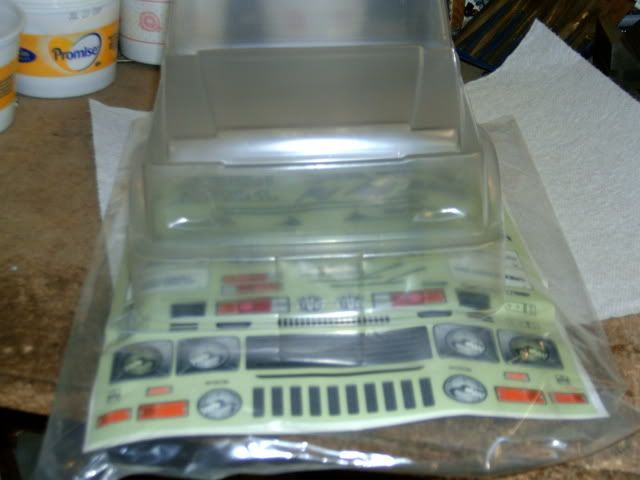 WELL - That just ain't gonna FLY at my house, SO.. Under the knife it went... 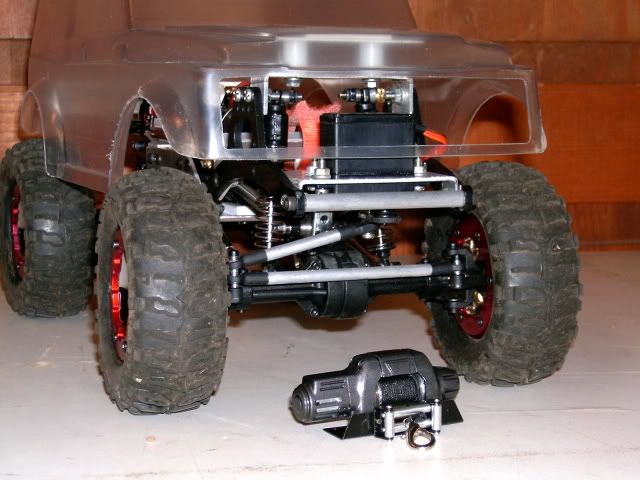 I'm Not going to let the cat 100% out of the bag just yet, but i think you get the general direction I'm heading by these pics... Once I got the body lines ALL trimmed out, I had to figure out how to mount it. I ended up making some aluminum front and rear mounts that are fully adjustable in case i want to run bigger or smaller tires, etc... Then - I just HAD to go try it out on the rocks with the body finally installed before I paint it.. I had to stop a few times and bring it back into the shop and trim the wheel wells a little more each time, but I think I got it pretty much nailed now... I CAN'T BELIEVE how well this thing wheels...  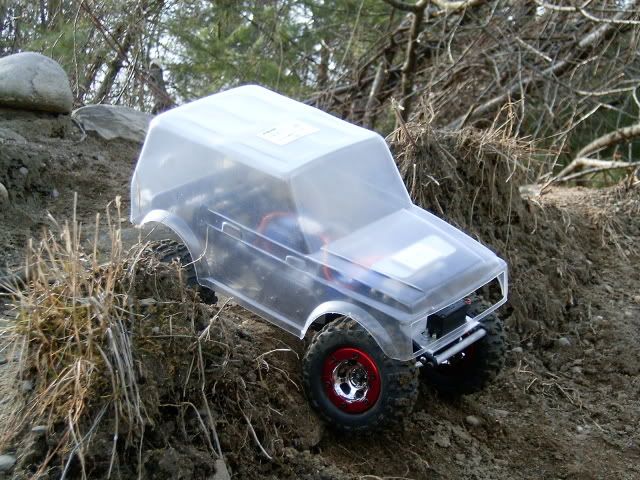  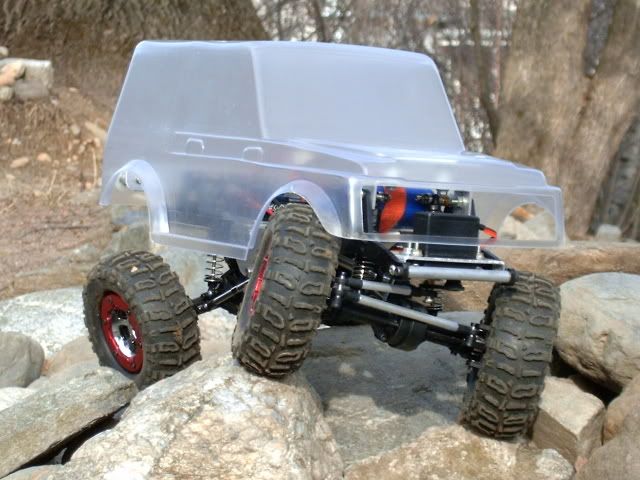 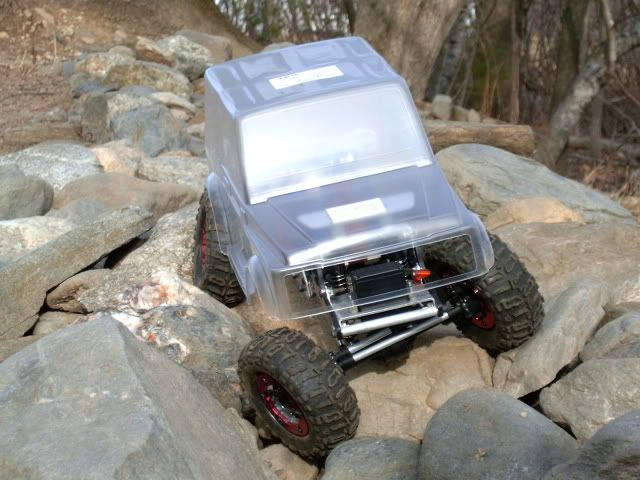 In the pic below, you can see how I made the rear aluminum body mount, which worked out pretty sweet. The front of the body will simply be held down with velcro after its been painted - I also went ahead and shaved the front and rear axles of the stock Losi link mounts, which makes them look 100% more scale..! 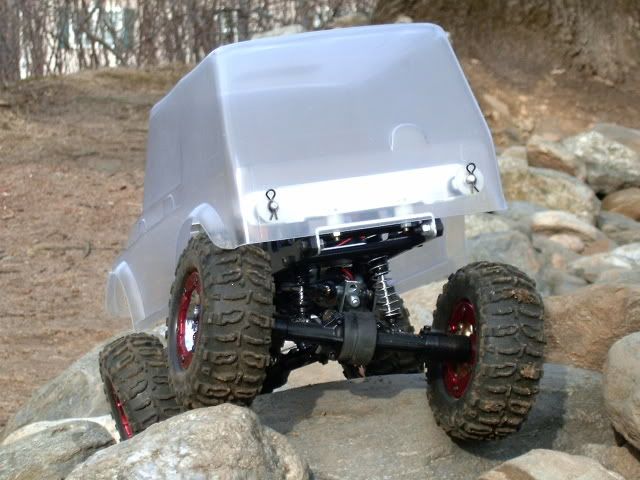 And here is a reference pic I was using to set the body and chassis up. The tires still do rub the fenders a bit under extreme articulation, but it works well, and wheels AWESOME 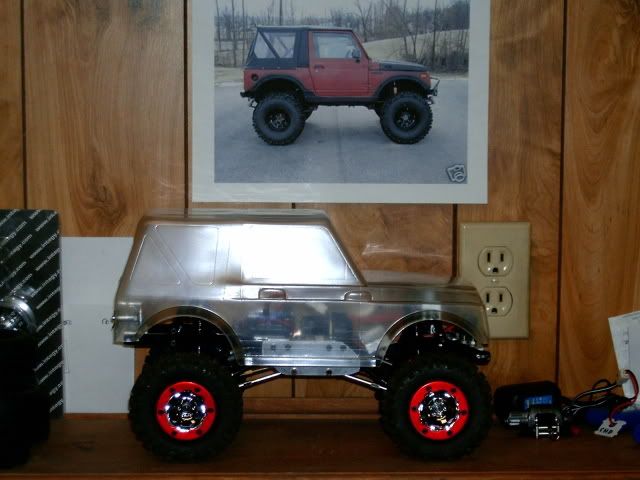 |
|
| |
|
03-16-2009, 04:18 PM
| #23 |
| RCC Addict Join Date: Oct 2007 Location: Long Island-Land of one batch of rocks in Sag Harbor and at least one fellow crawler
Posts: 1,371
|
Looks like you had fun wheelin'. I wheeled mine around the garage for a few minutes and it is one of my favorites already so I know how you feel. I also had the chance a while back to wheel 1bjb's sammi in my garage and it kicks butt as well. I think everyone should own one!!! I am glad you are redoing the grill. It will be awesome with your skills! That 1.1 sammi looks pretty sick. Good ref pic. |
|
| |
|
03-16-2009, 04:19 PM
| #24 |
| Pebble Pounder Join Date: Nov 2006 Location: Rainbow City, AL
Posts: 184
|
This thing is looking great. I have a 1:1 samurai and hope to build one of these one day. If you don't mind sharing, did you also make the aluminum posts for the body mount on the rear or are they from something else? It looks very clean. Thanks |
|
| |
|
03-16-2009, 04:55 PM
| #25 |
| 0 0   Join Date: Jul 2006 Location: FT. Thomas
Posts: 1,830
|
does anyone know where i can pick up one of these sammy bodies? last i heard they were sold at CKRC but i'm not seeing it there at the moment |
|
| |
|
03-16-2009, 04:58 PM
| #26 |
| Rock Crawler Join Date: Aug 2006 Location: nc
Posts: 867
| |
|
| |
|
03-16-2009, 05:08 PM
| #27 | |
| 0 0 Join Date: Jul 2006 Location: FT. Thomas
Posts: 1,830
| Quote:
didn't want to spend $54 for it but i couldn't resist. now i have to go buy another MRC too. oh and by the way. 51WillysJeep- really liking what you did with the chassis | |
|
| |
|
03-16-2009, 08:48 PM
| #28 |
| Let me 3D Print that...  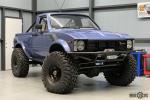 Join Date: Jun 2007 Location: Concord
Posts: 315
|
Dang it! All these cool Sammys underway. I have one too, just trying to figure out if it is going to be mild or wild... I am digging this one for sure. |
|
| |
|
03-16-2009, 09:43 PM
| #29 |
| WOOPOOW!! Join Date: Nov 2008 Location: Atlanta, GA
Posts: 4,218
|
For some extremely awkward reason, that pic you got hanging on your wall looks EXACTLY like my great uncles sammy... |
|
| |
|
03-17-2009, 03:47 AM
| #30 | ||||
| RCC Addict Join Date: Nov 2007 Location: Massachusetts
Posts: 1,184
| Quote:
Quote:
Quote:
Give it a go..!! Quote:
| ||||
|
| |
|
03-17-2009, 05:12 AM
| #31 |
| WOOPOOW!! Join Date: Nov 2008 Location: Atlanta, GA
Posts: 4,218
|
Well thats not my uncles, I dont even think he knows what the internet is.... (Hillbilly...) |
|
| |
|
03-22-2009, 08:18 PM
| #32 |
| RCC Addict Join Date: Nov 2007 Location: Massachusetts
Posts: 1,184
|
Heres this weekends Sammy Update..! I started thinking how i was going to pull off making the custom grill.. I WAS going to just use a flat piece of styrene, but then realized the front of the grille area of the body is curved, and if I had used a completely flat piece of styrene, the headlights would have been pointing WAY off to the sides, and looked like crap.. It was time to dig into the pile of styrene..............Literally.. 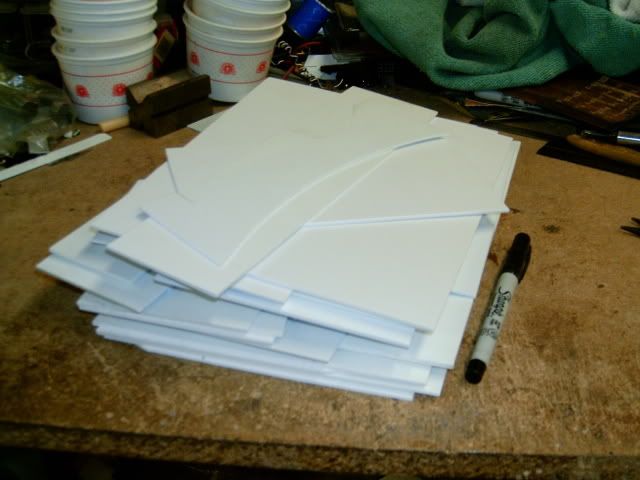 OK - I started by finding pictures of Sammys with grilles I liked the look of, and settled on a design from an 88' Samurai- then I started measuring and sketching onto some styrene - heres the start.. 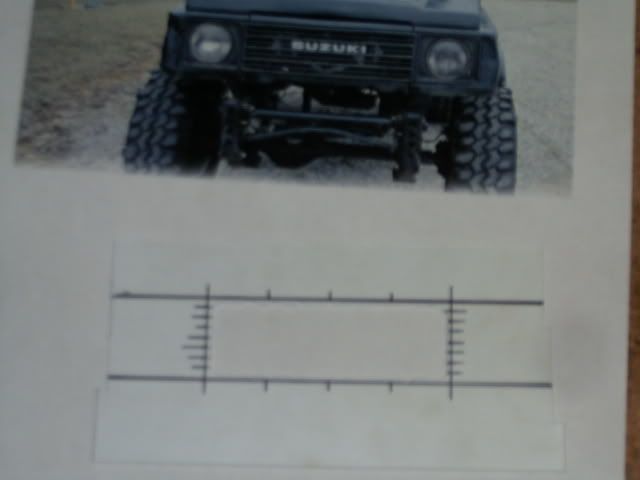 Then I cut out the center, and added the inner ribs.. ( its hard to tell by the pics, but every other rib is raised higher than the last)  Then I added more inner up and down supports, and carefully cut it ALL out.. this will become the center section of the grill... 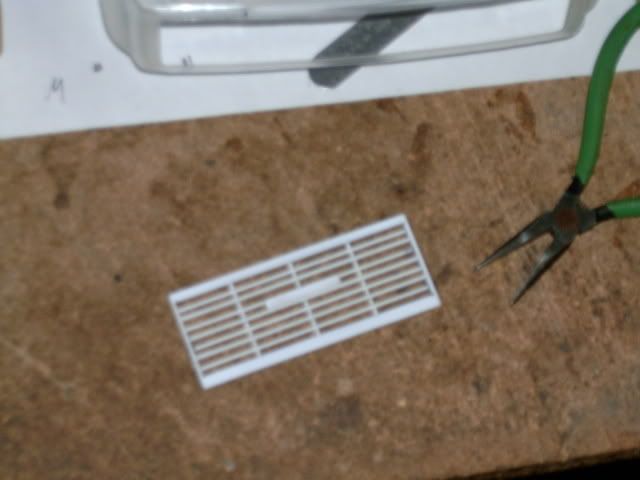 Next thing to do was to measure against the body shell, and figure how exactly the headlights would fit. The freshly cut center section needs to be built on an angle with the headlight holes now laying flat. 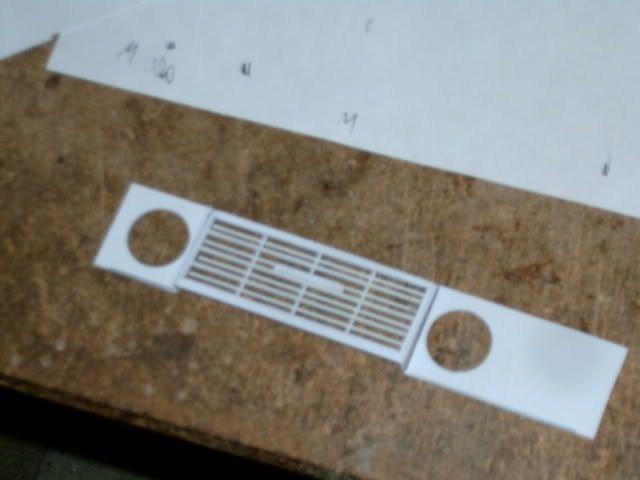 Heres a better pic that shows the lower angle I needed to pull off to make this grill work correctly... 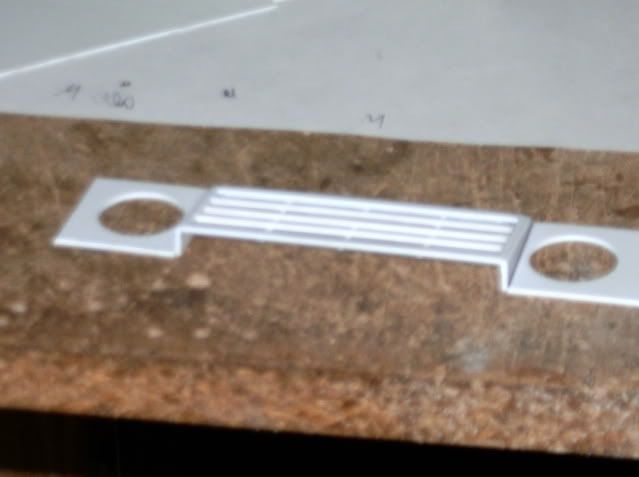 I then finished it by adding the outer edges and lower headlight bucket bottoms - heres the trial fit...so far so good..! 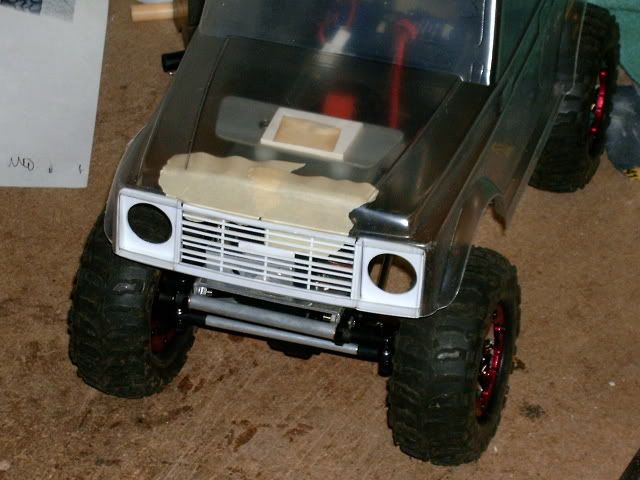 Now I had the problem of having a see-thru grill with nothing behind it... I was going to have to do something about THAT.... 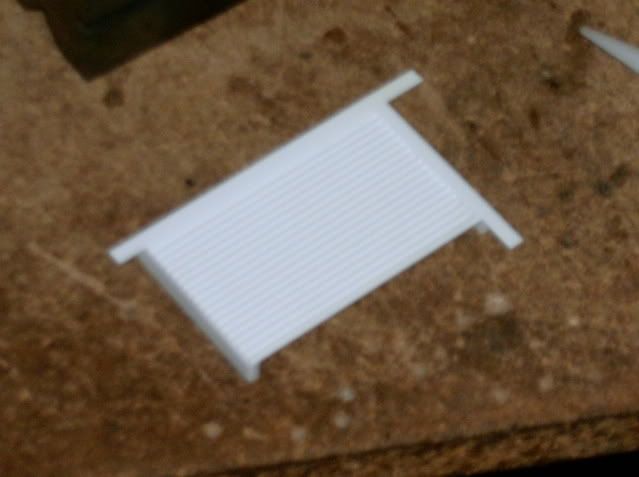 After a few hours, I had made this. I also re-thought about the front body mount situation and decided I wanted to have aluminum front body posts instead of using the velcro idea I originally had planned on. 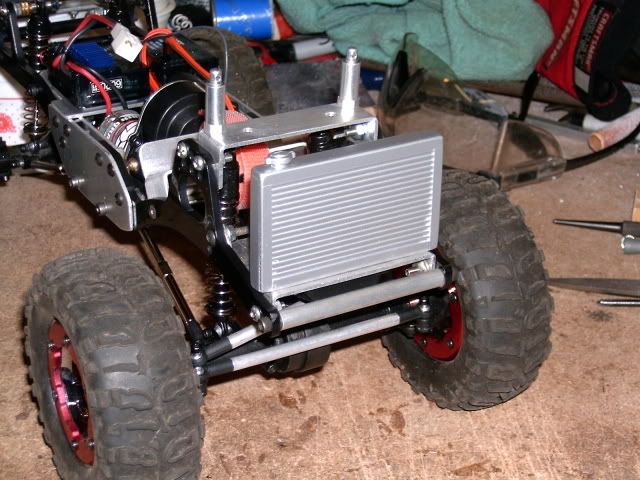 Quick mock-up.. 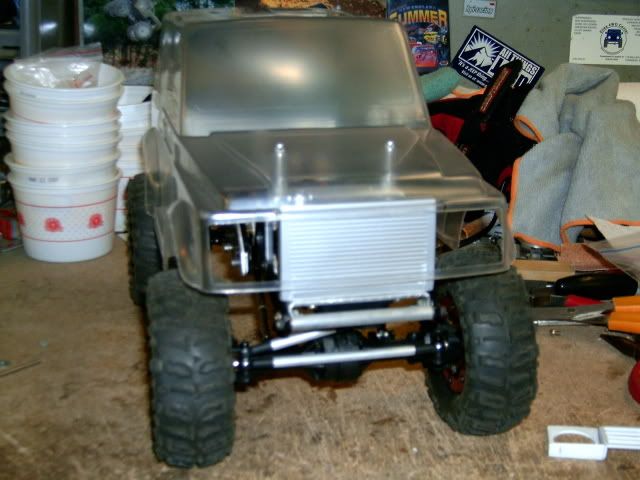 NOW It was finally time to lay down some paint.. I started by painting the inside of the soft-top black, and then I decided on Parma "Competition Orange" for the body.. 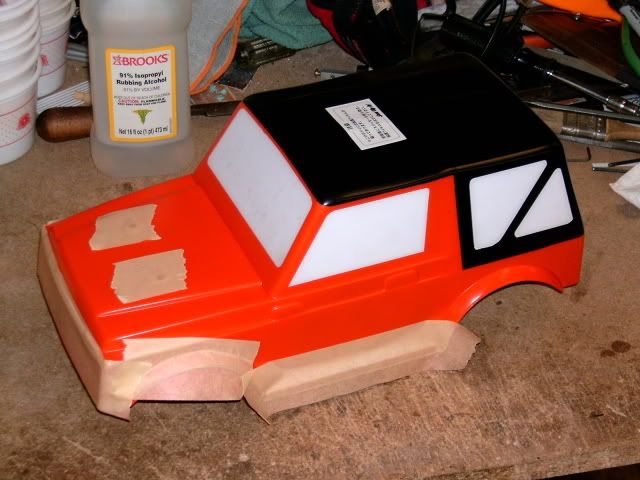 Once all of that was dry, I unwrapped the rear half and re-masked the outside of the soft top, and then painted it flat black. 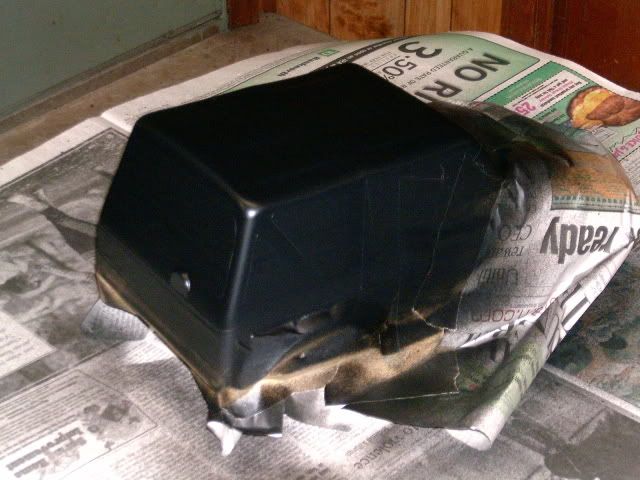 The "unveiling"... 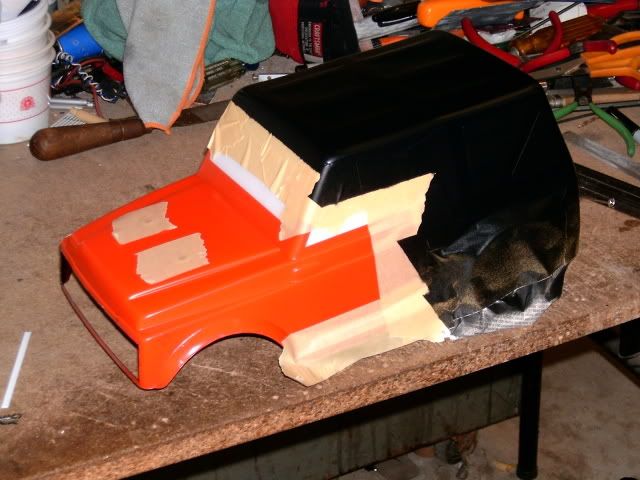 Then it was time to paint, and detail the custom made grill..( and yes, the headlights WILL work.. 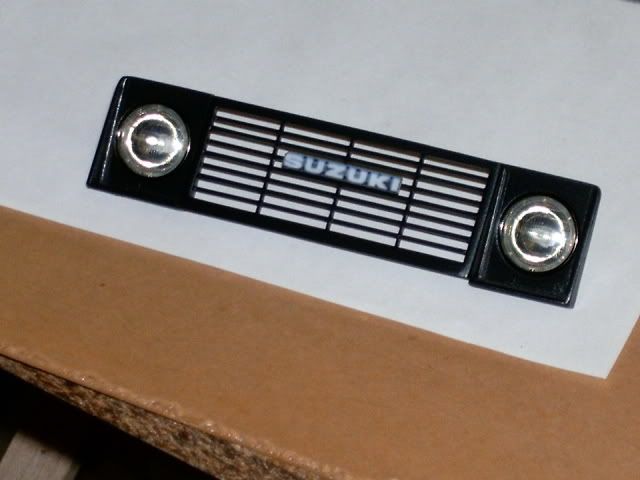 And here is where it stands as of now, with everything painted and installed.. I'm still waiting on a set of different wheels and tires to arrive.. ( yeah, I changed my mind on the trail drs, and Integys..) What I have coming will look ALOT better in my opinion..I also added a set of mirrors I stole from one of my YJ bodys..I've got more "detail" things to take care of, but its gettin there.. 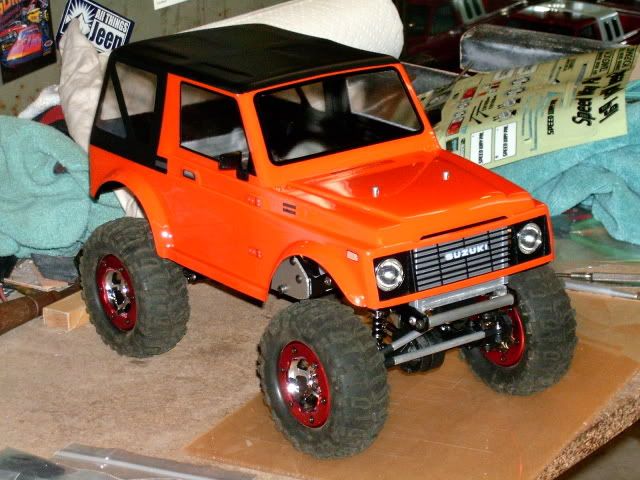 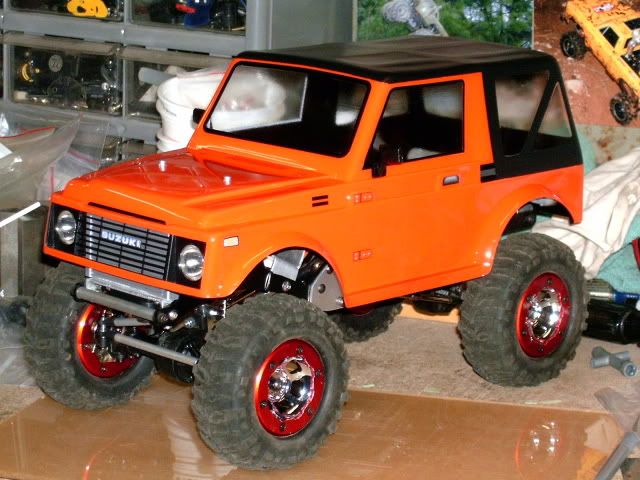 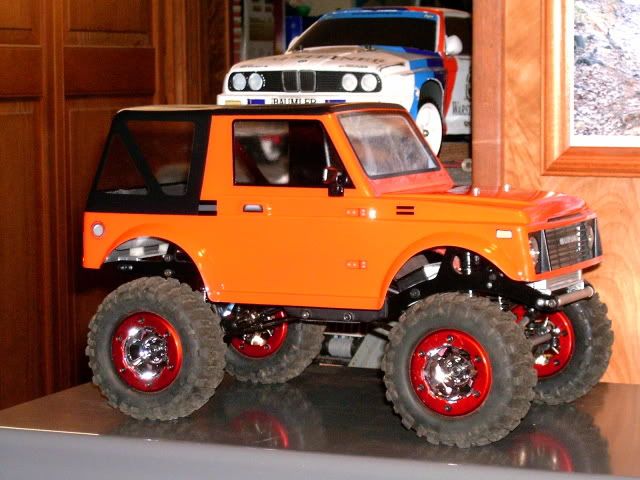 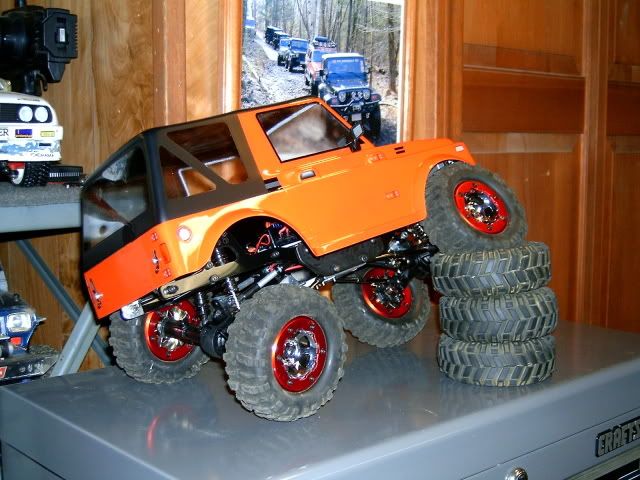 Last edited by 51WillysJeep; 03-22-2009 at 08:35 PM. |
|
| |
|
03-22-2009, 09:38 PM
| #33 |
| RCC Addict Join Date: Nov 2008 Location: J-Braaaapin It Through Gate 10
Posts: 1,897
|
That's a great lookin scaler. That was a great build with the grill. |
|
| |
|
03-22-2009, 09:44 PM
| #34 |
| RCC Addict Join Date: Dec 2007 Location: Calgary
Posts: 1,575
|
Good gravy man that is insane looking Outstanding craftmanship as normal Chris, you never seem to let the fans down. So is THIS one coming my way |
|
| |
|
03-22-2009, 10:07 PM
| #35 |
| I wanna be Dave Join Date: Aug 2007 Location: santa monica
Posts: 3,687
|
very nice sammy you built there. Your grill addresses the one biggest issue I have with lexan bodies-lack of detail. looks stunning what you did. cheers. |
|
| |
|
03-22-2009, 10:15 PM
| #36 |
| I wanna be Dave Join Date: Aug 2005 Location: NE Ohio
Posts: 8,817
|
this is getting harder and harder not to build one of these guys
|
|
| |
|
03-22-2009, 10:29 PM
| #37 |
| Pebble Pounder Join Date: Aug 2004 Location: California
Posts: 197
|
Grill looks great! im totally stealing your design, hope you dont mind. haha
|
|
| |
|
03-22-2009, 10:38 PM
| #38 |
| RCC Addict Join Date: Oct 2007 Location: Long Island-Land of one batch of rocks in Sag Harbor and at least one fellow crawler
Posts: 1,371
|
Grill looks KICKAWESOME!!!! That's right KICKAWESOME!! Color is perfect too. One thing I started to think about as I added some depth to my sammy ( also someone on scale4x4 pointed it out) instead of the stickers for door handles and latches and such, I should have made them out of styrene and glued them on. It wouldnt be hard at all and since I painted mine on the outside it would have all matched perfect. Of course I thought of it after it was painted and I was applying the stickers. If I do another sammy I will detail the body more before paint! I still might do it and paint the door latches black like some after marker ones or silver like after market ones for Jeeps... One thing I did and I think looks good was I cut out the soft top windows and made new ones and installed them from the inside. It adds some 3 dimensional factors to the rear of the rig.   |
|
| |
|
03-23-2009, 08:03 AM
| #39 |
| Newbie Join Date: Jan 2009 Location: Western Australia
Posts: 30
|
Man that is nice! .. grill looks great .. radiator looks great .. love the colour choice too .. new rims and tyres are gonna look sweet! .. can't wait for your updates =D
|
|
| |
|
03-23-2009, 08:21 AM
| #40 |
| I wanna be Dave  Join Date: Oct 2006 Location: Martinsburg WV
Posts: 2,781
|
that turned out nice. thats a nice RTI ramp too... |
|
| |
 |
 LinkBacks (?)
LinkBack to this Thread: http://www.rccrawler.com/forum/1-5-scale-rigs/166762-1-5-project-slickrock-samurai.html | ||||
| Posted By | For | Type | Date | |
| New Bright Jeep Body | This thread | Pingback | 02-21-2013 11:51 PM | |
| Samurai cabrio scaler su base minilosi NUOVO PREZZO - Pagina 5 - Scalers & Crawlers | This thread | Refback | 02-16-2013 03:49 AM | |
| |


 Linear Mode


