| |
 09-18-2015, 06:13 AM
| #1 |
| Rock Stacker Join Date: Jul 2008 Location: Austria close to Vienna
Posts: 99
|
My son has his Hilux since several years now started as a SCX10 Honcho. After two Tamiya Hilux Body sets have been smashed over the years, I thought it would be the right time now to build him a more scale truck. Since he is 9 years old and driving since he is 4 with scale trucks and other Tamiya buggies, he is very experienced in scale driving. Some month ago I started to rebuild his trail truck to the more scale truck. The Chassis itself remains mainly untouched except for a swing spare tire carrier from RC4WD. I made a simple but strong Adapter using a spare SCX Frame and some sheet metal. The Body is a modified Tamiya Bruiser body. Hardtop and Roof rack is from RCModelex and the Lightbar and Lights on the Roof rack are from RC4WD. Naturally the Shocks, axles wheels and tires are also from RC4WD. The lightbar on the Roof rack is switchable independingly from the 4 lights on top. The body has its own battery to supply all lights on the body and Roof rack autonom. So I can take off the body without having to disconnect a cable from the Chassis. That is quite comforable. Also the body Mount is home made. I made the holders and the rear body stay of styrene. The lipo battery is sitting in a case that snaps into the right body Mount. Easy to take out and put in. The body is secured by 4 body Pins. All in all the body sits very firm on the Chassis and has been prooved working .       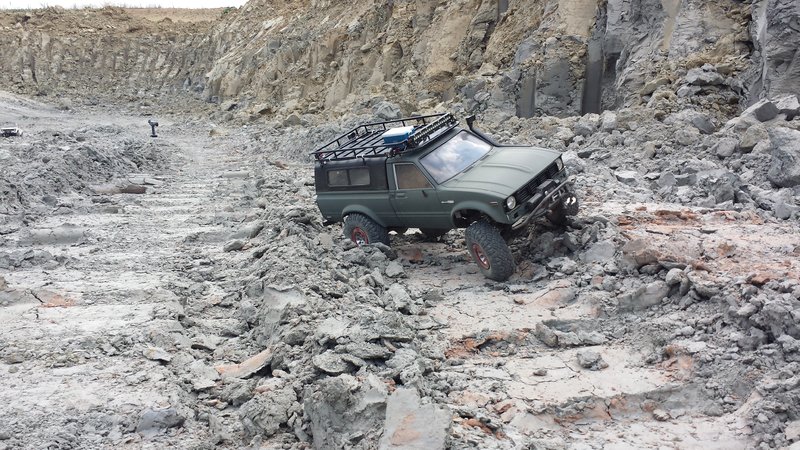  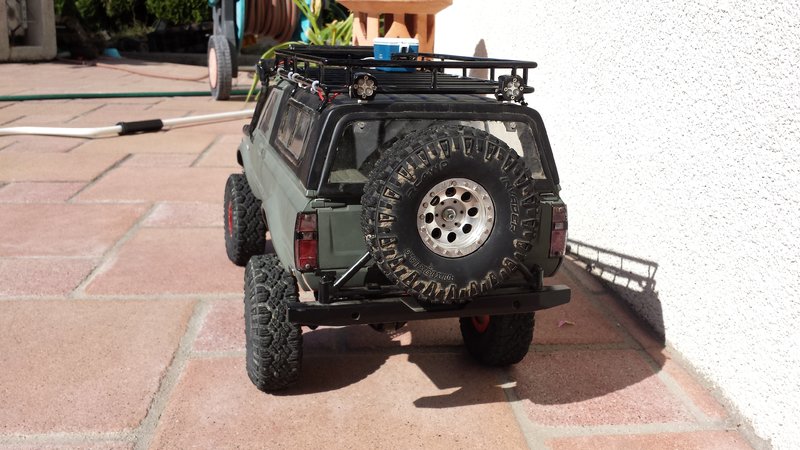  |

|  |
| Sponsored Links | |
| | |
|
09-18-2015, 06:16 AM
| #2 |
| Rock Stacker Join Date: Jul 2008 Location: Austria close to Vienna
Posts: 99
|
Today I finished a spare tire holder and Hi-Lift Mount for the swing tire carrier. The Hi-Lift holder is based on real car holders. I tried to stay as close as possible to the real Thing. Here I am milling the adjustable square tube shaft.   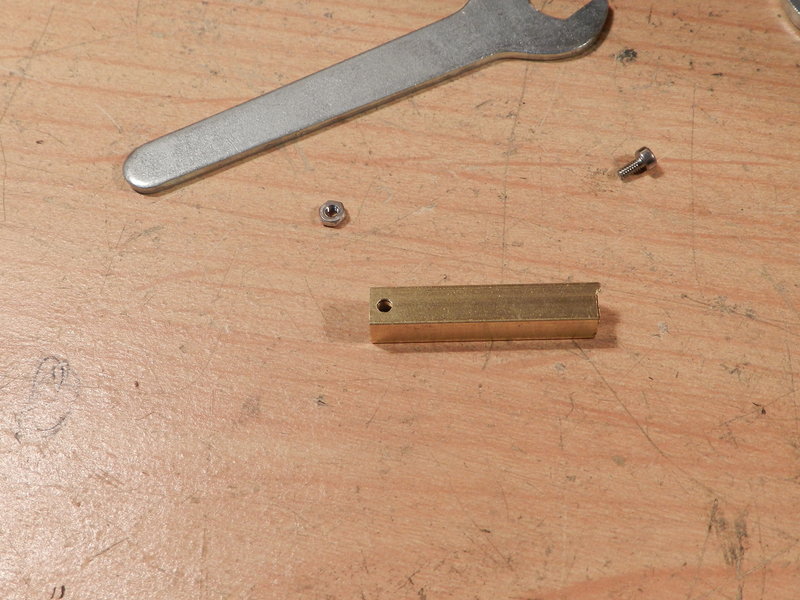  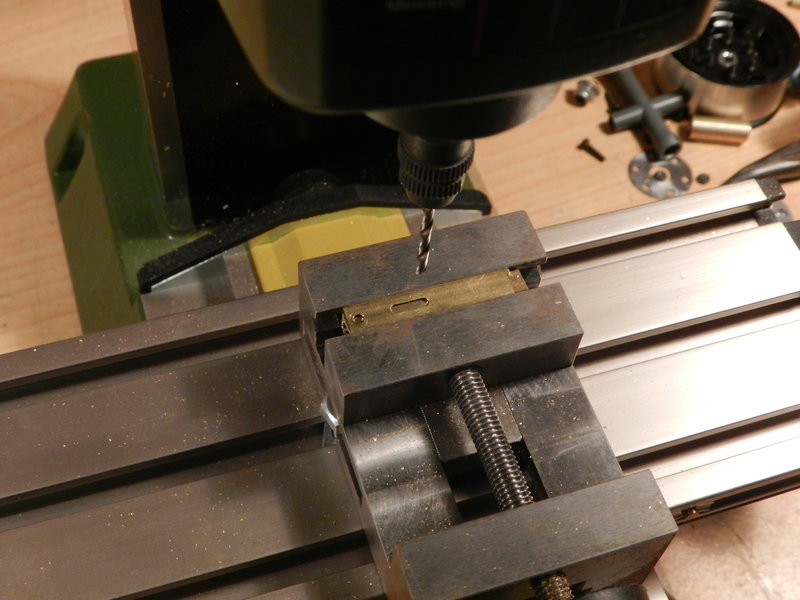   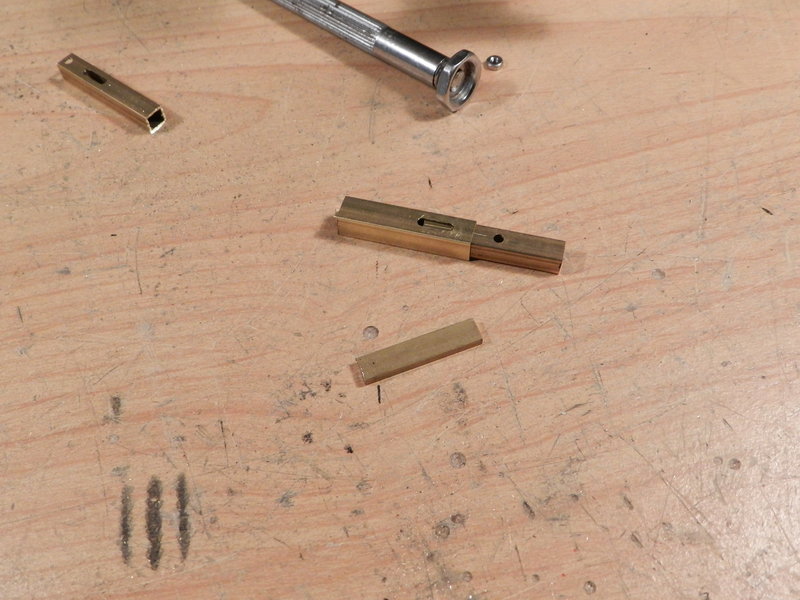 Here is the plate that holds the Hi-Lift with soldered screw nuts. The Position of the nuts fits tight into the notch of the Hi-Lift stack.   Final product. It is adustable in lenght just as the real Thing.  All spare tire mound and Hi-Lift holder parts and the Hi-Lift together.  I pretty much get used to the soldering thing and really find it useful and it is alot of joy making such nice things out of brass.   Then the painting Here is the finished Job.  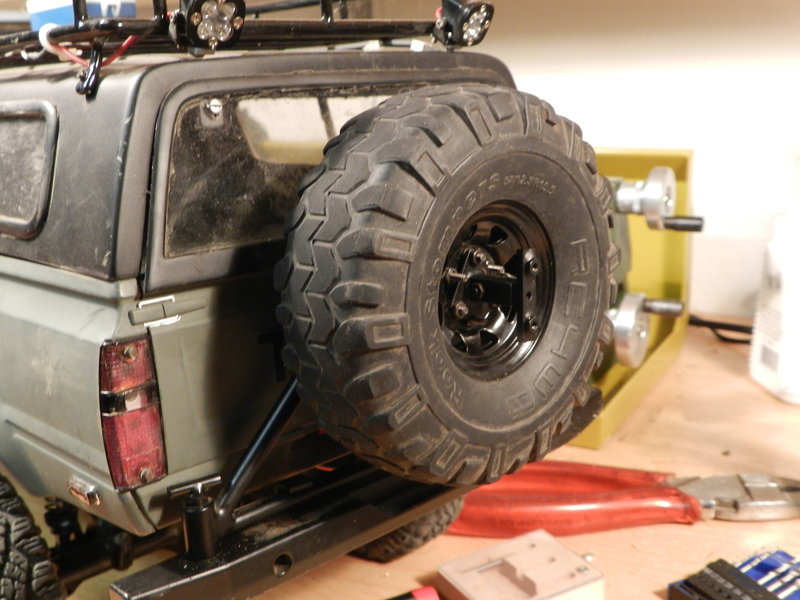        |
|
| |
|
09-18-2015, 11:47 AM
| #3 |
| Rock Stacker Join Date: Jul 2008 Location: Austria close to Vienna
Posts: 99
|
Added metal Emblems, Stickers and side mirrors. Also changed to another wheels/tyres combination to match the spare wheel. Looking much meaner than with the other wheels/tyres combination.    |
|
| |
|
09-18-2015, 02:09 PM
| #4 |
| RCC Addict  Join Date: Feb 2008 Location: Tekin, ID
Posts: 1,940
|
That Hi-lift mount is amazing! Great job.  |
|
| |
|
09-18-2015, 07:10 PM
| #5 | |
| I wanna be Dave Join Date: Dec 2006 Location: Where the sheep run scared.
Posts: 3,008
| Quote:
| |
|
| |
|
09-22-2015, 11:57 AM
| #6 |
| Quarry Creeper Join Date: Jul 2014 Location: saranac
Posts: 310
|
i love it and am building a similar setup, one question not sure if you said but what axles are you running?
|
|
| |
|
09-25-2015, 08:13 AM
| #7 | |
| Rock Stacker Join Date: Jul 2008 Location: Austria close to Vienna
Posts: 99
| Quote:
| |
|
| |
|
01-10-2018, 01:39 PM
| #8 |
| Rock Stacker Join Date: Jul 2008 Location: Austria close to Vienna
Posts: 99
|
Well, it is time for a Major Change. Axles, suspension and body have been worn out over the time. Also, I built a Hilux Truggy and so my son needed one too. First we stripped down the Chassis and replaced many parts. So he got new axles, new rod Ends, and a new body. We also switched to 1.7 Mickey Thompson and 1.55 Stompers. The Truggy Cage is from RC4WD and fits nicely onto the SCX10 Frame. We also ordered a CChand Interior Package which is a perfect body Mount and has a cool interior.     The front frame part needed some modifikation. The Cab is sitting a bit to high for the frame and the front bumper. The nasty gap is a no go and so I cut a spare frame in pieces and doubled the front section. I fixed the upper rails to the shock towers, fitted a cross member in front and attached the bumper. This alone would be very stiff but I will weld the frames together later to be safe nothing can be bend. A inner fender will hide the double frame solution and the lower front section under the bumper will be futher modified.  More to come soon. |
|
| |
|
01-12-2018, 05:40 AM
| #9 |
| Rock Stacker Join Date: Jul 2008 Location: Austria close to Vienna
Posts: 99
|
Today I started with the skid plate of the front bumper. Took measurement from the orignal plate but doubled the lenght to hide the double frame trick and to increase the ability to slide over obstacles. I might add some additional protection for the steering arm and the servo horn.  I had to cut off the frame tips with the angle grinder. 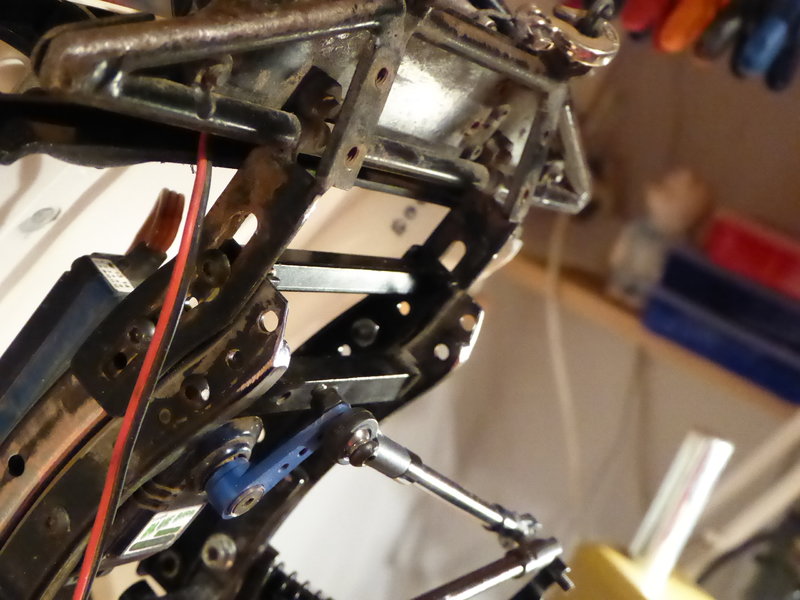 All tightened up. Nice Approach angle I'd say.  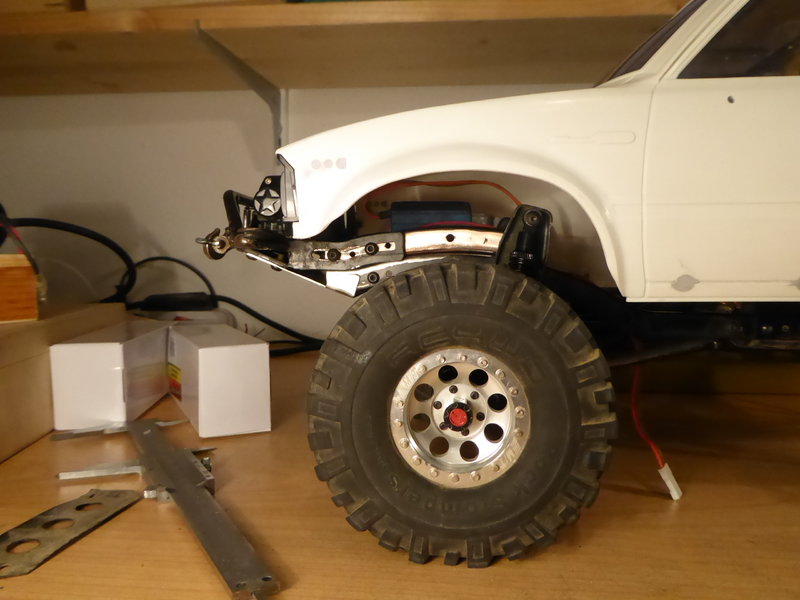 The two ears of the skid plate were bent and shaped to fit tight to the Frame. Looks better and add strength to the front end and helps to withstand Shocks when sliding over rocks.  |
|
| |
|
01-12-2018, 10:37 AM
| #10 |
| I wanna be Dave  Join Date: Jan 2006 Location: Corruptifornia
Posts: 12,107
|
Both Yotas look great, one of the more innovative battery and body mounts I've seen for TF2 bodies. I was going to say cut off lower front frame rails at an angle, but you've done it already, might have cut a little more though for maximum steering linkage clearance. |
|
| |
|
01-12-2018, 12:51 PM
| #11 | |
| Rock Stacker Join Date: Jul 2008 Location: Austria close to Vienna
Posts: 99
| Quote:
Steering linkage clearance is tight but enough space to move freely. Nothing touches anything. It Looks as it is by design. In fact it was just a good measure with the eye. | |
|
| |
|
01-15-2018, 06:42 AM
| #12 |
| Rock Stacker Join Date: Jul 2008 Location: Austria close to Vienna
Posts: 99
|
Today I concentrated on the headlights. The Standard headlights do not really have a powerful Output. A light bar on top of the rear Cage is no Option. So the decision was made to use RC4WD Baja Squadron Pro LED Lights. They are powered With 7.4 Volt and so I don't hassle with the 11.1 lipos and Volt reductions, they give strong light and are small.  Their unique design and shape require a Special and unique mounting. To Close the gap between the Light Unit and the round opening of the stock headlight I made a blind out of styrene. Drawed the shape of the lamp and started to drill the opening.     Rough cutout.  Tentatively attached the outer parts of the lights and fine shaped the inner opening to match the Led housing.  Painted the front side black and glued to the grille. I ordered longer 1.2mm screws. So once they arrive the new headlights will be in.  To add a little more light especially to the area directly in front of the car I added two of the same light units to a little frame that attach to the rear side of the grille. The lights should be well protected by the bumper and the skid plate and the clear the tire at maximum articulation. An inner fender will add additional protection.   |
|
| |
|
01-22-2018, 02:54 PM
| #13 |
| RCC Addict Join Date: Jan 2012 Location: Vancouver
Posts: 1,918
|
What are the front shock mounts from? Or are they a custom job? Really like the look of them.
|
|
| |
|
01-28-2018, 09:10 AM
| #14 |
| Rock Stacker Join Date: Jul 2008 Location: Austria close to Vienna
Posts: 99
|
Thanks! The front shock mounts I used are in fact Tamiya Semi front shock mounts. |
|
| |
 |
 My sons Hilux rebuild - Similar Threads
 | ||||
| Thread | Thread Starter | Forum | Replies | Last Post |
| scx10 hilux rebuild | Clk1982 | 1.9 Scale Rigs | 40 | 11-06-2012 11:07 PM |
| My sons XT | tom80 | Redcat Crawlers | 1 | 04-06-2011 07:35 PM |
| my sons cc | redneckrides | Duratrax Cliff Climber | 5 | 01-08-2010 08:11 AM |
| my sons k2-3s | chino438 | Tamiya TLT Crawlers | 1 | 04-14-2007 12:10 PM |
| my 2 sons | troynitrous | Tamiya TLT Crawlers | 6 | 04-06-2006 08:09 PM |
| Thread Tools | |
| Display Modes | |
| |


 Linear Mode


