| |
 02-17-2009, 10:09 AM
| #21 |
| RCC Addict Join Date: Jul 2006 Location: Johnston SC
Posts: 1,562
| 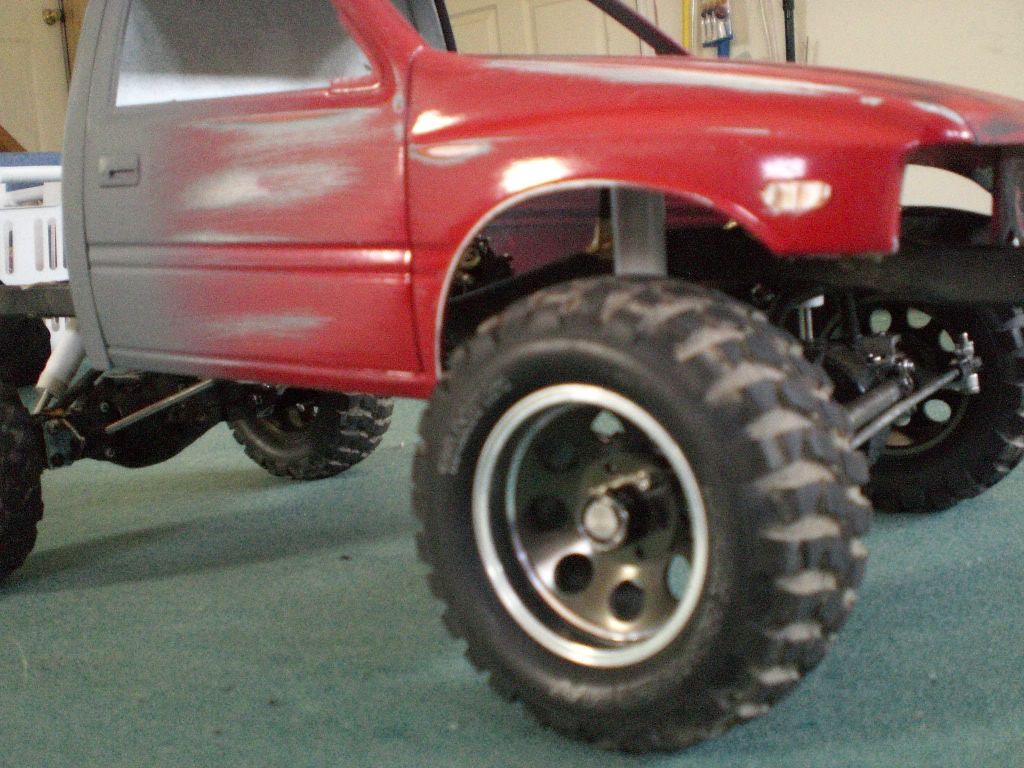 aight thought i would post up this simple mod. i will be making a post in the tips & tricks thread as well. i cut up my integy 1.9 aluminum rims to widen them. i used a set of stock tlt rims cut up. it was a pretty simple proccess that really only need a drill press, files, exacto knife, and some sand paper. i first must give credit to lappdogg on scale4x4 for the idea. i saw it at the last augusta scale comp but there was no how to on it. it took a while to grind down the rim but it is worth it imo. this also gives the tire a nice scale puffy look to it. first chuck up a axle or something to hold the rim in the drill press. i used a 4mm long bolt with washers and nuts. with the exacto cut the tlt rim right on the rear portion of the rim just before it bevels inward. this will give you your extension. next i chucked up the integy rim and with some files and sand paper i removed the front bead lip. wear away a slight taper to the front of the rim to help slide the extension on. 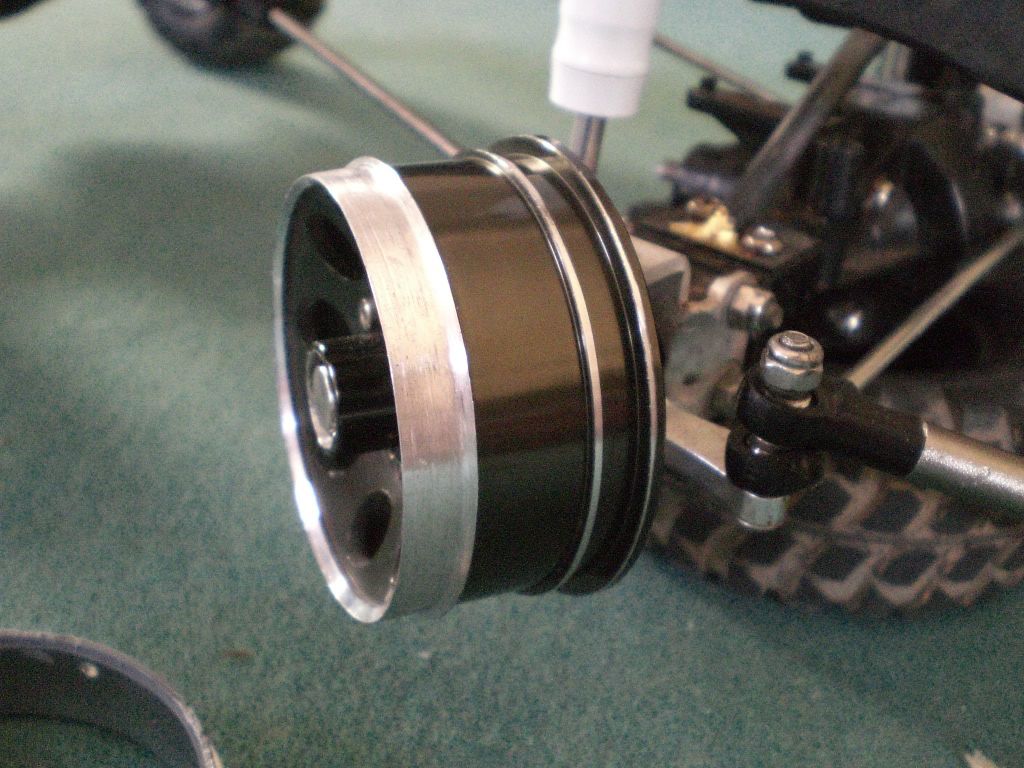 next smooth the inner edge of the tlt extension and press it on and glue. it will be a tight fit and holds well. 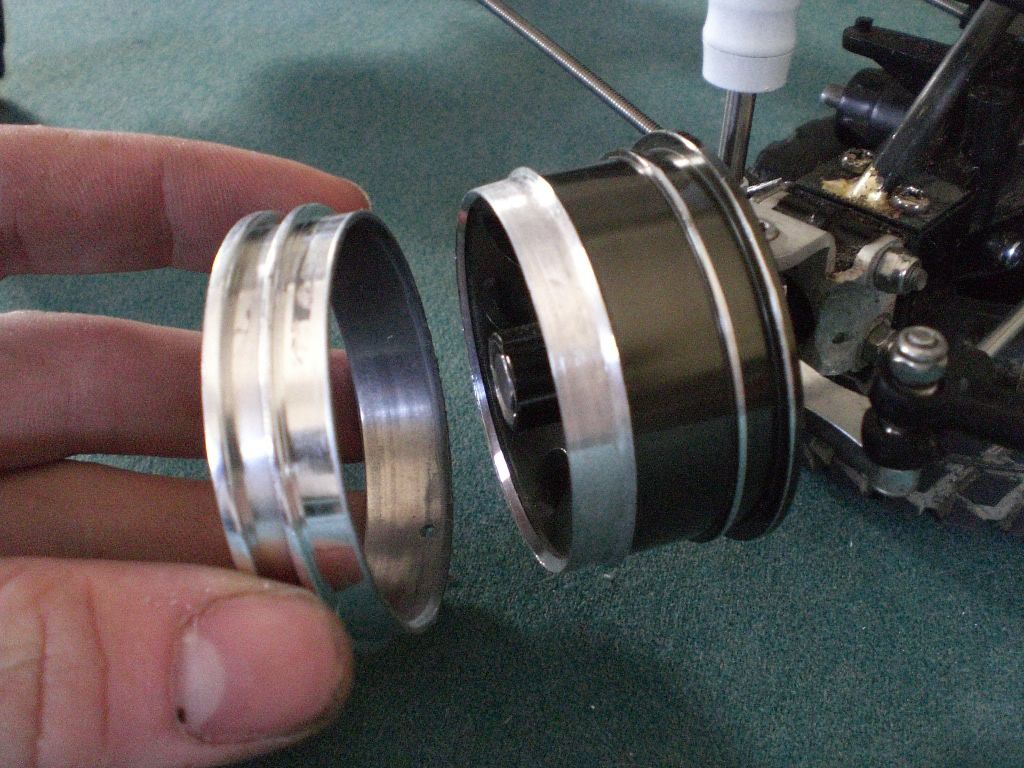 and thats it. this is what you are left with. the width can be adjusted by how far you slide the extension on or where you cut it. 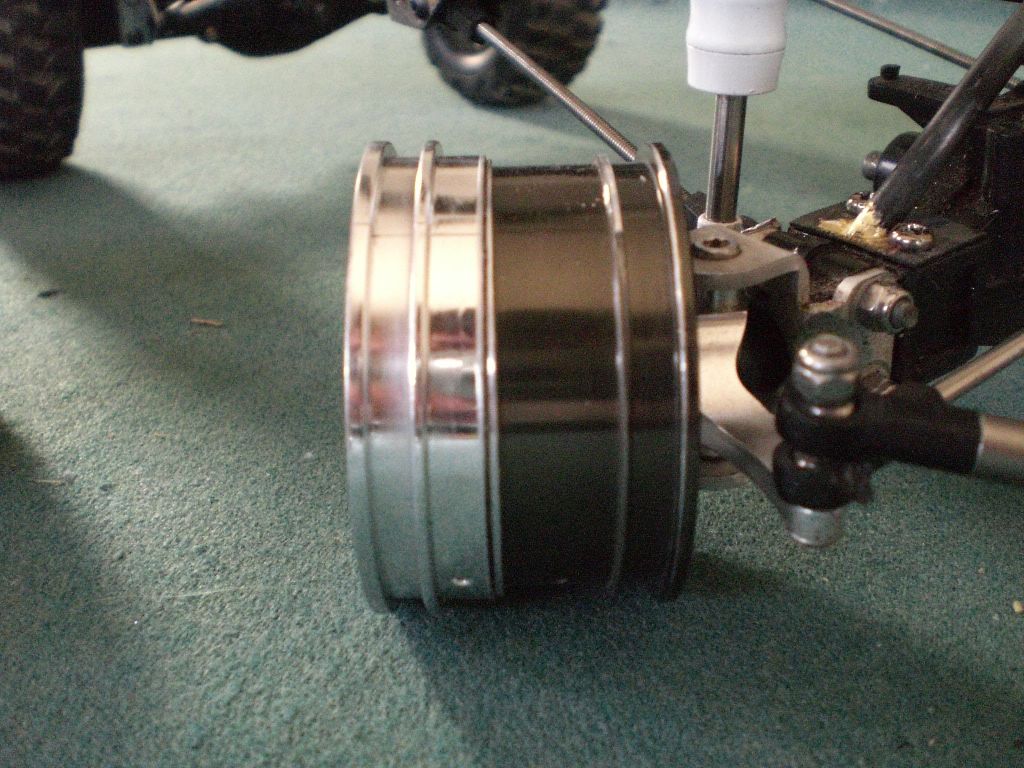 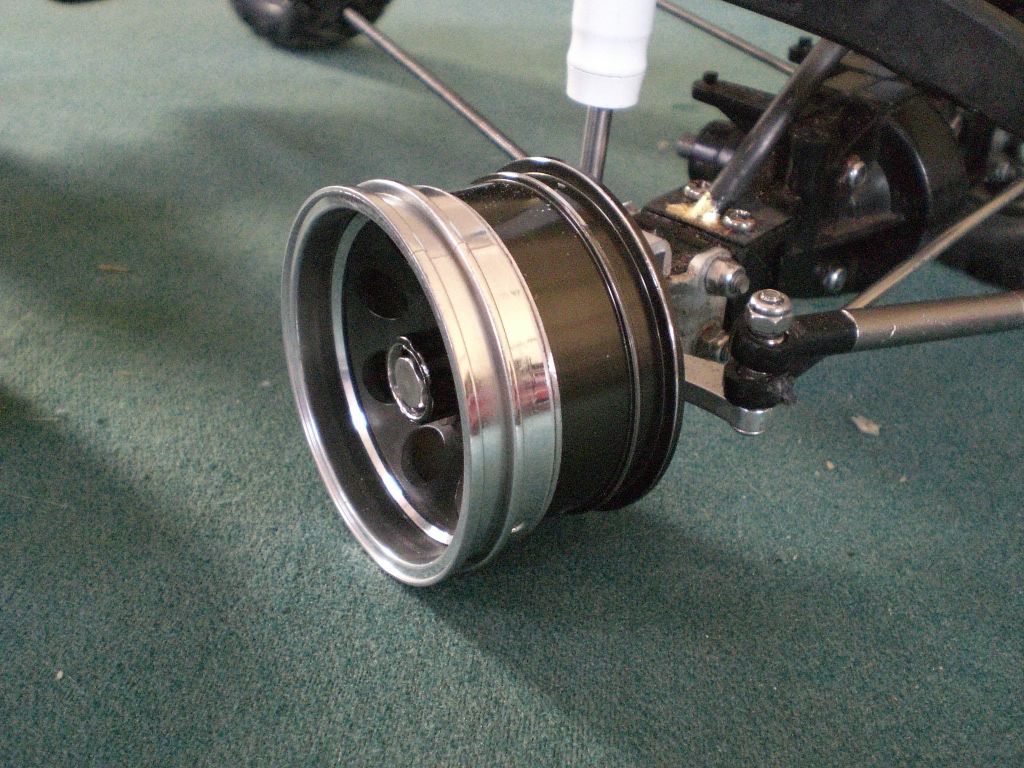 stock rim 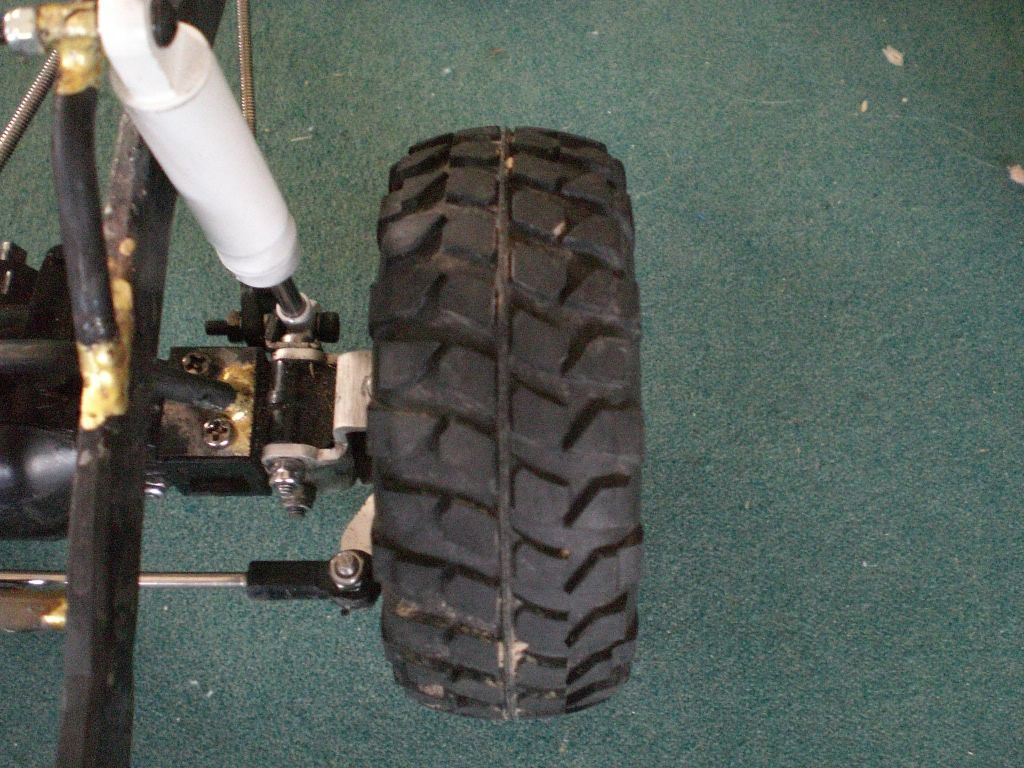 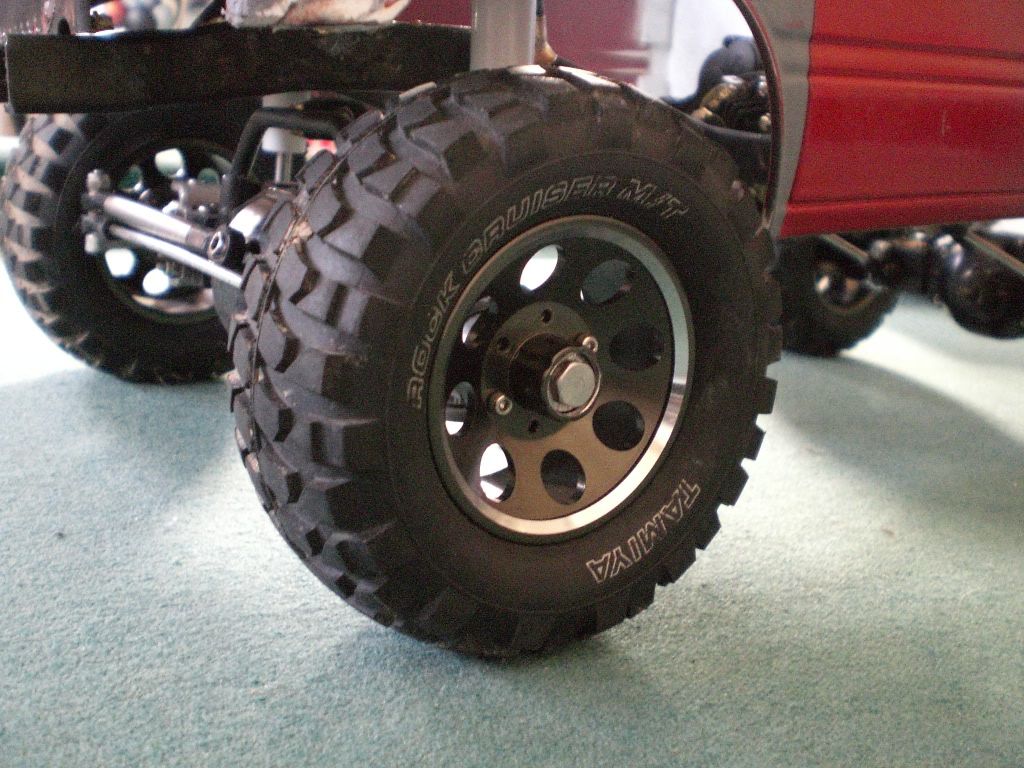 widened 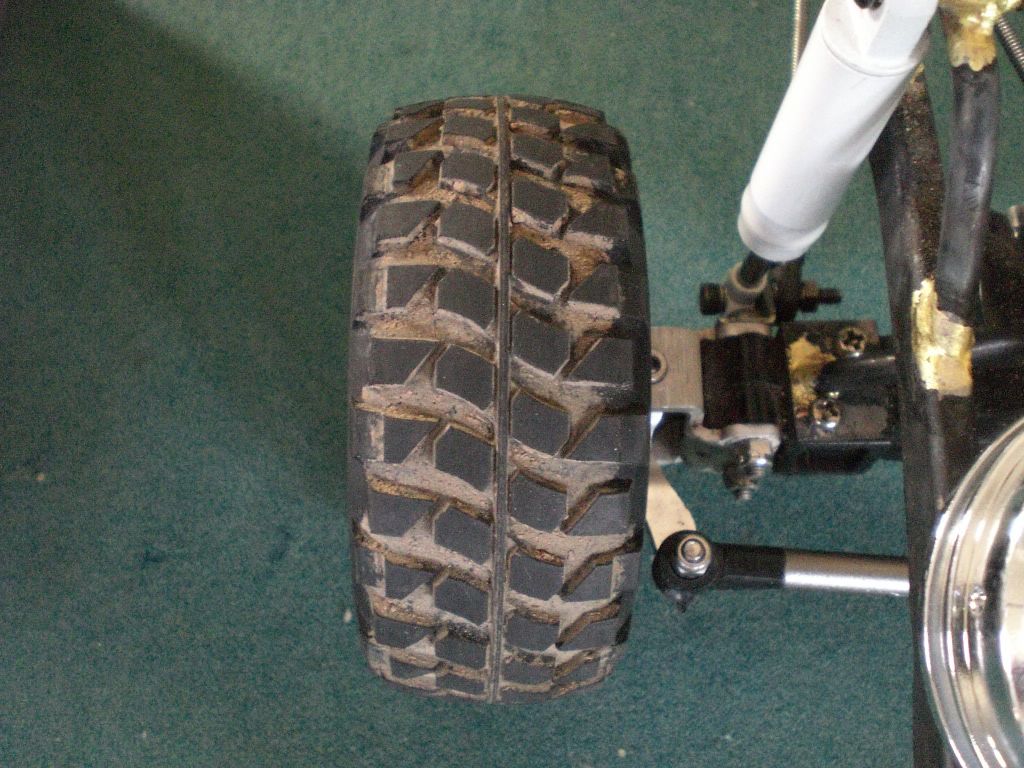 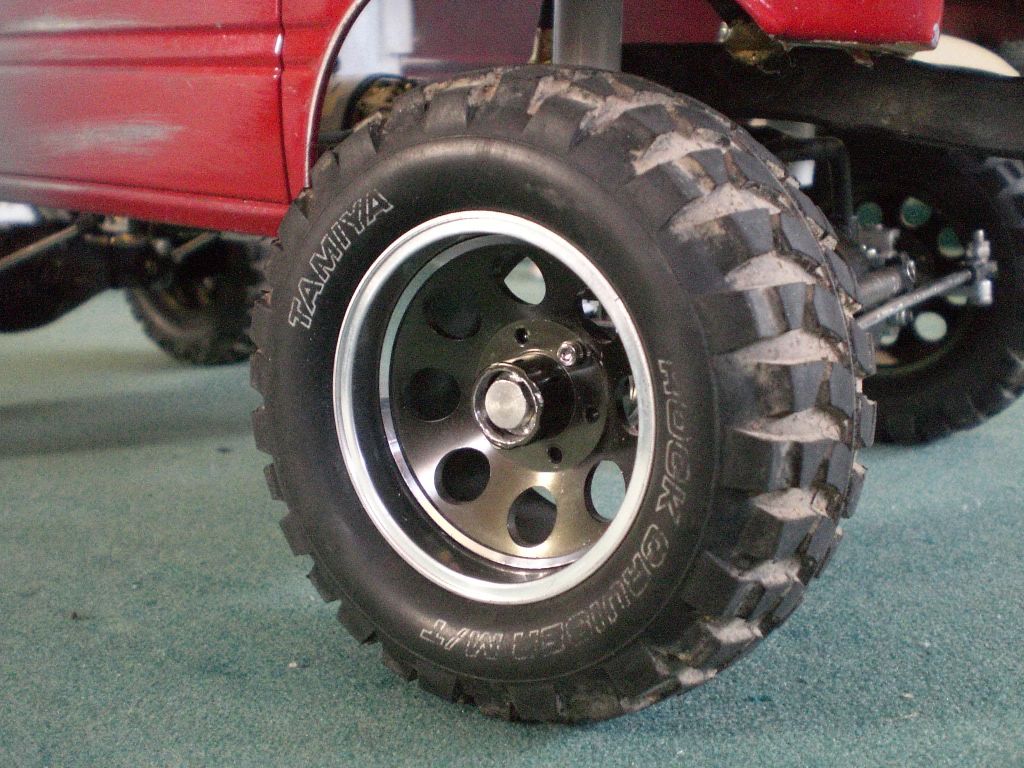 super wide 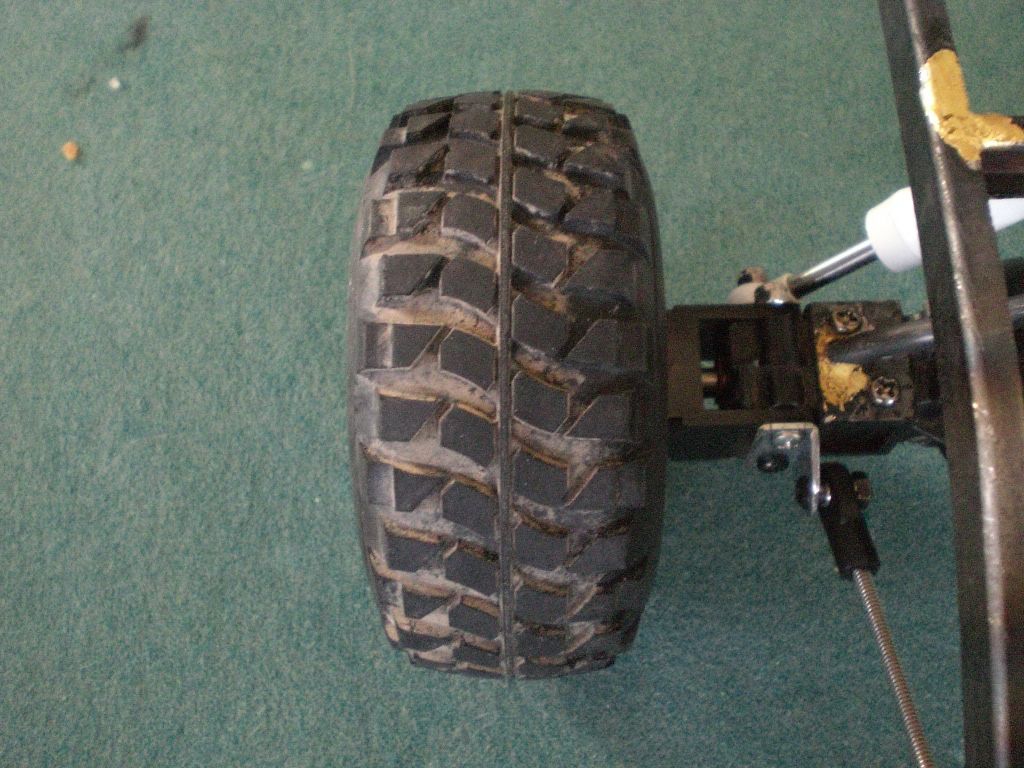 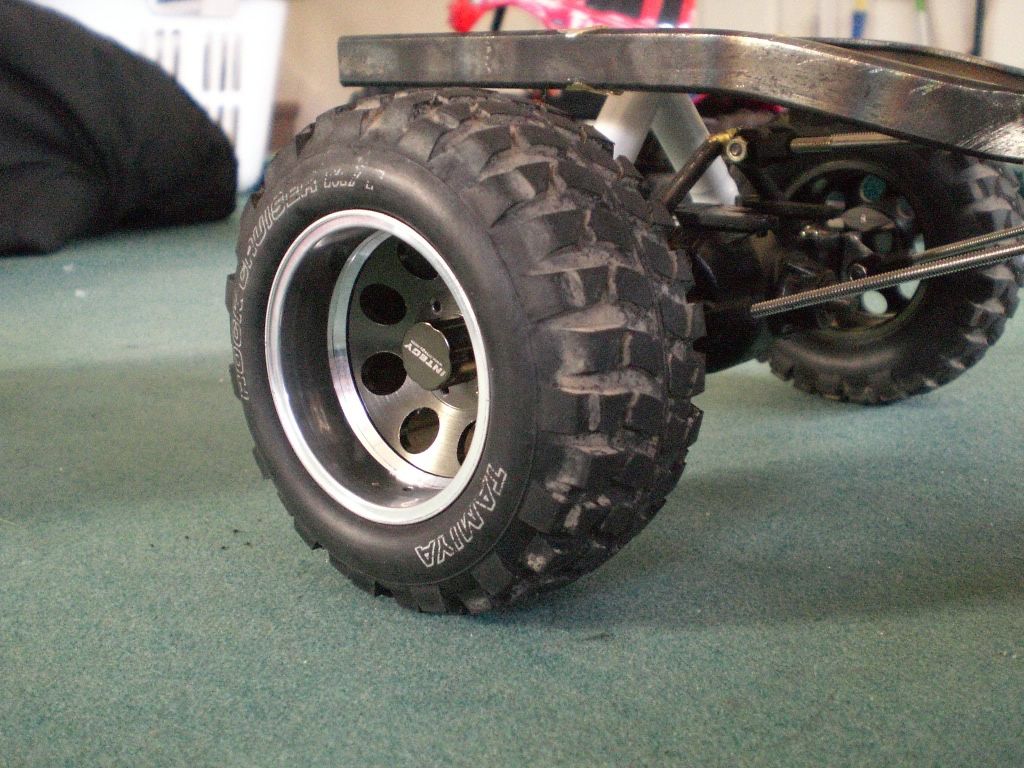 |

|  |
| Sponsored Links | |
| | |
|
02-17-2009, 10:15 AM
| #22 |
| I wanna be Dave Join Date: Aug 2007 Location: santa monica
Posts: 3,687
|
wow, nice work! Before reading anything I looked at the first pic and went, "how the heck did he get that nice lip on the integy wheels?", lol. very nice work. this is going to be a very nice truck when its done.  |
|
| |
|
02-17-2009, 10:17 AM
| #23 |
| RCC Addict Join Date: Jul 2006 Location: Johnston SC
Posts: 1,562
|        thanks |
|
| |
|
02-17-2009, 10:28 AM
| #24 |
| I wanna be Dave Join Date: Aug 2008 Location: cape crud... will you be my friend
Posts: 2,102
|
very cool, and this is the first one i have seen. good work bro. |
|
| |
|
02-17-2009, 09:45 PM
| #25 |
| RCC Addict Join Date: Jul 2006 Location: Johnston SC
Posts: 1,562
|
started bumpers. pics comming
|
|
| |
|
02-17-2009, 09:57 PM
| #26 |
| I'm a stupid C U N T! Join Date: Jun 2005 Location: In the Garage!
Posts: 4,307
|
the wheels look sexxy with the extra width. Makes those POS tires look right |
|
| |
|
02-17-2009, 10:11 PM
| #27 |
| Pebble Pounder Join Date: Dec 2008 Location: UTAH!
Posts: 109
|
wow this is looking really good! |
|
| |
|
02-18-2009, 09:44 AM
| #28 |
| Quarry Creeper Join Date: Oct 2008 Location: fullerton
Posts: 273
|
were did you get those frame rails i need some.
|
|
| |
|
02-18-2009, 03:39 PM
| #29 |
| Newbie Join Date: May 2008 Location: Chicago
Posts: 34
|
I am enjoying this build a lot. I am always a fan of new ideas. GREAT idea on the wheels too! Thanks for sharing your ideas here. Just keep those pics coming! |
|
| |
|
02-18-2009, 04:17 PM
| #30 |
| RCC Addict Join Date: Jul 2006 Location: Johnston SC
Posts: 1,562
|
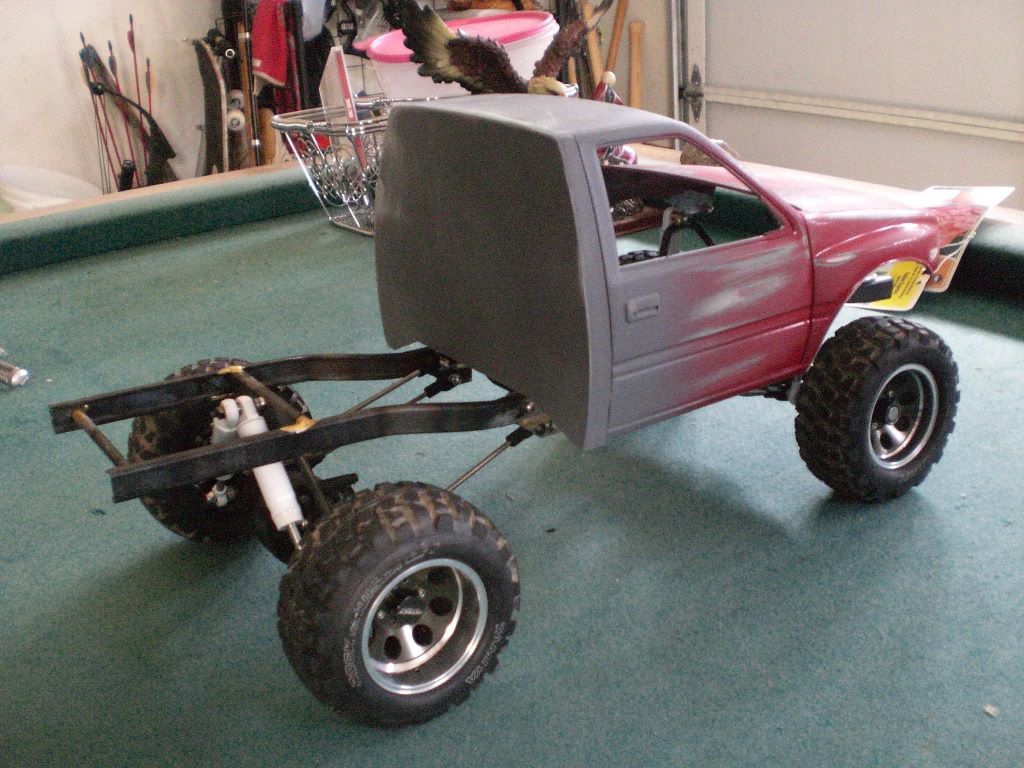
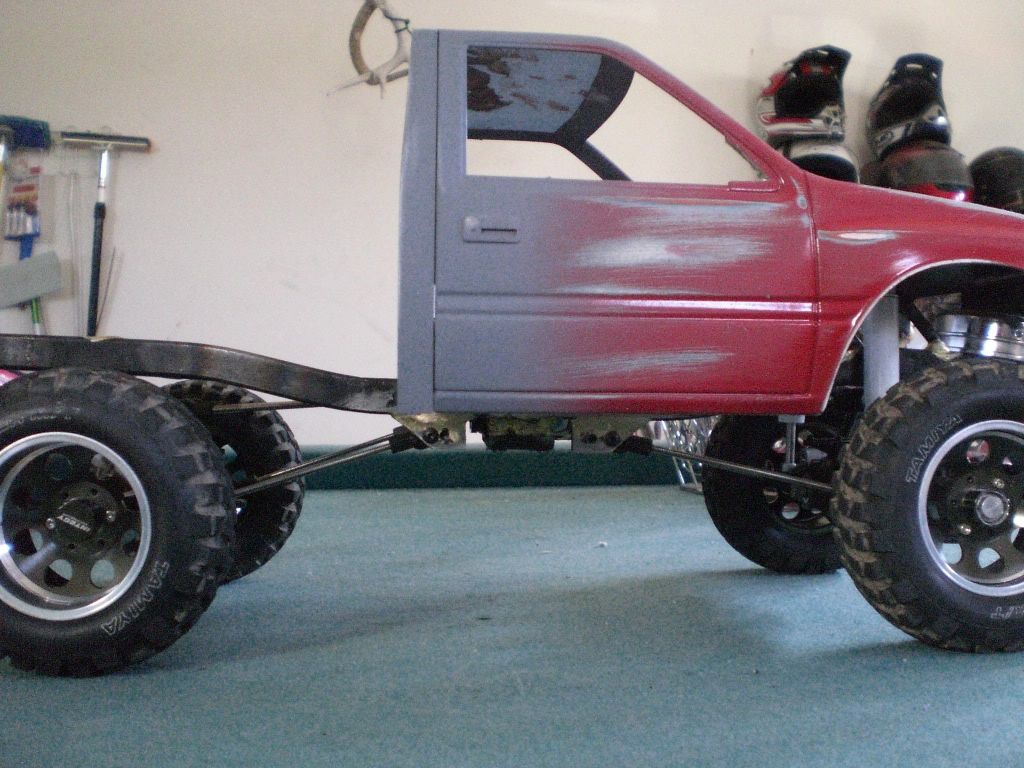
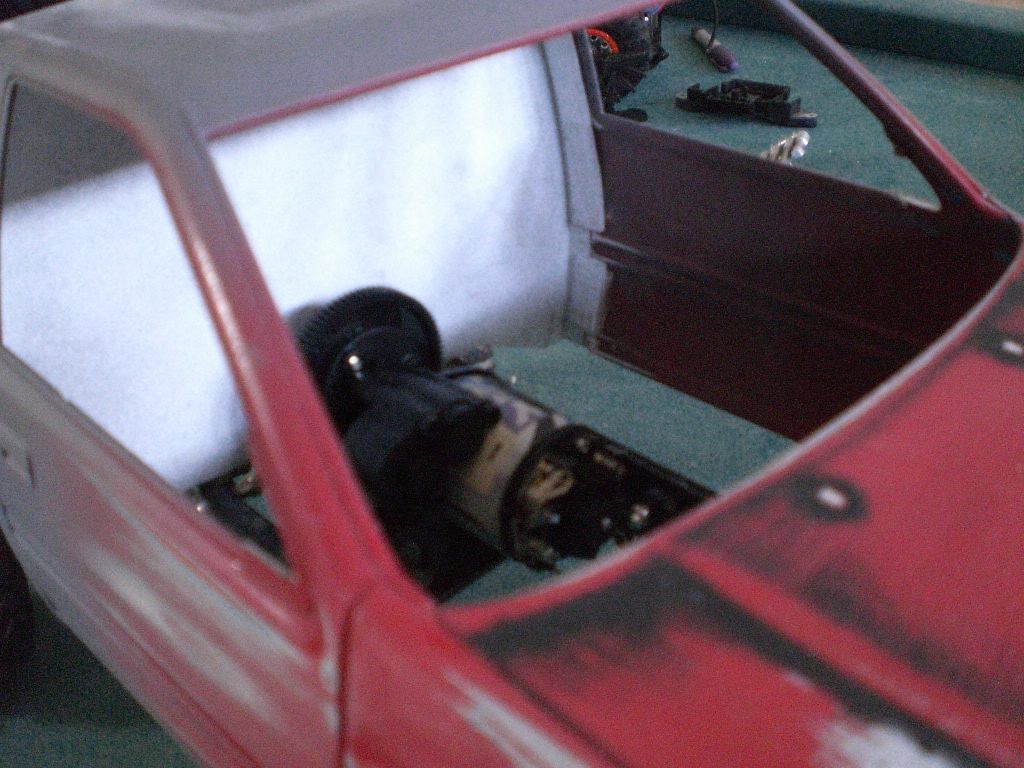
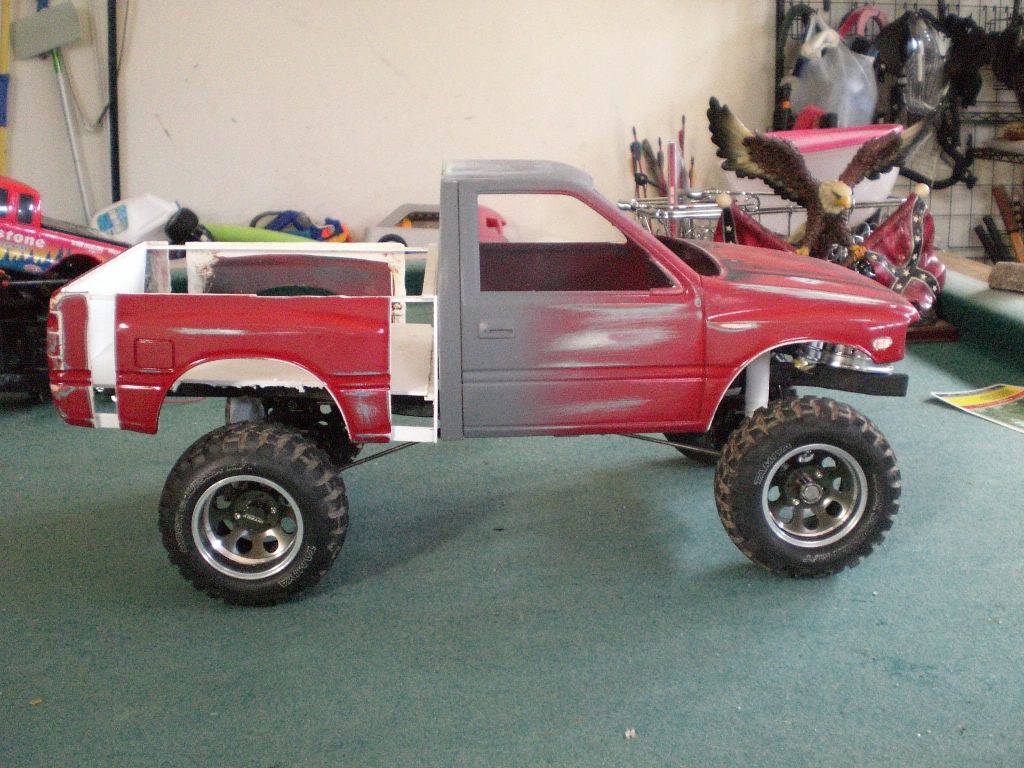
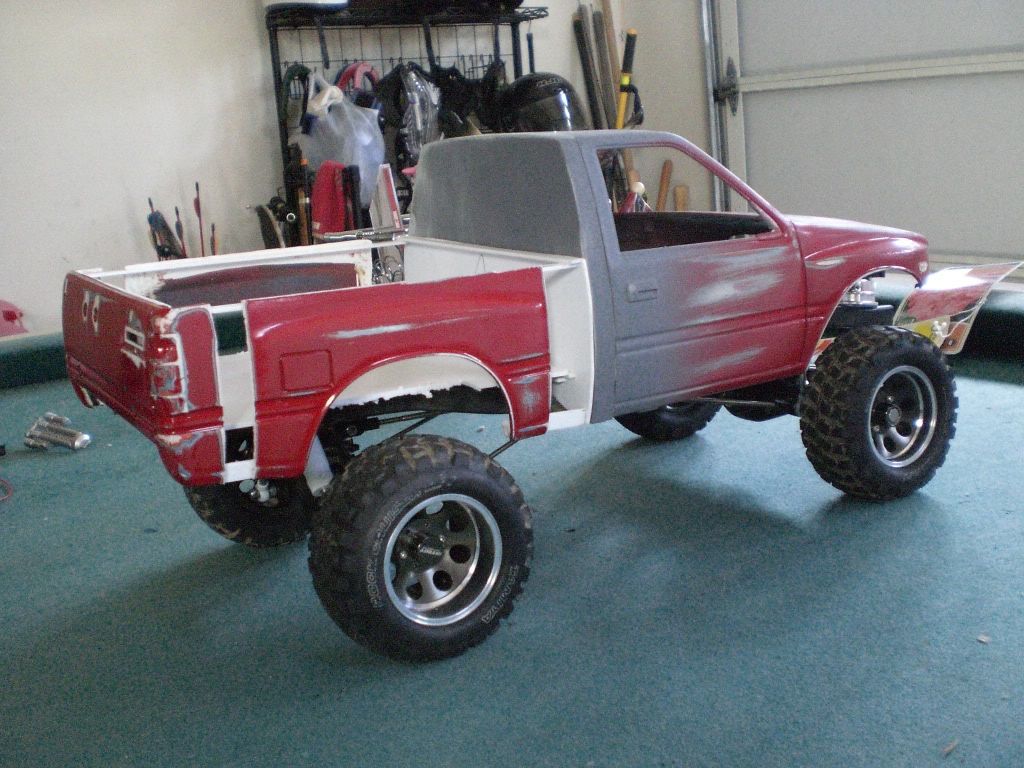
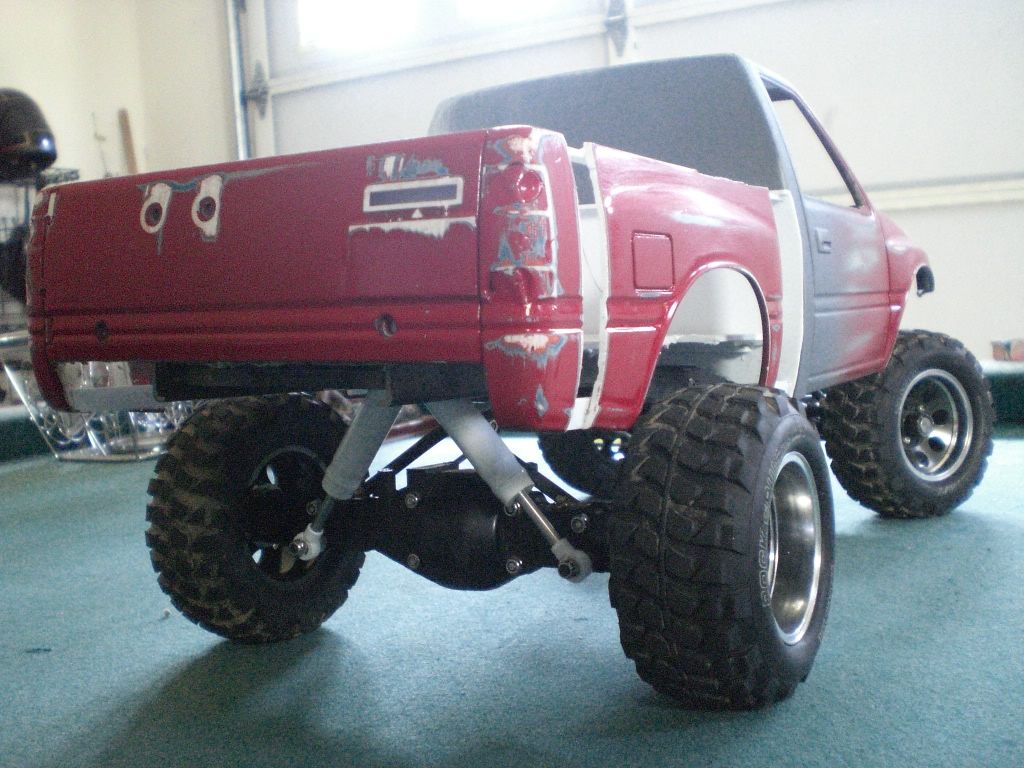
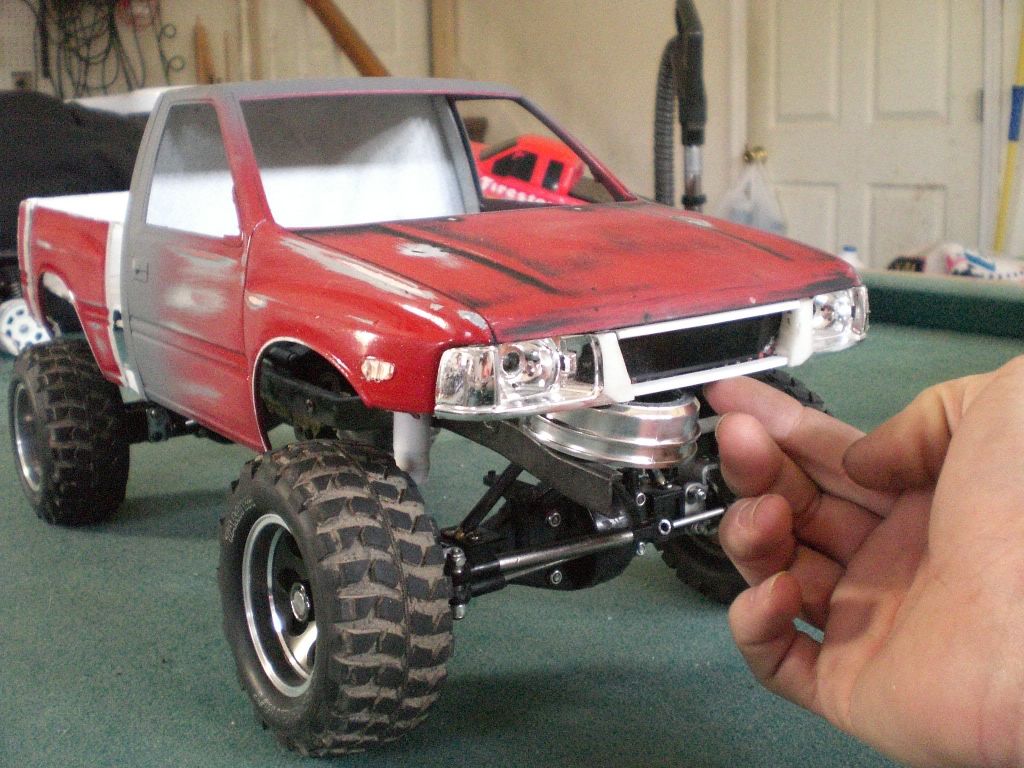
i made them out of 1/2 inch square steel tube cut in half with a hacksaw.....easy ok well i got a little done. cab is done other than rear window. grill is close bud needs a little more bondo and filing. just started the bed. i need some more styrene..... 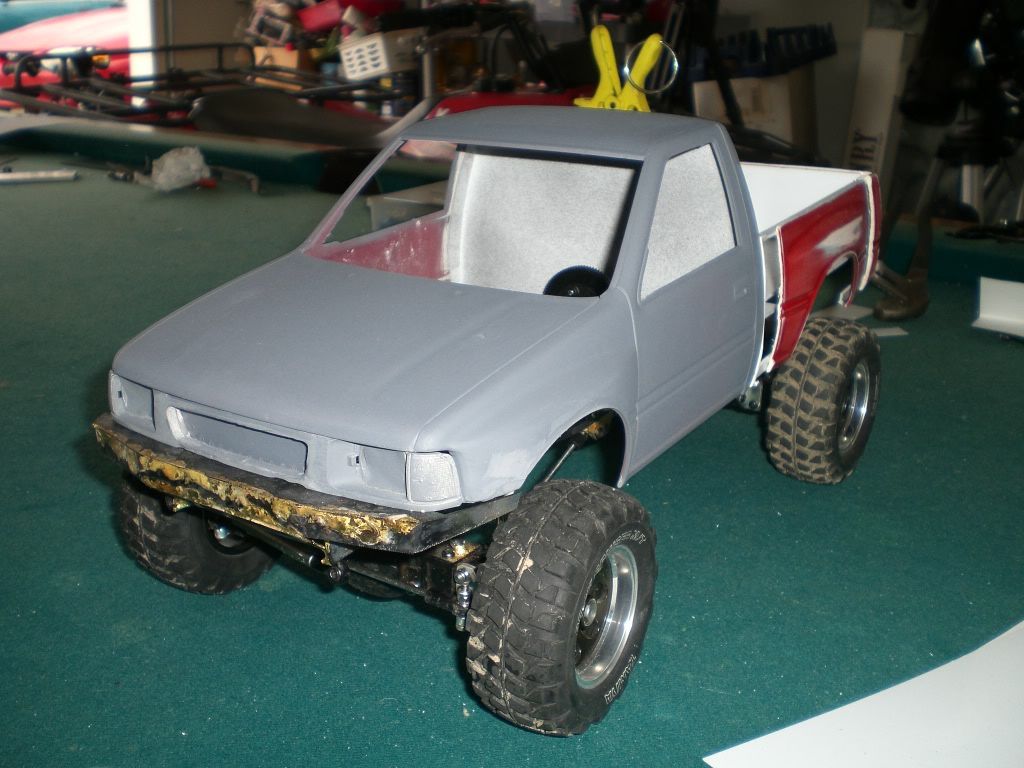 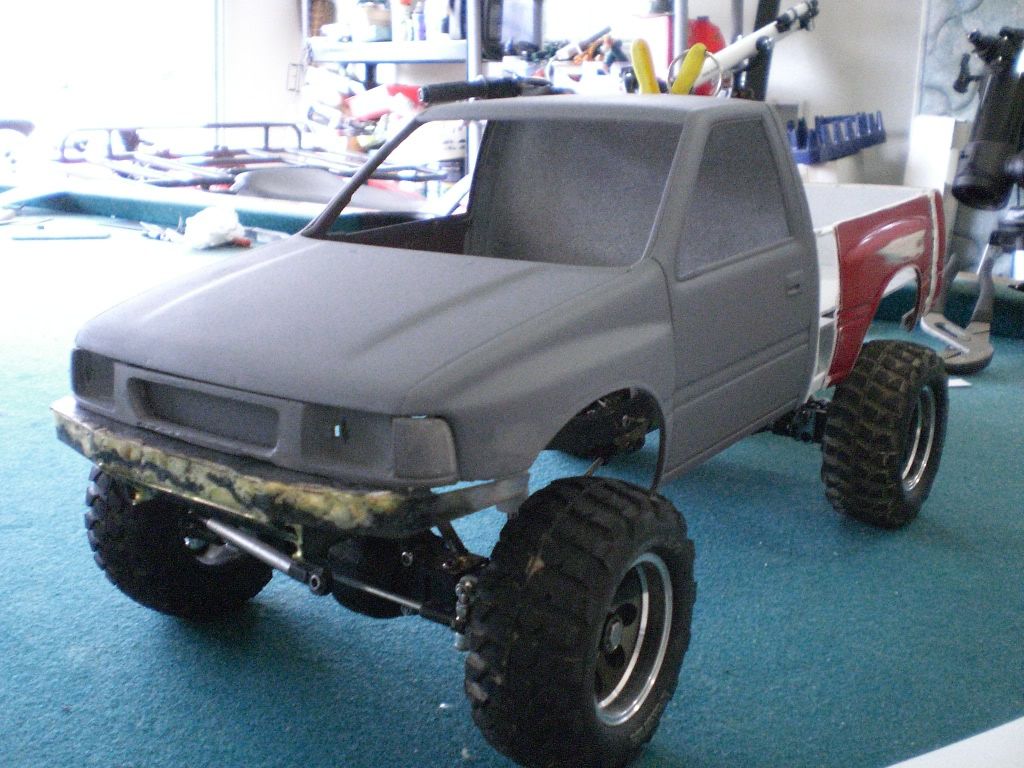  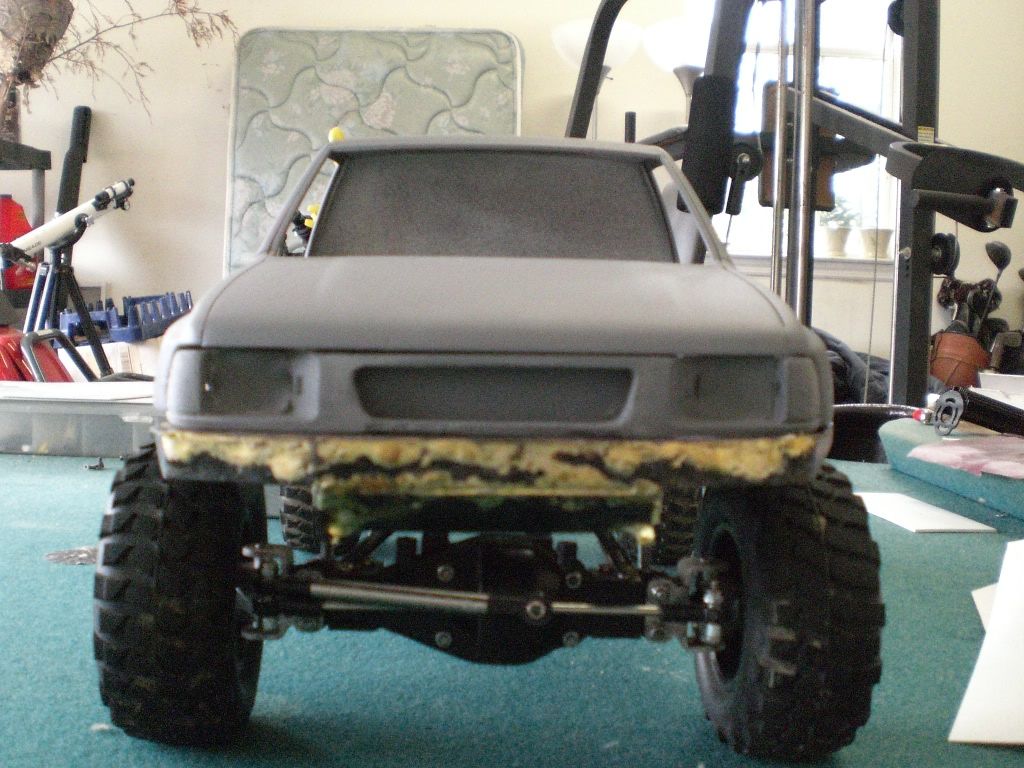  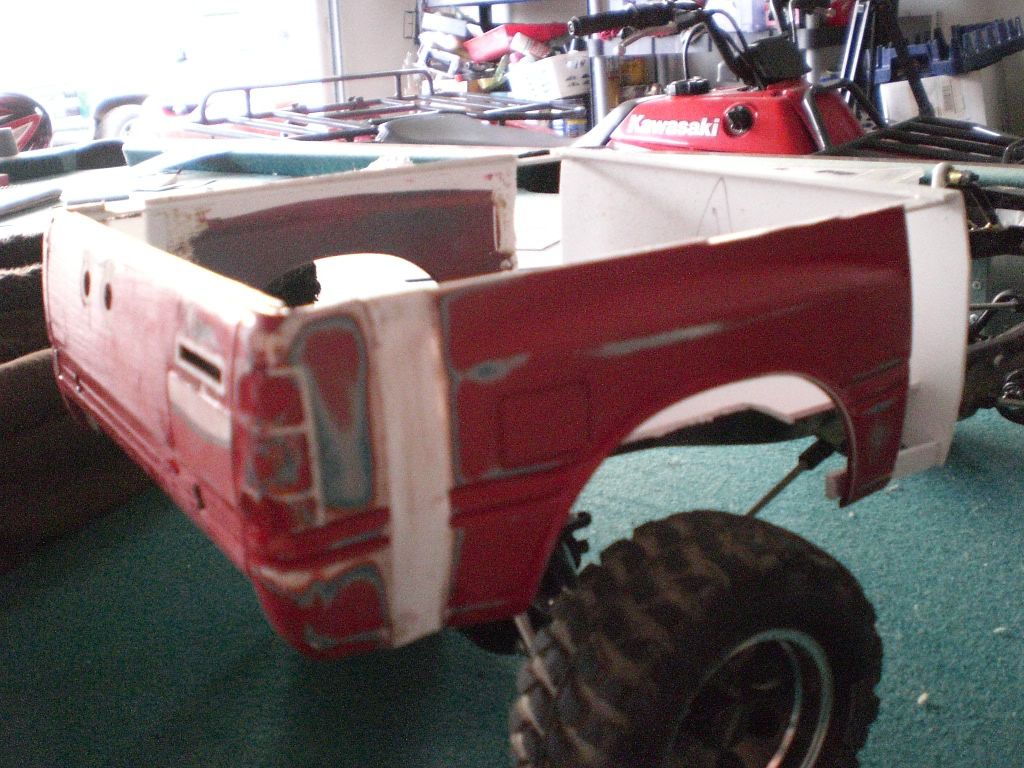 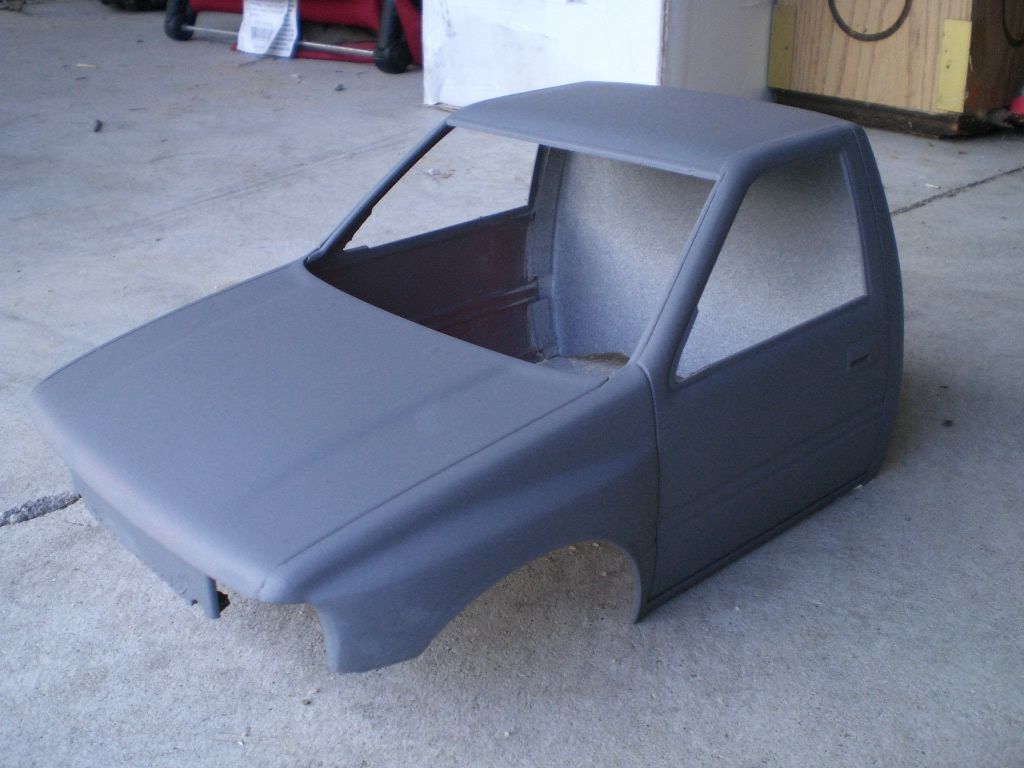 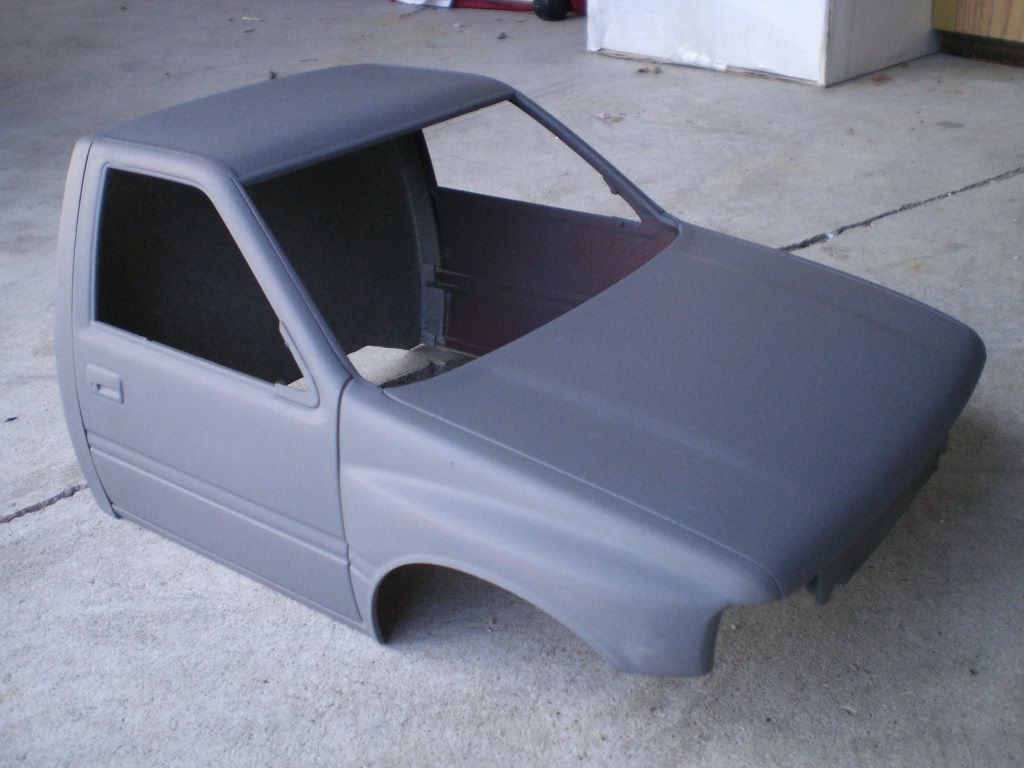 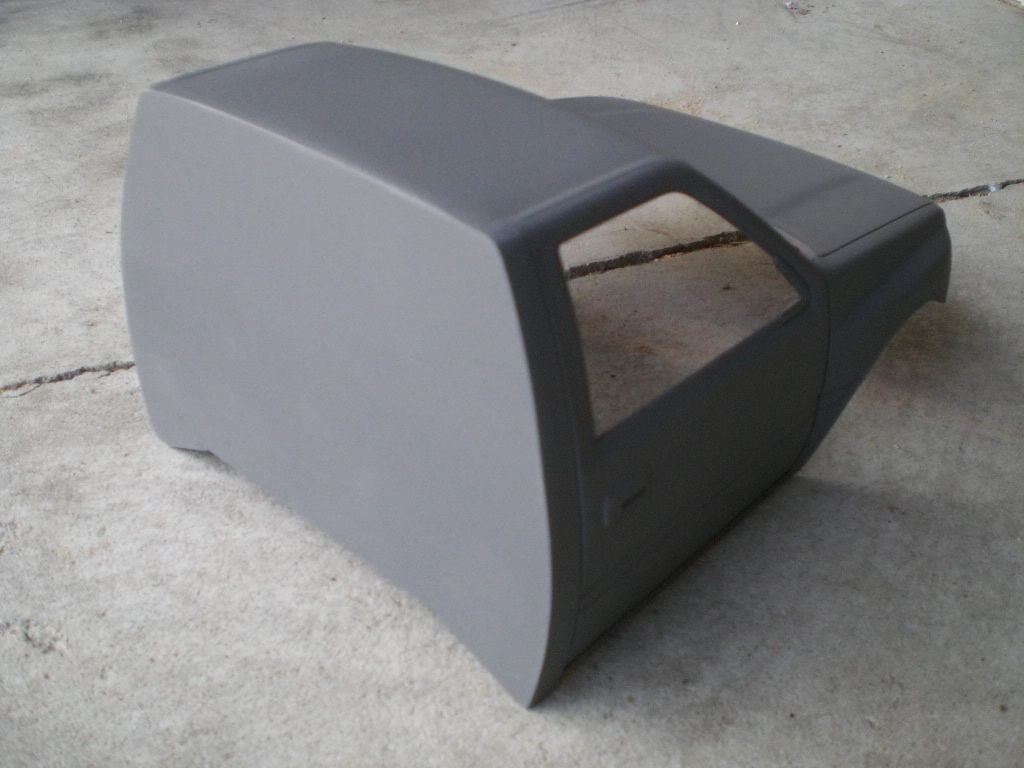 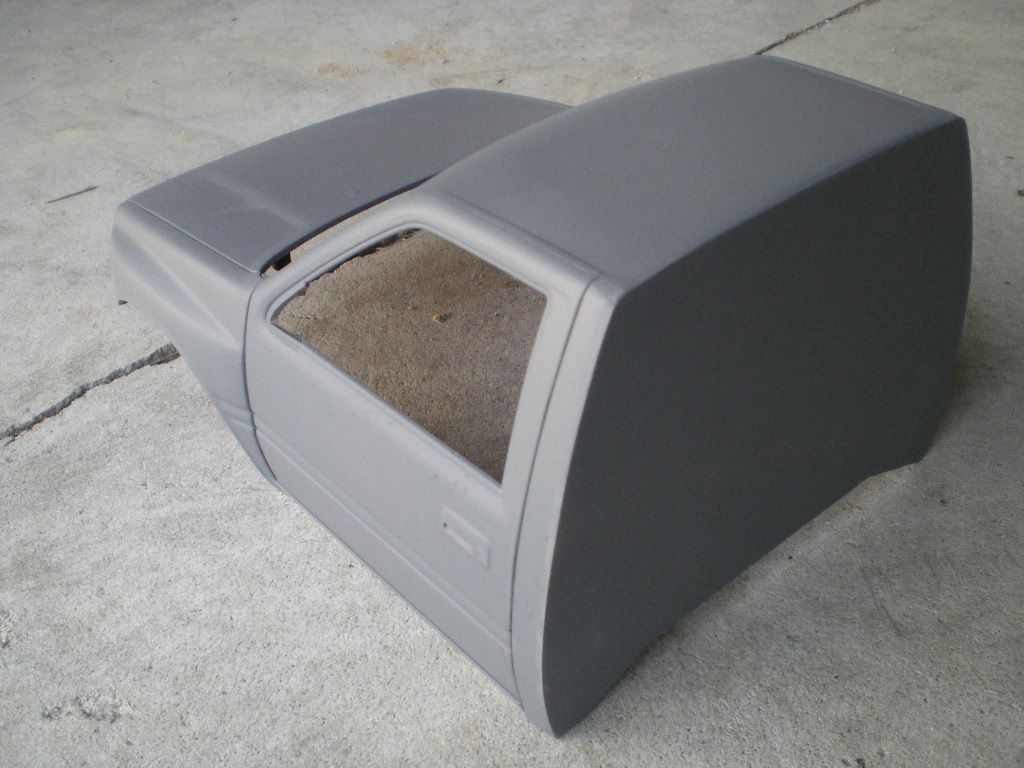 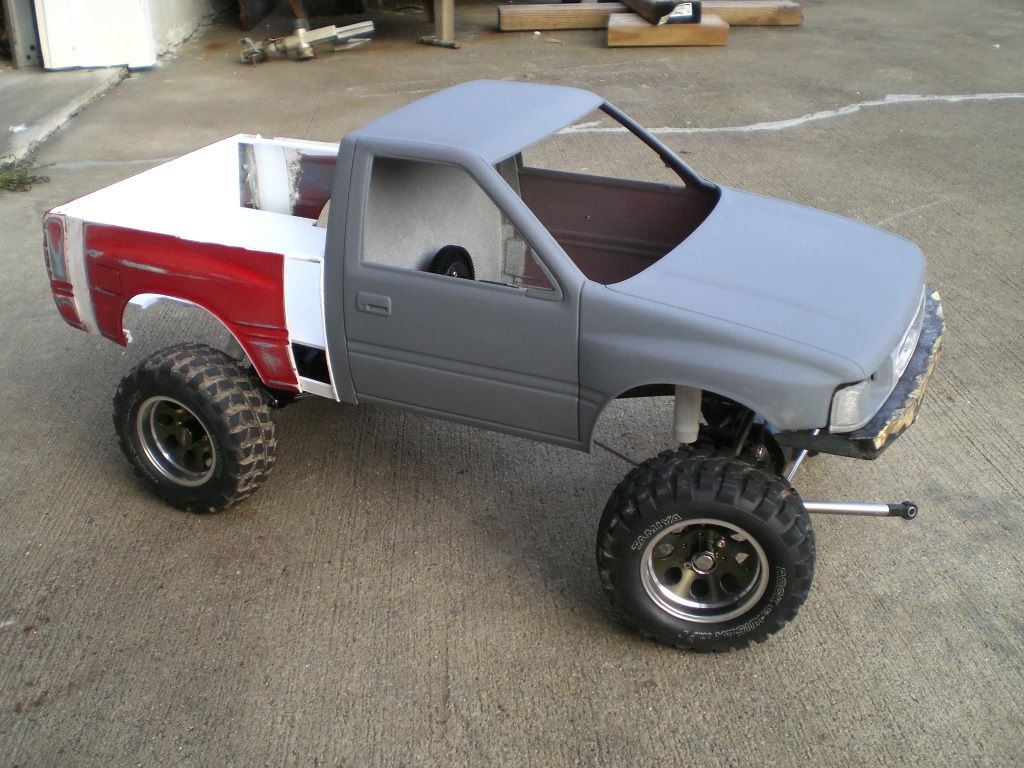  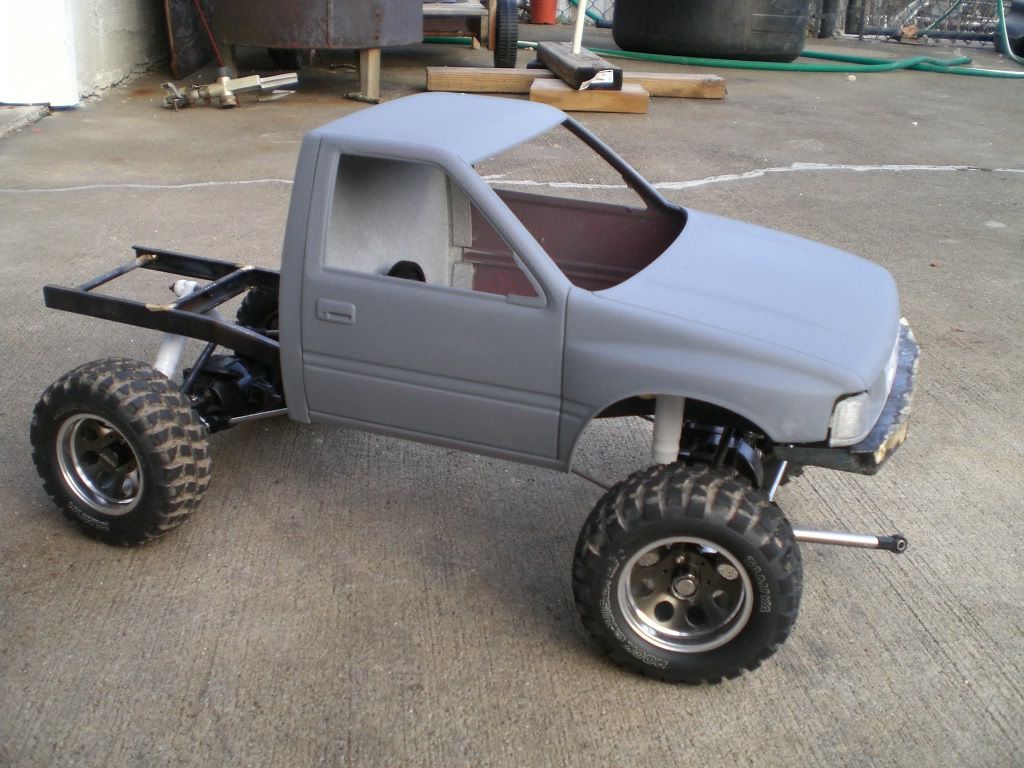 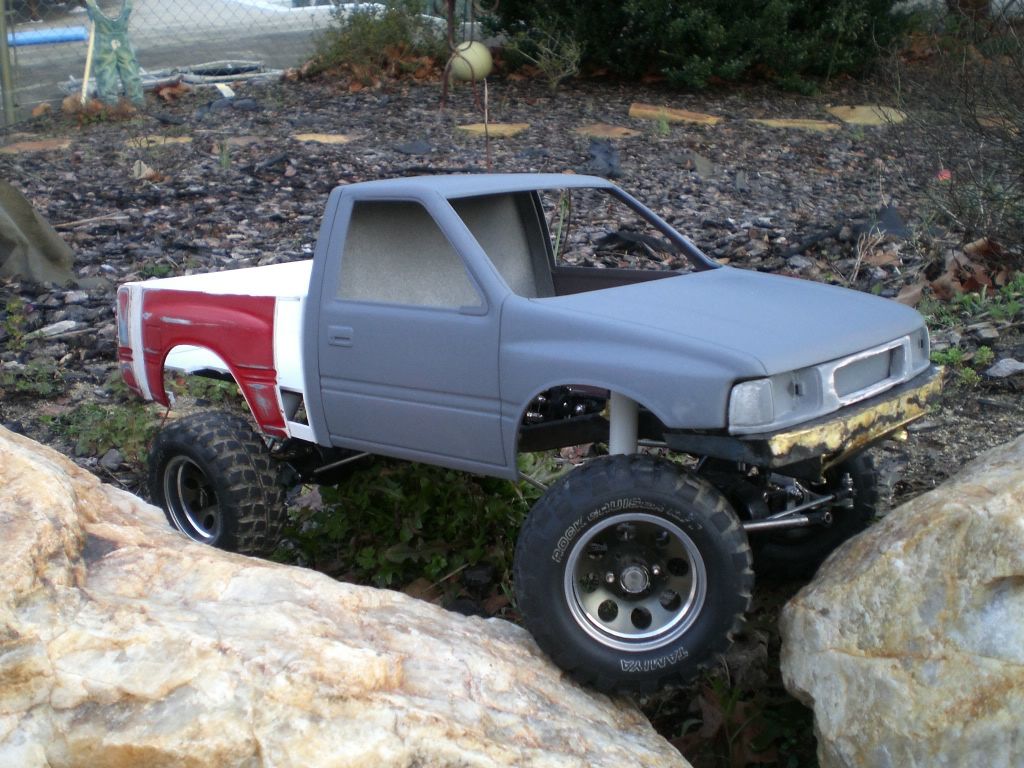 |
|
| |
|
02-18-2009, 04:50 PM
| #31 |
| RCC Addict Join Date: Nov 2007 Location: Massachusetts
Posts: 1,184
|
This things really coming along AWESOME..!! Way to take an idea outside the box , and Pull it OFF - as many have already said..!! I also LOVE what you did with the Integy rims.., such a simple yet effective mod..!! Those came out Bad Ass..!! Keep up the fantastic work man..!! |
|
| |
|
02-18-2009, 04:52 PM
| #32 |
| Quarry Creeper Join Date: Sep 2005 Location: Lethbridge
Posts: 421
|
Freekin sweet I gotta say.
|
|
| |
|
02-18-2009, 05:17 PM
| #33 |
| I wanna be Dave Join Date: Aug 2005 Location: NE Ohio
Posts: 8,817
|
That is a much stronger way to do that wheel mod than how I was doing it! Nice |
|
| |
|
02-18-2009, 08:03 PM
| #34 |
| Quarry Creeper Join Date: Oct 2008 Location: fullerton
Posts: 273
|
nother q for ya were can i get some styrene |
|
| |
|
02-18-2009, 11:17 PM
| #35 |
| Newbie Join Date: Jan 2009 Location: Detroit
Posts: 37
|
Looking good great idea on the MU use can't wait to see the finished product
|
|
| |
|
02-18-2009, 11:48 PM
| #36 |
| RCC Addict Join Date: Jun 2007 Location: Indian Village Pontiac
Posts: 1,910
| Fix the pics!!! |
|
| |
|
02-26-2009, 05:16 PM
| #37 |
| RCC Addict Join Date: Jul 2006 Location: Johnston SC
Posts: 1,562
|
im using webshots from now on, cause im cheap. lol!              inspiration     |
|
| |
|
02-26-2009, 05:58 PM
| #38 |
| Quarry Creeper Join Date: Feb 2008 Location: Irvine KY
Posts: 299
|
wow |
|
| |
|
02-26-2009, 06:24 PM
| #39 |
| RCC Addict Join Date: Jun 2007 Location: Indian Village Pontiac
Posts: 1,910
|
NIce!!! I like it!!
|
|
| |
|
02-26-2009, 06:31 PM
| #40 |
| I wanna be Dave Join Date: Aug 2005 Location: NE Ohio
Posts: 8,817
|
Dude.. +10 points for a original idea +10 more for pulling it off |
|
| |
 |
| |


 Linear Mode


