| |
| |||||||
 |
| | LinkBack | Thread Tools | Display Modes |
 01-29-2009, 12:54 AM
| #1 |
| Pebble Pounder Join Date: Jan 2008 Location: nowhere near the HAMMERS!!
Posts: 165
|
here is my 1:1 i said i would never do it, well why not!!! this is the link to my original build,in progress: i figured i would repost it here as well, cause why not. http://crawlcanada.com/forum/showthread.php?t=2335 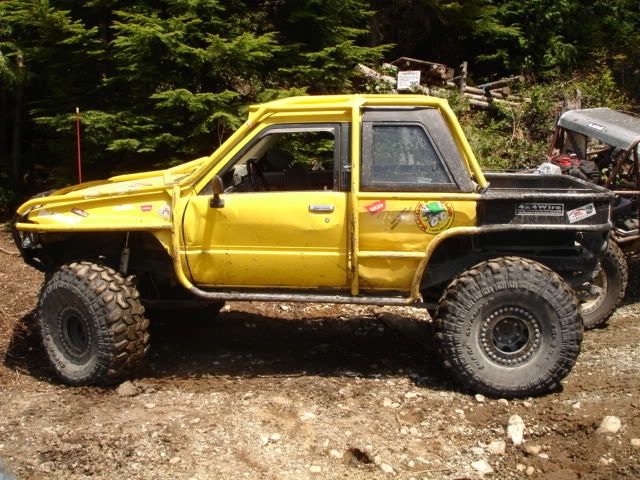 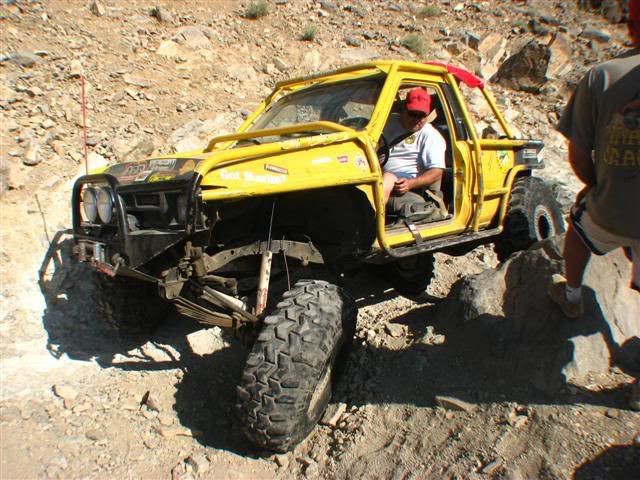 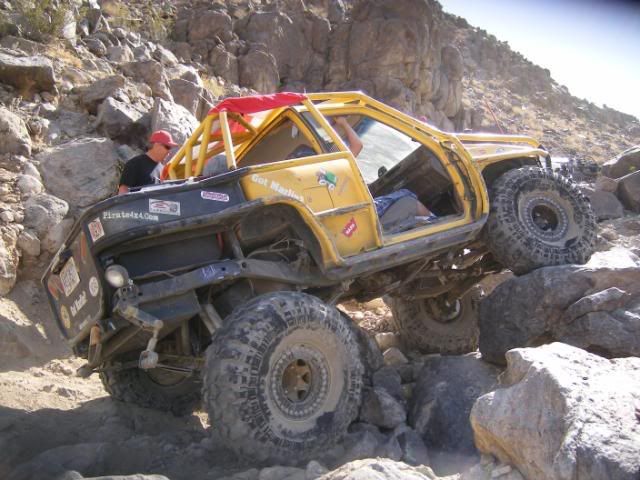 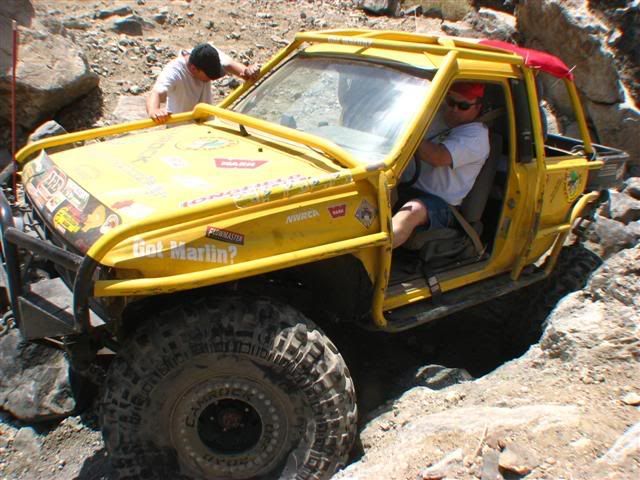 i have lots of work to do. ill keep ya all posted, parts on order. to be continued................ 2 speed tranny 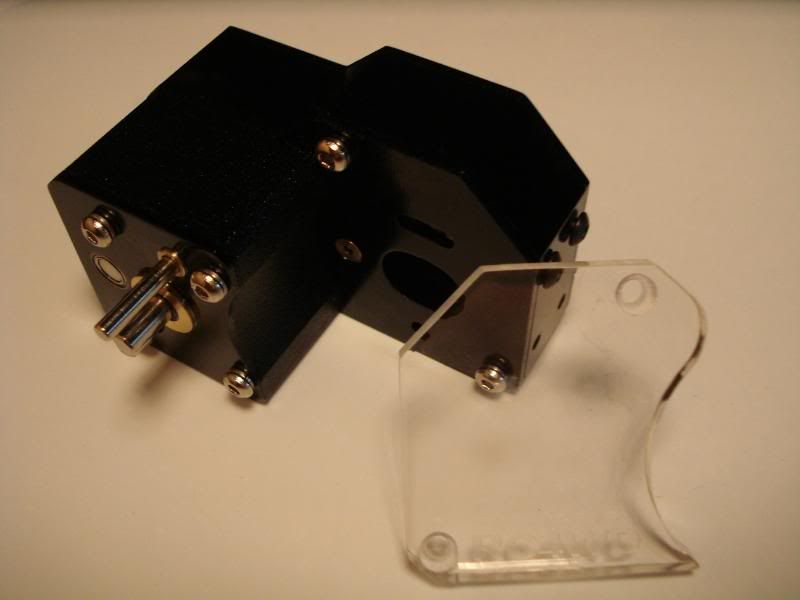 transfer case  and i thought these looked cool in the picture. well, there really cool in my hand!!!!  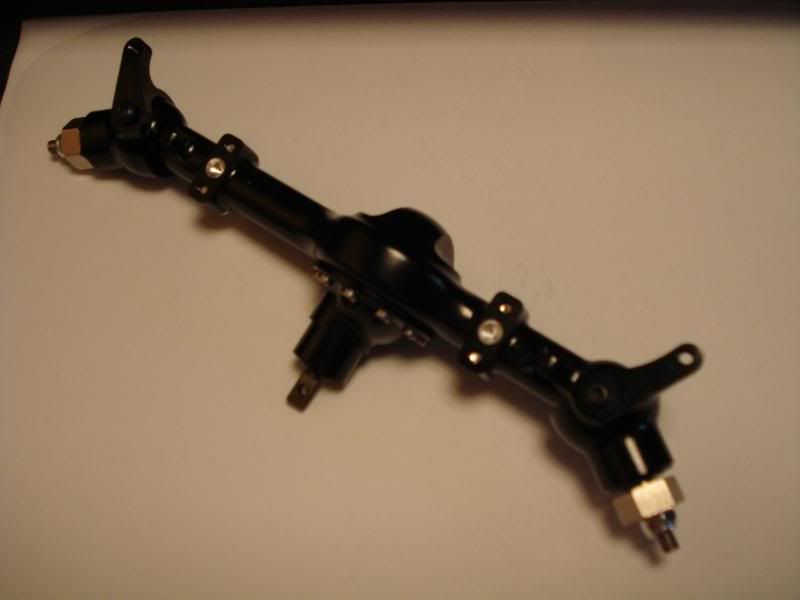 Last edited by BIGBIRD; 02-18-2009 at 02:34 PM. |

|  |
| Sponsored Links | |
| | |
|
01-29-2009, 12:55 AM
| #2 |
| Pebble Pounder Join Date: Jan 2008 Location: nowhere near the HAMMERS!!
Posts: 165
|
well i was just playin a bit, just a mock up so far. springs will change as i get closer, these stockers are to short. 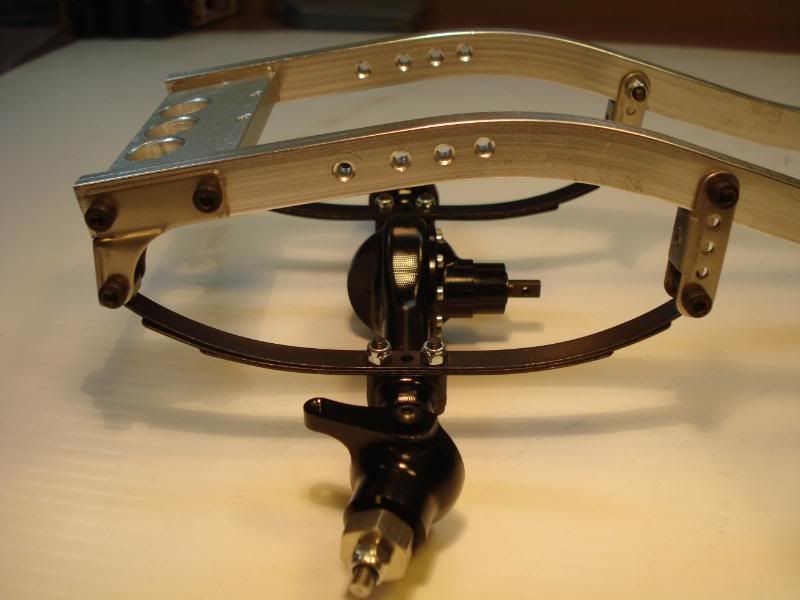 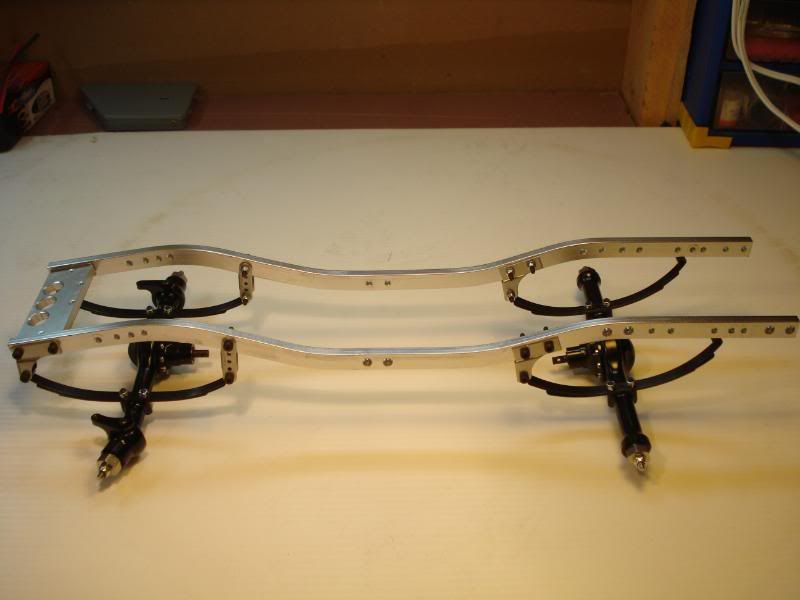 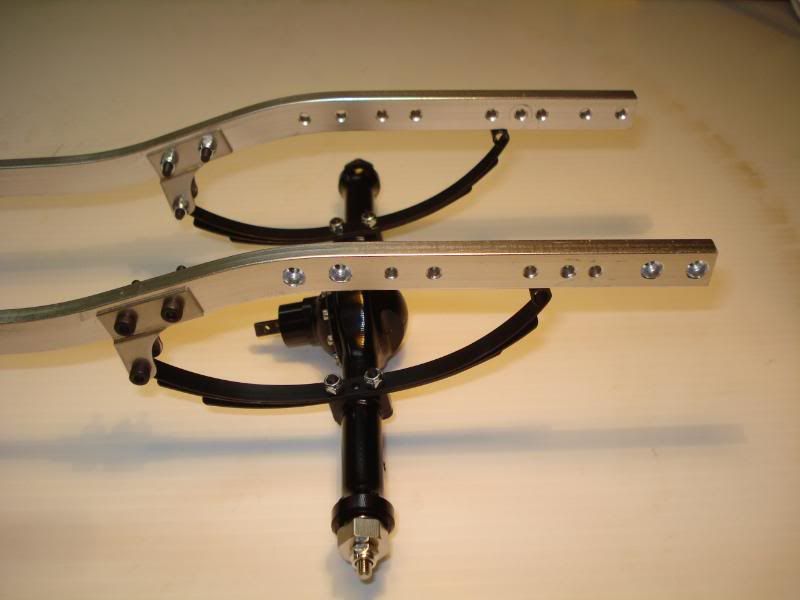 here is my 1:1 rear shackle:  and here is my rough mock up with the materials i had at the house. 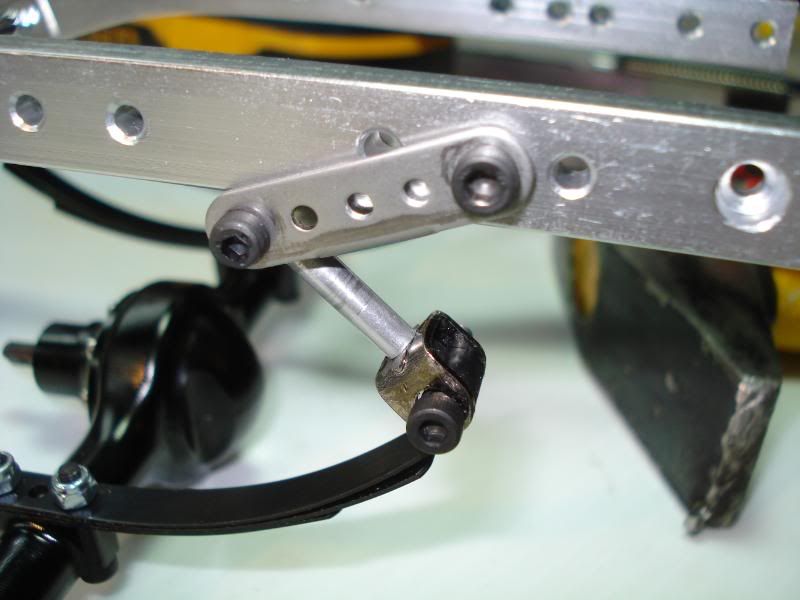 here is the vid of it in action: [URL=http://s102.photobucket.com/albums/m111/BIG22BIRD/?action=view¤t=MOV01426.flv]  [/URL [/URL
|
|
| |
|
01-29-2009, 12:57 AM
| #3 |
| Pebble Pounder Join Date: Jan 2008 Location: nowhere near the HAMMERS!!
Posts: 165
|
SMALL UPDATE ON MY SUSPENSION, after a visit to the COLONELS house to check out his highlift suspension. i went home to mod mine. i weighted my rig to a total of 6 lbs then tweeked the suspension. approx 3.5 inches of flex. this is still with stock springs will change later. in the thread. 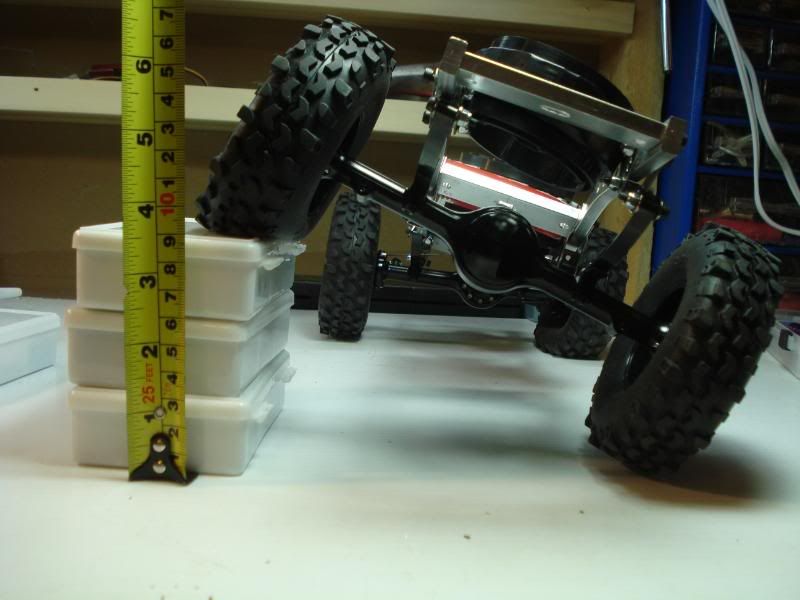 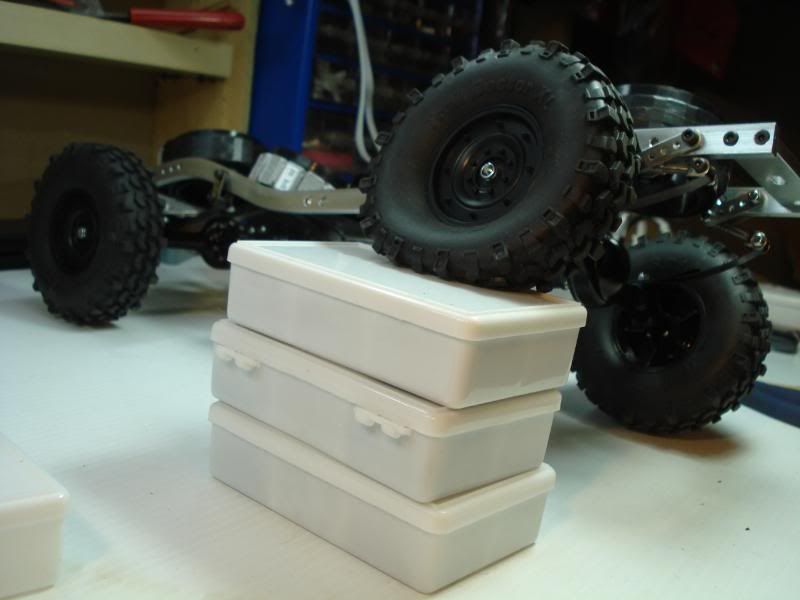  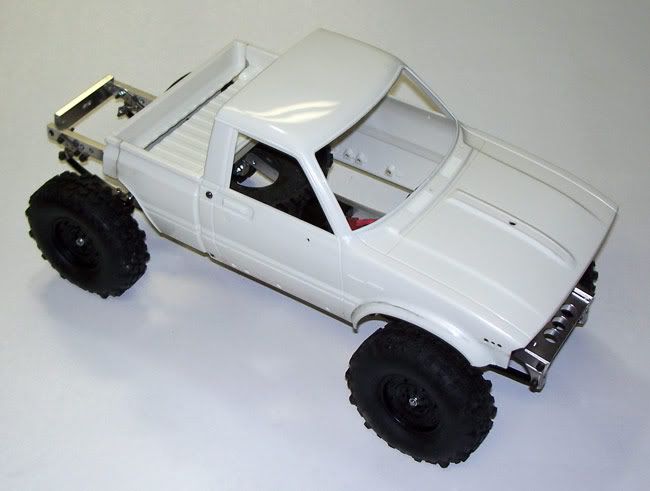  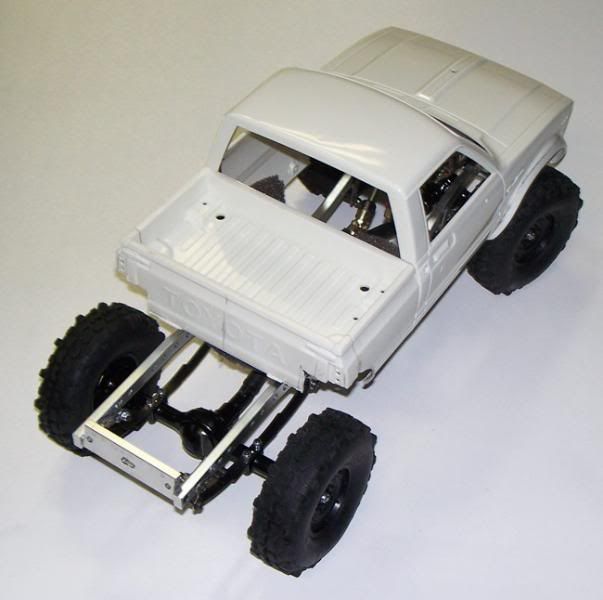 |
|
| |
|
01-29-2009, 12:57 AM
| #4 |
| Pebble Pounder Join Date: Jan 2008 Location: nowhere near the HAMMERS!!
Posts: 165
|          |
|
| |
|
01-29-2009, 12:58 AM
| #5 |
| Pebble Pounder Join Date: Jan 2008 Location: nowhere near the HAMMERS!!
Posts: 165
|          |
|
| |
|
01-29-2009, 12:59 AM
| #6 |
| Pebble Pounder Join Date: Jan 2008 Location: nowhere near the HAMMERS!!
Posts: 165
|
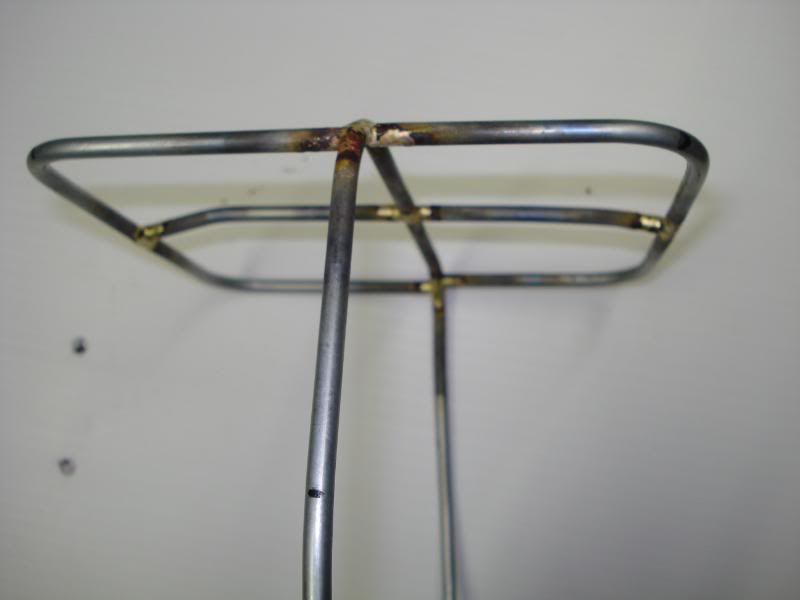
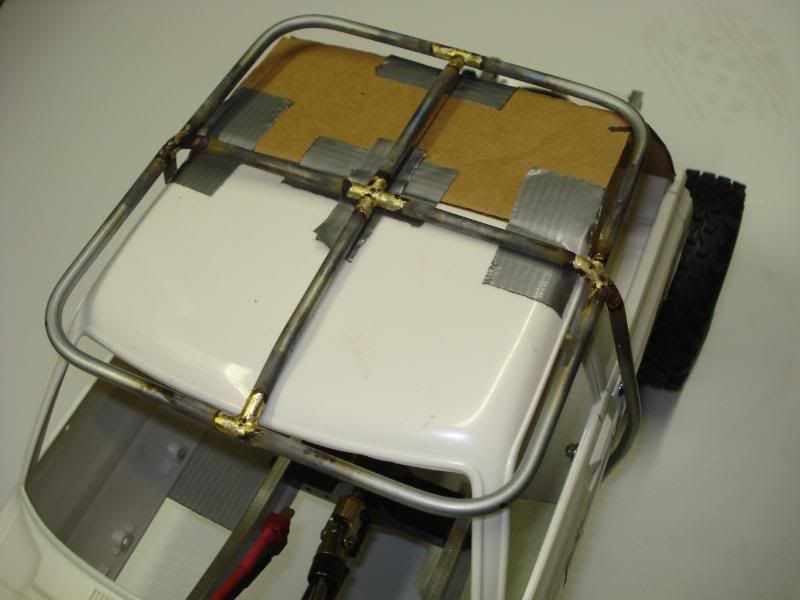
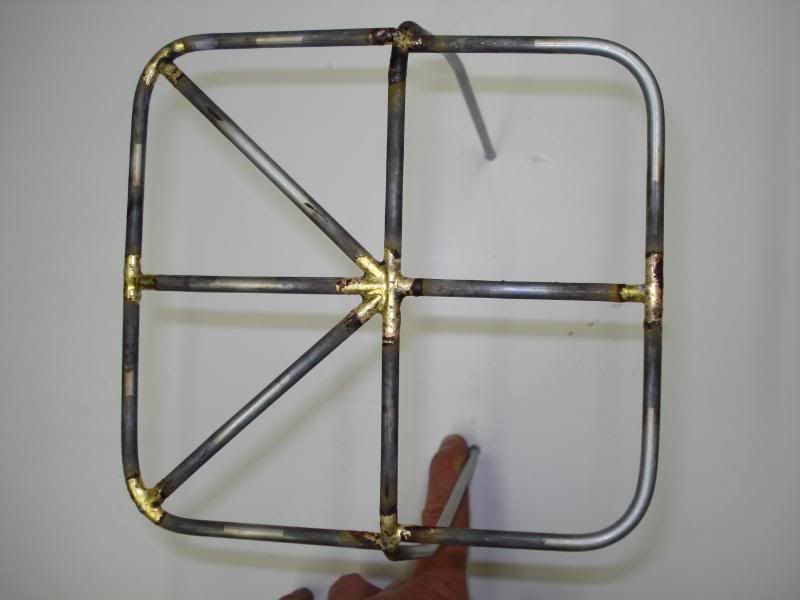
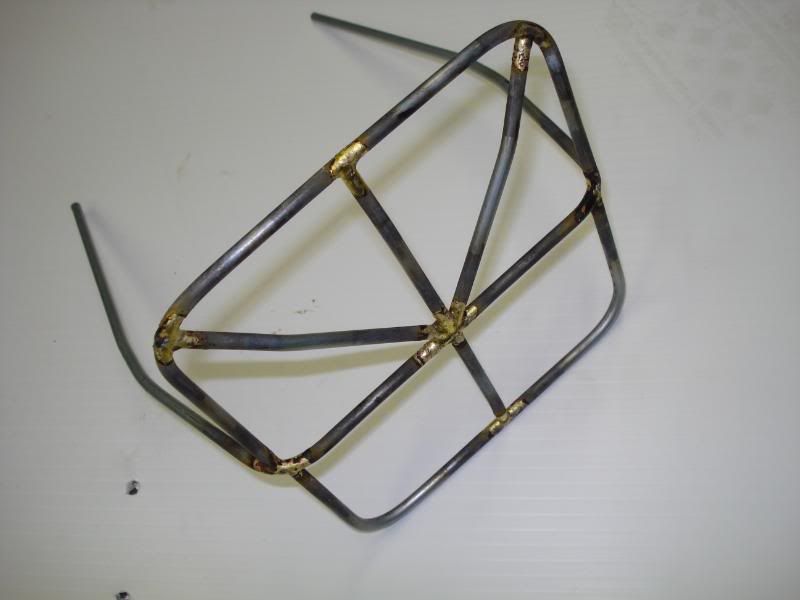
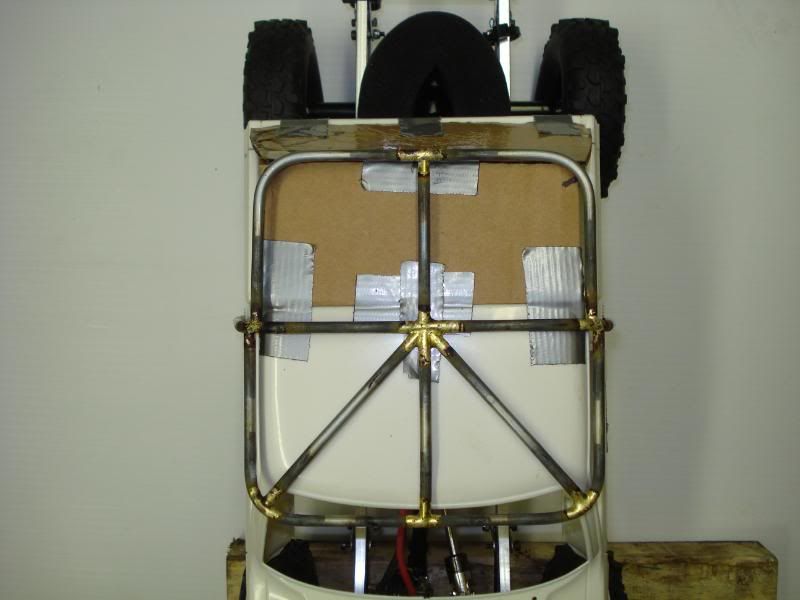
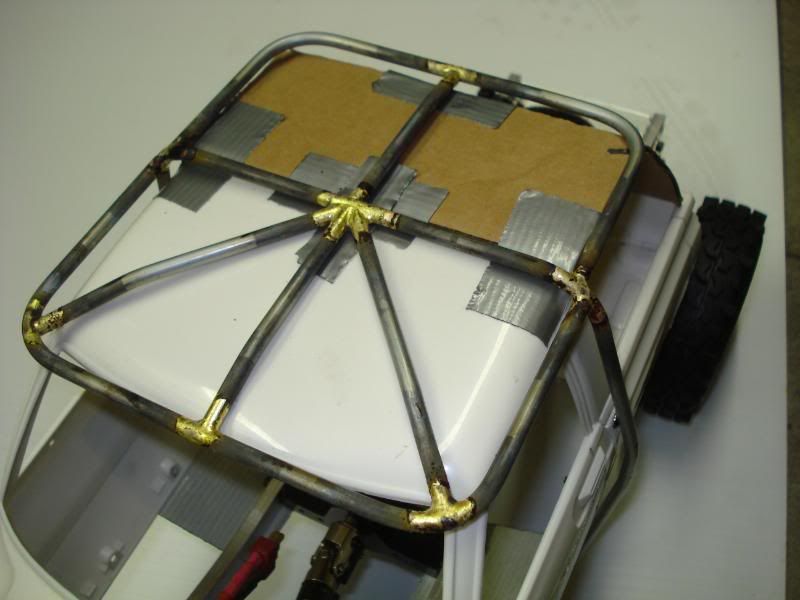
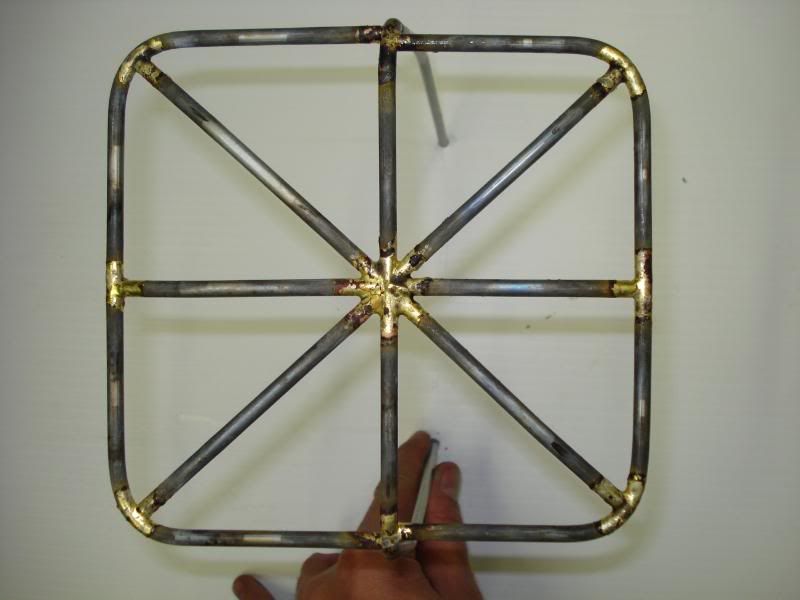
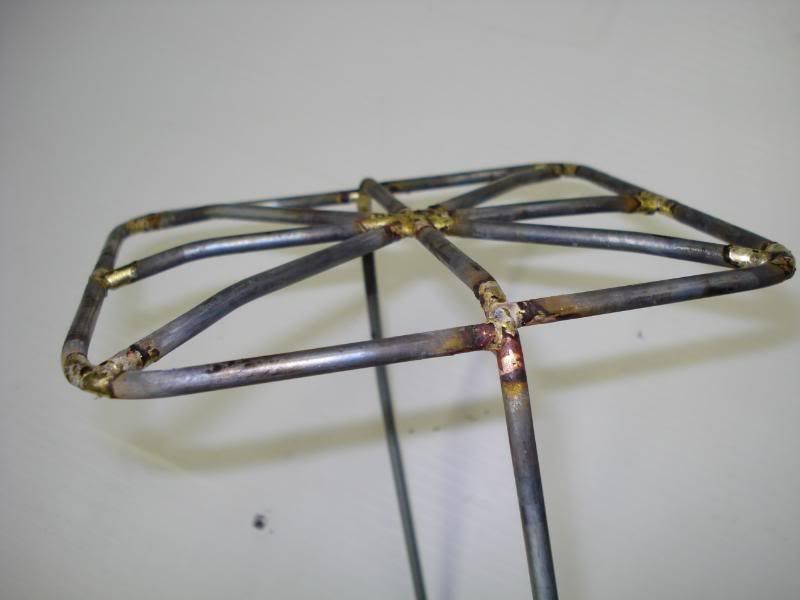
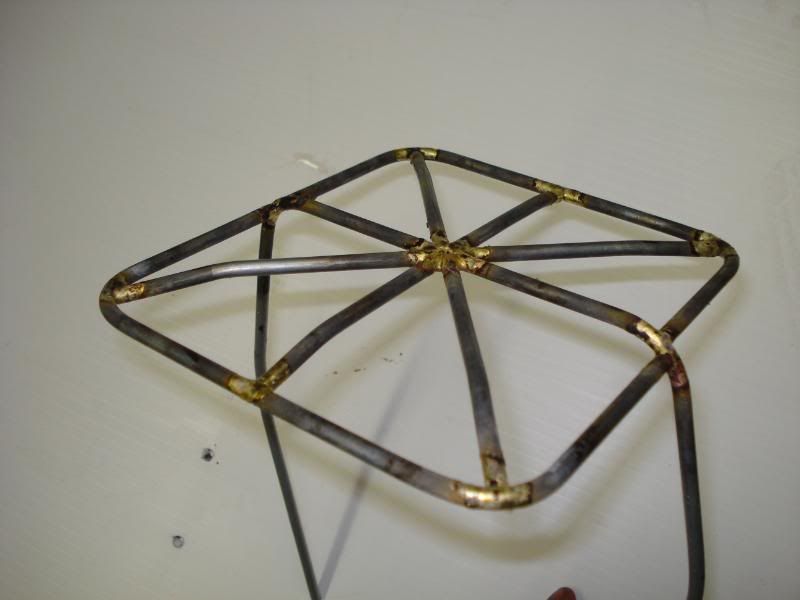
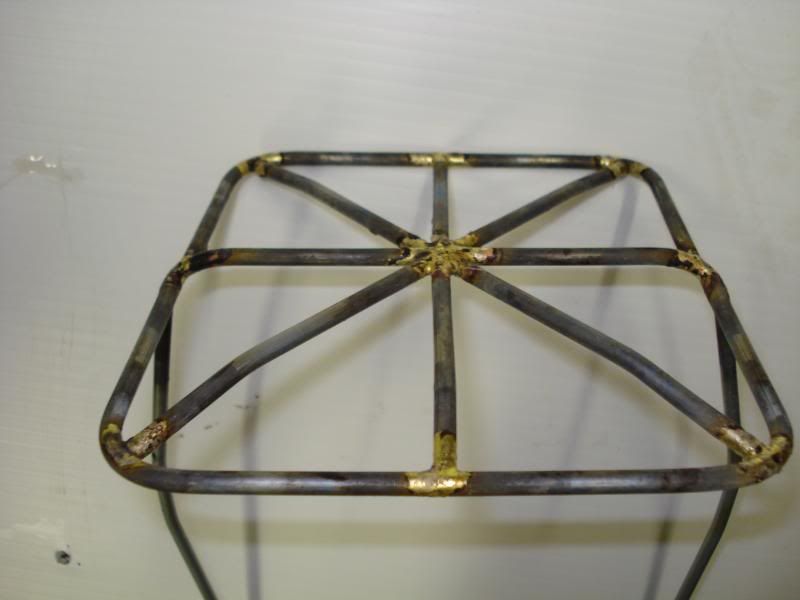
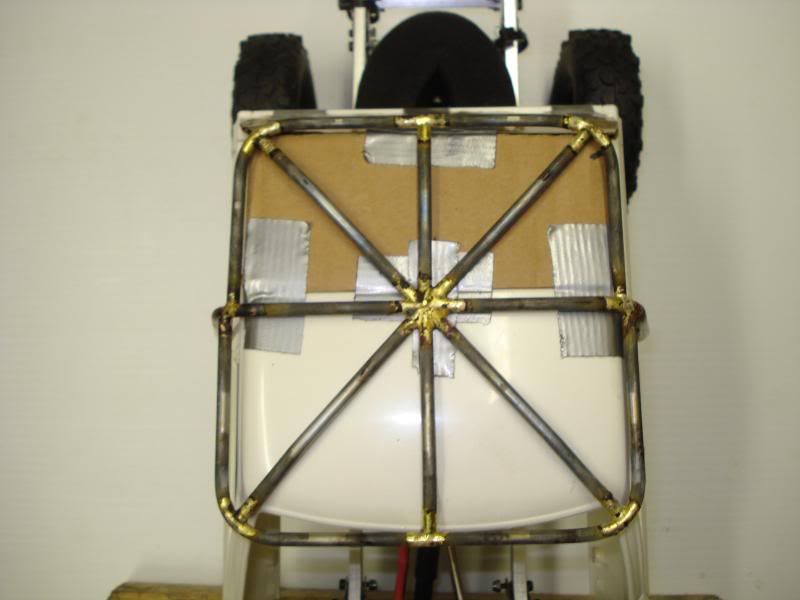
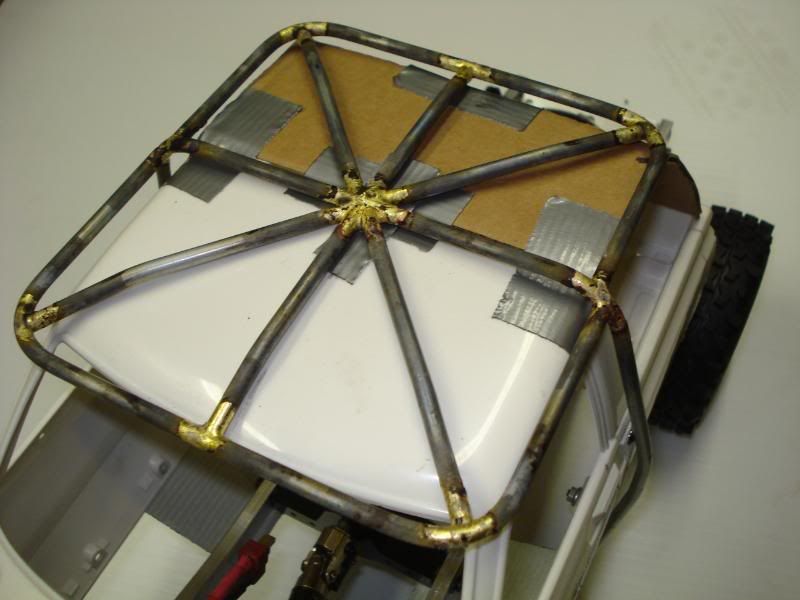
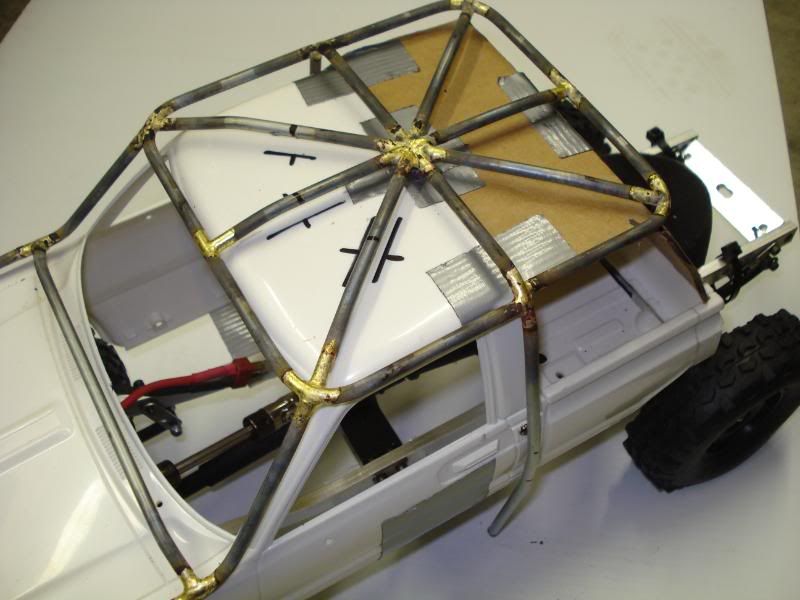
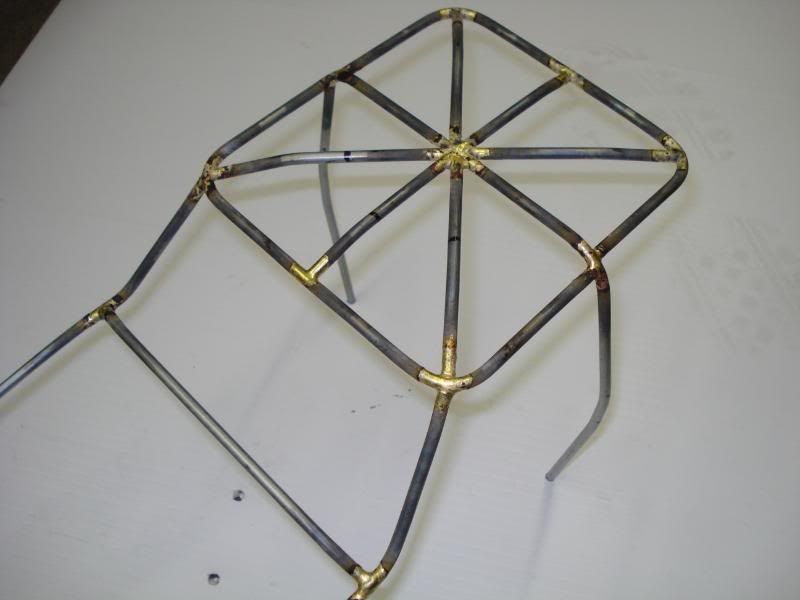
rear roof cage. 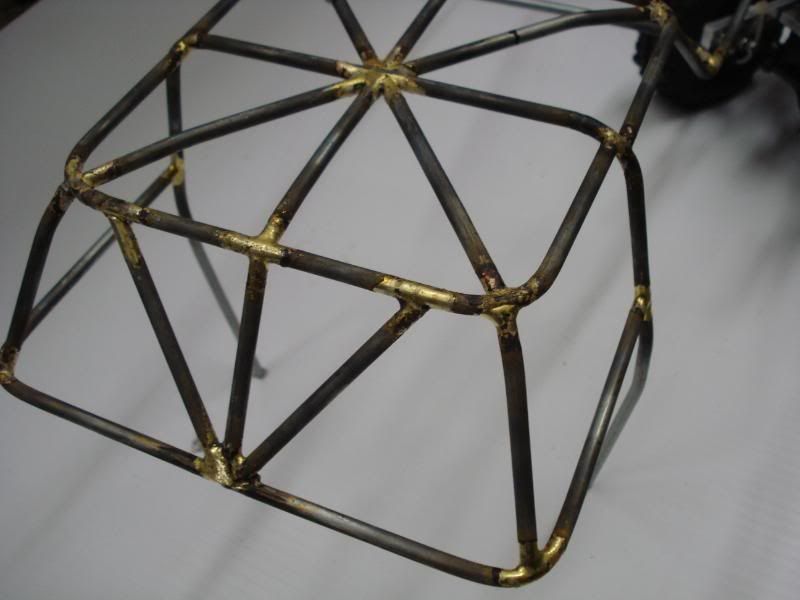 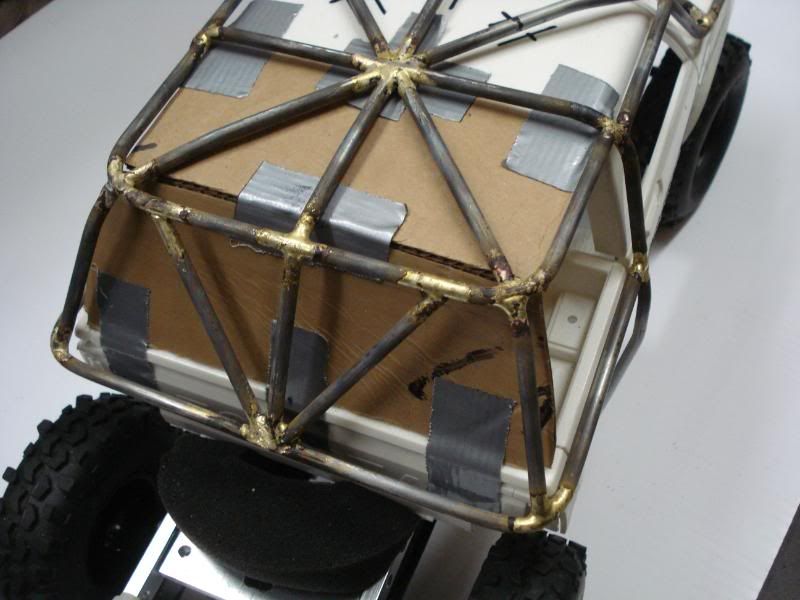 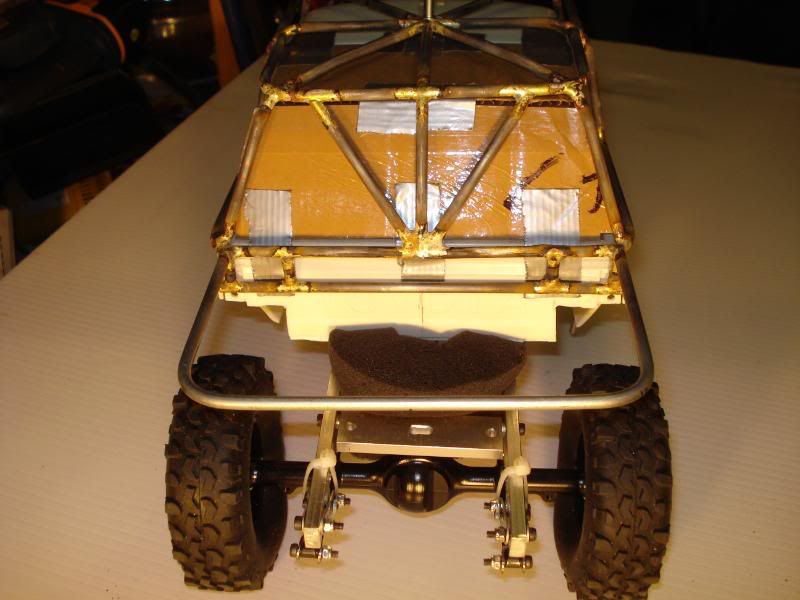 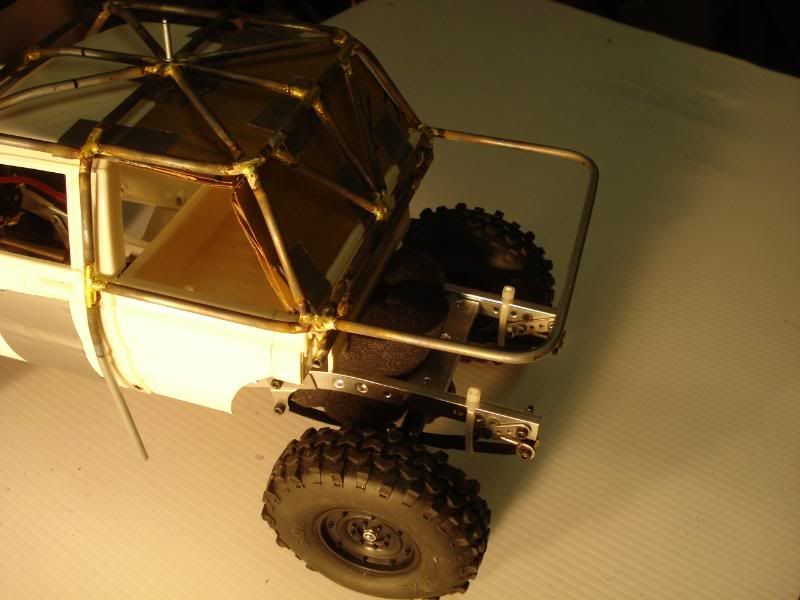 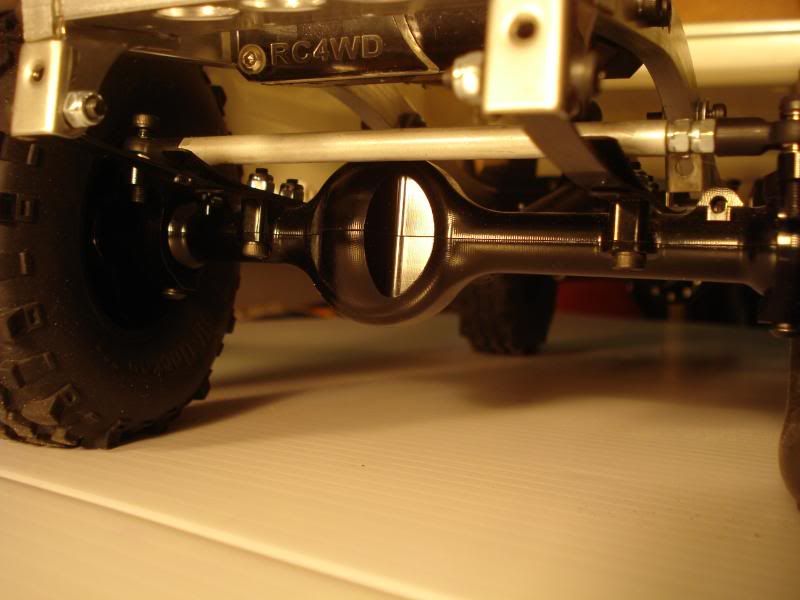 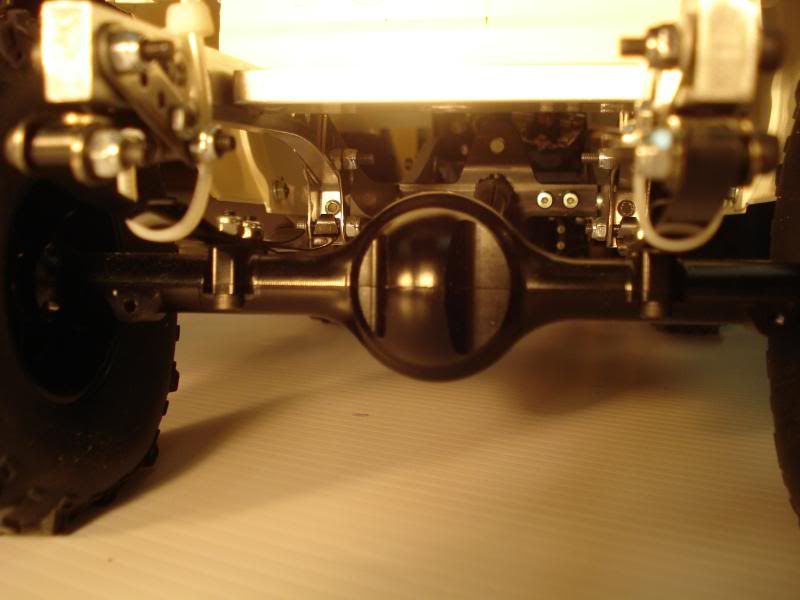 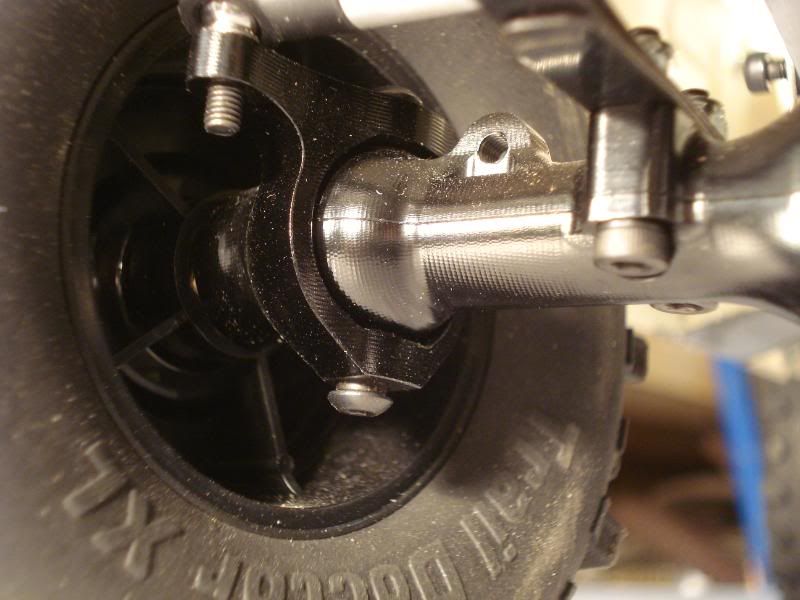    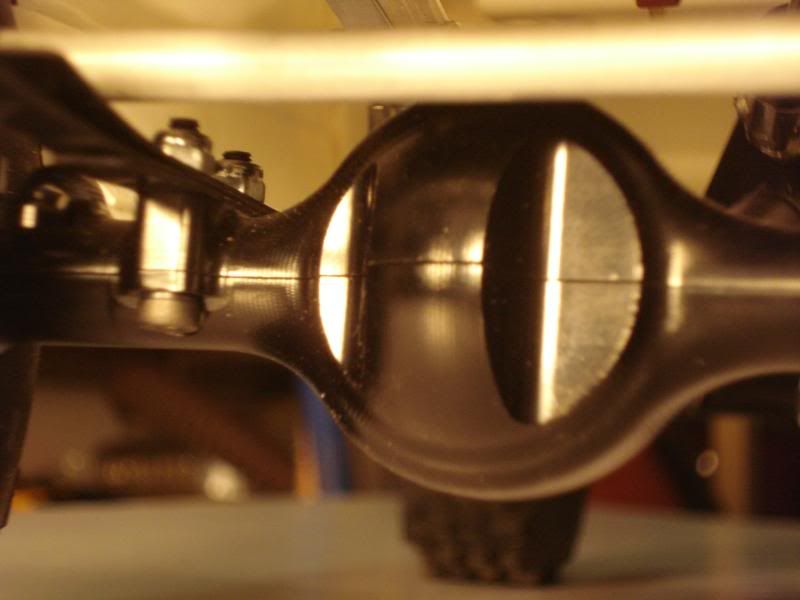 and using the transfer case i have nothing hanging down below the frame.  |
|
| |
|
01-29-2009, 01:00 AM
| #7 |
| Pebble Pounder Join Date: Jan 2008 Location: nowhere near the HAMMERS!!
Posts: 165
|
cut front fenders 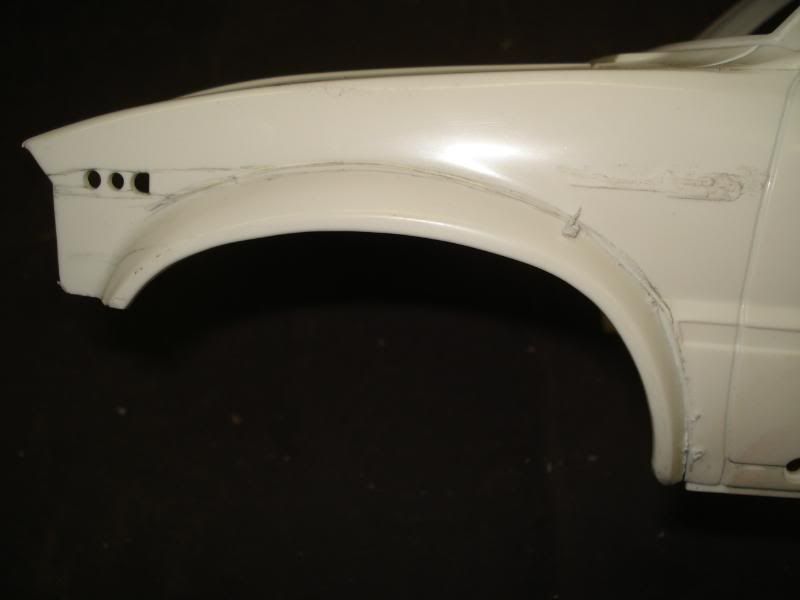 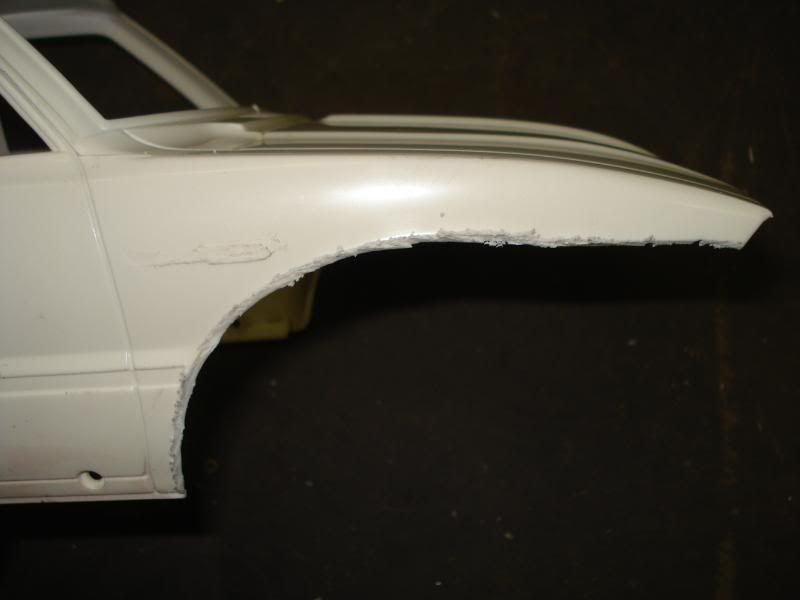 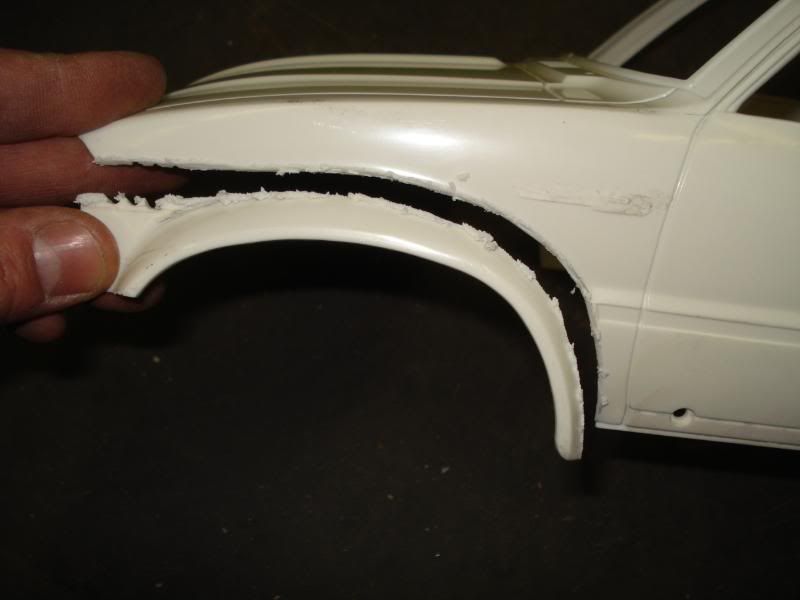 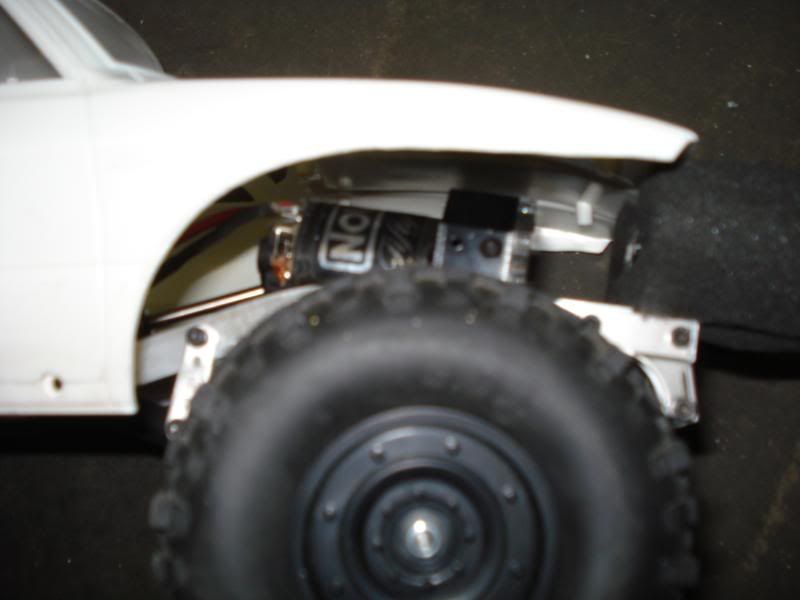 more cage 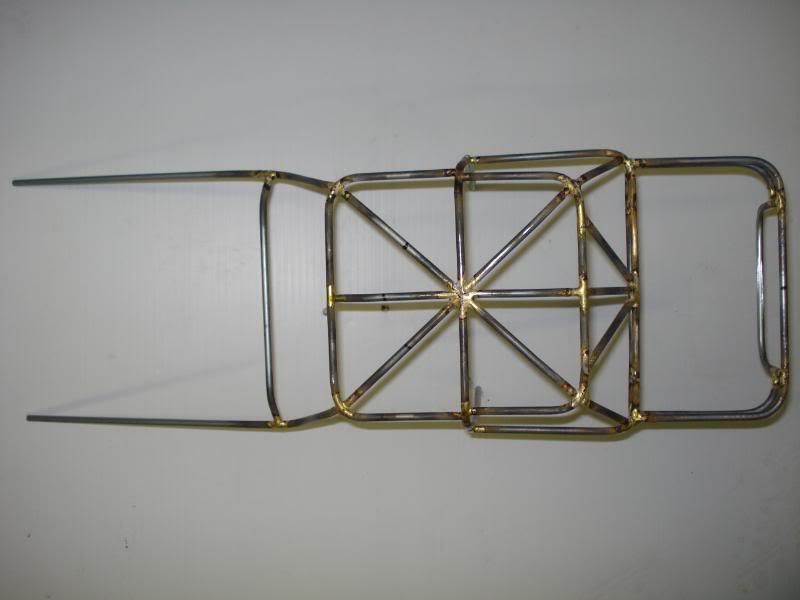   |
|
| |
|
01-29-2009, 01:01 AM
| #8 |
| Pebble Pounder Join Date: Jan 2008 Location: nowhere near the HAMMERS!!
Posts: 165
|
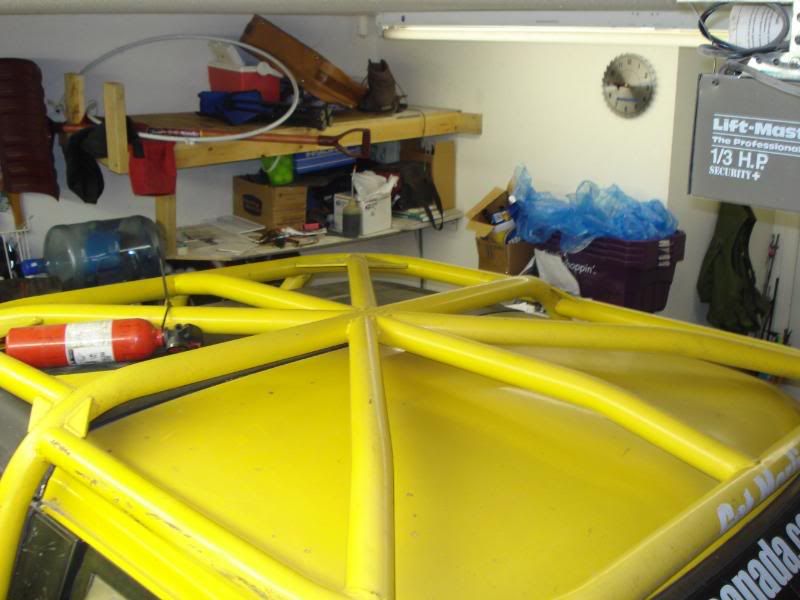
here are some refference pics and as you can tell some progress. pics. 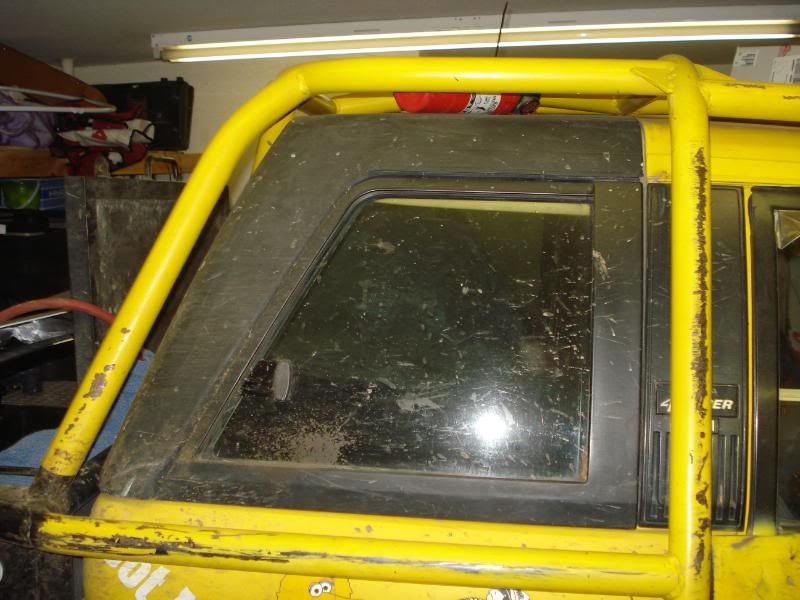 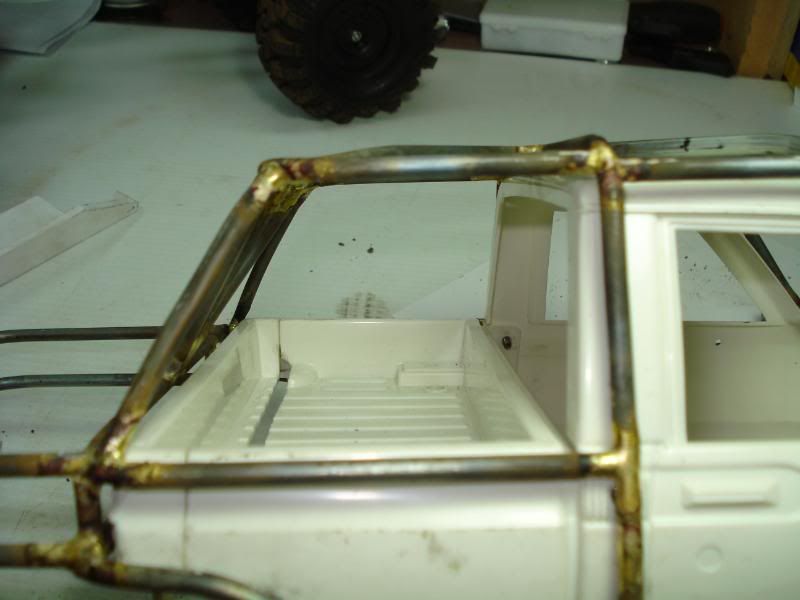 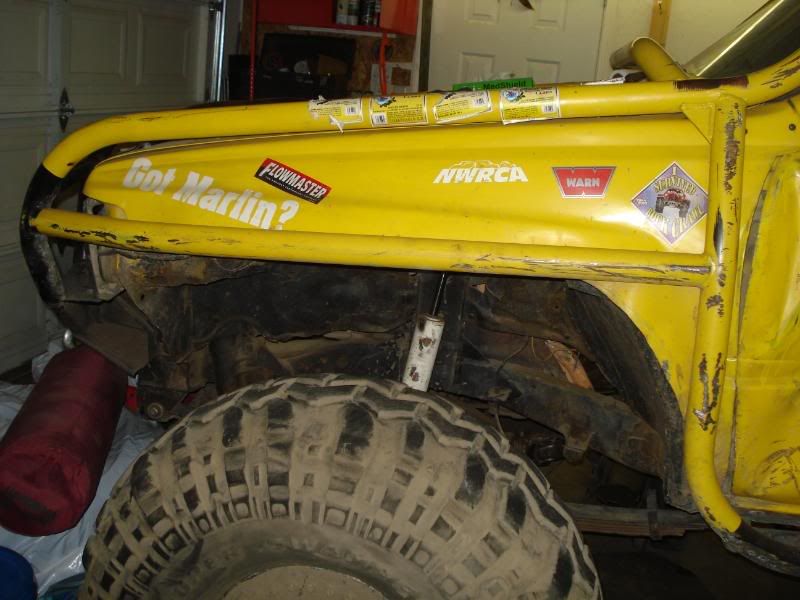 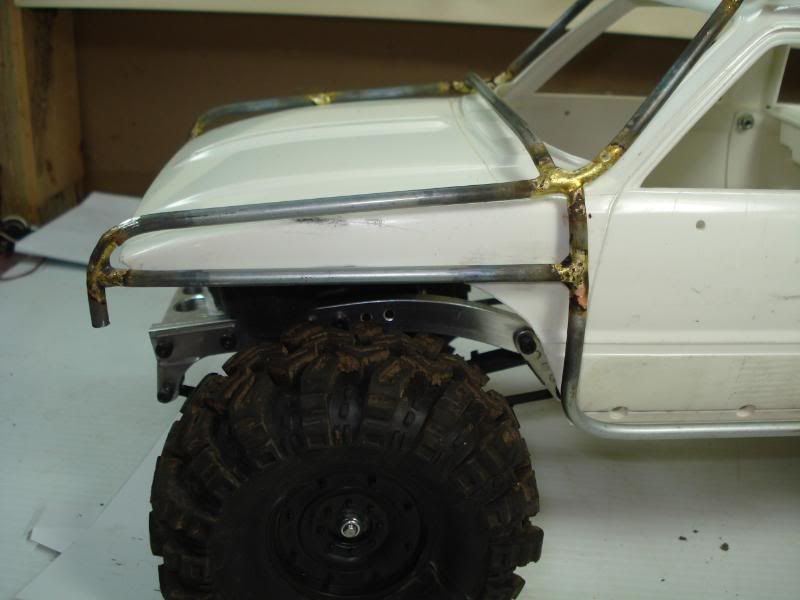 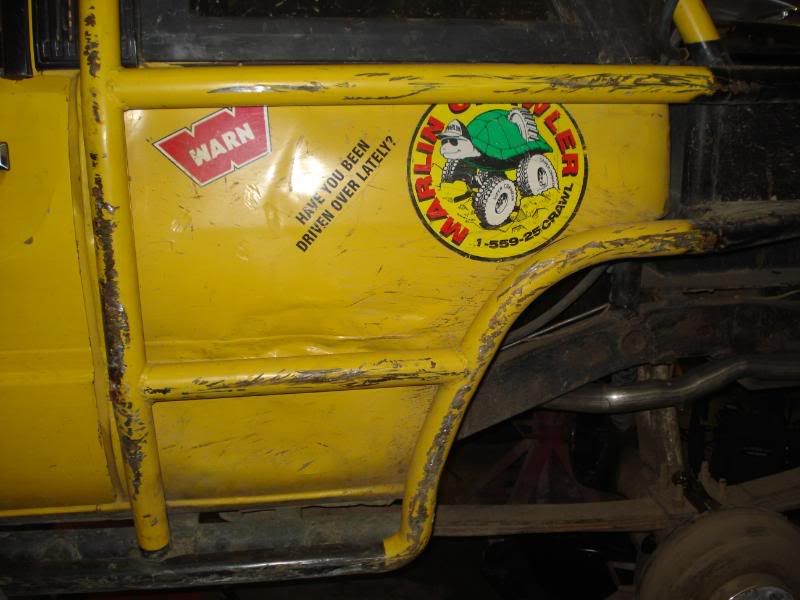 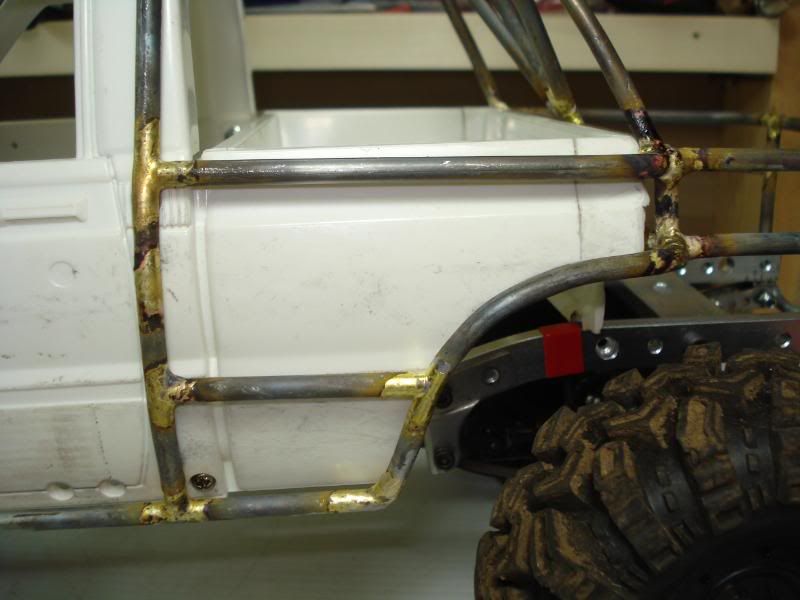 |
|
| |
|
01-29-2009, 01:01 AM
| #9 |
| Pebble Pounder Join Date: Jan 2008 Location: nowhere near the HAMMERS!!
Posts: 165
|
front bumper first in thick paper,  then in tin, but to thin. 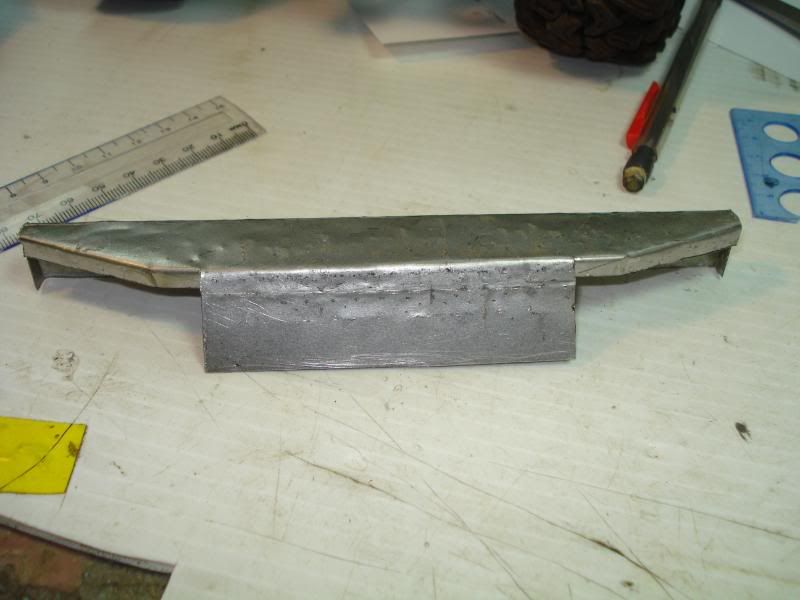 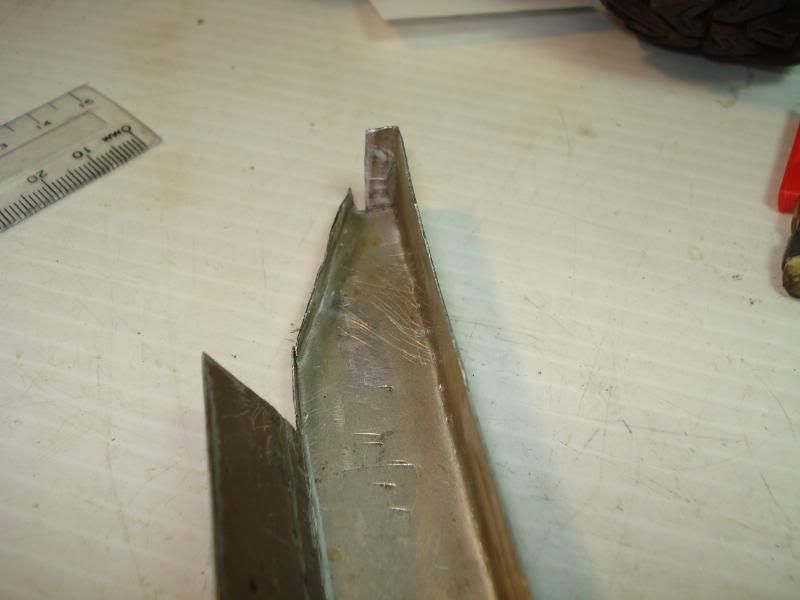 than thicker steel. nice/heavy, but dam hard to shape, lol 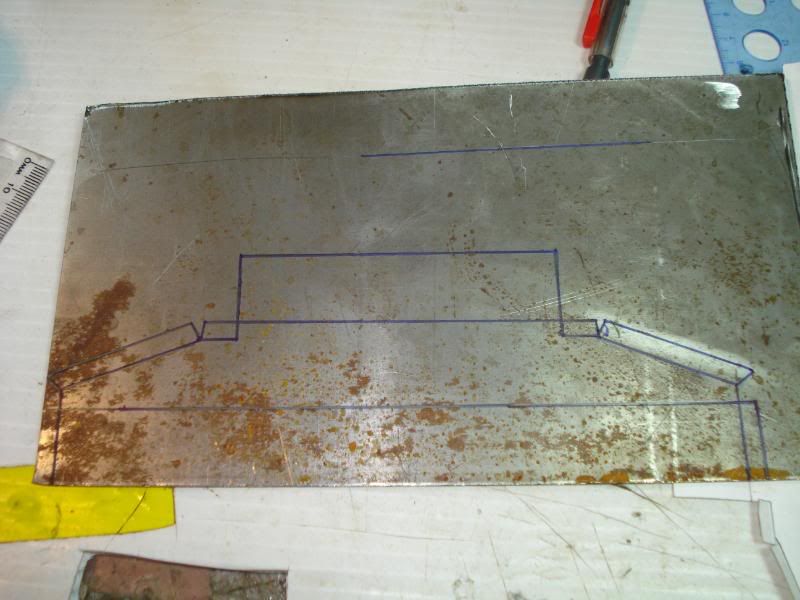 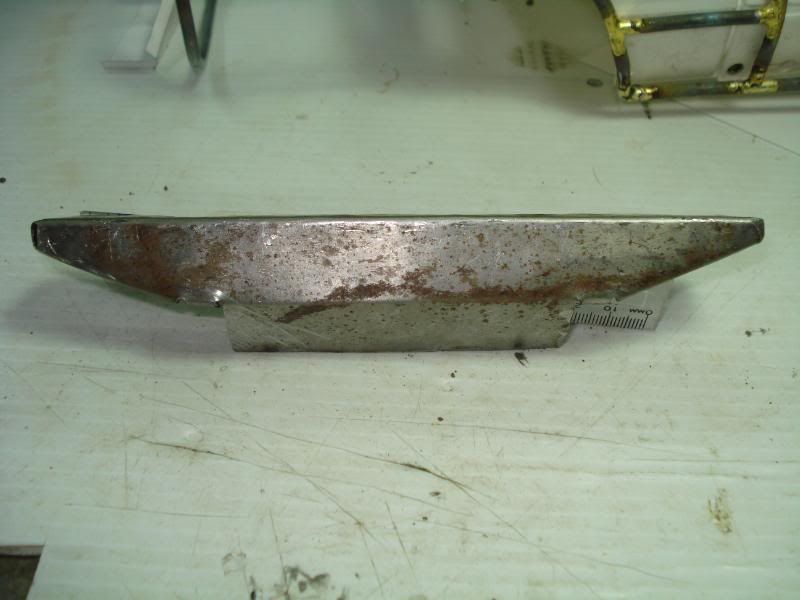 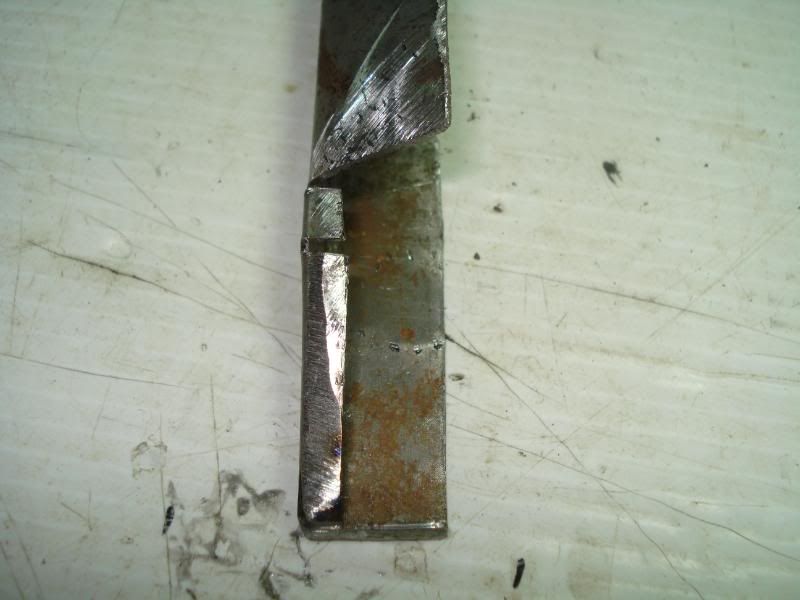   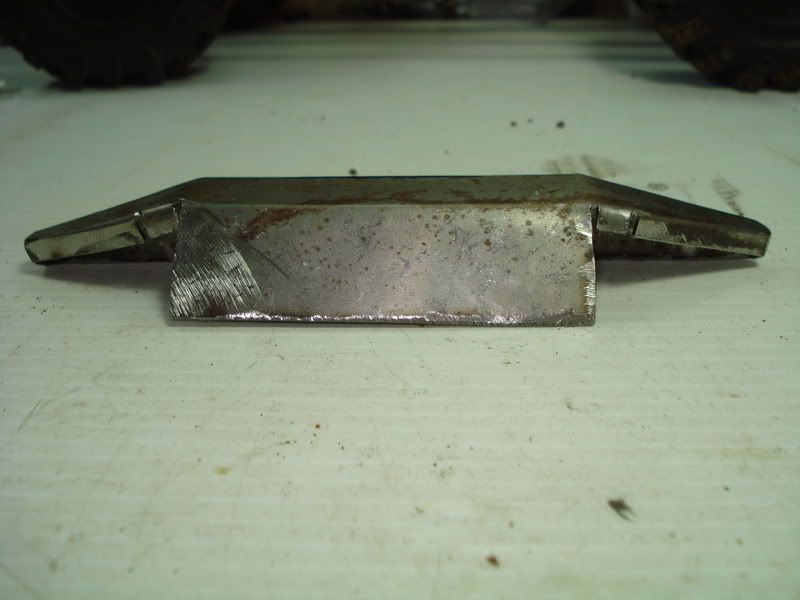 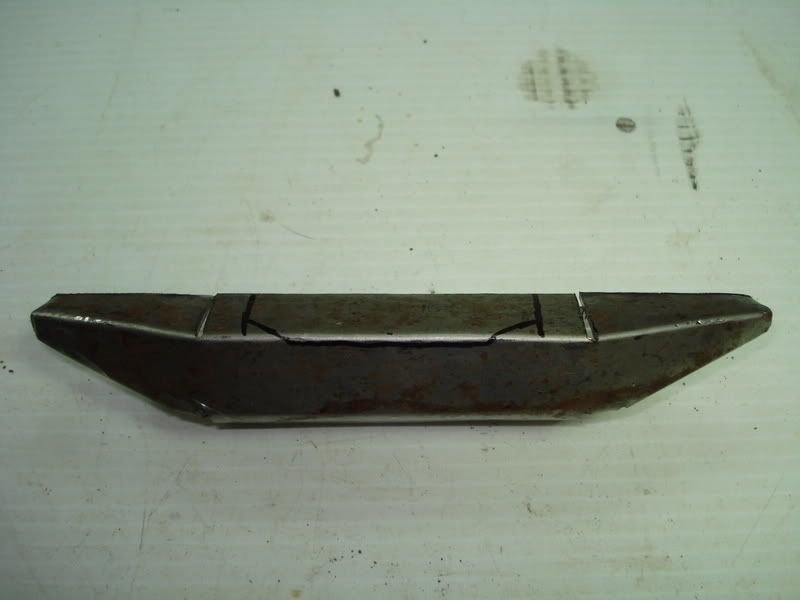 |
|
| |
|
01-29-2009, 01:01 AM
| #10 |
| Pebble Pounder Join Date: Jan 2008 Location: nowhere near the HAMMERS!!
Posts: 165
|
cardboard cut out for rear/box pannels 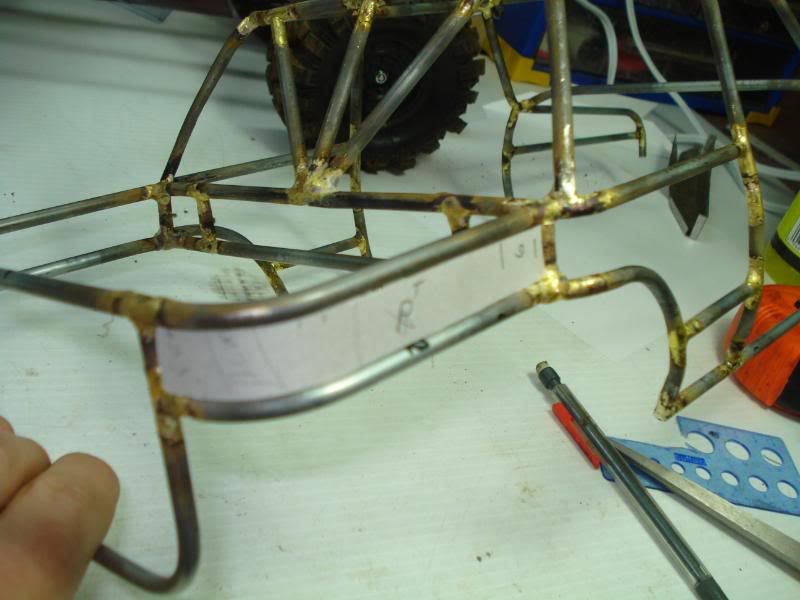 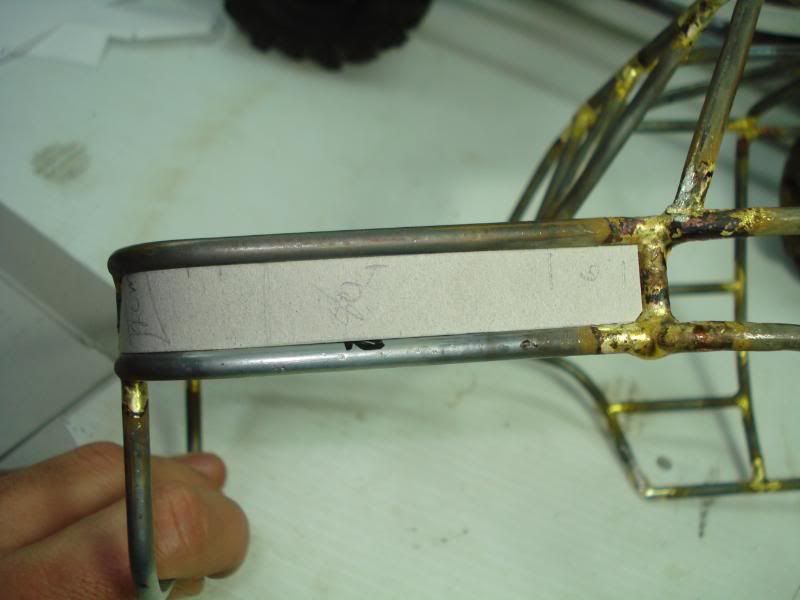  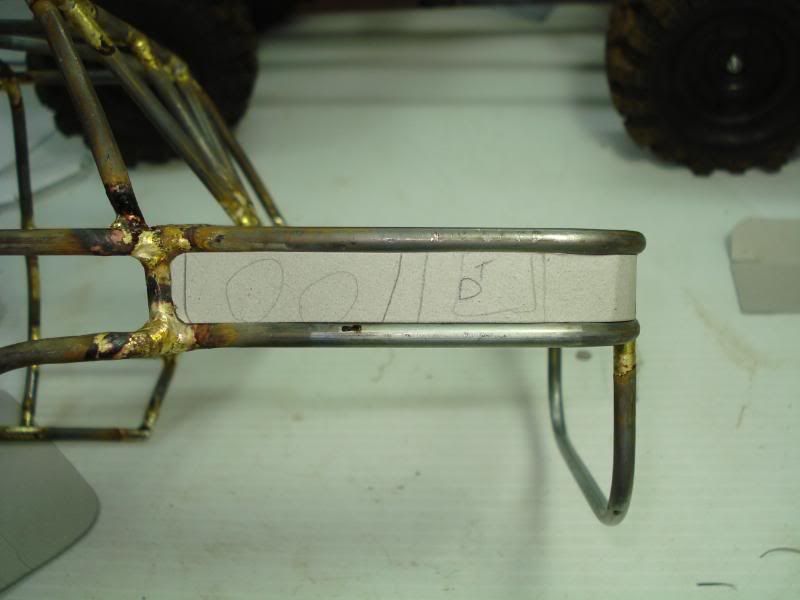 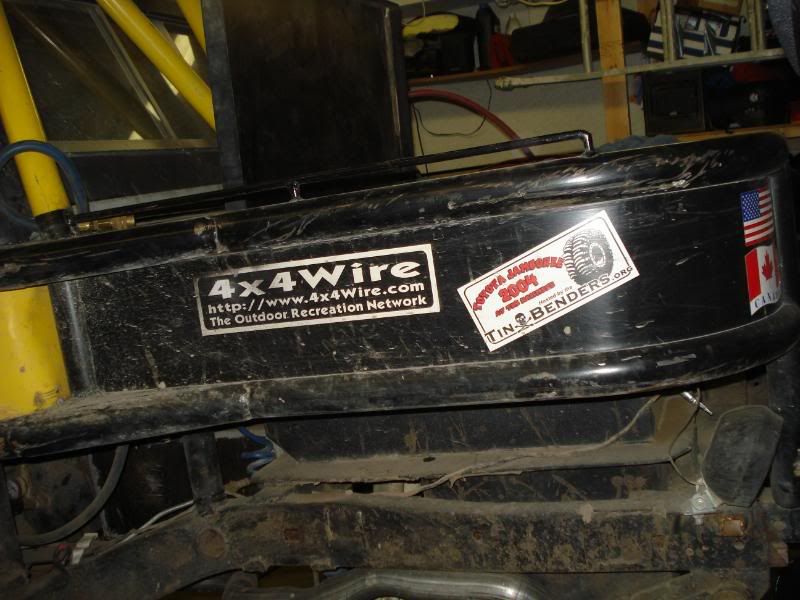 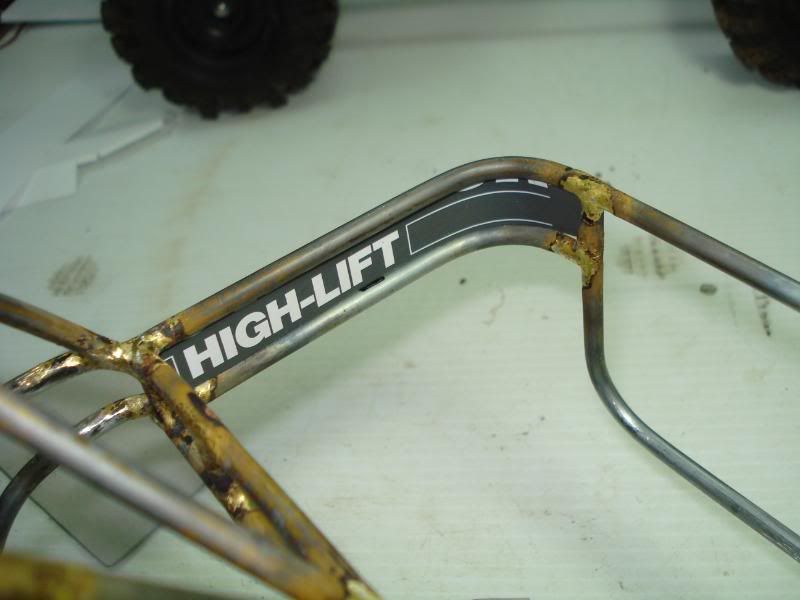 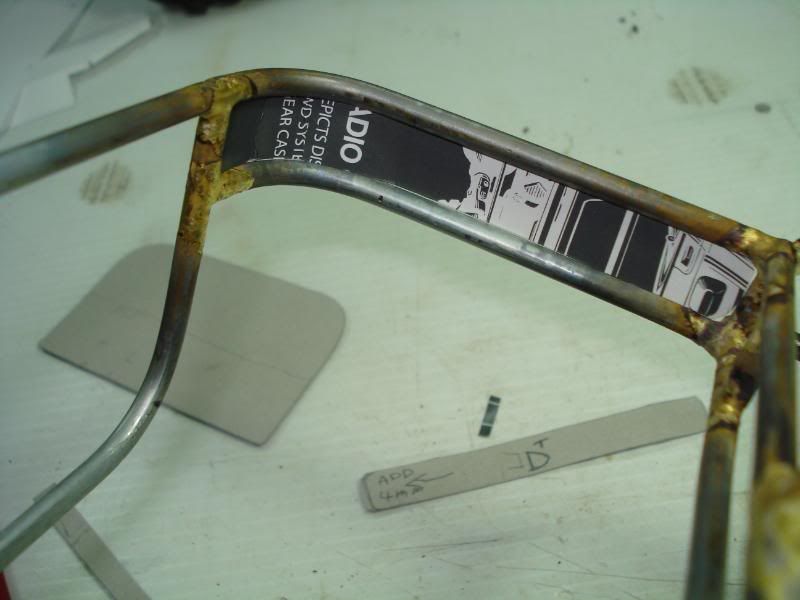 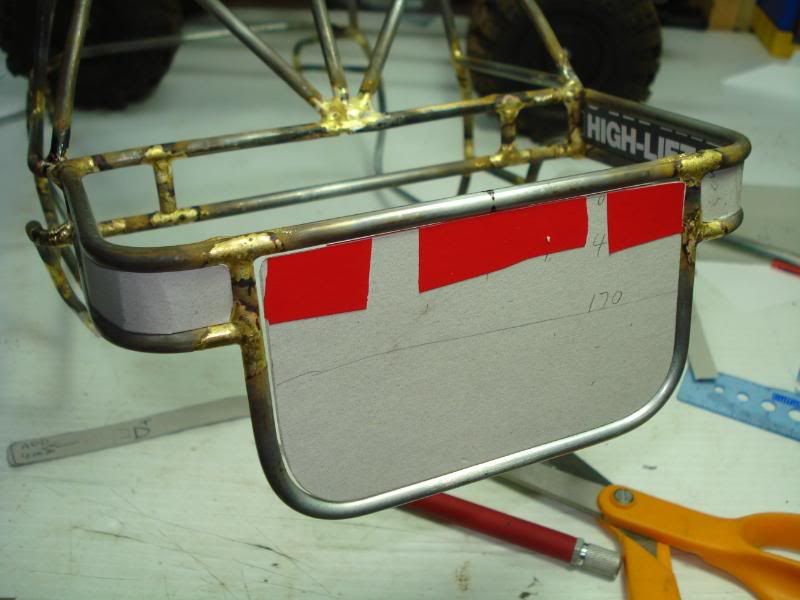   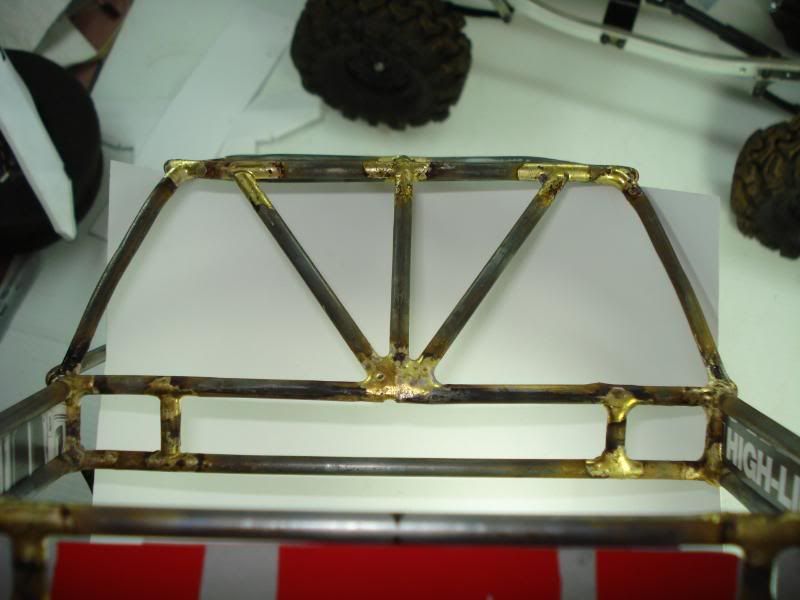 |
|
| |
|
01-29-2009, 01:04 AM
| #11 |
| Pebble Pounder Join Date: Jan 2008 Location: nowhere near the HAMMERS!!
Posts: 165
|
way better suspension. my custom longer main leaf springs  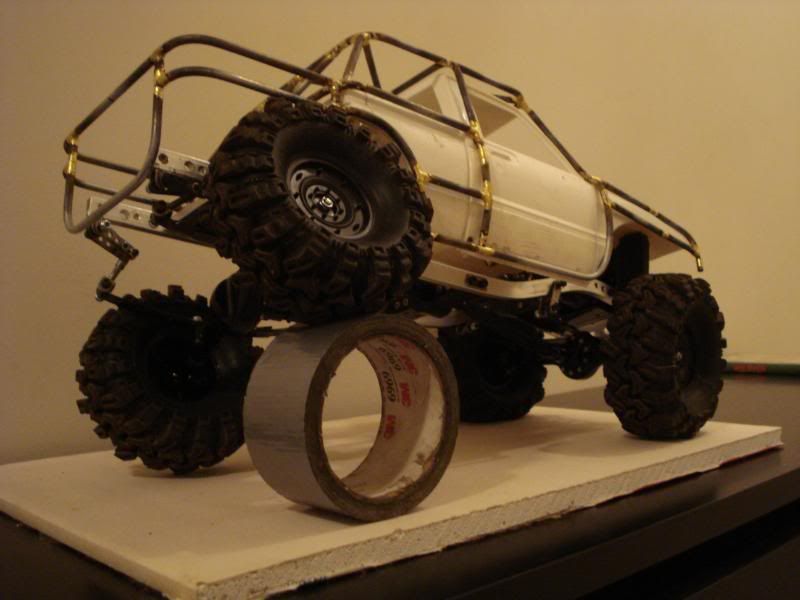 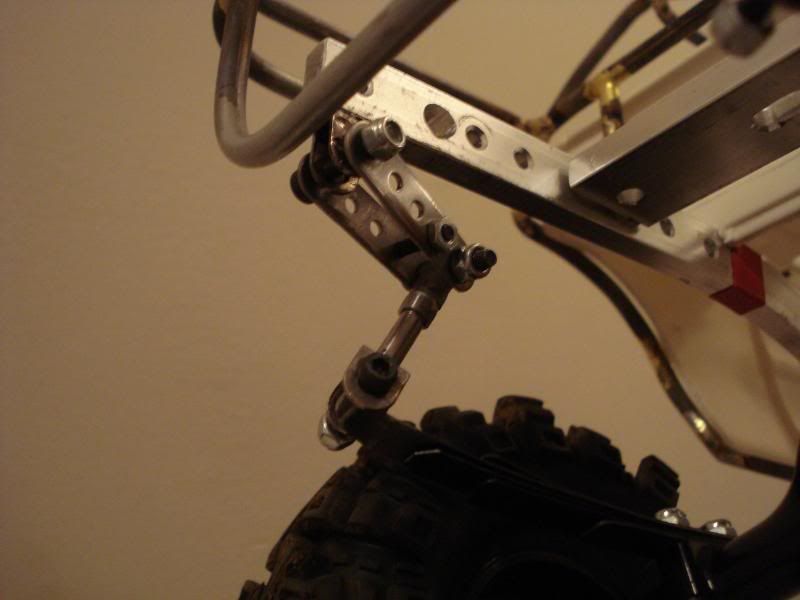 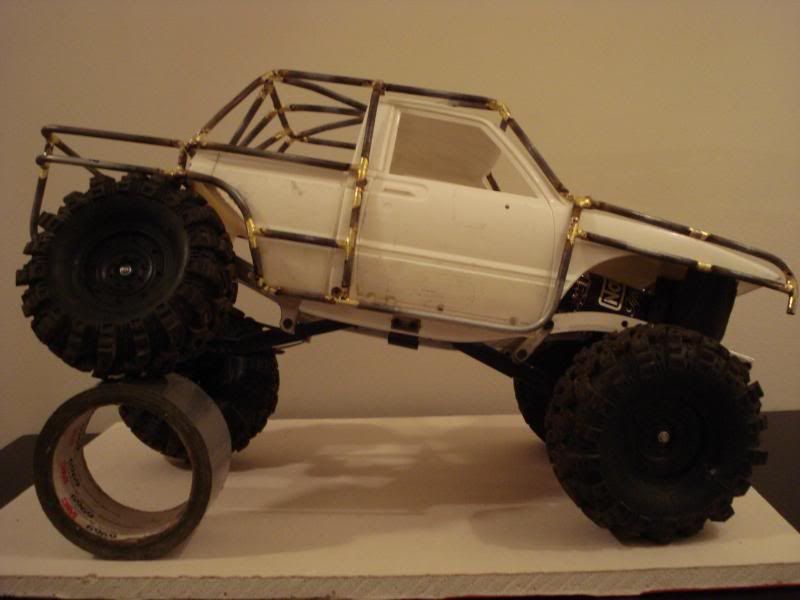 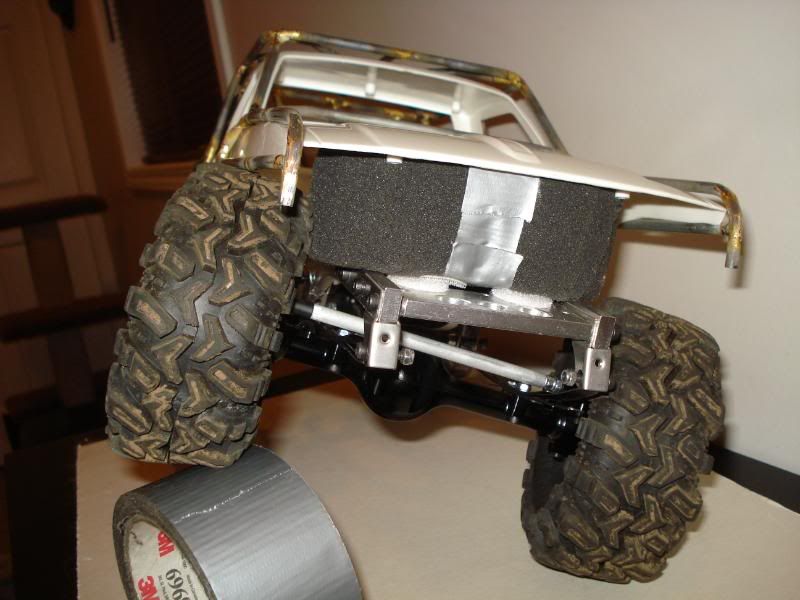 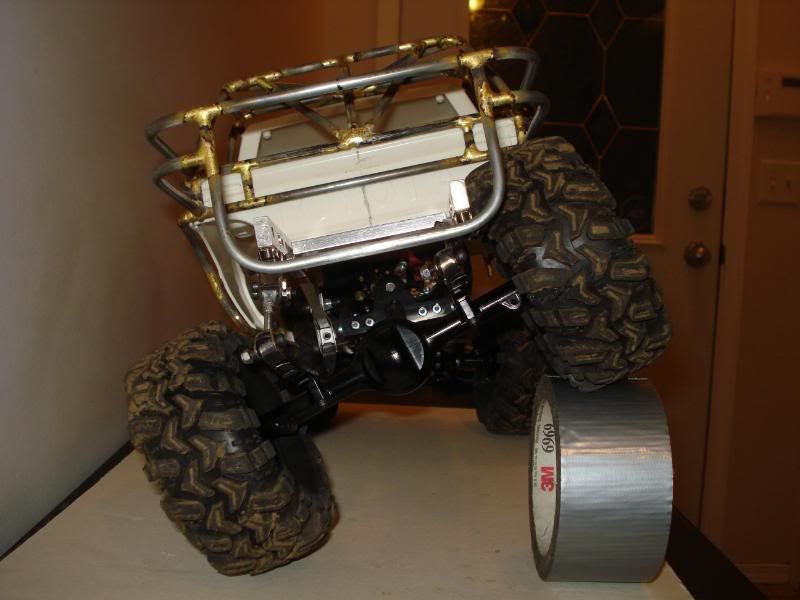 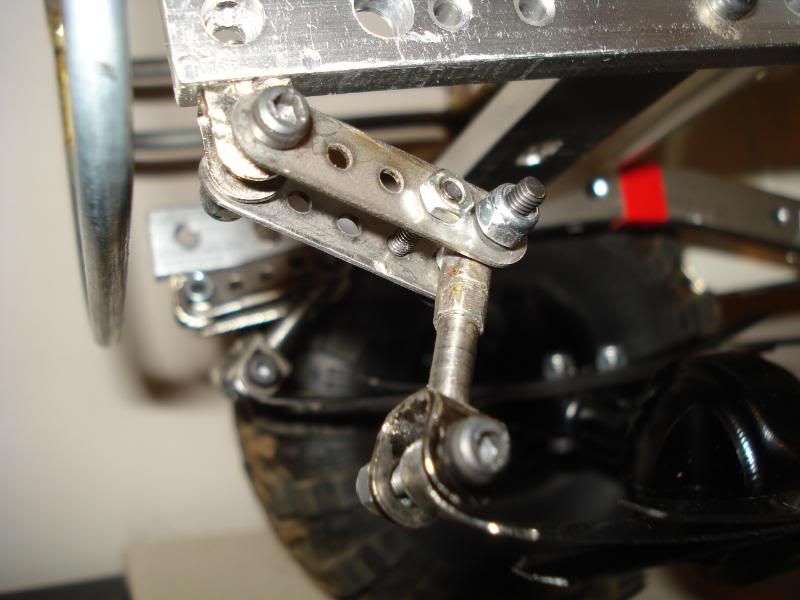 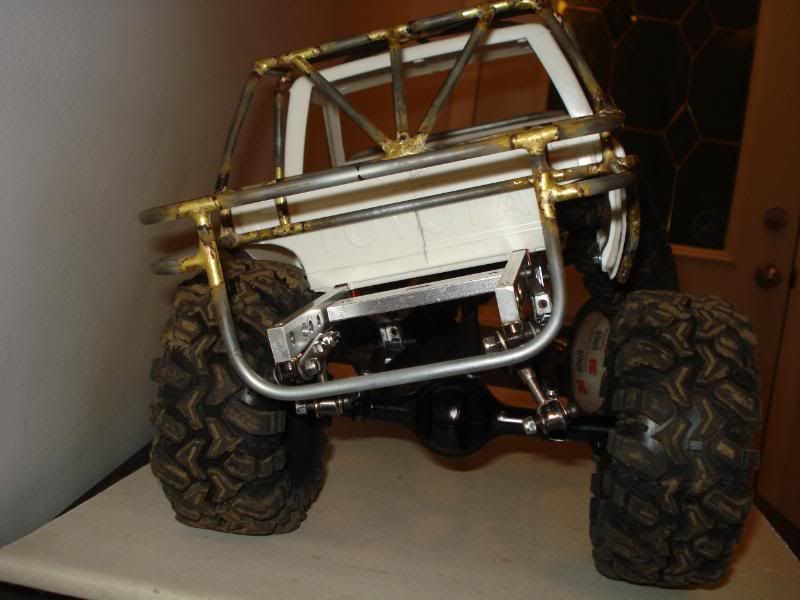 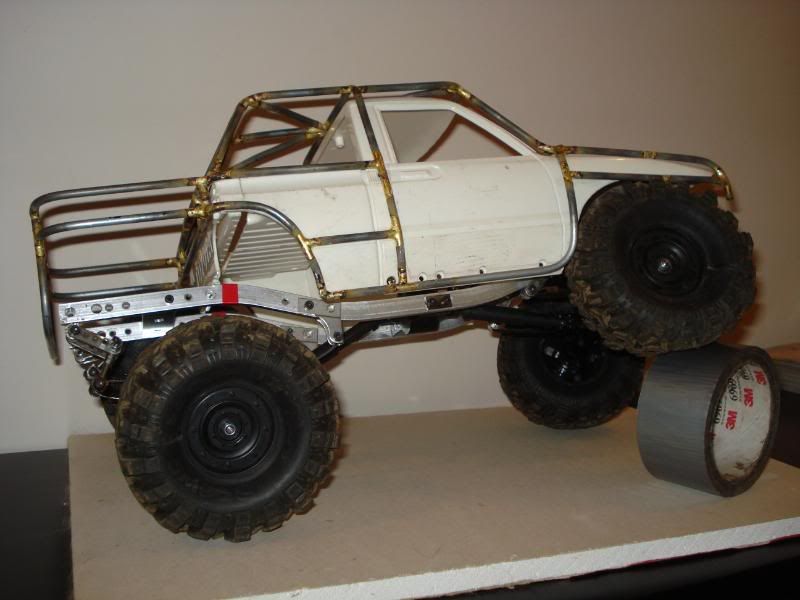 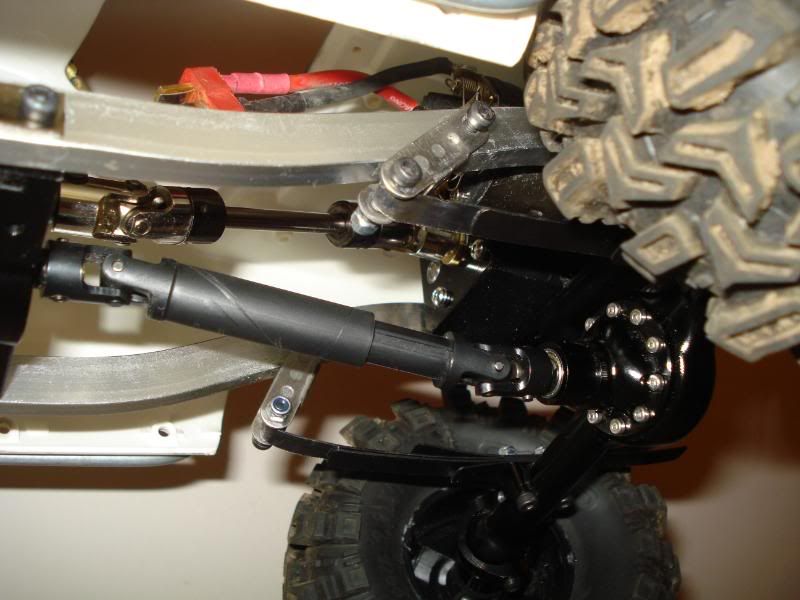 |
|
| |
|
01-29-2009, 01:05 AM
| #12 |
| Pebble Pounder Join Date: Jan 2008 Location: nowhere near the HAMMERS!!
Posts: 165
|
well thanks to a few that added info . i have my new rims, and did they ever turn out sweet!! i used a set of hpi vintage 31mm wide with 6mm offset to start, cut the back bead off and glued it to the front, then cut another bead off another rim and glued it back on the back. now i have a 34mm rim and a sweet offset, no need for wheel spacers now, after there already ordered and in the mail. here are the hummer wheels i was going to use and my new rims. notice the hight difference and the width for sure. it took about 2 hours and some sweet lathe work over at Pat's (Hookeds') house. thanks bud ,not only did they turn out awesome, but at the end they all measured up within a thow.   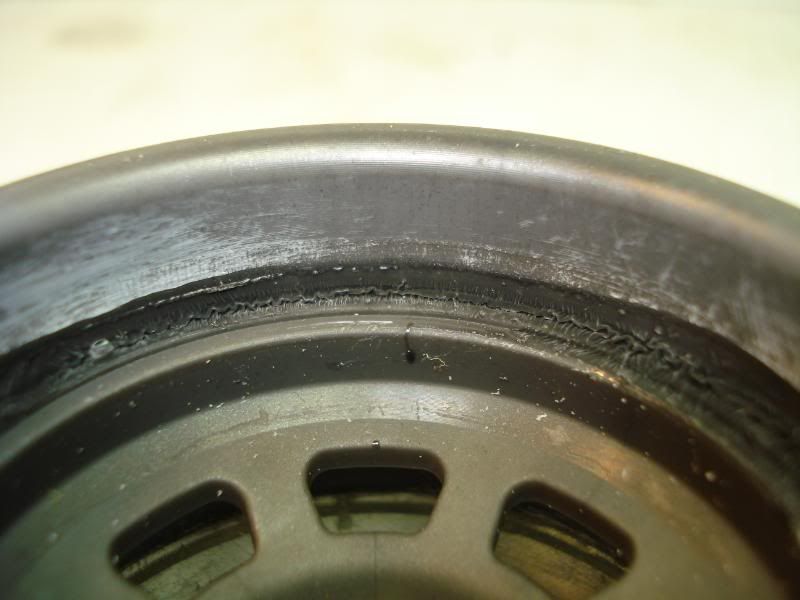 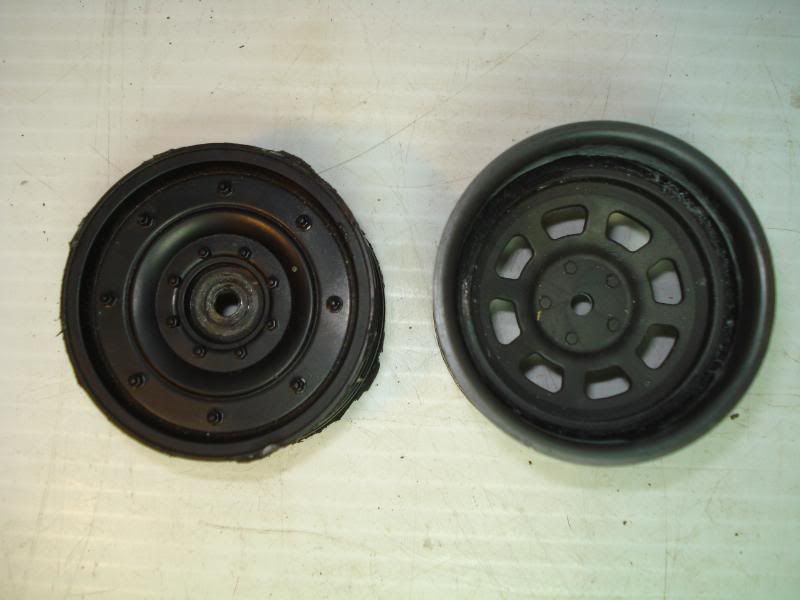  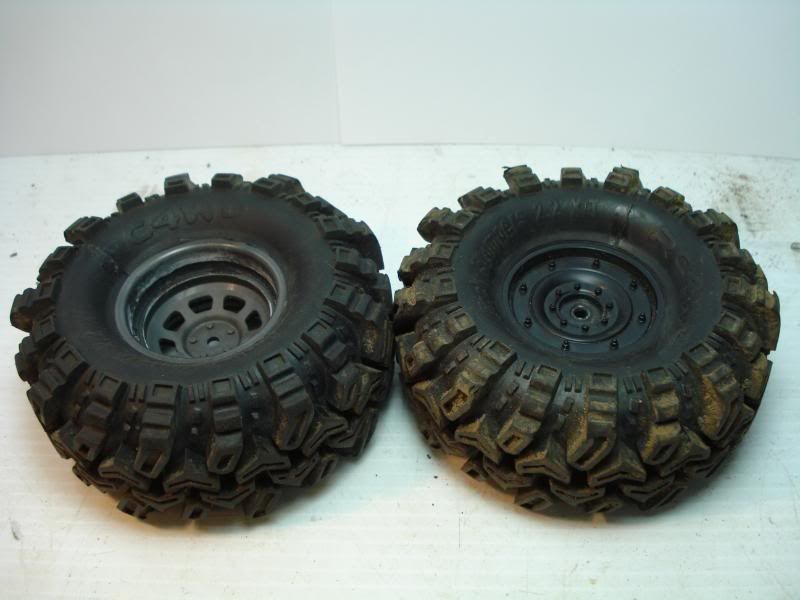 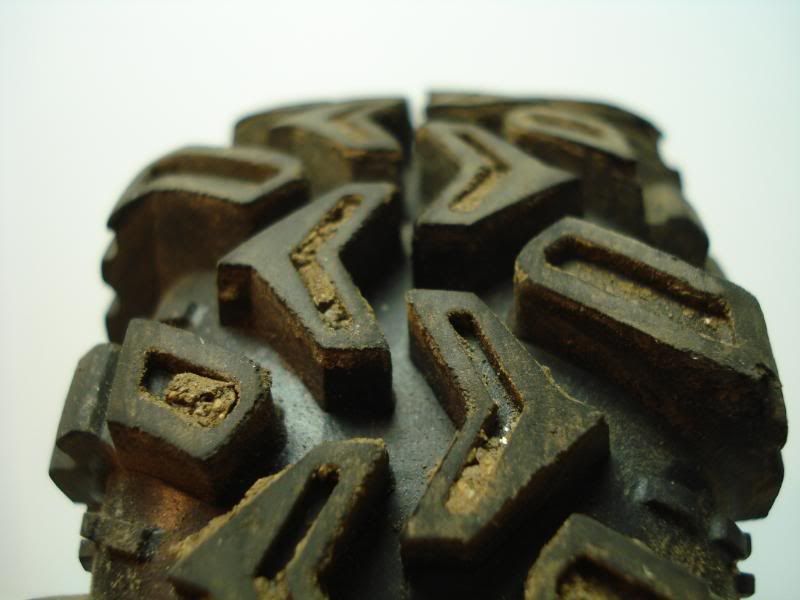 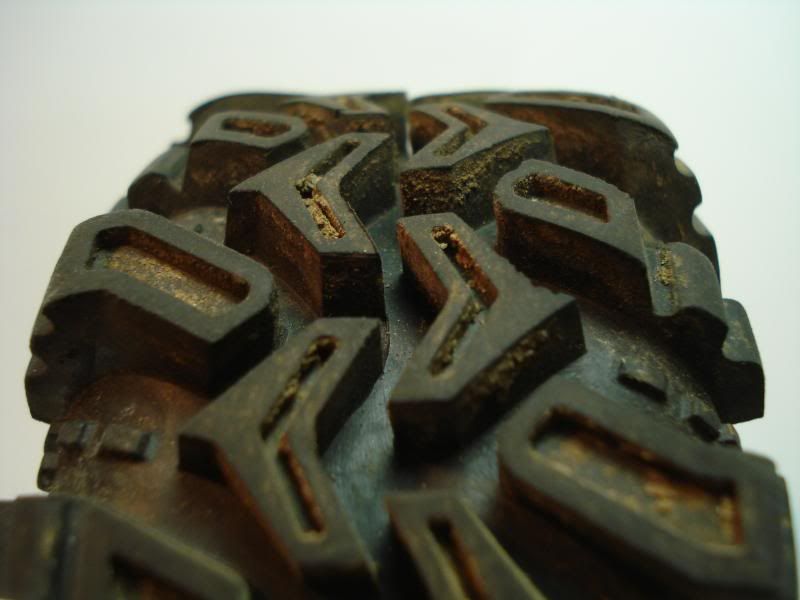 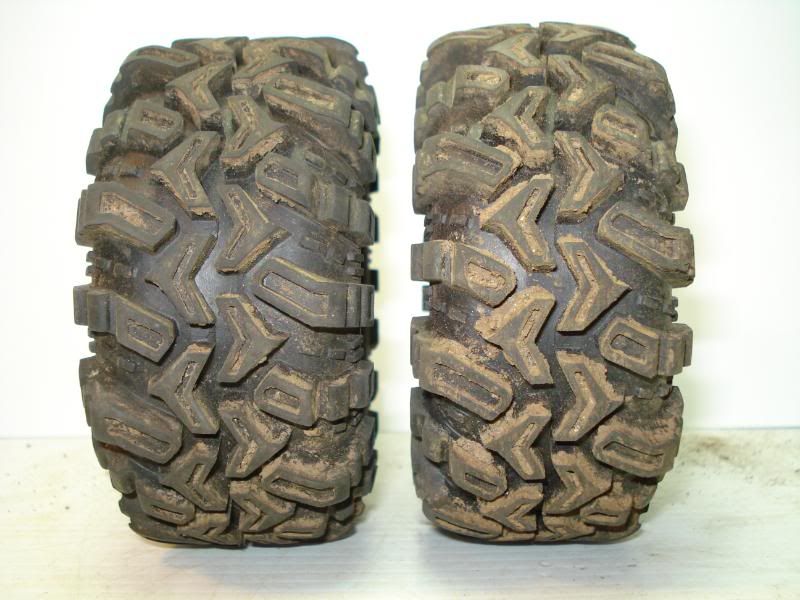 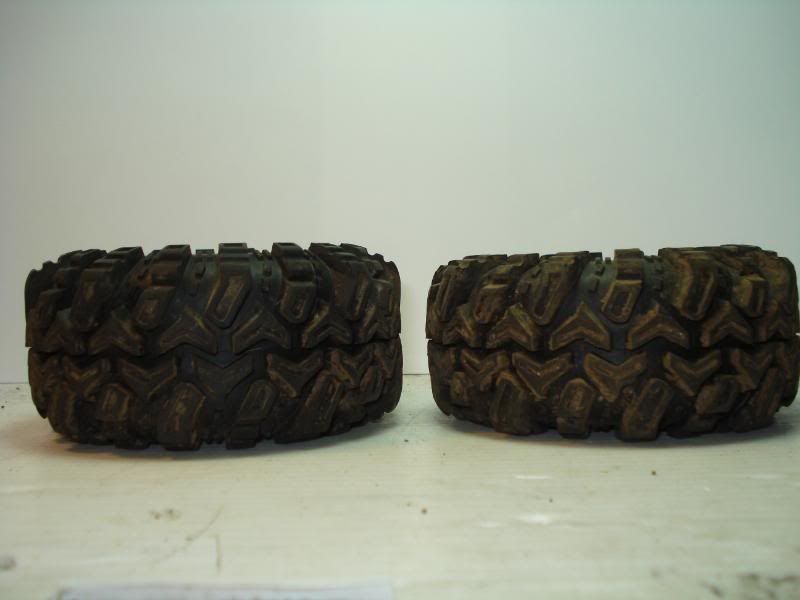 |
|
| |
|
01-29-2009, 01:05 AM
| #13 |
| Pebble Pounder Join Date: Jan 2008 Location: nowhere near the HAMMERS!!
Posts: 165
|
this is how i made my custom length leaf springs. first i picked up some spring spring steel. approx 0.5 mm thick.  then i trimmed to to the corect width. approx 6 mm for my application. 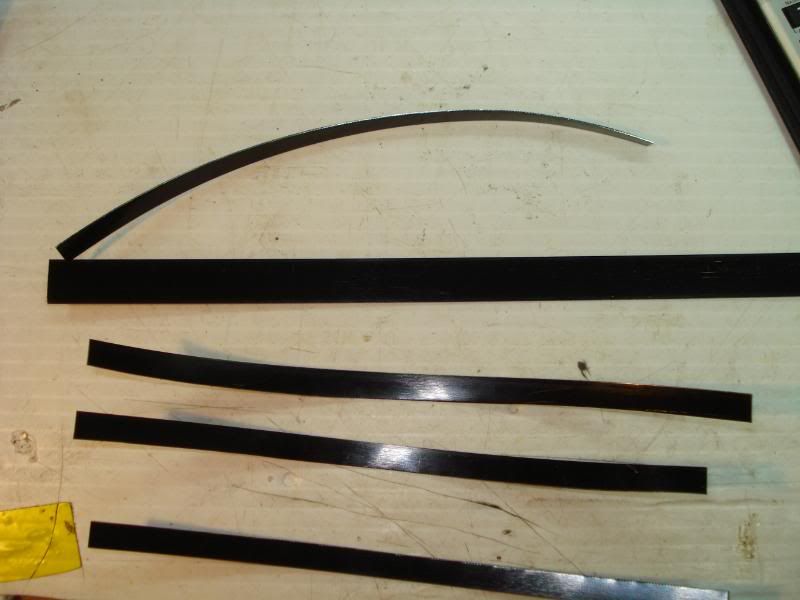 found a small piece of solid rod approx 3mm diameter and place it into the vice, sticking up approx 5 cm. then heat up the leaf spring to red hot with a torch. 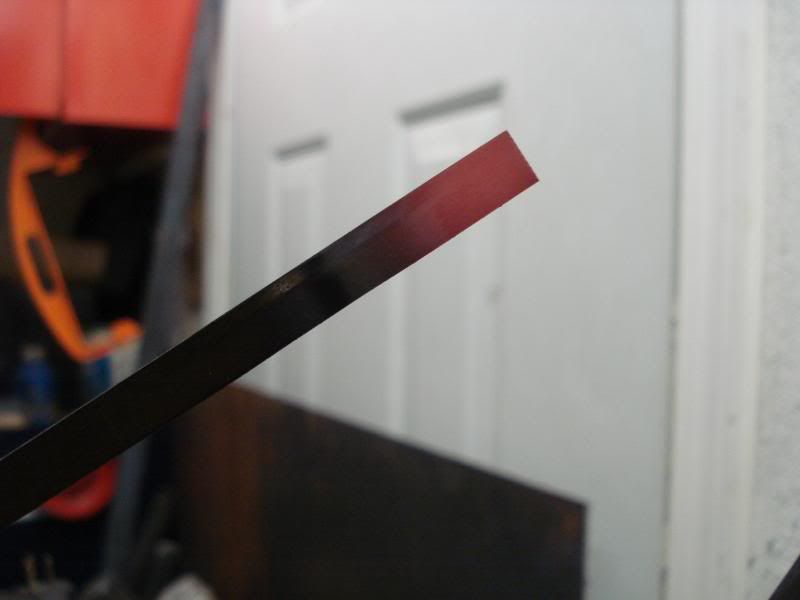 placed it up against the rod. 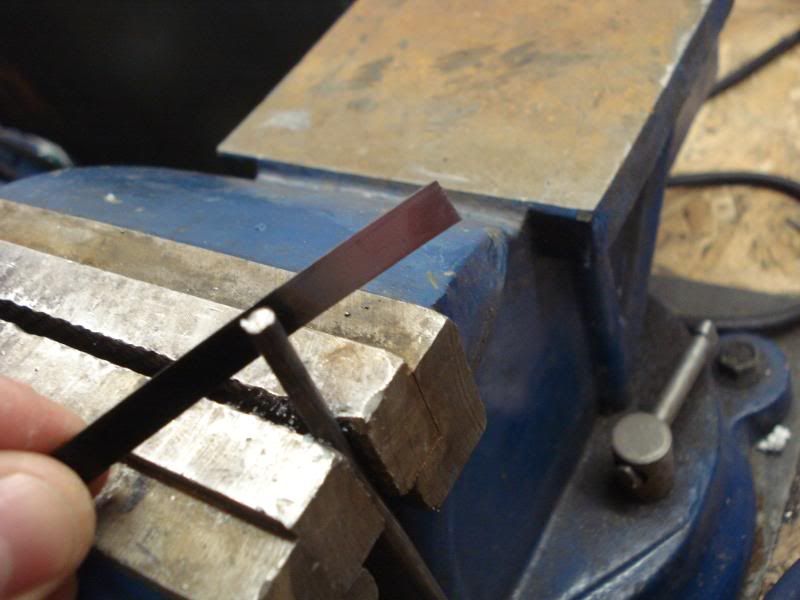 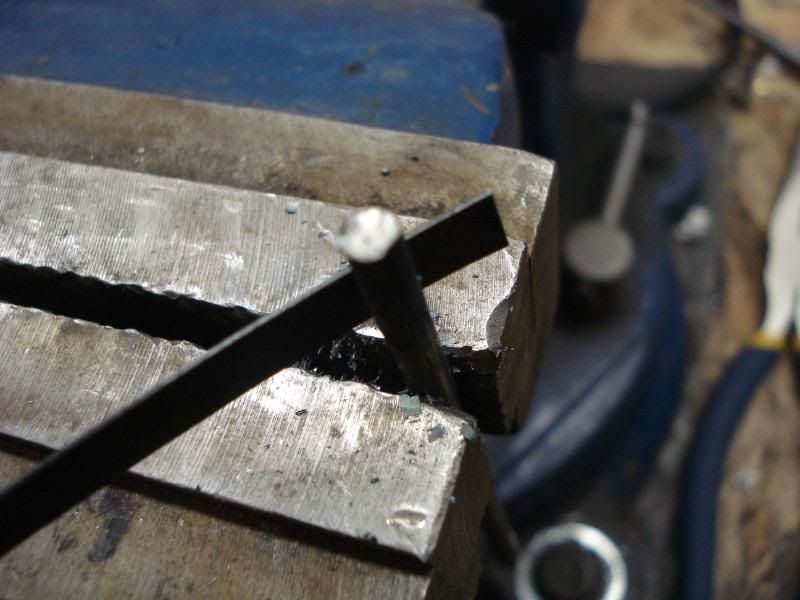 you have to be quick using such thin steel cause it cools fast . then have your regular pliers ready and proceed to bend the hot steel arround the steel rod. 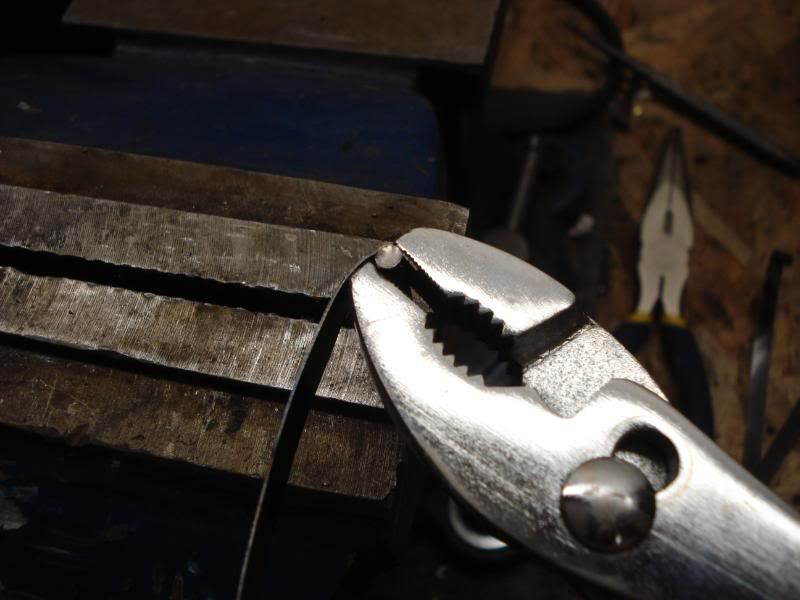 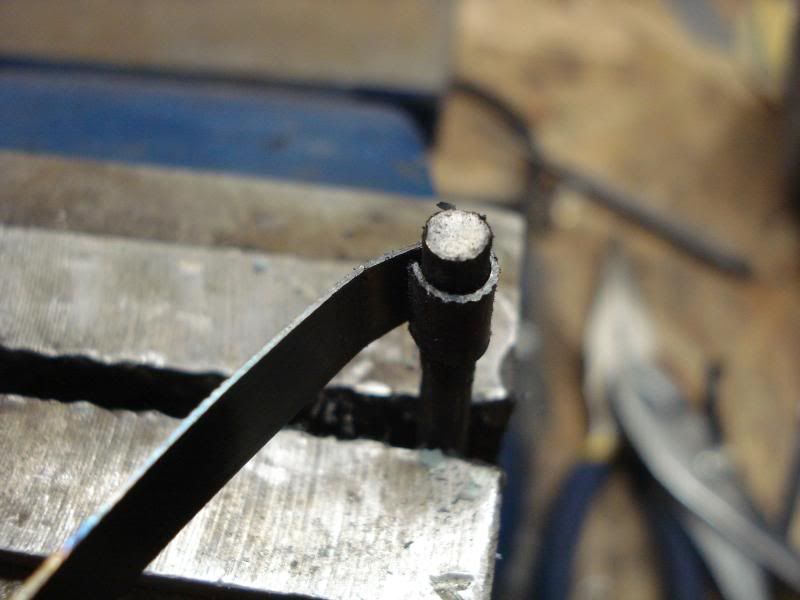  tighten the gap ,this is what you should end up with 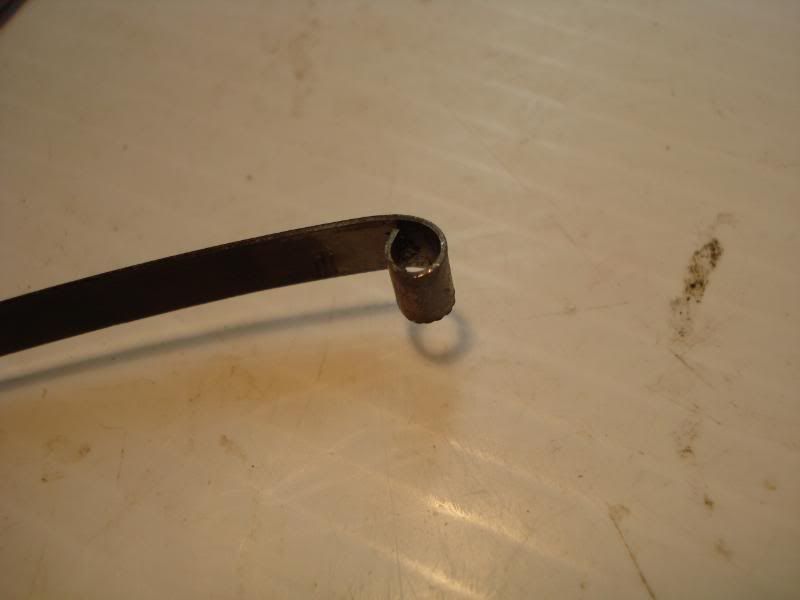 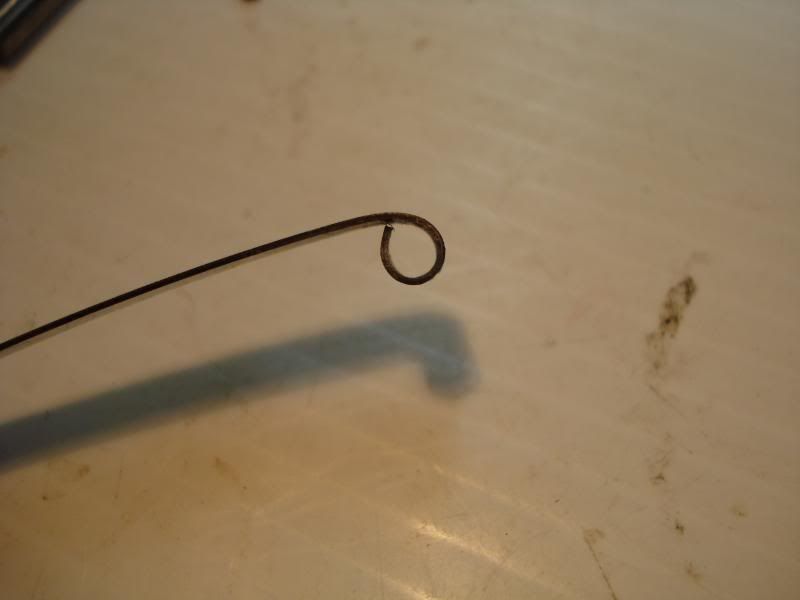  |
|
| |
|
01-29-2009, 01:06 AM
| #14 |
| Pebble Pounder Join Date: Jan 2008 Location: nowhere near the HAMMERS!!
Posts: 165
|
my front hubs,man i thought the pic was cool. but in your hand, there cooler!!! 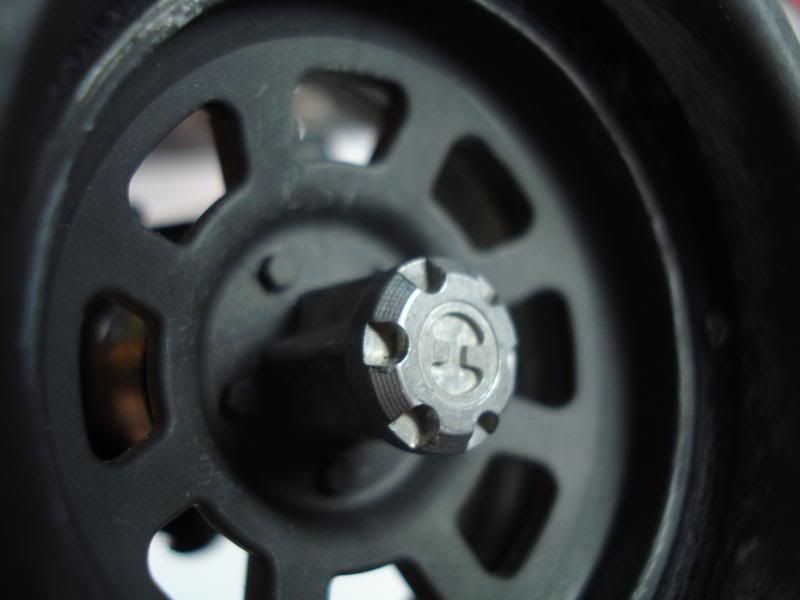 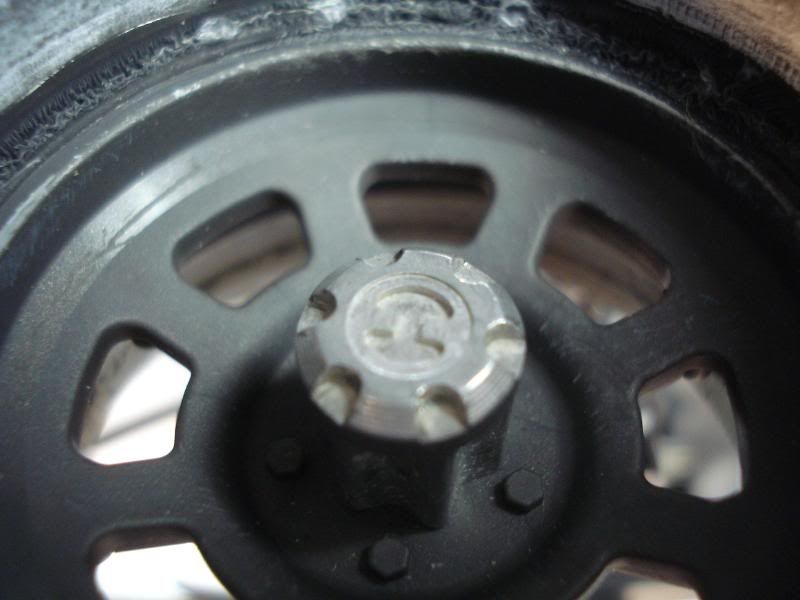 my tire update. so far 4 hours later, and i have 1 tire complete, the other 4 will take another 4-6 hours to complete, but they will look cool . thanks to GRIZ FOR THE TIPS AND UNGLEWD FOR THE 1.9 SIZING AND HOOKED for the belt sander this is my 38.5 sx 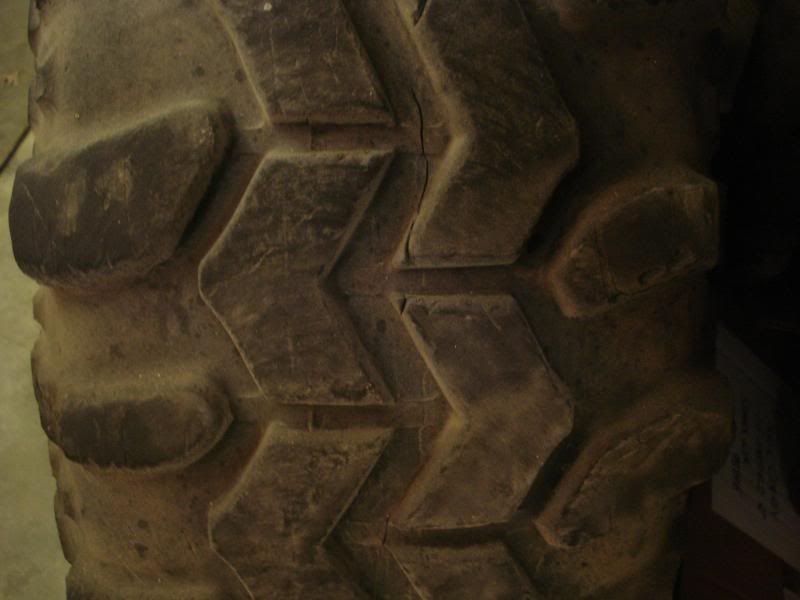 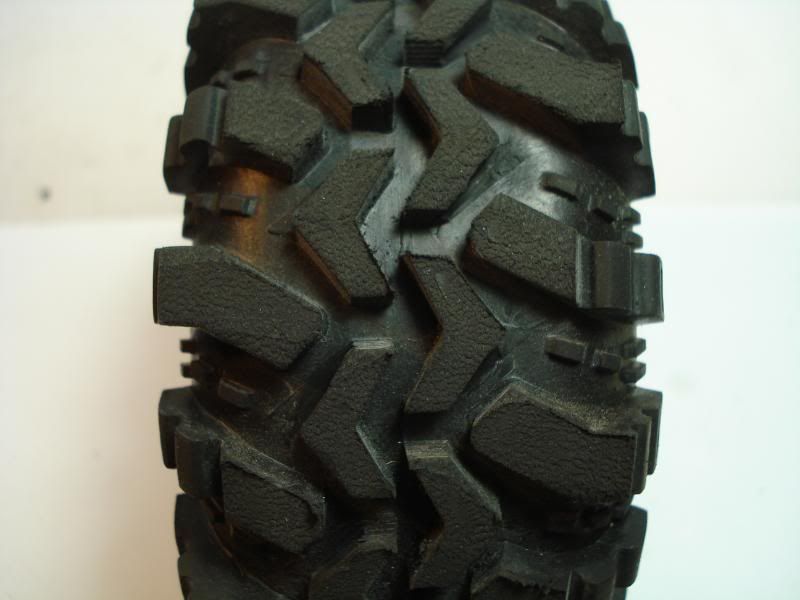 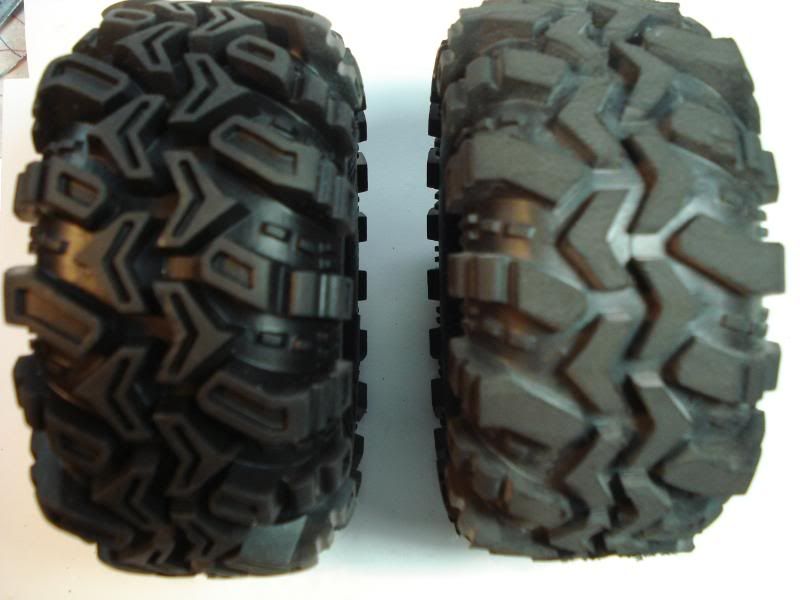 Last edited by BIGBIRD; 01-29-2009 at 01:10 AM. |
|
| |
|
01-29-2009, 05:29 AM
| #15 |
| Rock Crawler Join Date: Aug 2007 Location: usa
Posts: 593
|
great work; your 1:1 looks awesome and you are doing a  can't wait to see the rest of the body mods. can't wait to see the rest of the body mods.
|
|
| |
|
01-29-2009, 06:10 AM
| #16 |
| RCC Addict Join Date: Nov 2008 Location: Bunnell, Fl.
Posts: 1,292
|
Very nice work man! |
|
| |
|
01-29-2009, 06:17 AM
| #17 |
| Rock Crawler Join Date: Dec 2007 Location: buckeye,AZ
Posts: 723
|
very nice work man, very nice |
|
| |
|
01-29-2009, 06:33 AM
| #18 |
| Custom Carbon Fiber   Join Date: Oct 2007 Location: Connecticut :(
Posts: 4,501
|
Nice job so far, nice work on the shackles.
|
|
| |
|
01-29-2009, 06:50 AM
| #19 |
| Oliver Custom Knives Join Date: Dec 2007 Location: Bloomfield NM , not something stupid
Posts: 1,047
|
HOLY CRAP DUDE , you are doing an awesome job. I am really digging your suspension. How did you make the swivel on the end of your leaf spring. I need more info on that please. Your cage work is coming out great too. Did you heat treat the springs after you made them ? SUBSCRIBED............. Dwane Last edited by DwaneO; 01-29-2009 at 08:00 AM. |
|
| |
|
01-29-2009, 07:11 AM
| #20 |
| Rock Crawler Join Date: Oct 2006 Location: Fernley
Posts: 870
|
This is a great looking build. Awesome work so far.
|
|
| |
|
| |


 Linear Mode


