| |
| |||||||
 |
| | LinkBack | Thread Tools | Display Modes |
 05-10-2009, 07:38 PM
| #1 |
| Rock Stacker Join Date: Mar 2009 Location: Connersville, Indiana
Posts: 59
|
Bought this a couple months ago. This is the second truck I've bought online....don't think i'll do that any more? Oh well, it had alot of issues when i got it and I think I have all of those lined out now!  Here is a pic of it when I bought it. Here is a pic of it when I bought it. It looks good but don't fall for that I've been building trucks for twenty years line...it's got me twice from two diffirent guys! Anyway like I said, it had some bugs but now that they are worked out, I love it  One of the things that bothered me was that some ******* drilled the holes in the bed in the wrong spot..so the body sit crooked on the chassis. I reworked the mounts and rhino'd the inside. Oh yeah I tried styrene for the first time-- it had to have a tool box in it! 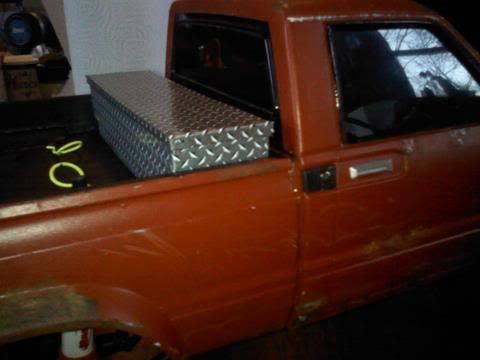 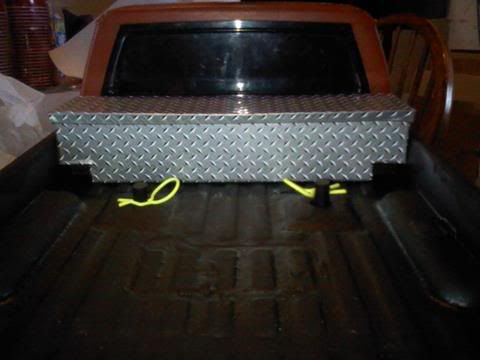 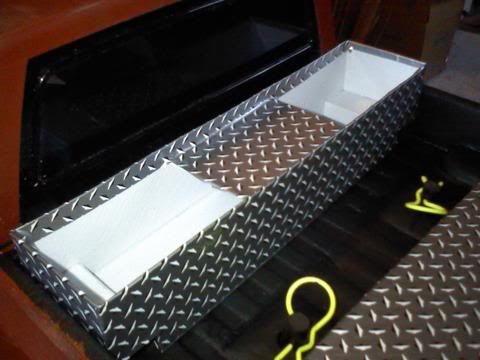 The next day I took it out and where there was a crack near the rear marker light, i busted a big chunk of plastic out. Back to the shop it goes. 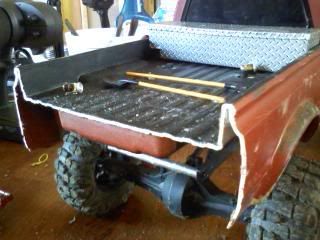 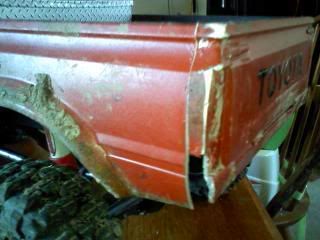 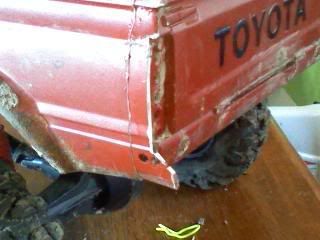 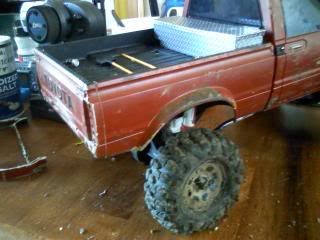 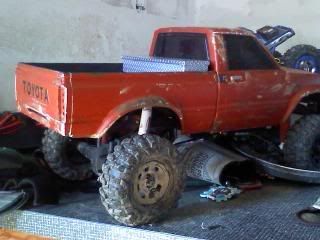 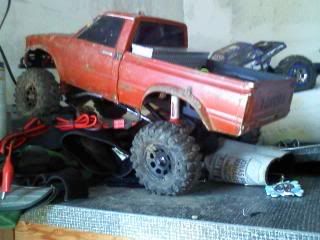 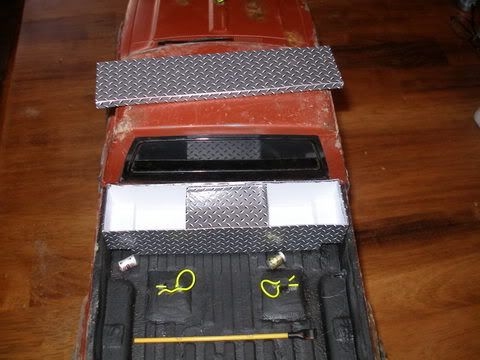 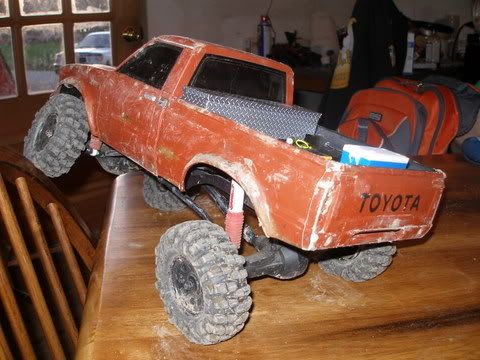  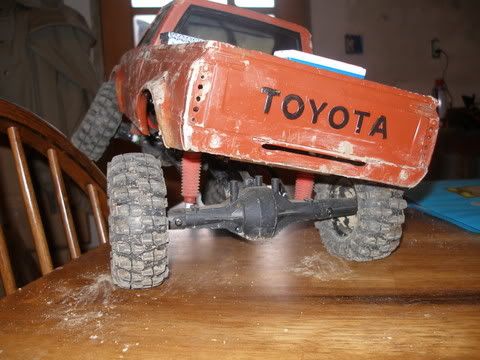     Last edited by ToyFarm; 05-11-2009 at 07:56 AM. |

|  |
| Sponsored Links | |
| | |
|
05-10-2009, 07:46 PM
| #2 |
| Rock Stacker Join Date: Mar 2009 Location: Connersville, Indiana
Posts: 59
|
Had a short trip out on the trail. I managed to roll it over...broke the hook on my winch during recovery, then to top things off I dropped a driveshaft. Sounds about like the way my day goes in the 1:1 world  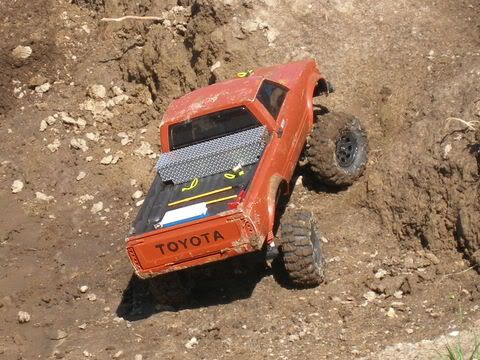 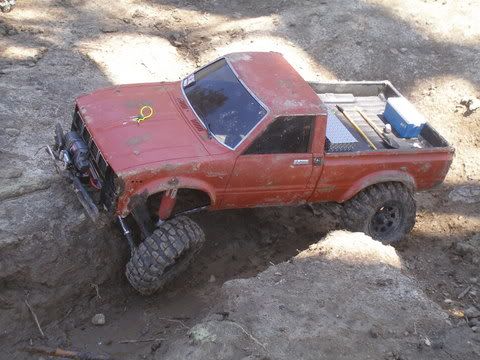 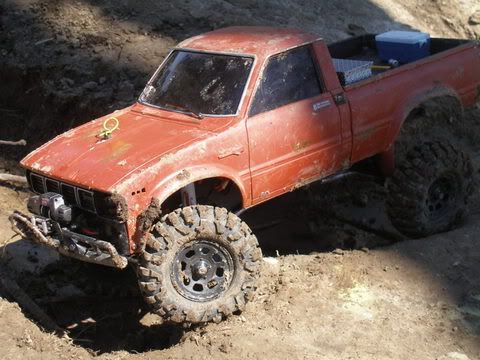 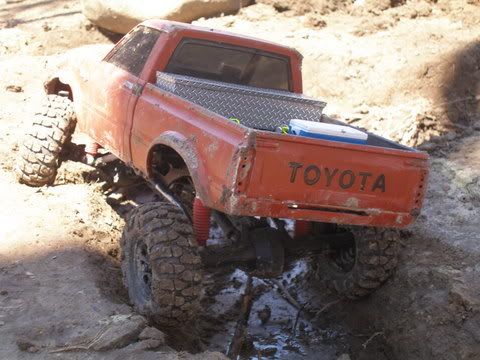 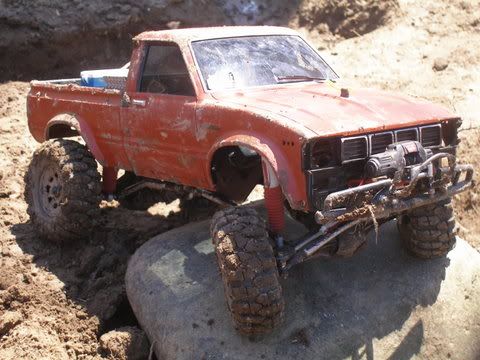 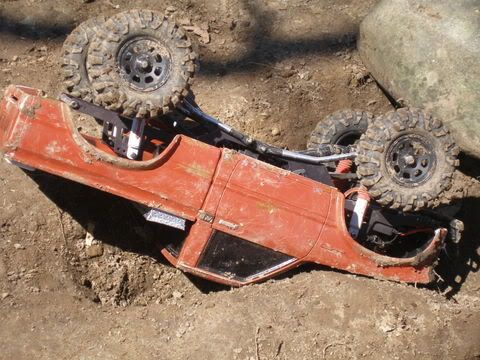 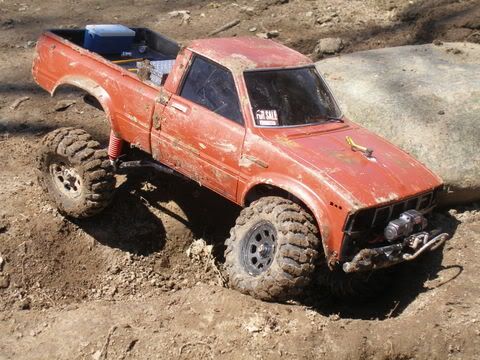 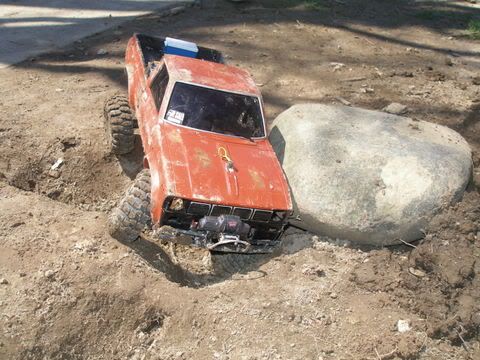  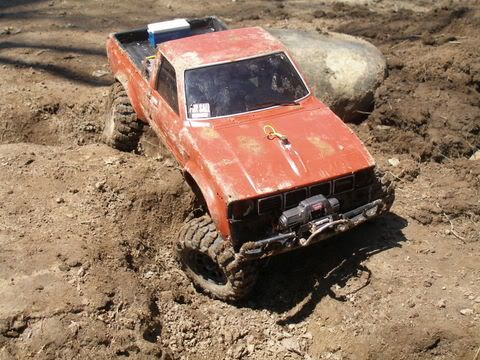 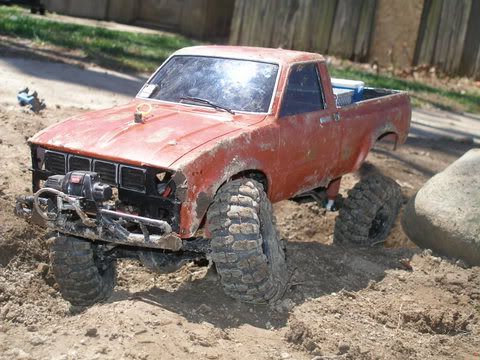 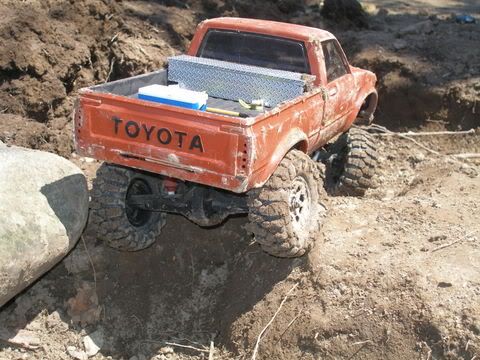 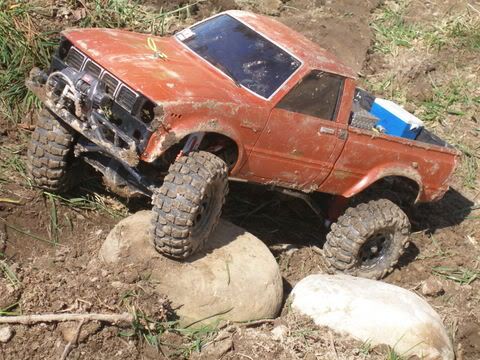 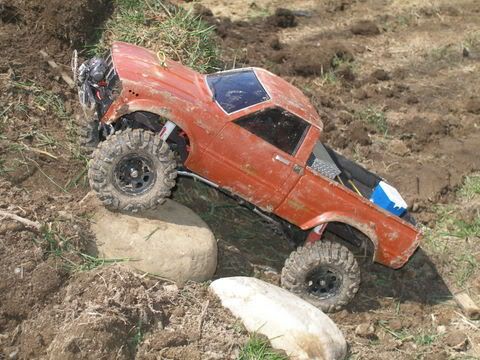 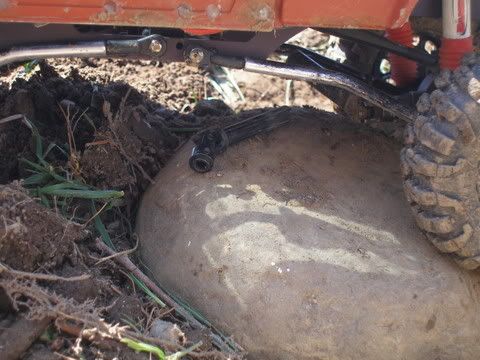 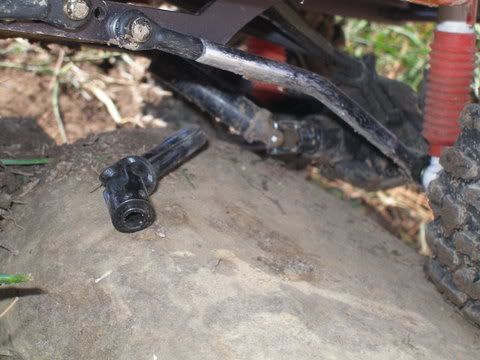 I knew I needed to build that tool box for a reason  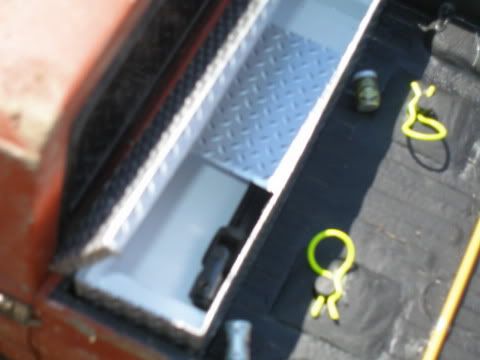 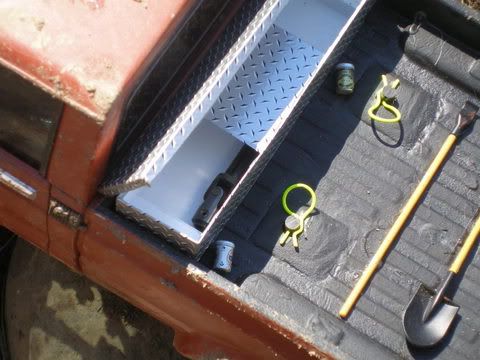 Had to limp back to the shop on front wheel peel! I think I solved the problem with the driveshaft....it now has two set screws with loctite. When I got into fixing the hook for the winch I realized that I really didn't like the existing bumper. So Out come the tools. 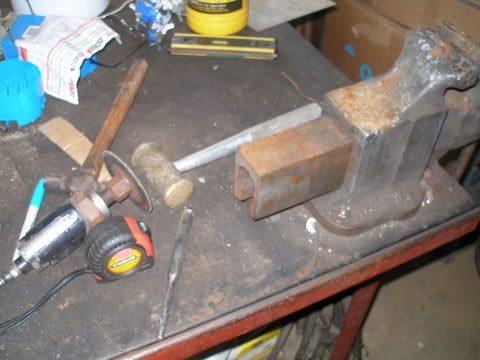 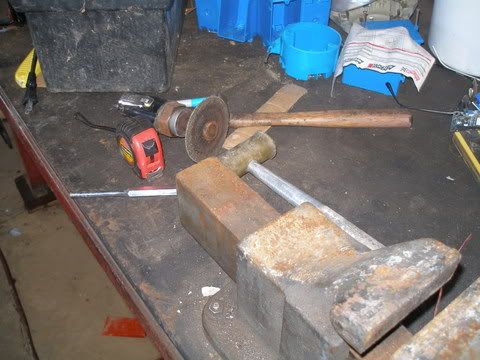 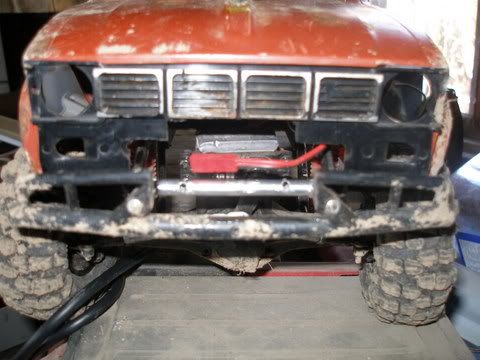 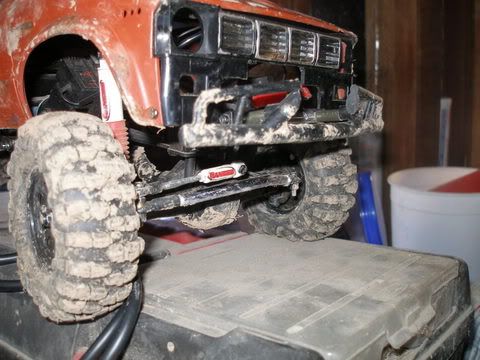 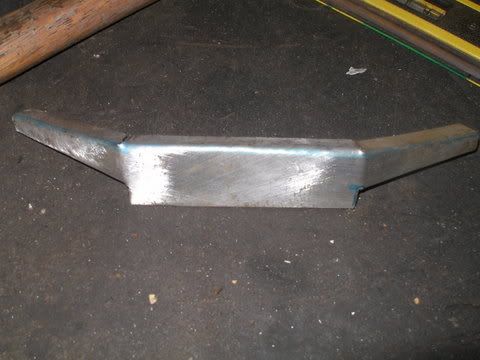 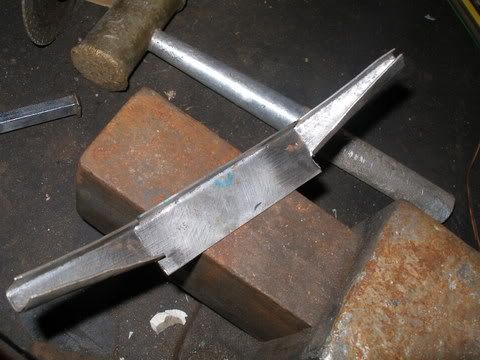  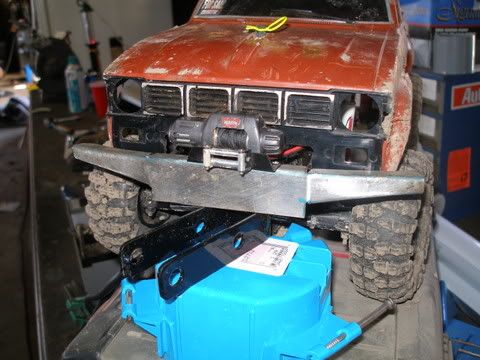 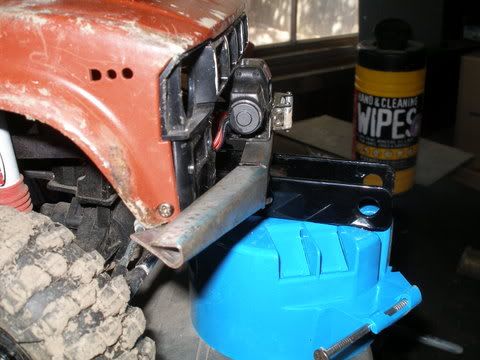 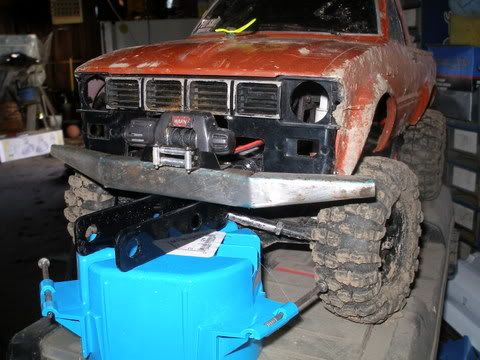 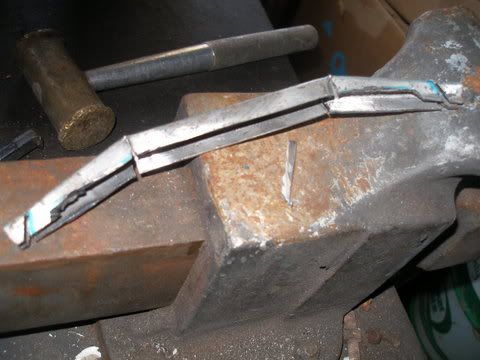 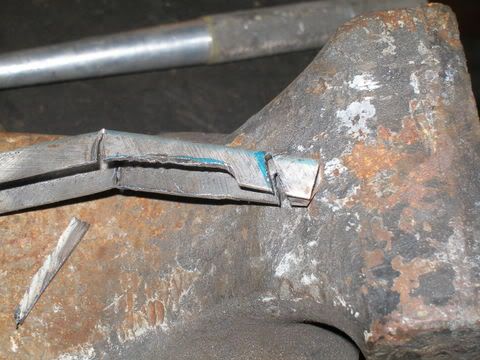 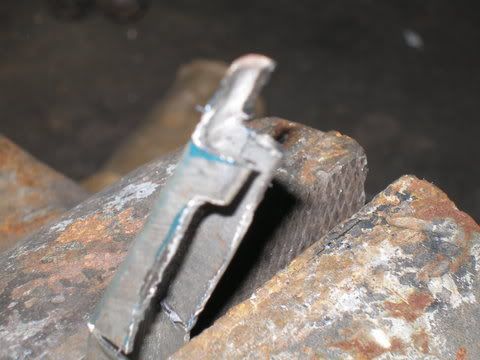 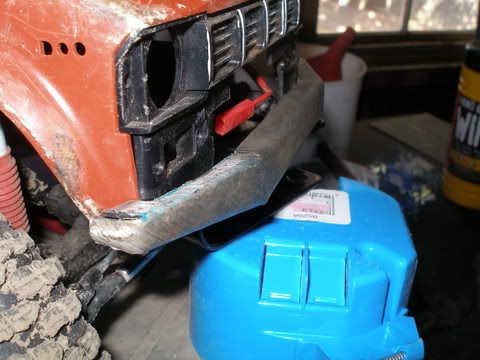 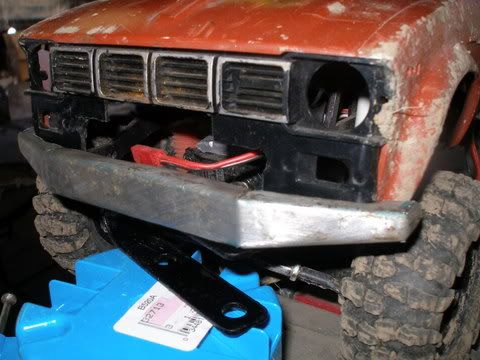 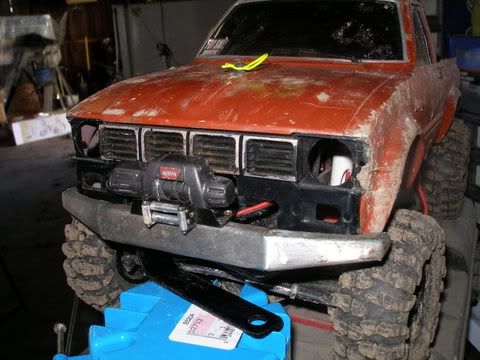 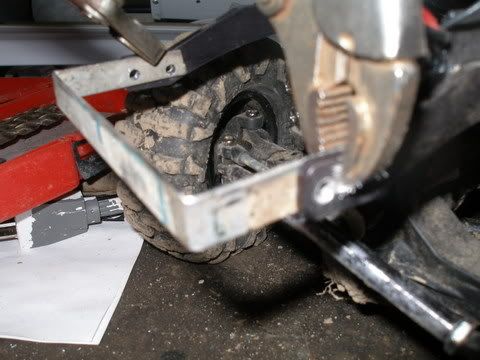 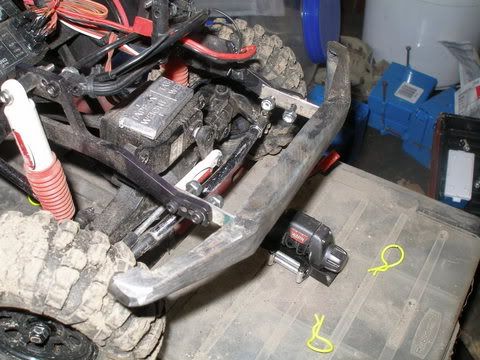  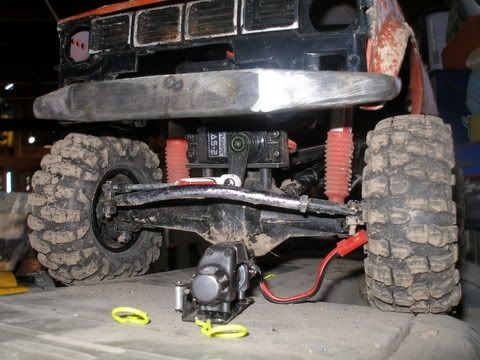 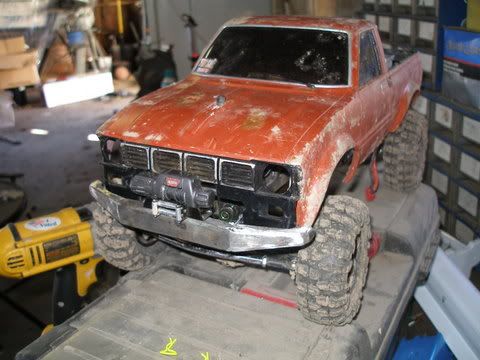 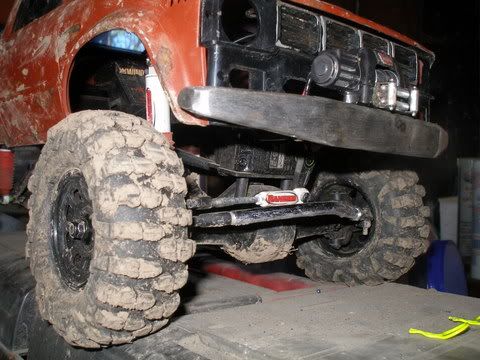 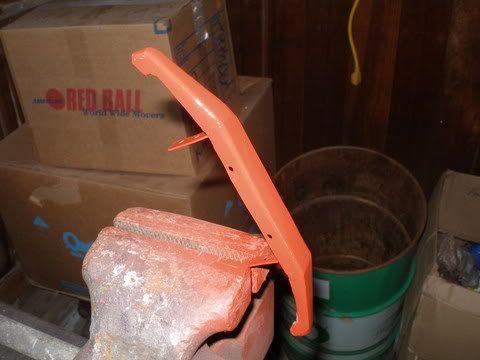 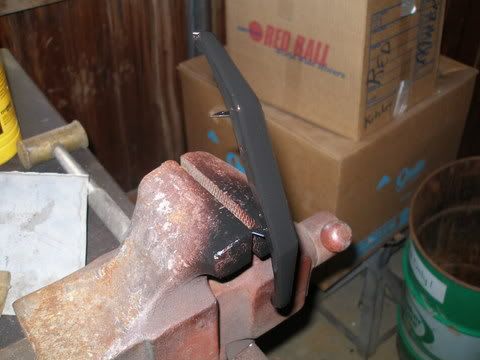 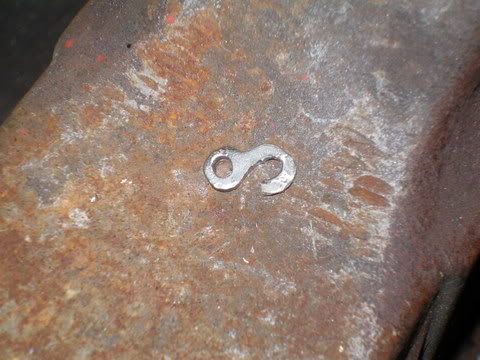 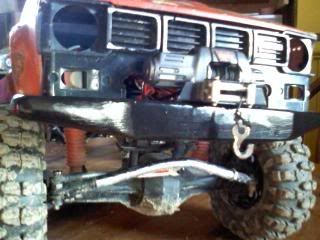 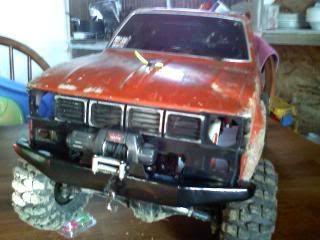 |
|
| |
|
05-10-2009, 08:00 PM
| #3 |
| Been there, done that   Join Date: Jan 2008 Location: On the road
Posts: 215
|
Looking good. What gauge metal was used for the frount bumper? I looking to do a bumper similiar to that.
|
|
| |
|
05-10-2009, 08:06 PM
| #4 |
| Rock Crawler Join Date: Dec 2007 Location: buckeye,AZ
Posts: 723
|
Looks good, it has some rock rash on it for sure |
|
| |
|
05-10-2009, 08:27 PM
| #5 |
| Rock Stacker Join Date: Mar 2009 Location: Connersville, Indiana
Posts: 59
|
Got to run the truck about six hours with no mercy and no broken parts!  Things are lookin up. Got to try out the winch on each of the boys MRC crawlers and even a giant dump truck that managed to get stuck while working on our trails 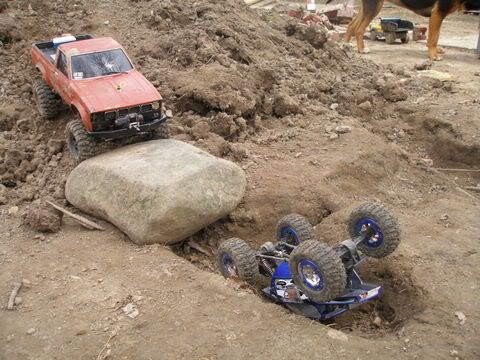 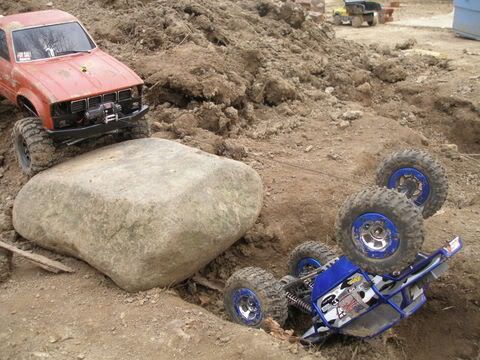 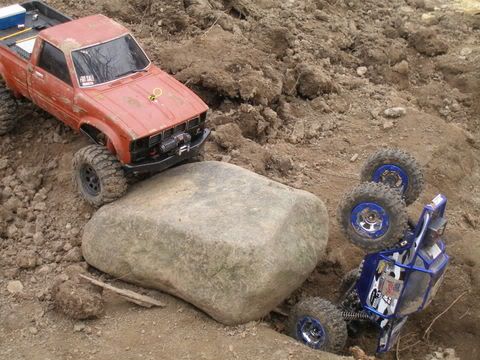 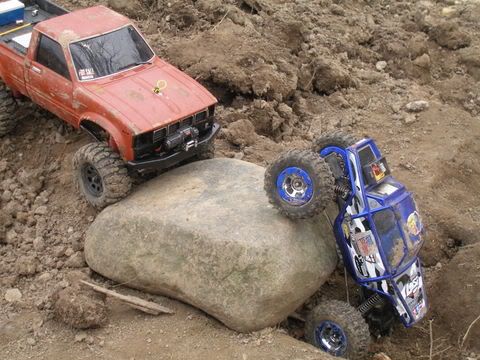 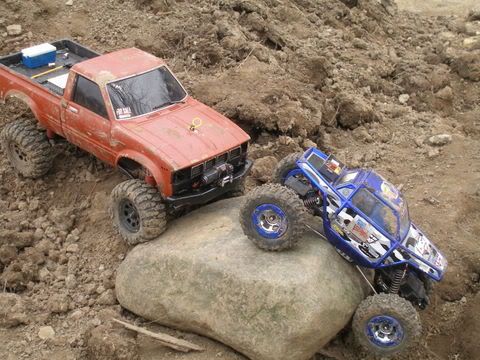 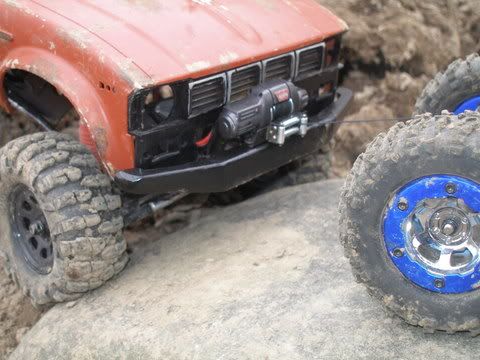 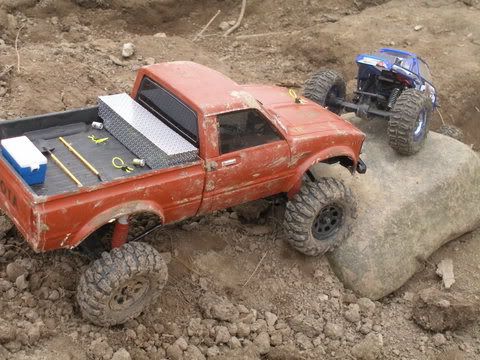 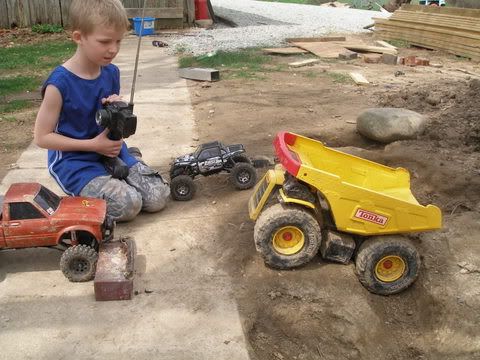 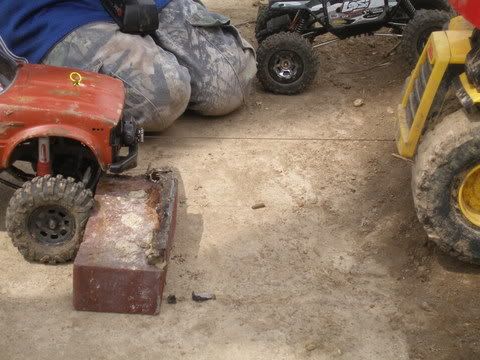 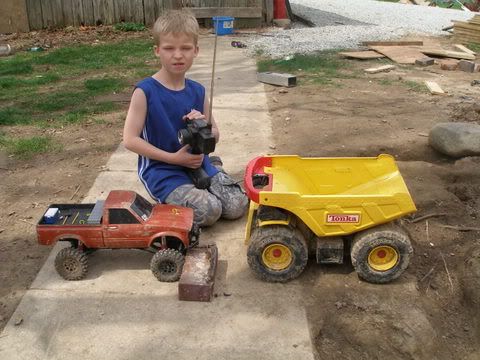 My boys are a big help |
|
| |
|
05-10-2009, 08:30 PM
| #6 |
| Rock Stacker Join Date: Mar 2009 Location: Connersville, Indiana
Posts: 59
|
Home Challenge I http://www.youtube.com/watch?v=gKHWCmiOefM Home Challenge II http://www.youtube.com/watch?v=6OTHRH6tkOk Home Challenge III ---The last part http://www.youtube.com/watch?v=O4-GcwuxzJc |
|
| |
|
05-10-2009, 08:30 PM
| #7 |
| Rock Stacker Join Date: Mar 2009 Location: Connersville, Indiana
Posts: 59
|
This video my oldest son shot. I was runnin my new Trinity 27t motor and his stock MRC tires and wheels http://www.youtube.com/watch?v=6sL6P0H3a0Y |
|
| |
|
05-10-2009, 08:32 PM
| #8 |
| Rock Stacker Join Date: Mar 2009 Location: Connersville, Indiana
Posts: 59
|
Ok... been doin alot of work lately. Been converting my oldest sons Mini Crawler to a scale Hummer and have done alot of work to the Axial scale rig. It is now completely waterproof, electronics are sealed in a plastic soap box from Wal-Mart. Redone the body mounts, trying to make it set the way I think it should. I don't remember eveything I've done to it lately, but I took it out for a test run and crashed it, so I had to replace one of the fenders.  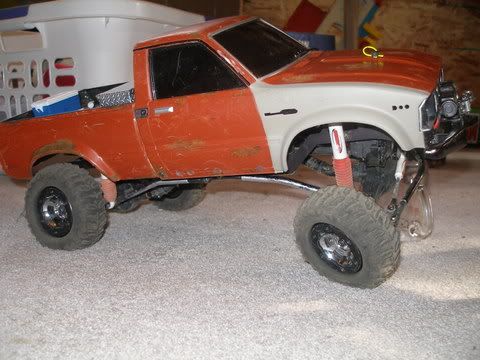  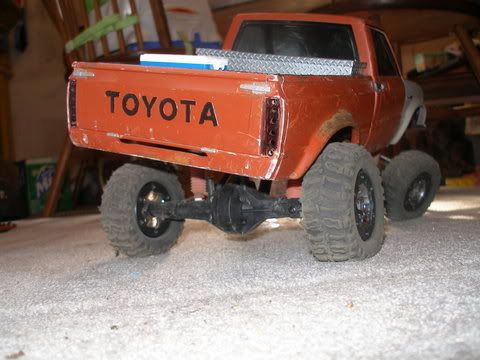 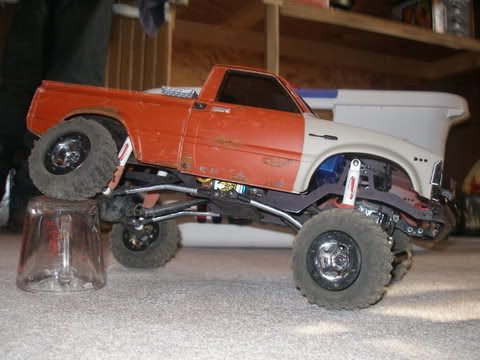 Here is an articulation shot to show you where the Toyota maxes out at  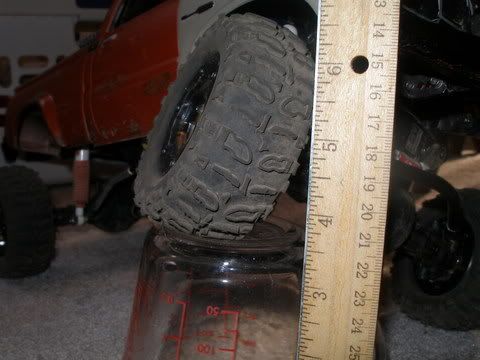 |
|
| |
|
05-10-2009, 08:34 PM
| #9 |
| Rock Stacker Join Date: Mar 2009 Location: Connersville, Indiana
Posts: 59
|
After repairing the fender I got to thinkin the old girl was gettin' pretty rusty. So I was inspired to give her a touch of paint  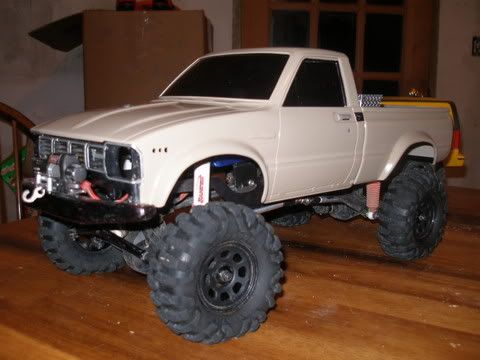 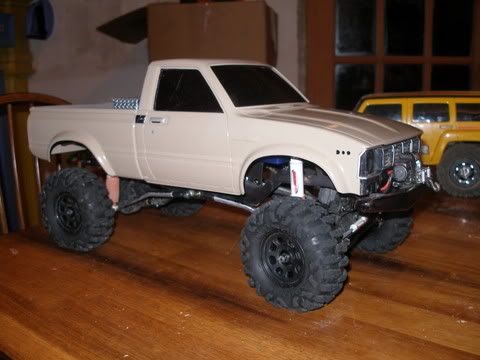 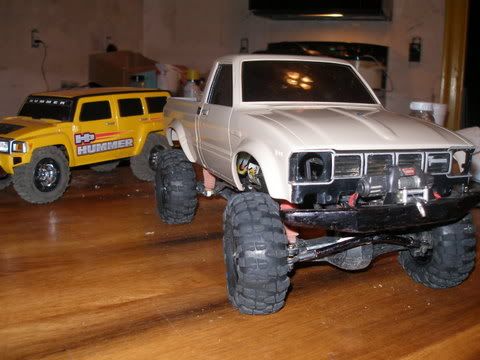 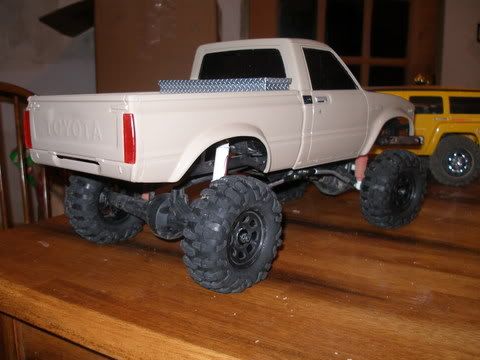 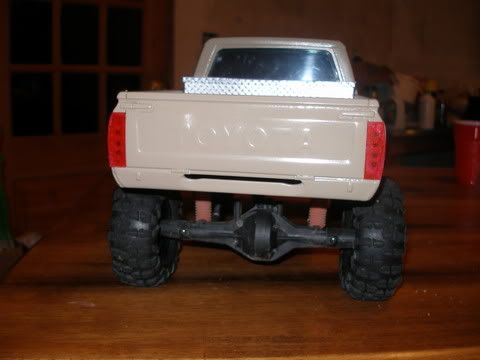 I made the tailights out of some plexi-glass and colored them with a Sharpie 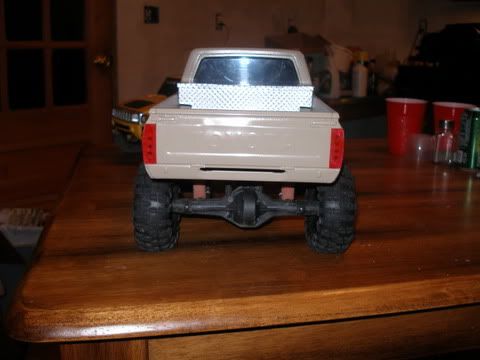 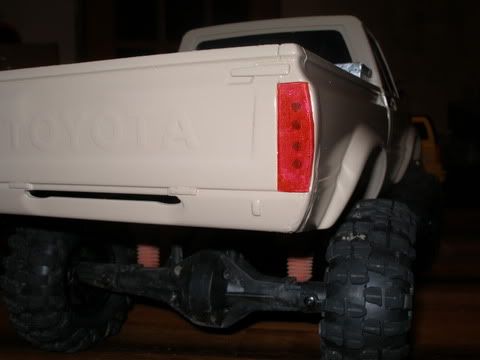 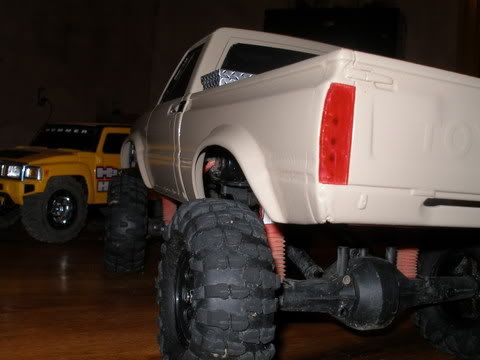 Here is a teaser shot of the MRC hummer build  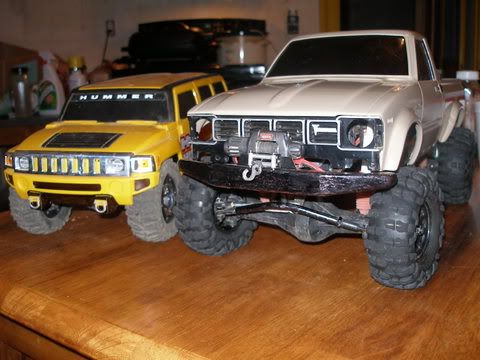 |
|
| |
|
05-10-2009, 08:37 PM
| #10 |
| Rock Stacker Join Date: Mar 2009 Location: Connersville, Indiana
Posts: 59
|
After the paint I done some more detail work and put on a set of mud slingers and a set of aluminum beadlocks. 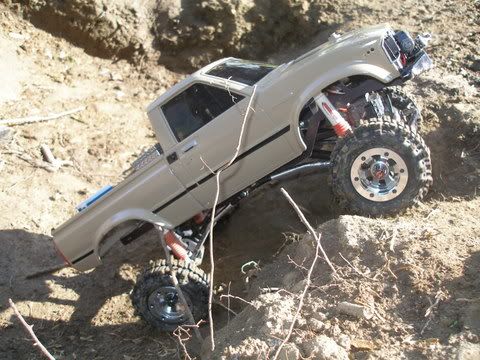 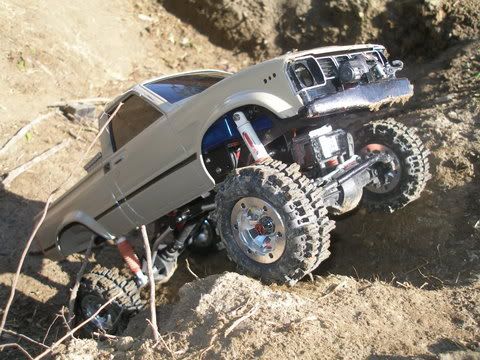 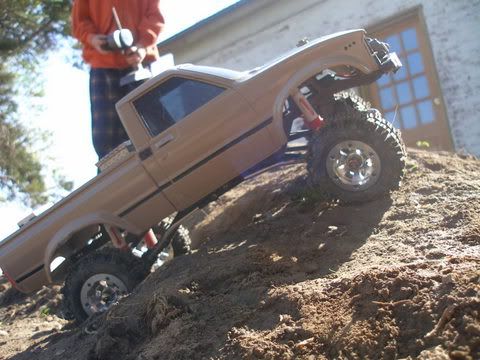 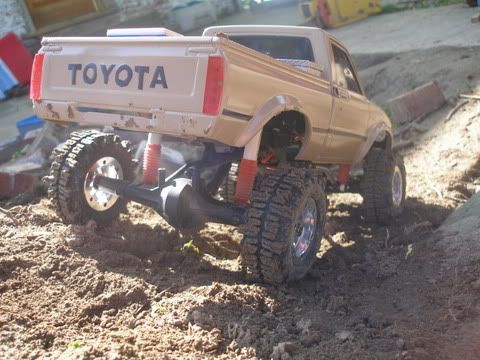 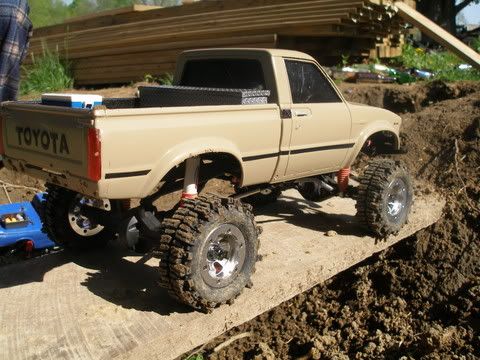  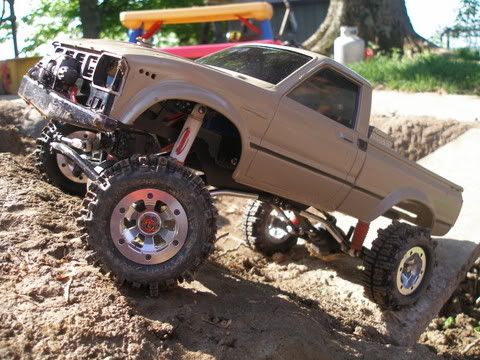 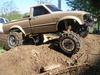 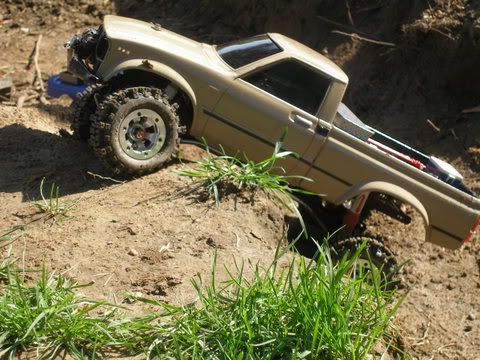 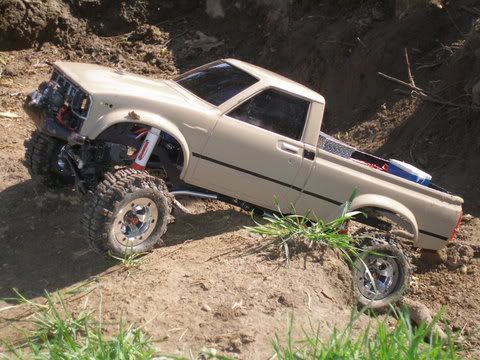 My middle son likes to be part of the story too. Here is a pic of his Dodge bodied Losi. 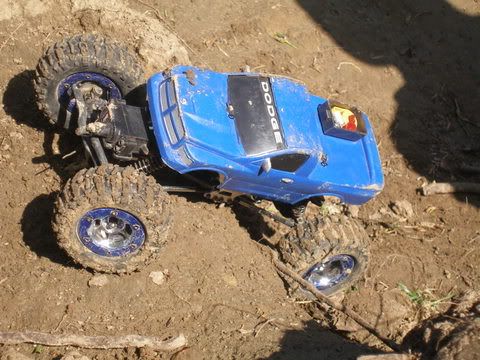 And here is another "before" pic just for good measure  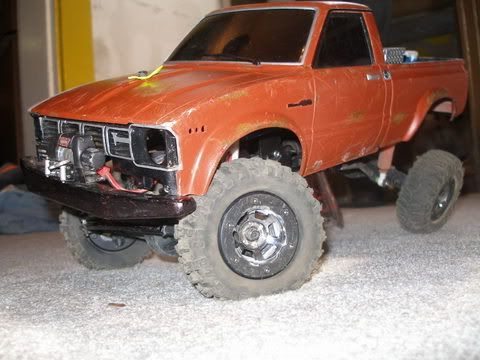 |
|
| |
|
05-10-2009, 08:49 PM
| #11 |
| Newbie Join Date: Apr 2009 Location: Baden
Posts: 18
|
Great job on the Toy. |
|
| |
|
05-10-2009, 10:05 PM
| #12 | |
| Rock Stacker Join Date: Mar 2009 Location: Connersville, Indiana
Posts: 59
| Quote:
| |
|
| |
|
05-10-2009, 10:07 PM
| #13 | |
| Rock Stacker Join Date: Mar 2009 Location: Connersville, Indiana
Posts: 59
| Quote:
 | |
|
| |
|
05-10-2009, 10:08 PM
| #14 | |
| Rock Stacker Join Date: Mar 2009 Location: Connersville, Indiana
Posts: 59
| Quote:
| |
|
| |
|
05-11-2009, 08:00 AM
| #15 | |
| Rock Stacker Join Date: Mar 2009 Location: Connersville, Indiana
Posts: 59
| Quote:
| |
|
| |
|
05-11-2009, 09:04 AM
| #16 | |
| Been there, done that Join Date: Jan 2008 Location: On the road
Posts: 215
| Quote:
| |
|
| |
|
05-11-2009, 10:05 AM
| #17 |
| I wanna be Dave Join Date: Aug 2008 Location: cape crud... will you be my friend
Posts: 2,102
|
that rig looks familiar. grat job with the mods on it. |
|
| |
|
05-18-2009, 12:40 PM
| #18 | |
| Rock Stacker Join Date: Mar 2009 Location: Connersville, Indiana
Posts: 59
| Quote:
| |
|
| |
|
05-18-2009, 12:40 PM
| #19 | |
| Rock Stacker Join Date: Mar 2009 Location: Connersville, Indiana
Posts: 59
| Quote:
Thank ya | |
|
| |
|
05-18-2009, 12:52 PM
| #20 |
| Rock Stacker Join Date: Mar 2009 Location: Connersville, Indiana
Posts: 59
|
I've done alot of little things to the Yota lately... lowered the body some more, narrowed the track width about a half inch, water proofed everything again, relocated the battery, got some weight in the new tires (front only), modified the steering slightly and just alot of routine going through and tightening things up! One thing that i cannot figure out, and maybe some of you can help me with, the truck goes slightly faster in reverse than it does forward, maybe 20% faster. I am running sidewinder esc, 27 turn Trinity motor and a JR Racing XR3 radio. The truck also did this whenever it had a 65 turn Integy lathe motor. If I reverse the wires on the motor, it will go faster in reverse still even though your actually pushing the trigger forward on the radio. Whenever I try to reverse the servo on the radio, the truck will constantly run in reverse at approximately 50% speed unless you pull the trigger to go forward, then it will stop instead of going forward. I've messed wih the throttle trim and everything I can think of but no luck?? So until I get it figure out maybe I should mount the body backward, then it would be faster forward  |
|
| |
|
| |


 Linear Mode


