| |
| |||||||
 |
| | LinkBack | Thread Tools | Display Modes |
 12-15-2009, 11:13 AM
| #1 |
| Pebble Pounder Join Date: Jan 2007 Location: Arendal,Norway
Posts: 125
|
Forgot I hadn't postet this build here. My build started over @ scale4x4.. I got hold of a New Brigth Ford F150 body from Dale, thanx mate  Wild Trail delivered the body to me yesterday when I was on a trip to his town. Thanx very much to you too Pål Spec on the build. New Brigth Ford F150 body. Bruiser chassis with Chino skid. Pede gearbox. Leafed rear and coil in front. TLT or HL axles.. Hope I can finish this build before the deadline this time  This rig was the trigger and inspiration for this build. Pantablo buildt it first and the owner finished it afterwards. Sick rig 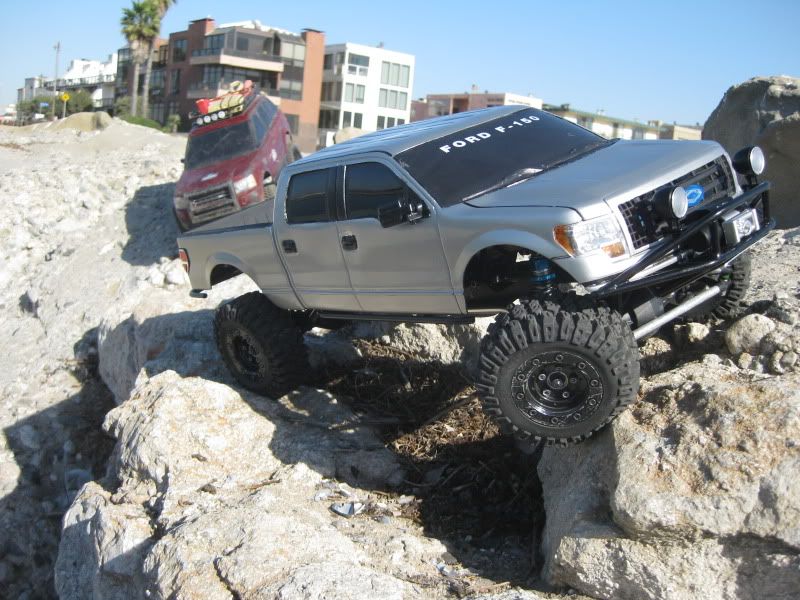 I have an idea how this build could look like when finished, but I will reval that later... Bone stock body as I recivied it yesterday.. 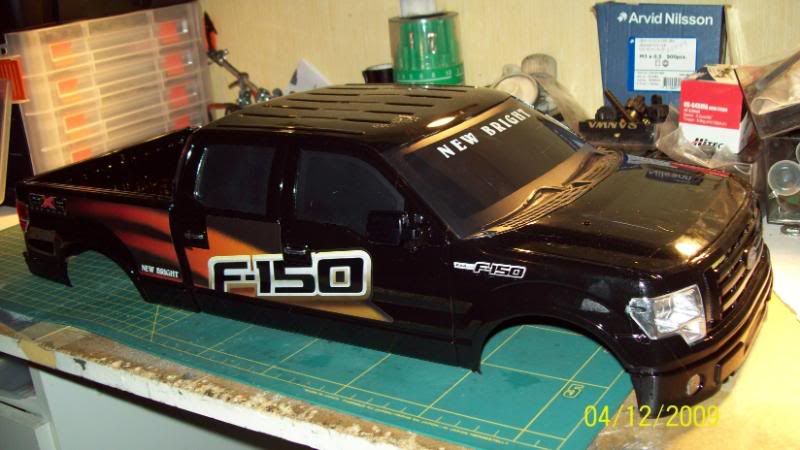 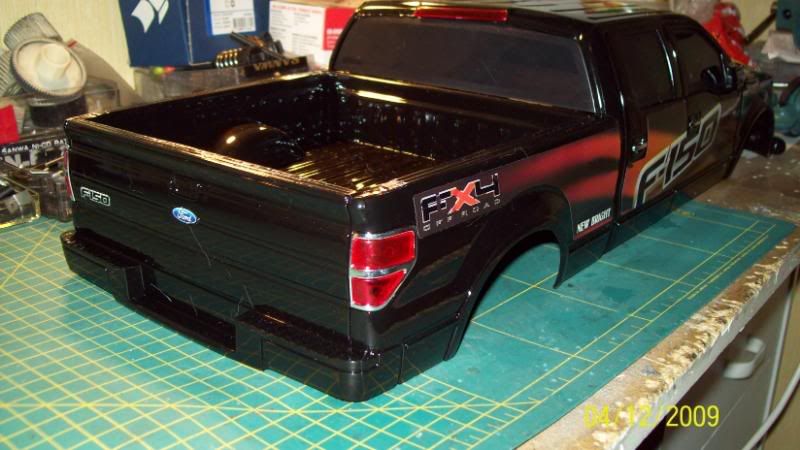 The body have got a smack in the roof under transport from over the pond, but it can be fixed. 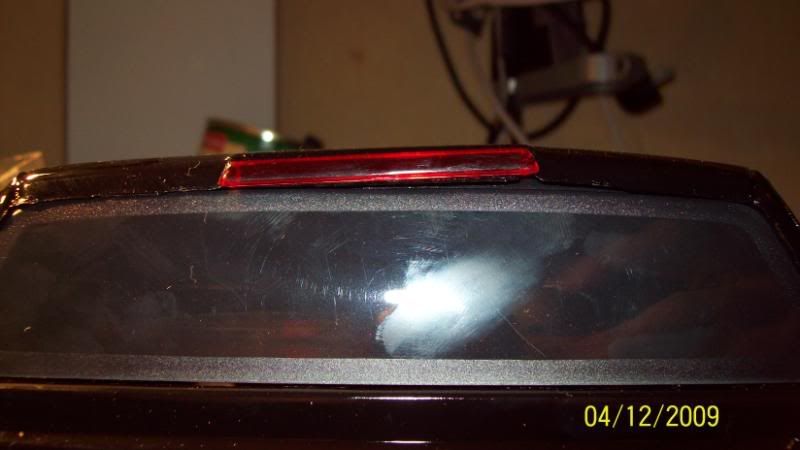 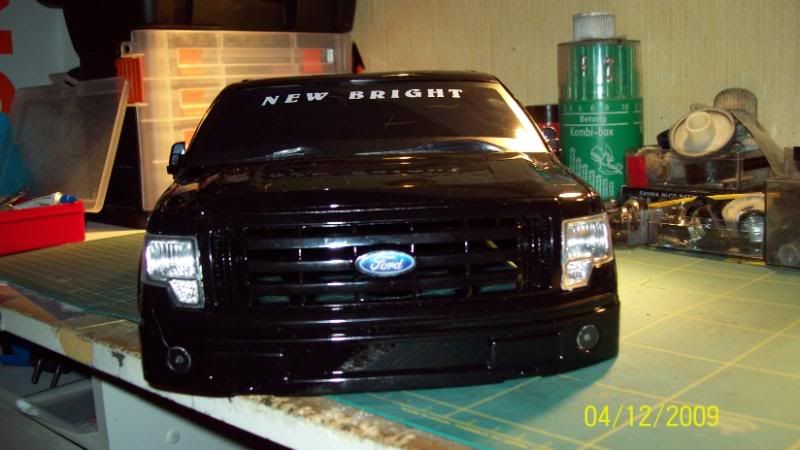 I want to do the same as Pantablo did on the F150, that is to paint on the bedliner.. 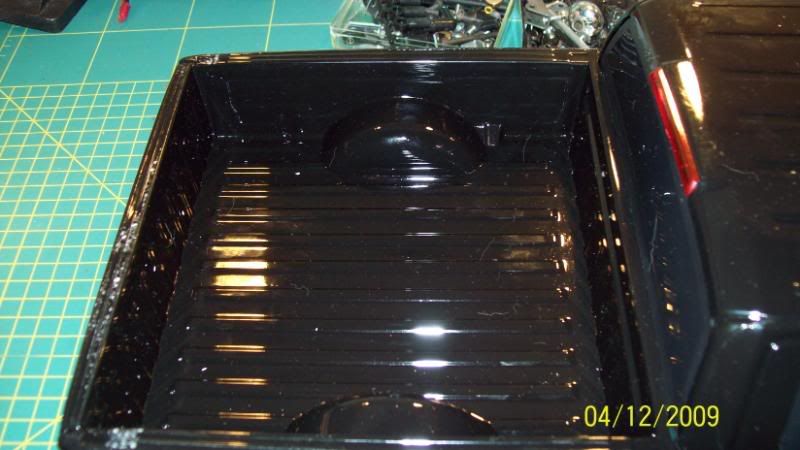 Most of the stock bodymounts will have to be removed. 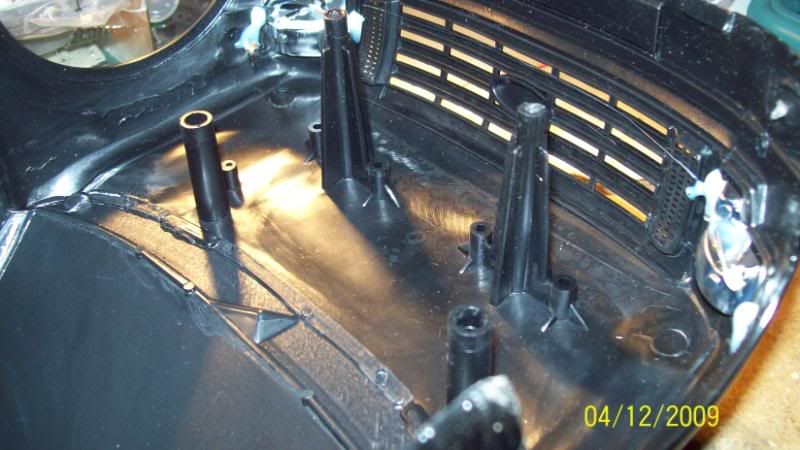 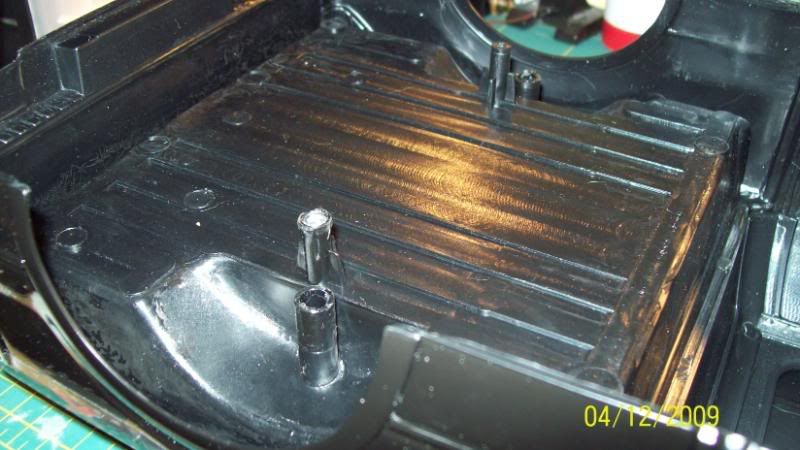 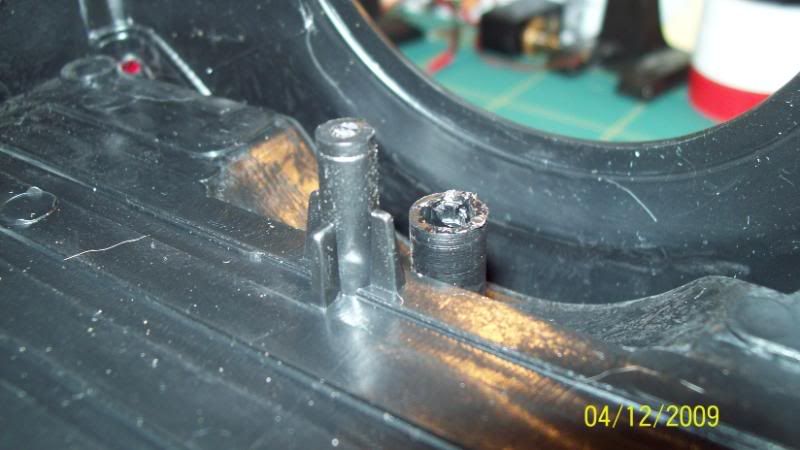 It looks like it is enough space to put in some small LED's. 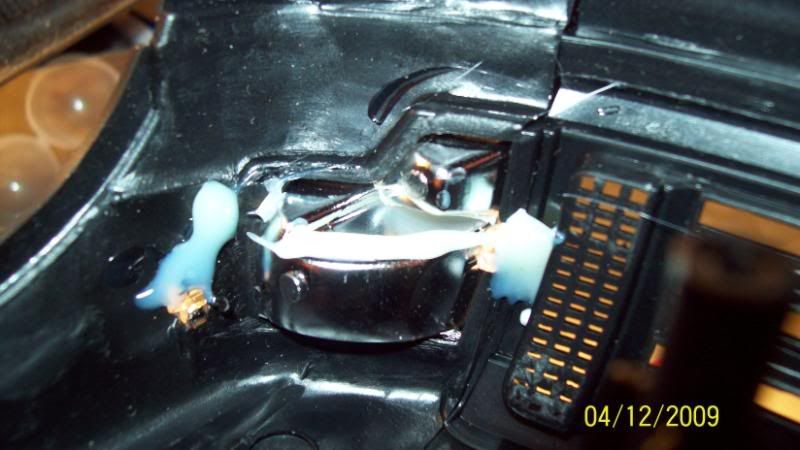 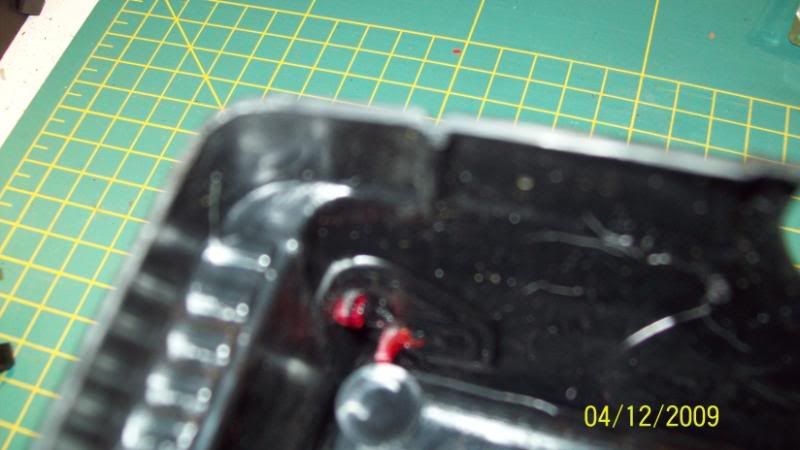 Pics of the Bruiser frame with Chino skid. 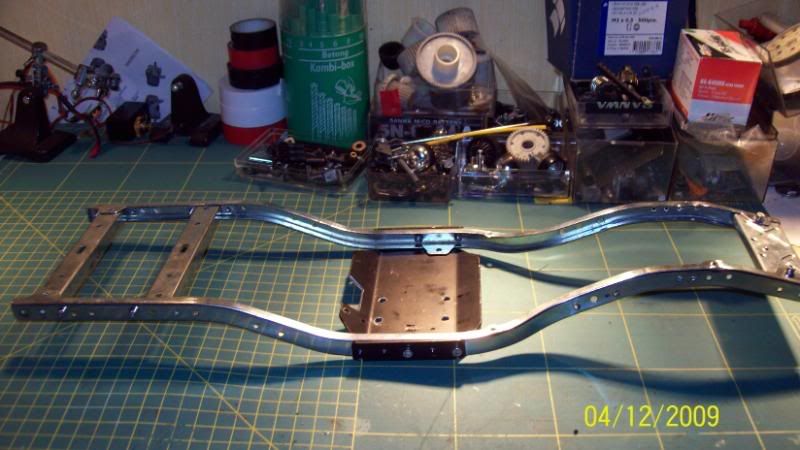 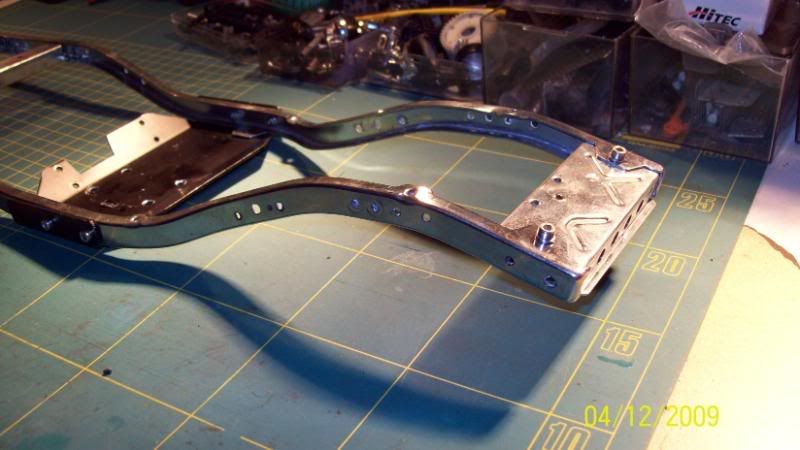 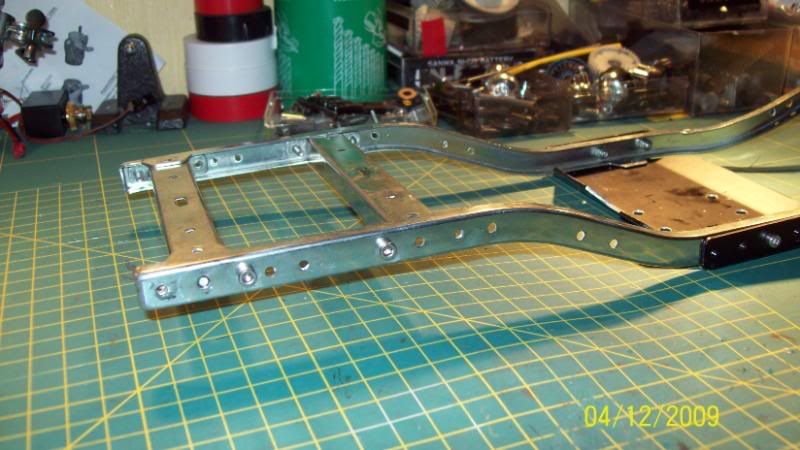 I think this is gonna be allrigth  with some removal of the body posts. with some removal of the body posts.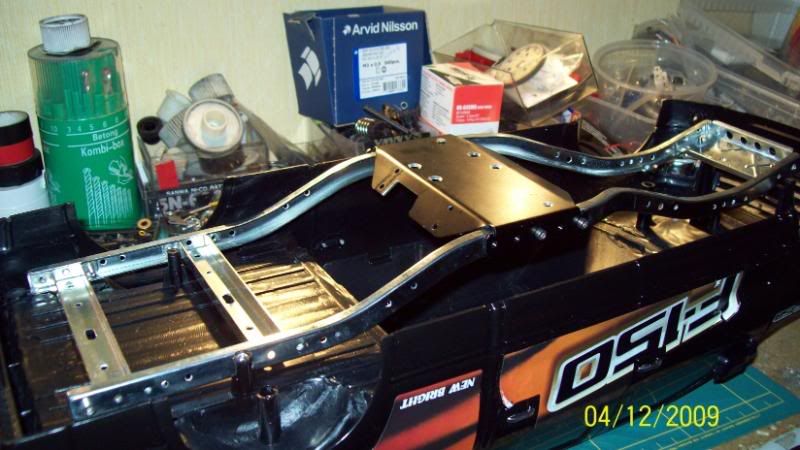 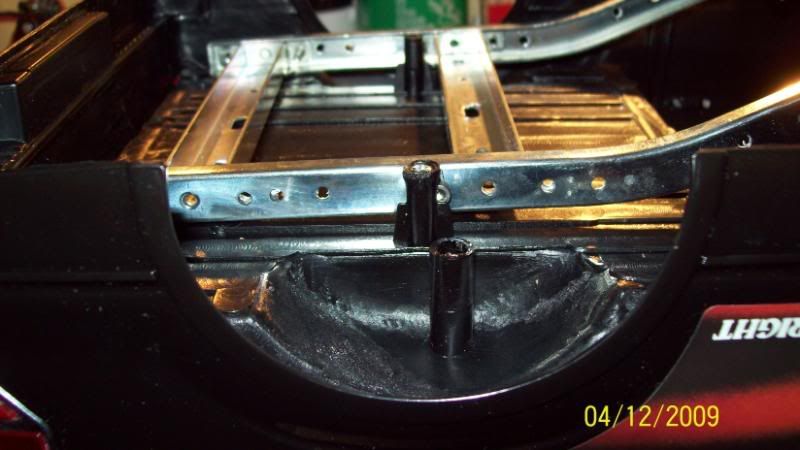 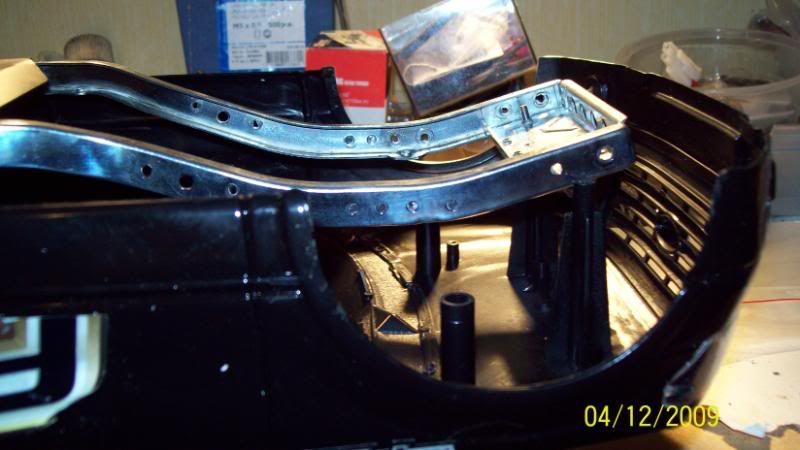 Nice to have mirrors that can fold in  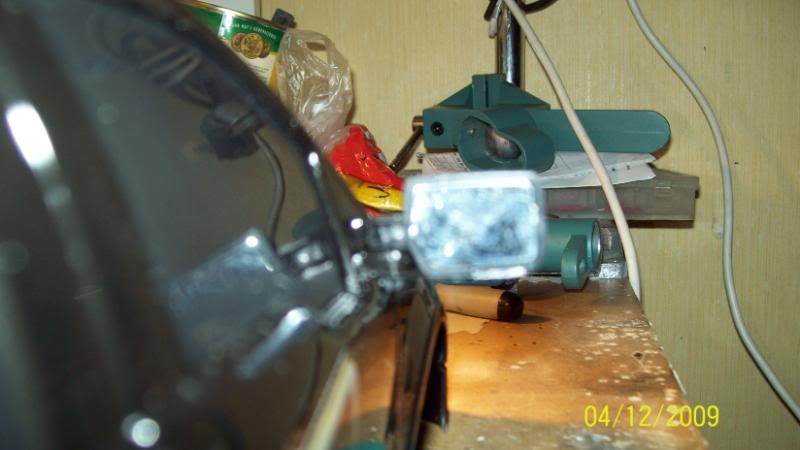 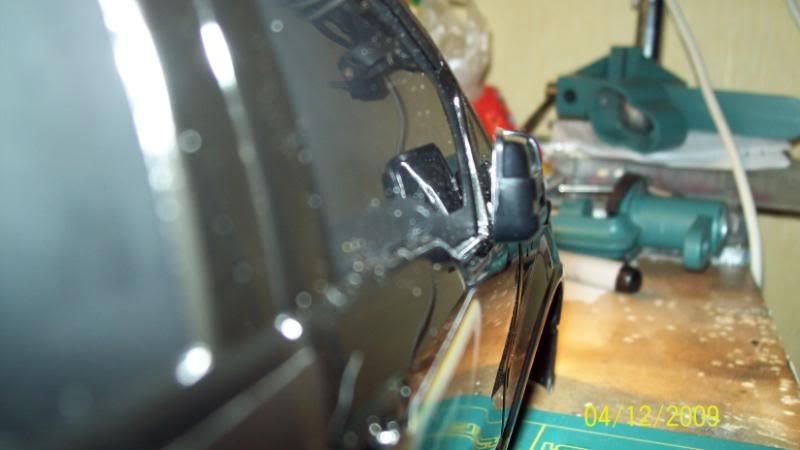 My hotgun was usefull to remove the decals.... 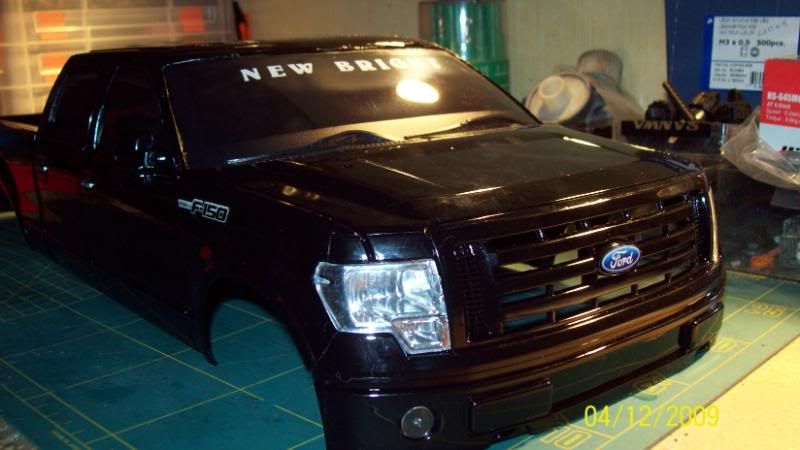 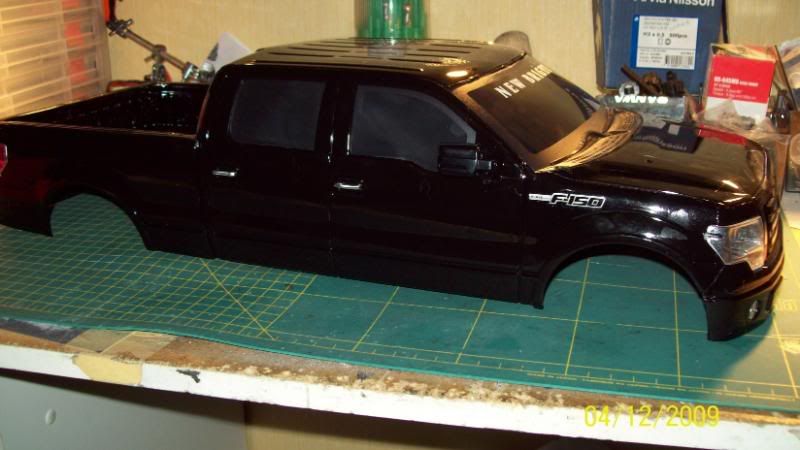 The Dremel went for some work when I got some snack.  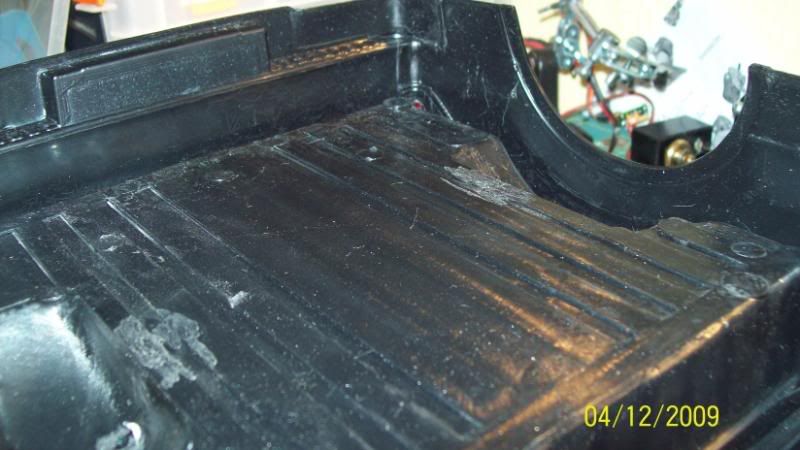 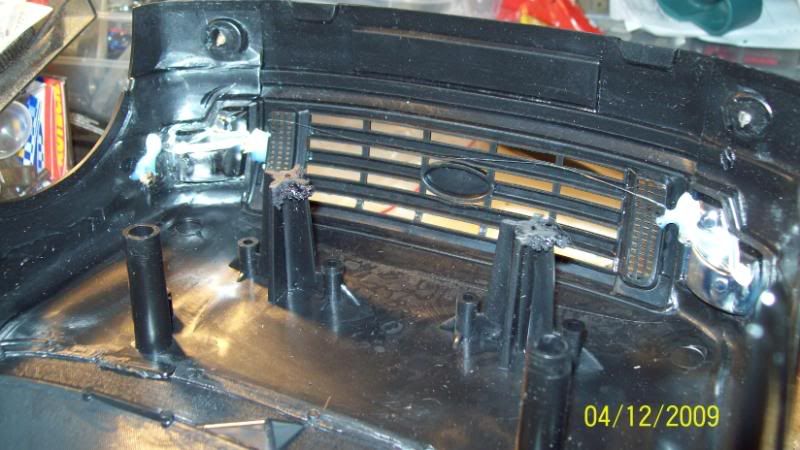 I missing the leaf hangers, shackles and some other bits so I have to get them, or make something myself... Time will show if I can pull this through  Havn't build anything the last couple of days as I'm waiting for some suspension parts.. So not much to take pics of.. But I have been surfin the nett to find pictures of what I have in my head.. The rig will be 2 in 1. The Theme is................................................ drums please  SWAT VEHICLE  Emty pick up is not that thrilling so I have to make som scale items. I think I gonna make a ladder rack. Something like this. 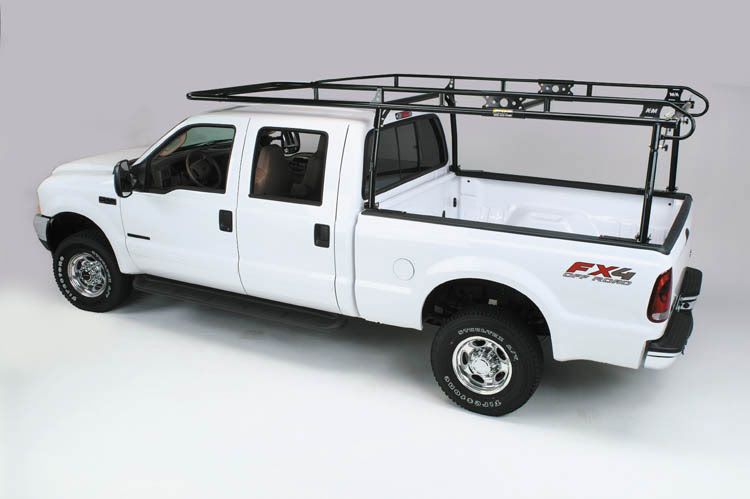 My plan is to make the legs to go down in the bed. And since I'm not any good at bracing, this will be in styrene. 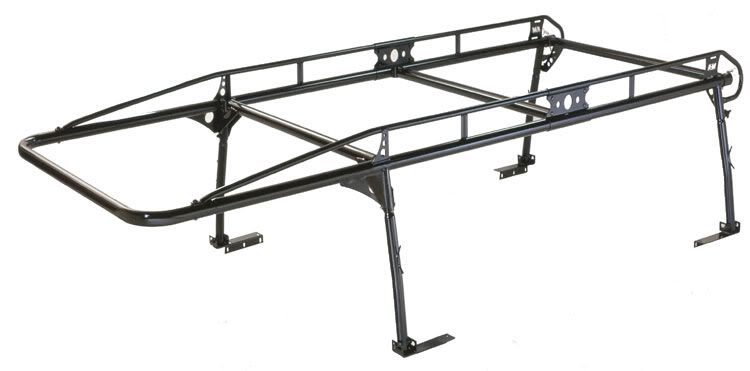 And there will be cargo boxes in the bed, the SWAT guys need space for their equipment  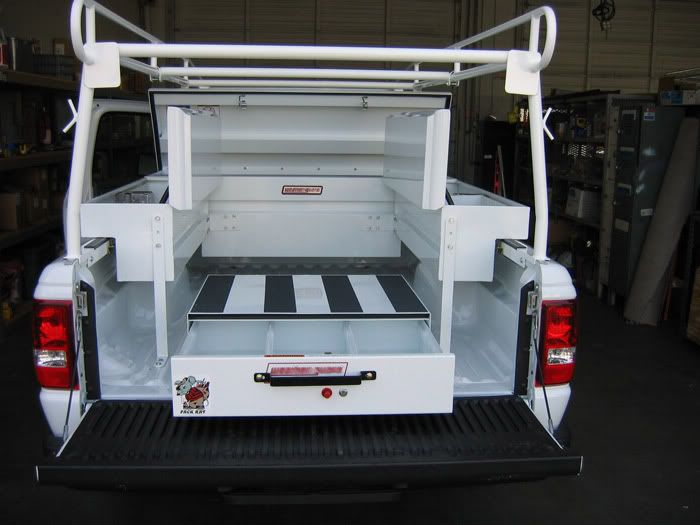 The rig will have flat black paint on the body, and white details as rock sliders, ladder rack etc... Version 2 of same rig: I have long been intrested to build a camper, so ver. 2 will have a detachable camper. In my fantacy I think the SWAT team have to travel a long distance to deal with a long term hostage situation etc  I want to build a crossover of these campers: 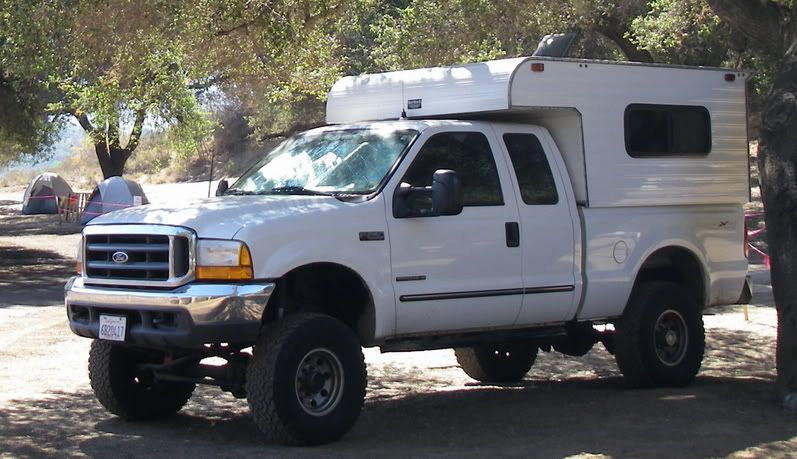 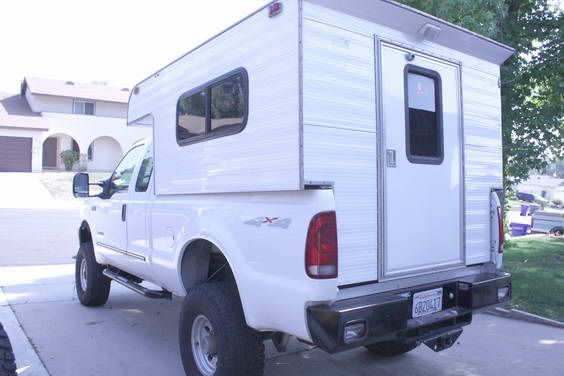 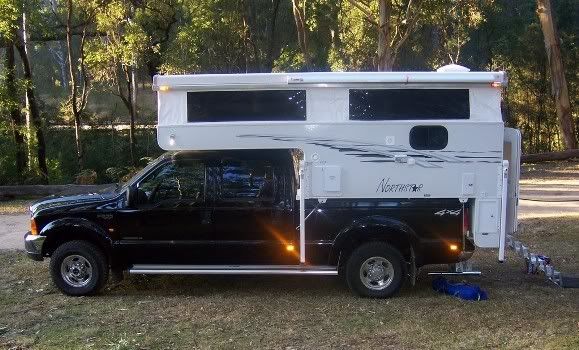 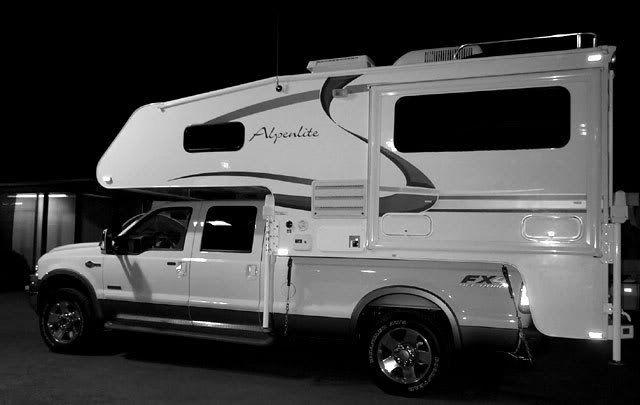 The SWAT theme is very applicable as there is a very wide variation of vehicles to make. You have small cars, armoured vehicles, airport rigs etc.. This is an ambulance 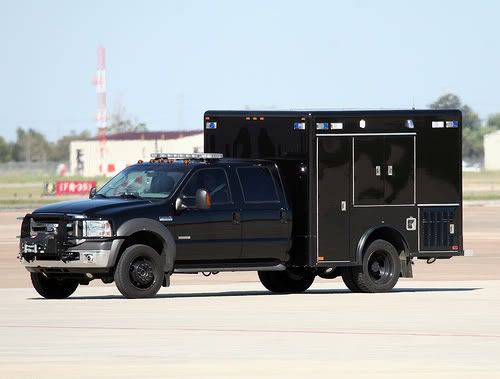 Got a few parts in the mailbox today so could build some more.. Made up some temporary links og mounted the leafs in the rear. 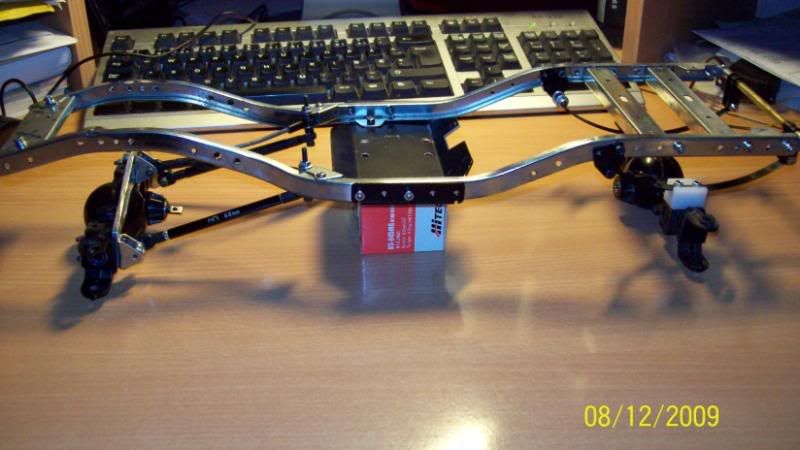 I realy want to get some Bruiser leaf mounts to get the rigth higth, but for time beeing, some Diaz leaf lift blocks have to do the job. 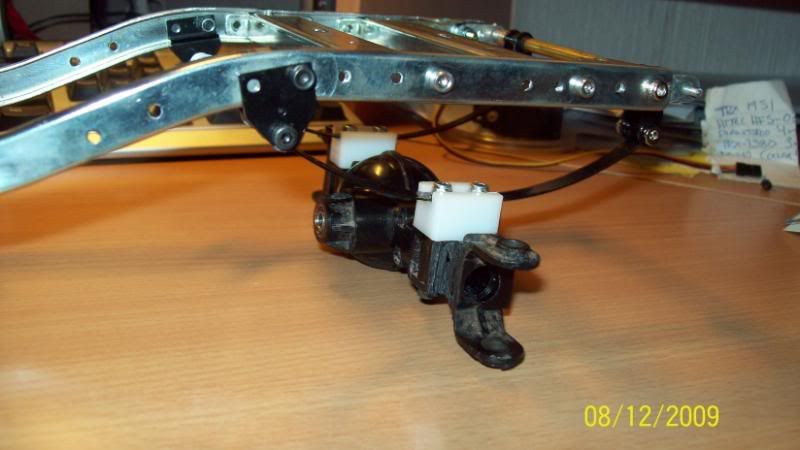 There will be 4 or 3 link in front of this rig because of the HL axles. 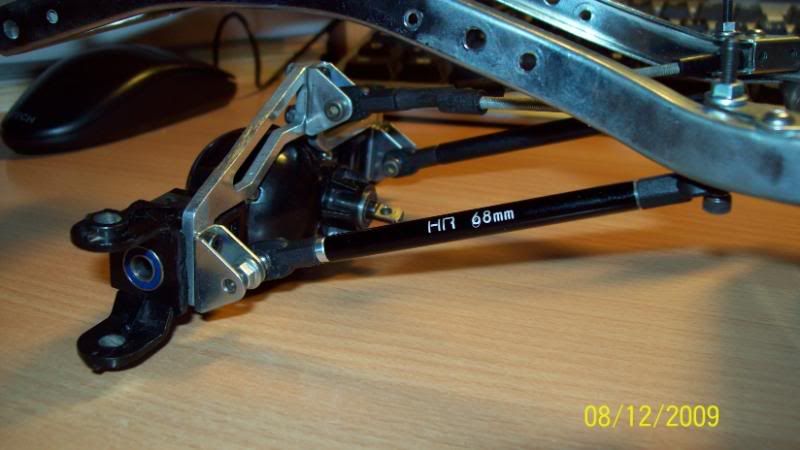 I wanted to use the Trail finder leaf mounts in front for the links, but the links was too short and the axle did some funny movments under suspensiion cycle up and down. Nor did I want to drill more holes in the frame than there already was. I solved the problem by using some TLT link mounts mounted rigth in front of the skid. 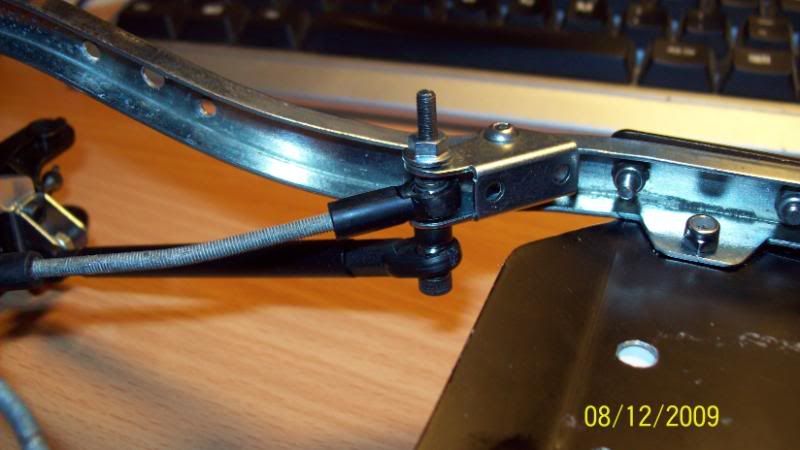 Top wiew. 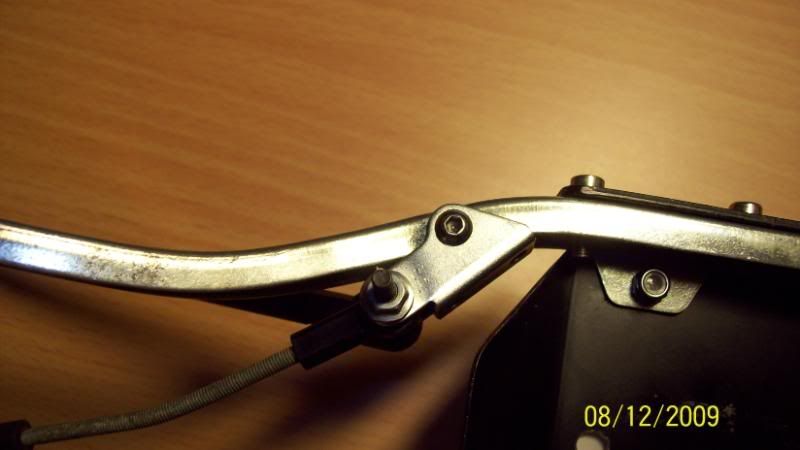 Used some spacers to get the rigth distance for the leafs. Dodn't want to make a braket between the leaf and the axle. I also had to lengthen the frame a tiny bit to get the correct angle for the shackles. 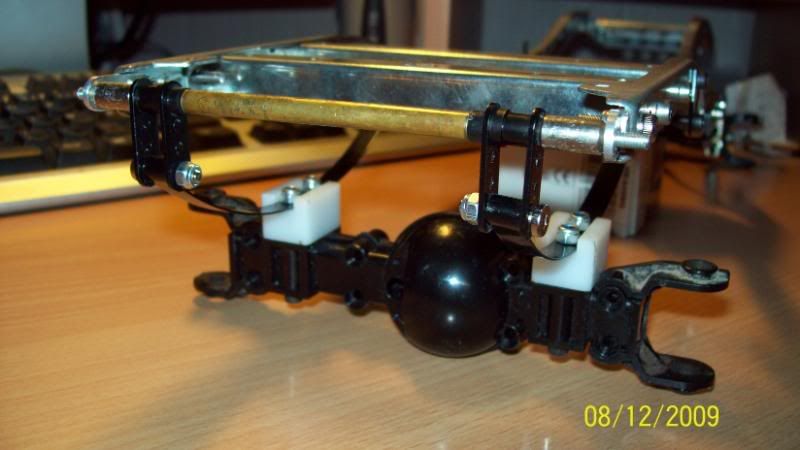 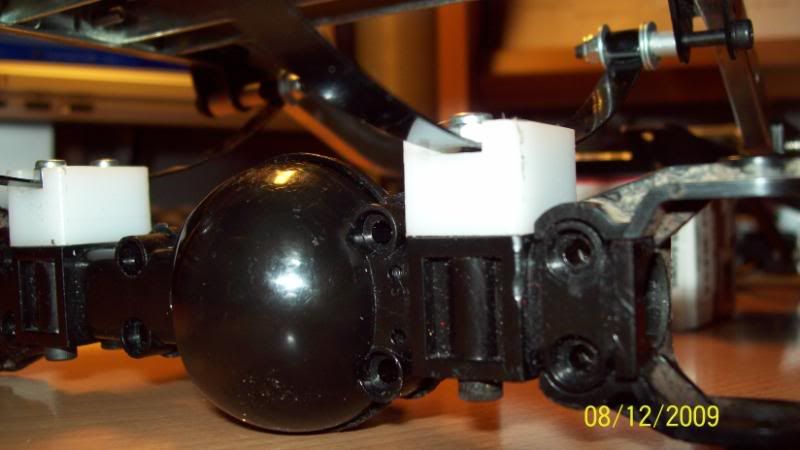 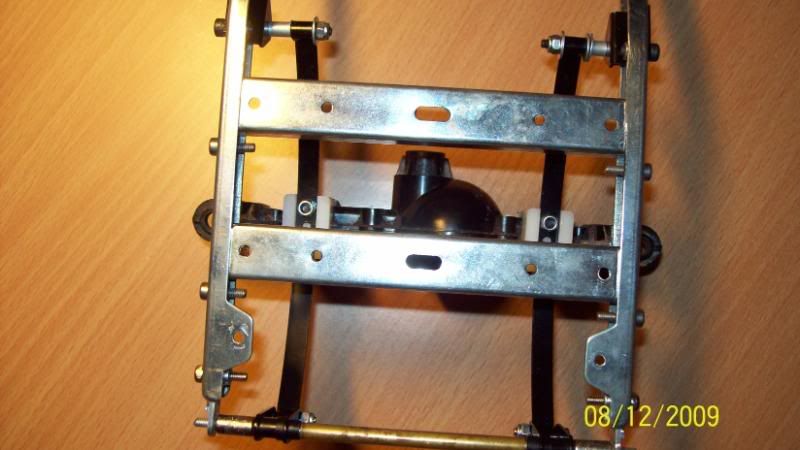 The top front links are Y shaped, but I think I gonna swap it out for a 4 link system, due not freely enough movments.  Frame fit nice in the rear. 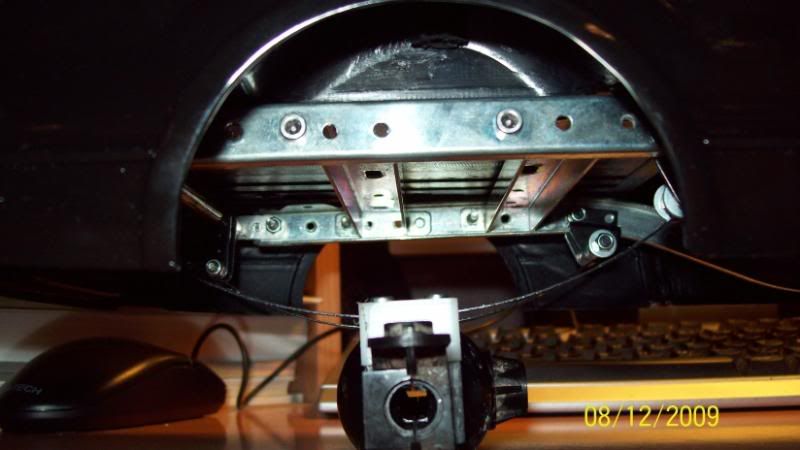 Some few mm change in the front suspension and it is good to go 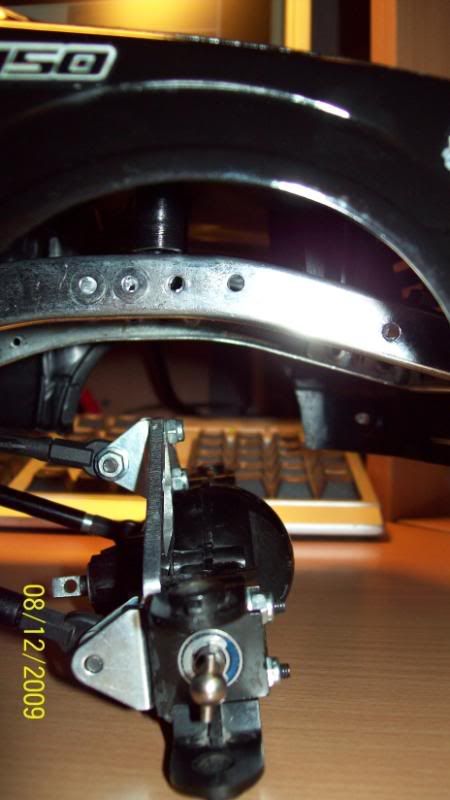 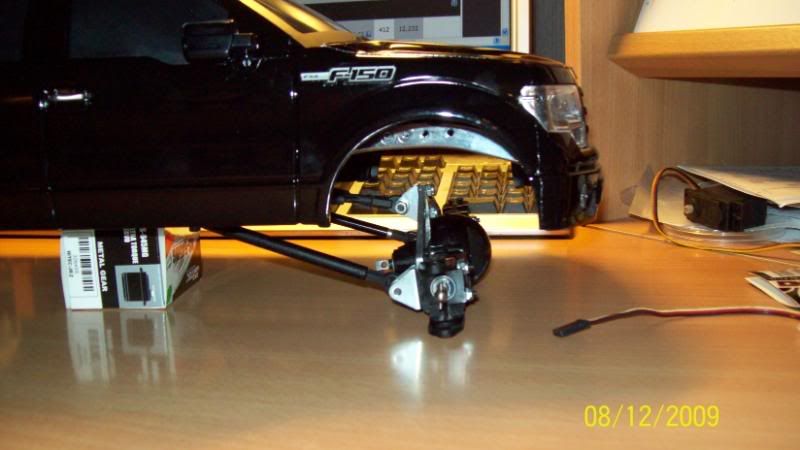 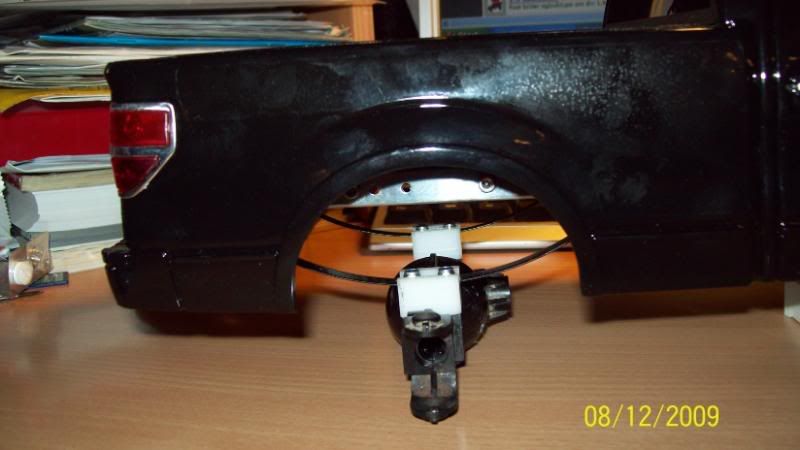 I think the Bruisert frame fit this body really good. If I had to swap the frame out, I would had gone for a MSD UTE 13" chassis. 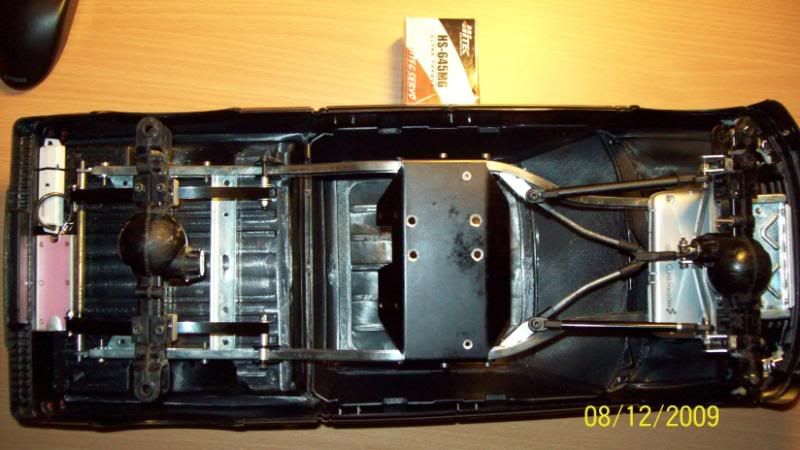 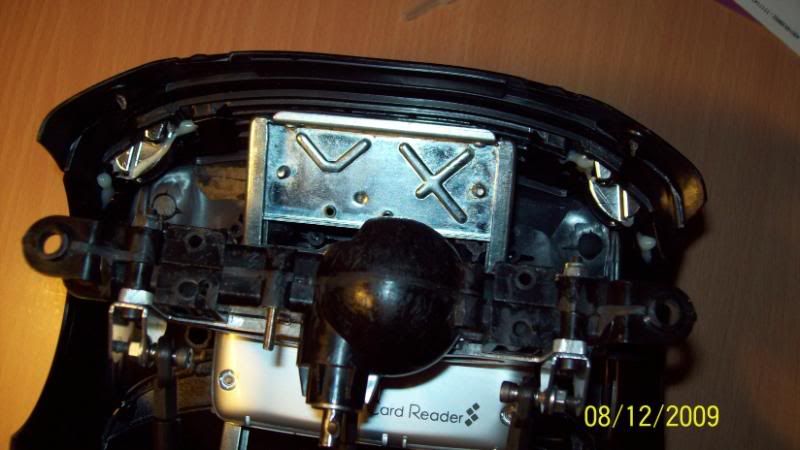 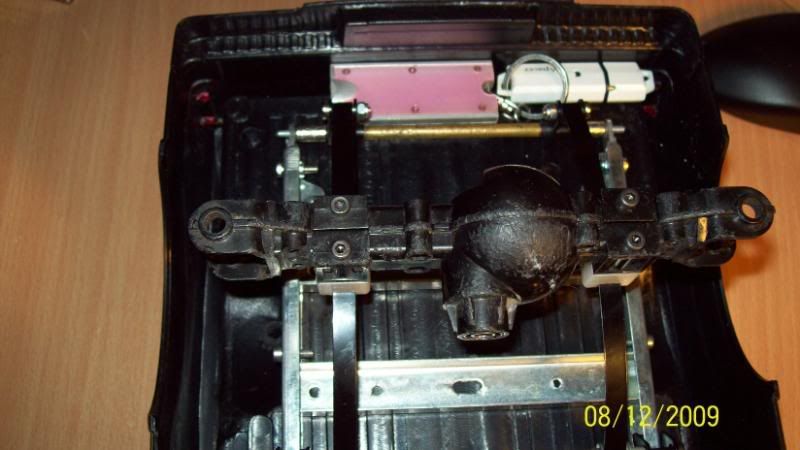 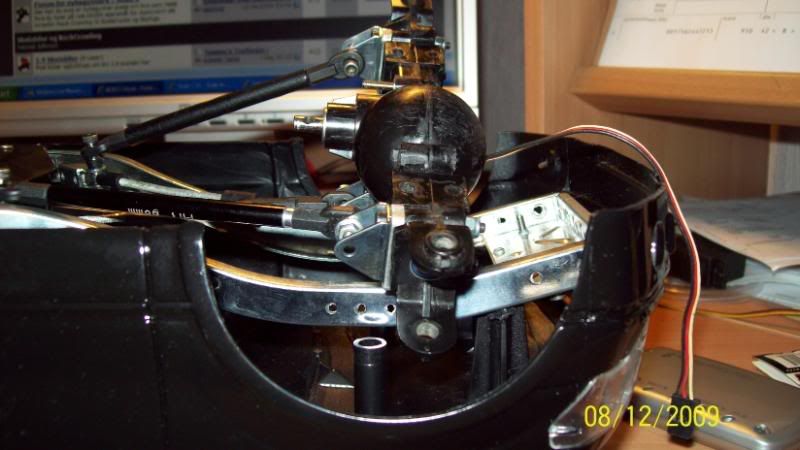 For now this is just mock up, have to change a few links, but it's getting there. Missing the last HL axle so I can test with the wheels on. Do someone have some spare king pin collar for the HL axles??? I'm short by 4 pieces. Soon a roller  I'm on low stock of things to build this rig from. I have to look into all my big and small part boxes to find screws, drive pins, hexes etc.. Must go and buy some parts soon 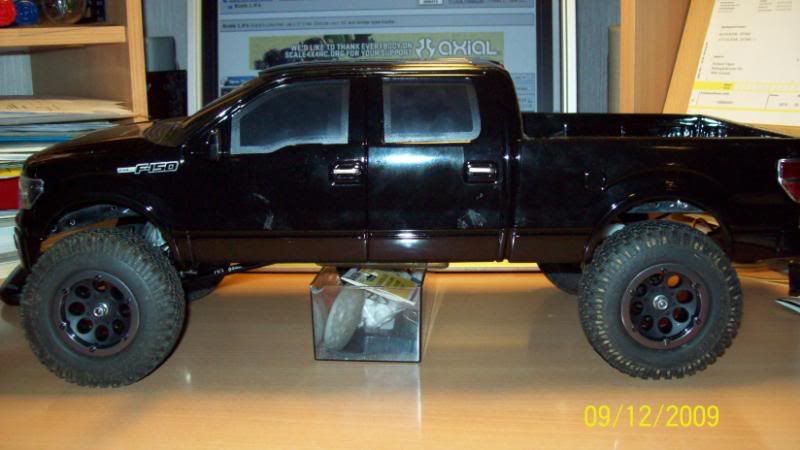 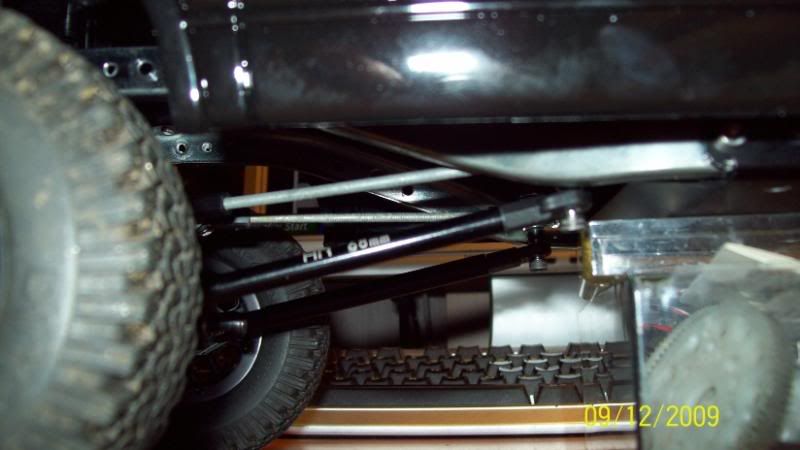 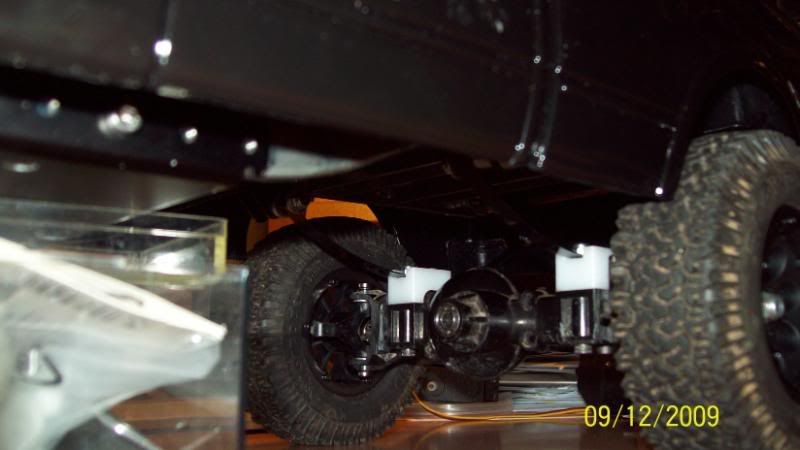 The pic is lying a bit, the tires stick a bit more than it apear, but not much. 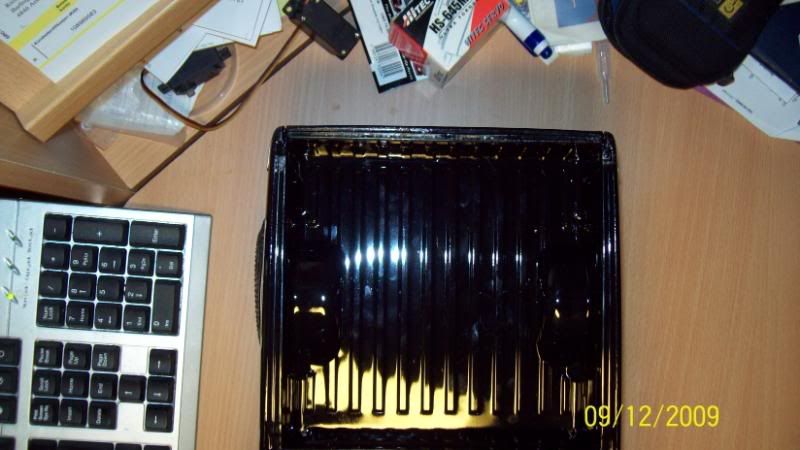 From the side..  The tires sticks a bit more out in front, but just by an margin. 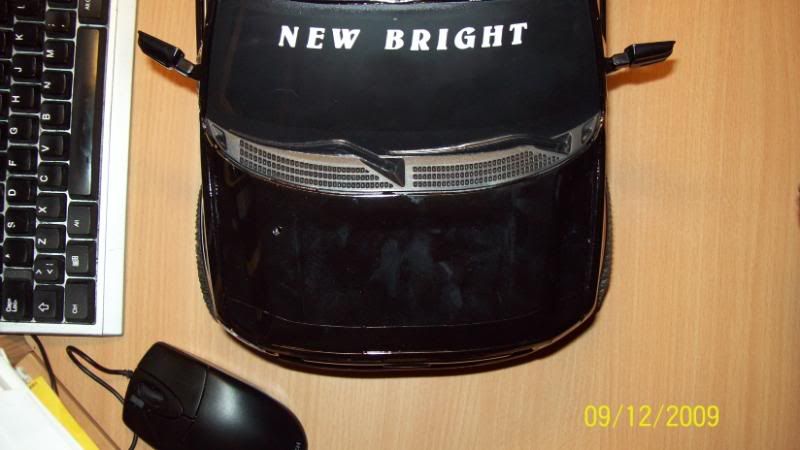 Side.  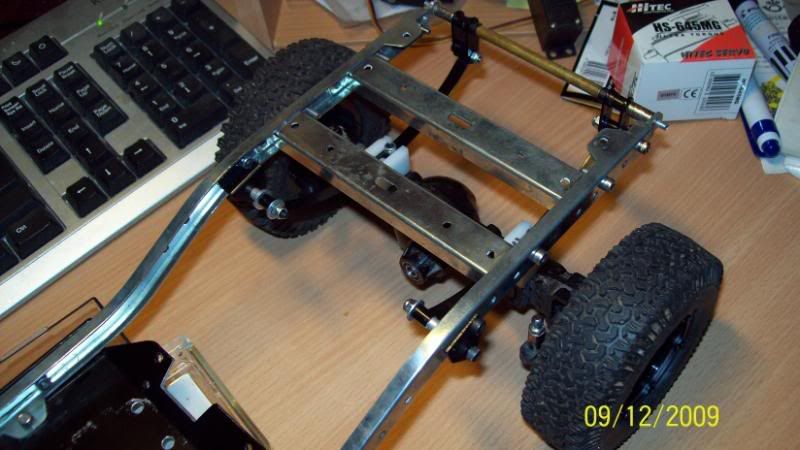 Changed for 4 link, much better now 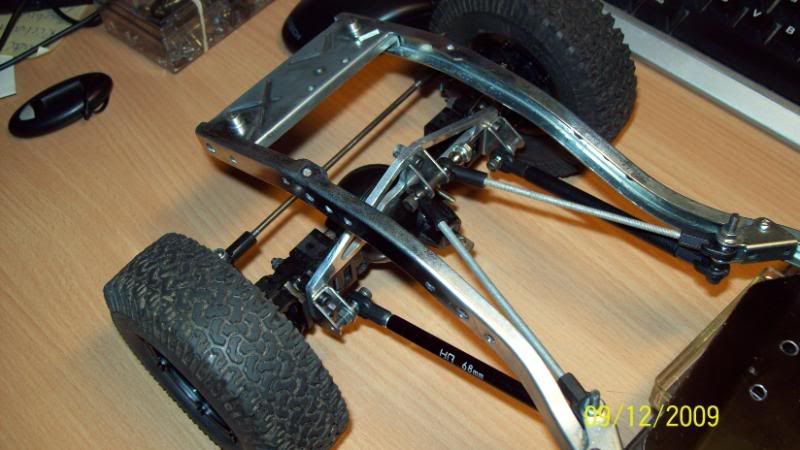 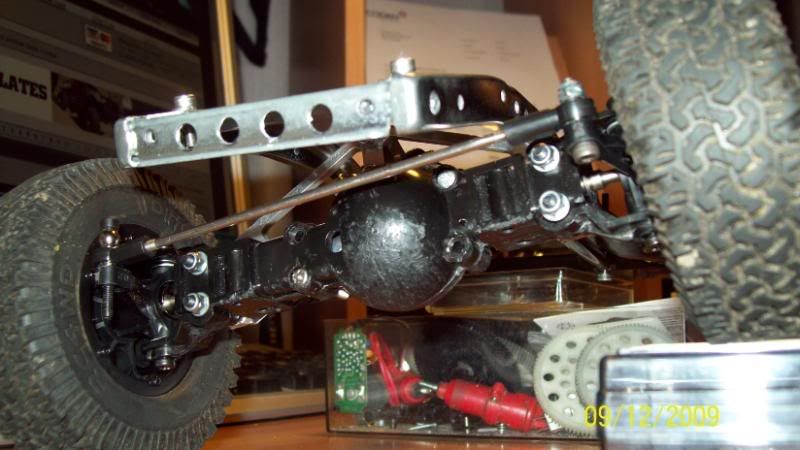 This ambulance is on Norwegian ground rigth now, due the visit of Obama during the Nobel peace price award. Last edited by caprinut; 04-21-2010 at 12:25 PM. |

|  |
| Sponsored Links | |
| | |
|
12-15-2009, 11:19 AM
| #2 |
| Pebble Pounder Join Date: Jan 2007 Location: Arendal,Norway
Posts: 125
|
Huston, we have a roller In these re-use days I have used some of my old parts, the WK battery holder and I have robbed the tlt shocks from my Landy build just for the mock up. Not much parts left in the Landy in the shelf these days  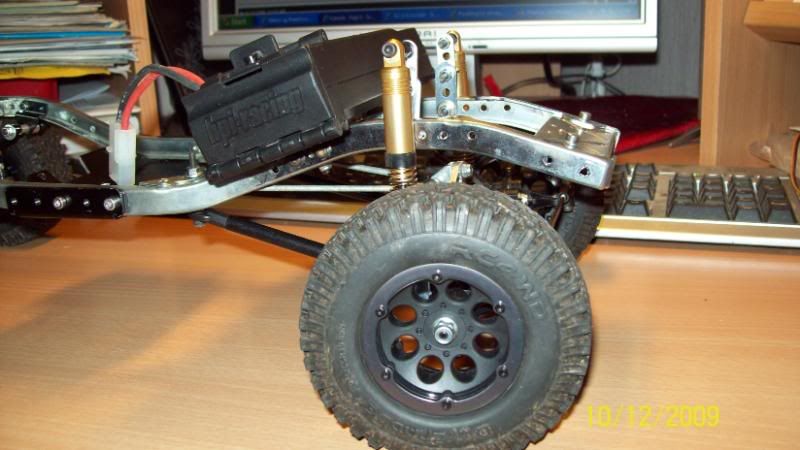 BTW, the shock towers are just temporary to messure the higth needed for the shocks. 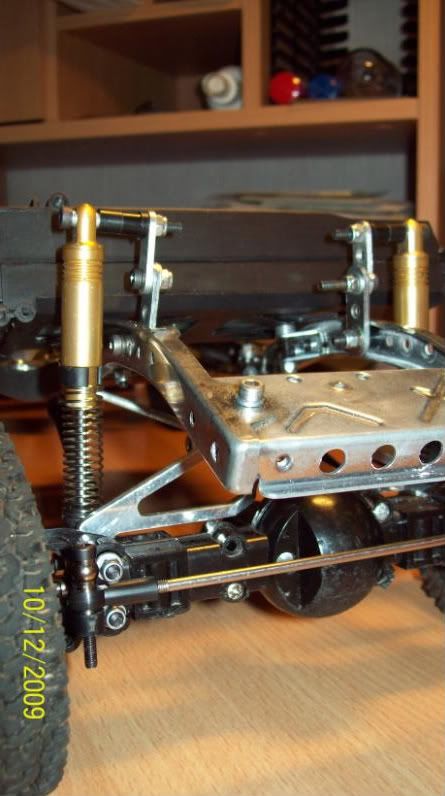 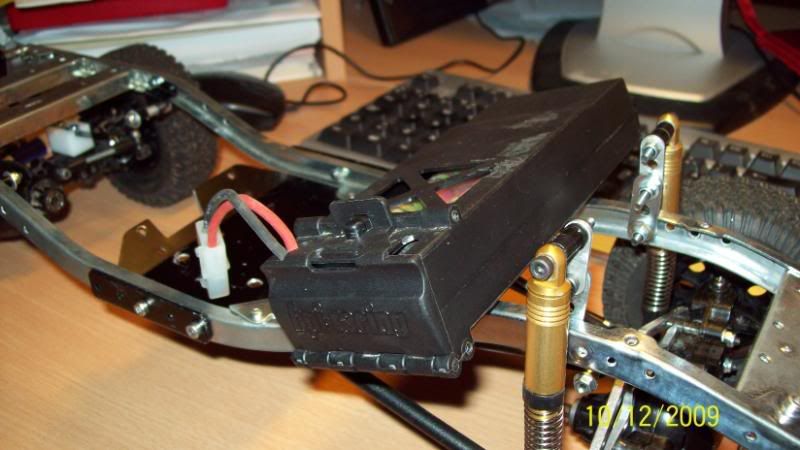 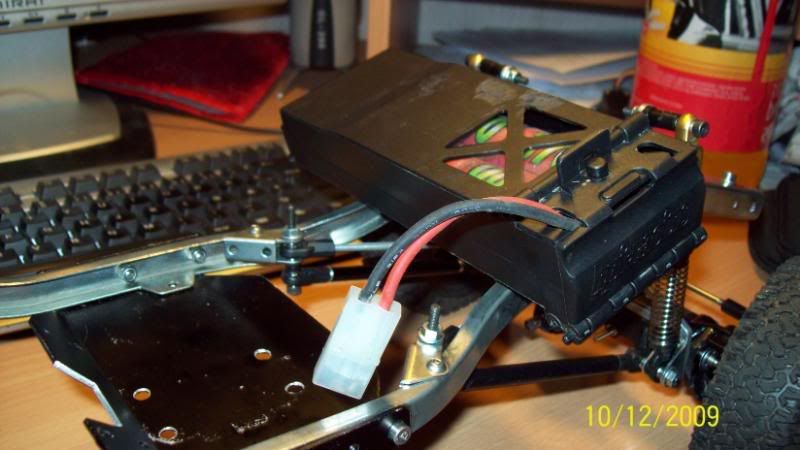 A bit long I think the wb is 1 cm too long..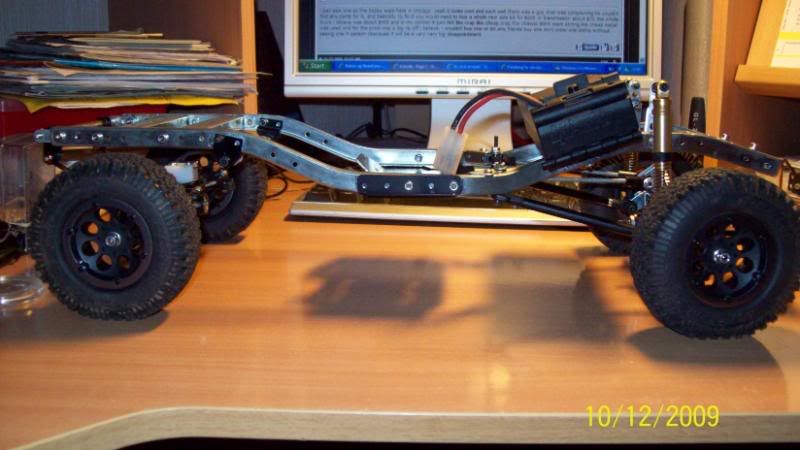 Flex with empty chassis, just the battery is on the chassis, much more flex left in the system. 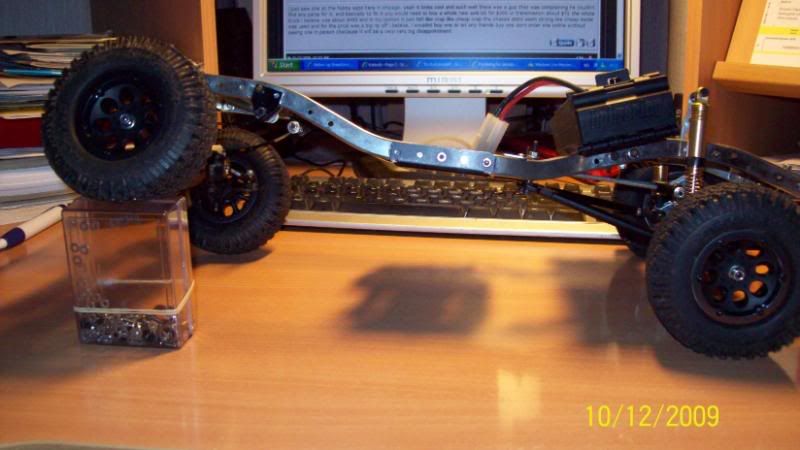 Not easy to se on these pics, but can you see what I did???  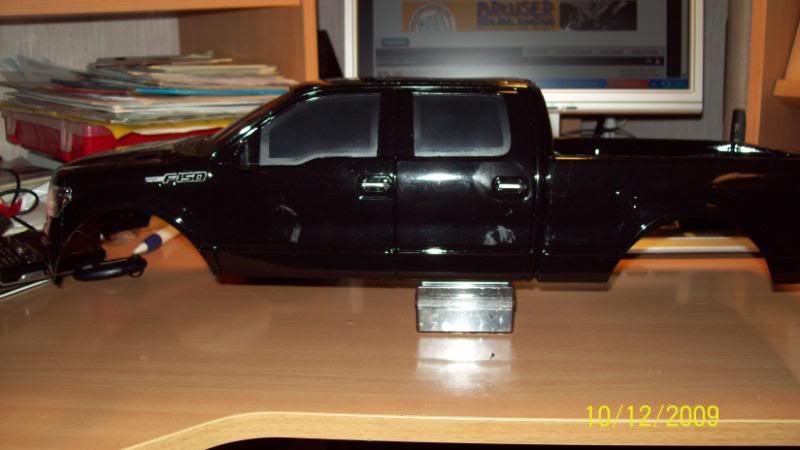 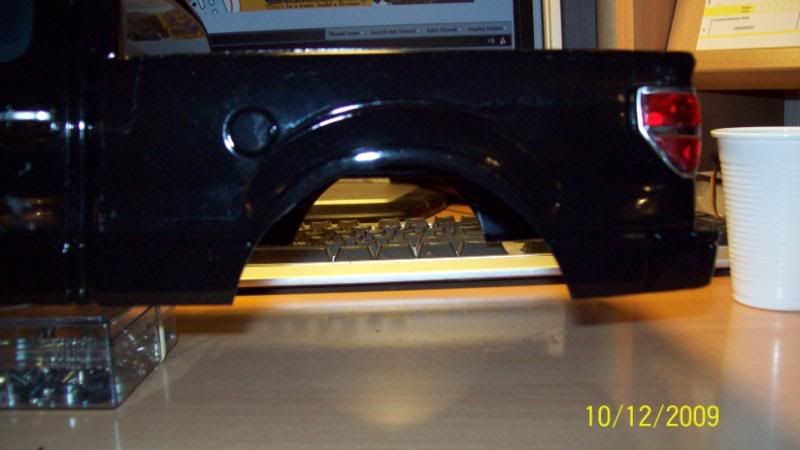 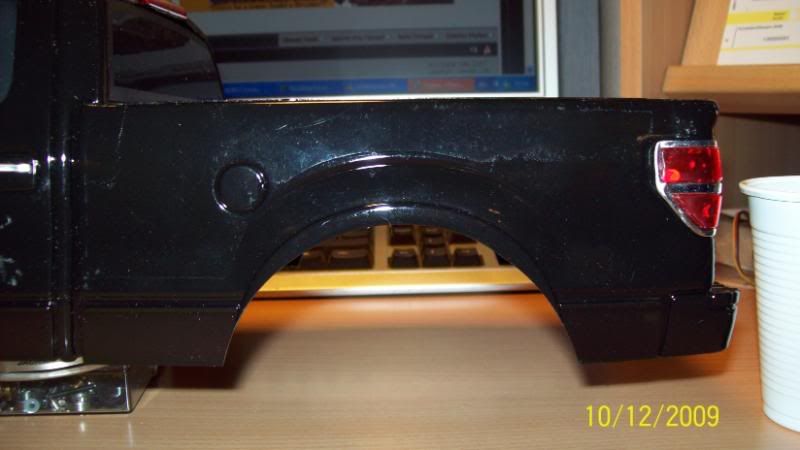 If you guessed englared wheel arches, you are rigth Did the Pantablo method... Worked like a charm, thanx for the tip Pantablo  The suspension is not high enough compared to the body, so I have to get me some Bruiser parts later. 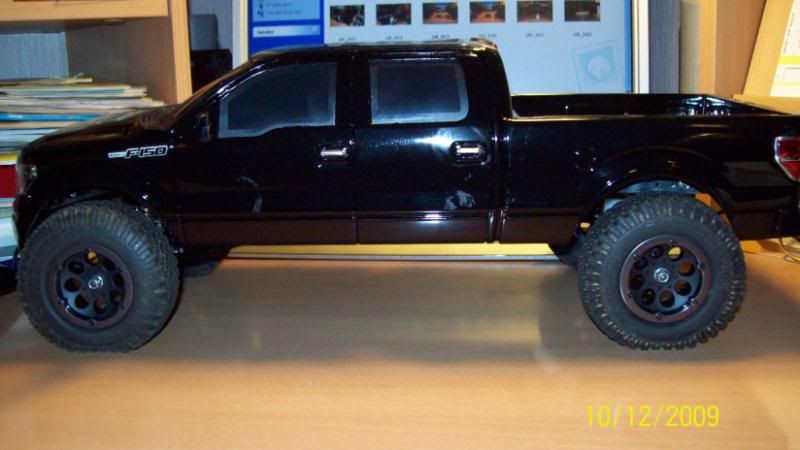 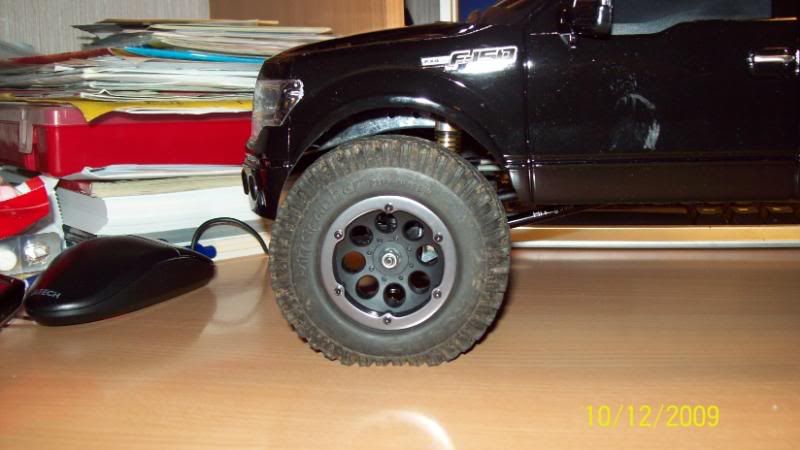 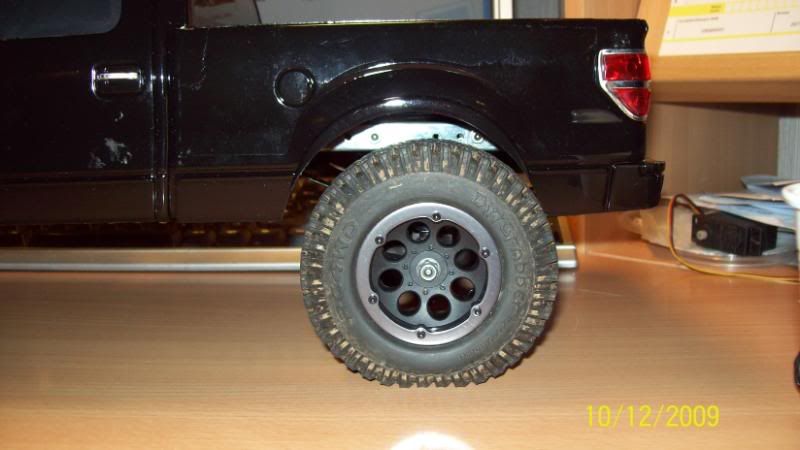 This is the higth I'm looking for. 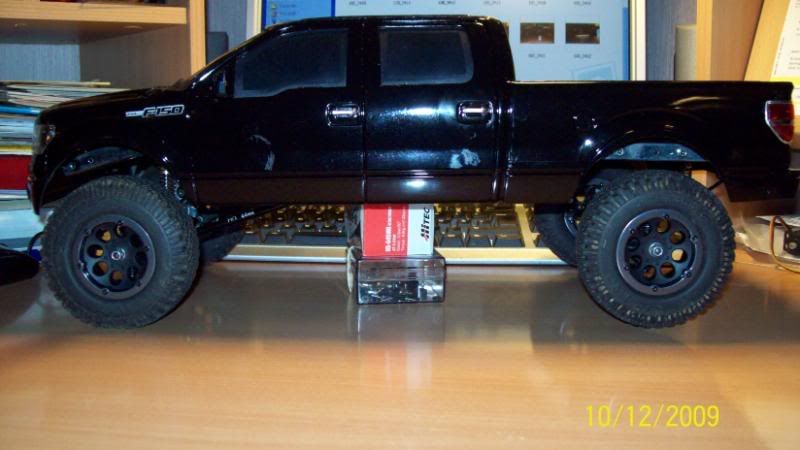 Made up the rear body mounts, some temporary ones that is. 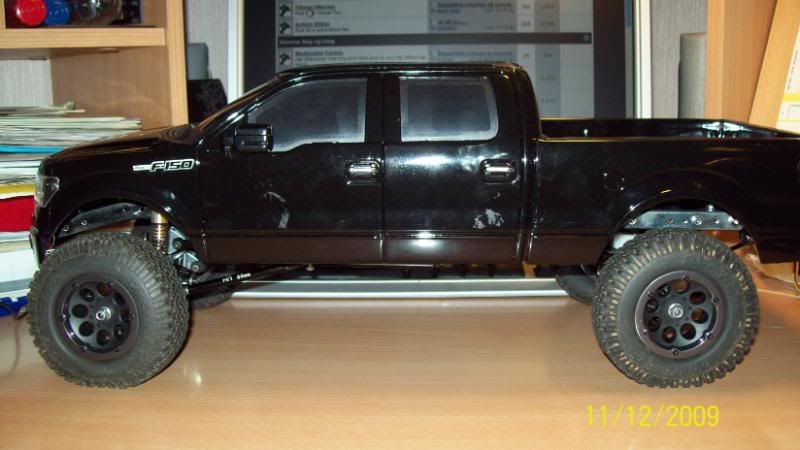 Too long wheelbase...hehe. 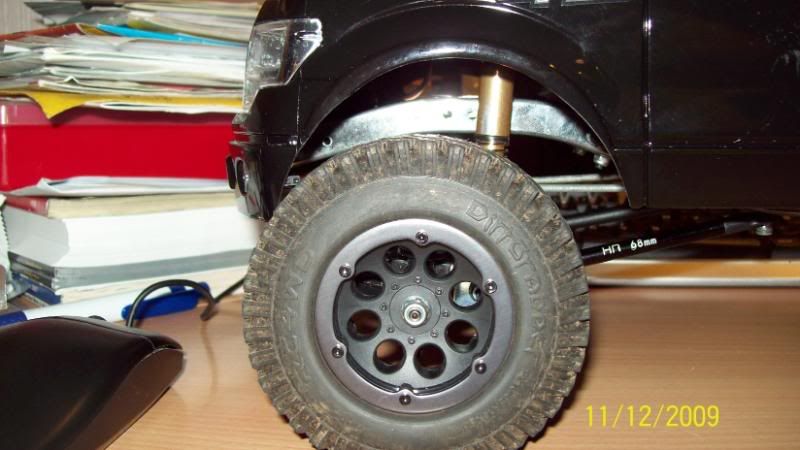 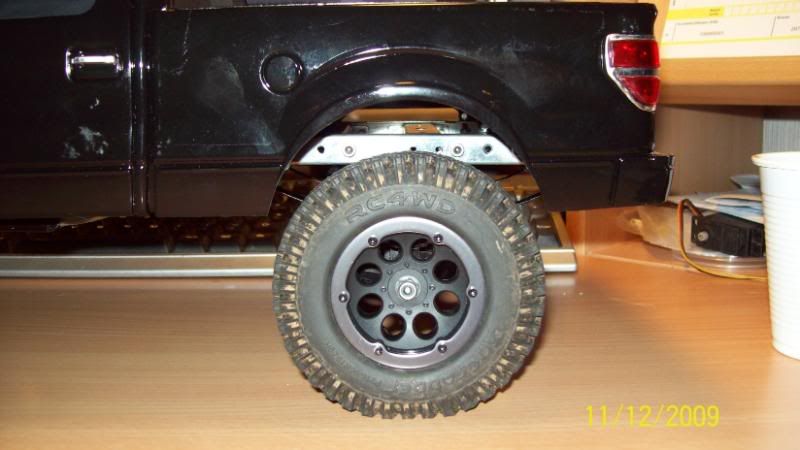 Nice fit with weigth or under flex 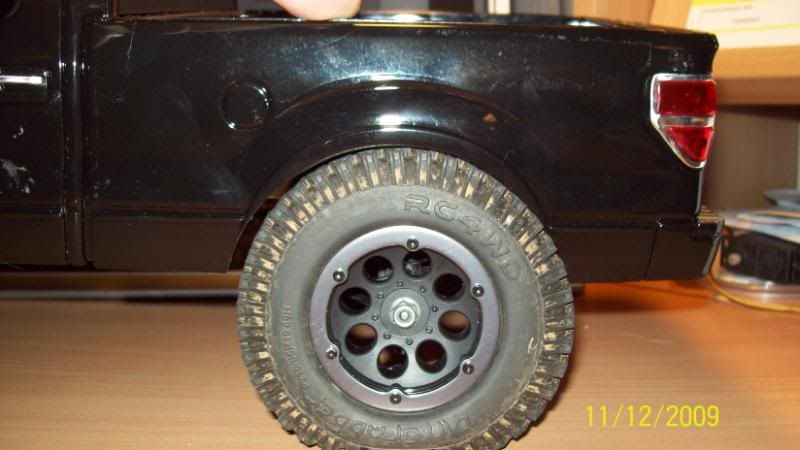 New Brigth F150+HL axles, Axial 1.9 wheels = Nice width 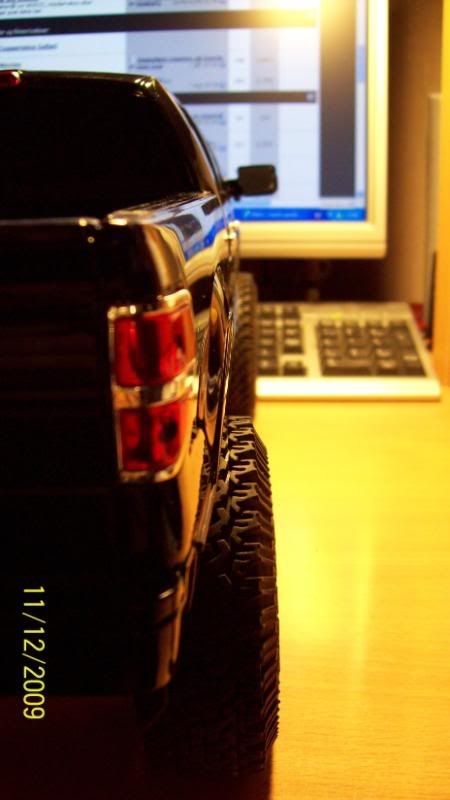 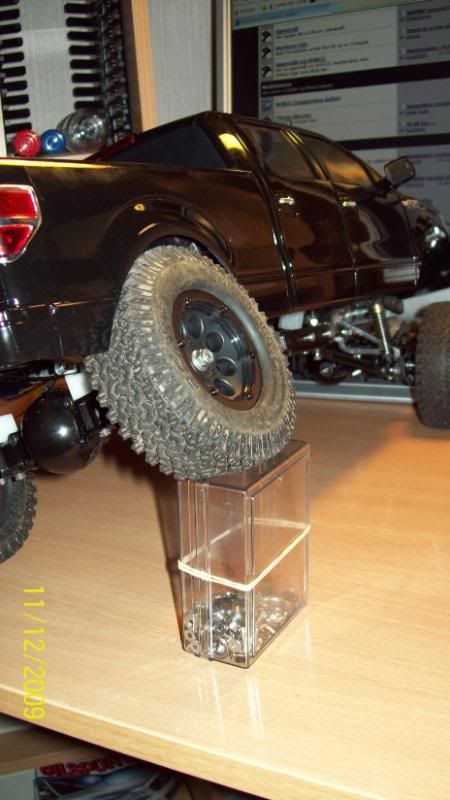 Tomorrow I gonna make the front body mounts, front shock tower and relocate the battery box a bit. Perhaps some outside shots to get some better pics Sorry for some of the blury pics, had to hold a spot ligth in one hand, and take pics with the other due my dark living room... This is the stance rigth now, I really want the body to sit a few mm higher, and the frame to be lifted a half an inch... My part pusher will order a Bruiser leaf mount kit later  , that will lift the chassis about there I want it. , that will lift the chassis about there I want it.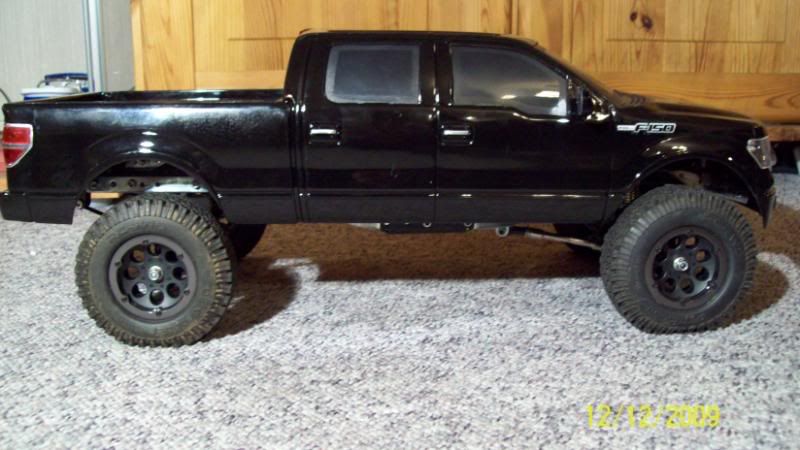 Front wheel now fit the wheel arch nicely after shortning the links a bit. 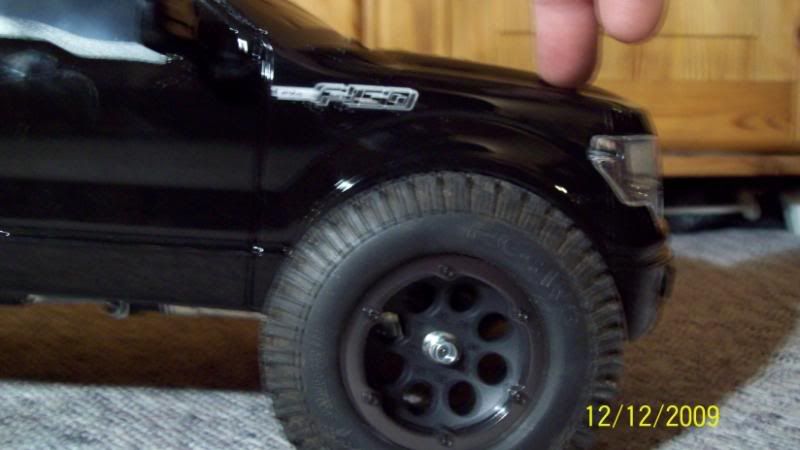 Same with the rears. 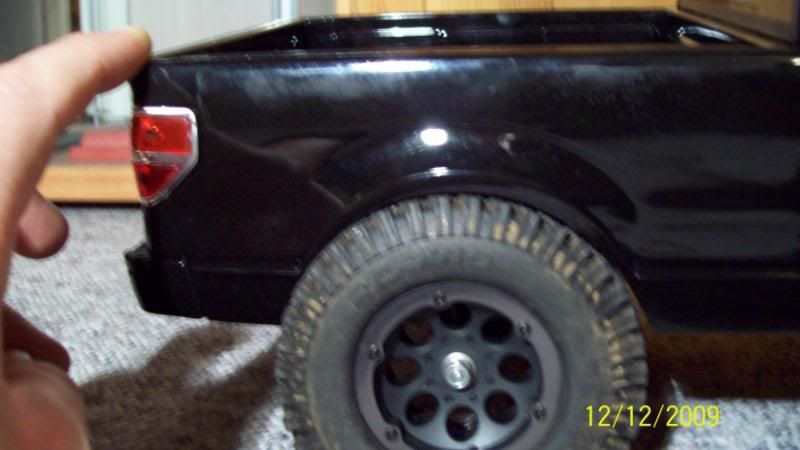 Fexin' all corners 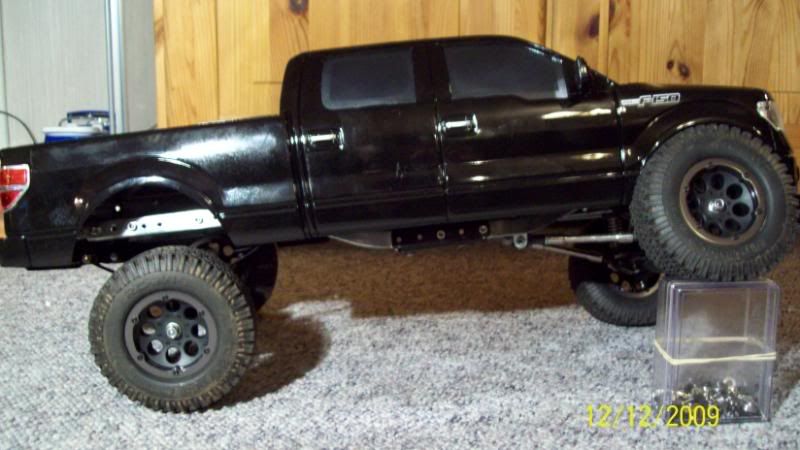 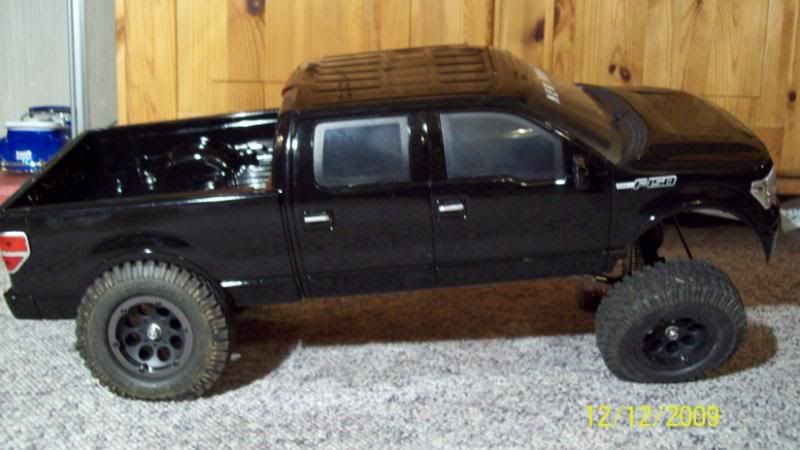 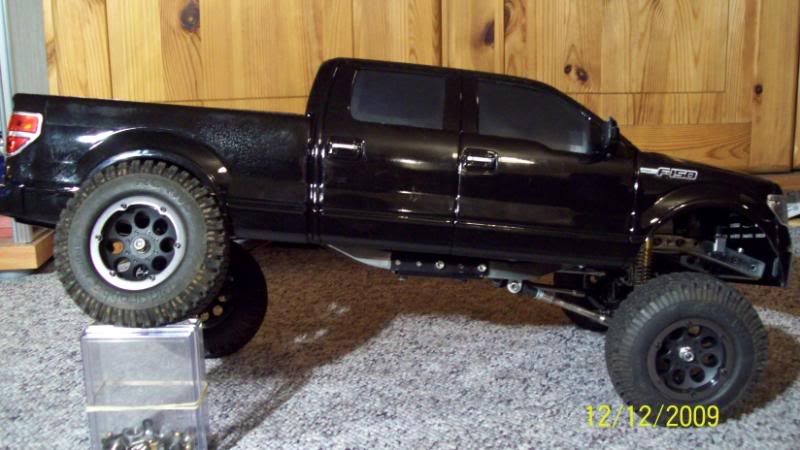 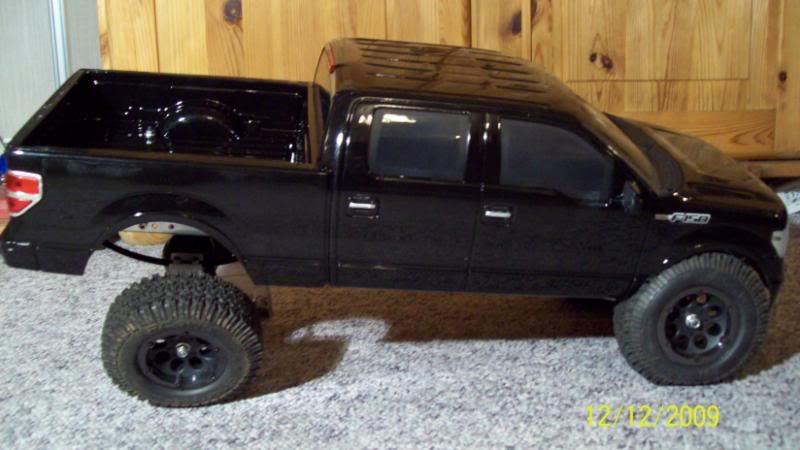 My rear body mount system, these will be hidden by the tool boxes or the camper thingy.. 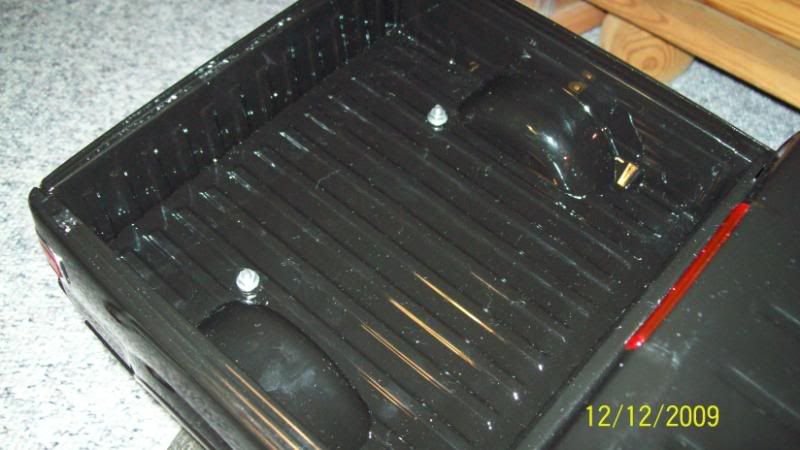 My styrene shock towers 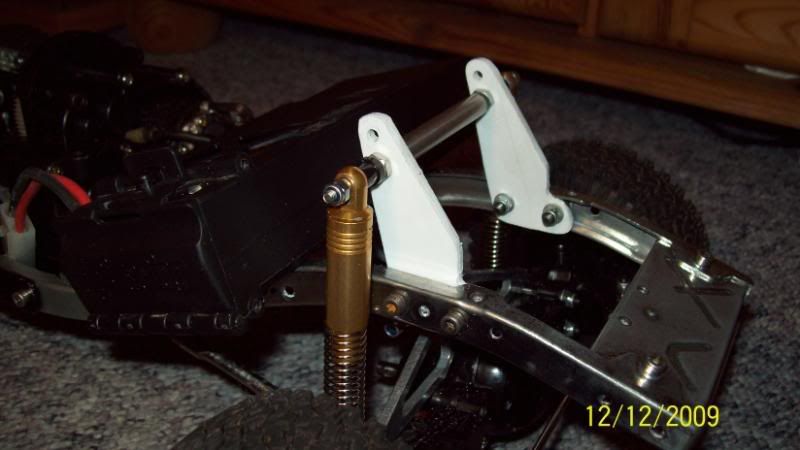 Overall look of the chassis 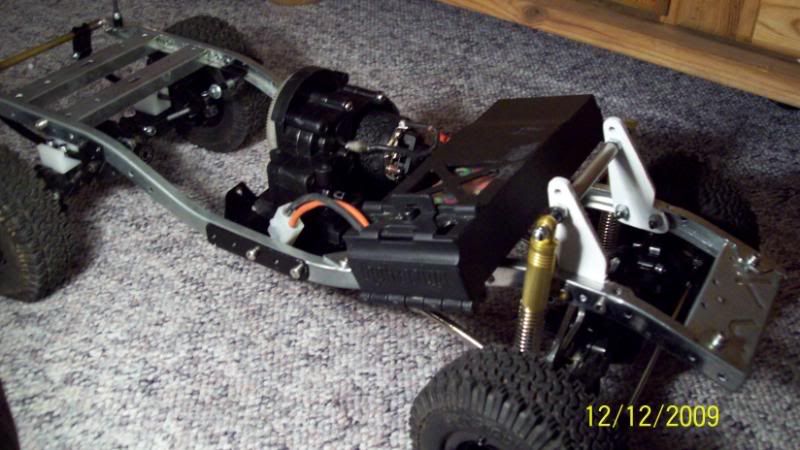 Rear body mounts, chassis side 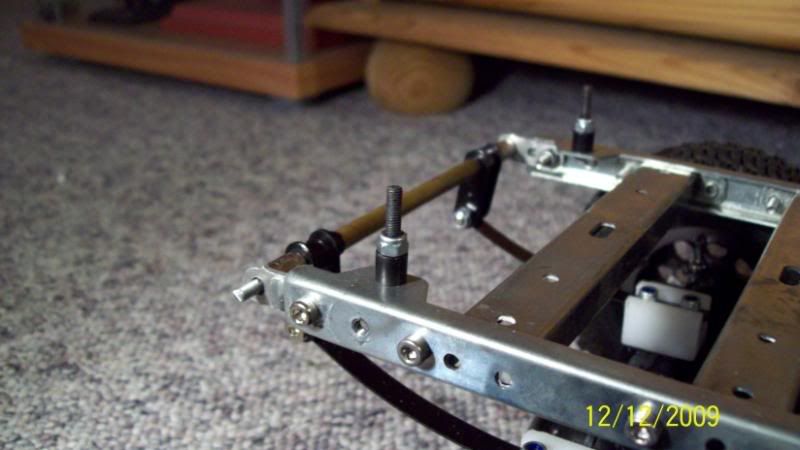 My front temporary body mounts, thes clamps over the chassis on each side. Must see where the steering servo gonna be before I can make the final body mounts. 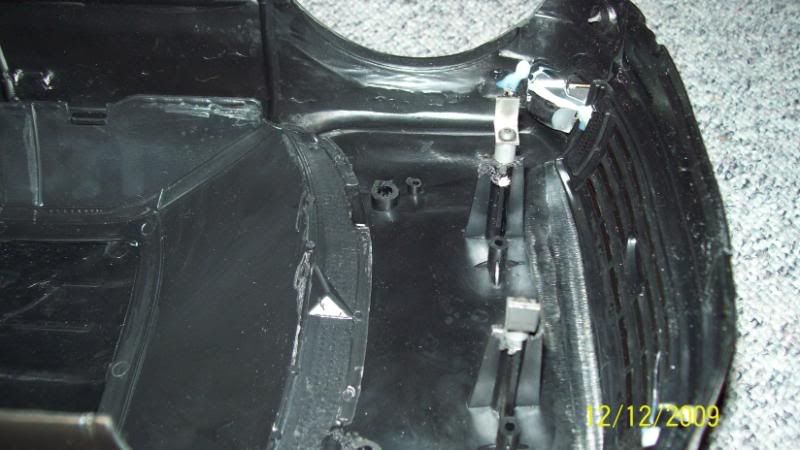 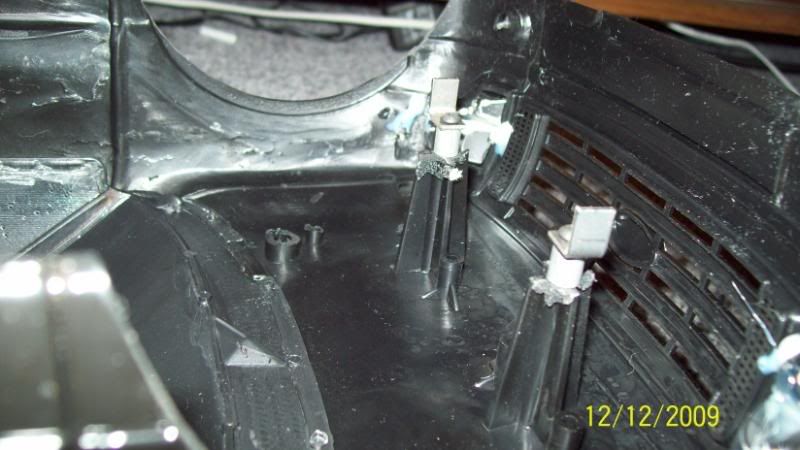  Took advance of the nice weather outside today and snapped some shots of it  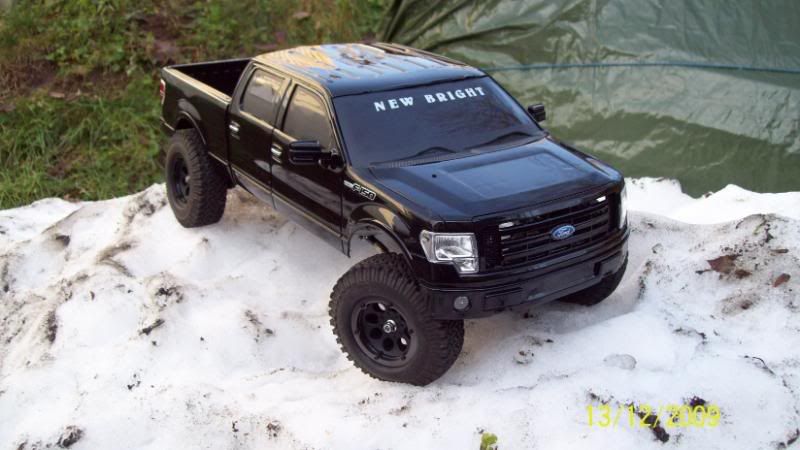 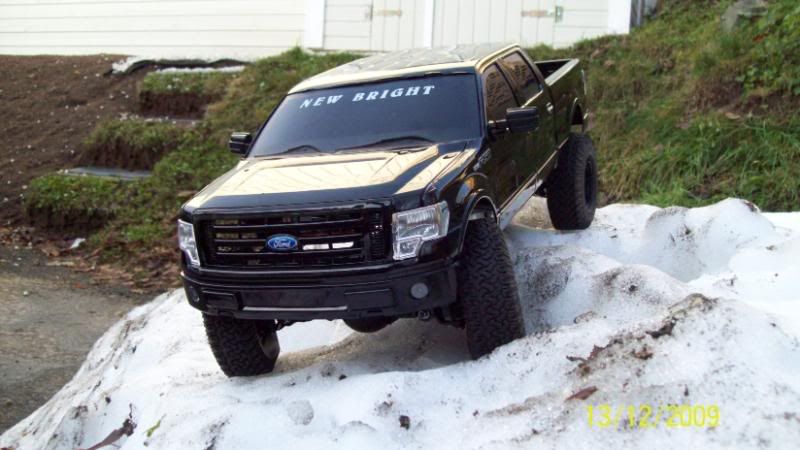 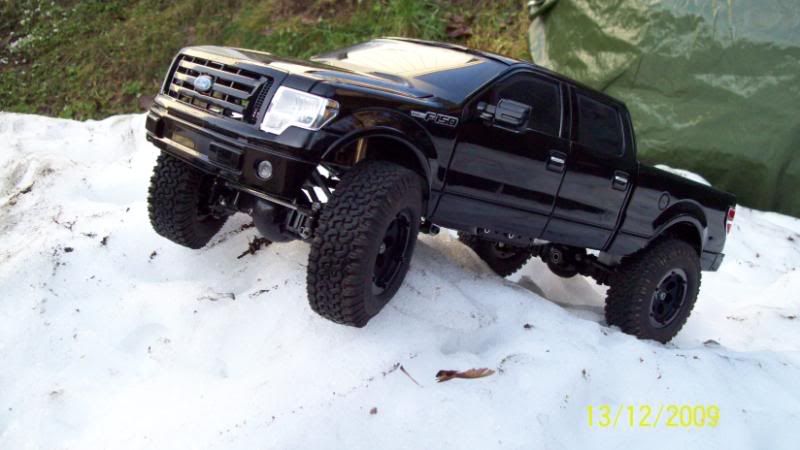 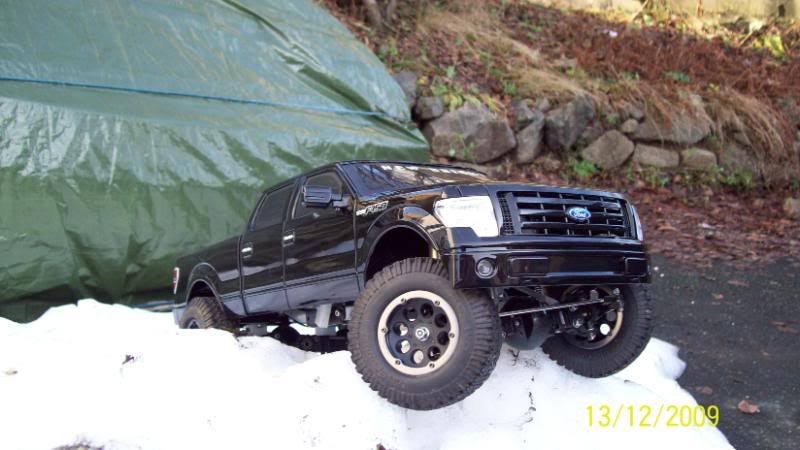 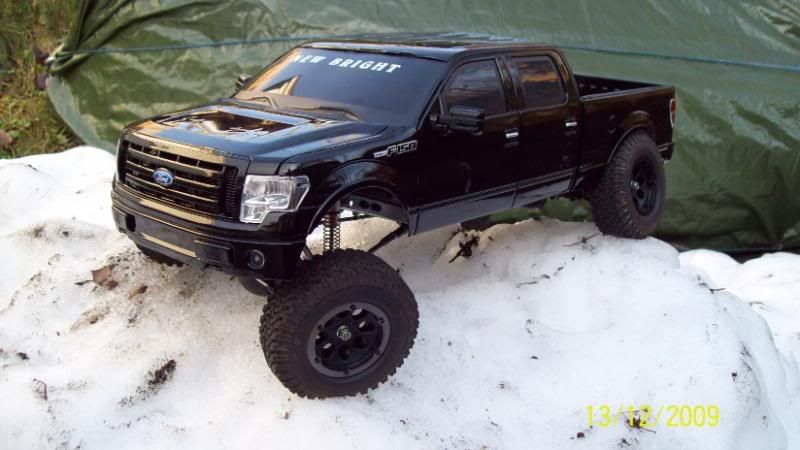 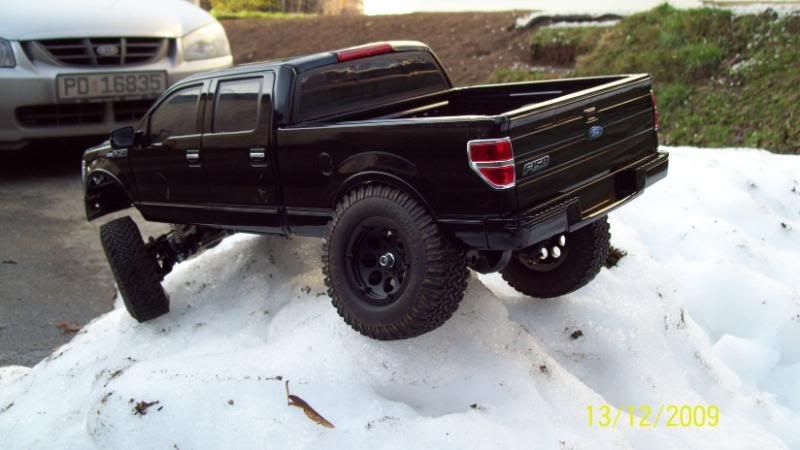 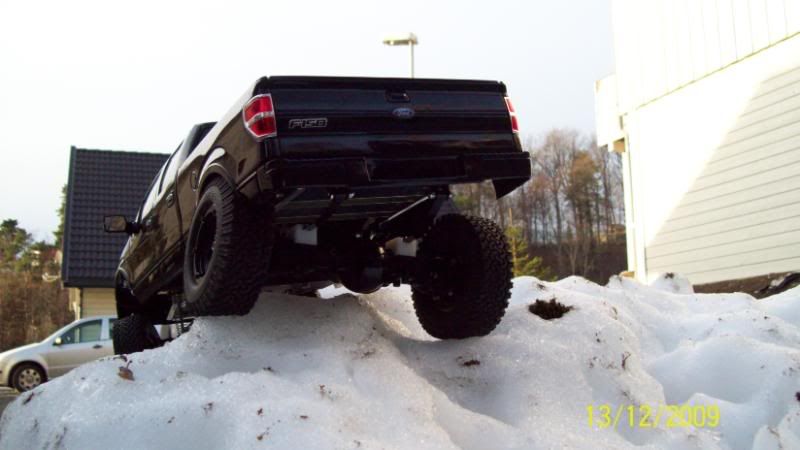 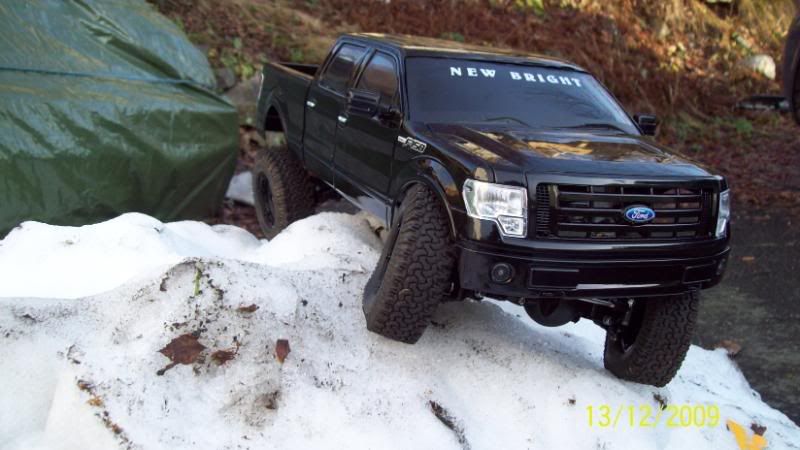 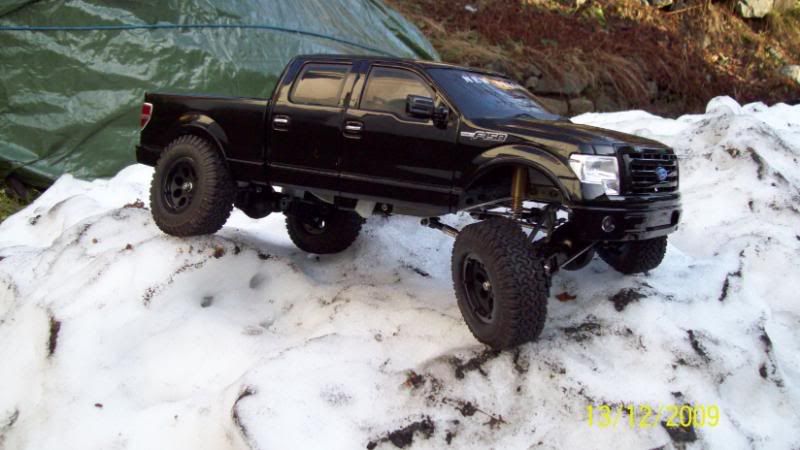 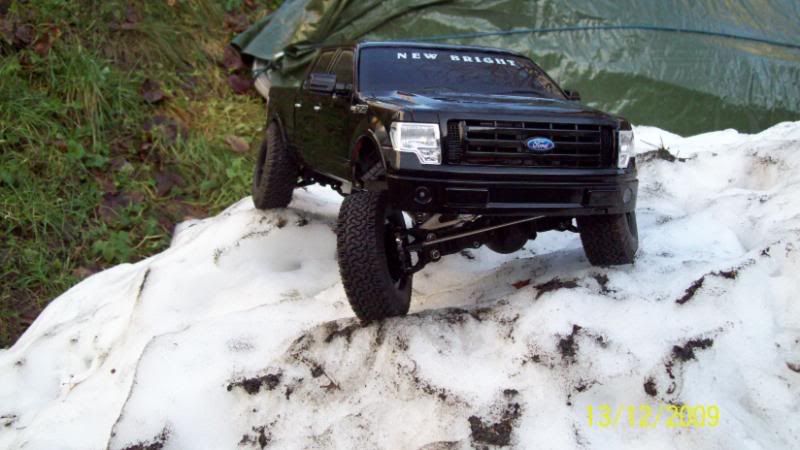 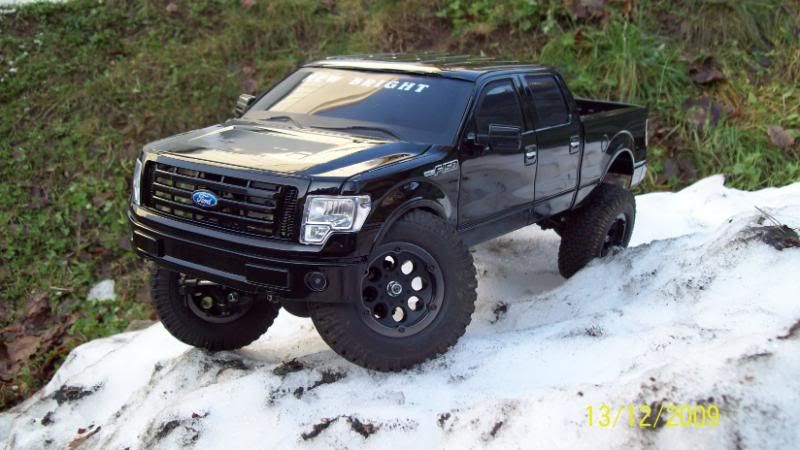 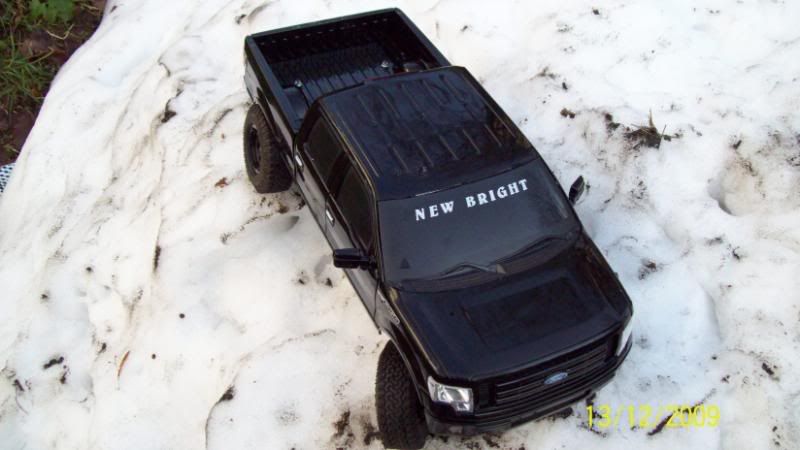 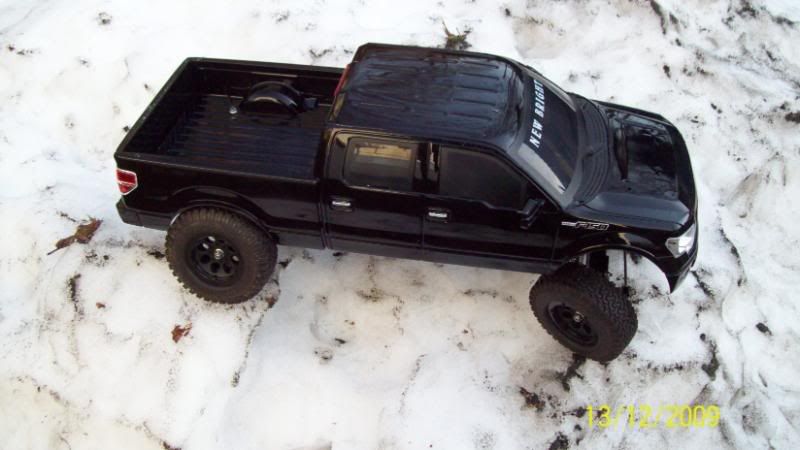 |
|
| |
|
12-15-2009, 11:56 AM
| #3 |
| Quarry Creeper Join Date: Nov 2007 Location: WNC
Posts: 456
|
This is a sweet build! If it wasn't going to be a SWAT vehicle I'd say dovenose and bobbed bed.
|
|
| |
|
12-15-2009, 12:12 PM
| #4 |
| Pebble Pounder Join Date: Jan 2007 Location: Arendal,Norway
Posts: 125
|
Ha, I don't like dovenose og bobbed beds, so either way it had become a regular pick up truck of some sort But thanks for the kind words |
|
| |
|
12-15-2009, 12:25 PM
| #5 |
| Rock Crawler Join Date: Feb 2005 Location: Oxford, MA
Posts: 802
|
Looks great so far. Looking forward to watching this build!
|
|
| |
|
12-15-2009, 12:31 PM
| #6 |
| ~THE SCALE SHOP~ Join Date: Apr 2006 Location: KILLEEN TX
Posts: 10,056
|
even though its a ford that is one sick build! LOVE the murdered out look!
|
|
| |
|
12-15-2009, 01:13 PM
| #7 |
| RCC Addict Join Date: Sep 2009 Location: Bradenton
Posts: 1,299
|
x2 i agree with stang killa
|
|
| |
|
12-15-2009, 02:17 PM
| #8 |
| Newbie Join Date: Dec 2009 Location: CT
Posts: 1
|
Nice build, looking forward to seeing the rest of it |
|
| |
|
12-17-2009, 10:29 AM
| #9 |
| Rock Stacker  Join Date: Oct 2009 Location: Robbins AKA "MUDVILLE"
Posts: 60
|
The realism is incredible! |
|
| |
|
12-17-2009, 11:00 AM
| #10 |
| Rock Stacker Join Date: Nov 2009 Location: wny
Posts: 69
|
That looks fantastic!! I saw that body in a toy store a few weeks back and it really got me thinking of how sweet of a scaler it would make, and now I can see exactly how sweet it is, just what I had envisioned! What is the tip for enlarging the wheel wells so cleanly?
|
|
| |
|
12-17-2009, 01:52 PM
| #11 |
| Sinking with the ship   Join Date: Mar 2005 Location: El Capitan...sole survivor and sinking fast
Posts: 8,864
| Looks good murdered out black, would make a good tow rig. Just loose the new bright sticker |
|
| |
|
12-17-2009, 03:49 PM
| #12 |
| Quarry Creeper Join Date: Apr 2008 Location: santa rosa
Posts: 292
|
i like it i hope to see a vid when your done |
|
| |
|
12-17-2009, 08:55 PM
| #13 |
| Pebble Pounder Join Date: May 2005 Location: hot springs, AR.
Posts: 188
|
I saw one of thoes at TSC the other day. it looks awsome for a scaler
|
|
| |
|
12-17-2009, 09:14 PM
| #14 |
| Pebble Pounder Join Date: Jul 2008 Location: Elk Grove, Ca
Posts: 181
|
WOW, thanks for the post, I'v been wondering how the F150 would look as a scaler, and I was right, AWSOME, thanks again.
|
|
| |
|
01-13-2010, 12:15 PM
| #15 |
| Pebble Pounder Join Date: Jan 2007 Location: Arendal,Norway
Posts: 125
|
Thank folks Post and copy from scale: I have now made some front body posts with small magnets.. Seems to work great so far.. 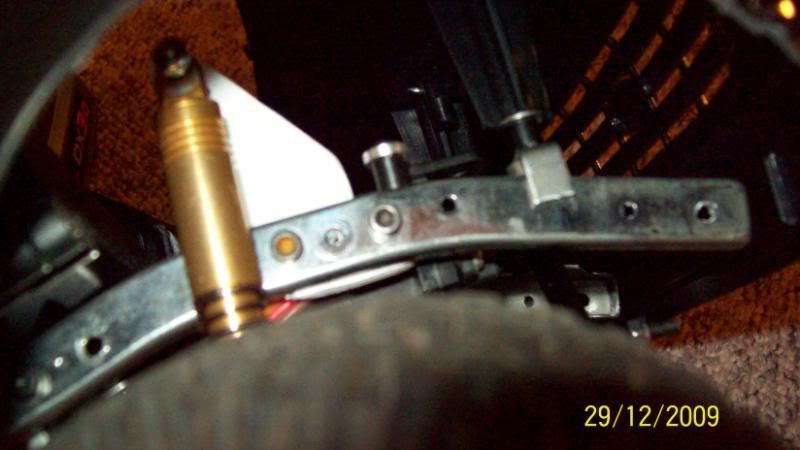 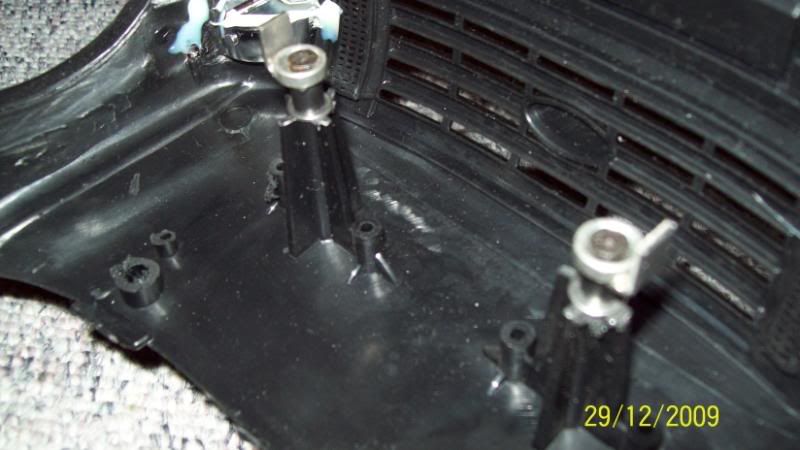 My temporearly servo mount, think I gonna make the finel one in styrene.. 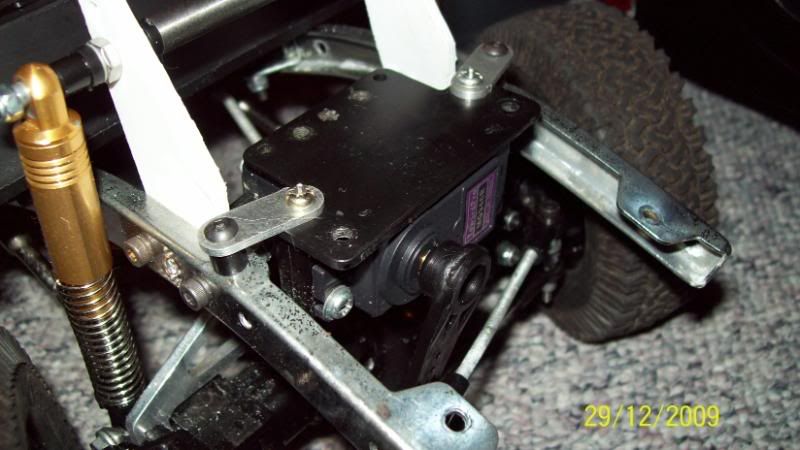 Low on founds latlley, or lack of founds is forcing me to make my own rear shocks.. Tlt parts and some ball ends.. 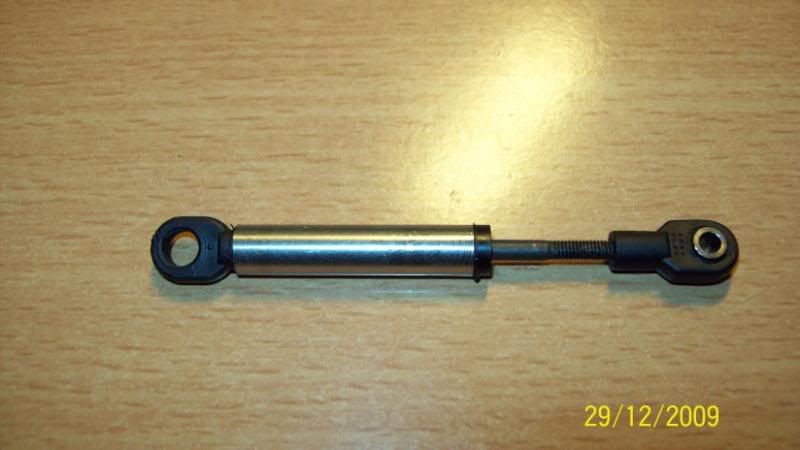 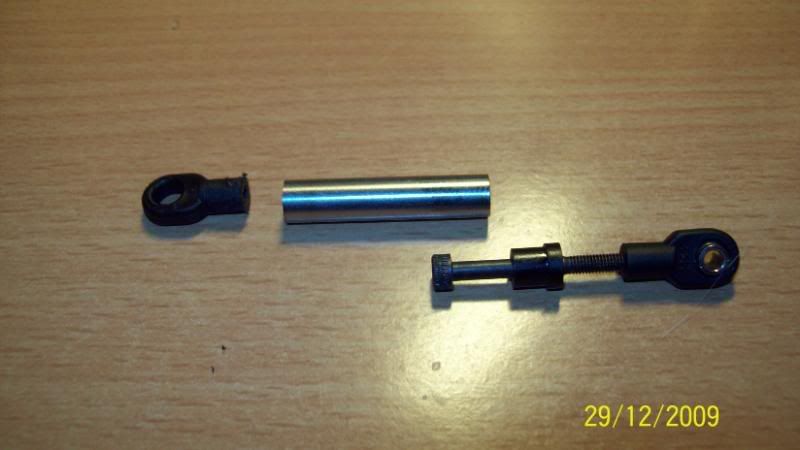 And a short test video to see if the magnet body mounts is working, so far so good... http://vimeo.com/8439446 Made 2 complete shocks.. 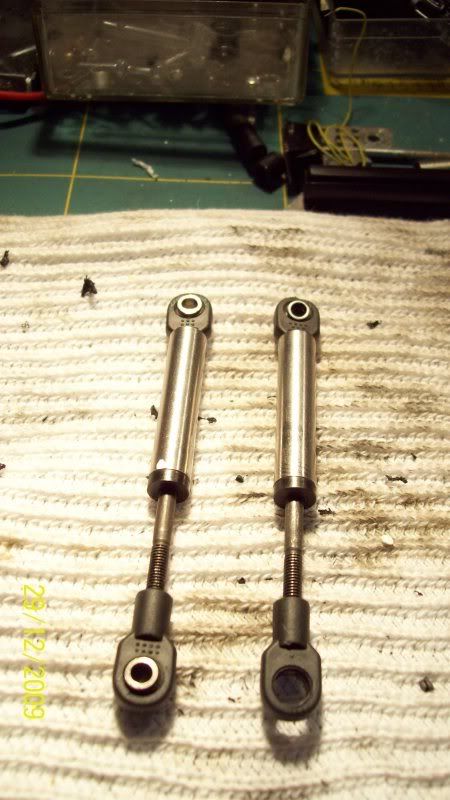 Mock up..  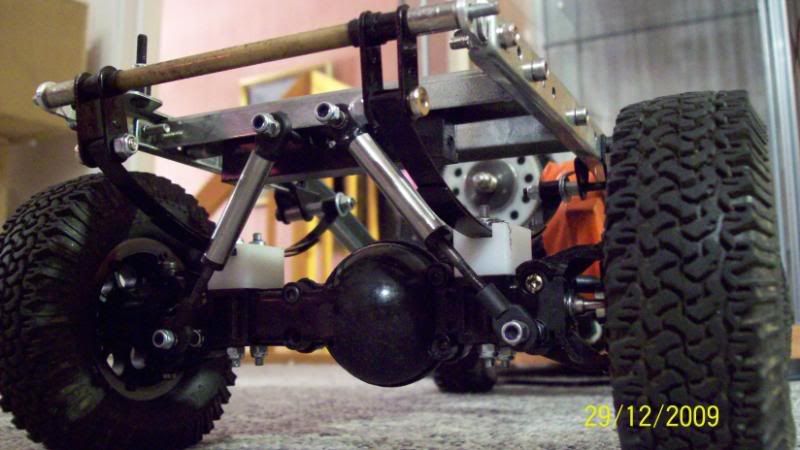 Flex 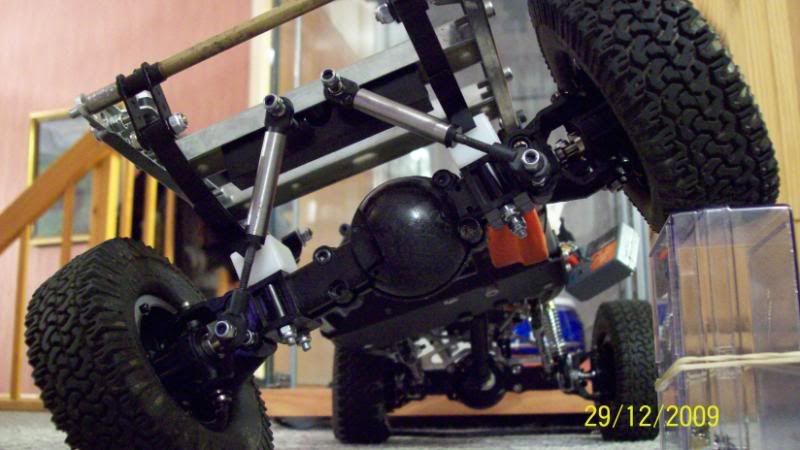 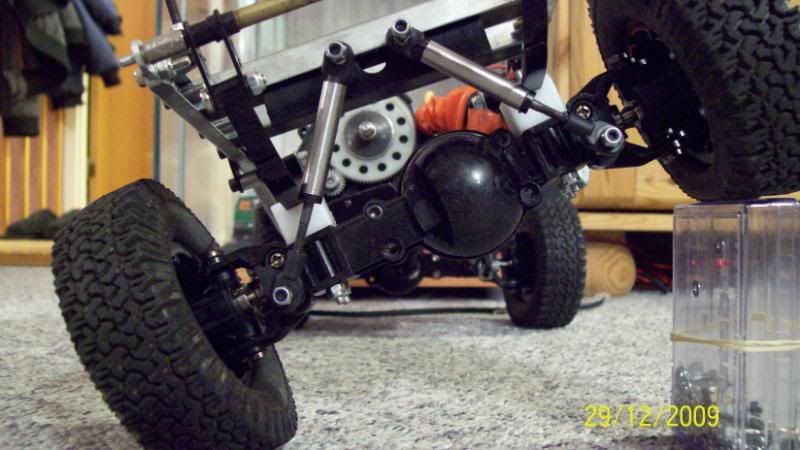 The plan has allways been to remove the front bumper with more bad to the bone bumper. I think I have found what I'm looking for, a good looking armored front bumper. I will try to make it as close as I can of the picture, except I goona make it smoother, i.e no holes, just the hole for the lights and the fairlead.  After a visit at a friend of mine on the new year weekend, I realised the front body mounts was too weak. So I came up with another system. The system is a flat bar axross the mounts inside the body, with a pair of L brackets to center it. On the chassis side there are a U profile that grips over the flat bar mounted on the body. Very rigde, you can now lift the rig by the body front and rear. 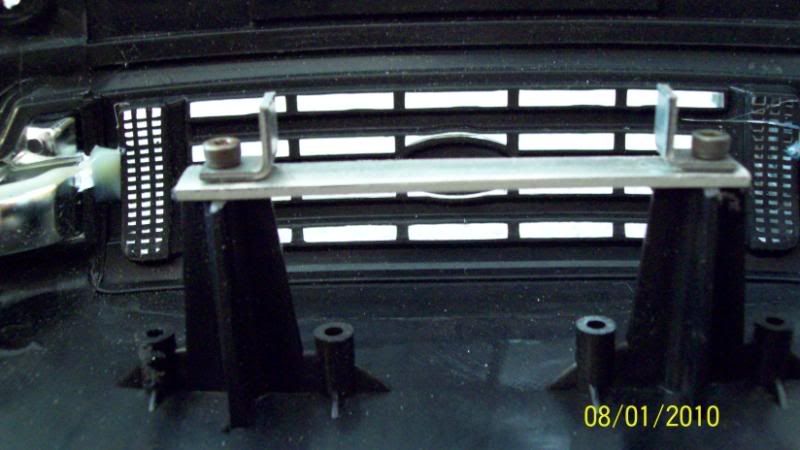   I have a intercooler that is suposed to be fitted on a drifting car, I think of fitting this in front of the front body mounts. Vinch is also comming on, it will be placed on the front xmember on the chassis, behind the body. Now as my body mounts are in place, I can begin to make all the other stuff. No more front bumper 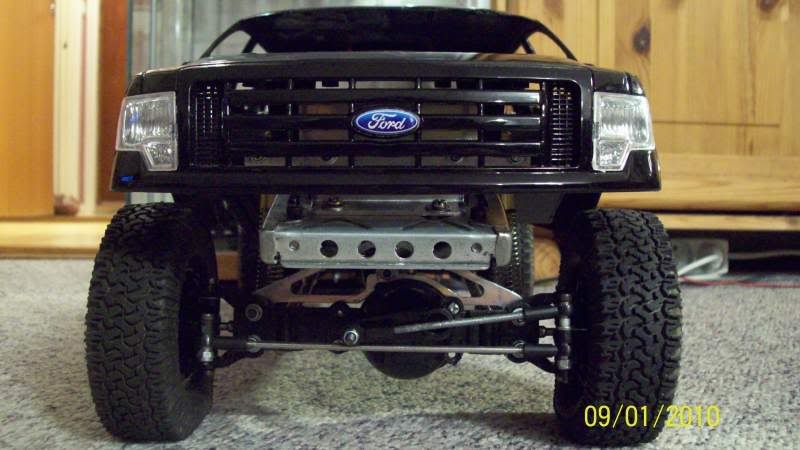 Has started on the styrene front bumper.. Will laminate several layers of styrene to make the bumper. Started with this 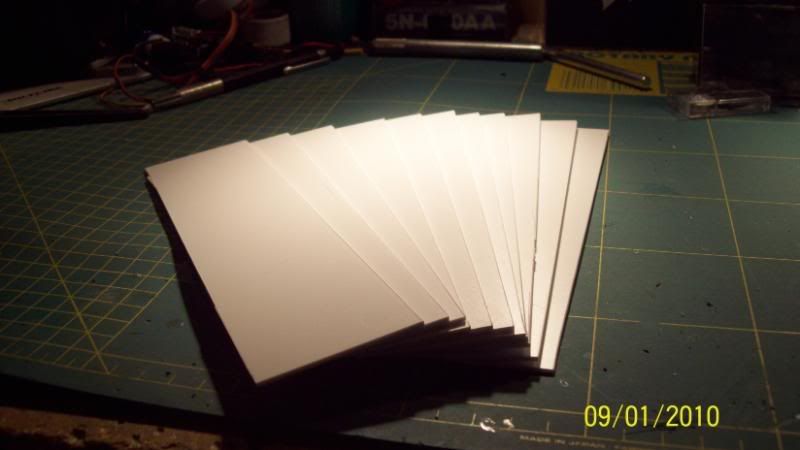 This is not a wing for a aeroplane with rocket launchers  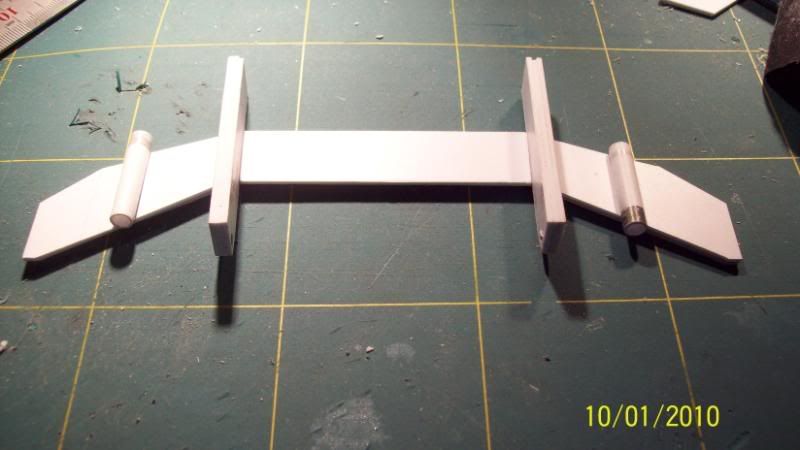 This is the "rigth" side... The beams will double as bumper brackets and the ears for the hook to hang on. The tubes are for the fog lights.. 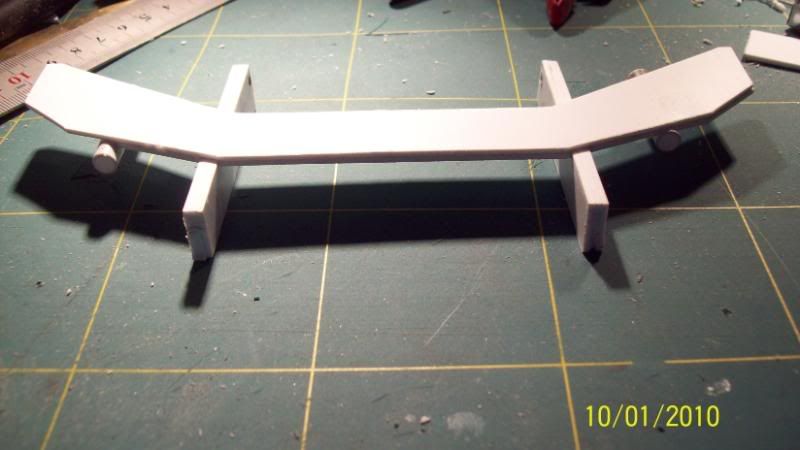 Starting on the laminate prosess... 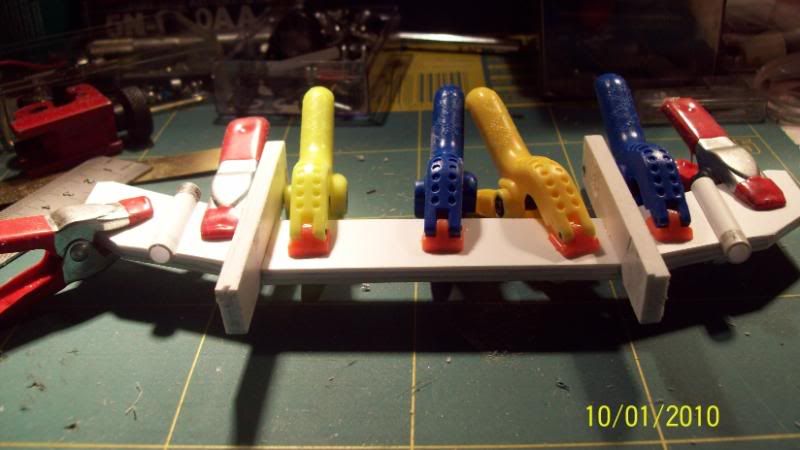 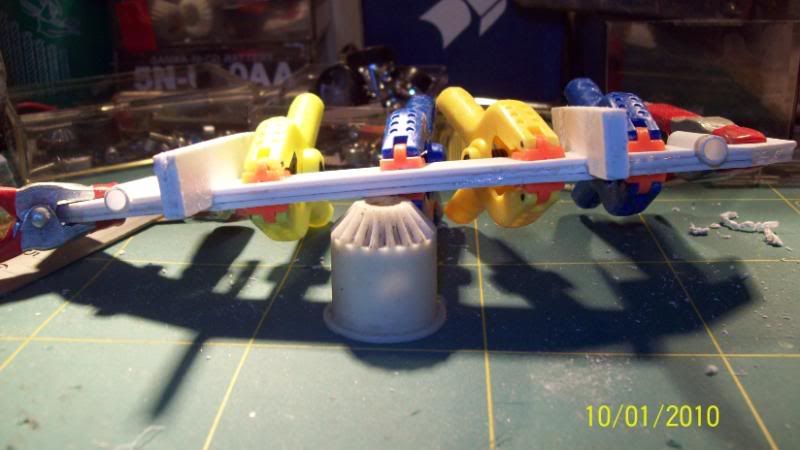 When all the gluing is finished, the file and sanding job starts... The first layers of styrene... Opned up the front xmember for the winch line. The only place the winch fits good and will line up with the bumper is on the underside of the xmember. Had to cut a bit out of the chassis where the motor in the winch are to get it centered. 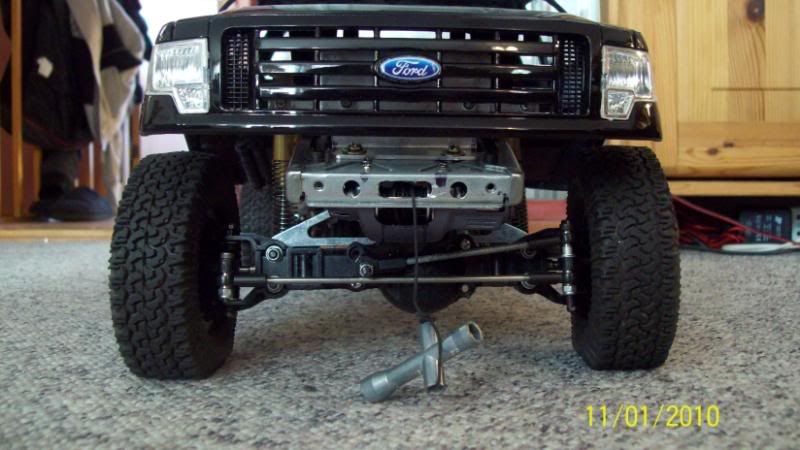 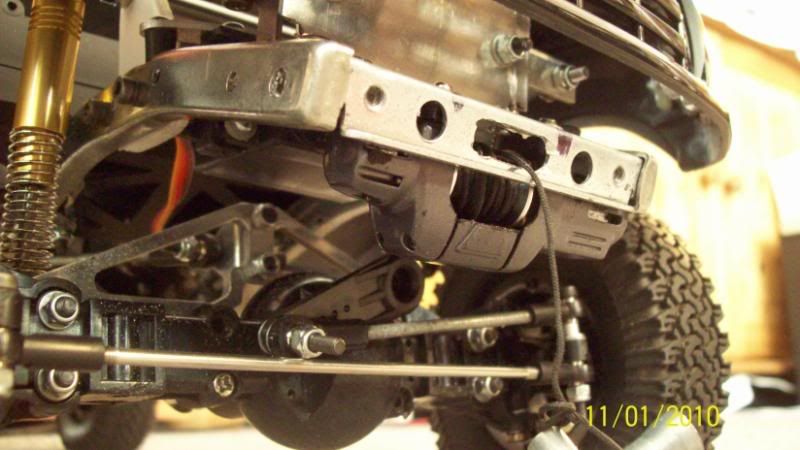 The basic shape before filing and sanding.. 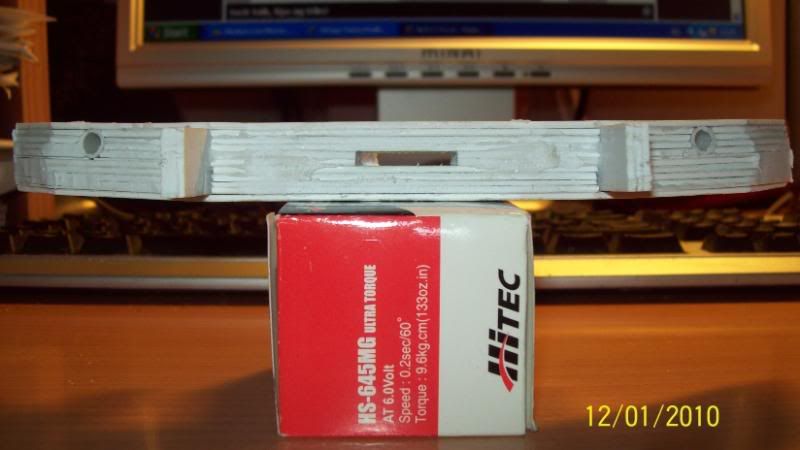 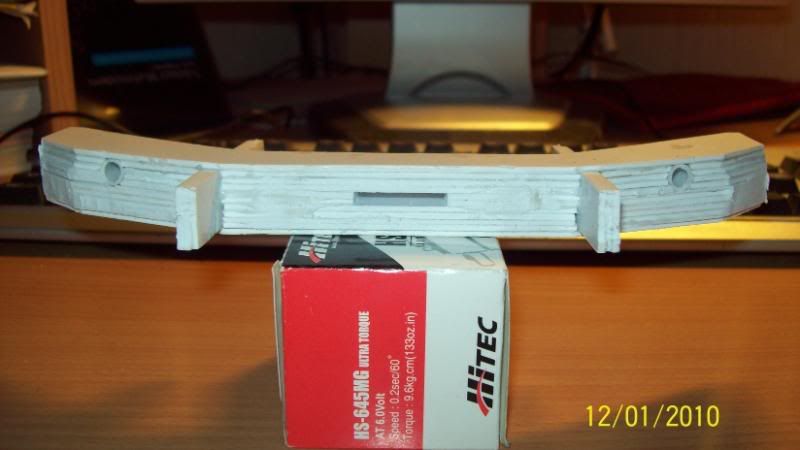 When I got the basic shape I want, \________/ seen from abowe, I will add the other sheets of styrene to get the shape on top and under, like where I have drawn the red arrows on the picture. 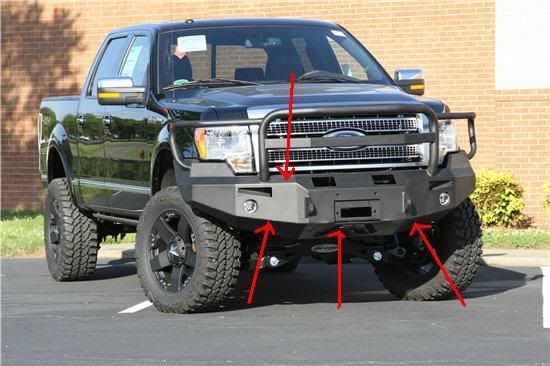 Have to sand a bit more before I can add the other layers of styrene. 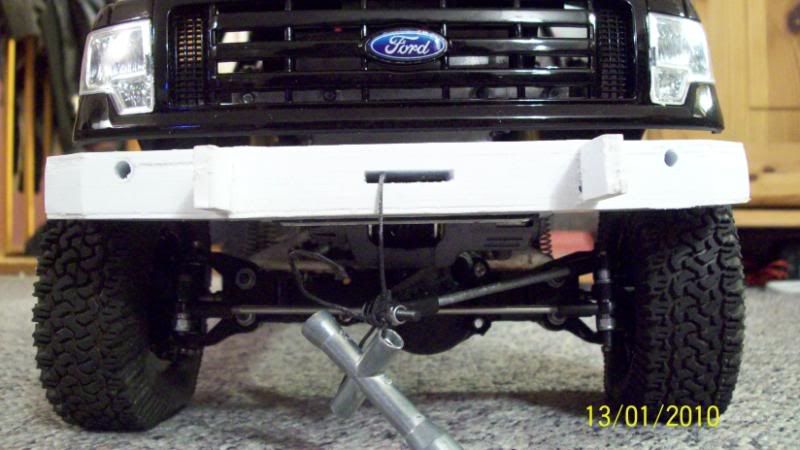 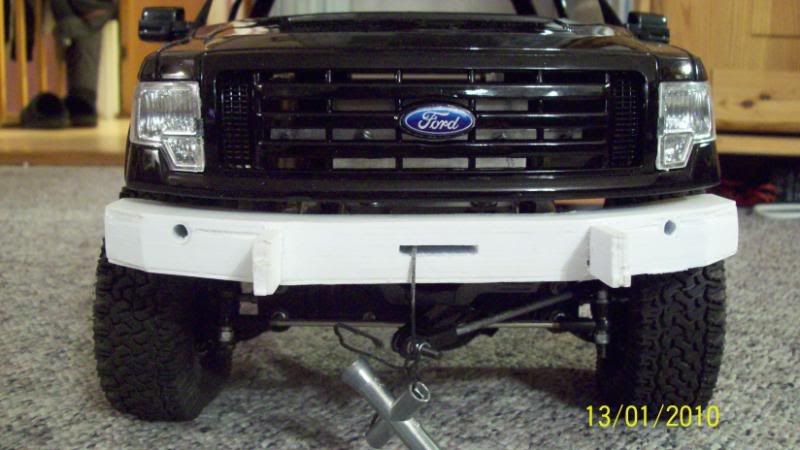 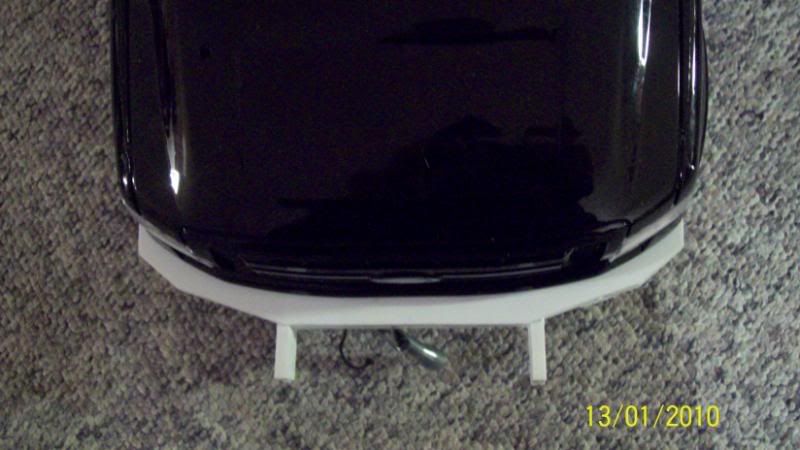 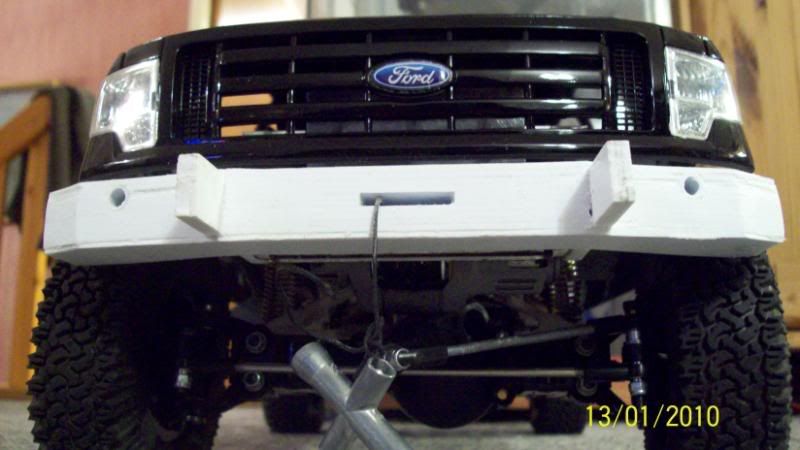 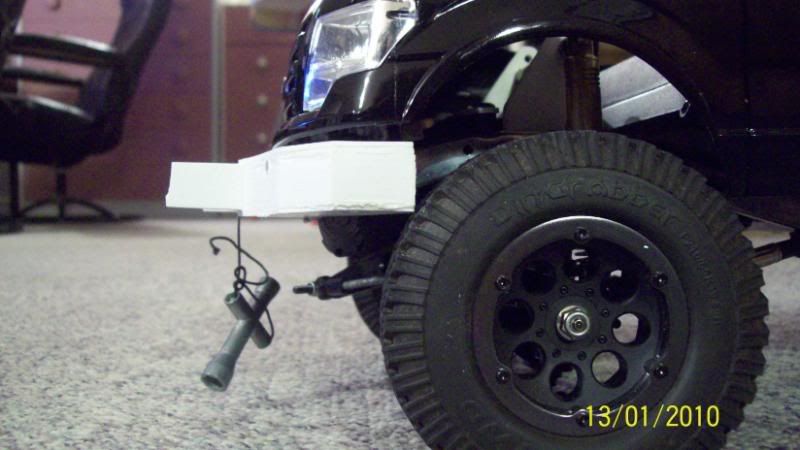 Made rock sliders this afternoon. I used brake line and some 3mm all thread... 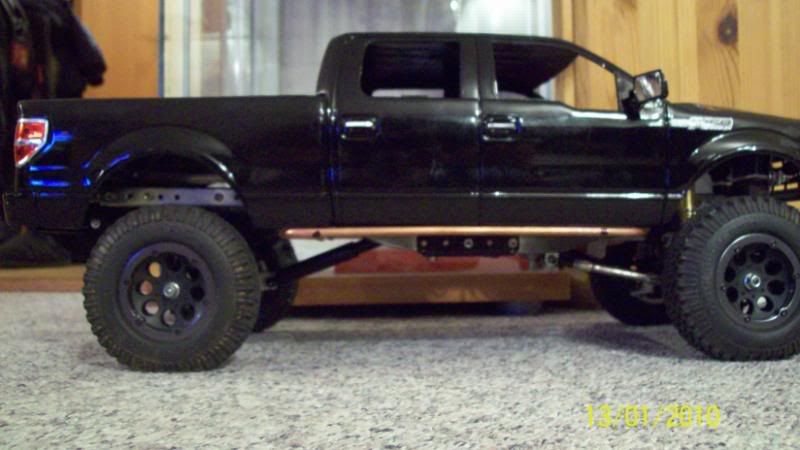 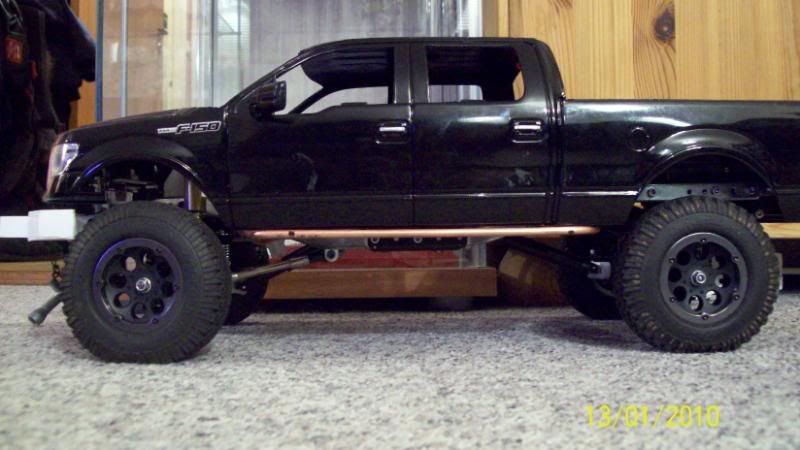 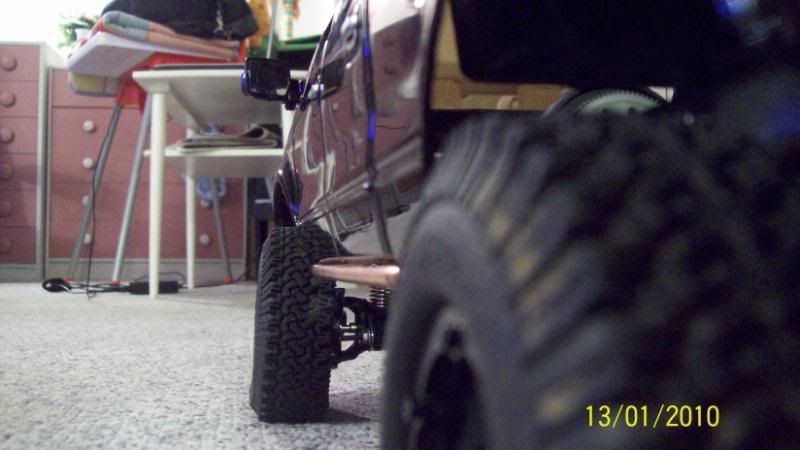 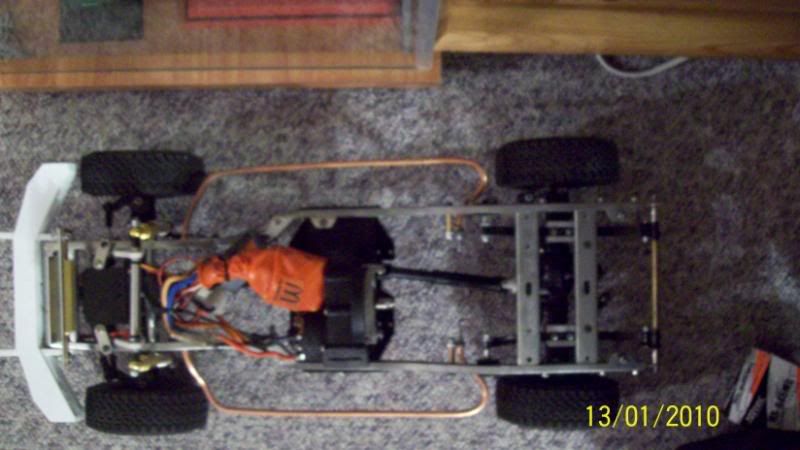 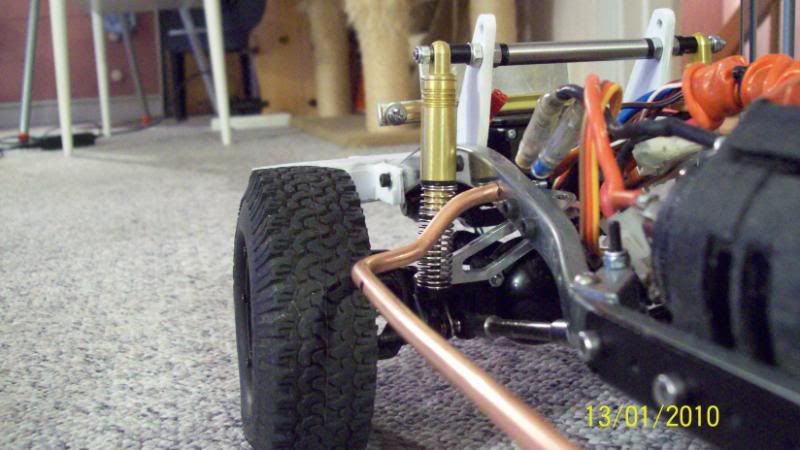 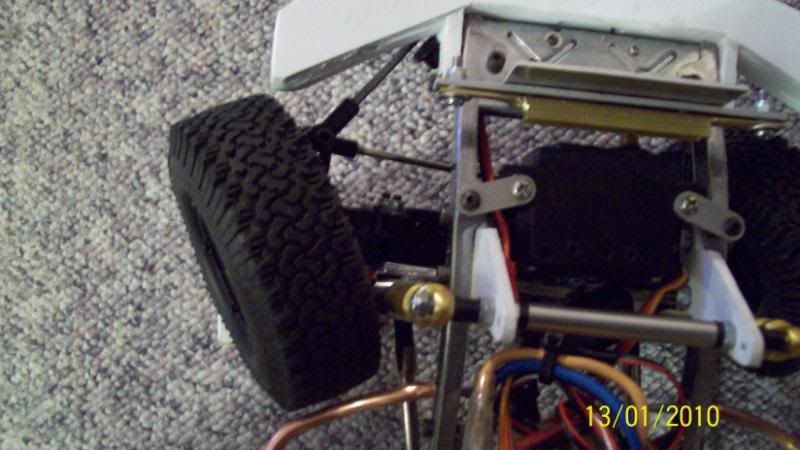 |
|
| |
|
01-13-2010, 12:26 PM
| #16 |
| RCC Addict Join Date: Sep 2009 Location: Bradenton
Posts: 1,299
|
nice for a ford. what size styrene did you use for your bumper?
|
|
| |
|
01-13-2010, 01:04 PM
| #17 |
| Pebble Pounder Join Date: Jan 2007 Location: Arendal,Norway
Posts: 125
|
Thanx I used 1.5mm or 0.60 sheet... |
|
| |
|
01-13-2010, 01:54 PM
| #18 |
| Rock Crawler Join Date: Jan 2009 Location: Jacksonville FL
Posts: 975
|
i have been meaning to ask someone how do those tires do in mud and on the rocks i want some but they look like they arent that good |
|
| |
|
01-13-2010, 03:11 PM
| #19 |
| Pebble Pounder Join Date: Aug 2008 Location: Edmonds, WA
Posts: 155
|
these tires do pretty well for me. they grip well on rocks, exept when they're wet. haven't tested them in mud yet. http://www.youtube.com/watch?v=PZBoDEMcsh8 sick truck btw Last edited by king_crawl22; 01-14-2010 at 07:01 PM. |
|
| |
|
01-15-2010, 10:16 AM
| #20 |
| Pebble Pounder Join Date: May 2008 Location: El Monte
Posts: 177
|
samn. this thing is legit. |
|
| |
|
| |


 Linear Mode


