| |
| |||||||
 |
| | LinkBack | Thread Tools | Display Modes |
 02-20-2012, 03:02 PM
| #1 |
| Pebble Pounder Join Date: Sep 2010 Location: Lees Summit
Posts: 190
|
I recently noticed a Samurai build by Pinchflat, called the Little Goat. I was really impressed by how good his shortened wheelbase SCX with a shortened Axial Trail Ranger body looked. I like the Trail Ranger, but it just looks awkward to me with the super stretched bed. Pinchflat's build looked just right. I would have LOVED to build a scale model of my Honda Element, 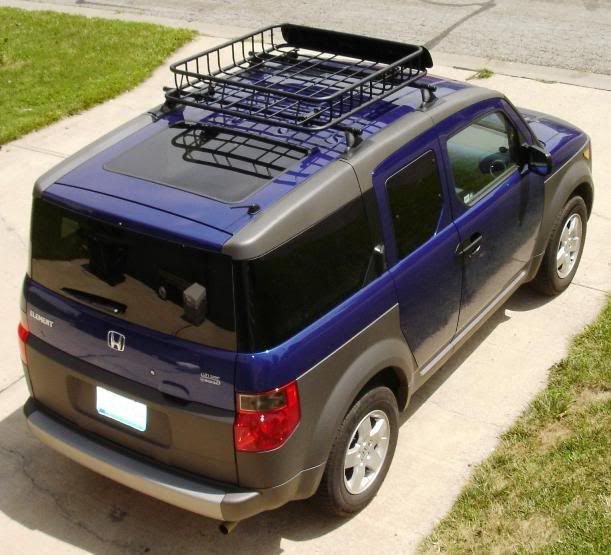 (which I call Stubby) but i'm not good enough to make a body from scratch, and the zuki looked like a good alternative, so I decided i'd try to build one of my own. I carefully read through Pinchflat's comments on the Little Goat, and also talked to a local builder, Muddauber Jr, about how to best proceed. First, I needed a SCX or similar frame. I picked up a very nice Dingo roller from Chicklet that had a very nicely done body. 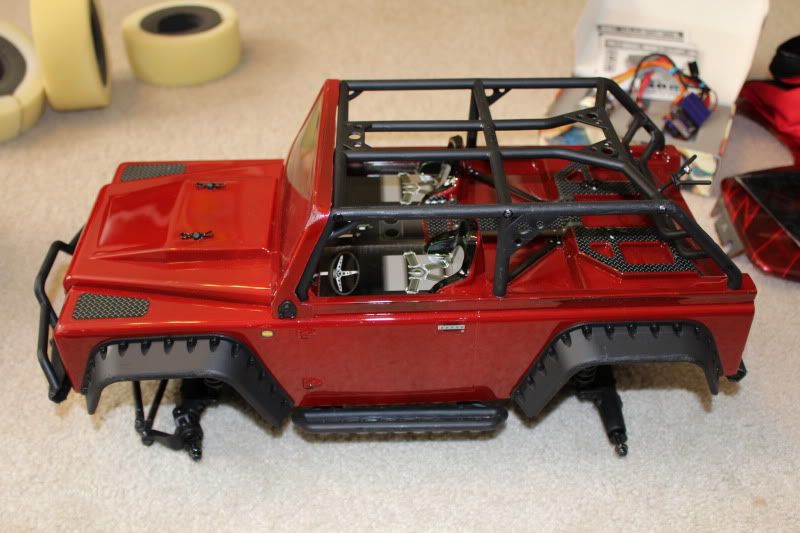 The dingo body on this was so nice I almost scrapped my idea and just stuck with it. Nice job on this one Chicklet! But, I can hardly ever leave anything alone, so the body was removed and the plan proceeded. 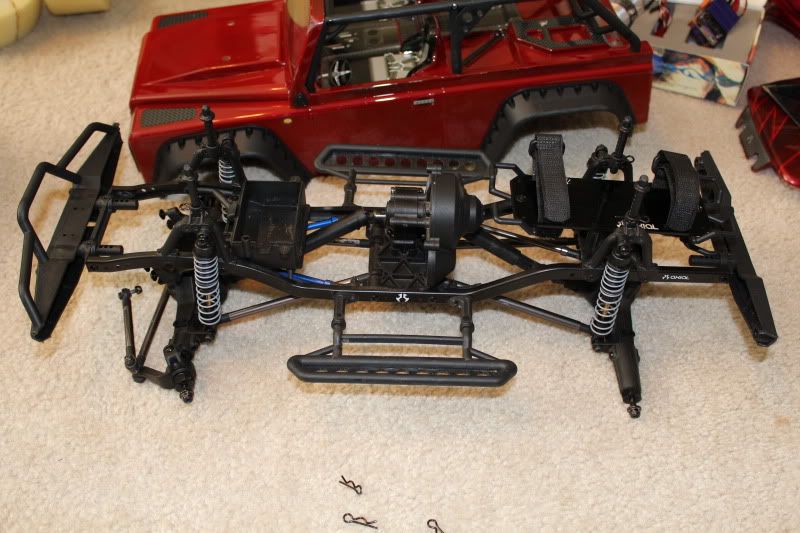 The wheelbase was obviously too long on the frame, but there are a few simple things to do to help with that. I also got a Trail Ranger body and cut about 1.75" out of it, right behind the doors. 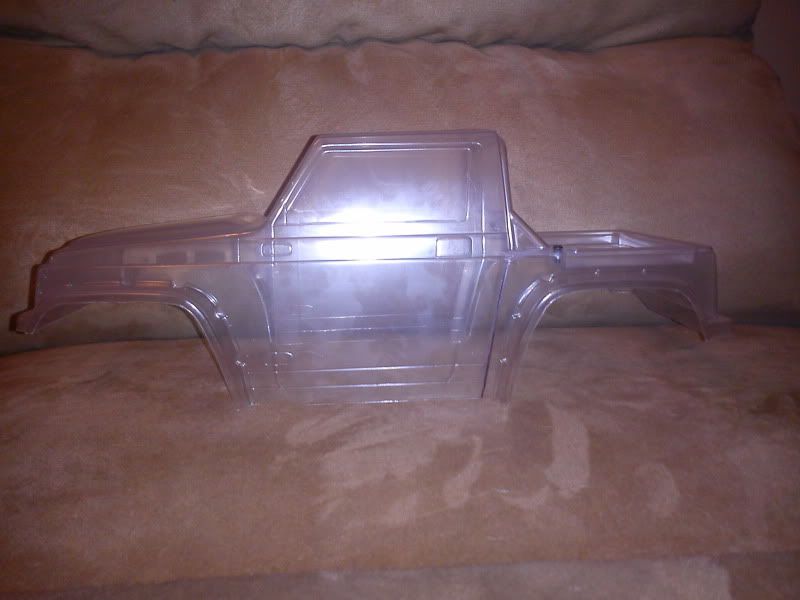 Next, I knew that Pinchflat said he moved his skid forward to help get the wheelbase right, so I took a look at the skid and the rails. I noticed that I could move it about 0.5" forward fairly easily, re-use some existing holes, and drill a few new ones to remount everything. So I made a little hole template from some angle aluminum, drilled all the holes in the frame just forward of where they used to be. 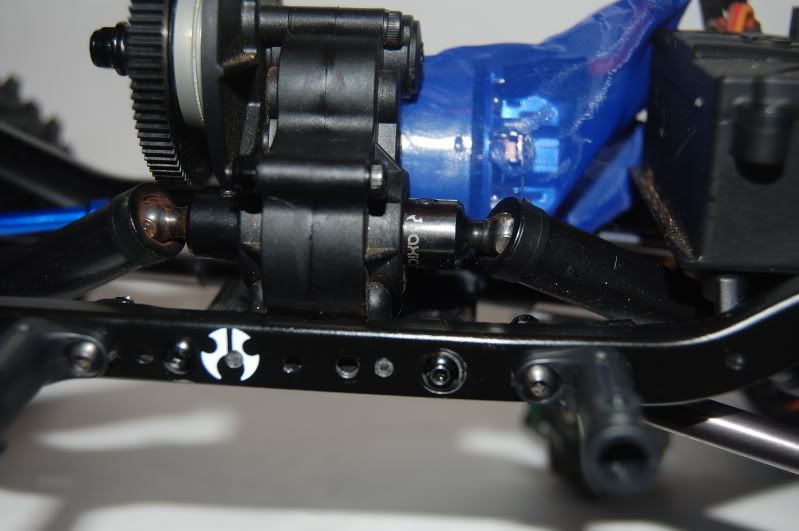 So far, good. I thought I could leave the front of the frame alone now that the skid was moved forward, but I knew I didn't want the dingo bumper sticking out so far in the front. With a little help from Brandon at Axial, I reversed the front bumper mount and pulled the bumper in about an inch. 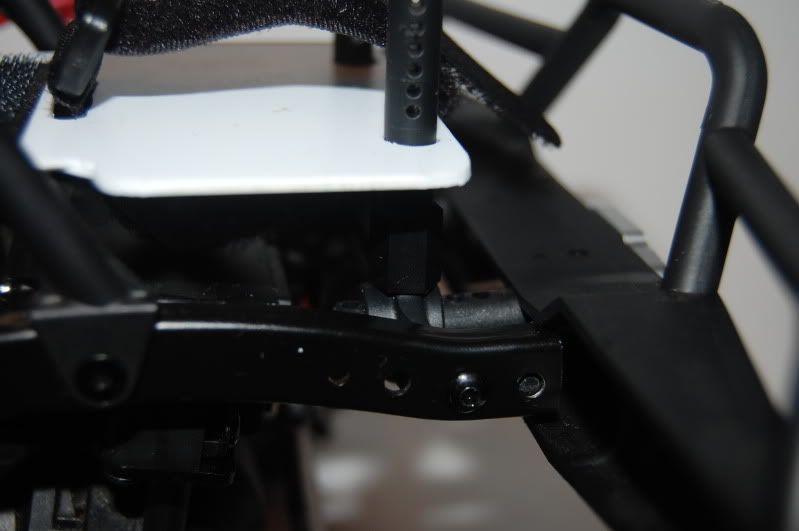 I also needed a place to mount my battery and ESC, so I cut a tray out of styrene and used stock Axial body mounts on top of the bumper mount in the front, and a few spacers above the front screws on the Axial radio box to secure the new electronics tray. 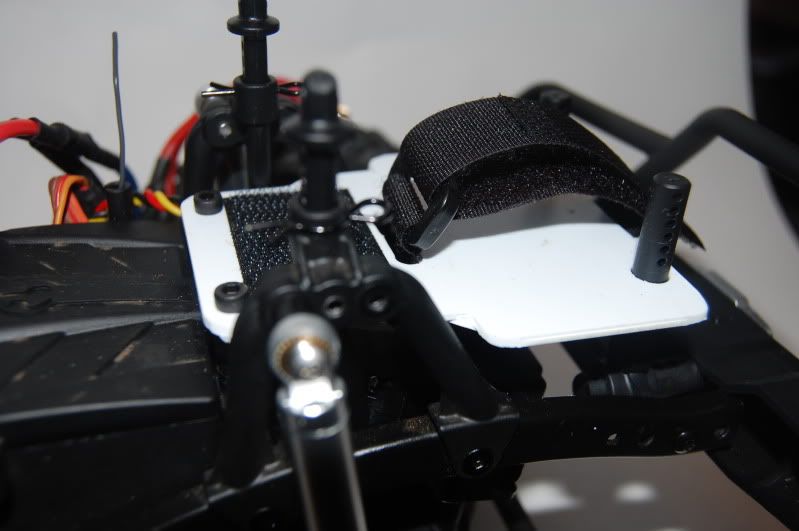 I decided to keep the three link in the front, but I needed some shorter links to fit the short wheelbase. After looking around at my options, I decided that if I had a shorter Y adapter in the front, I could use the existing links and get the wheelbase I needed. So after talking with a friend at work, he cut me up a little piece of scrap aluminum with threaded holes, and I was good to go. The new Y is 1/2" front to back so that cut 1/2" off the existing length. 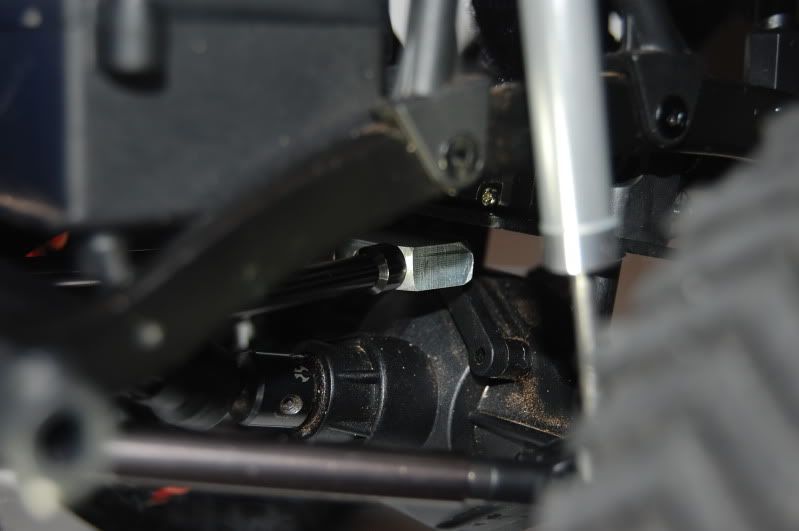 I got an Axial four link plastic truss for the upper links in the back and used my existing links here as well. 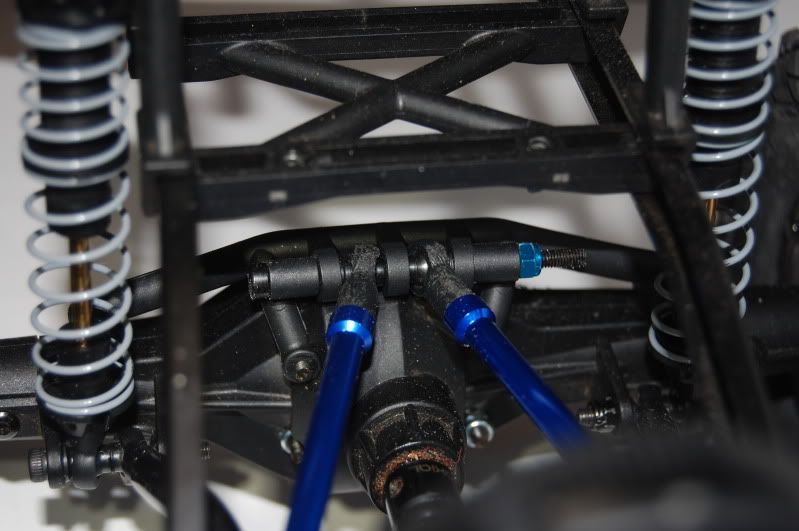 On the rear shock hoops, I cut the body mounts off and moved them to the shortest holes available in the stock rails. 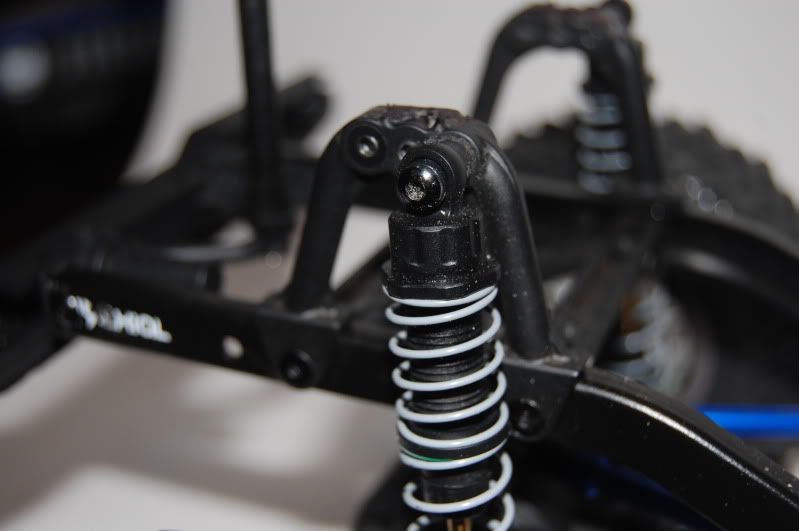 I still needed some way to mount the body in the back, so I attached a long Traxxas body mount to this hole in the back bumper mount. I'd love to make a drop bed for this later, and/or make a cage for the rear, but for now this will work for me just fine. Oh, I also took this opportunity to finally cut some length off the rear of the rails. I cut about 7/8" off, and drilled new holes to mount the bumper back in its normal manner. 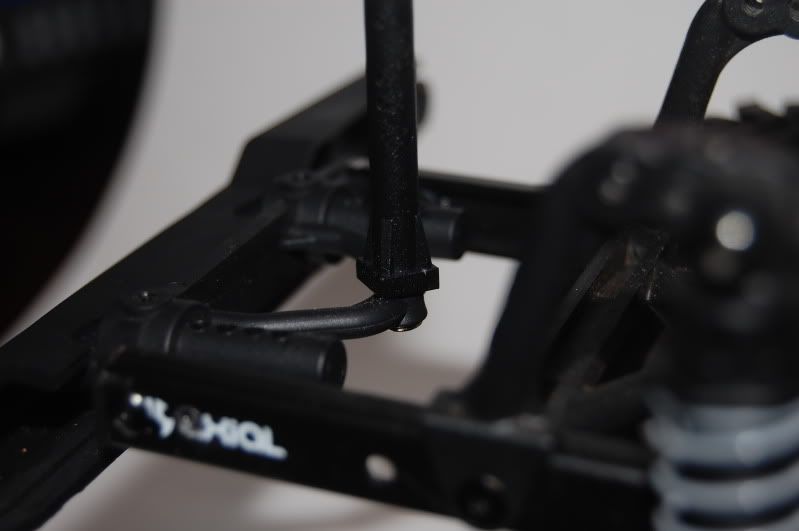 Here is how it all looks without the electronics on top. 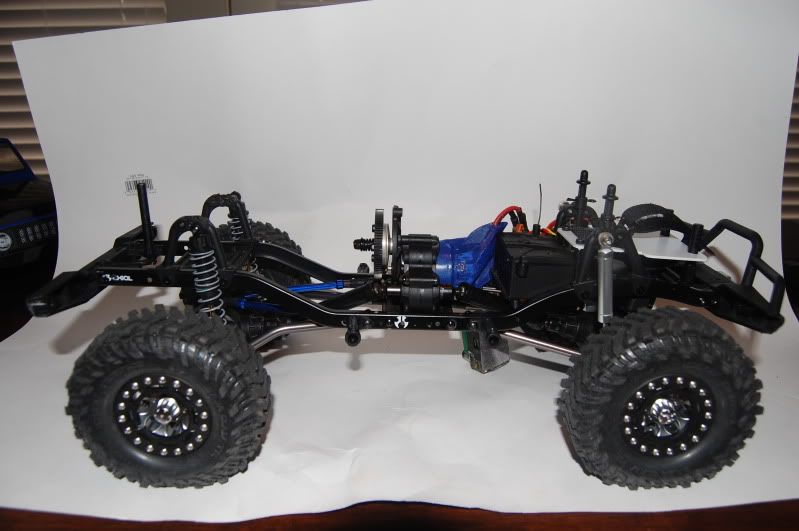 And here it is with the ESC and battery in place. 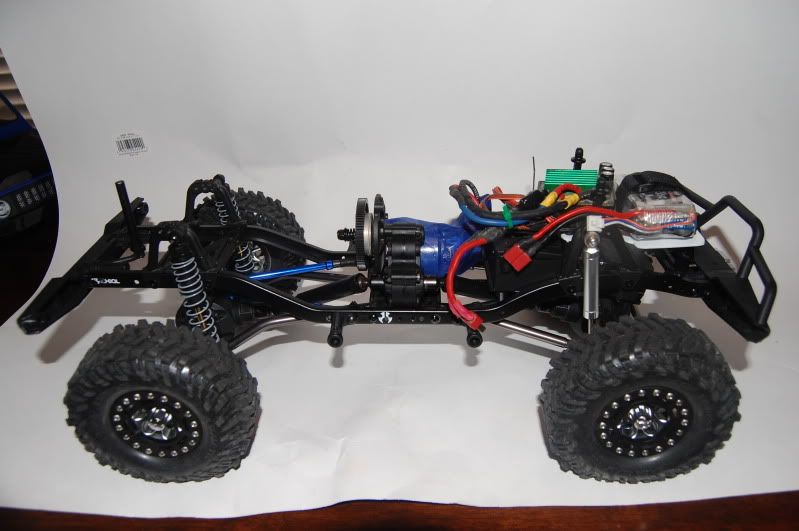 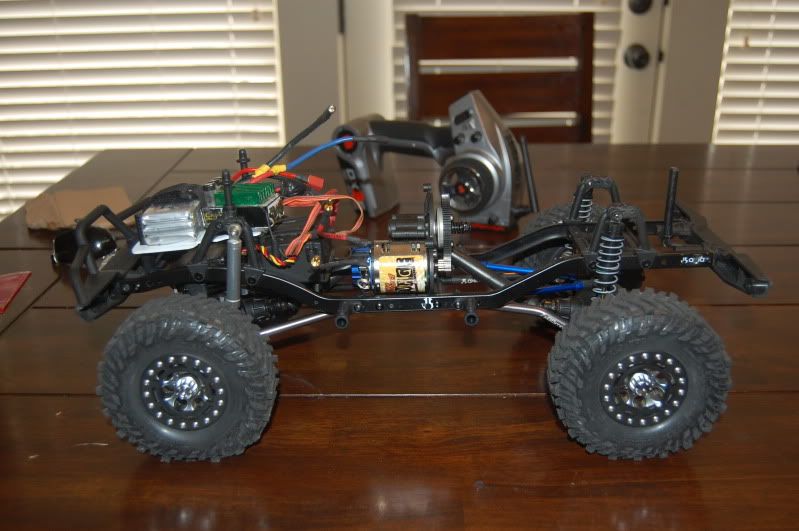 It is a nice little Zuki so far. It is not nearly as nice as its inspiration, Little Goat, but it looks ok and i've had a great time building it. I've only driven it a very little bit for testing, and I still have a few more things to work out, but I am still very happy with it. 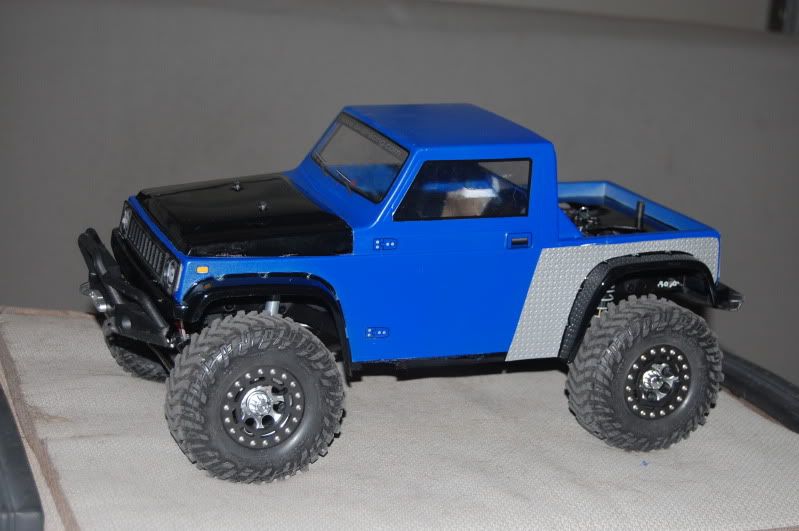 I haven't tried to do a build thread before, and wish i'd have taken a lot more pictures of it in process, but I hope you guys enjoy this one. I know I have, and will. schiesz Last edited by schiesz; 02-20-2012 at 09:22 PM. Reason: changing title |

|  |
| Sponsored Links | |
| | |
|
02-20-2012, 09:07 PM
| #2 |
| RCC Addict Join Date: Nov 2007 Location: CALI "209"
Posts: 1,970
|
What is the wheel base on the snubed suki?
|
|
| |
|
02-20-2012, 09:19 PM
| #3 |
| Pebble Pounder Join Date: Sep 2010 Location: Lees Summit
Posts: 190
|
It's sitting about 10.6" right now. I was shooting for a straight 10", but I felt like the angles that put the drive shafts at were just too severe. I made shorter links all around with 8-32 all thread, and had it at 10", but everything seemed to work better when I gave it a little more room. I really prefer the look of the WB of the Little Goat; he said his is sitting at 10.2". I also realized I never mentioned it before, but for the lowers links I am using Axial 7x73mm tubes in the front with one 3mm spacer, and Axial 7x85mm bent links that are supposed to be high clearance uppers on a Wraith. For electronics, a Castle Mamba Max with Castle 10A BEC, Brood Machine wound 35T, Hitec 5645 servo, and a Spektrum 3000 rx. I also have a sock over the motor to keep the debris out if it goes in the water. I got that from Dinky RC a little while back at a GTG. I need to waterproof the rest of the electronics before I can play very much in the creek back behind the Hive over there Last edited by schiesz; 02-20-2012 at 09:40 PM. Reason: adding details |
|
| |
|
02-20-2012, 09:58 PM
| #4 |
| RCC Addict Join Date: Nov 2007 Location: CALI "209"
Posts: 1,970
|
Thanks. rig looks great so far!
|
|
| |
|
02-21-2012, 03:42 AM
| #5 | |
| Rock Crawler Join Date: Jun 2010 Location: UTAH COUNTY
Posts: 837
| Quote:
If you run a slightly shorter link on the bottom and angled the pinion upward then that would fix your problem. Rig looks great. Just an idea for the 10" wb your wanting. | |
|
| |
|
02-21-2012, 08:07 AM
| #6 | |
| Pebble Pounder Join Date: Sep 2010 Location: Lees Summit
Posts: 190
| Quote:
I still have a bind in the suspension on the front right, and I still think its related to the drive shaft, but it is much better than it was before now that i've given it a little more room. I'm not sure exactly what's causing it, and i'm still working on it to see if I can correct it somehow. If anyone has any suggestions on why my front right is so stiff, i'd love to hear them. | |
|
| |
|
02-25-2012, 12:52 PM
| #7 |
| Pebble Pounder Join Date: Sep 2010 Location: Lees Summit
Posts: 190
|
Little Stub got to get out and play a little today. 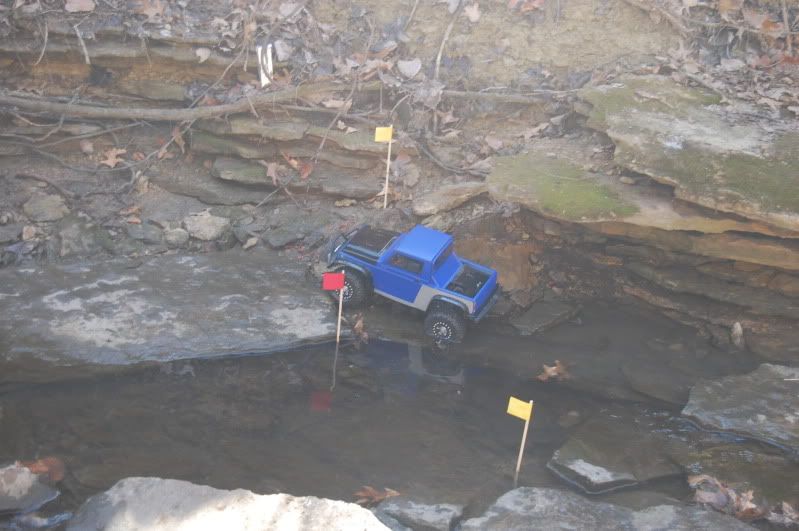 |
|
| |
|
03-07-2012, 01:06 PM
| #8 |
| Pebble Pounder Join Date: Sep 2010 Location: Lees Summit
Posts: 190
|
Trying out a few changes over lunch today. 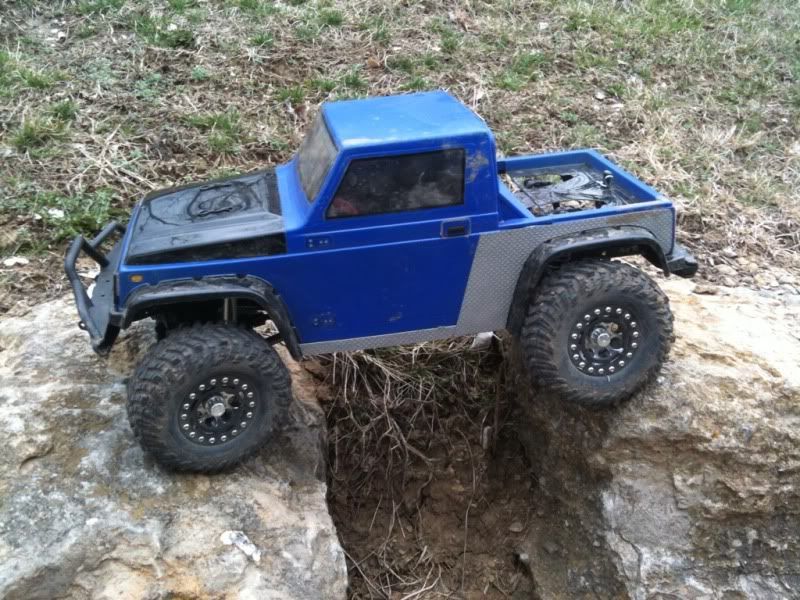 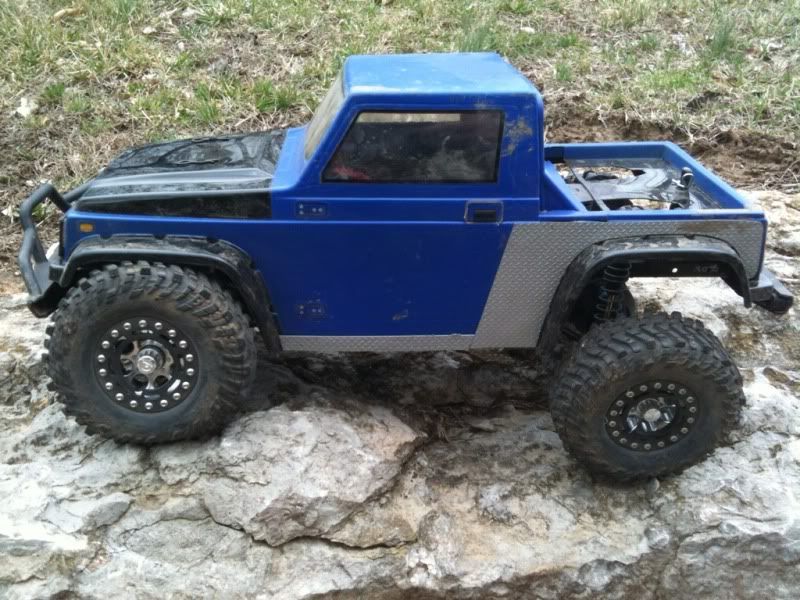 The natural light really shows the color better, as expected... Now I just need to get to work on a drop bed, and maybe a simple cage in the back and this little guy should be basically good to go. Last edited by schiesz; 03-07-2012 at 01:21 PM. |
|
| |
|
 Little Stub - SCX zuki build - Similar Threads
 | ||||
| Thread | Thread Starter | Forum | Replies | Last Post |
| My New(to me) Zuki | Shaun | Chit Chat | 39 | 09-23-2010 10:14 AM |
| Stu-zuki | microgoat | 1.9 Scale Rigs | 45 | 07-26-2010 02:00 PM |
| Project ~ZuKi~ | BiG_DaWgZ | 1.9 Scale Rigs | 4 | 01-04-2010 02:28 AM |
| Pure awesomeness for Zuki... | braceysdad | Chit Chat | 18 | 11-13-2009 06:50 PM |
| zuki Lj10 | sloppy | 1.9 Scale Rigs | 33 | 09-22-2009 10:54 AM |
| |


 Linear Mode


