| |
 02-10-2013, 08:09 PM
| #1 |
| RCC Addict  Join Date: Aug 2005 Location: New Oxford PA
Posts: 1,290
|
After seeing the work i did on Dez's truggy a fellow club member came to me to convert his truck into a True truggy and add some front Shock hoops. Here it was as i got it. 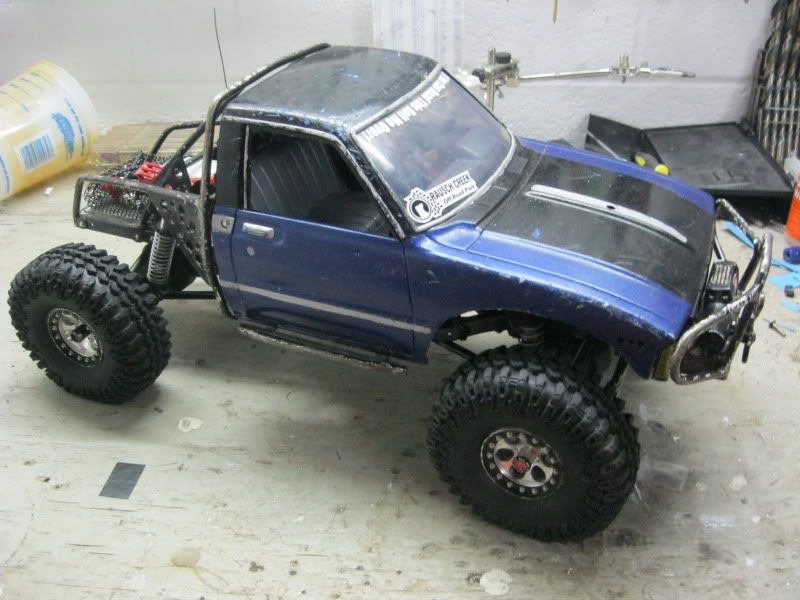 I started by stripping it down but keeping the front electronics plate to hold the frame rails in place 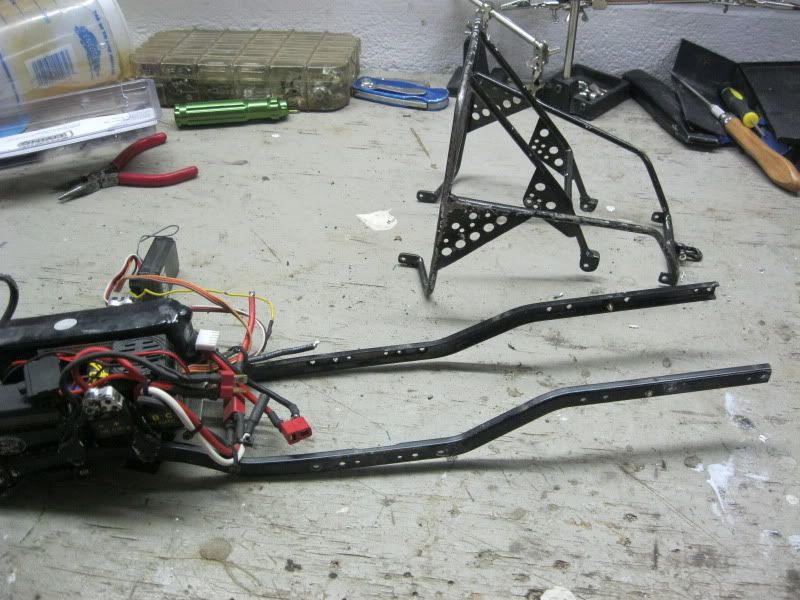 Then after careful measuring i hacked the back of the chassis off after the upper link mounts. 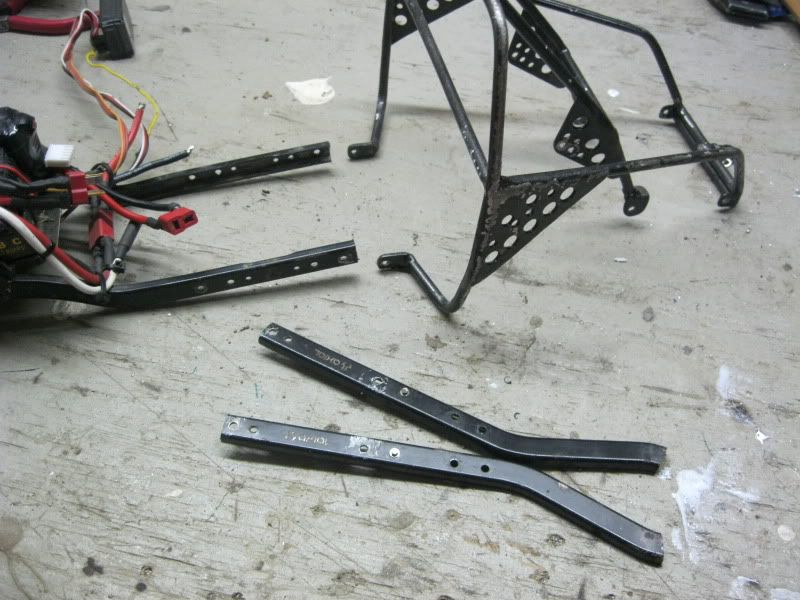 Then it was off the the blasting Cabinet for a through cleaning. 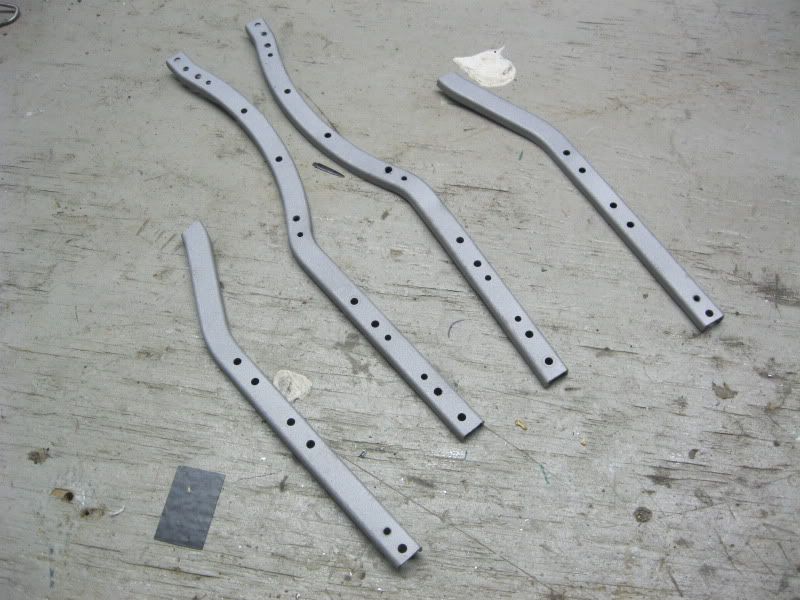 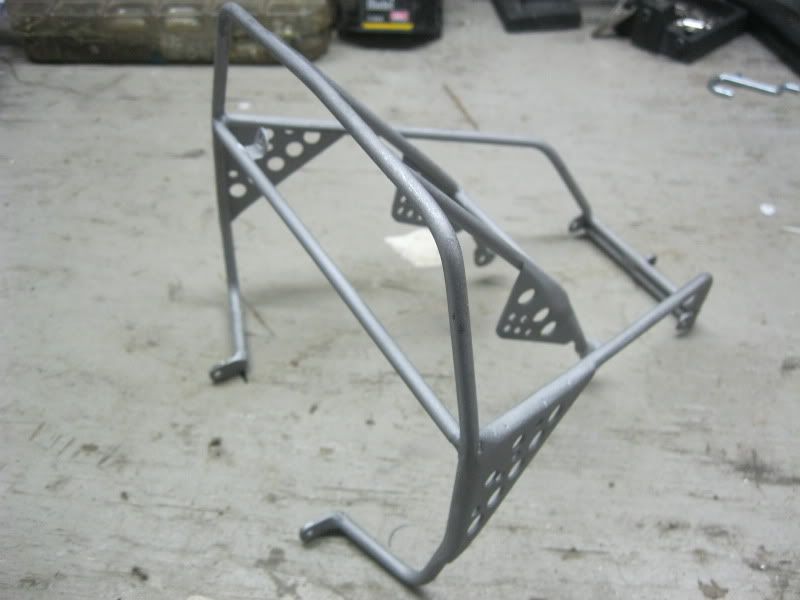 That's it for now. |

|  |
| Sponsored Links | |
| | |
|
02-10-2013, 08:23 PM
| #2 |
| Rock Stacker Join Date: Oct 2009 Location: york
Posts: 61
|
I live in between you and spike. Im anxious to see how this turns out after seeing your work on the dezmoon truggy
|
|
| |
|
02-17-2013, 10:37 PM
| #3 | |
| RCC Addict Join Date: Aug 2005 Location: New Oxford PA
Posts: 1,290
| Quote:
I hope i don't disappoint! Well i got a lot done with this in the last week. Once i had the frame cleaned i looked at how i was going to do the tube frame. I started with some 1/4" tube 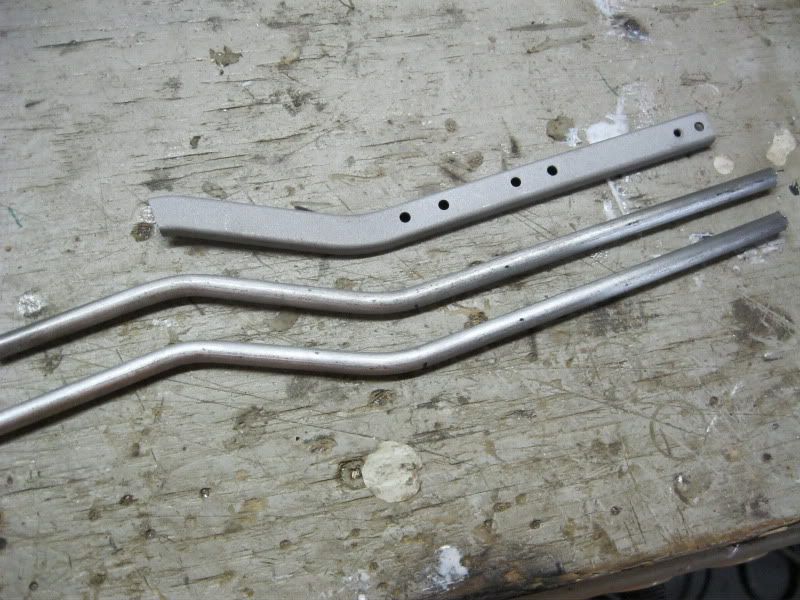 but after i had them bent i was not happy with how they fit to the original frame so relunctally i went with a double tube set-up 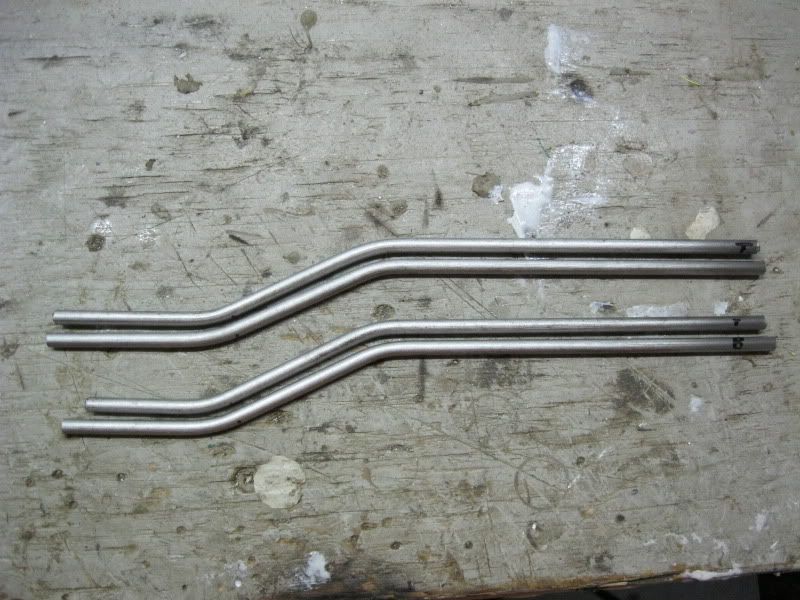 The reason i was so reluctant to do it is because i knew i was going to be making more of those miserable little spacers like i did on Dez's truggy so i decide to try something to speed the process up. I began by clamping a piece of tube in the vice, and after marking the distance i wanted between the tubes, drilled some pilot holes 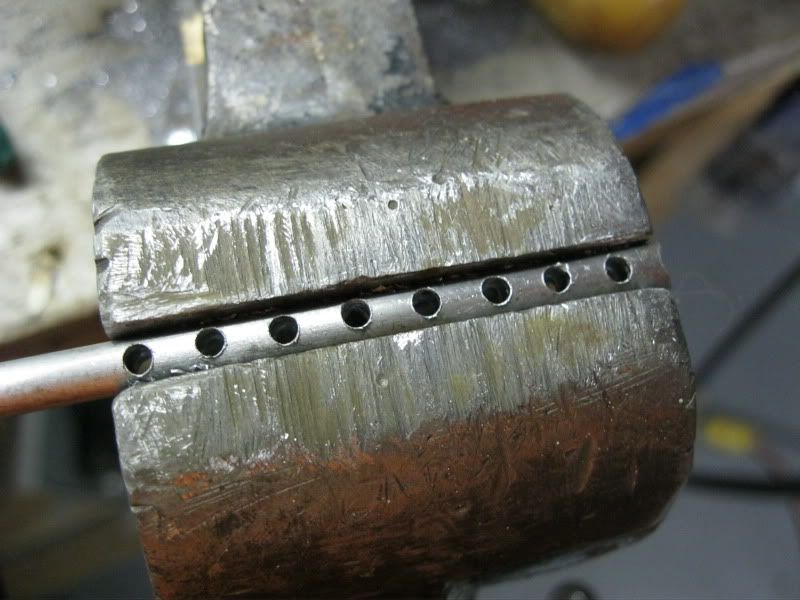 then i tried drilling holes the same diameter as the tube but it ended up a disaster 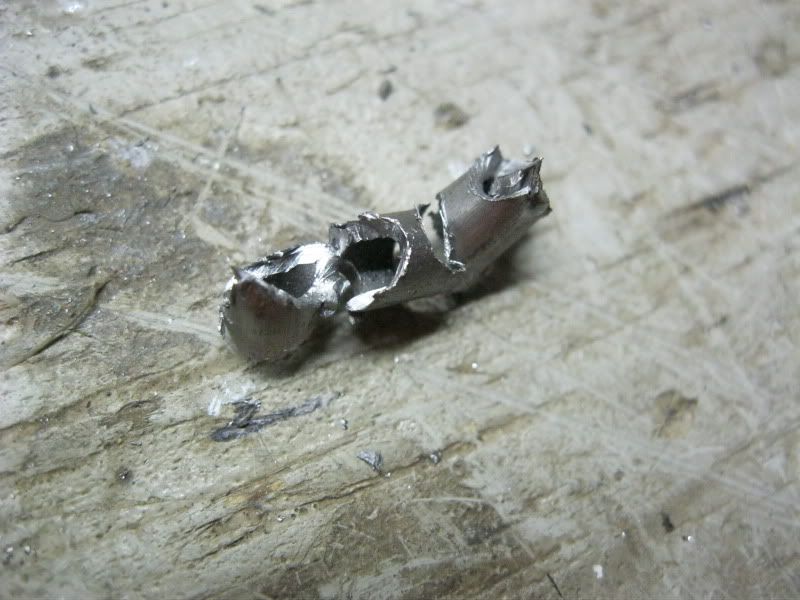 So i drilled them a few sizes smaller and that did the trick 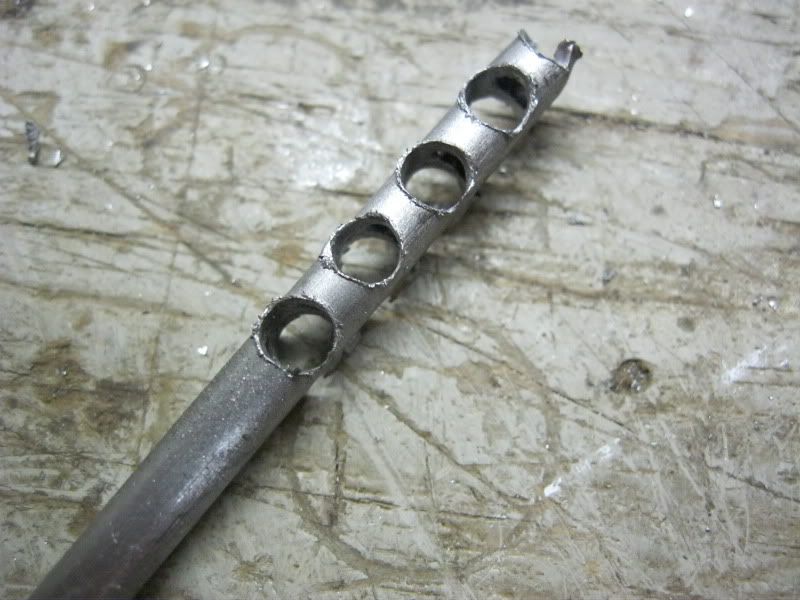 So then all i had to do was some final filing and they were done and i was able to mock the tubes in place 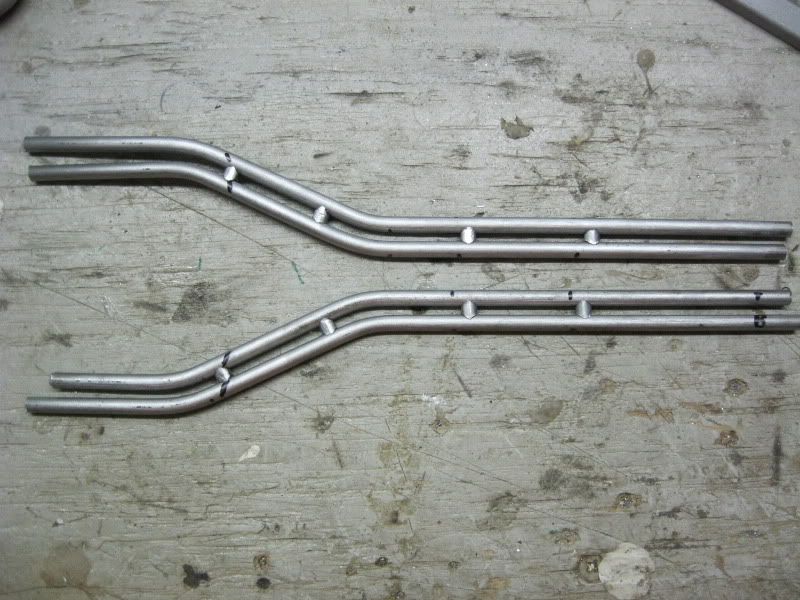 then they were tacked  I even was able to match the slight bend in the frame rail 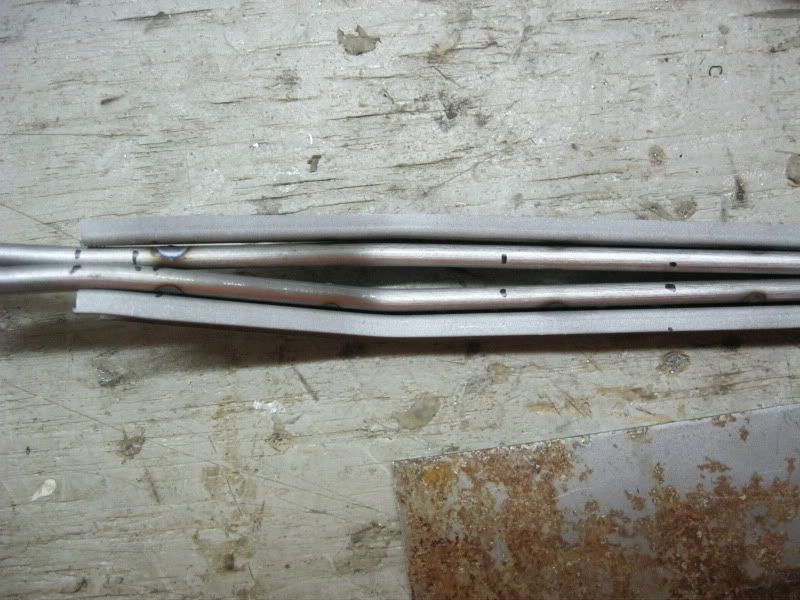 Next i needed to make a spot to attach the tubes to so i cut and filed a small chunk of steel to fit in the frame rail 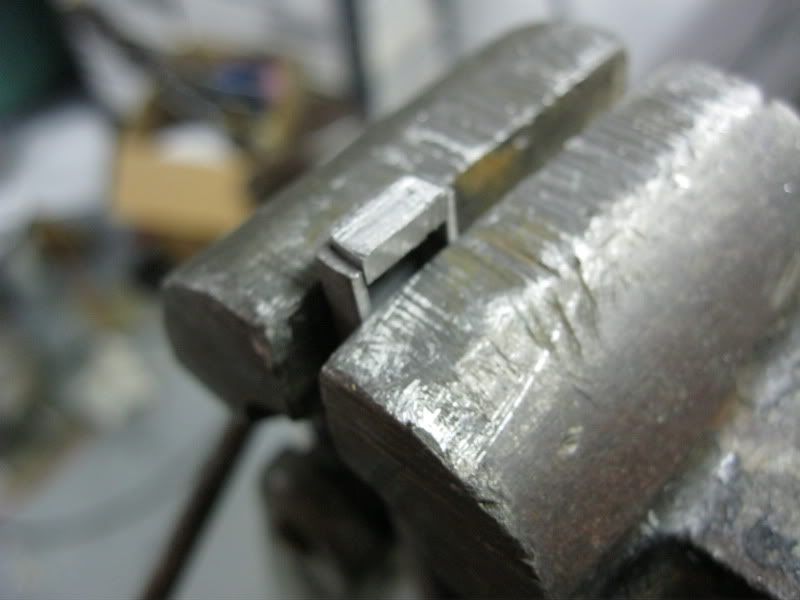 then burned them in and filed the rails flat 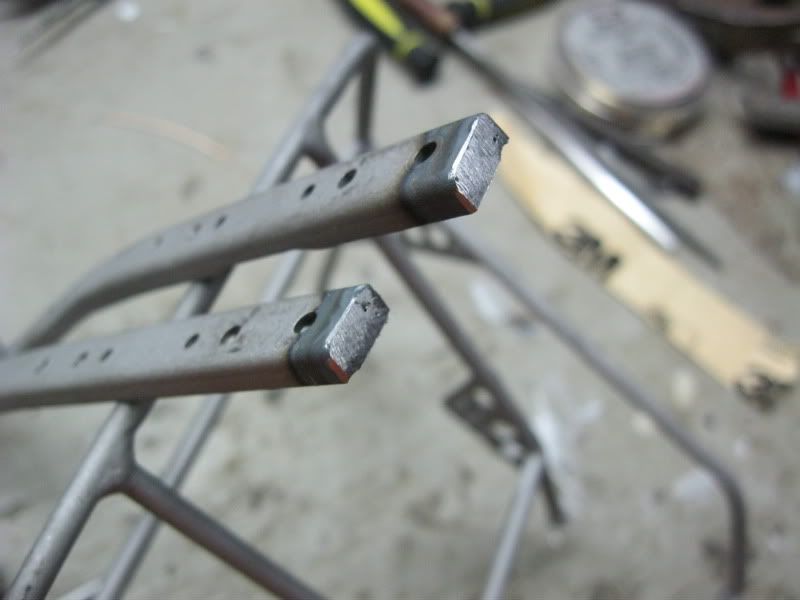 Next i tacked the rails in place mimicking the original frame 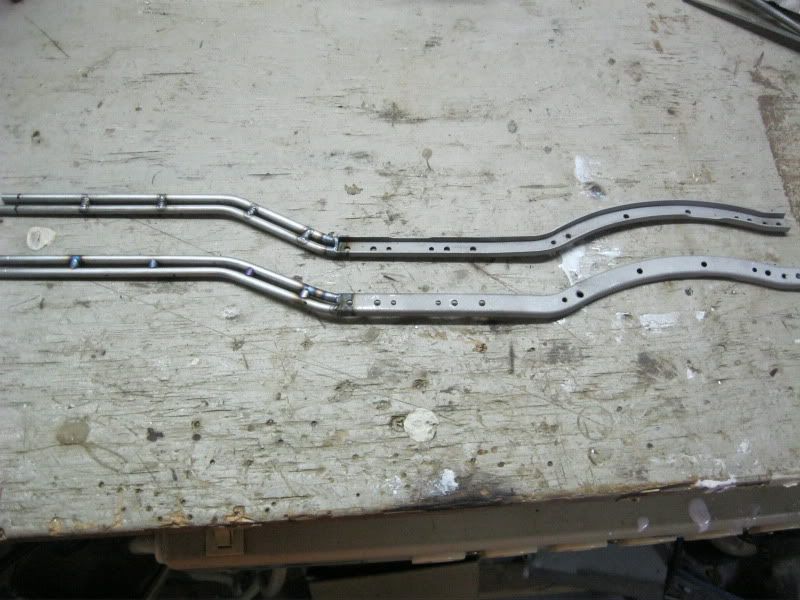 I made sure to leave space for the original skid 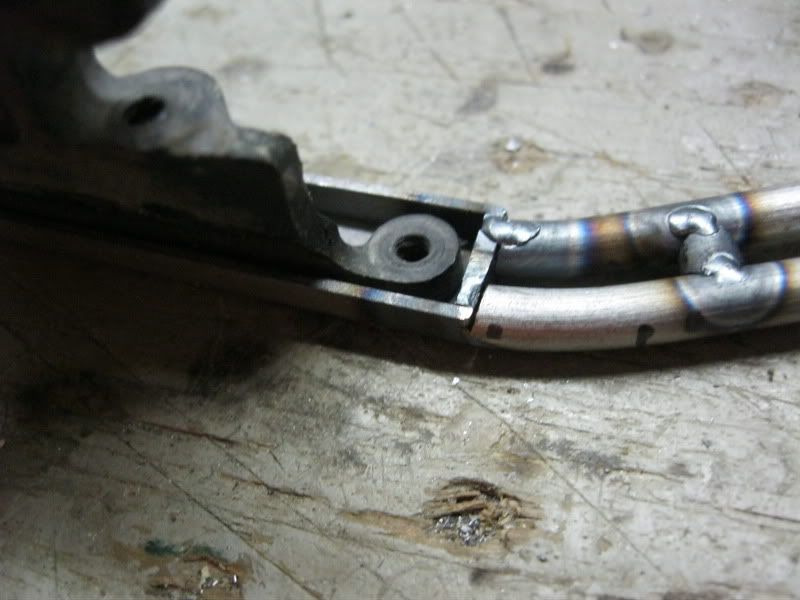 then i threw the body back on for a test fit 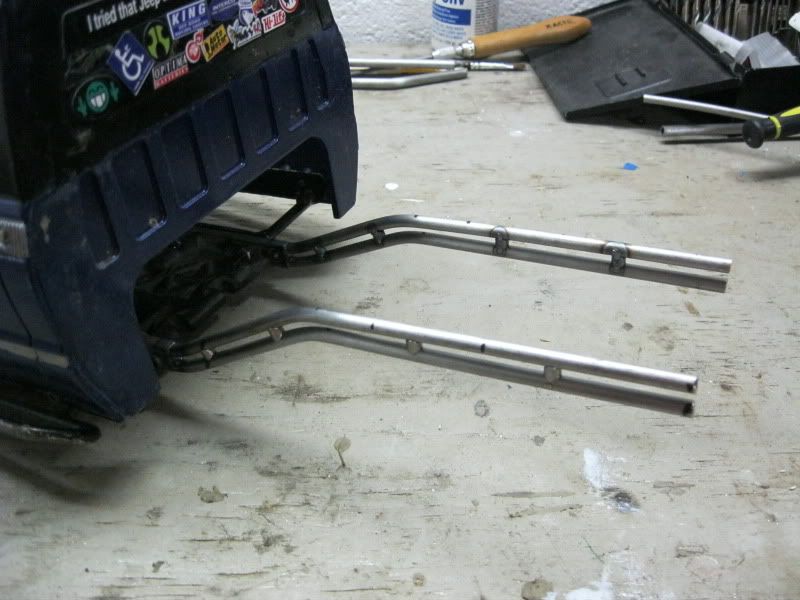 then it was time to prep the original truggy by trimming off all the original tabs 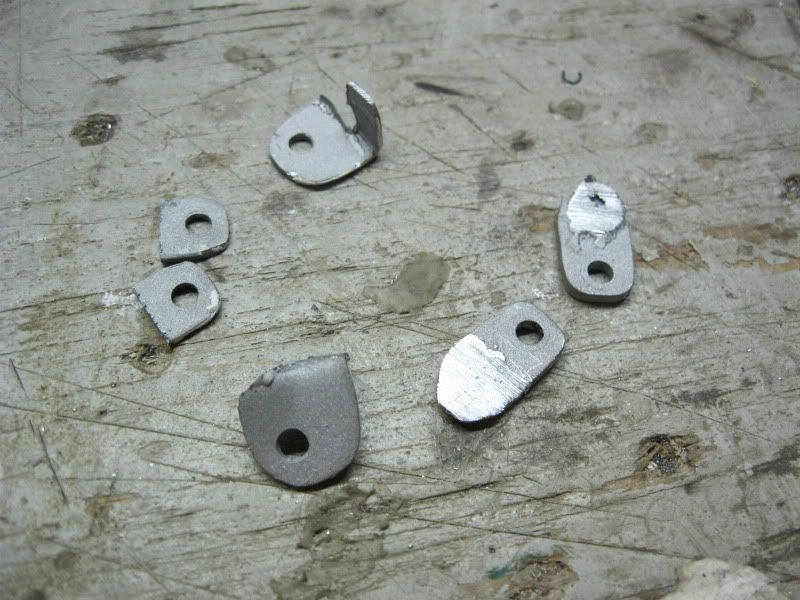 and cleaning the frame where the tabs were 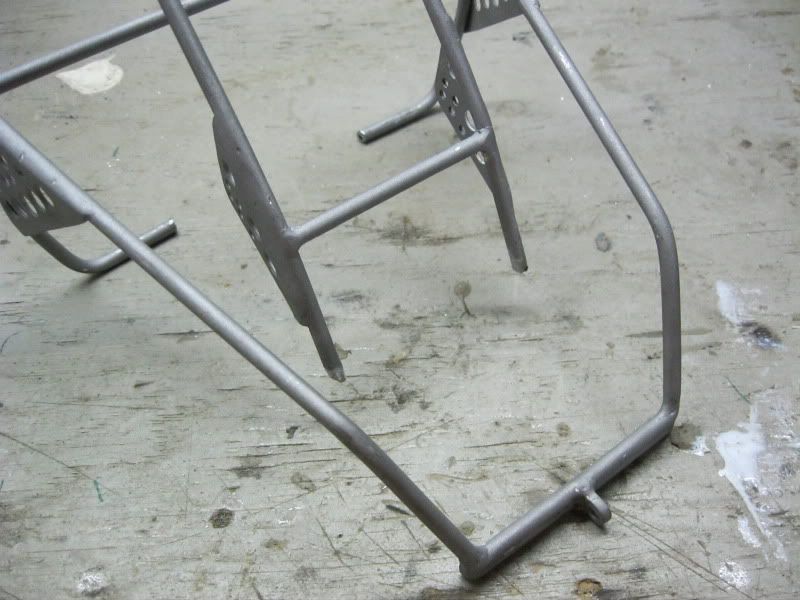 and after some fine tuning the truggy rear was tacked in place 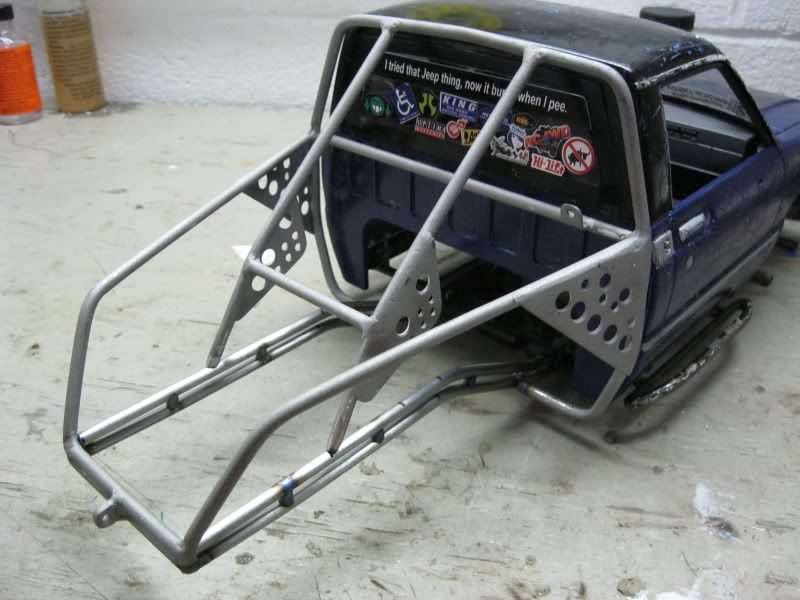 i had the bend the tube up slightly to match the original frame end but i think it looks good 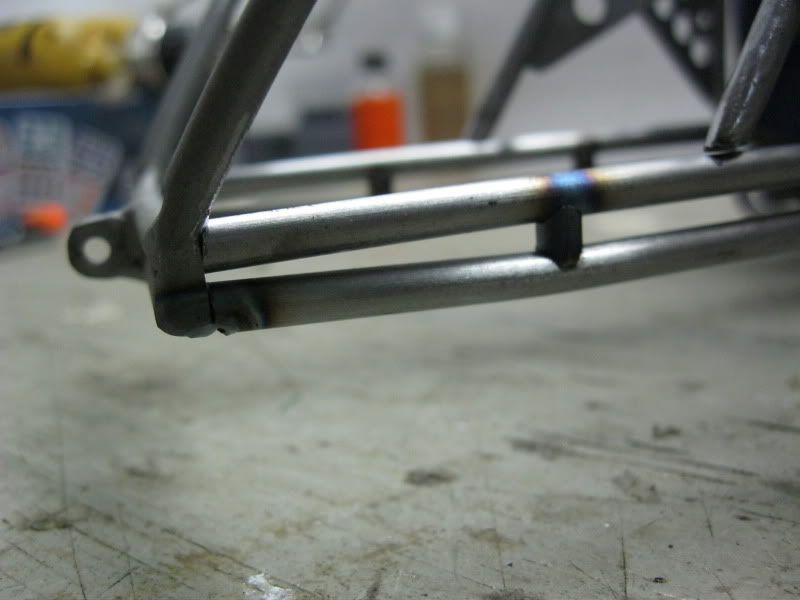 now it was time for the accessory tray To mount that i made some tabs 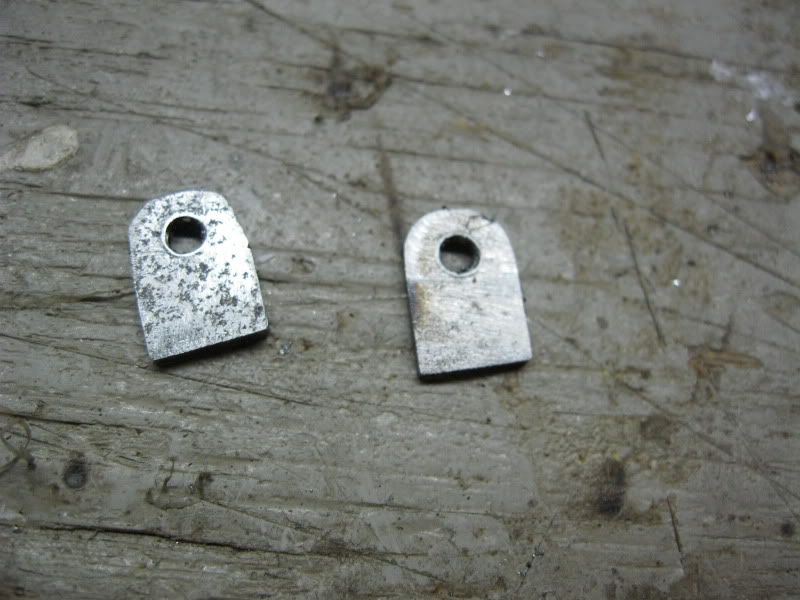 then placed them in the original holes on the plate 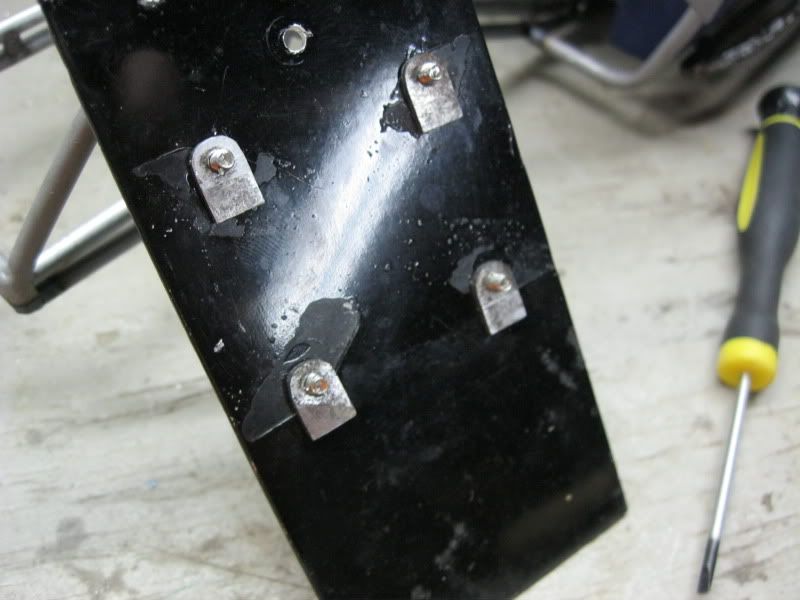 Added some tube to the rails  and tacked them in place 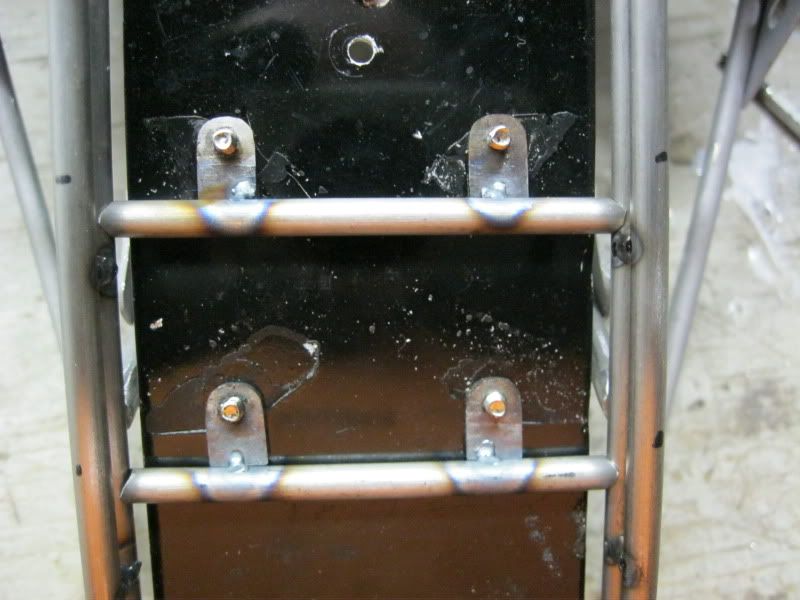 then after looking at it i felt the very back needed some tabs as well 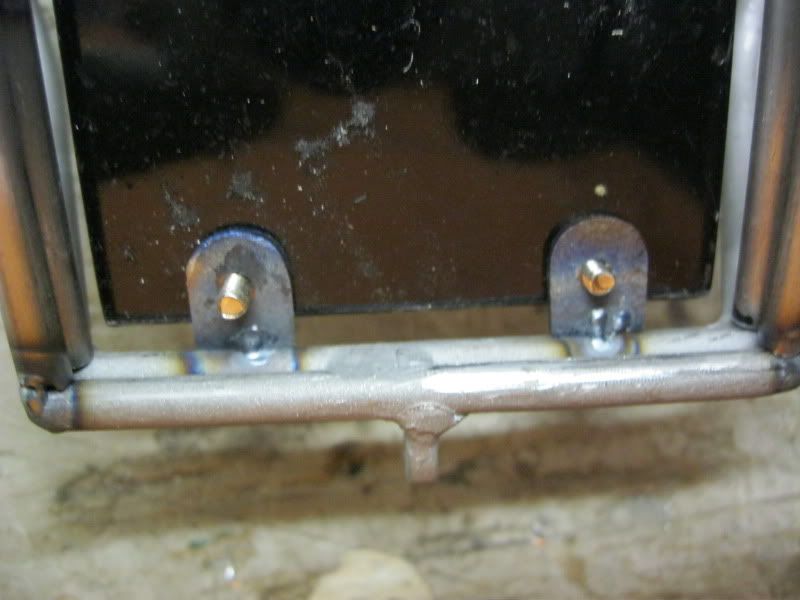 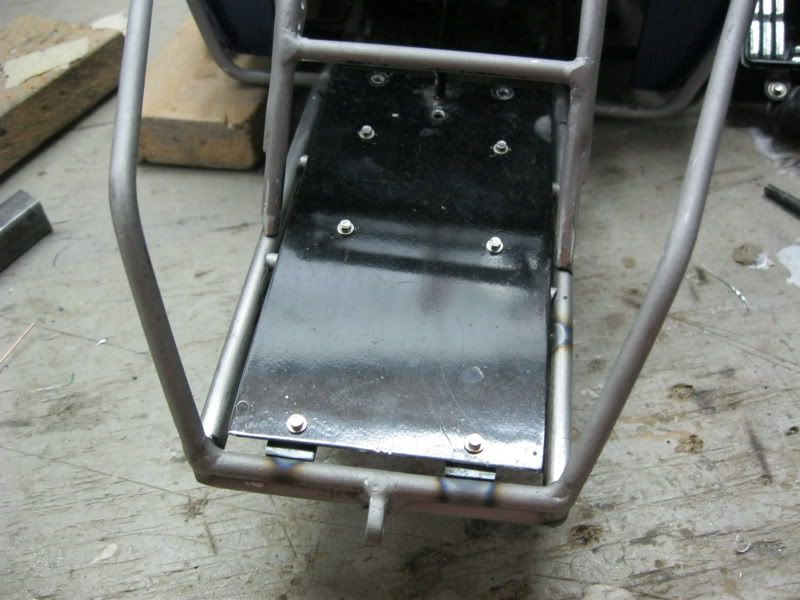 then it was time for the front shock hoops 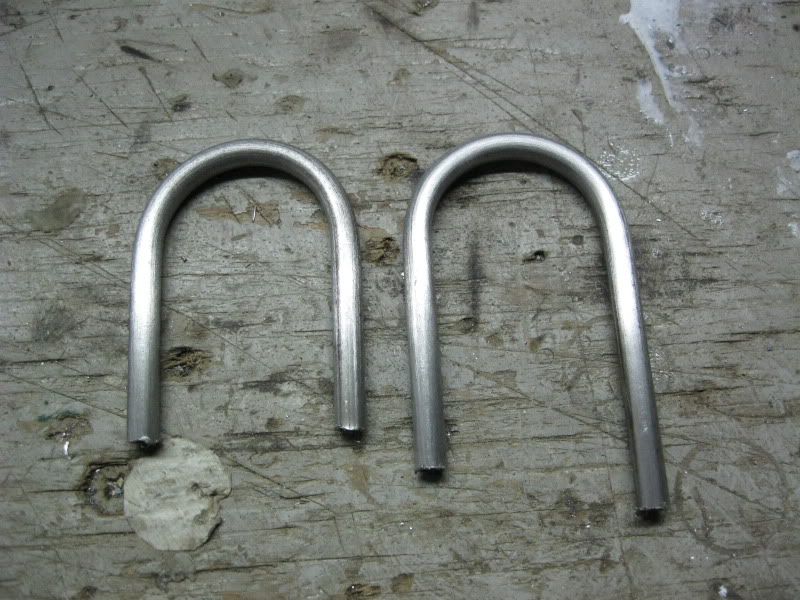 Just like my other ones, plates were made 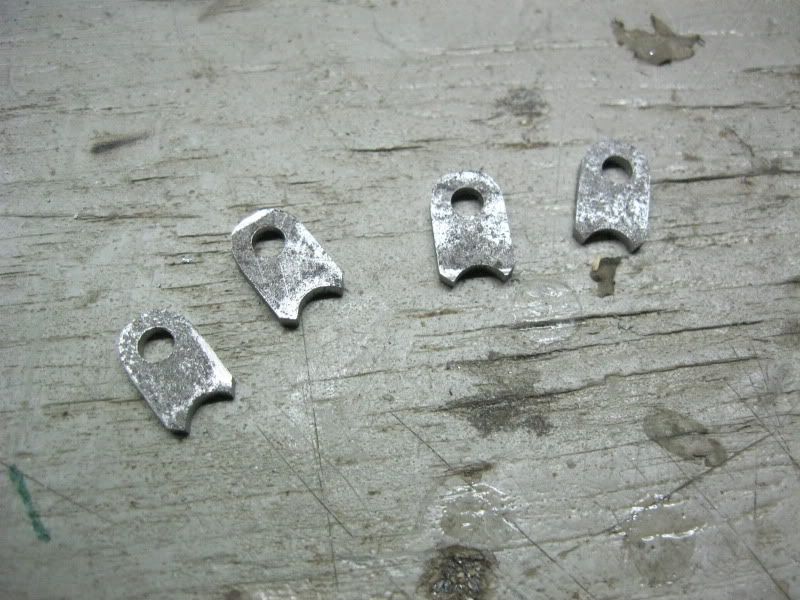 and it was all tacked to the chassis making sure to leave clearance for the cross member screws 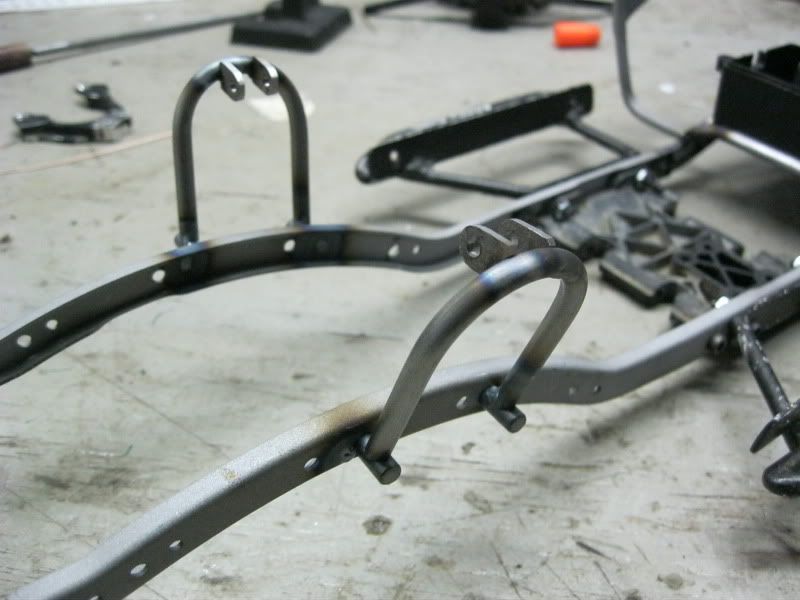 The last order of business was the receiver box. it attached to the accessory plate but needed additional support as the original stands would not work any more.  I started with some more tube cut and notched to fit the frame 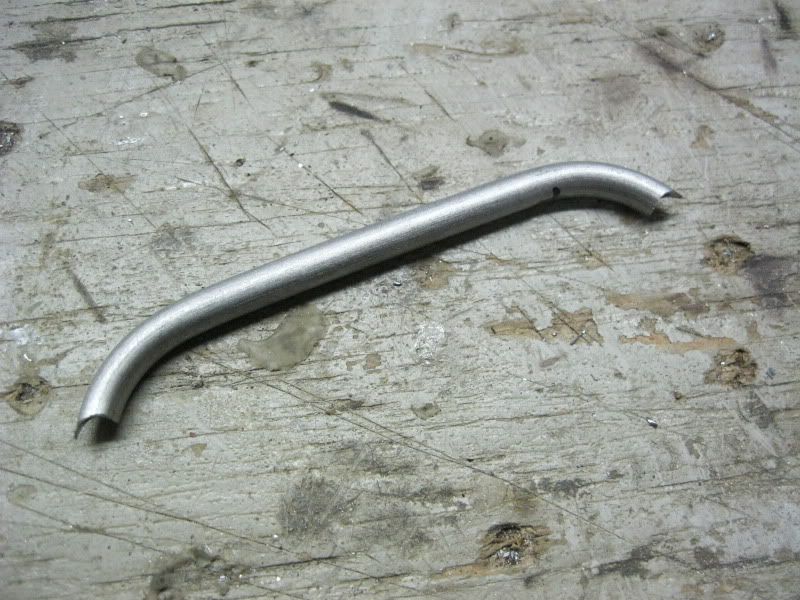 Checked the fit  Then added some tabs leaving the holes out  Then i marked the holes, drilled and tapped them and tacked it in place 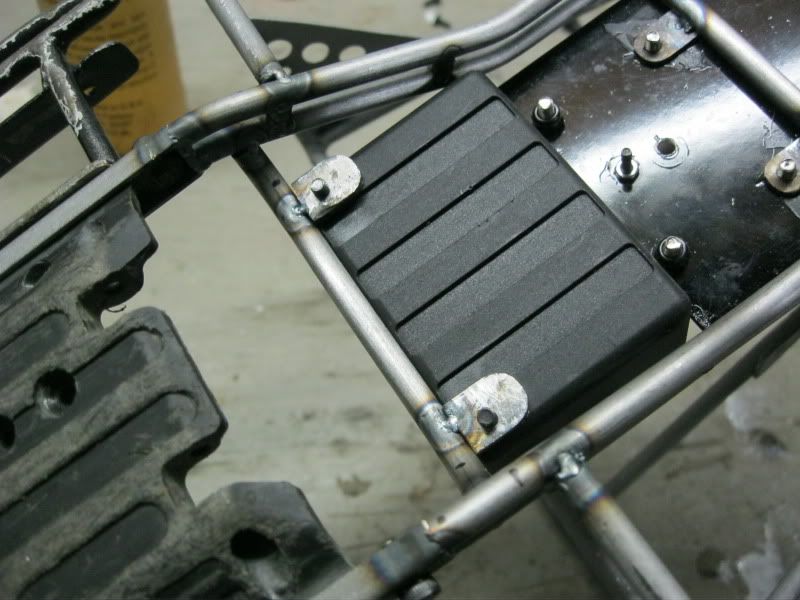 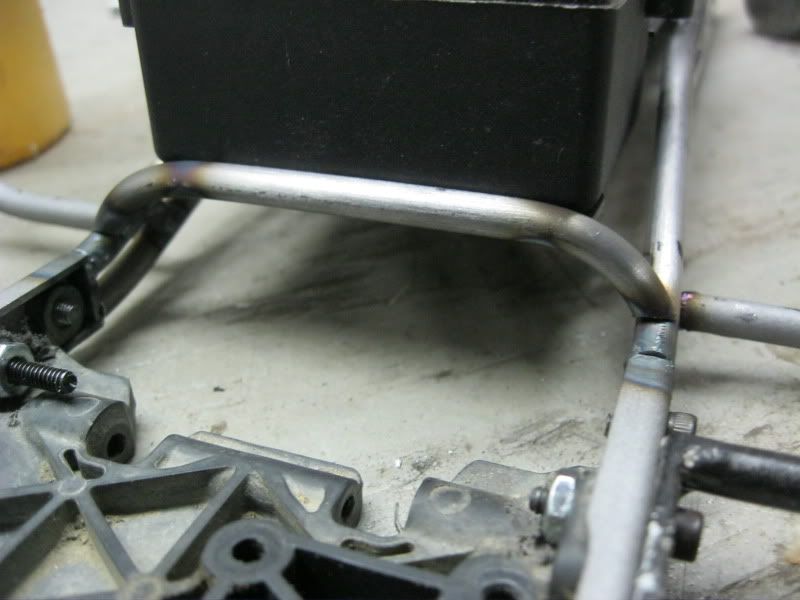 With all the preliminary fab done i reassembled the truck to make sure everything fit 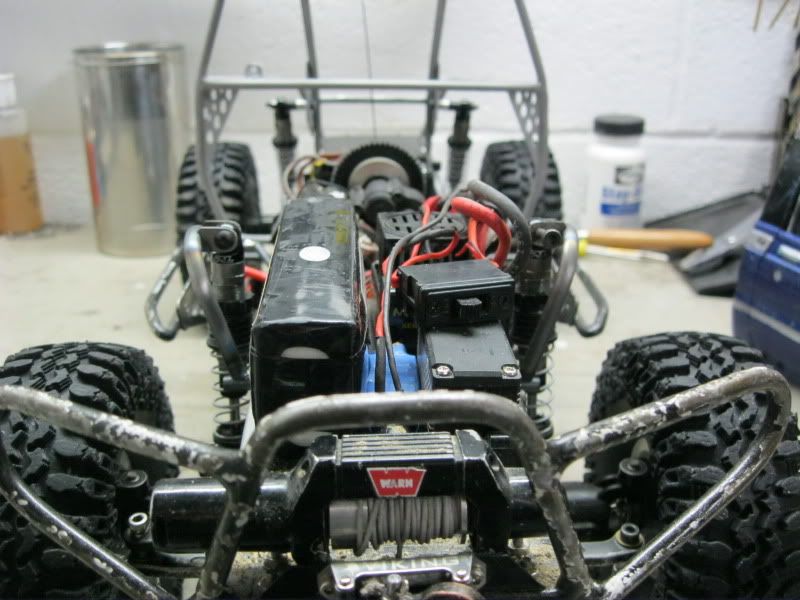 The shocks up front fit good 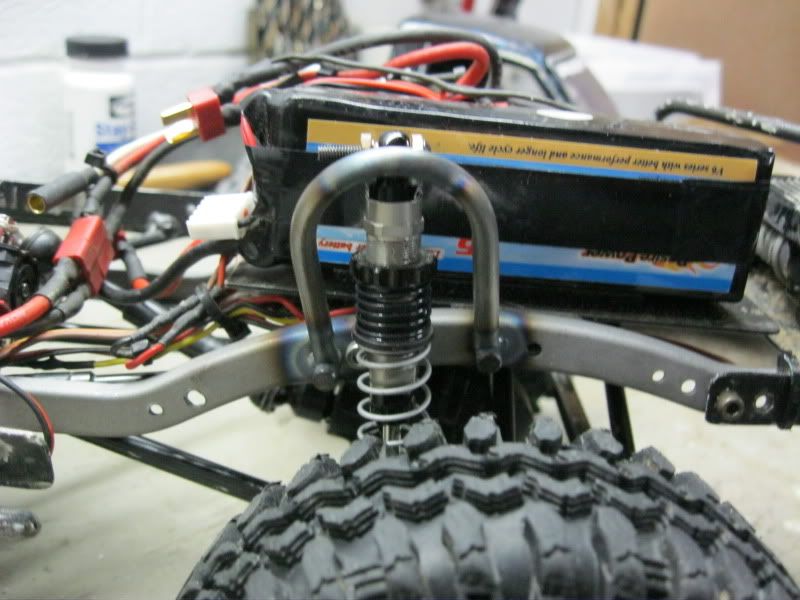 It is close but it clears under full extension 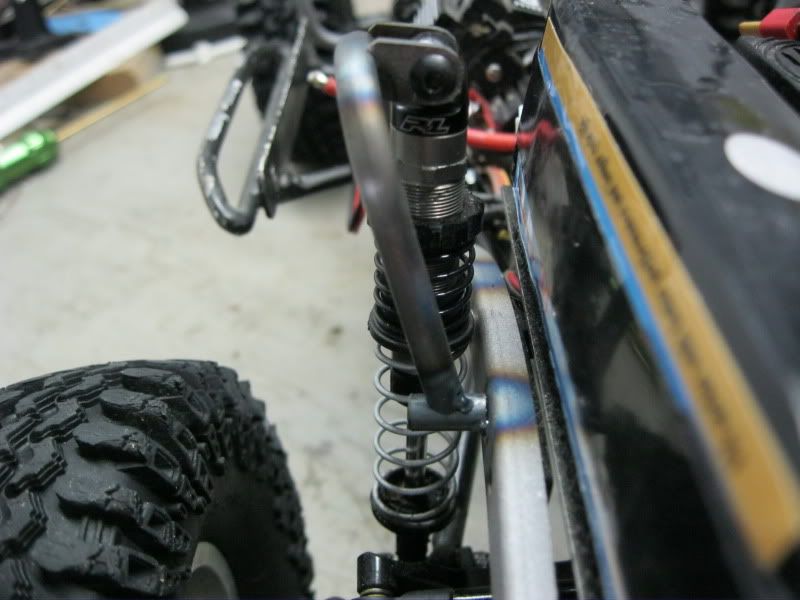 and compression 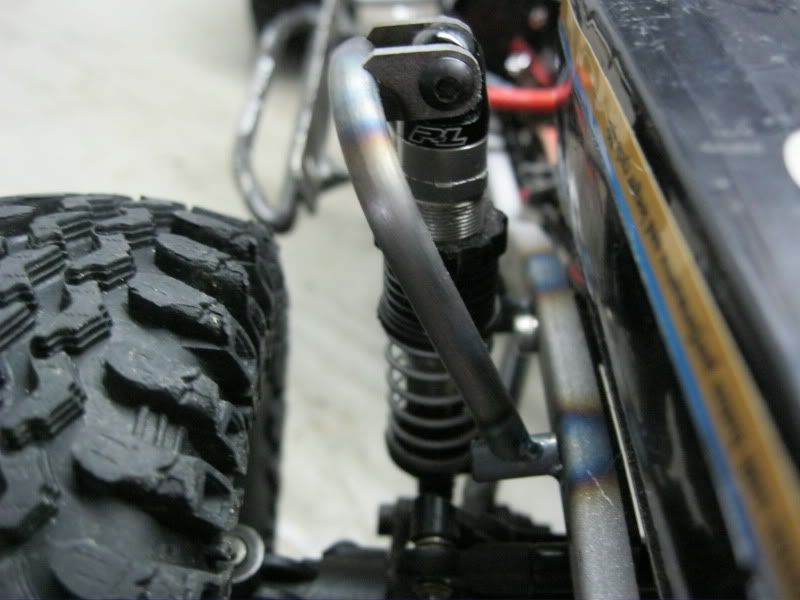 and the overall shot 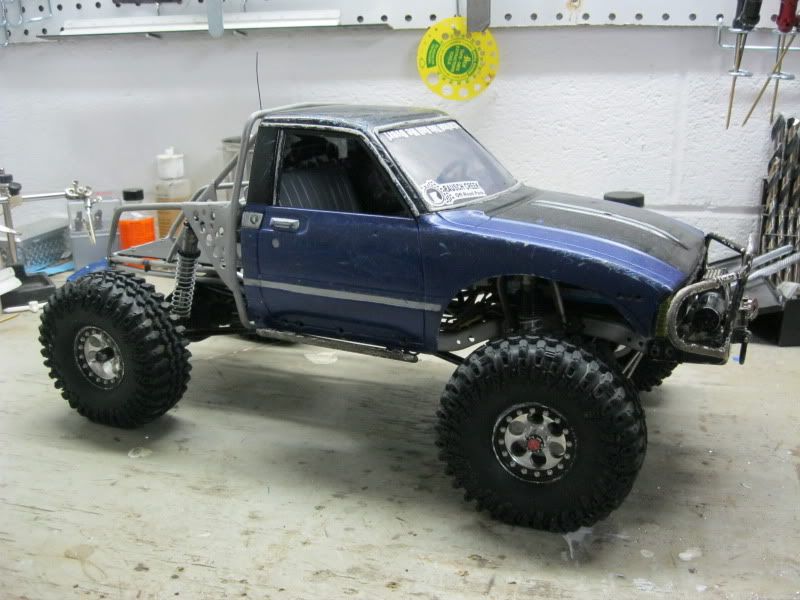 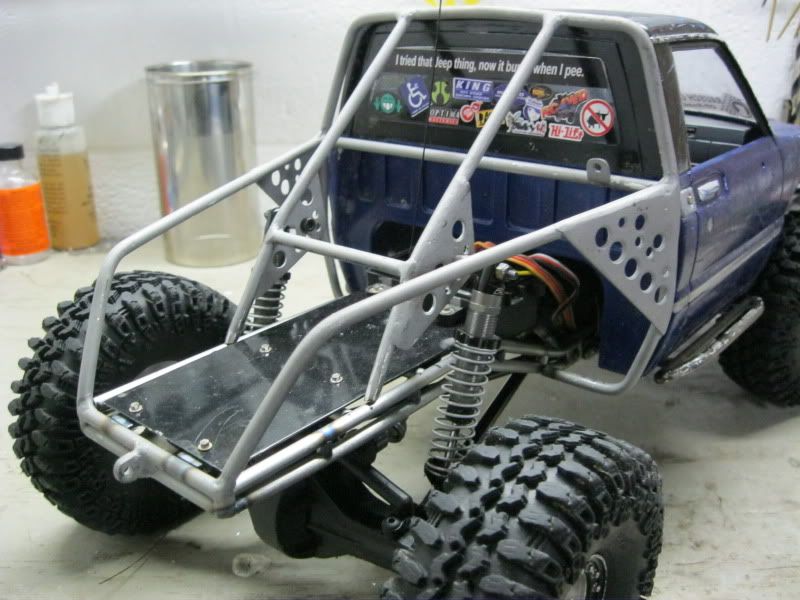 Then it was brazed and blasted. 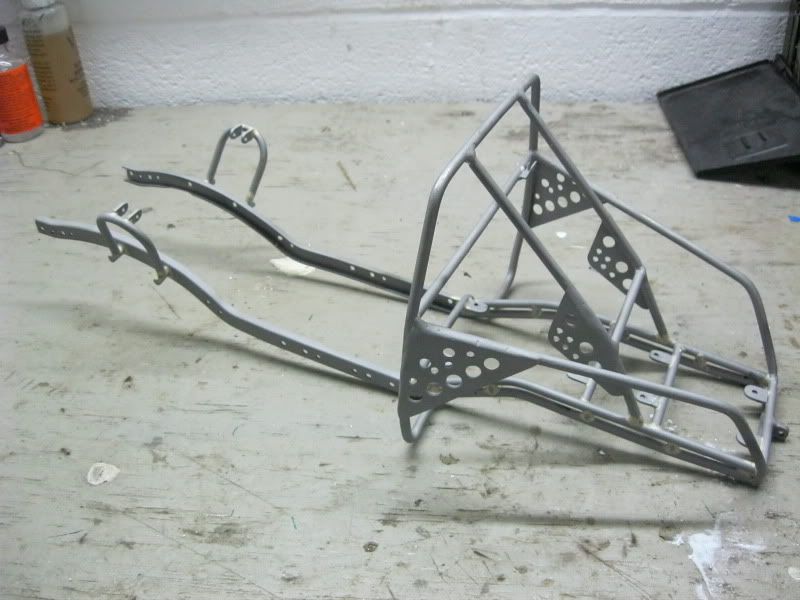 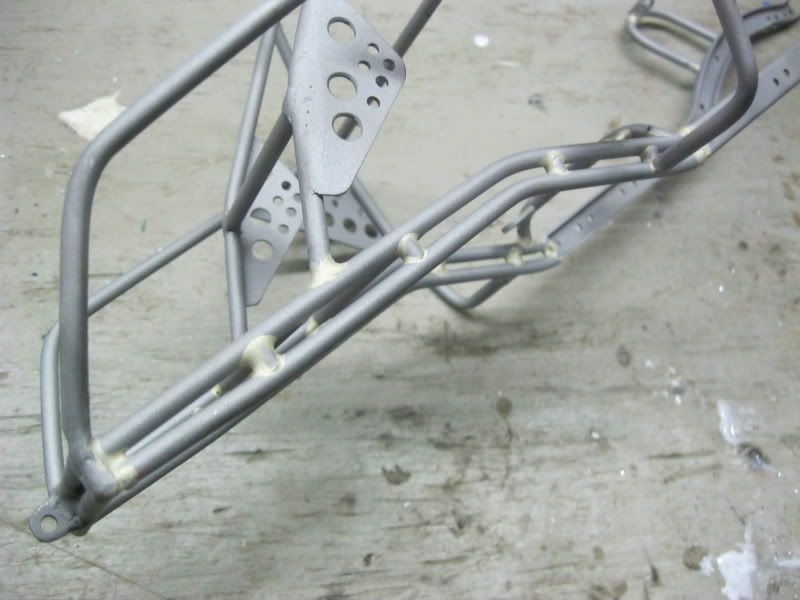 There you go Spike it's all yours! | |
|
| |
|
02-18-2013, 08:10 AM
| #4 |
| Quarry Creeper Join Date: Apr 2012 Location: Yakima
Posts: 245
|
One question, is the brazing necessary since everything was tig welded prior to it? Just curious.
|
|
| |
|
02-18-2013, 08:16 AM
| #5 |
| Rock Crawler Join Date: Dec 2005 Location: Huntertown, In
Posts: 776
|
I think he just tacked it to hold it all in place, then braze it all at once.
|
|
| |
|
02-18-2013, 08:52 AM
| #6 |
| I wanna be Dave  Join Date: Sep 2009 Location: Eastcoast CANADA
Posts: 4,395
|
The brazing gives all the joints that finished look. Killer work! You always amaze me on your skills from the first day I saw the Toyota you did for Big Ern on cawlin'bc  Rob |
|
| |
|
02-22-2013, 09:06 PM
| #7 |
| Rock Stacker Join Date: Oct 2009 Location: york
Posts: 61
|
No, but hopefully this year i will be able to come out with you guys.
|
|
| |
|
02-23-2013, 11:11 PM
| #8 |
| My vendor status has been revoked Join Date: Feb 2012 Location: Oregon city
Posts: 370
|
i love that you weld it then braze it... it looks so much nicer then just welding. and seems like it would be a quick process too. excellent conversion! |
|
| |
|
02-24-2013, 06:18 PM
| #9 | |||||
| RCC Addict Join Date: Aug 2005 Location: New Oxford PA
Posts: 1,290
| Quote:
Quote:
Quote:
Quote:
Quote:
| |||||
|
| |
|
08-30-2014, 07:27 PM
| #10 |
| Rock Crawler Join Date: Aug 2011 Location: dallas
Posts: 662
|
Amazing work! The tube frame is super sik. Love to see some more build come from that direction! Any plans on becoming a vendor and doing some true one offs?
|
|
| |
 |
 Spike's truggy - Similar Threads
 | ||||
| Thread | Thread Starter | Forum | Replies | Last Post |
| Blackfoot Truggy (Ford F-150 Truggy) | saltinemadness | Axial SCX-10 | 11 | 10-14-2015 09:51 PM |
| My Little Truggy: Fourwheelin is Magic? F350 truggy for my daughter | Joe$ | 1.9 Scale Rigs | 44 | 08-27-2013 07:29 AM |
| Hilux Scaler Towing Hilux Truggy (douggy truggy) by heinie_21 | heinie_21 | Videos! | 10 | 02-18-2013 02:15 AM |
| |


 Linear Mode


