Go Back   RCCrawler Forums > Scale Rigs General Tech > 1.9 Scale Rigs
Loading

Notices

Thread: Building the "Black Pearl"

Reply
 
LinkBack Thread Tools Display Modes
Old 06-03-2015, 01:19 PM   #21
I wanna be Dave
 
Join Date: Oct 2010
Location: Caldwell ID.
Posts: 4,328
Default Re: Building the "Black Pearl"

Quote:
Originally Posted by (redbeard) View Post
For the information of those viewing this post, here's my actual wheeling rig.....the real Black Pearl. I hope to make my SCX10 a scale version, but finding a body will be a pain and I'll likely have to learn to make it. The tubing will be easy, but the body, not so much. This Black Pearl wears a set of 42" Pitbulls for sneakers though....not BFGs, so that will eventually have to happen as well.

Really like your 1:1, big fan of big Ford's. Nice looking Scx10 you have there too.
lonleycreeper is offline   Reply With Quote
Sponsored Links
Old 07-16-2015, 11:17 PM   #22
Pebble Pounder
 
Join Date: Feb 2015
Location: Carson Valley
Posts: 137
Default Re: Building the "Black Pearl"

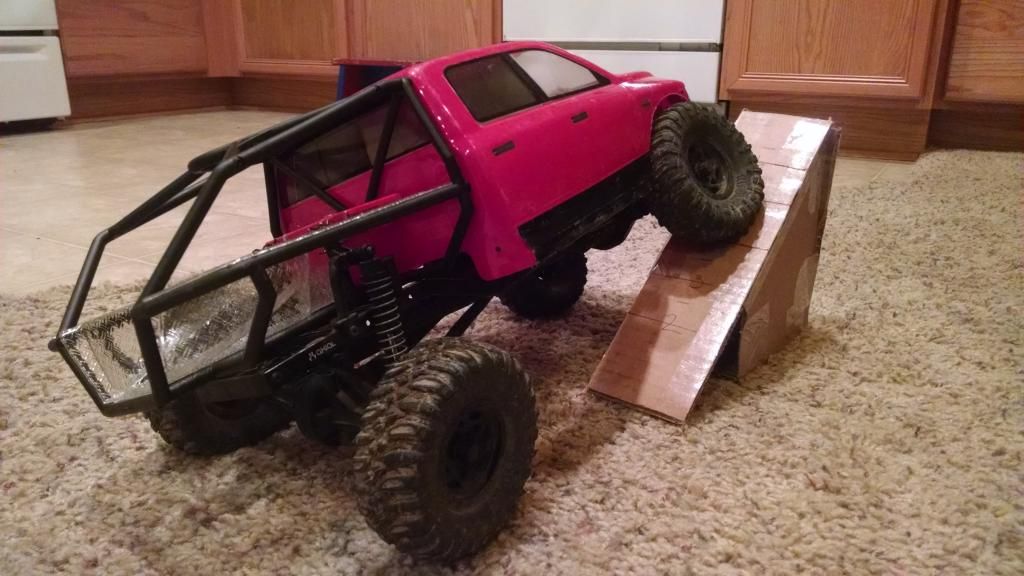
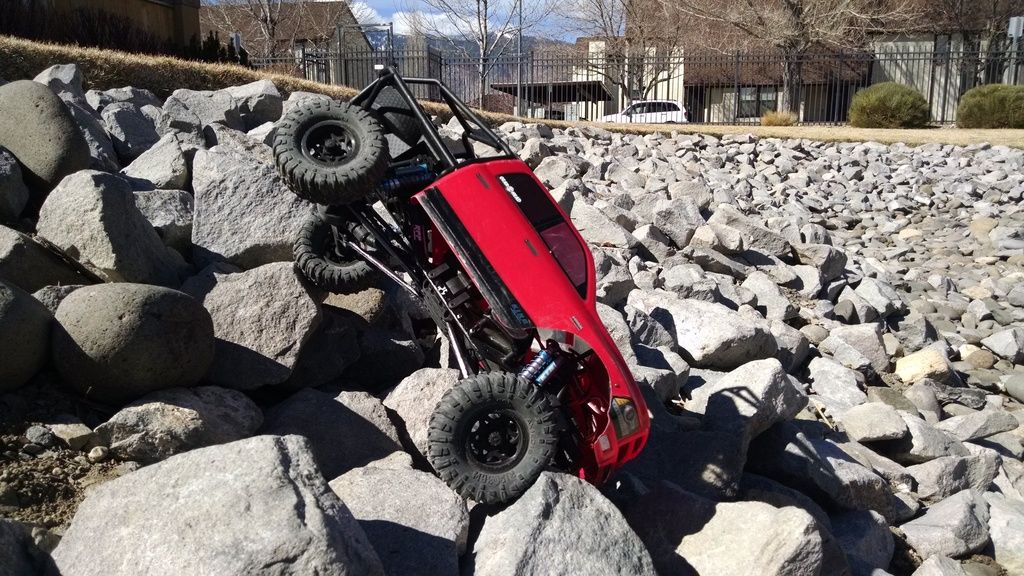
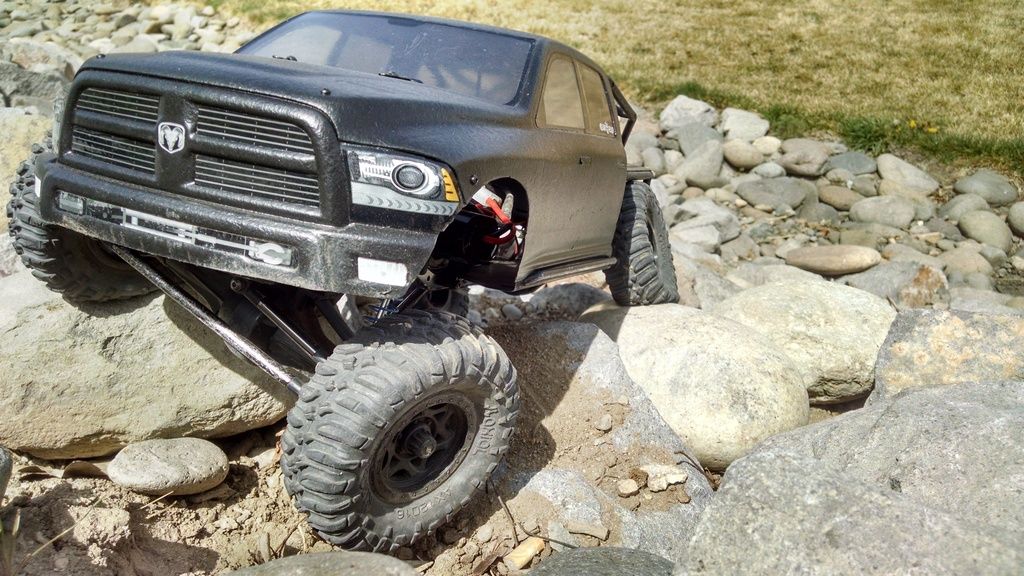
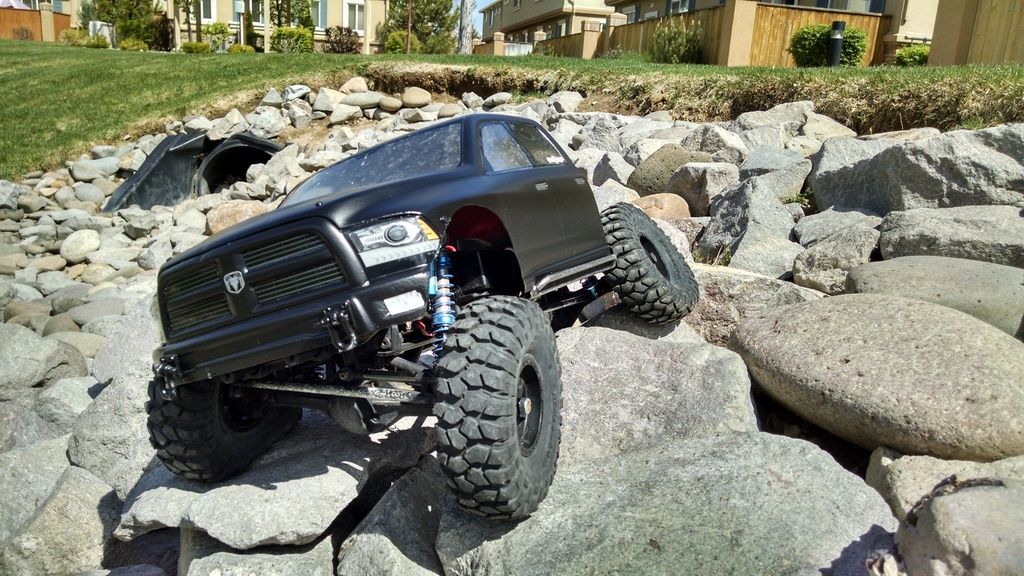
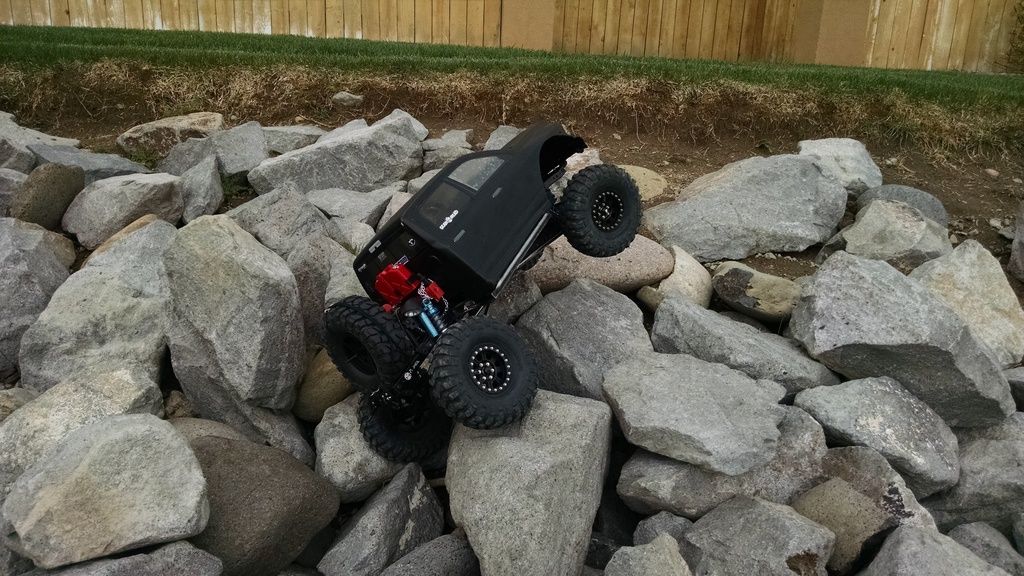
Okay so this is slowly getting progress... I have obtained a couple Blackfoot bodies to work with and some ar60s I chopped and narrowed. I tried seeing what others choose for tire size and it seems 1.7s would be the best for scale appearance. These axles still need a little more taken off to fit properly in the wheel wells... But I think I will run it this way for now.

The current dilemma is figuring how to mount the upper links... Any thoughts/pictures are very appreciated.
(redbeard) is offline   Reply With Quote
Old 08-01-2015, 10:57 AM   #23
Pebble Pounder
 
Join Date: Feb 2015
Location: Carson Valley
Posts: 137
Default Re: Building the "Black Pearl"


Added a front bumper which will become a base for the replica to the 1:1.
(redbeard) is offline   Reply With Quote
Old 08-16-2015, 10:10 PM   #24
Pebble Pounder
 
Join Date: Feb 2015
Location: Carson Valley
Posts: 137
Default Re: Building the "Black Pearl"

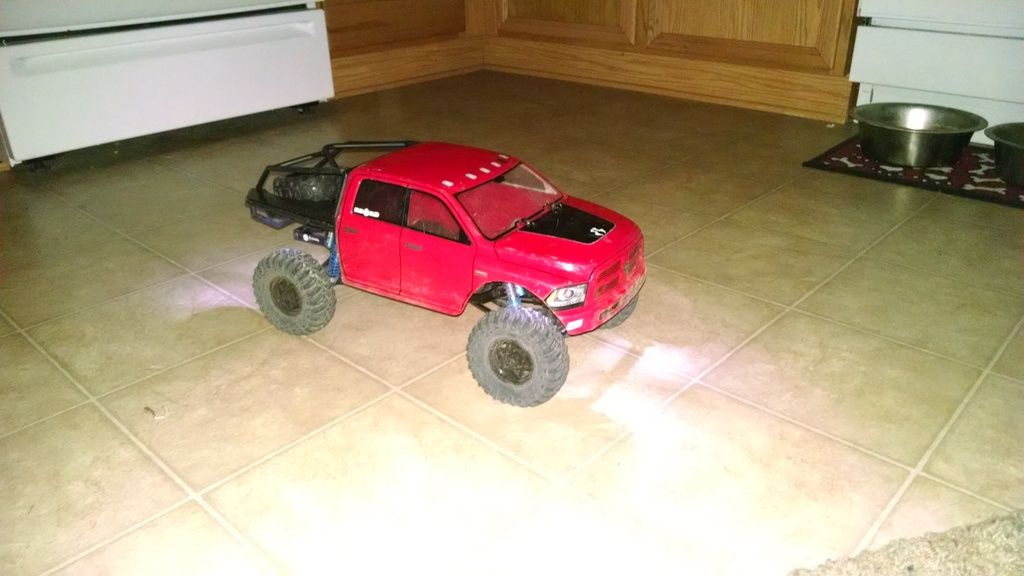
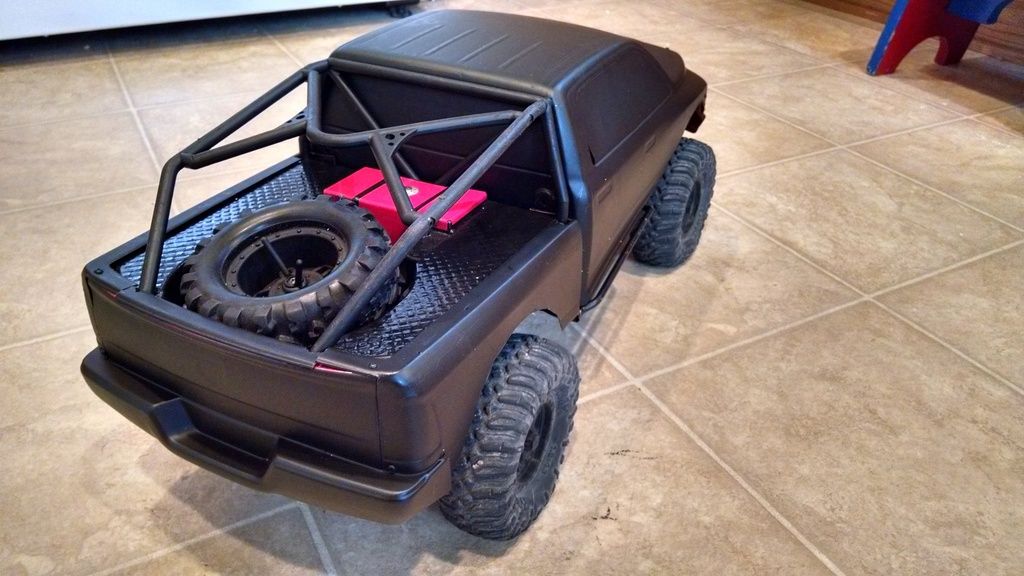
So over the weekend I managed to really tear up my body. The method I was using to secure the rear of the cab was Velcro, and during hard rollovers it would let go and the body got torn in a few spots. So for now until I can build the replica bed, I devised this little flip lid modification with the honcho tube bed.
(redbeard) is offline   Reply With Quote
Old 08-16-2015, 10:15 PM   #25
Pebble Pounder
 
Join Date: Feb 2015
Location: Carson Valley
Posts: 137
Default Re: Building the "Black Pearl"

Here is what my weekend involved...
(redbeard) is offline   Reply With Quote
Old 08-16-2015, 10:47 PM   #26
Pebble Pounder
 
Join Date: Feb 2015
Location: Carson Valley
Posts: 137
Default Re: Building the "Black Pearl"

I even messed around with the old wagon bed I cut out previously...
(redbeard) is offline   Reply With Quote
Old 08-16-2015, 10:50 PM   #27
Pebble Pounder
 
Join Date: Feb 2015
Location: Carson Valley
Posts: 137
Default Re: Building the "Black Pearl"

Digging the way this worked out for the quick solution.
(redbeard) is offline   Reply With Quote
Old 08-22-2015, 10:43 PM   #28
Pebble Pounder
 
Join Date: Feb 2015
Location: Carson Valley
Posts: 137
Default Re: Building the "Black Pearl"

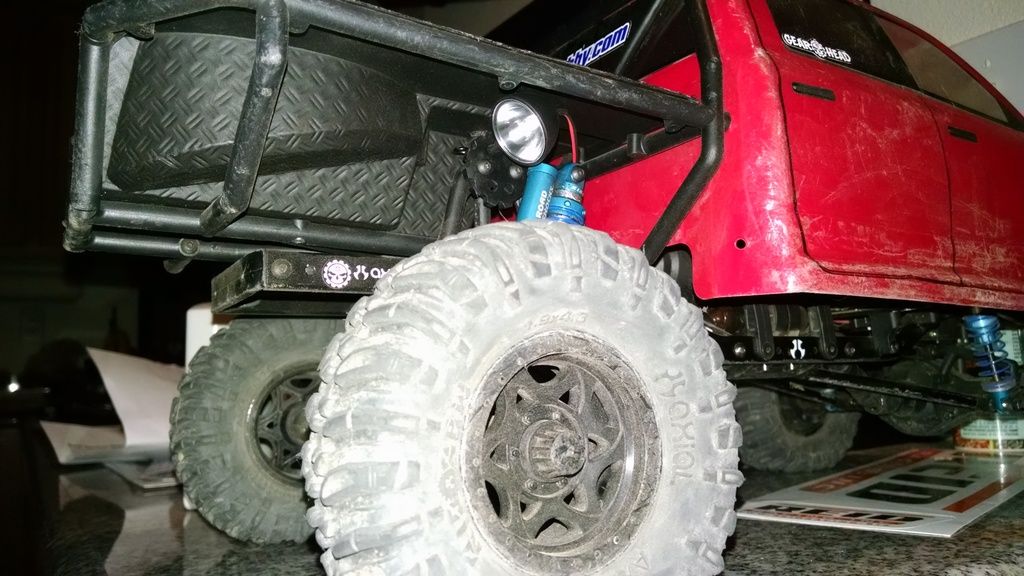
I got the itch to change it up a little more unique for my flatbed...what I had was just too bulky and I didn't like the high "fenders" if you would.


So I started looking at the left over pieces of the honcho tubing I had and came up with this....all stock pieces of honcho stuff, just one piece cut for the rear uprights. Like this a lot more....seeing as I have an old washer and dryer sitting in my side yard, I am hacking the sheet metal off them and going to make a bed for this set up. Here are some pics.


(redbeard) is offline   Reply With Quote
Old 08-22-2015, 10:44 PM   #29
Pebble Pounder
 
Join Date: Feb 2015
Location: Carson Valley
Posts: 137
Default Re: Building the "Black Pearl"

Then here is the final result. Waiting on some scale parts to come in, but I think this'll satisfy me until I can build the F350 Crew Cab


Last edited by (redbeard); 08-22-2015 at 11:01 PM.
(redbeard) is offline   Reply With Quote
Old 08-23-2015, 08:07 AM   #30
Quarry Creeper
 
Join Date: Jun 2008
Location: San Antonio
Posts: 409
Default Re: Building the "Black Pearl"

new bed looks cool! Like how you formed it to hold the gas cans. nice job
SAL45 is offline   Reply With Quote
Old 08-23-2015, 10:08 AM   #31
Pebble Pounder
 
Join Date: Feb 2015
Location: Carson Valley
Posts: 137
Default Re: Building the "Black Pearl"

And with some scale details

(redbeard) is offline   Reply With Quote
Old 08-23-2015, 11:07 AM   #32
Pebble Pounder
 
Join Date: Feb 2015
Location: Carson Valley
Posts: 137
Default Re: Building the "Black Pearl"

So it was just a thought....we will see how long it'll be used. I glued a small magnet under the roof that will hold the body clips when the lid is up.

(redbeard) is offline   Reply With Quote
Old 08-23-2015, 11:37 AM   #33
Pebble Pounder
 
Join Date: Feb 2015
Location: Carson Valley
Posts: 137
Default Re: Building the "Black Pearl"

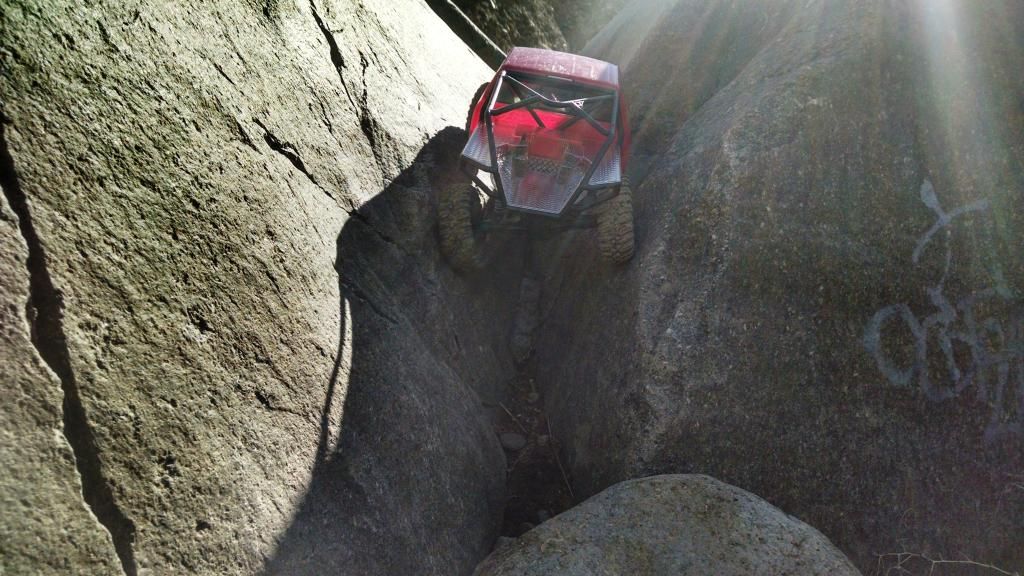
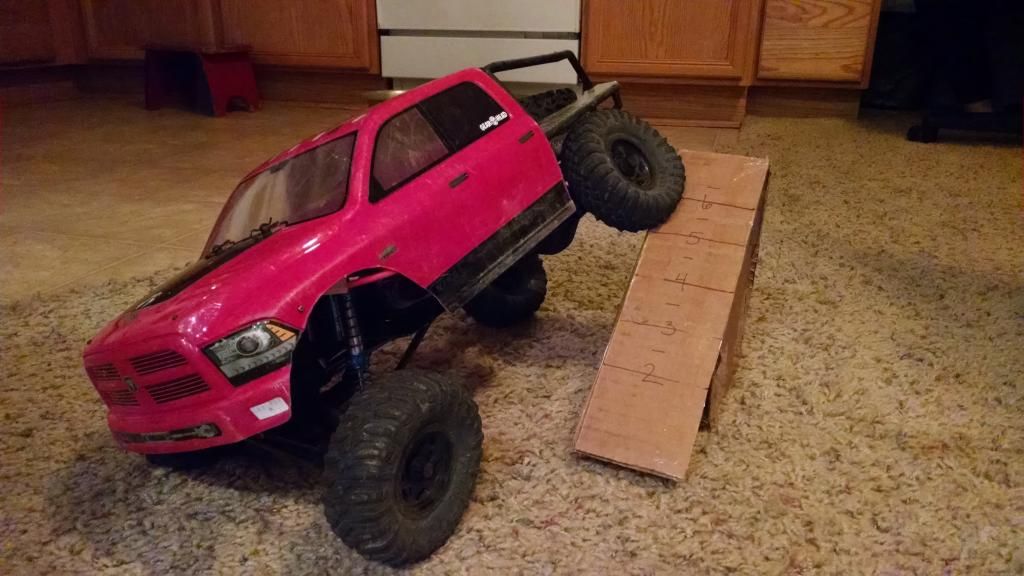
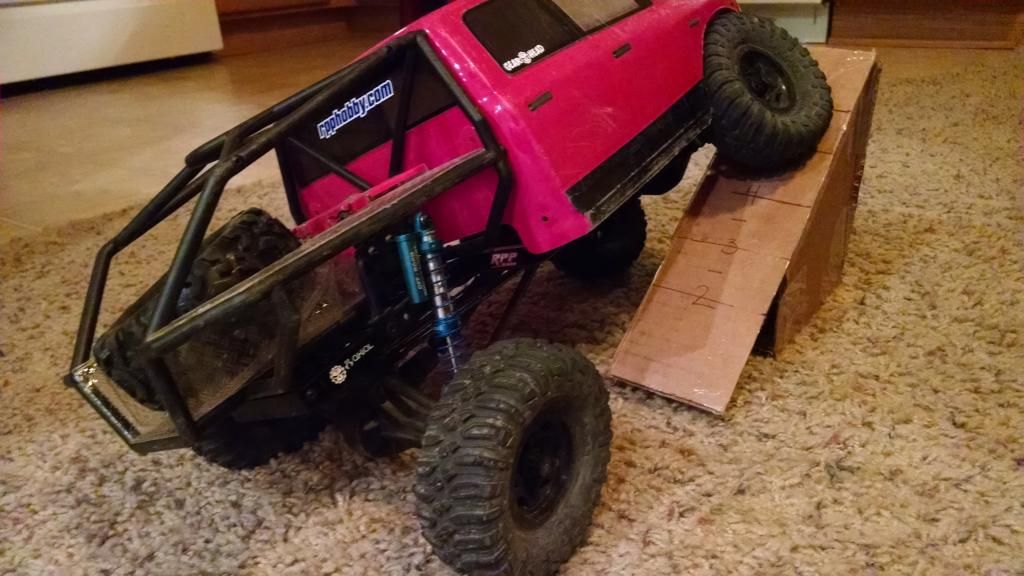
For an interesting twist, I mounted my quadcopter FPV camera to the hood of the truck for a little added challenge.

(redbeard) is offline   Reply With Quote
Old 08-23-2015, 01:47 PM   #34
Pebble Pounder
 
Join Date: Feb 2015
Location: Carson Valley
Posts: 137
Default Re: Building the "Black Pearl"

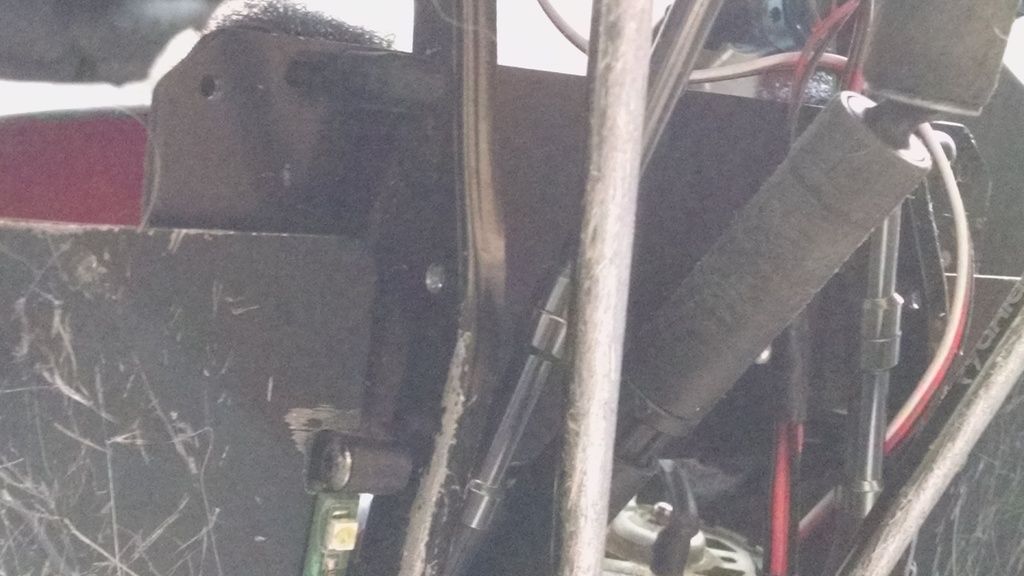
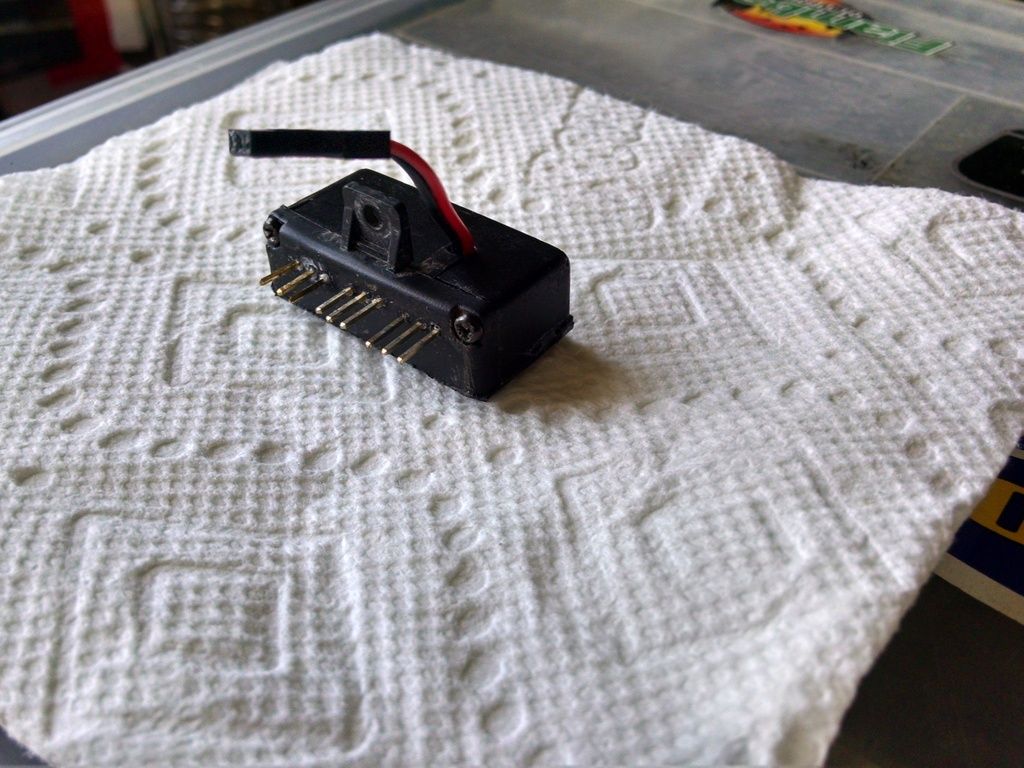
Did a little FPV driving...darn good time.
https://youtu.be/hdrvJeL43nE

Also made some saddle plates for my electronics.


Last edited by (redbeard); 08-23-2015 at 03:51 PM.
(redbeard) is offline   Reply With Quote
Old 08-27-2015, 06:12 PM   #35
Pebble Pounder
 
Join Date: Feb 2015
Location: Carson Valley
Posts: 137
Default Re: Building the "Black Pearl"

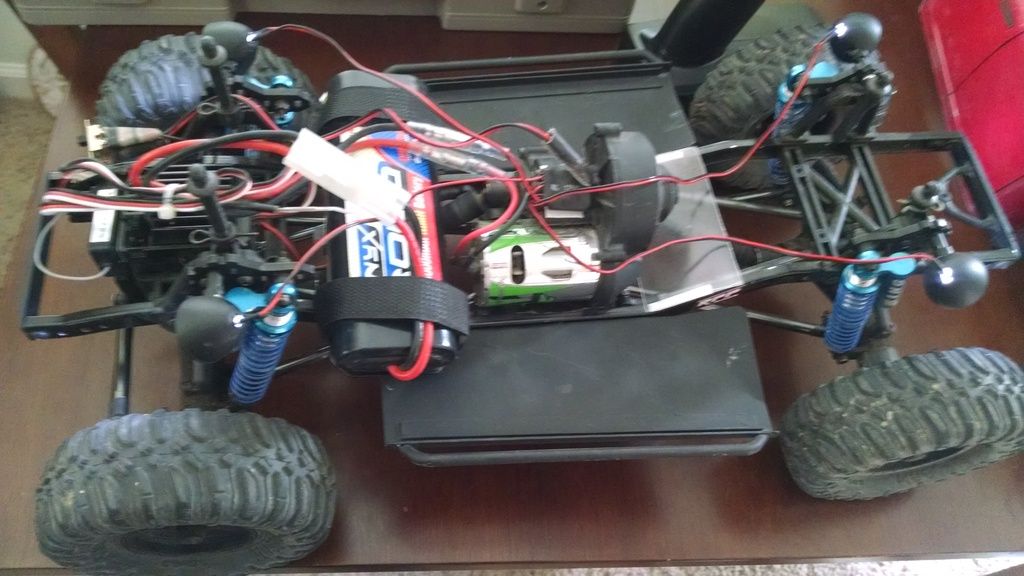
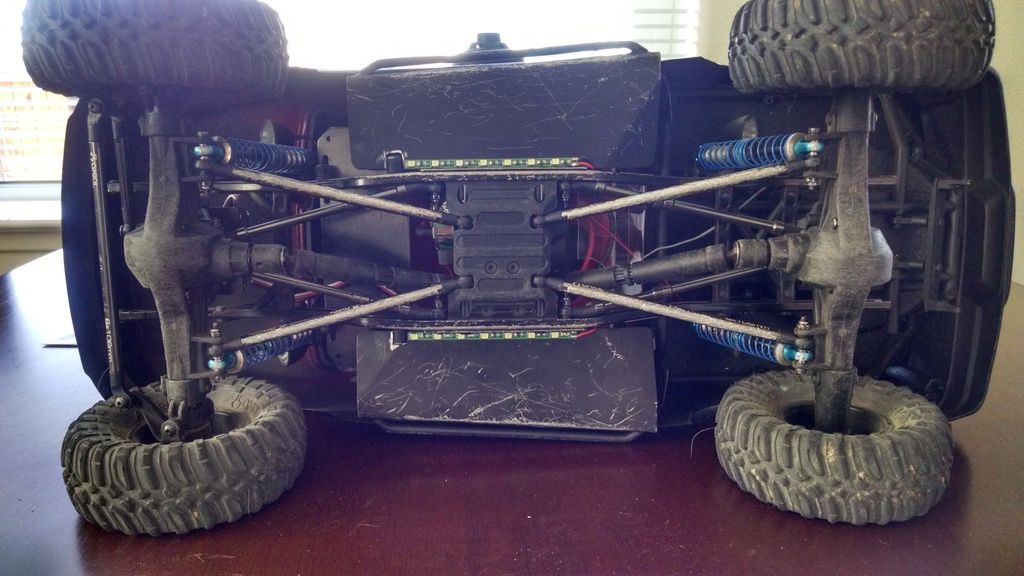
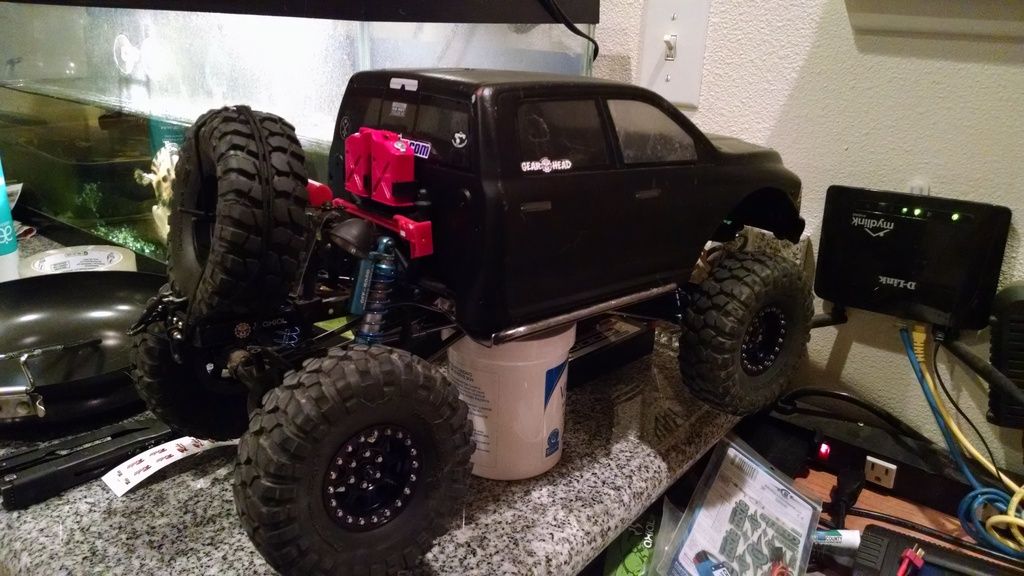
Got my scale D60s... Looking great


Good time to disassemble everything and grease it up...


Some scale diff kisses and scuffs
(redbeard) is offline   Reply With Quote
Old 08-27-2015, 07:37 PM   #36
Rock Stacker
 
Join Date: Jul 2010
Location: Airville
Posts: 70
Default Re: Building the "Black Pearl"

Axles look nice on there. Cool build also.
ecd02 is offline   Reply With Quote
Old 08-27-2015, 08:56 PM   #37
Pebble Pounder
 
Join Date: Nov 2012
Location: illinois, rockford
Posts: 186
Default Re: Building the "Black Pearl"

Quote:
Originally Posted by (redbeard) View Post
Well I figured my list of upgrades and add-ons to this rig warrants a build thread to capture what I've done with my Axial Power Wagon. Maybe it'll help others with ideas, trouble shooting or just be a catalog of yet another SCX10 build.

Obviously this rig started off as the stock RTR Power Wagon. I don't think we need any pics of that, but initially I noticed there were some severe limitations to the suspension, body (tire clearance) and weight distribution. So I went on to make this vehicle more capable and compatible with how I drive it. I noted how the bed was getting hung up on everything so I swapped in the honcho bed. Definitely allowed a much better descent angle. I also removed the stock sliders and drove without sliders for a while because it was performing better allowing the body to bend and flex on the rocks.

First real mod I did after the bed swap was with the shocks. I removed the little rubber bump stops on the shock shafts because I noticed it would force the vehicle over with the weight of the battery up high. This helped by allowing the vehicle to articulate a bit more and I was able to set the static height a little lower allowing more droop. I saw an immediate result on my cheap RTI ramp going from just shy of 4" to almost 4.75".


I of course then wheeled the rig like this for a while.


After enjoying the major performance difference with the shocks modded, I moved the battery and electronics to help lower the COG. I used the stock aluminum plate and the spare parts servo mounts to attach it across the frame rails just in front of the motor as low as possible. I also bought and installed the Axial metal links and did the four link in the front. This made the truck respond so much better during articulation and throttle. I noticed the upper links would flex a little under hard circumstances...big improvement.


This change made the vehicle handle much more appropriately. I was enthralled at how it performed with just these few mods. But, as all of these projects go, I started to throw some money into it. I bought the 100mm scale Kings and loved that I could tune them to my specifications more easily than the Axial counterparts. Not to mention they added the cool blue bling effect!


Not to mention the fine tuning of these allowed me to gain substantially on the RTI ramp...


At that time I also added the rear tire which was weighted to help with the already overly light rear end. This helped with balance of the rig and kept the vehicle from flipping over on steep step downs and downhill stairs.


I wheeled it like this for a while and was really pleased. Then I had the itch to wheel in the dark....because well it's always more challenging and everything seems bigger in the dark. So I added some LED lights in the wheel wells for both scale look and night functionality.


I got around to noticing the cracks and tears in the body from running them over the rocks and figured some sliders would be beneficial. So I ordered the R2J sliders and this gave me more weight down low and more real estate to mount my electronics and stuff. Huge benefit for sure because now I could pivot on rocks instead of having the body grab ahold and dig into the rocks.


Here is the top side with my chaotic wiring mess that I didn't feel like cleaning up quite yet.


After beating on the body for a while and wheeling I wanted something different. So I cut the old bed up and fit it around the Honcho bed to give a different appearance at the same time going black with the body.


It looked great, but then I came back to the issue of having the rear bumper hanging up on everything and it became a pain so I removed it again. I ordered the Vaterra Slickrock light bar and used them for the rocker panel lights...which I wish I had just gotten four so I could put one under the front and rear as well.


These things are bright. Absolutely worth every penny and some. Having these sliders gave them a perfect place to mount to and kept them protected from the rocks. I then received my new sticker sheet from Axial and applied new headlights and what not...made the truck look real nice with the fresh paint on it. Only to find out later that plastidip isn't a good choice for an RC Crawler...


Wheeling was fun and my truck was performing way better than I expected.


With the addition of all the lights I made a little power splitter for the lights to hook up to and removed all the unnecessary wiring and cleaned up the chassis with this.


I then dove into the realm of 2S lipo and it was interesting. I realized how the stock Ripsaws were not quite up to snuff with traction and ordered the BFGs R35 because I heard they were great tires for what they were. Along with them a few more scale items like these scale hubs...


These tires performed great, but were certainly too soft. You can see here why plastidip isn't a good choice as well.


Off came the plastidip paint and I added a new layer of flat black with a matte finish clear coat. This seems to be holding up much better!


Because of these tires being softer the motor was running a little warmer because it would grip more on the rocks and was harder on the drivetrain. Due to this I swapped in a 9t pinion and never looked back...the truck was alive and well now. That is until I stripped the intermediate/idler gear in the transmission.


So along with the metal transmission gears I also ordered some other goodies...underdrive gears, HD gear set, BEC, etc....the new rims and foams were also in this package deal.


After installing all these components I am very happy with the truck...and again it's performance is far beyond my expectations...and my wallet is a little lighter too.


So there you have it...my build process to the best of my knowledge along the way to what I wheel today.
which foams did you use in those tires?
FATALLYILL is offline   Reply With Quote
Old 08-28-2015, 12:14 AM   #38
Pebble Pounder
 
Join Date: Feb 2015
Location: Carson Valley
Posts: 137
Default Re: Building the "Black Pearl"

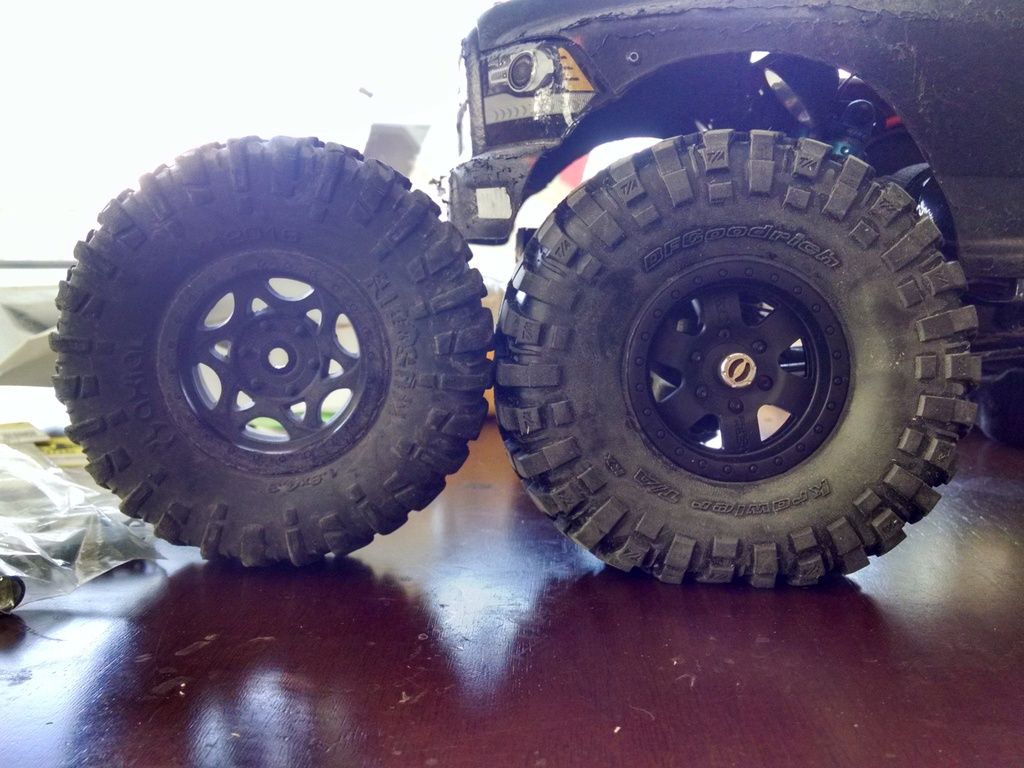
I used these (Single Stage Closed Cell for 1.9 Pit Bull Mad Beast) CRI-3004...

I do say they are still a little more stiff than I would prefer, however the BFGs still grab rock like it's going outta style.
(redbeard) is offline   Reply With Quote
Old 08-28-2015, 12:17 AM   #39
Pebble Pounder
 
Join Date: Feb 2015
Location: Carson Valley
Posts: 137
Default Re: Building the "Black Pearl"

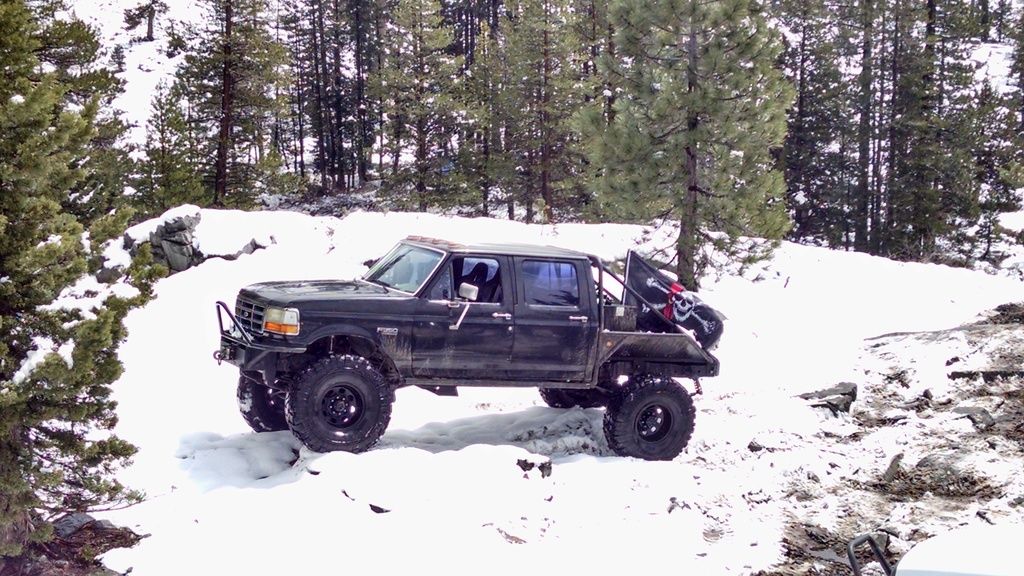
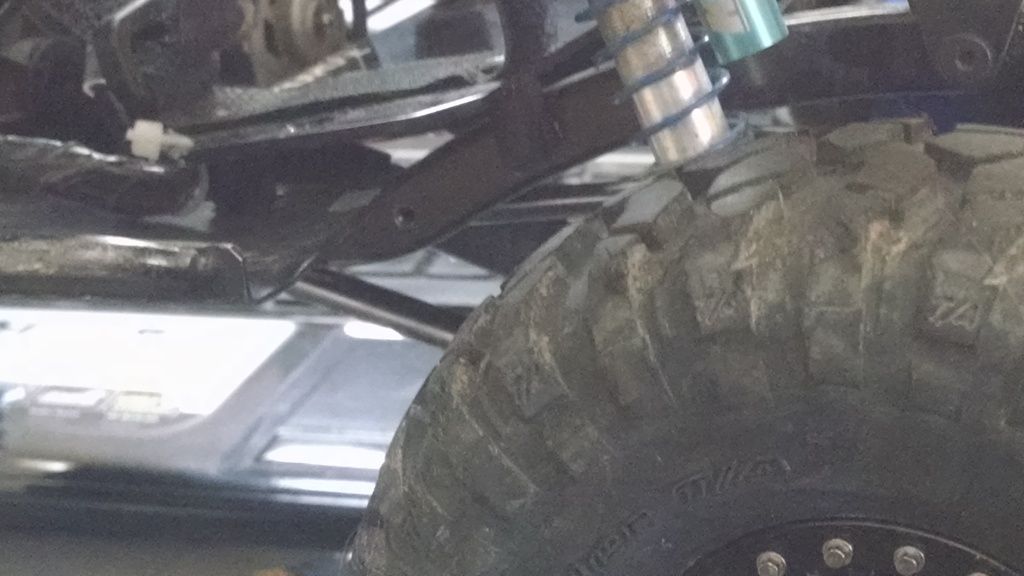
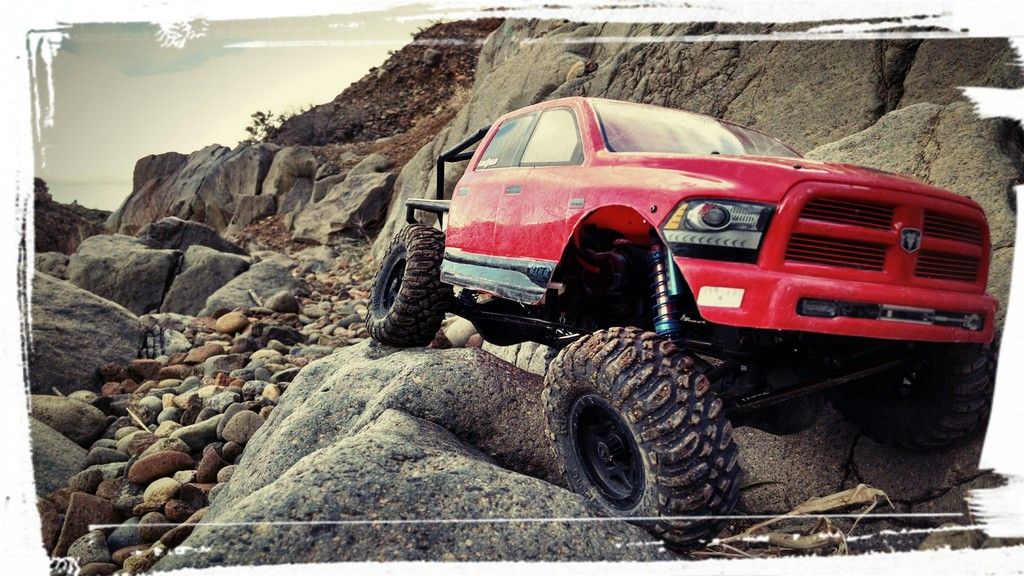
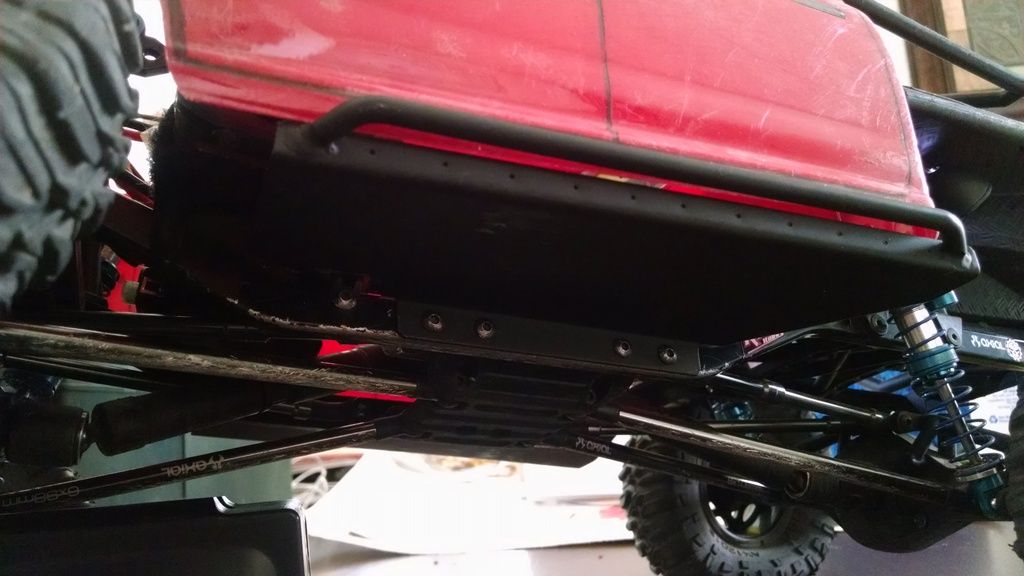
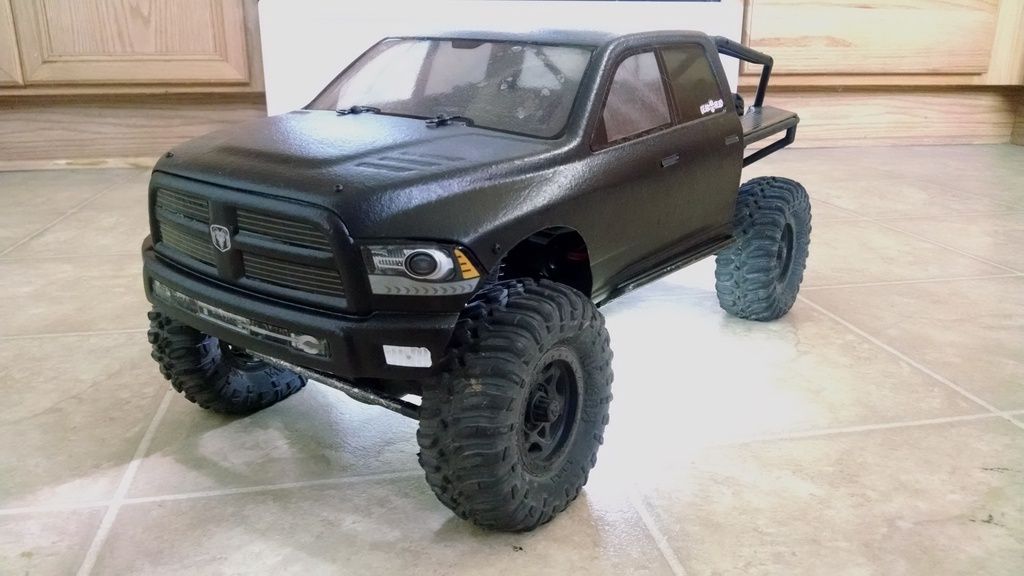
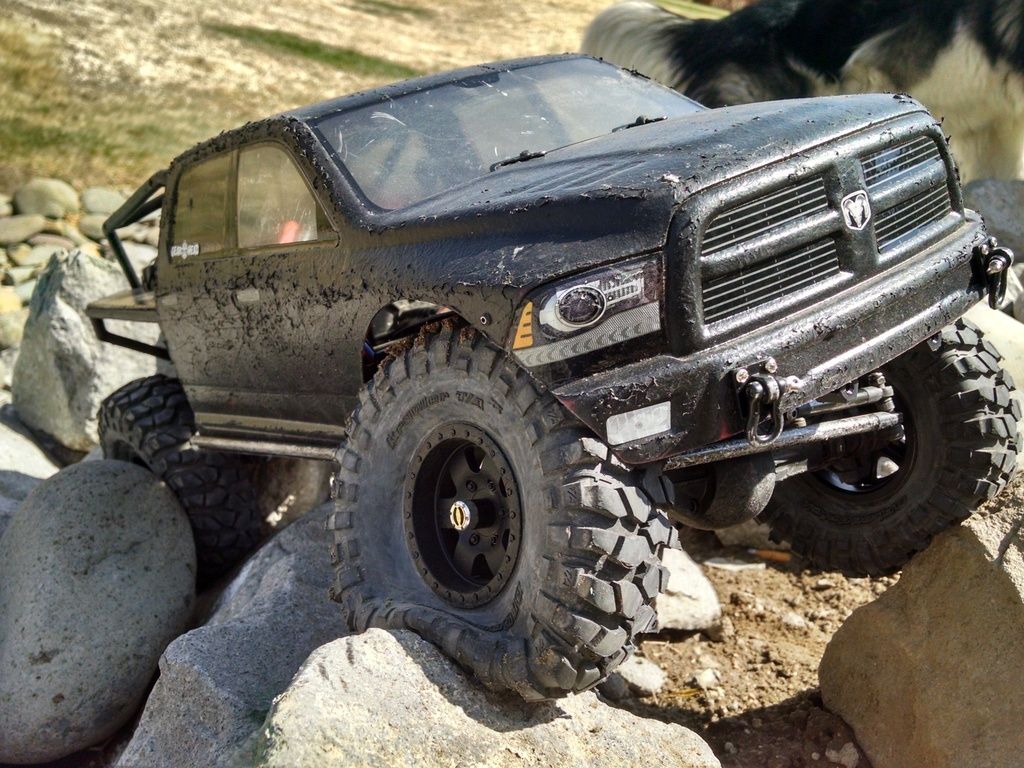
So I got tired of looking at the tore up front bumper on the Dodge body and decided to make a scale version of my 1:1 rig bumper....little different because I personally don't care for my bumper.

Here is the full size Black Pearl again for reference


Here is what I made tonight


(redbeard) is offline   Reply With Quote
Old 08-28-2015, 12:19 AM   #40
Pebble Pounder
 
Join Date: Feb 2015
Location: Carson Valley
Posts: 137
Default Re: Building the "Black Pearl"


(redbeard) is offline   Reply With Quote
Reply


Building the "Black Pearl" - Similar Threads
Thread Thread Starter Forum Replies Last Post
"Black Pearl" class 3, lots of pics added 7/13 Mighty1 2.2 Scale Rigs 41 07-12-2011 11:21 PM

Posting Rules
You may not post new threads
You may not post replies
You may not post attachments
You may not edit your posts

BB code is On
Smilies are On
[IMG] code is On
HTML code is On
Trackbacks are On
Pingbacks are On
Refbacks are On


All times are GMT -6. The time now is 02:20 AM.


Powered by vBulletin® Version 3.8.7
Copyright ©2000 - 2024, vBulletin Solutions, Inc.
Content Relevant URLs by vBSEO ©2011, Crawlability, Inc.
Copyright 2004-2014 RCCrawler.com