| |||||||
Loading
 |
| | LinkBack | Thread Tools | Display Modes |
| |||||||
 |
| | LinkBack | Thread Tools | Display Modes |
| | #1 |
| Rock Crawler Join Date: Jan 2013 Location: Australia
Posts: 541
|
In an effort to show all the local Aussie Class 2 competitors that prefer to run 1.9 Sportsmans with a scale lexan shell tacked on, I decided to convert my previous Class 2 F100 to a full Scale Truggy, and still be able to give them a run for their money. This is the Class 2 rig that I placed 6th in Australia this year in the 2015 CANZ Nats. It was the highest placed rig with a stock SCX10 Chassis. 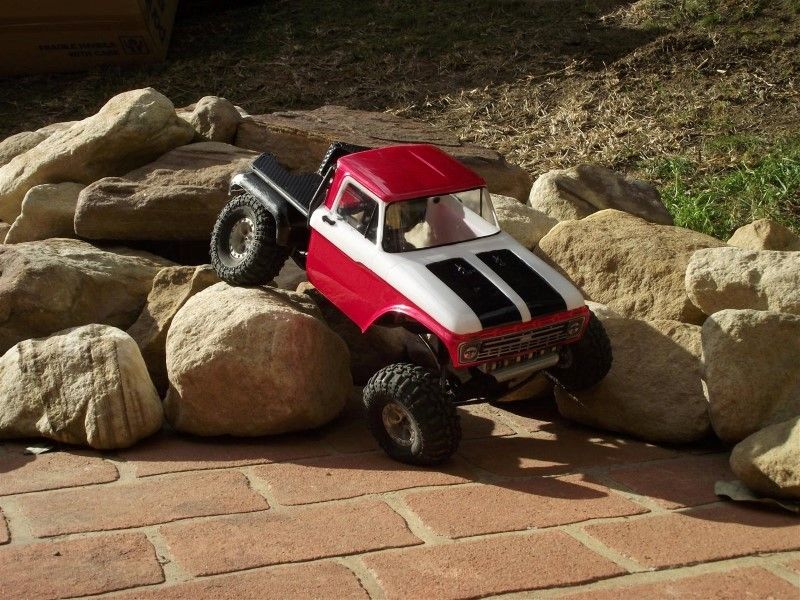 I will be using the existing running gear and electrics in this build. Trans - Steel Gears and Spur + Alloy Case Motor - 35t Integy Lathe with 14t pinion ESC - BRXL Servo - 7955 Hitec Rear Diff - LURC FI Spool and OT Shafts, Under Drive Gears Front Diff - LURC Fi Spool, XR10 mod with Splined Burley Tubes, Integy Wraith CHubs and Knuckles, XR10 Units Links - Custom built and bent Shocks - HR Piggyback 120mm Wheels - Mayhem Engineering Crazy 8s 1.9 Tyres - Proline TSL XL Super Swampers 1.9 Wheelbase - 340mm This was a good performer and it could hold it's own against the best in Australia. Through a good buddy of mine (Cheers OZBRUISER) I was able to purchase a Truggy Frame at a reasonable price. History Lesson - this frame had been around for a few years, and was originally built in the USA and used before being purchased by a local acquaintance, was set up and run before coming into OZBRUISER's possession. OZBRUISER never actually ran the rig, and was kind enough to lend it to me while I decided if this was what I wanted to do. I assessed it, found it wanting, but knew I could remedy these issues, and struck a deal. Now, I don't want to be unkind to the builder of this frame, however, it is rather obvious the terms 'symmetry' or 'measure' were not part of their vocabulary. Enough chatter, some pics of what I bought. 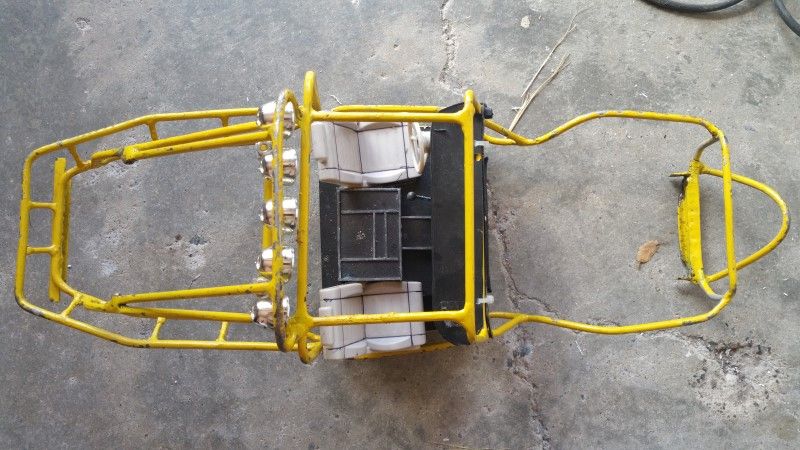 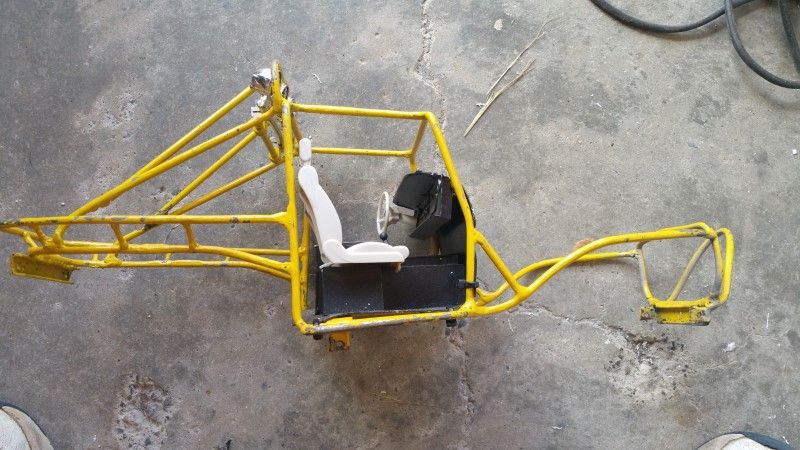 I bolted it on my Class 2 Chassis to show off the beautiful workmanship. 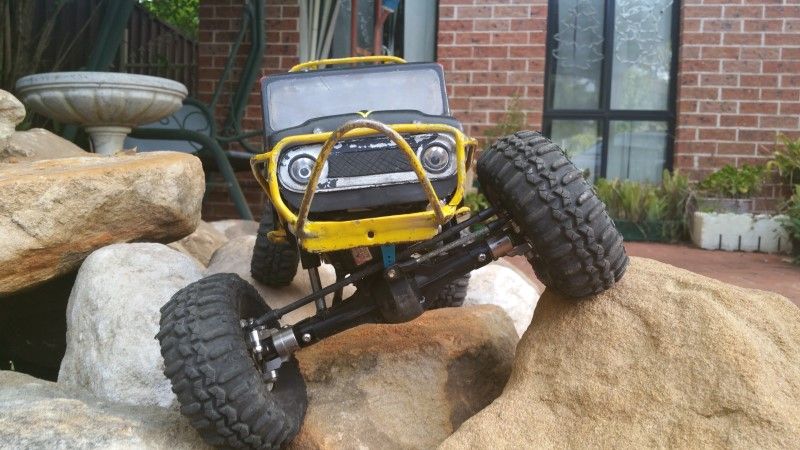 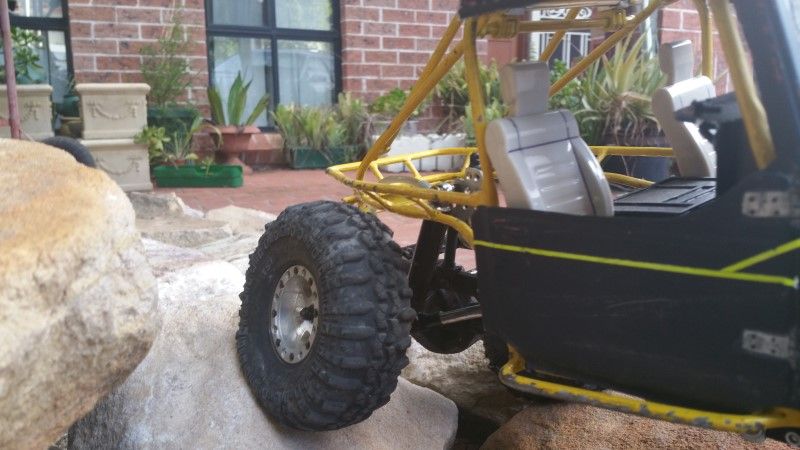 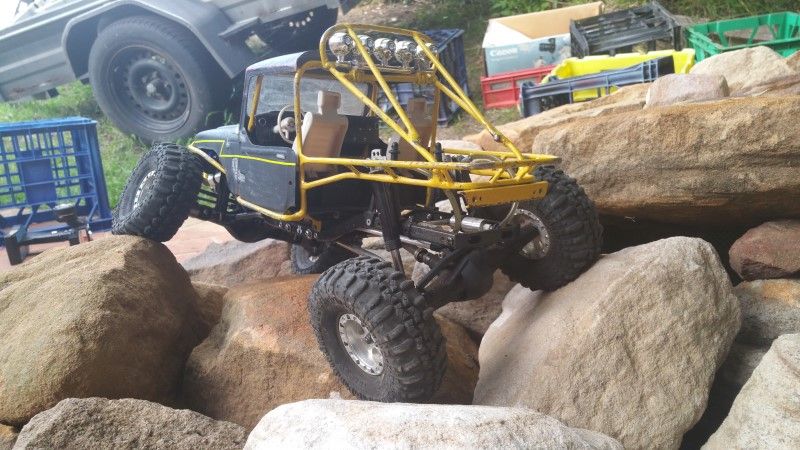 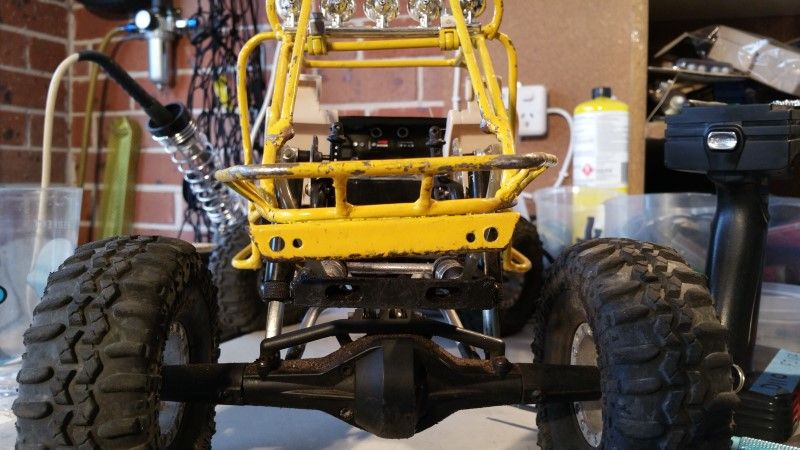 Moving forward, the plan is to attempt to correct some of the 'uniqueness' of the frame, and at the same time give it some of my own personality. The interior will be rebuilt from scratch and the whole rig will need to meet the local SORRCA Accredited rules we run at WESROC. I hope you like the end result. Cheers H2Micr0 |
| |  |
| Sponsored Links | |
| | #2 |
| Rock Crawler Join Date: Jan 2013 Location: Australia
Posts: 541
|
So how do you try to straighten a frame that was actually built twisted? Good bloody question. The frame made from what appears to be around 4mm solid bar. My solution was to cut small sections out and re braze those areas. Below is a few pics and descriptions of the progress just so you get a feel for what was involved. This cut and the following one was to allow for the rear truggy area to be straightened. 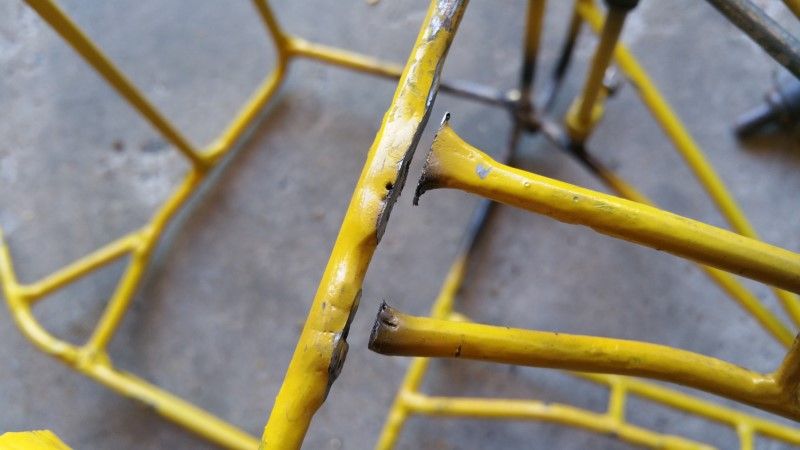 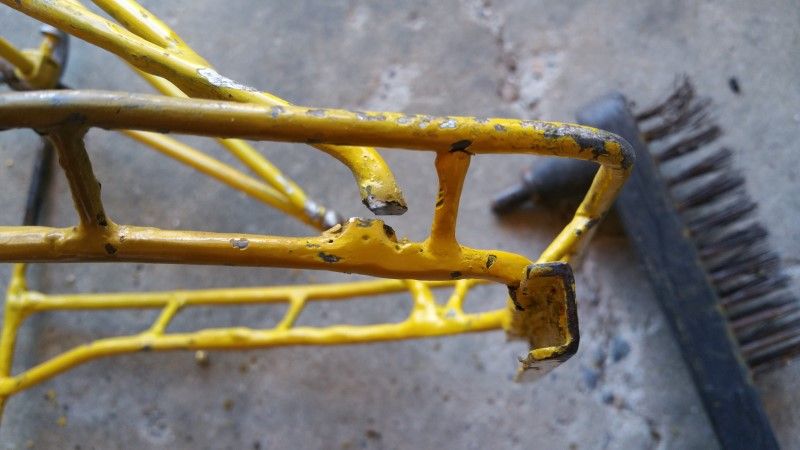 I lifted the two bars around 8mm or so to get the rear close to parallel with the rear of the Chassis. 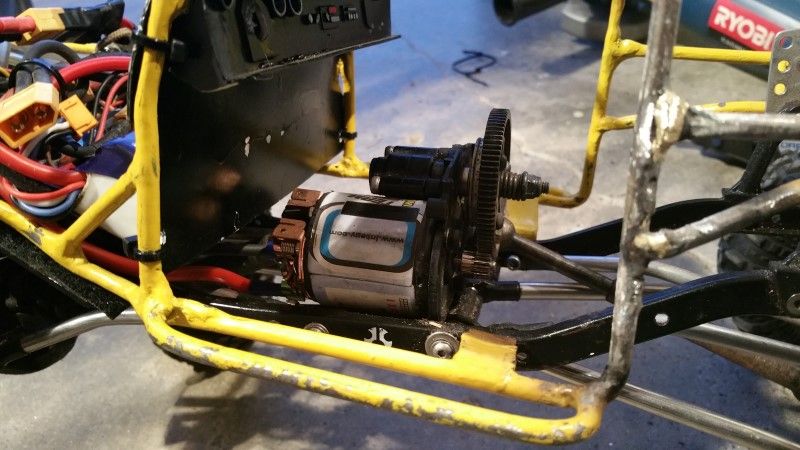 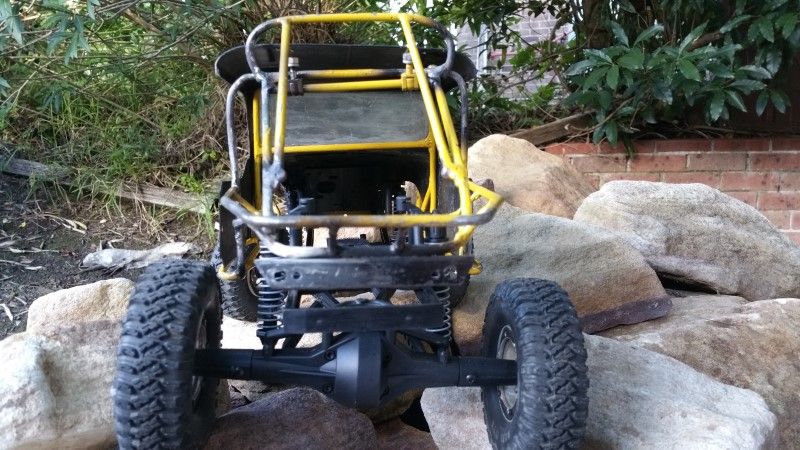 Here I took 4mm out of one side of the roof bar between the main hoop and the windscreen. 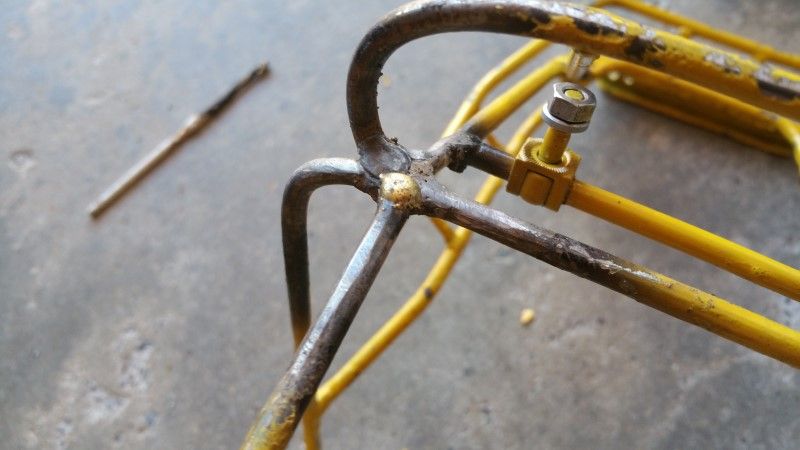 And here another 4mm was taken out of this side of the main hoop as it was MUCH wider than the other side LOL. 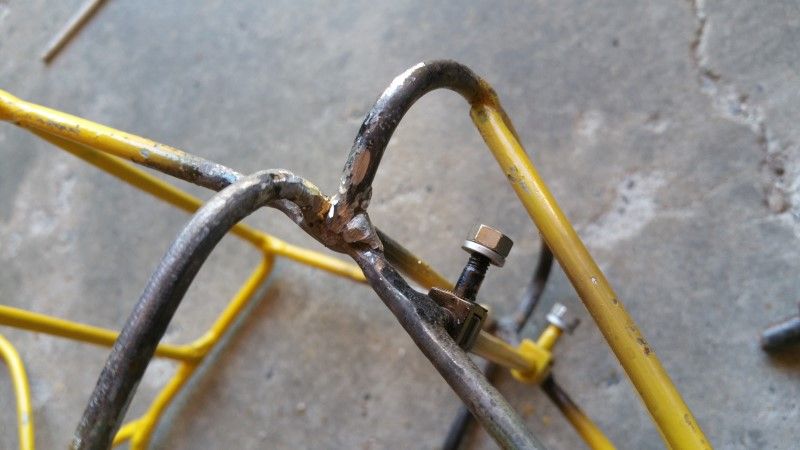 With these initial changes made I bolted it all back together, and then took it for a 4 hour trail drive. Needed to test it appropriately. 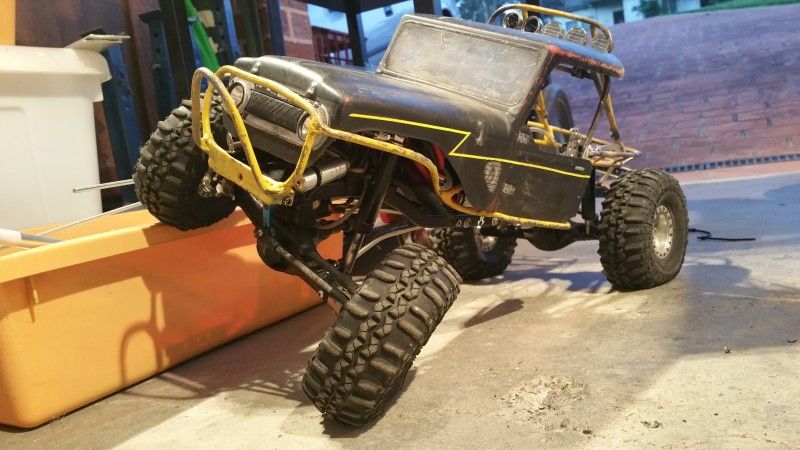 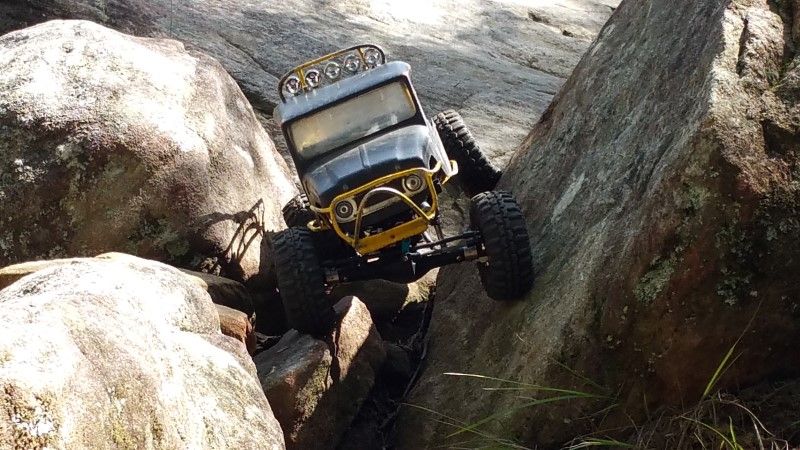 Cheers H2Micr0 |
| |  |
| | #3 |
| Rock Crawler Join Date: Jan 2013 Location: Australia
Posts: 541
|
Now it was time to tackle this, ummm, functional? piece of barwork. 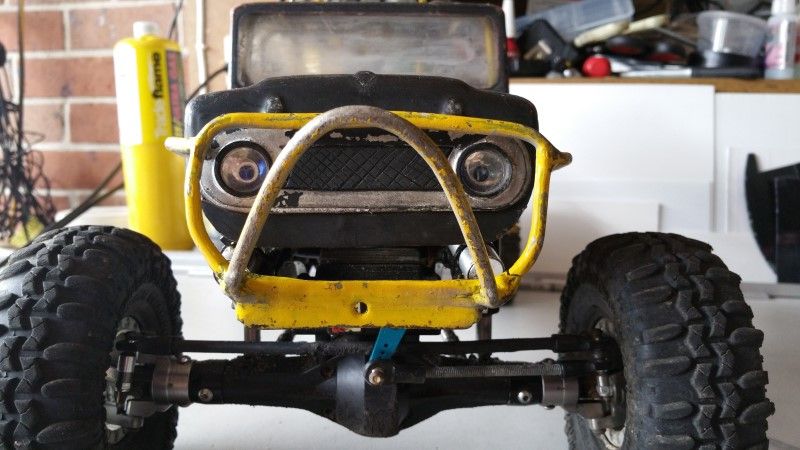 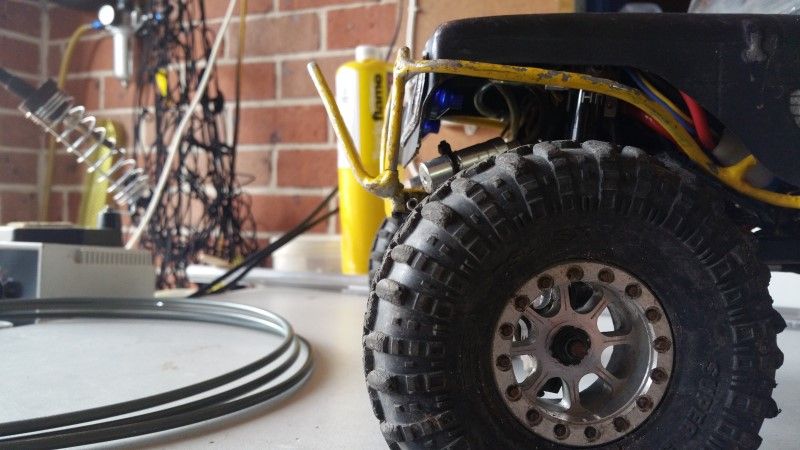 As you can see in the above picture, the tyres protrude beyond the bar itself, which in WESROC rules is not legal. We have a requirement that the front bar, excluding stinger,grille guard etc, be clearly the most forward part of the vehicle. So, with some selective use of a 1mm grinder blade it all got removed, and a some new 3/16 brakeline was bent into shape. 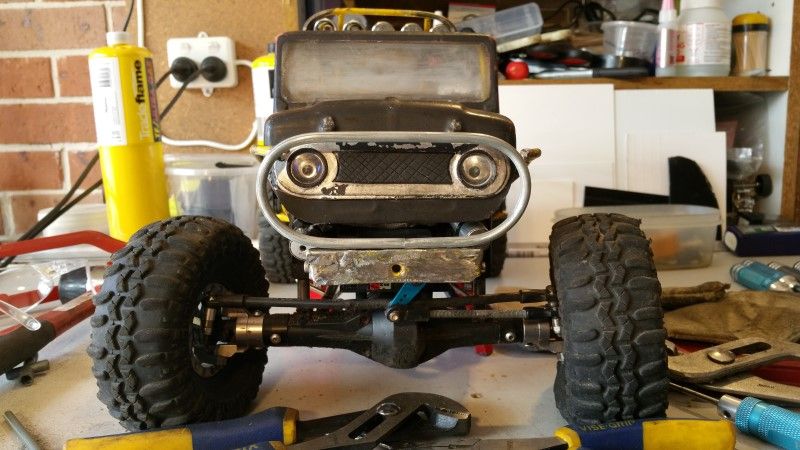 WESROC rules for Class 2 also stipulate that the inner wall of the front tyres must have coverage when viewed directly from above, and this can be achieved using the body, flare or barwork. So build up and braised on some more brake line. 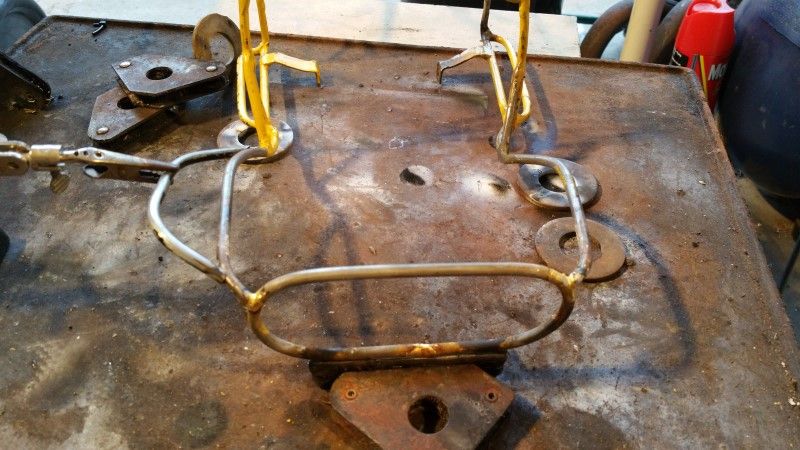 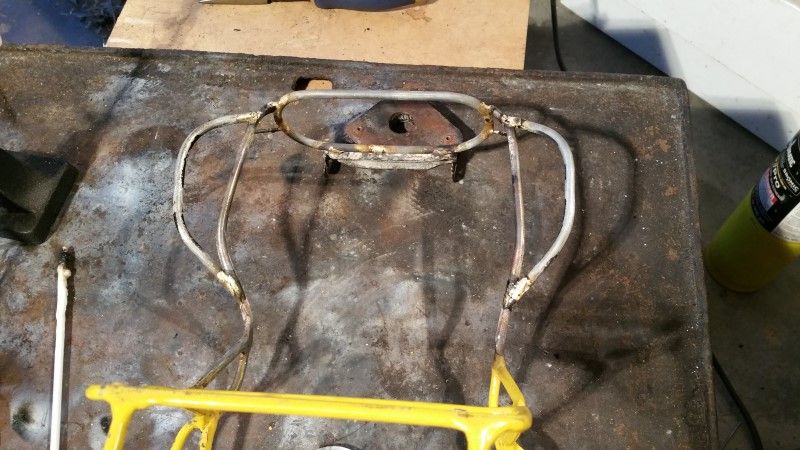 Yep, that is looking better already. 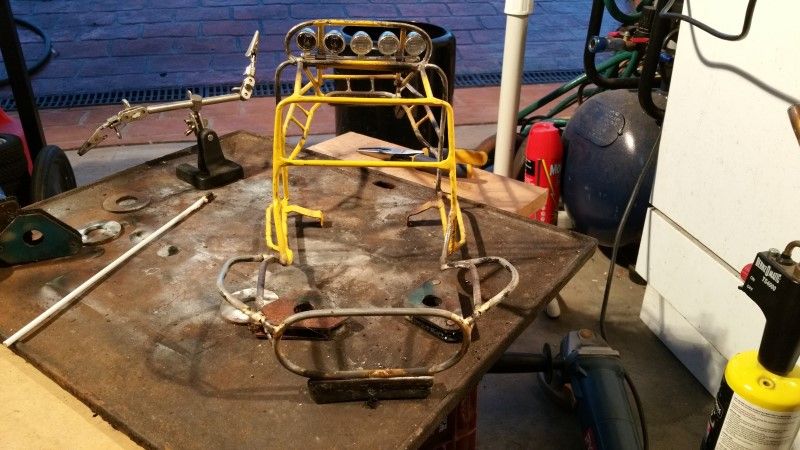 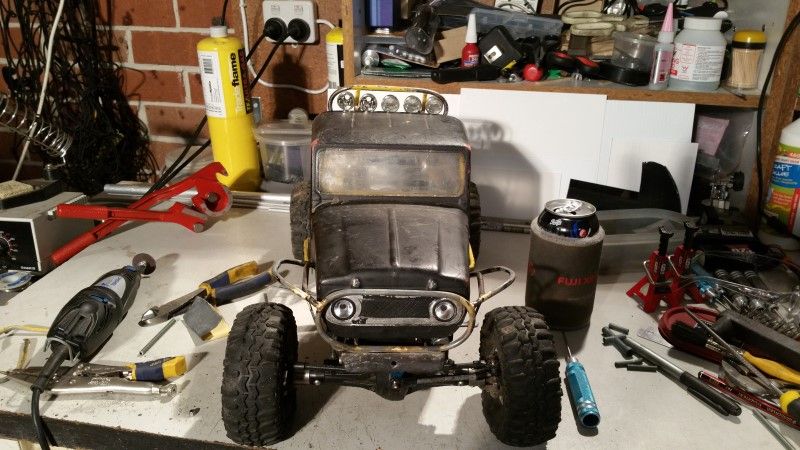 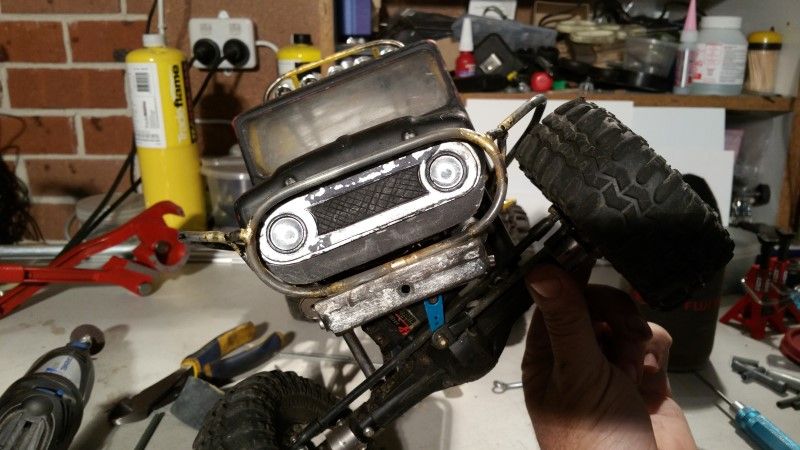 But, there is something missing from the front. Still need to achieve having the bar being the most forward part of the body. Decided to add a winch plate as part of the build, and a reinforced stinger. 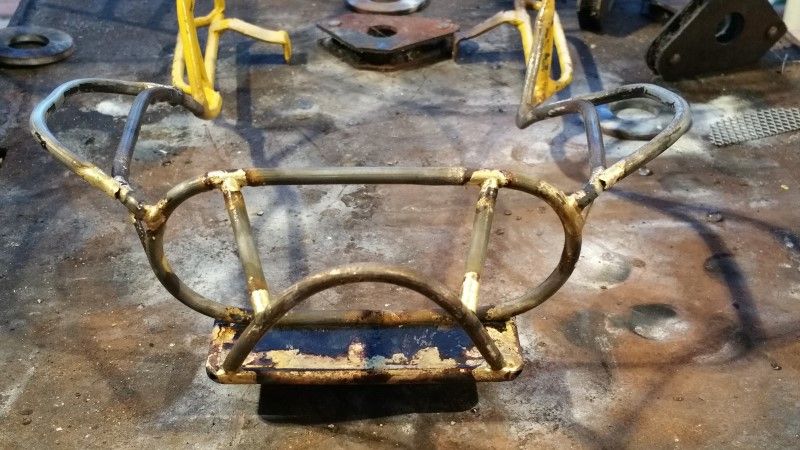 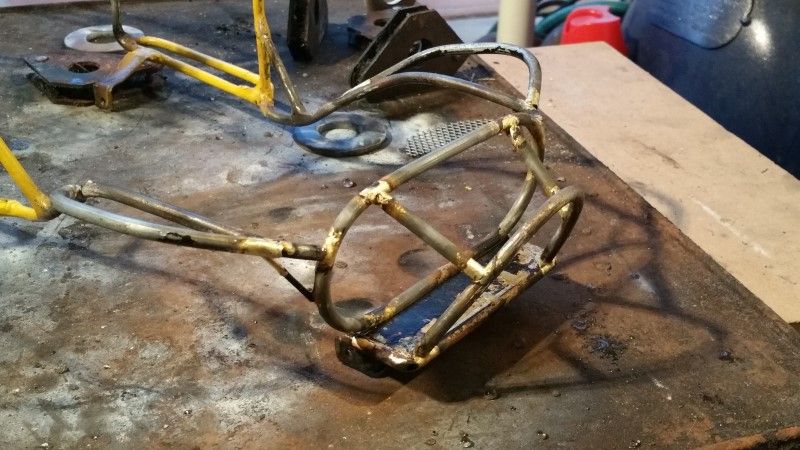 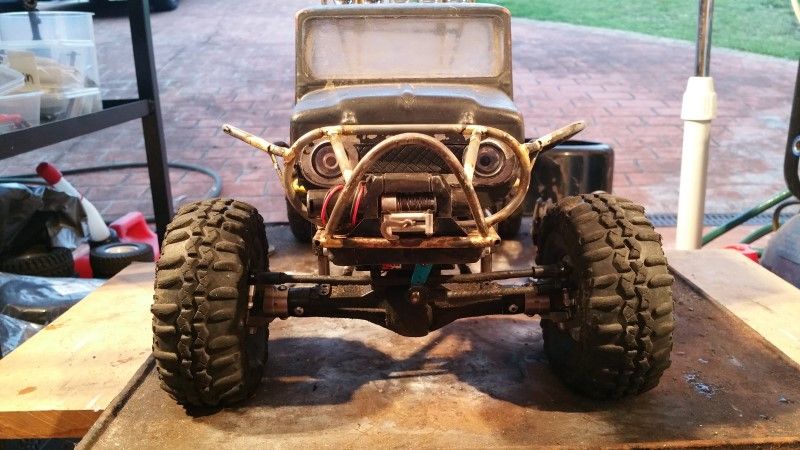 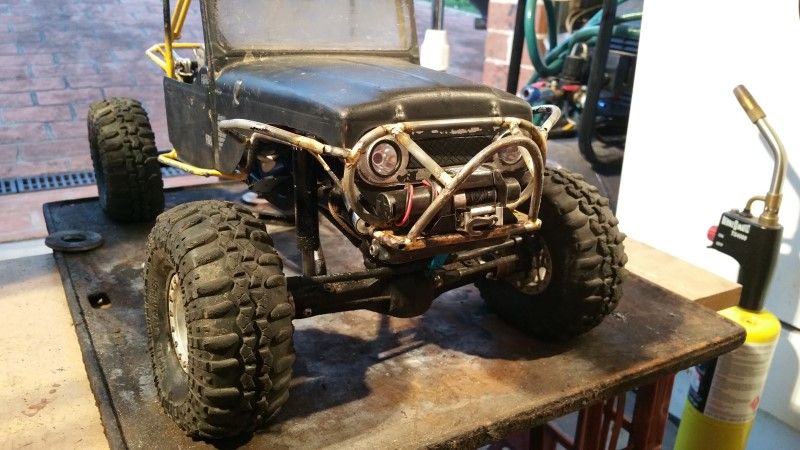 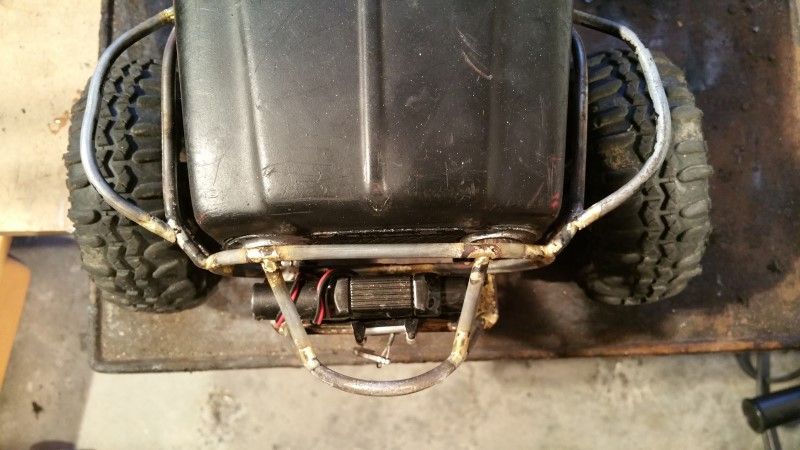 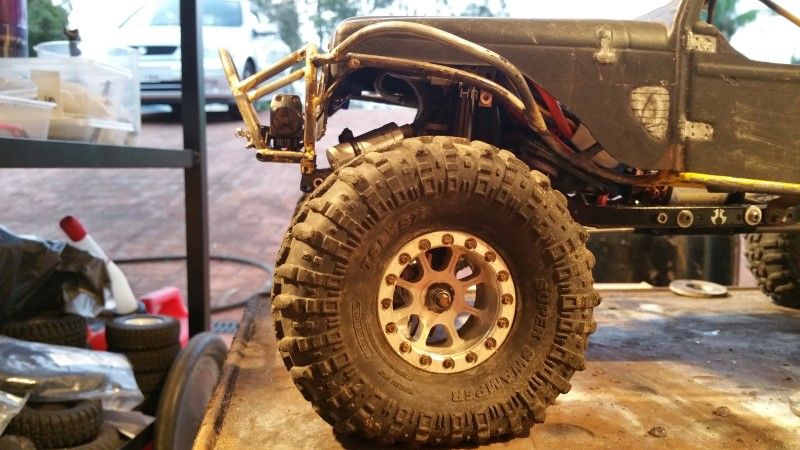 Yep, that will meet the regs, look cool, and is functional. Cheers H2Micr0 |
| |  |
| | #4 |
| Rock Crawler Join Date: Jan 2013 Location: Australia
Posts: 541
|
Next job on the list was to flip the trans around so the spur gear was facing forwards. This will allow more room for an interior. More on that later. 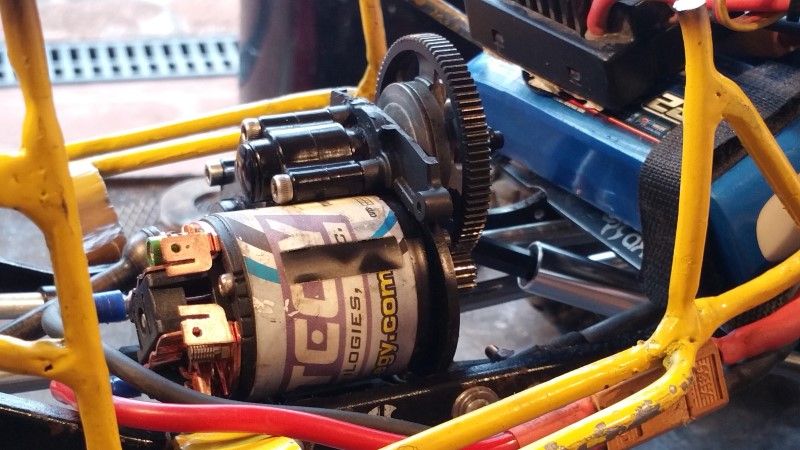 So the more I corrected the frame the more other parts looked worse. SIGH! This pic shows how the front and rear is pretty close to even, but the windscreen frame and main hoop are rather crooked. You can also see where I sectioned the uprights on the left of the picture. 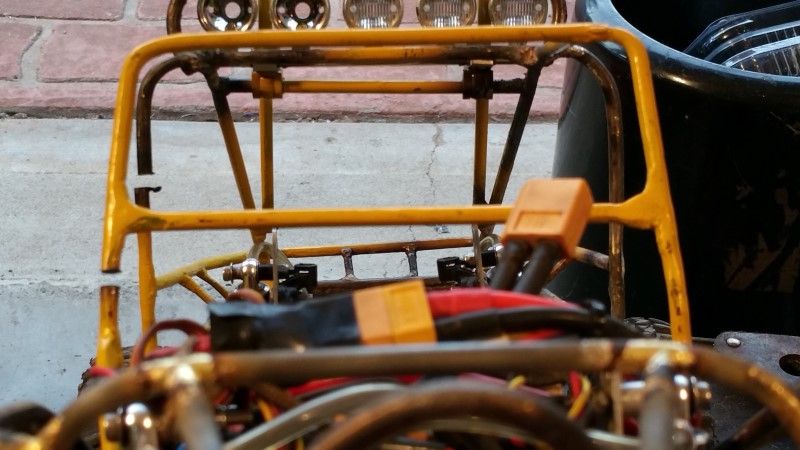 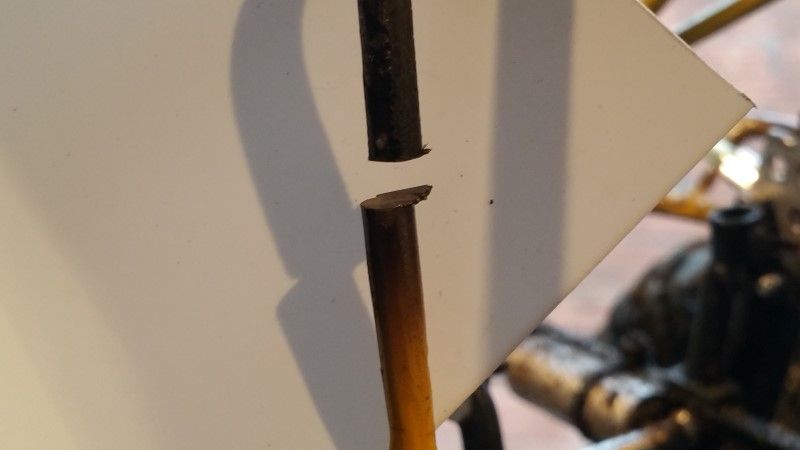 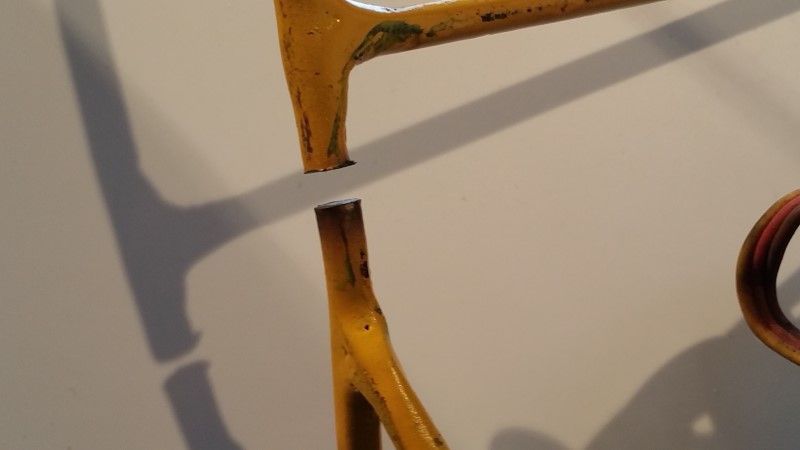 When you are braising things, you get rather creative holding things in just the right place. 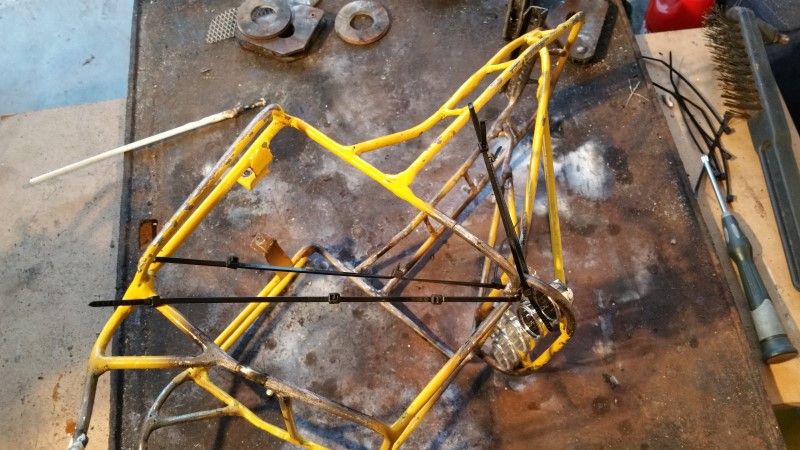 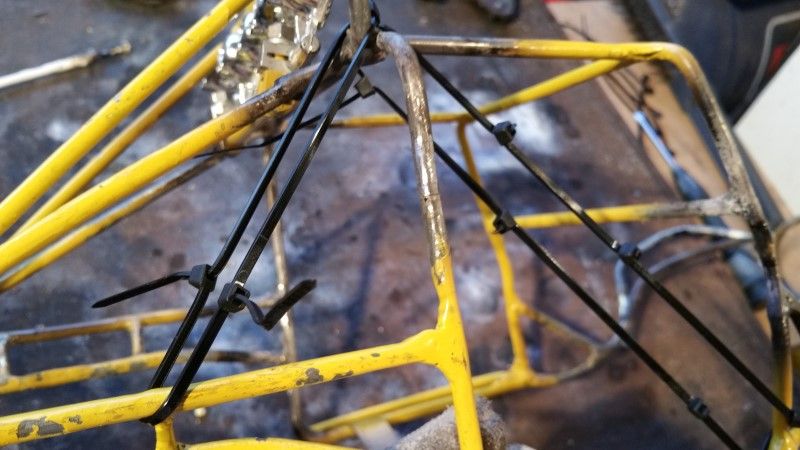 Cable ties - did the job long enough until they melted LOL. With that done it was time to loose that old yellow paint. Warning - naked metal 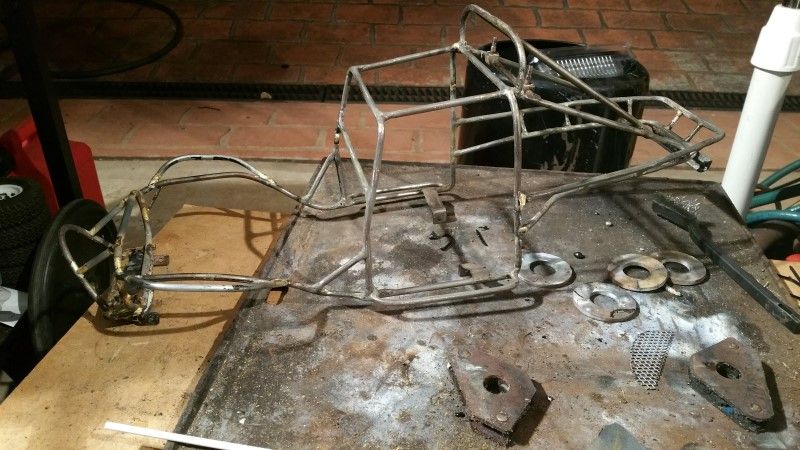 I added two more small support bars on the bottom of the winch plate. This adds some strength and helps it slide up rocks. 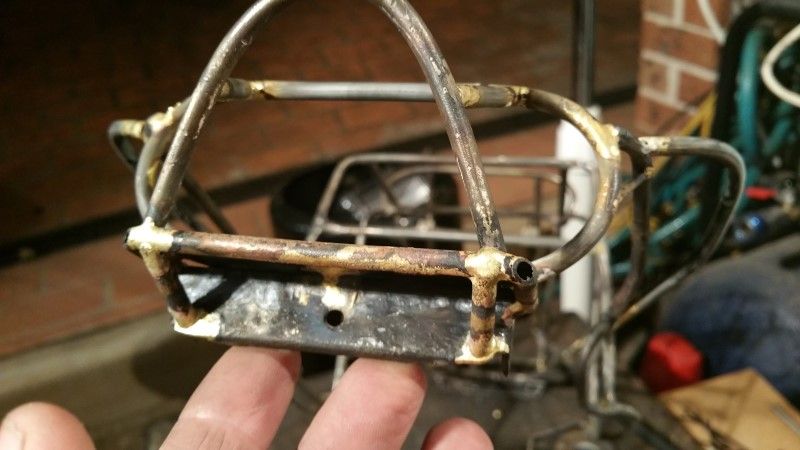 Then it was time for some shock hoops to be added to the rear of the Truggy. 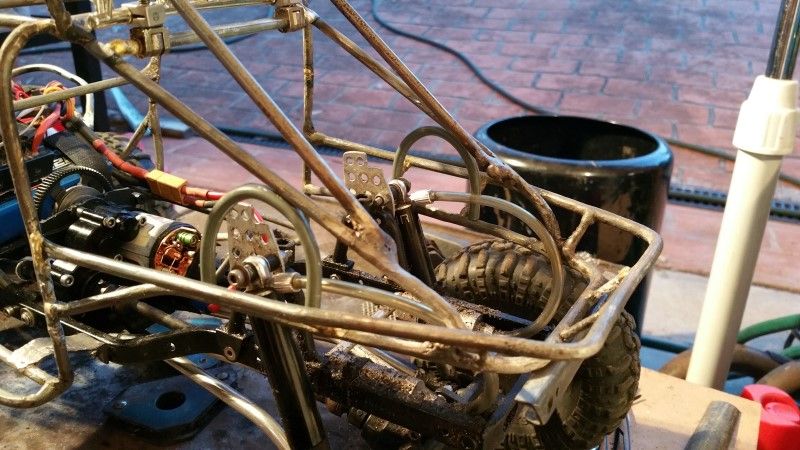 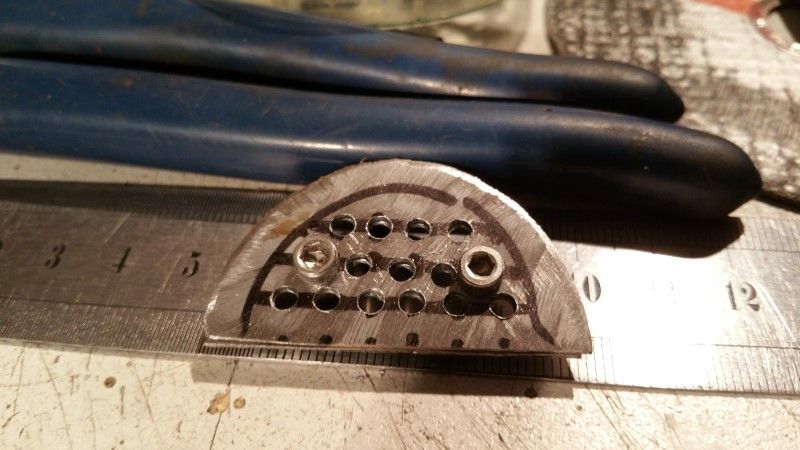 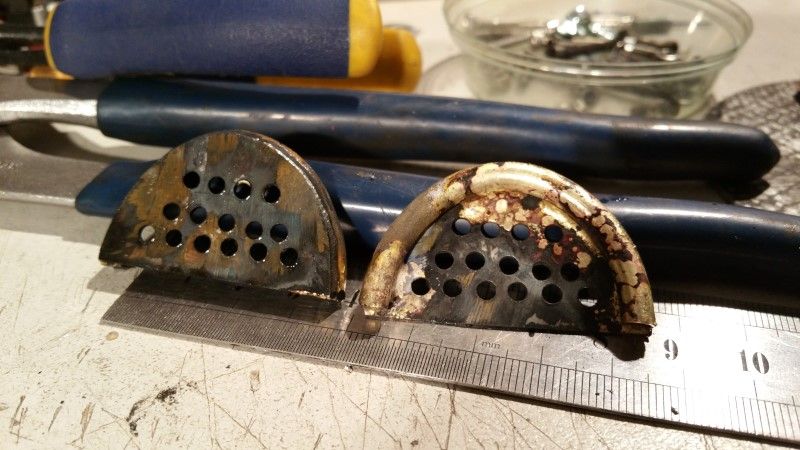 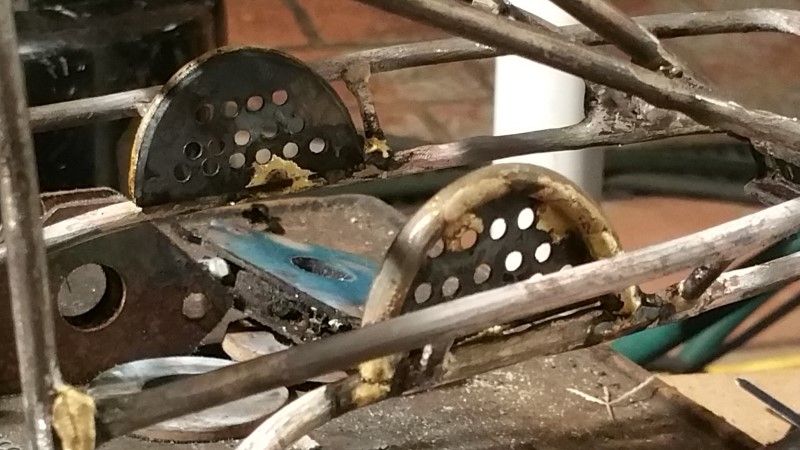 Opps, part of the Chassis fell off!!!! Oh NO!!!!! 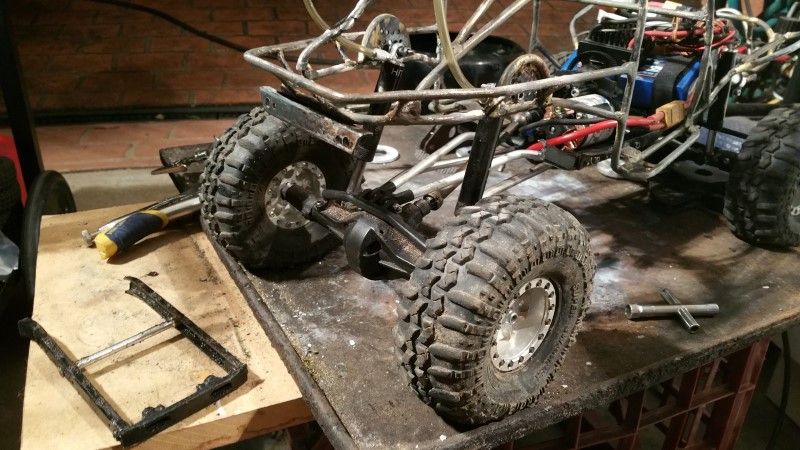 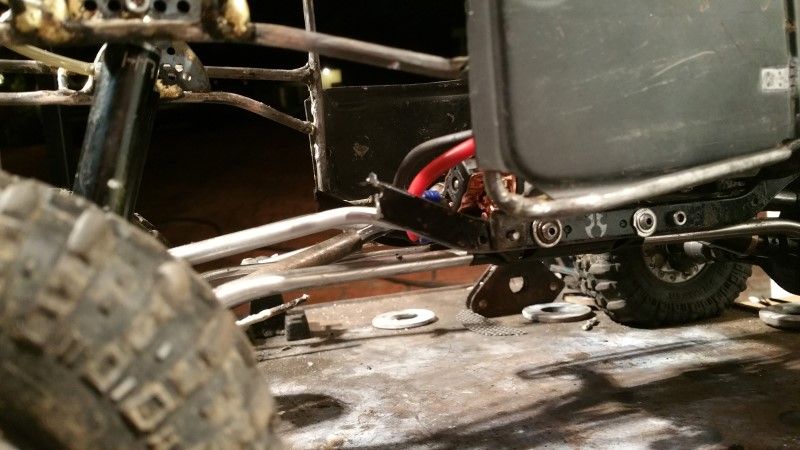 Well it is a TRUGGY after all. Cheers H2Micr0 |
| |  |
| | #5 |
| Busy buildin or crawlin!!  Join Date: Aug 2007 Location: Castle Rock
Posts: 453
|
Dang bud, it might have been easier just to build your own chassis to start. Looking good now though!!
|
| |  |
| | #6 |
| Rock Crawler Join Date: Jan 2013 Location: Australia
Posts: 541
| |
| |  |
| | #7 |
| Rock Crawler Join Date: Jan 2013 Location: Australia
Posts: 541
|
I really needed a way to secure the body to the frame and after a bit of thought braised in some metal pads in the roof for some velcro. 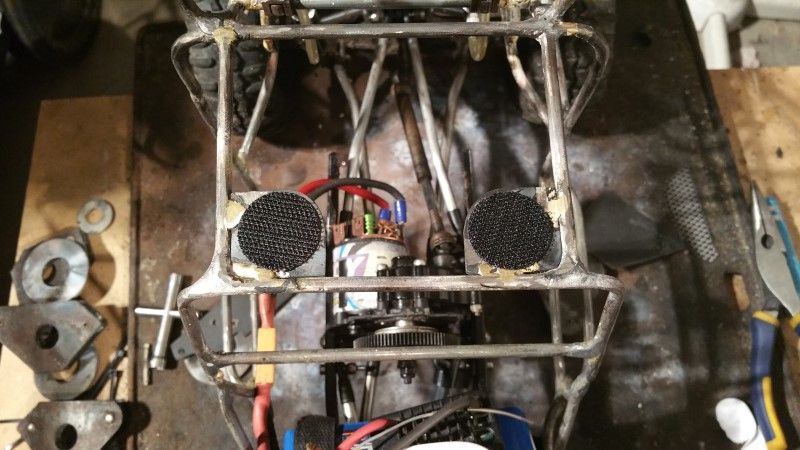 Then it was time to start on the new interior. I began with test fitting the driver and seat, and seeing what room I had to work with. The goal here was to get the full figure in and not have to amputate anything LOL. 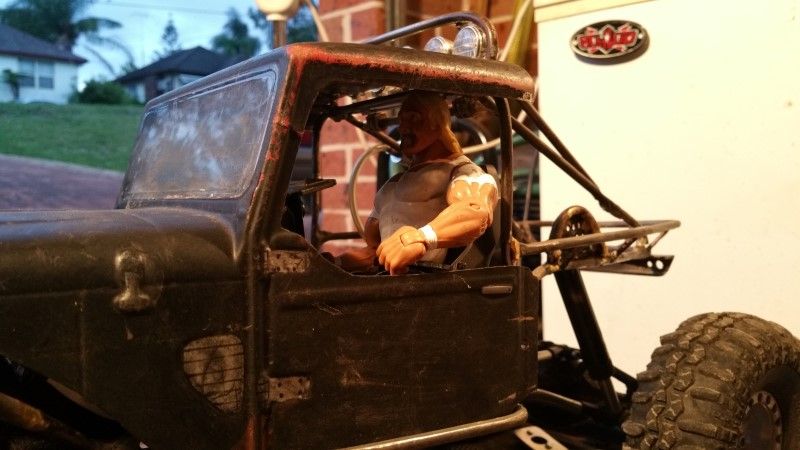 And the passenger and seat. 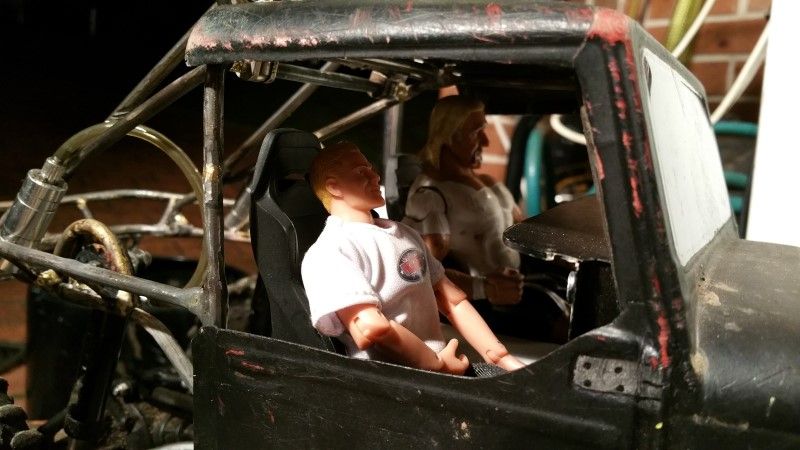 I started with some card stock and made a template for the floor. 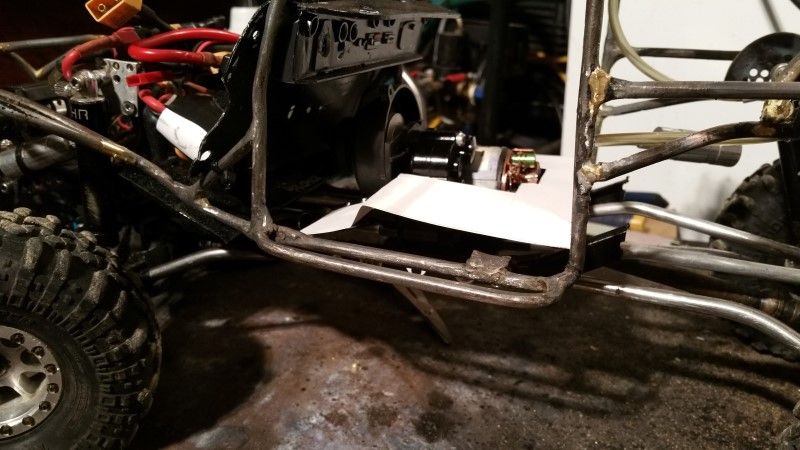 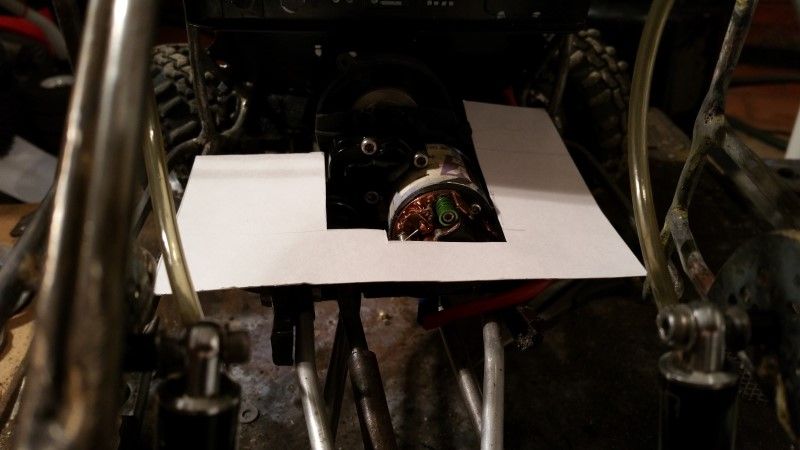 I then used 2mm thick styrene for the floor and made up a tunnel to cover the trans case and motor. 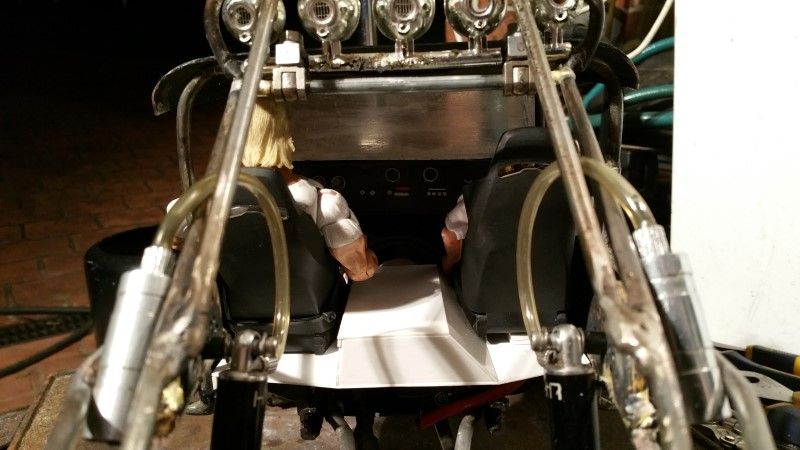 So far so good. Initially I wasn't sure how I wanted to cover this area but I eventually came up with a solution that works. 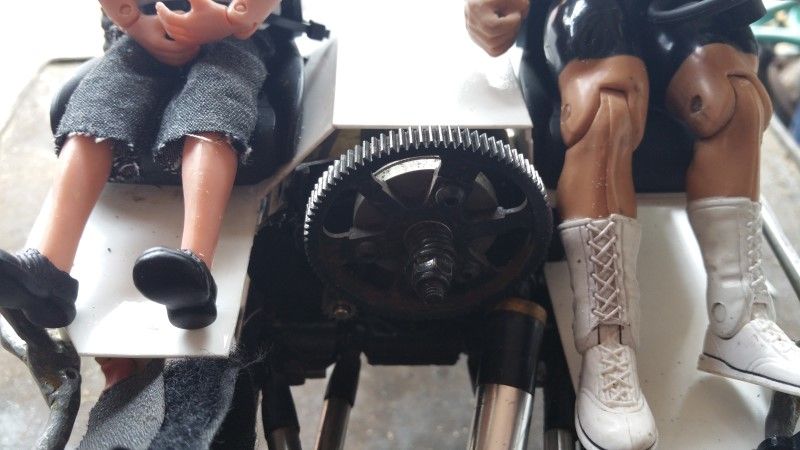 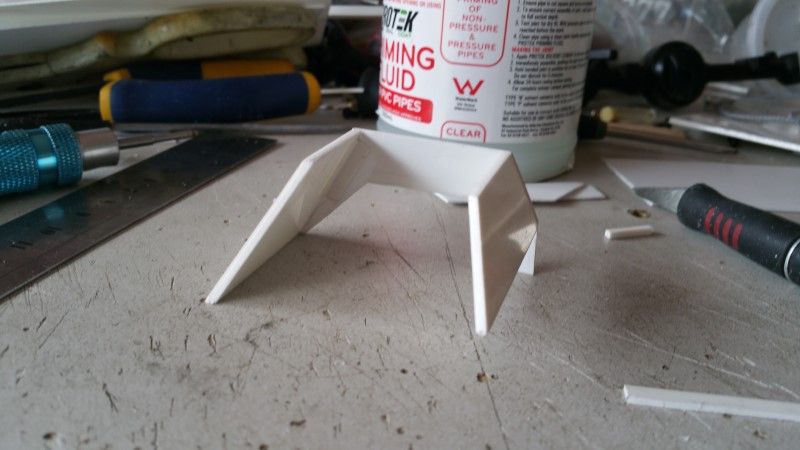 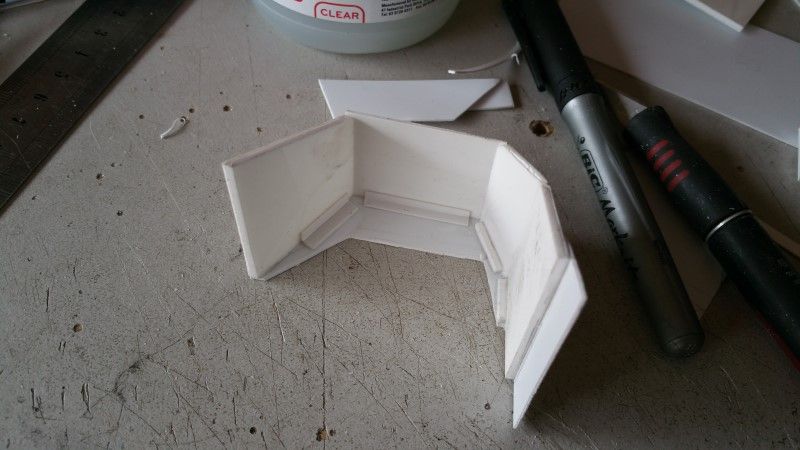 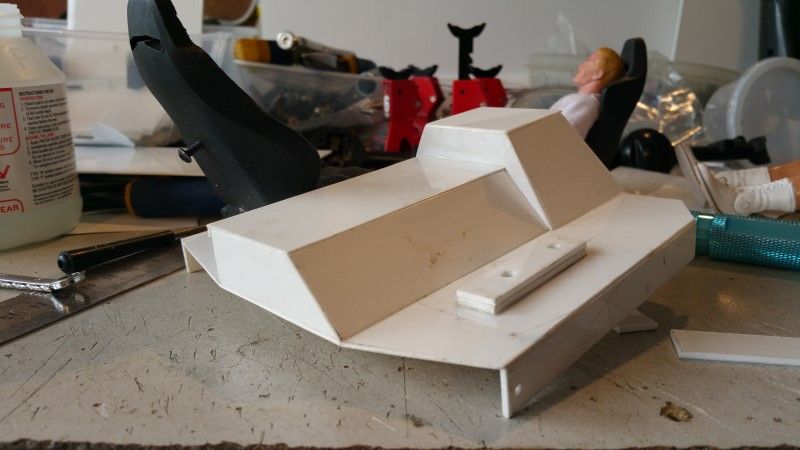 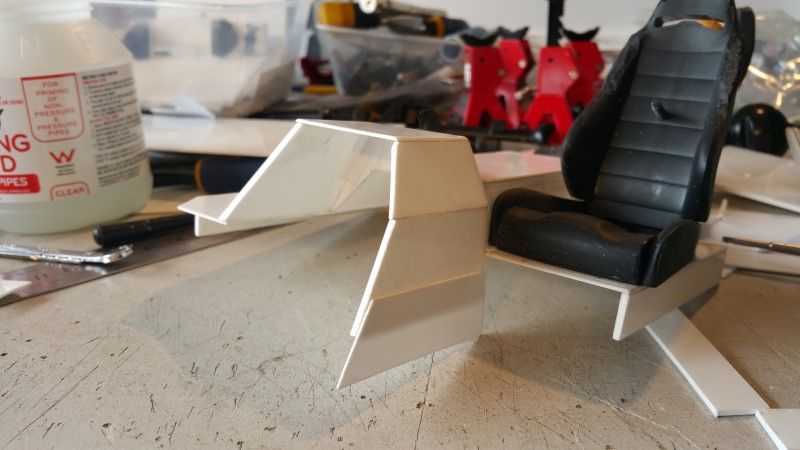 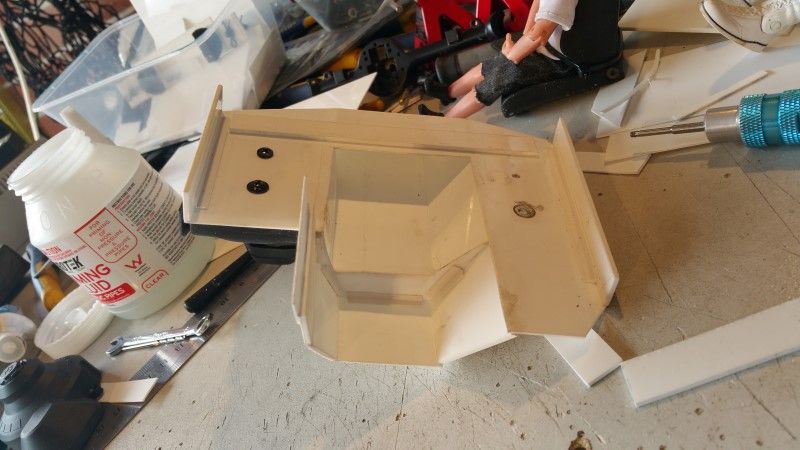 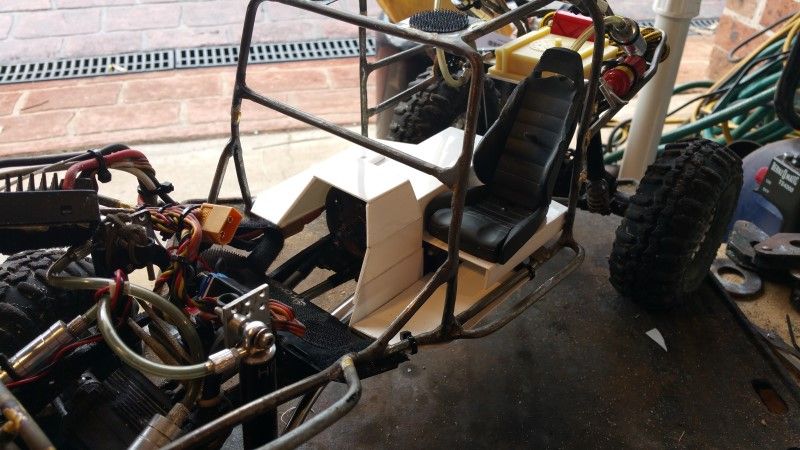 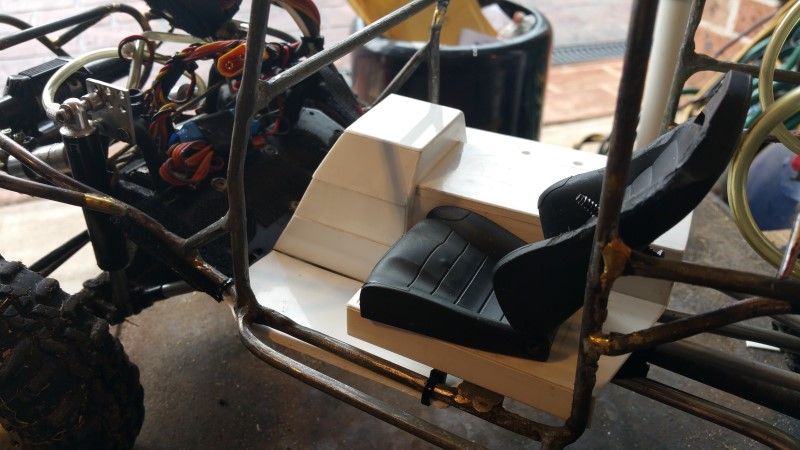 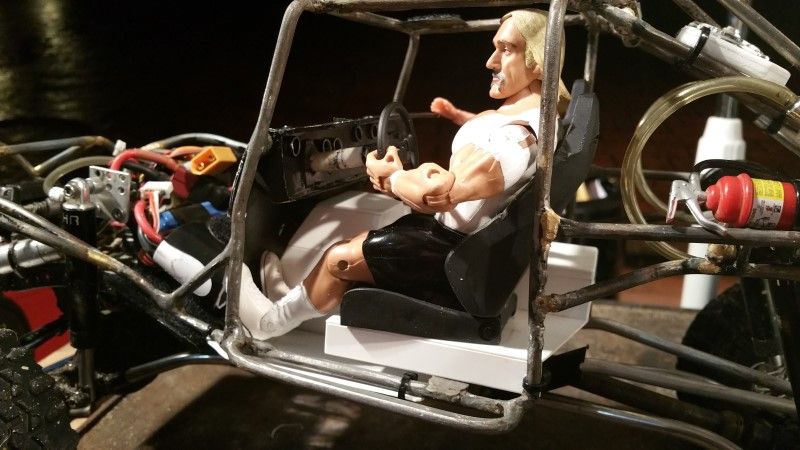 I also made a start on the fuel cell and rear truggy area. 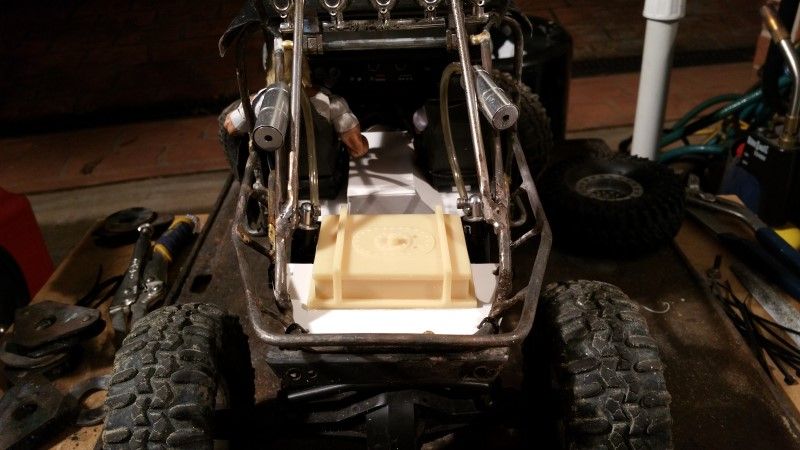 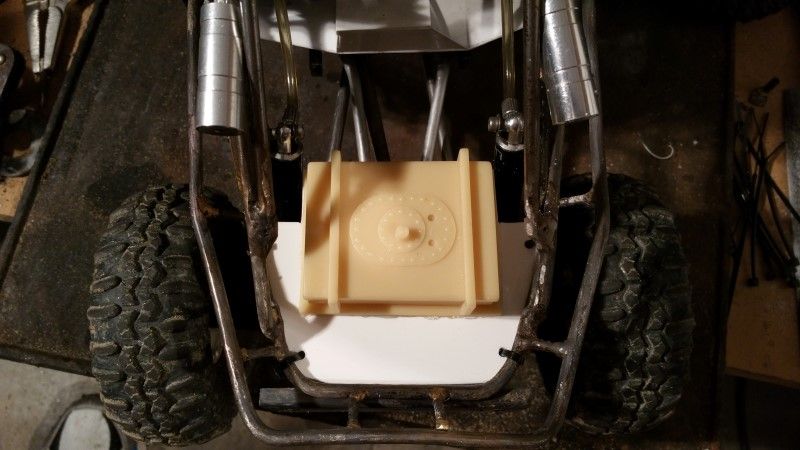 Cable ties make a great way to test fit parts. Cheers H2Micr0 |
| |  |
| | #8 |
| Rock Crawler Join Date: Jan 2013 Location: Australia
Posts: 541
|
I decided to have a go at fabricating my own radiator. Used some 2mm styrene sheet to make the basic shape. 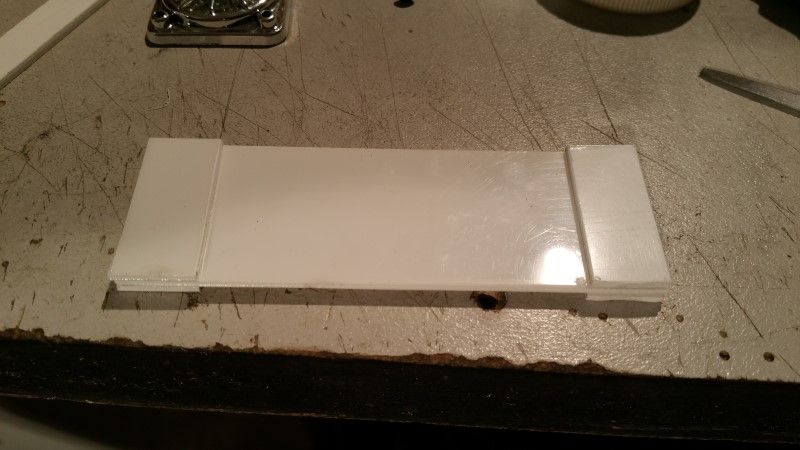 Shape the ends and round off the sharp edges. 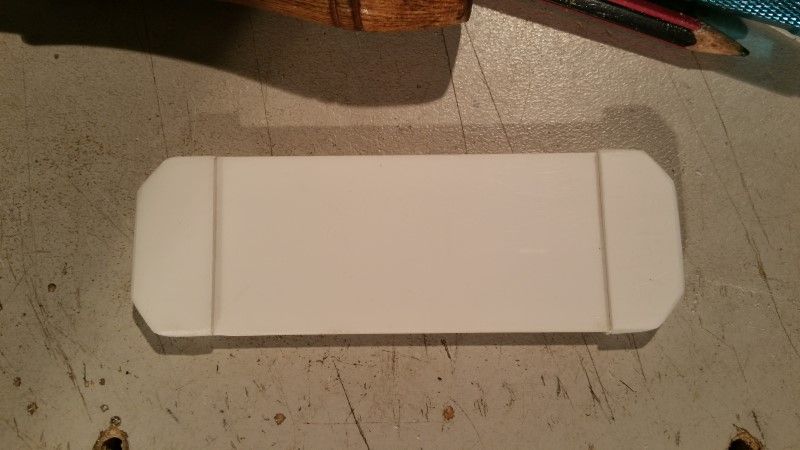 Large cable ties for the core. 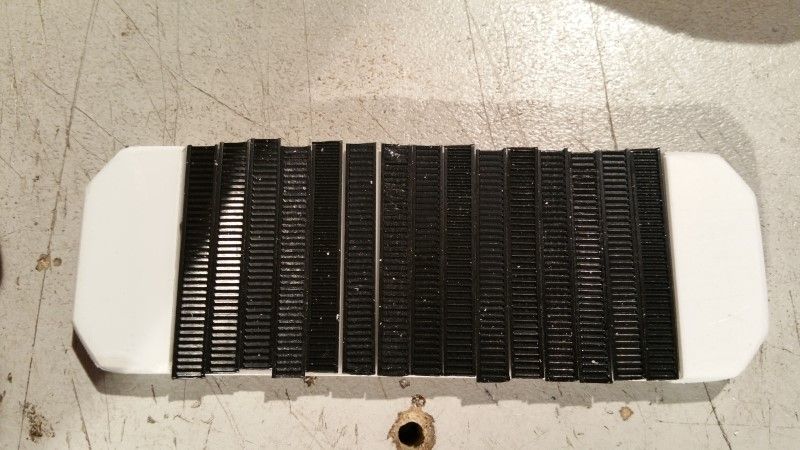 Test fit with a donor fan. 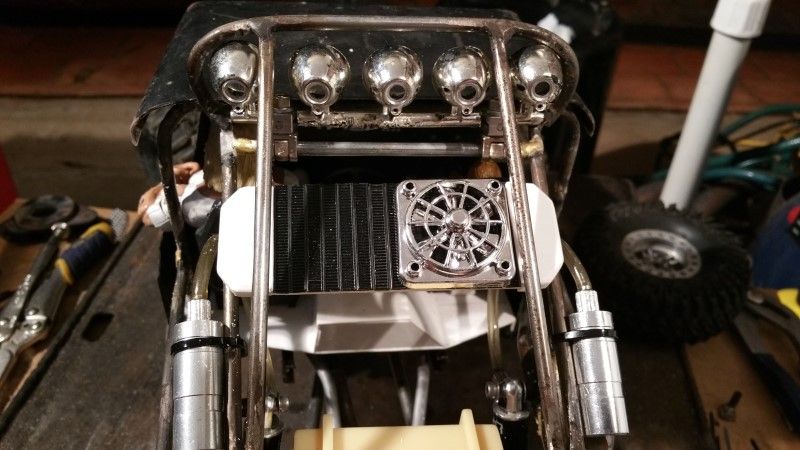 I LIKE IT!!!!! With all the detail in the interior hiding behind the doors, I thought it would be appropriate to remove them. 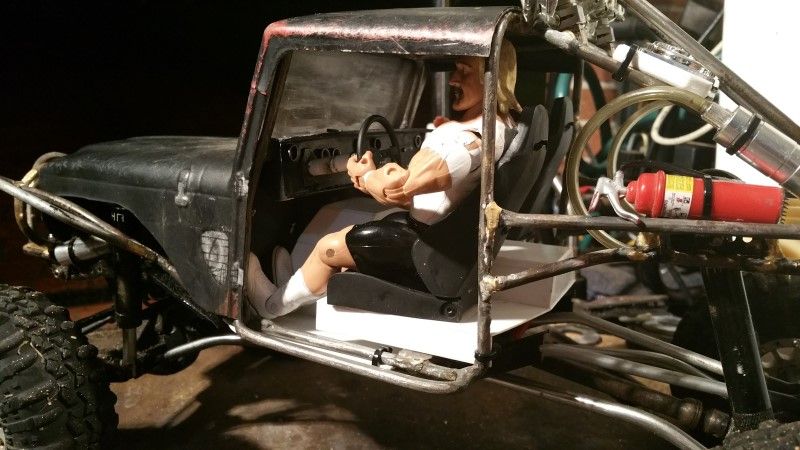 The roof was also bugging me and also fell victim the the scissors while I had them out. 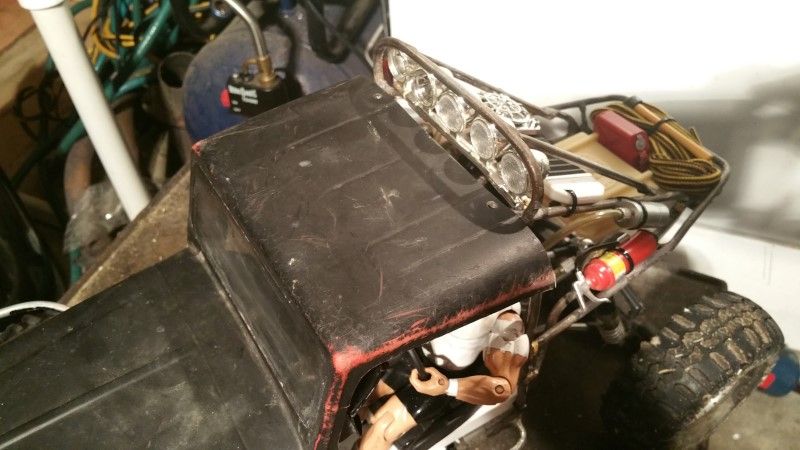 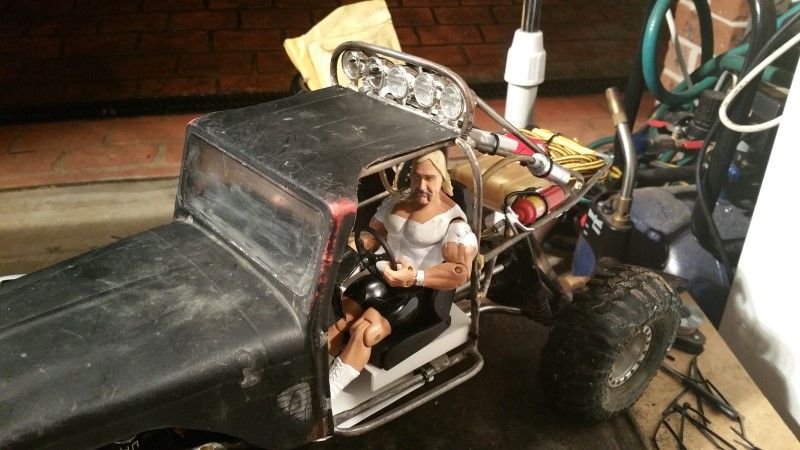 I again thought a good test was required and hit the beach, this time in the rain LOL 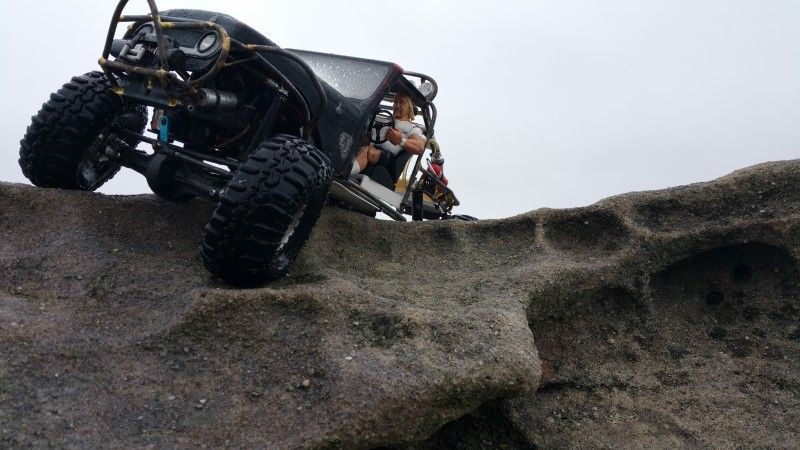 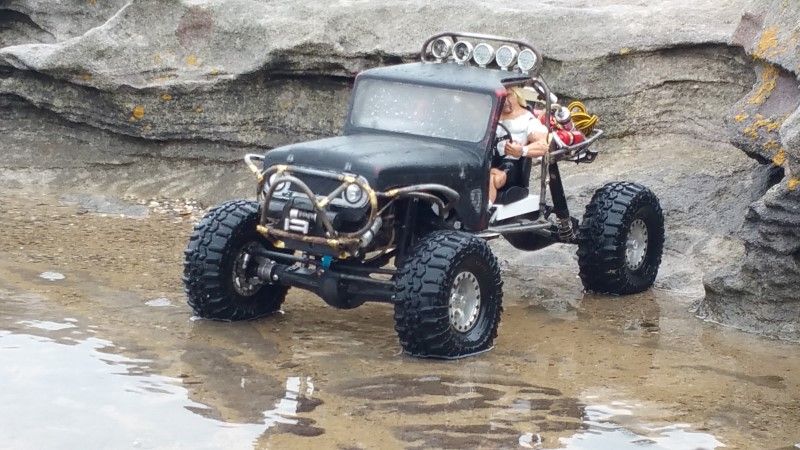 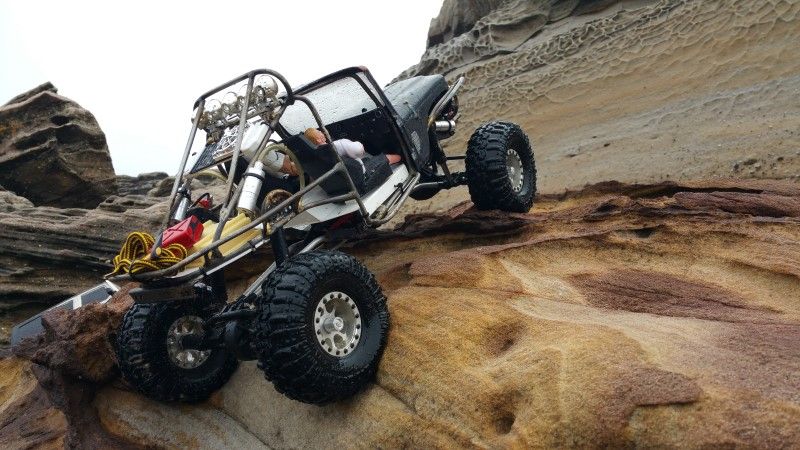 I was happy with the way it performed. It keeps on gaining weight for some odd reason LOL, but this has helped in many ways. Cheers H2Micr0 |
| |  |
| | #9 |
| Quarry Creeper Join Date: Oct 2009 Location: melbourne, australia
Posts: 204
|
definitely is a unique rig but you've done a good getting it back to how it should be. beach looks like a good place for a drive where is that?
|
| |  |
| | #10 |
| Rock Crawler Join Date: Jan 2013 Location: Australia
Posts: 541
| |
| |  |
| | #11 |
| Newbie Join Date: Aug 2014 Location: Bathurst
Posts: 30
|
Is she ready for Wesroc this weekend Ben, Better be preped  |
| |  |
| | #12 |
| Rock Crawler Join Date: Jan 2013 Location: Australia
Posts: 541
| |
| |  |
| | #13 |
| Rock Crawler Join Date: Jan 2013 Location: Australia
Posts: 541
|
Time to get some more work done on the frame. For the test run I used cable ties to hold the parts in place on the frame. I proceeded to add small tabs so I can bolt the radiator, rear floor and fuel cell, and the interior in place. 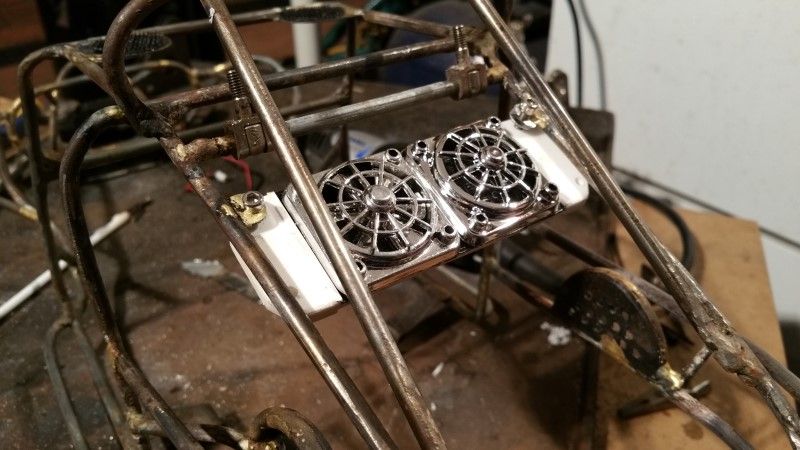 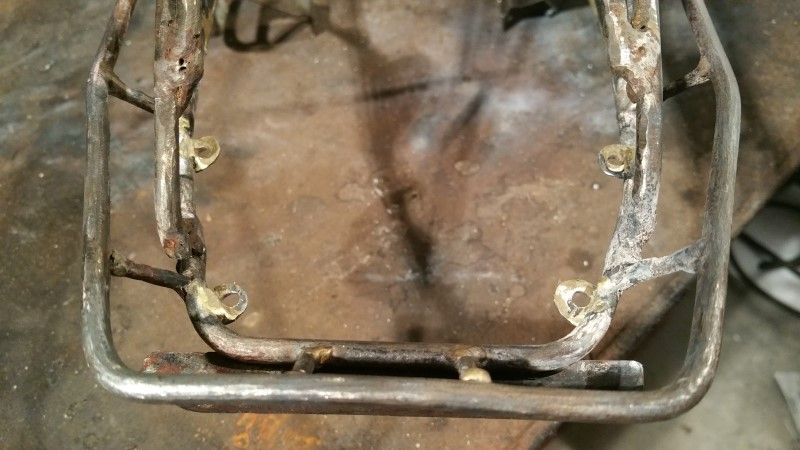 I also added in some side bars in the door frames to protect the occupants. 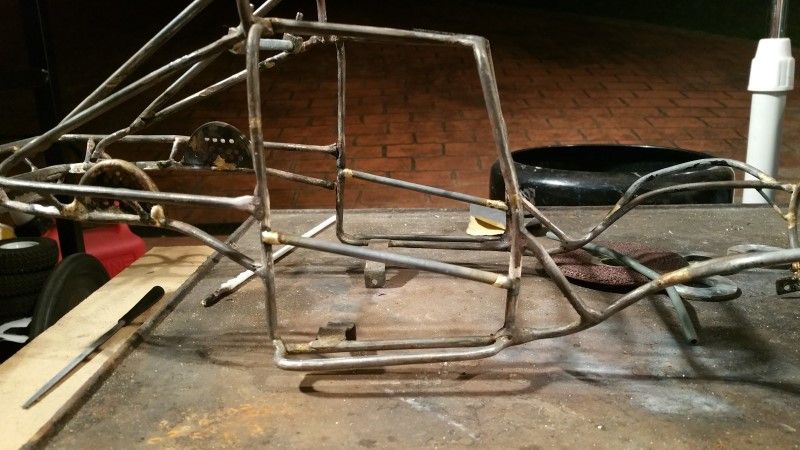 Then it was time to start playing with come colour. First up is the radiator. 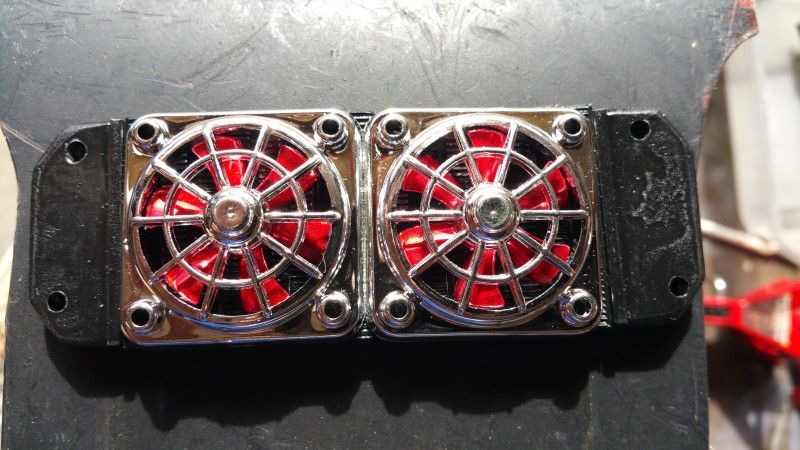 Then the interior parts. 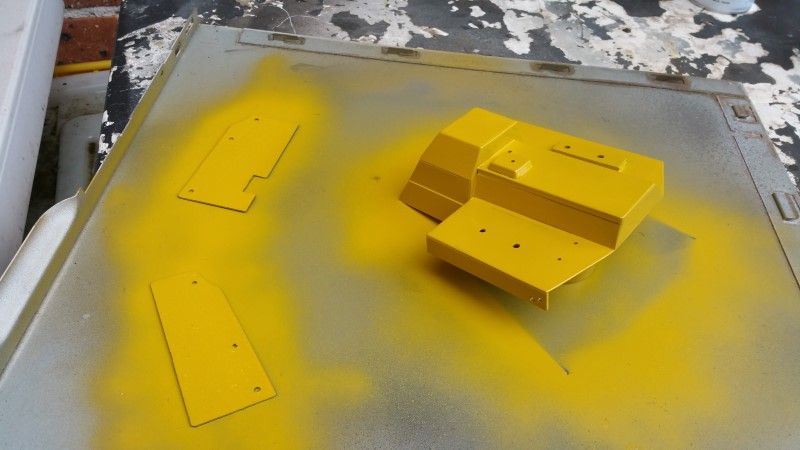 And the fuel cell 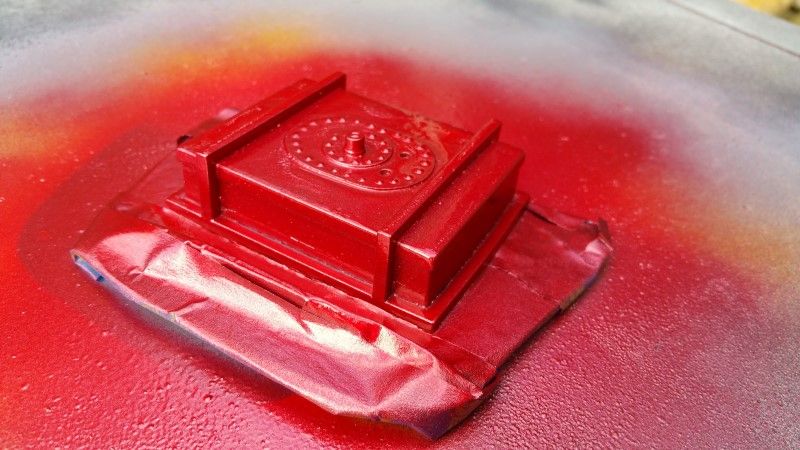 I had to break up the flat black on the body a bit too. 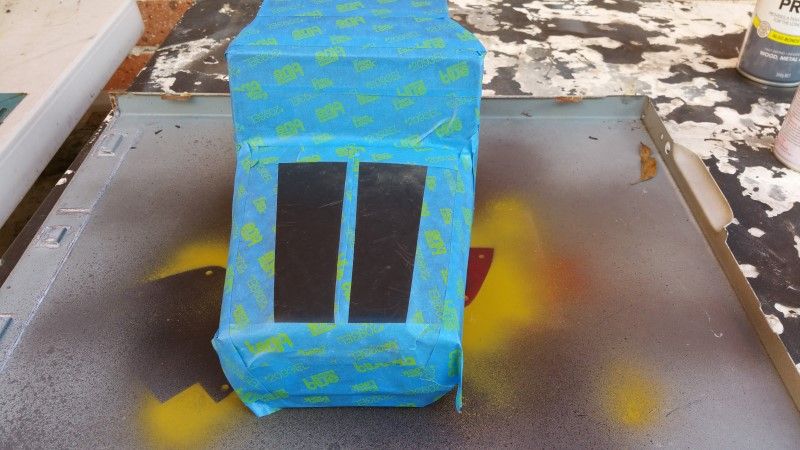 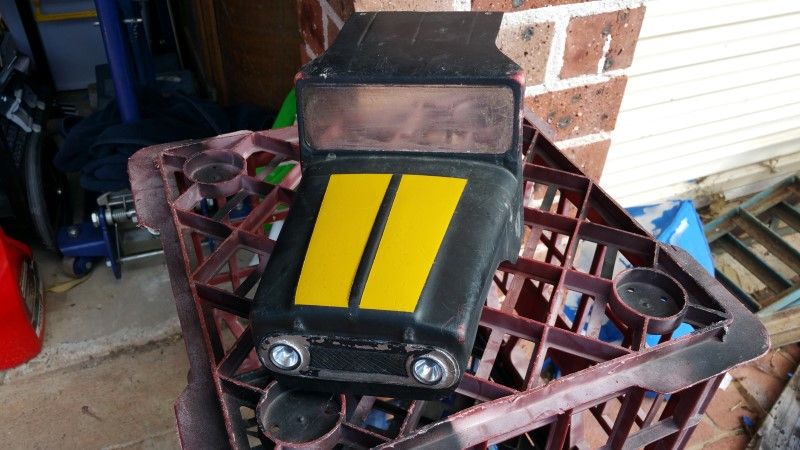 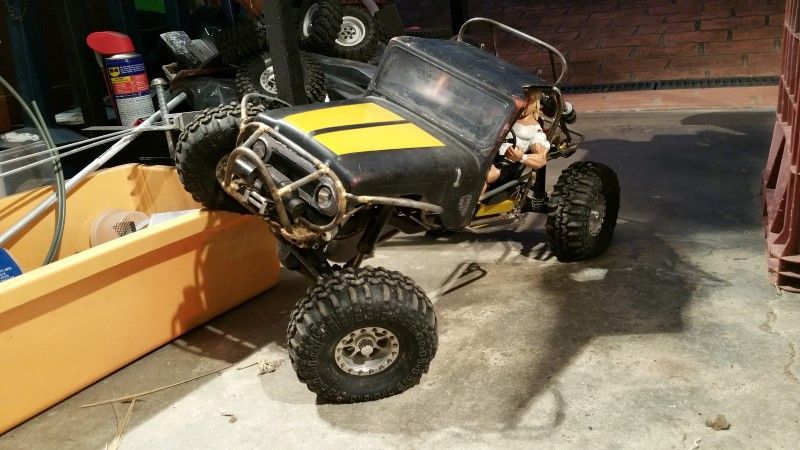 A bit of detailing of the Fuel Cell 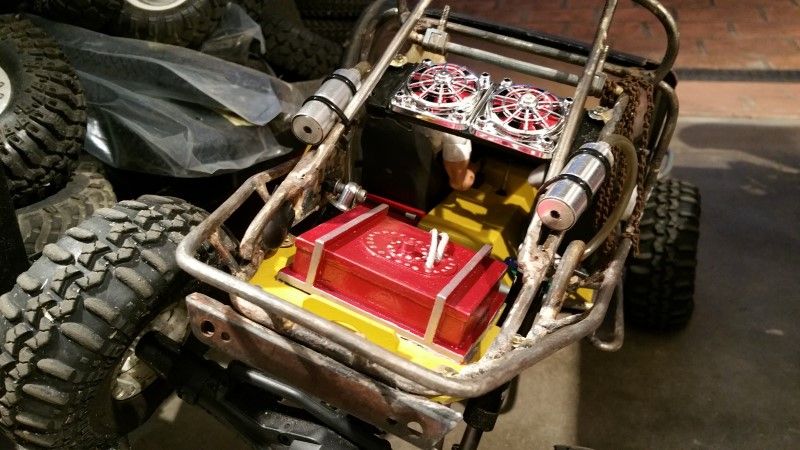 A sprinkle of scale accessories. 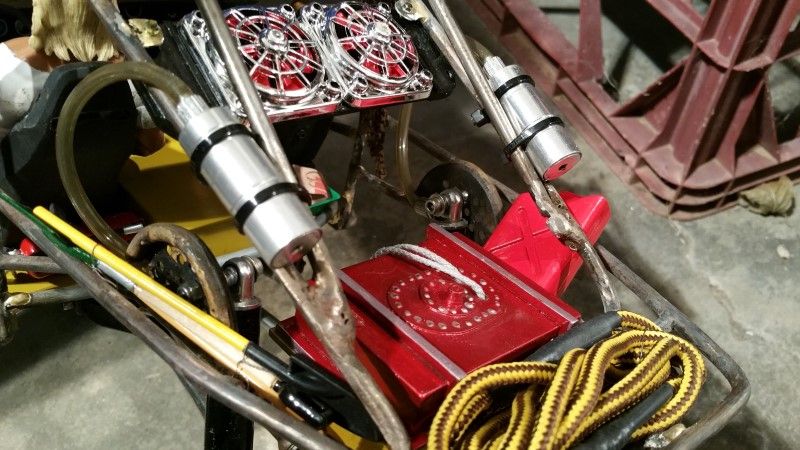 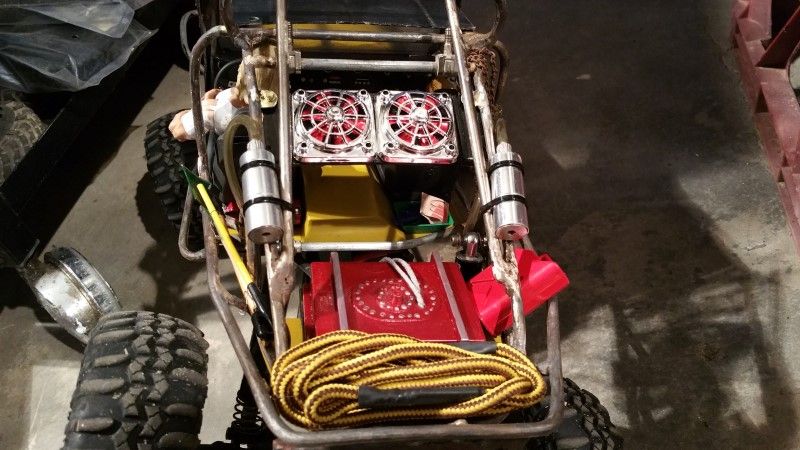 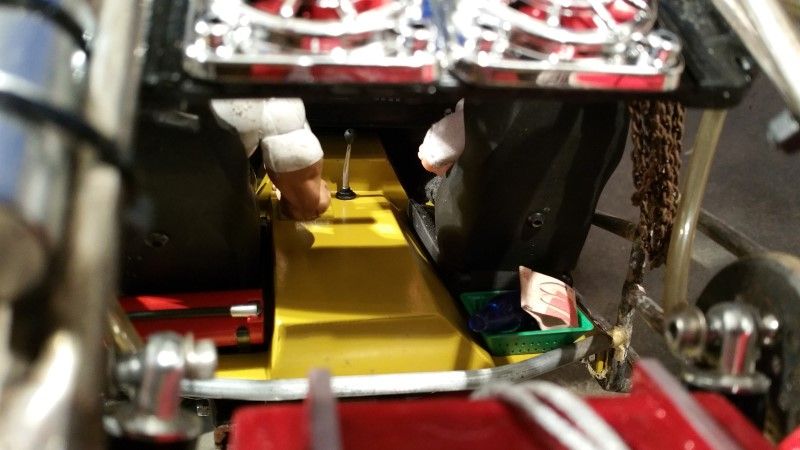 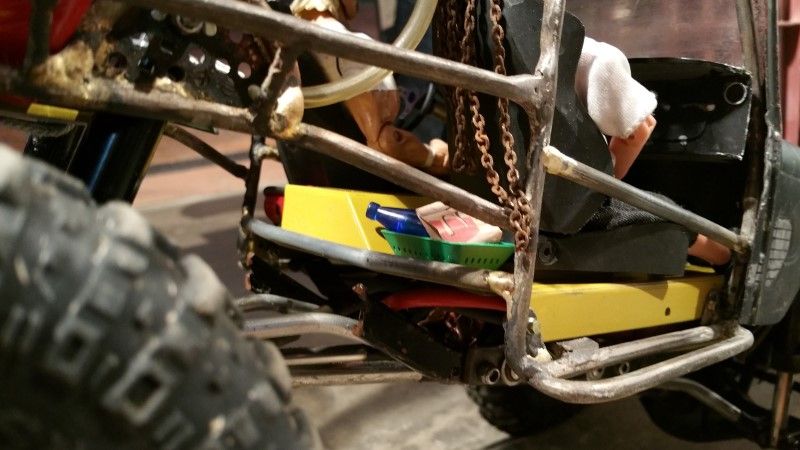 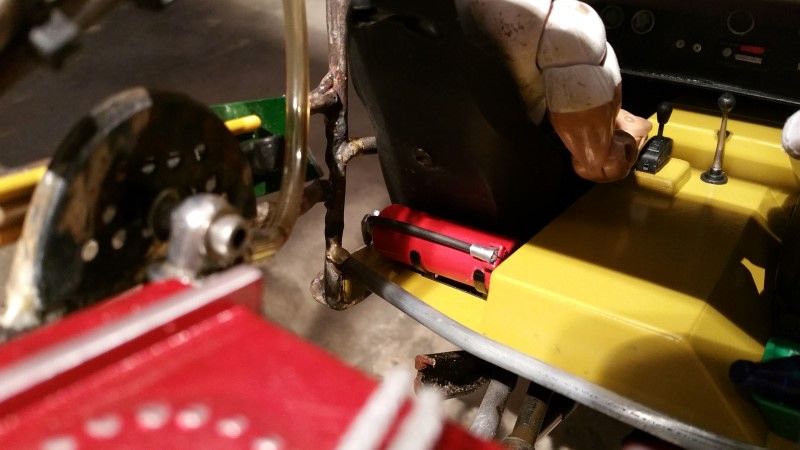 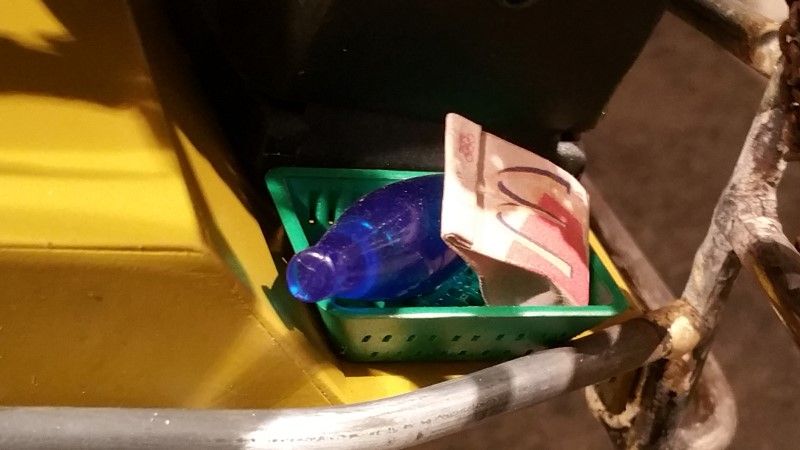 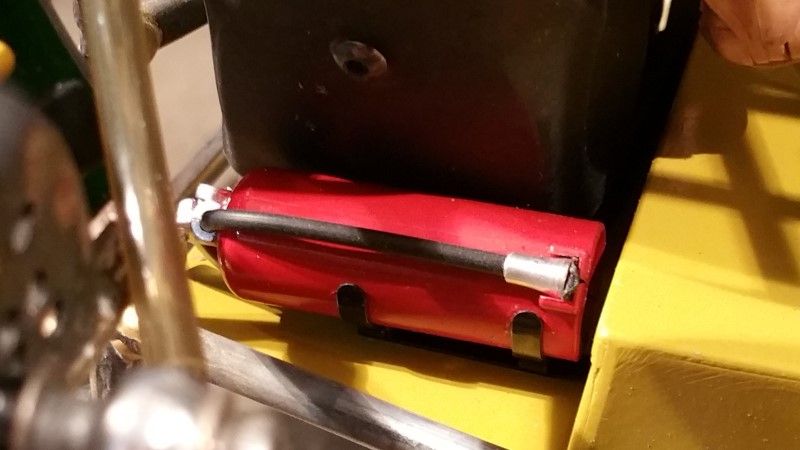 Detailed the steering wheel 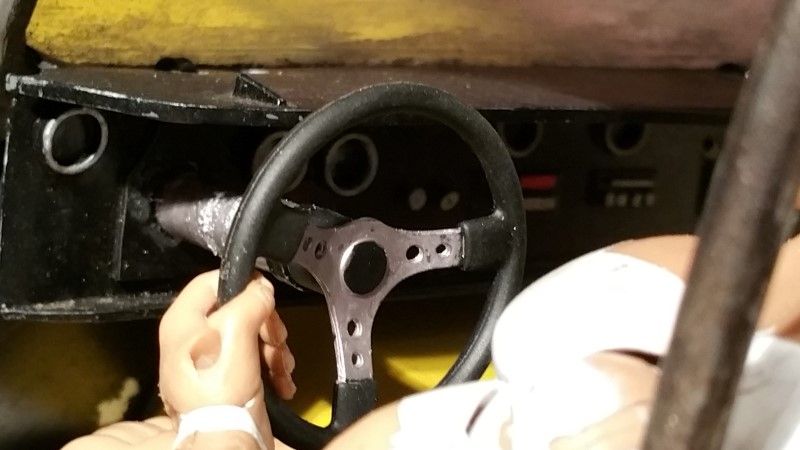 Can't decide what to do with the frame itself. Cheers H2Micr0 |
| |  |
| | #14 |
| Rock Crawler Join Date: Jan 2013 Location: Australia
Posts: 541
|
Sooooo, what to do with the frame. I was quite liking the rust patina the bare frame was developing and was tempted to leave it that way. 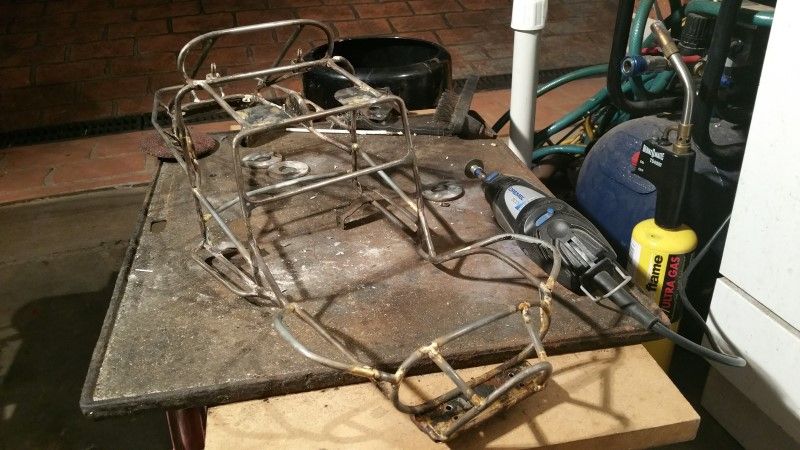 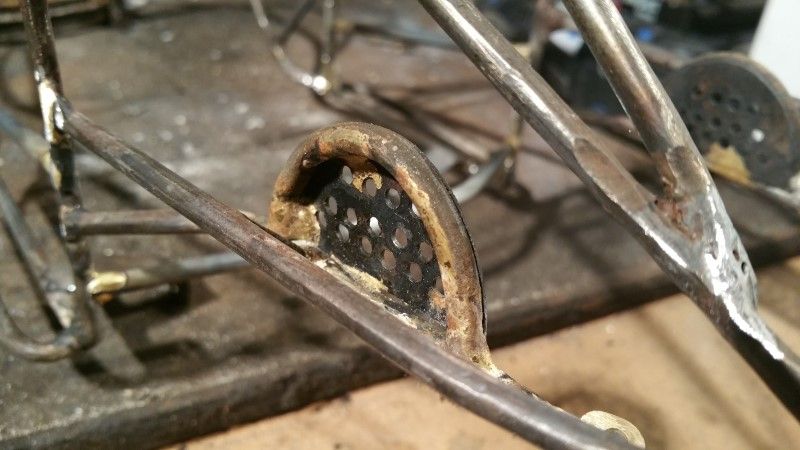 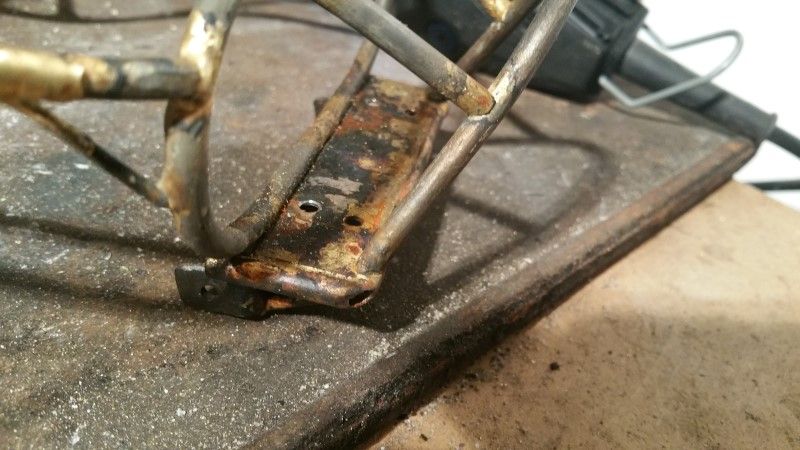 But, it really was kind of, well, DULL. So what I decided to do was paint it without cleaning up the frame. This way when the paint came off, it will be rusty in appearance. So what about colour? I wanted a contrasting colour that would pop against the body and the interior. In the end my D110 showed the way. This was done at night so the colour here isn't quite right. 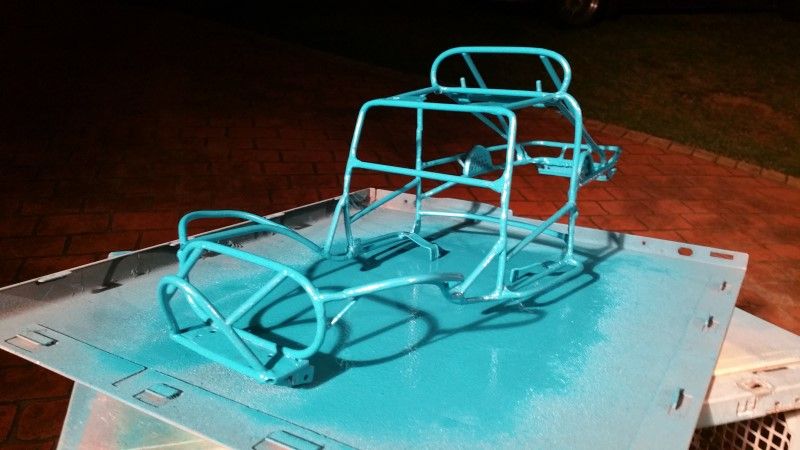 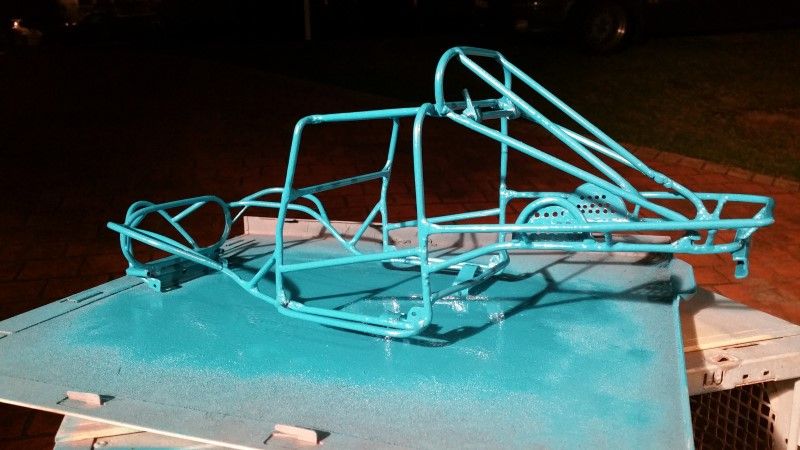 Then it was on to assembly. The frame is more like this colour in person. 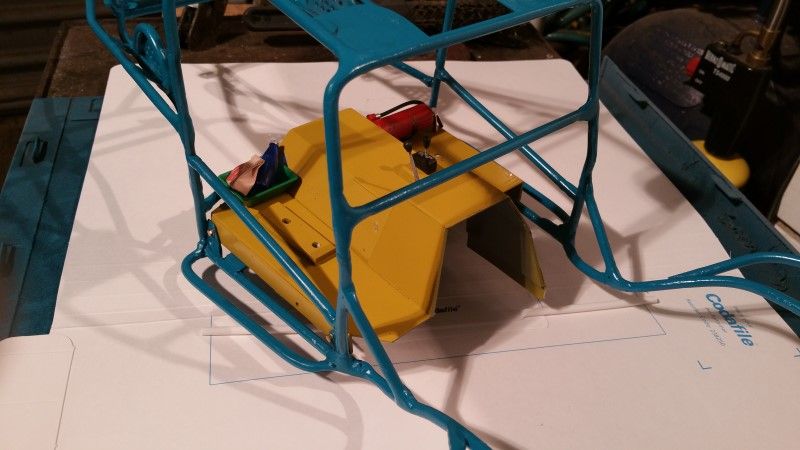 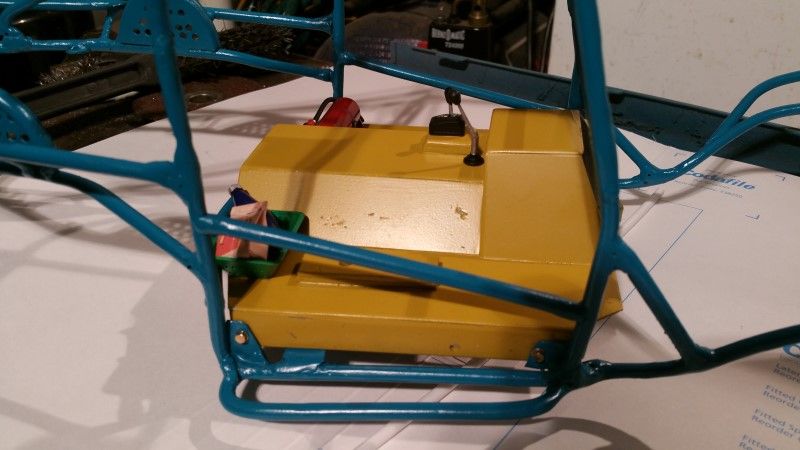 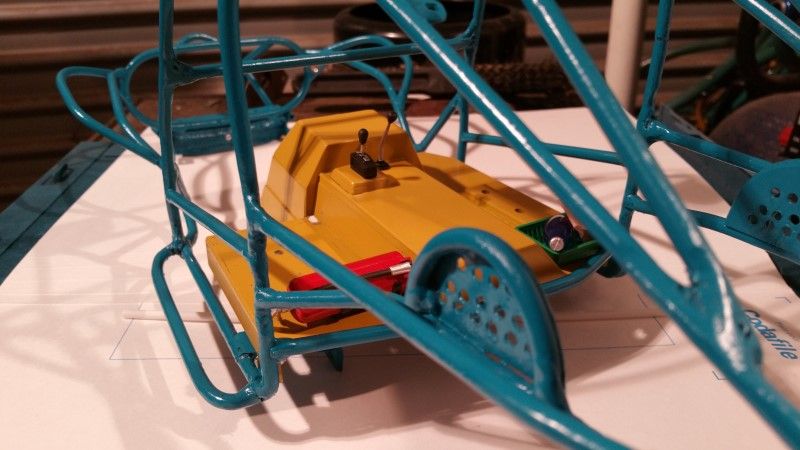 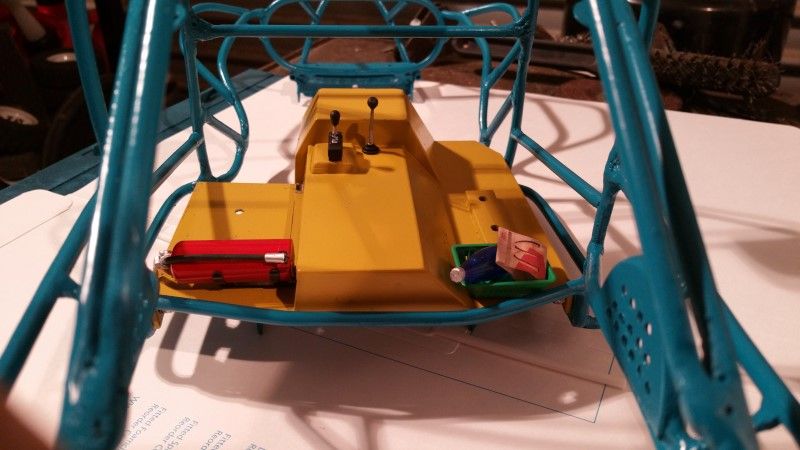 Scale bolts are used to hold it together. 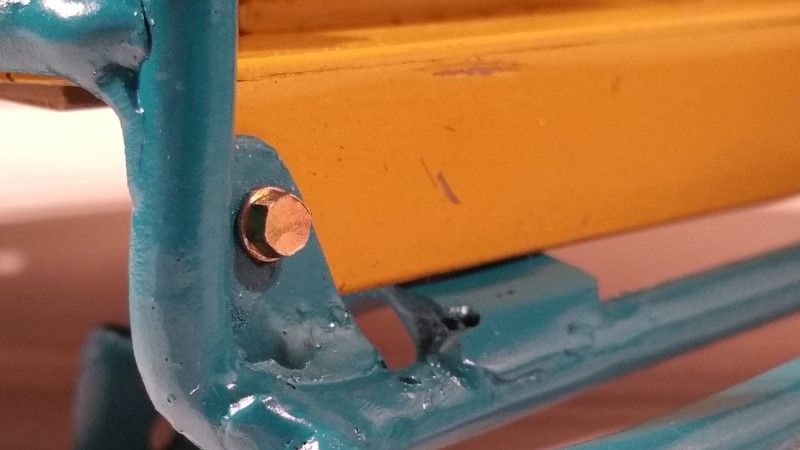 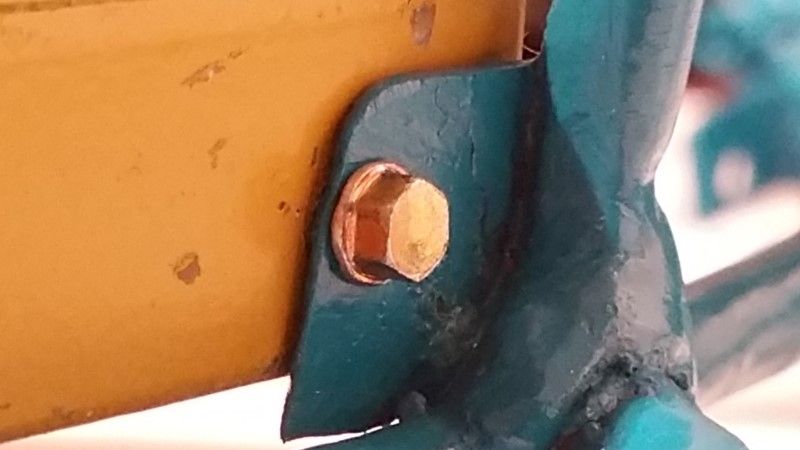 Also detailed the shifters. 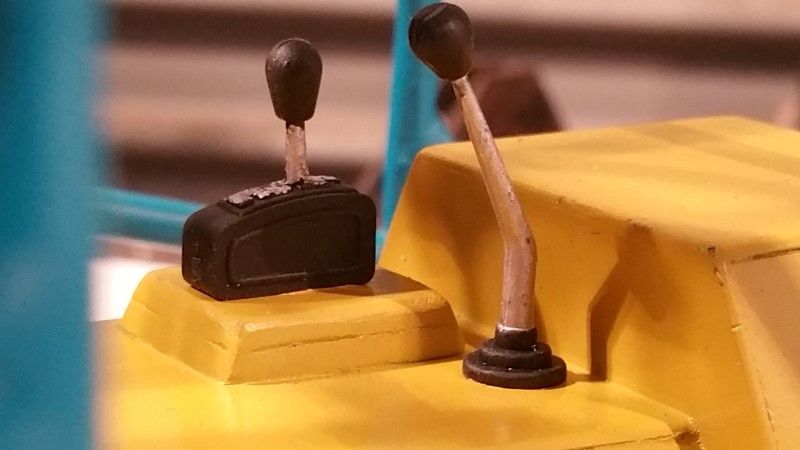 Seats in place. 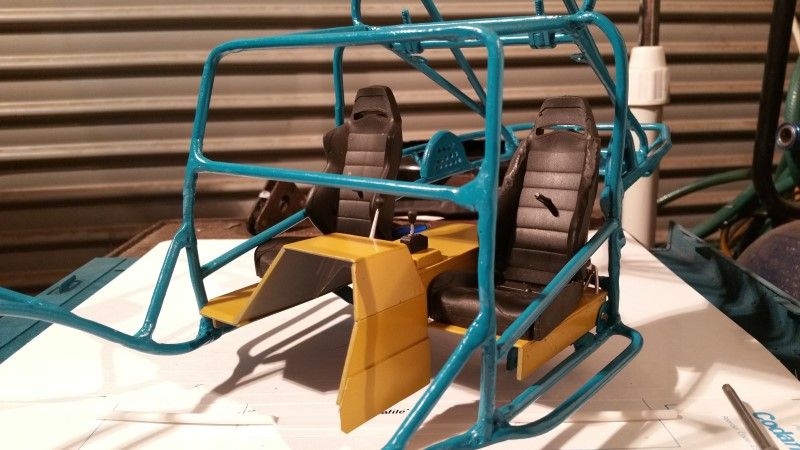 Very pleased with the result. 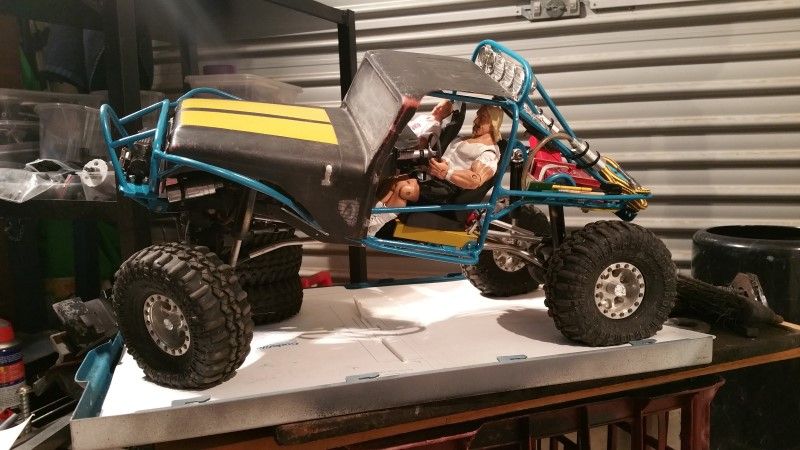 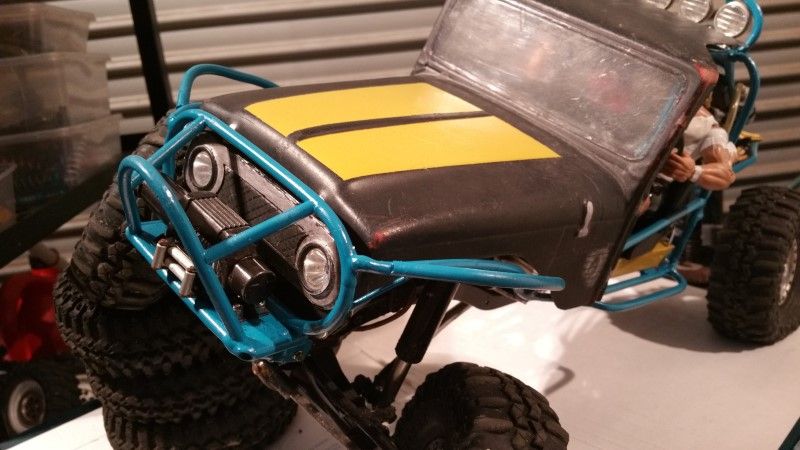 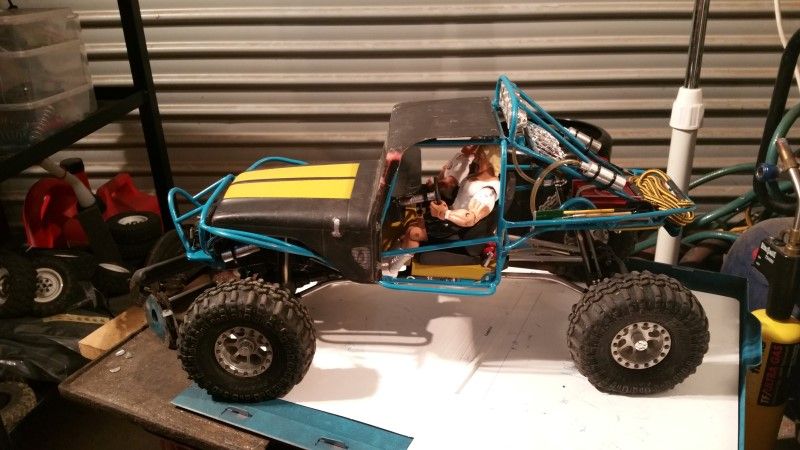 But something was still missing. Oh I know. 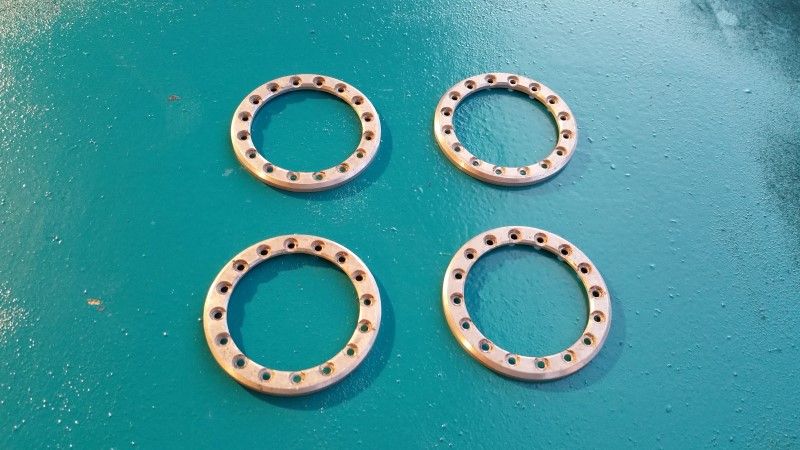 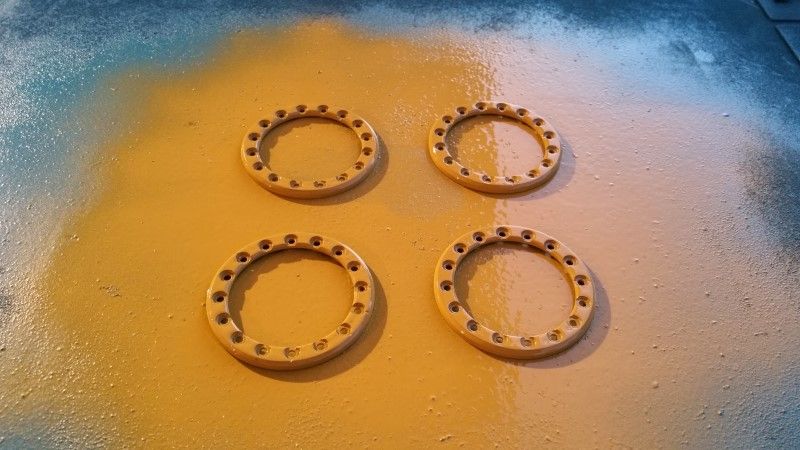 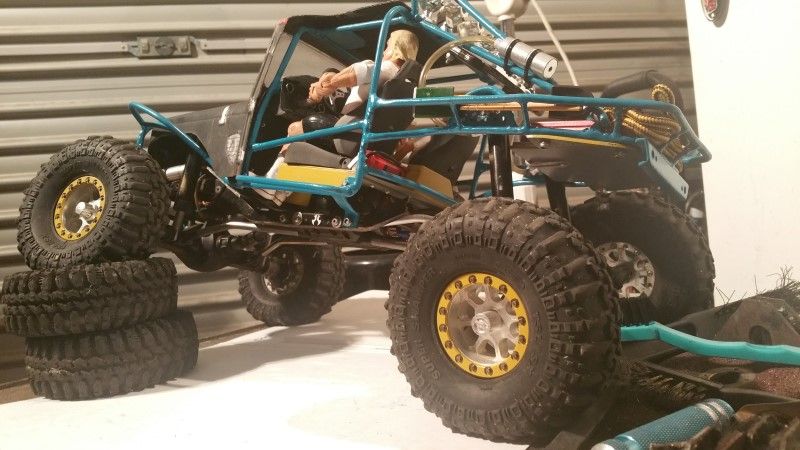 And of course I had to take it out for a test run. 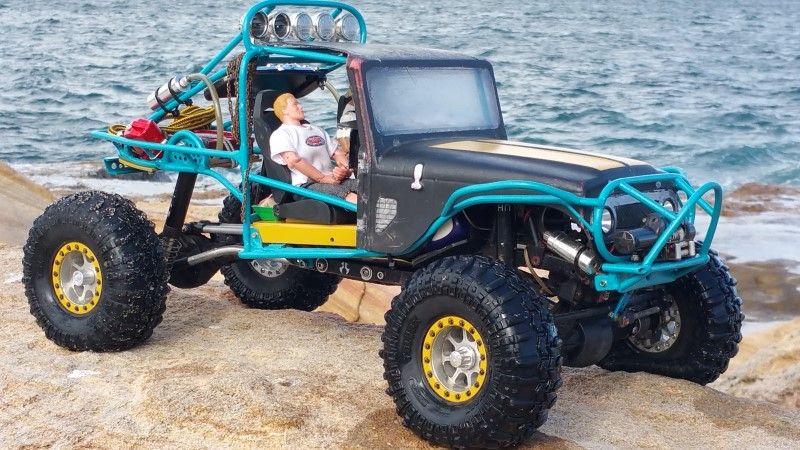 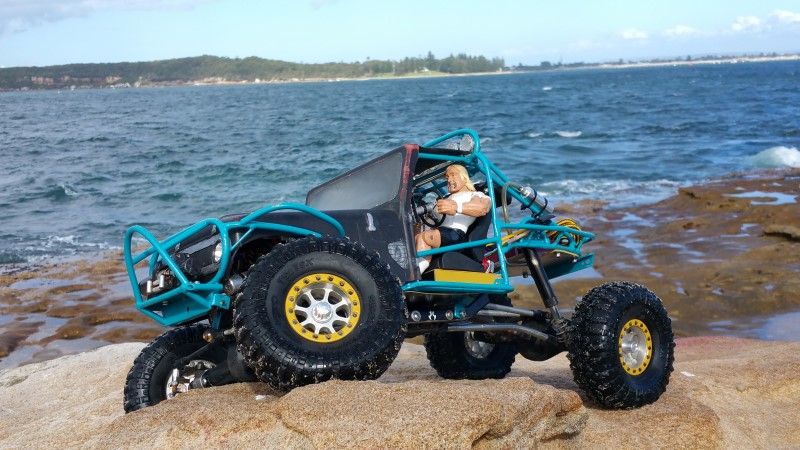 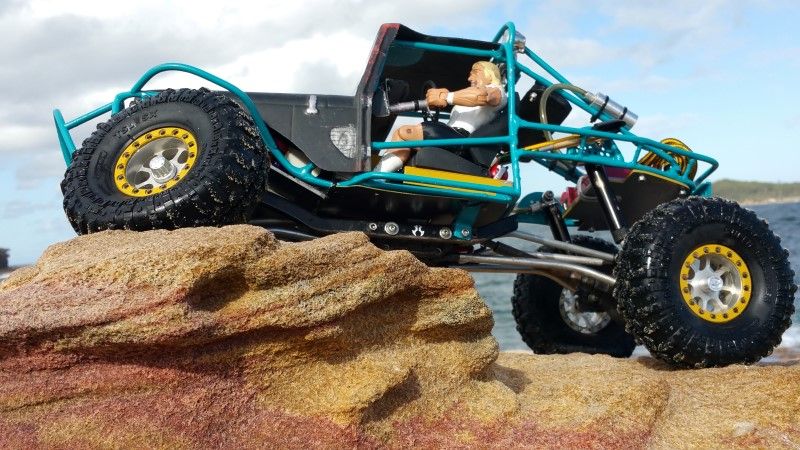 Cheers H2Micr0 |
| |  |
| | #15 |
| Rock Crawler Join Date: Jan 2013 Location: Australia
Posts: 541
|
I thought I had pretty much wrapped up this build. Then my mate showed me a link to an awesome scale motor at a price I couldn't refuse. A few days later I got a parcel in the mail. 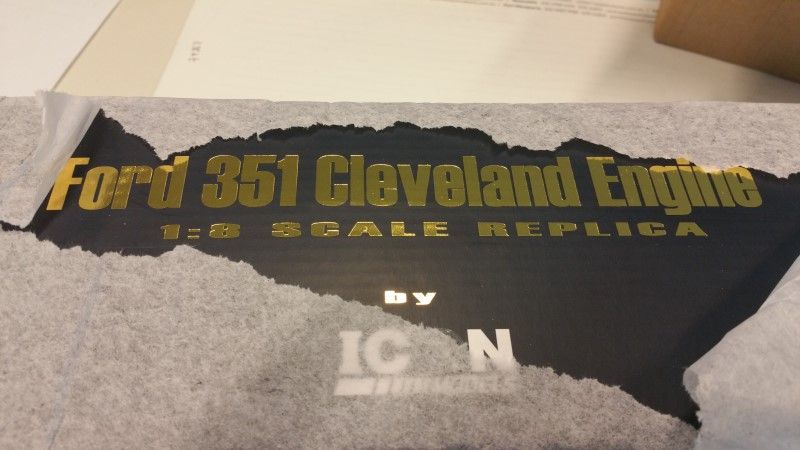 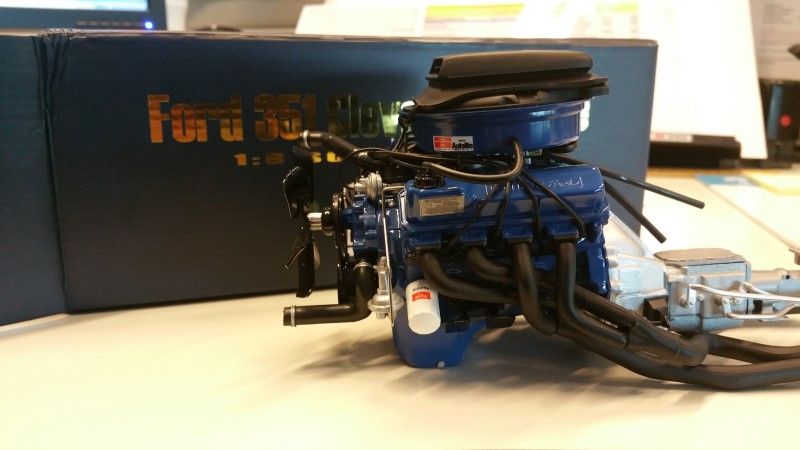 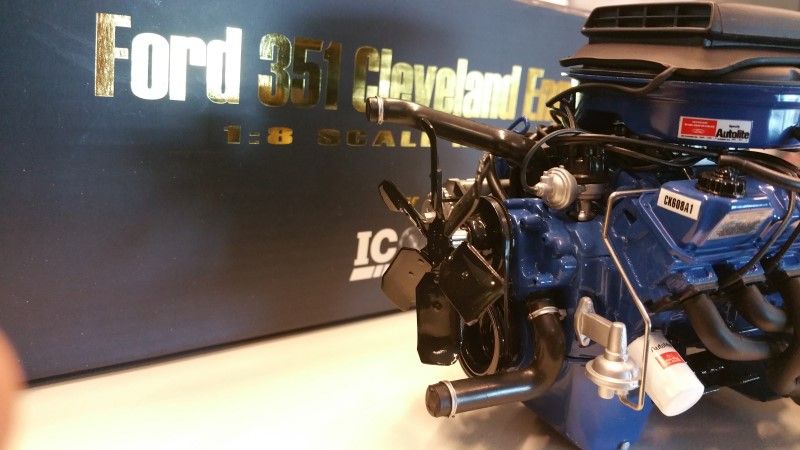 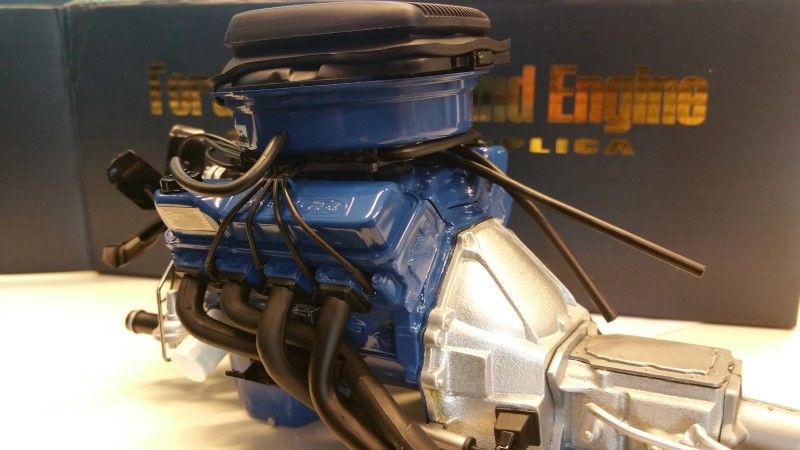 And next an object to get an idea of the size. 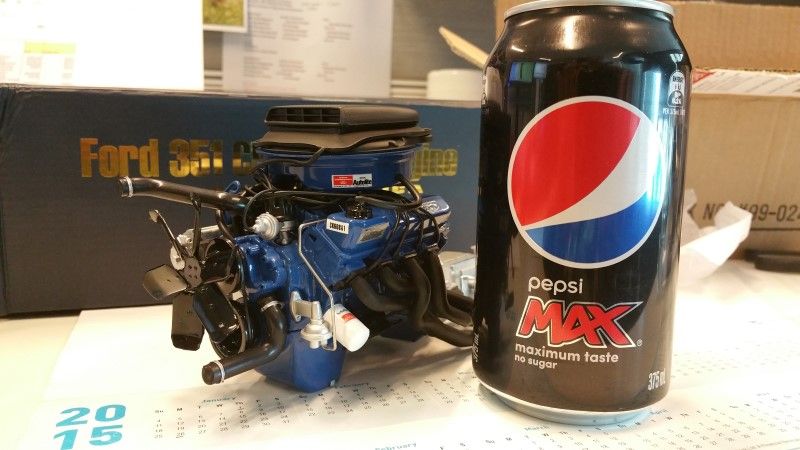 So, then just what do I have here? This is a Die Cast 1/8 scale replica of a 351 Cleveland motor that was used in the 1971 GTHO Ford Falcon here in Australia. This motor has legendary status with us Aussie blokes and the Cleveland motor was a common swap into FJ40s etc. Then I had to make it fit in the Truggy. Unfortunately, where the motor needed to go, I currently had the battery, ESC, RX and BEC, so I had to remove all these and finding a home for them will come in a following post. This is the final resting place. 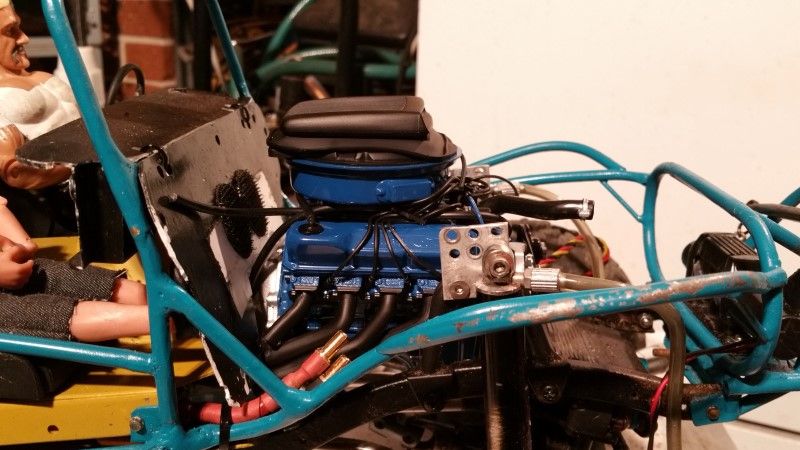 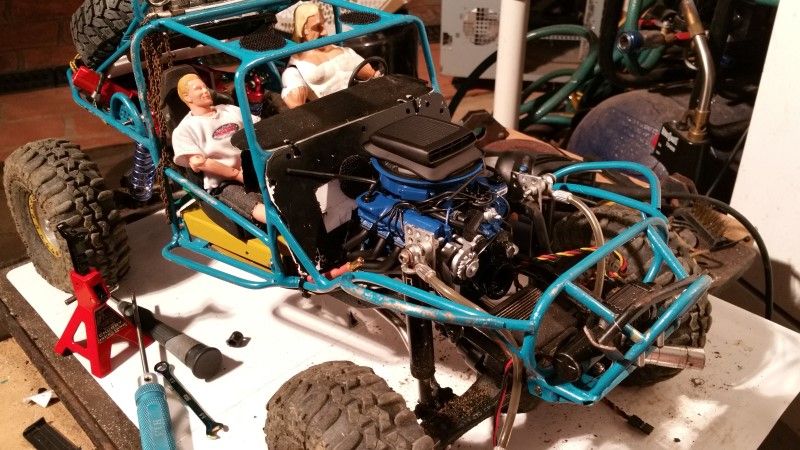 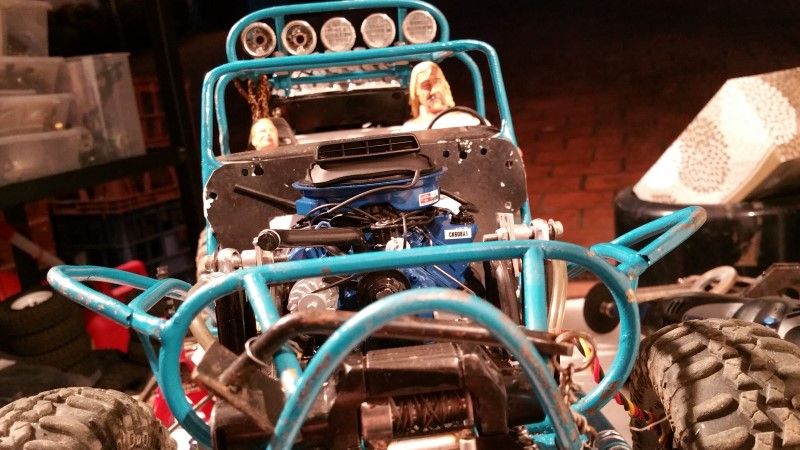 I did of course have to break out the dremel to get it to fit there. Firstly the toploader gearbox had to be removed, along with a good portion of the bellhousing. 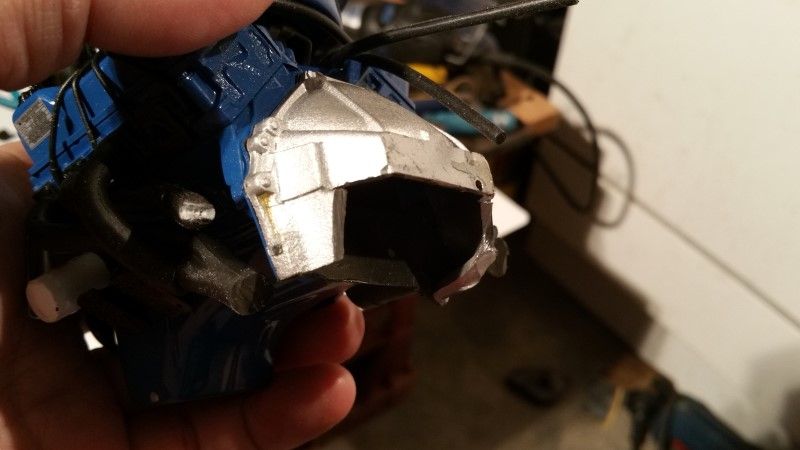 And as you can see a fair bit of the exhaust also got the chop. 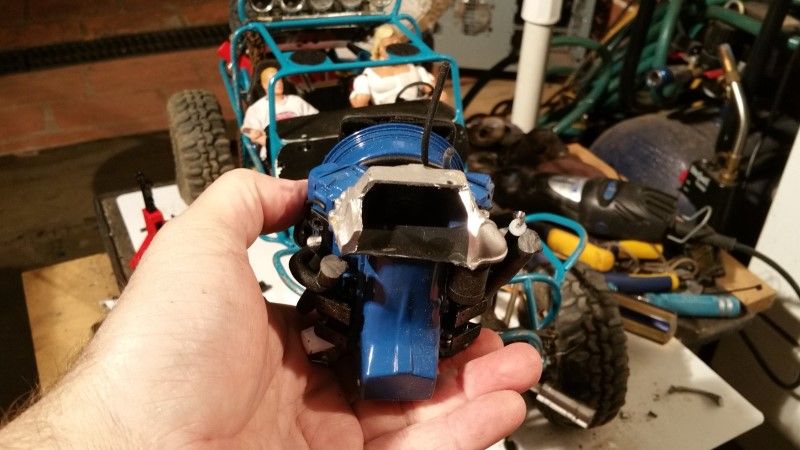 Then the upper front links were competing for space with the sump, so I elected to go for a 'Dry Sump' arrangement. 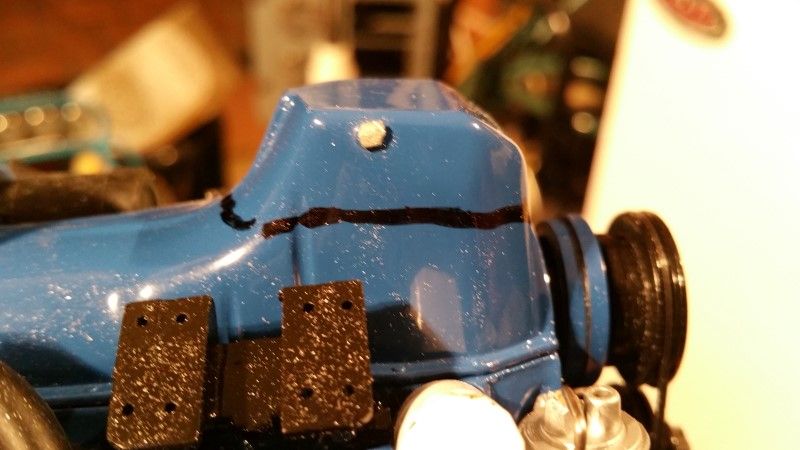 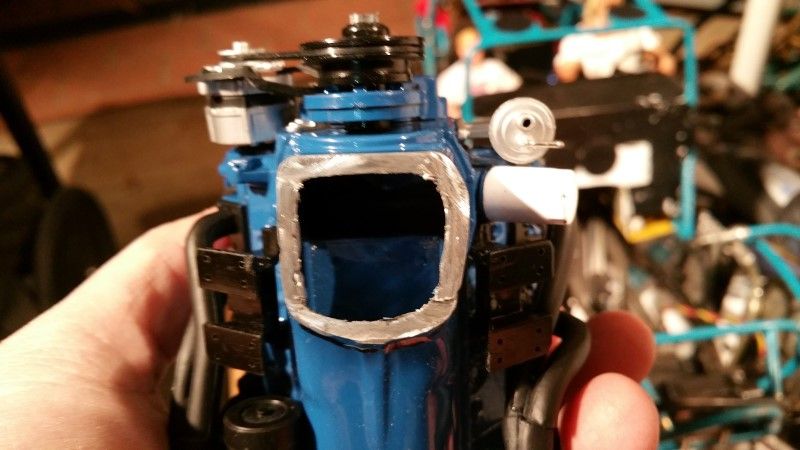 I also had to conduct some surgery on the bonnet area. 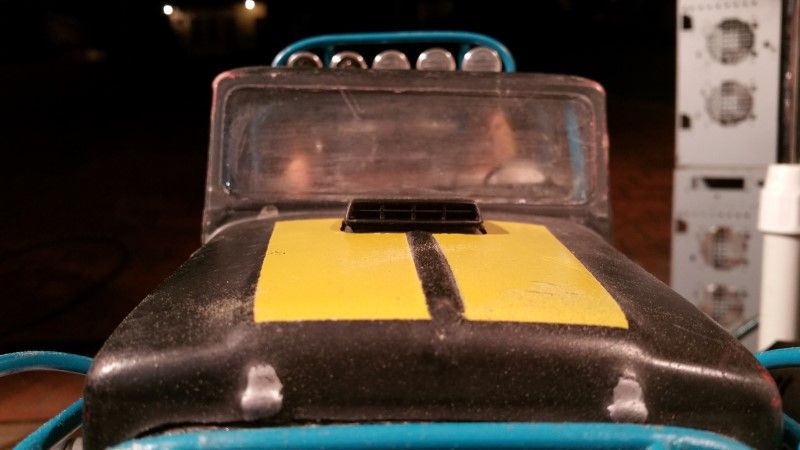 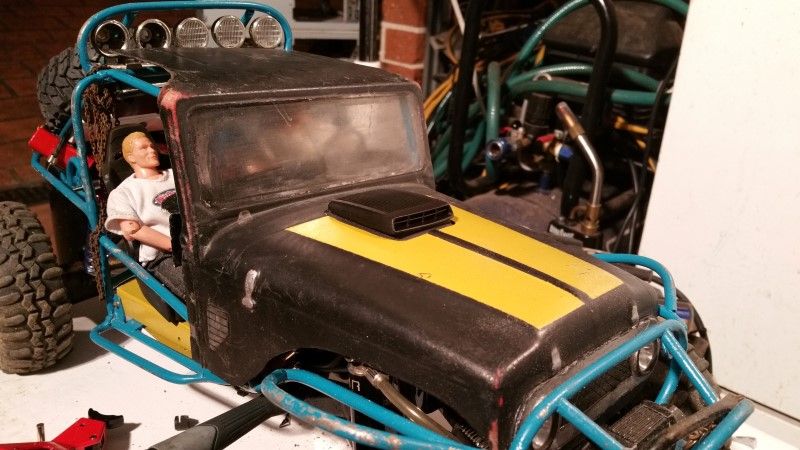 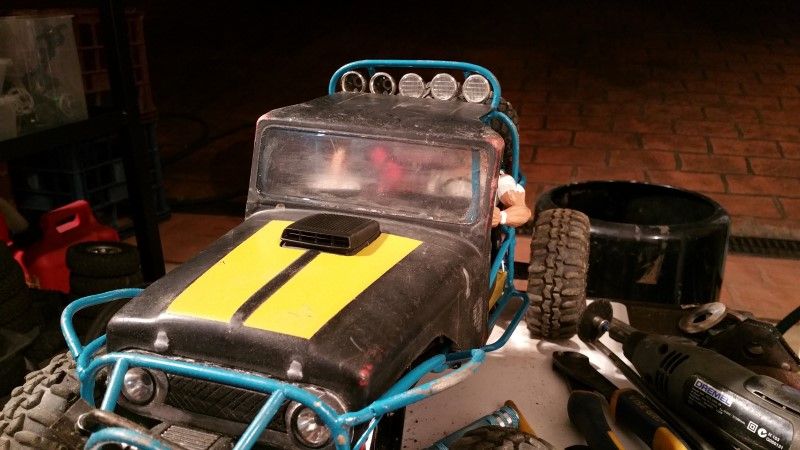 Final result is AWESOME!!!!!!!! And I get scale points for the engine LOL. But it is a heavy sucker, and I am yet to find a home for all the electronics. Cheers H2Micr0 |
| |  |
| | #16 |
| Rock Crawler Join Date: Jan 2013 Location: Australia
Posts: 541
|
Update time. With the extra weight of the engine I had to do something about the shocks, as they just no longer could cope. I found these online for a very reasonable price and ordered a set of 110mm length dual rates. 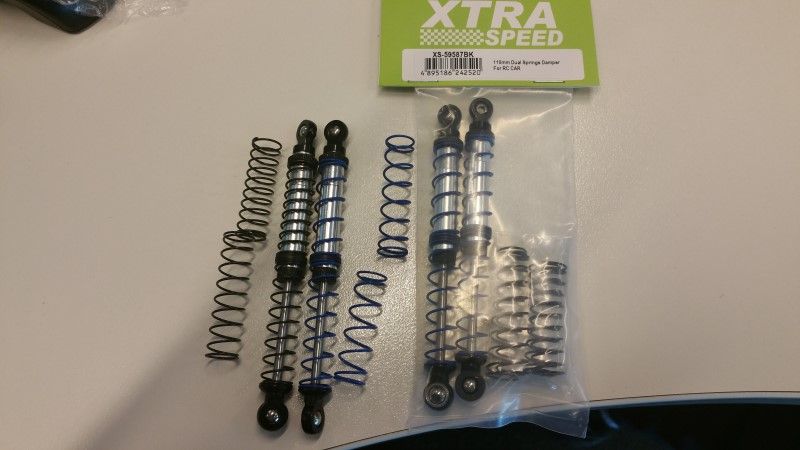 After plenty of different configurations I ended up running two shocks per corner. 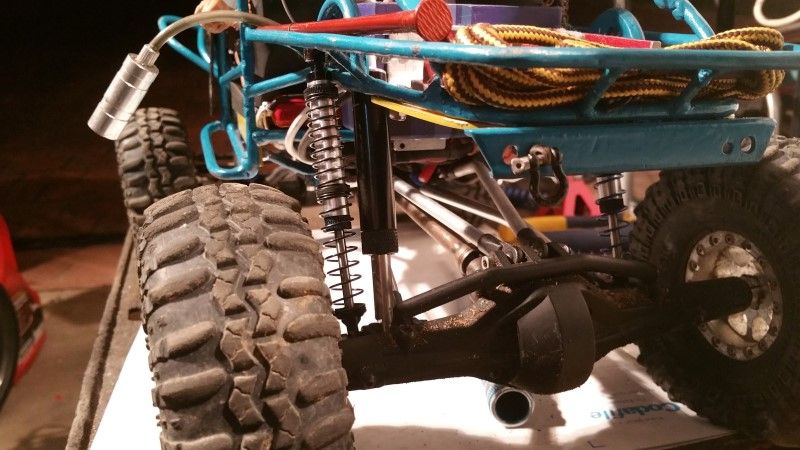 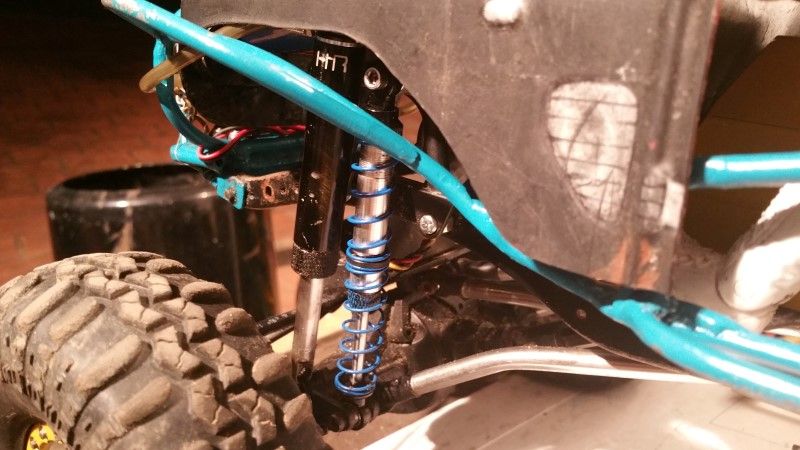 I took the Truggy to a local comp and found it was too high. Here is a couple of pics from that outing. 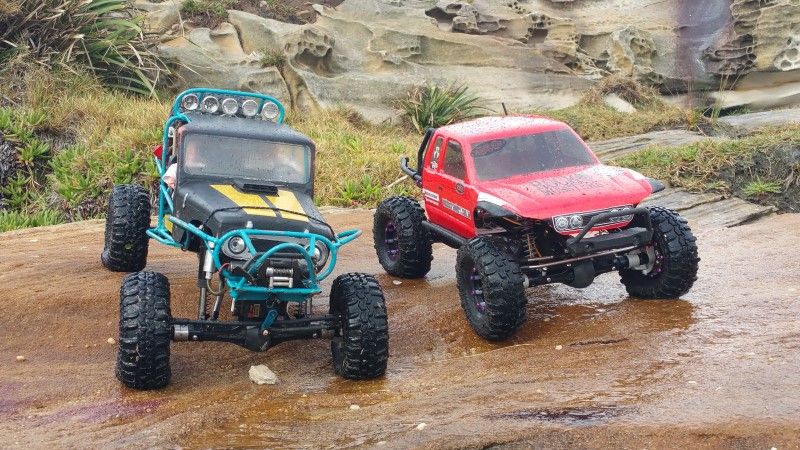 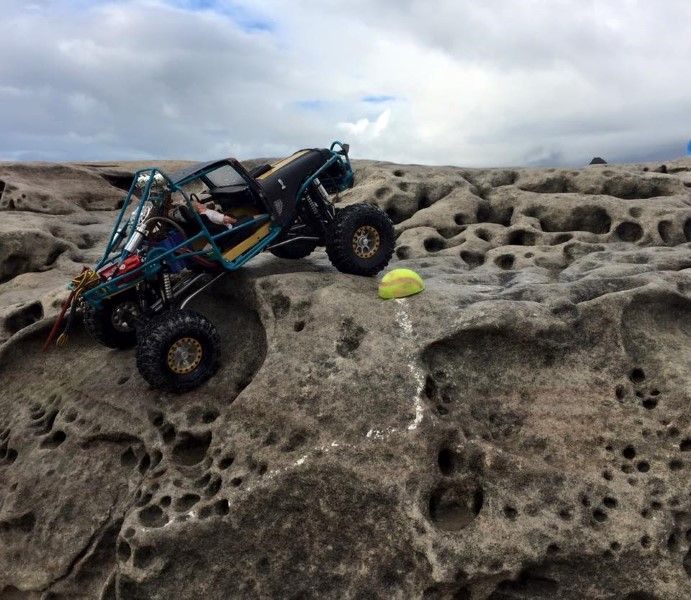 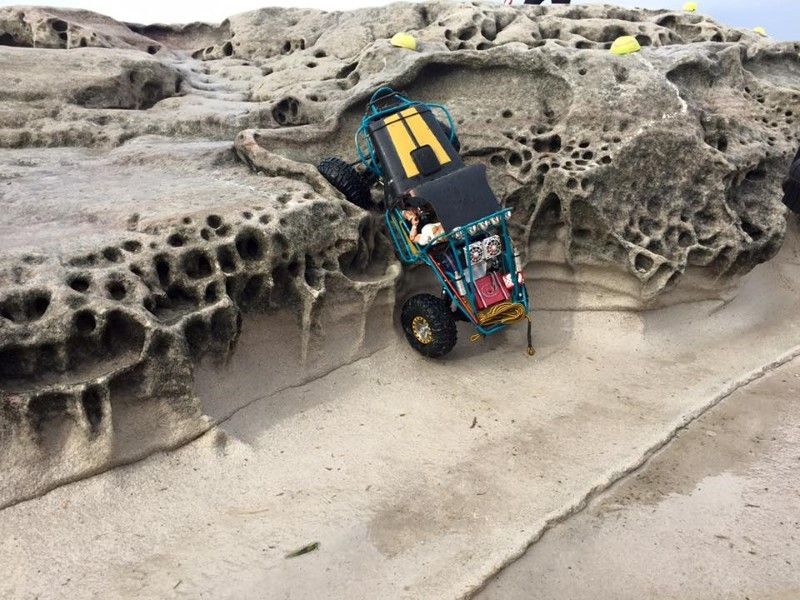 I decided to drop the standing height and needed to clearance the bonnet/hood slightly. 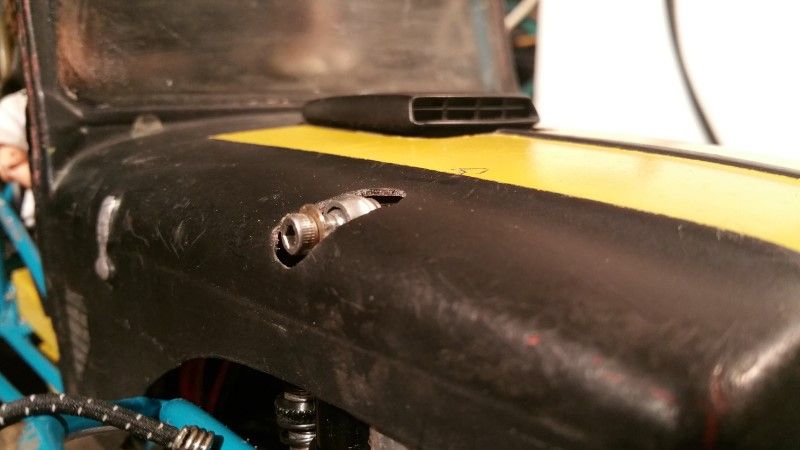 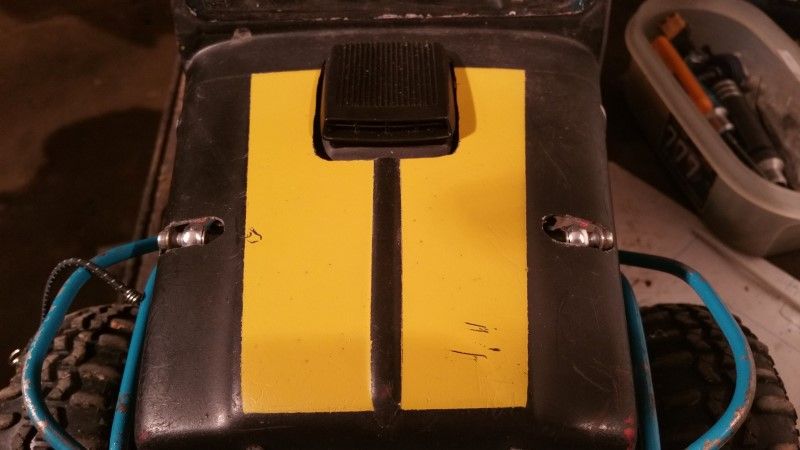 While in the shop, a new set of Proline TSL XLs were mounted on some SLW Motorworx wheels. This allowed me to widen the rear track to match the XR10 mod on the front. 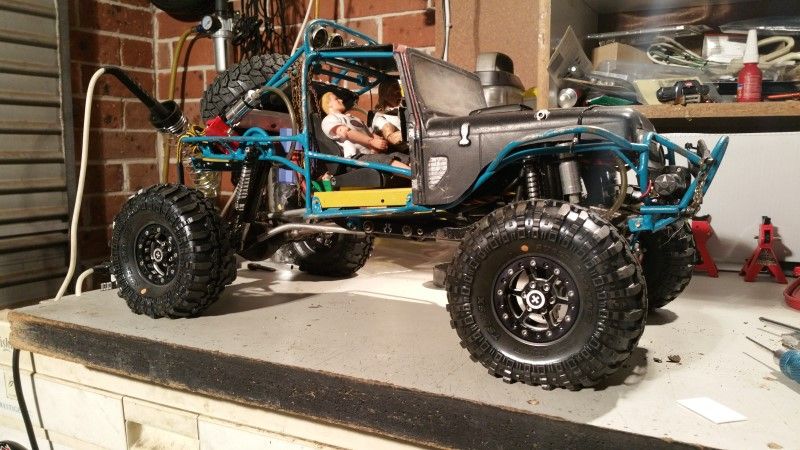 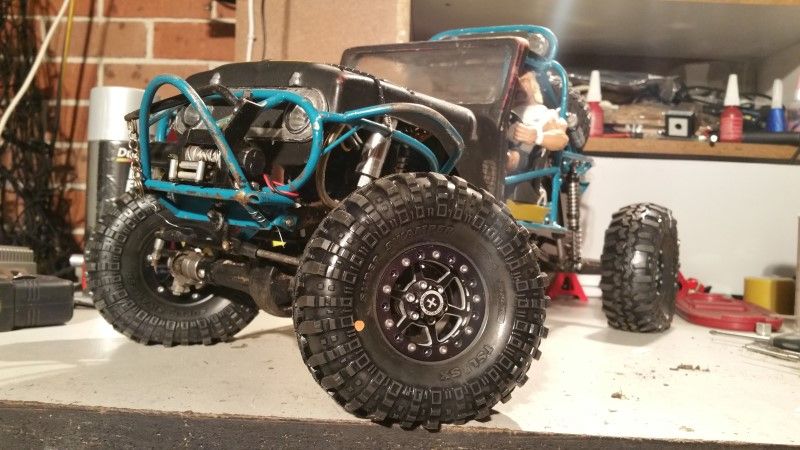 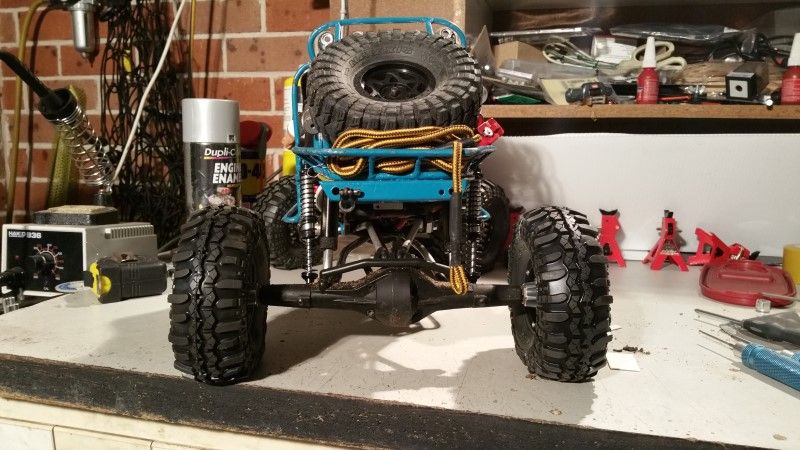 I didn't get a chance to run the Truggy in this config at a comp, but I did take it on holidays with me and my other rigs recently to the Sunshine Coast in QLD Australia. Approx a 12 hour drive from my home in Sydney NSW. Here is the car all packed. 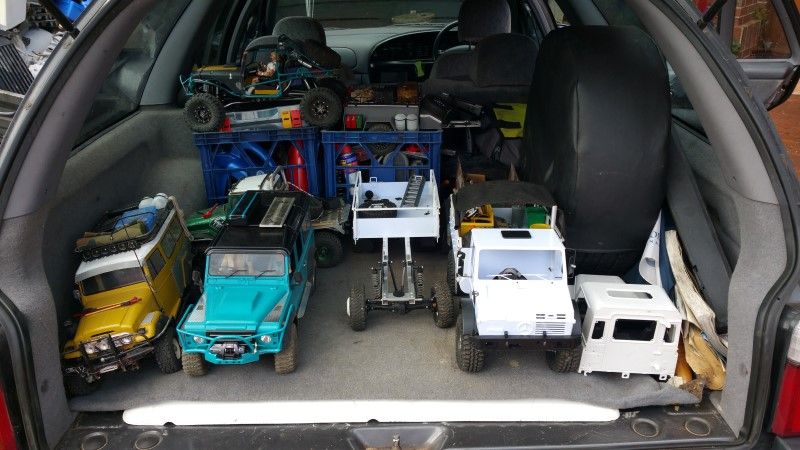 My youngest nephew in particular took a liking to the Truggy and we went out wheeling a couple of times. 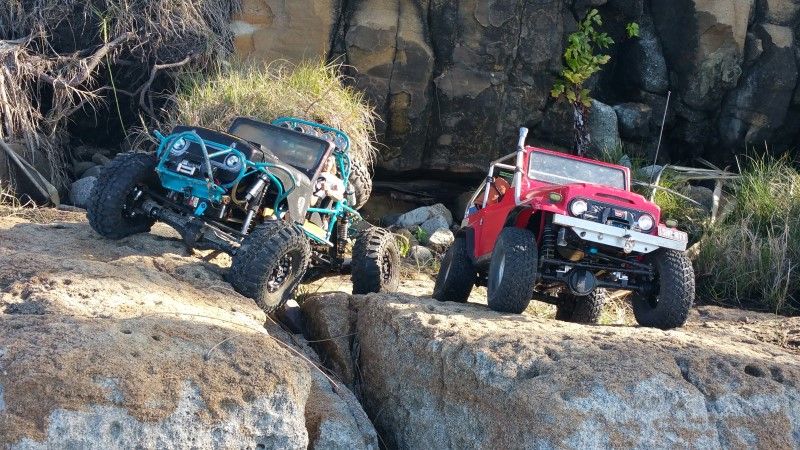 I also made a video of the Truggy while there. Here are some still pics from the video, and a link as well. 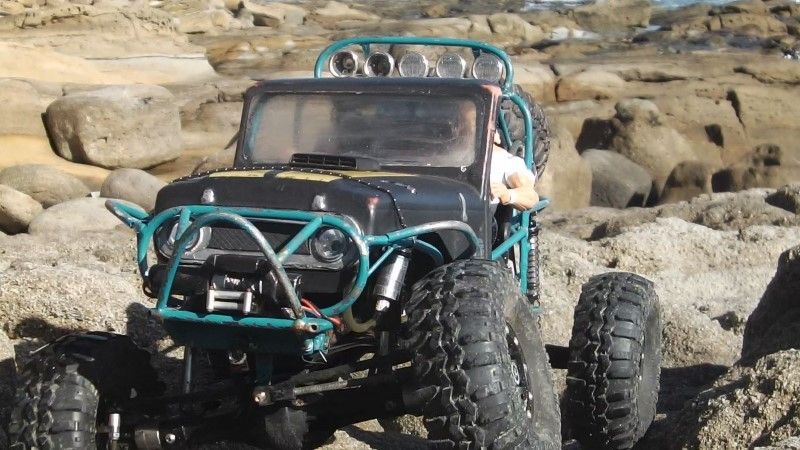 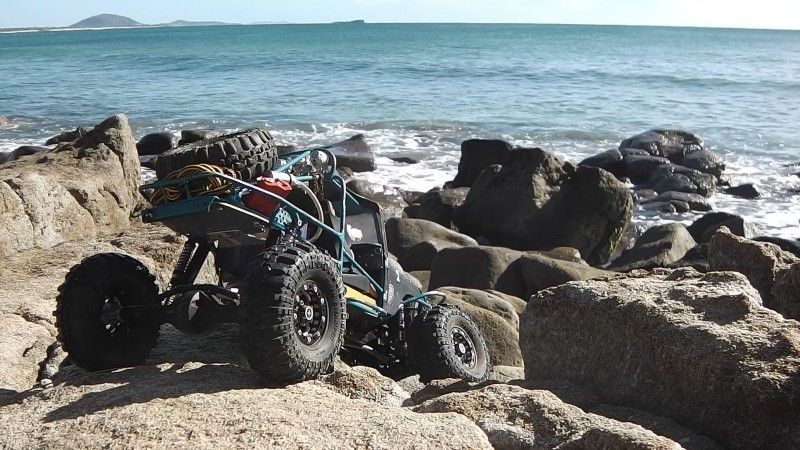 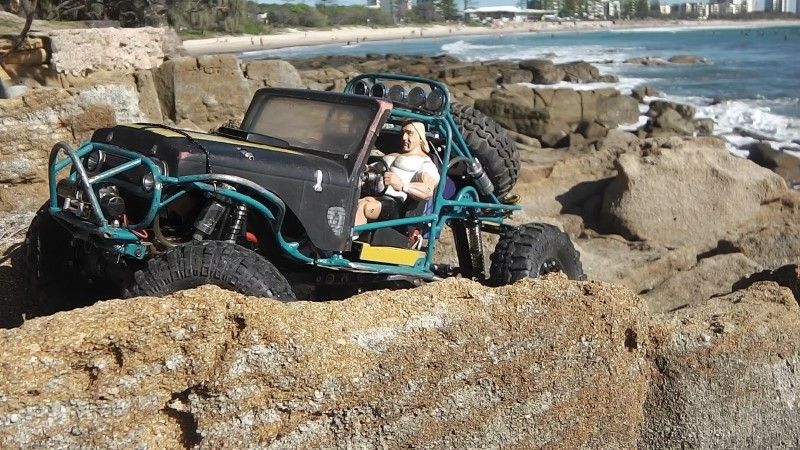 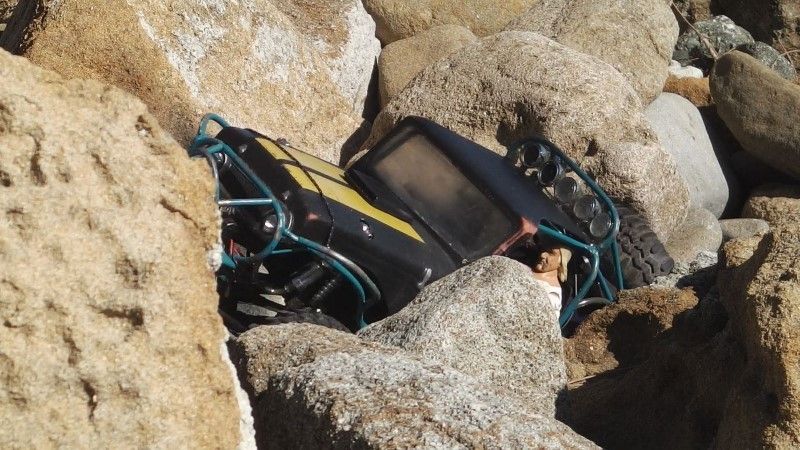 Video Link https://www.youtube.com/watch?v=ZnbubKf2HK8 It is a good thing I got a video as I sold the Truggy Frame while in QLD. It has gone to a good home. The running gear will find it's way into a new Class 2 spec project soon. Cheers H2Micr0 |
| |  |
 |
 H2Micr0's FJ40 Class 2 Truggy Heavyweight - Similar Threads
 | ||||
| Thread | Thread Starter | Forum | Replies | Last Post |
| H2Micr0's FJ40 Tub Trailer | H2Micr0 | Scale Accessories | 15 | 04-05-2015 10:42 AM |
| H2Micr0's SCX10 FJ40 Trayback | H2Micr0 | 1.9 Scale Rigs | 38 | 03-23-2014 07:37 AM |
| FJ40 truggy 2.2 | northkona | Paint and Body | 3 | 10-20-2013 05:16 AM |
| Zero Ultra the heavyweight shafty | DrewHammer | Videos! | 0 | 08-31-2013 05:23 PM |
| FJ40 Truggy for Montana Nats class 2 | Moosekey | 1.9 Scale Rigs | 24 | 05-24-2011 07:25 PM |
| |