| |||||||
Loading
 |
| | LinkBack | Thread Tools | Display Modes |
| |||||||
 |
| | LinkBack | Thread Tools | Display Modes |
| | #1 |
| Rock Crawler Join Date: Jan 2013 Location: Australia
Posts: 541
|
With my good mate Shannwah making awesome headway on his Land Rover Forward Control build, I wanted a rig that would look the part out on the trail with his and be unique in it's own right. So while bouncing around Google Images, I stumbled across these awesome early Land Rover 129" Prototypes. 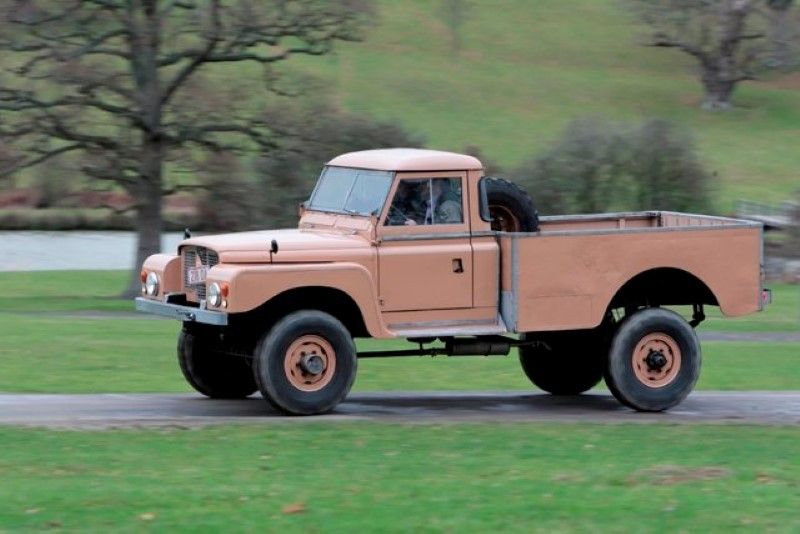 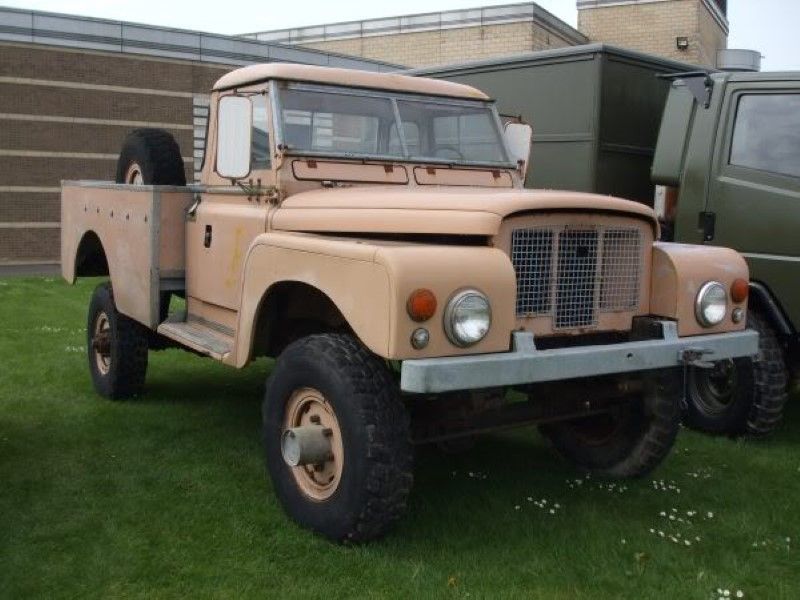 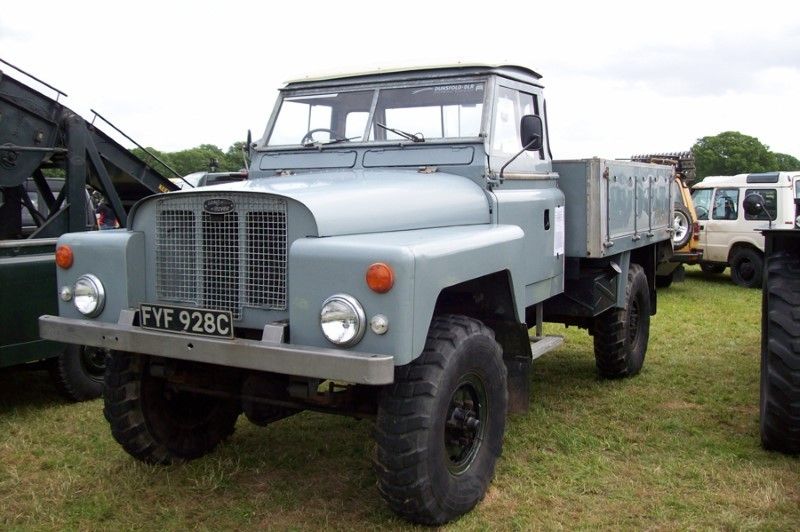 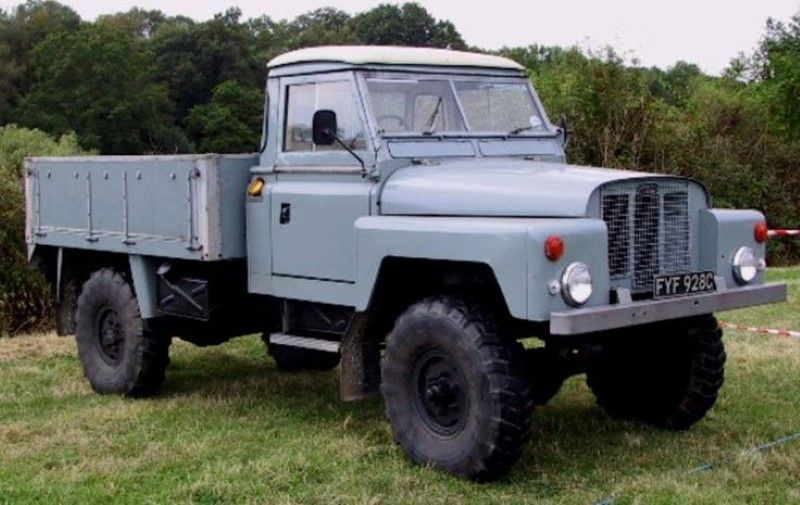 These trucks were built as a demo vehicle type for a military contract, that never went ahead. There were only 5 built with only 2 remaining in existence today. As you can see they used early Land Rover bodies for the cab section and modified other parts to make a larger truck overall. I don't intend to build a replicar or copy, but rather to use a D90 body and come up with a more modern interpretation using design cues from the originals. I have no idea how this will turn out, but I do hope you will enjoy the journey as much as I will. This is unlikely to be a quick build, but you never know. The first cut is always the hardest. My tool of choice is a dremel with a plastic cut off wheel. 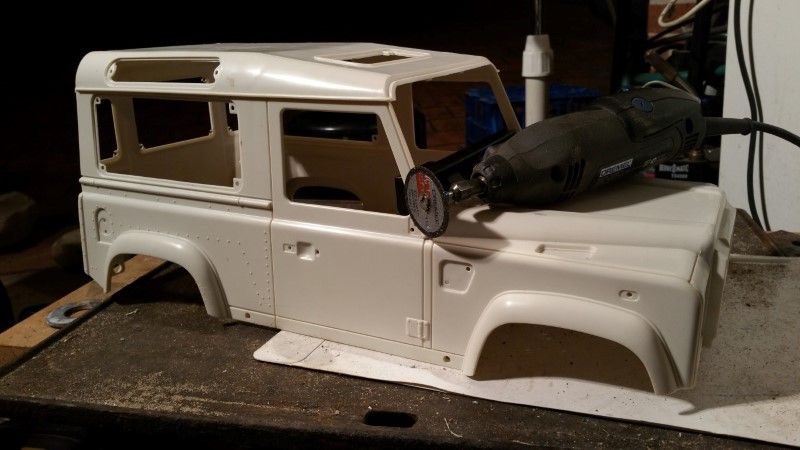 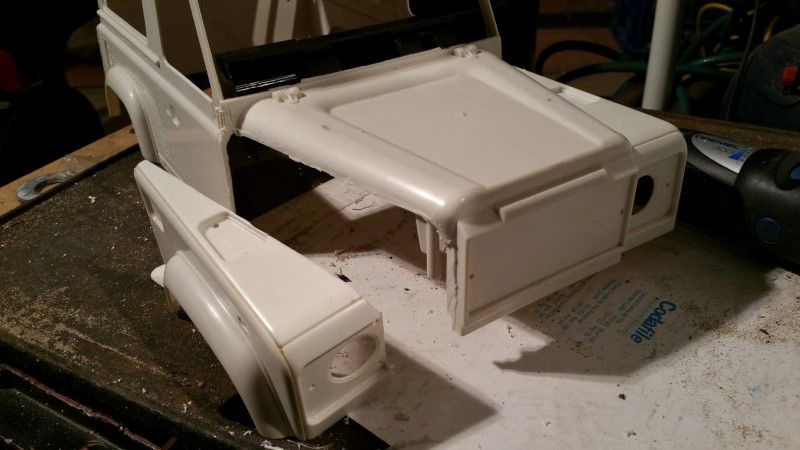 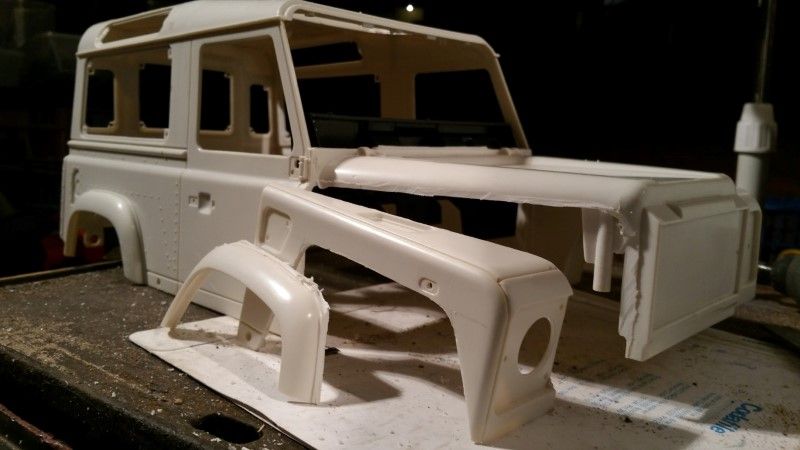 So far I think what I have in mind should work. Until next time. Cheers H2Micr0 |
| |  |
| Sponsored Links | |
| | #2 |
| Rock Crawler Join Date: Jan 2013 Location: Australia
Posts: 541
|
With the right hand fender separated from it's normal location, it was time to liberate the left hand fender. 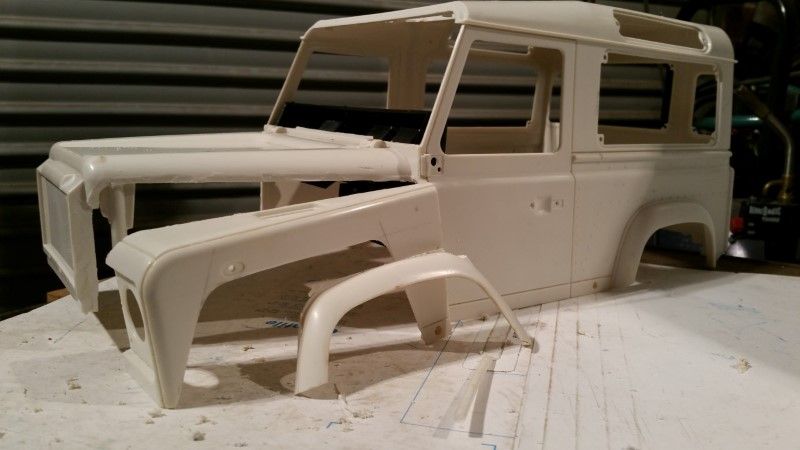 Then it was time to turn this wagon, into a cab. 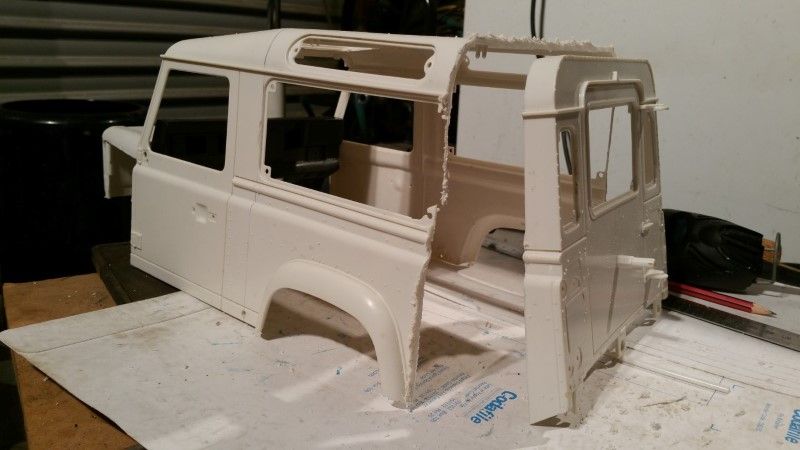 Yikes 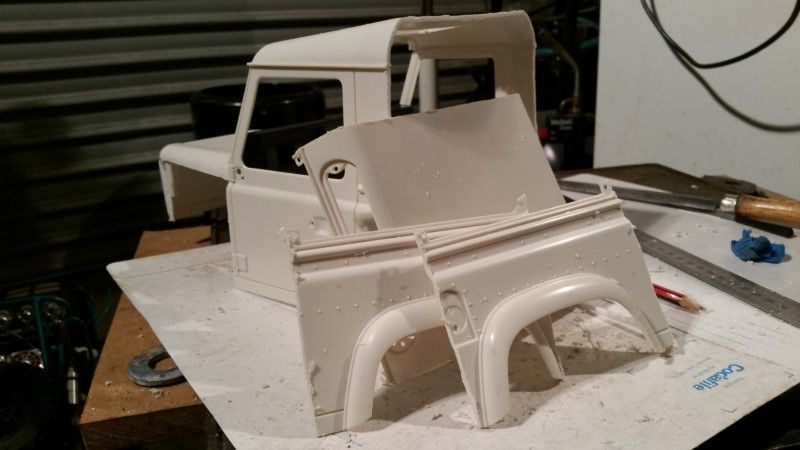 This seems to be working OK. 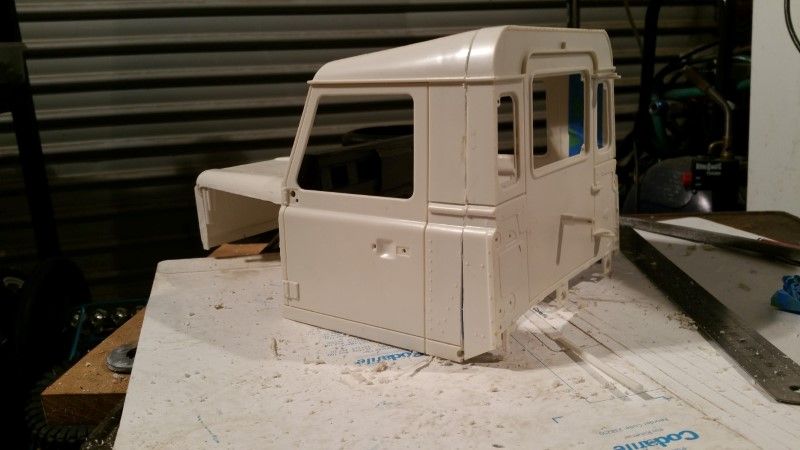 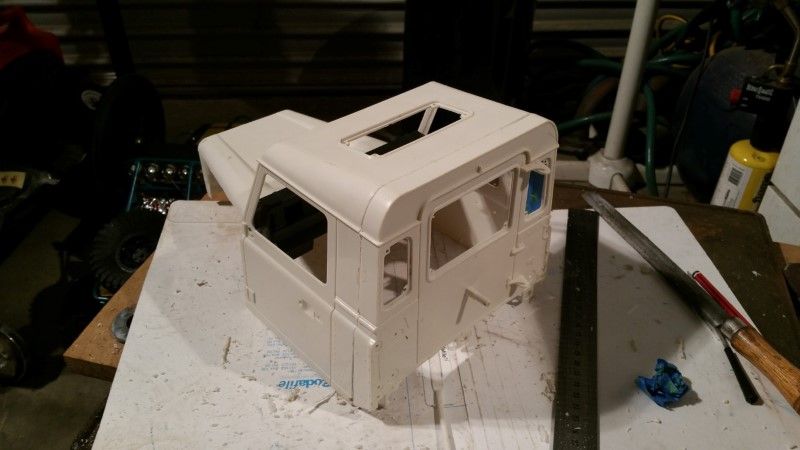 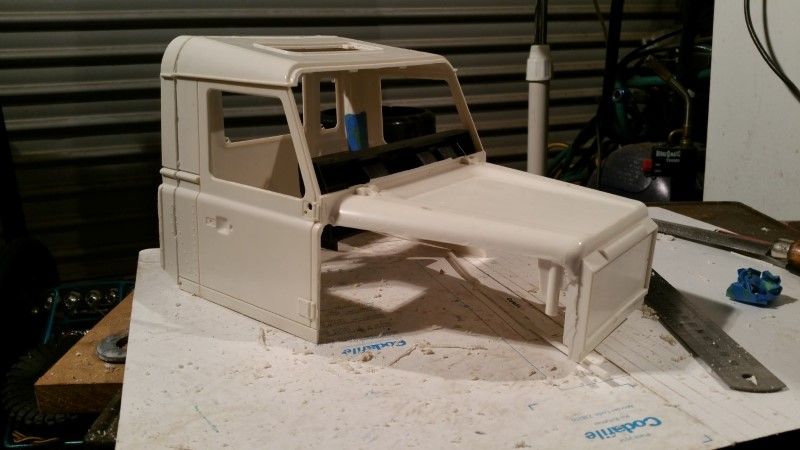 The next few photos are me mocking up where the fenders need to be. I want to achieve 100% tyre coverage while using an SCX10 width axle. As such the final position will work itself out as I proceed. 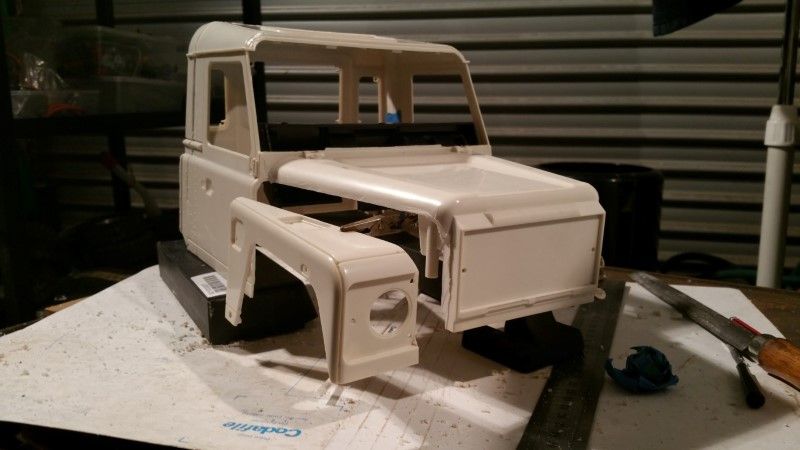 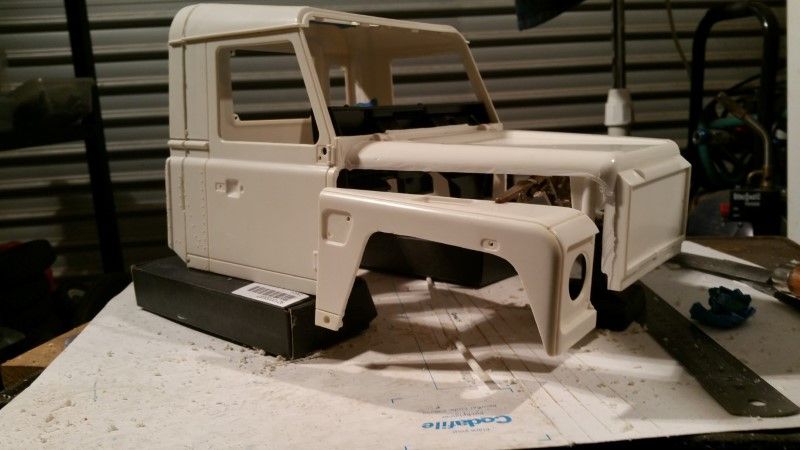 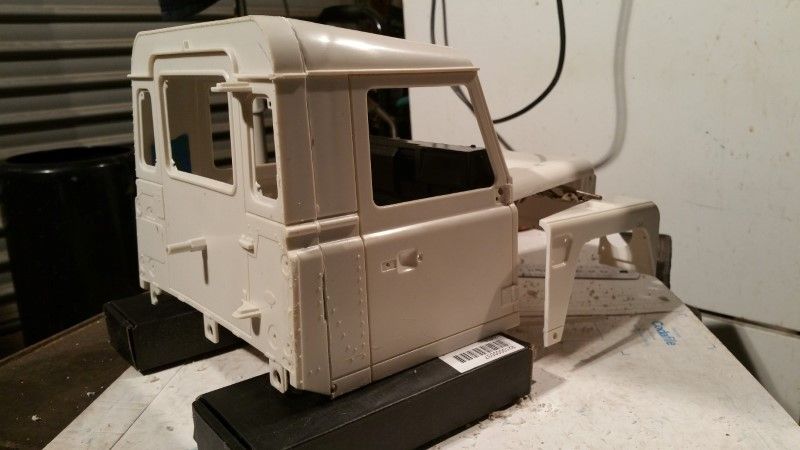 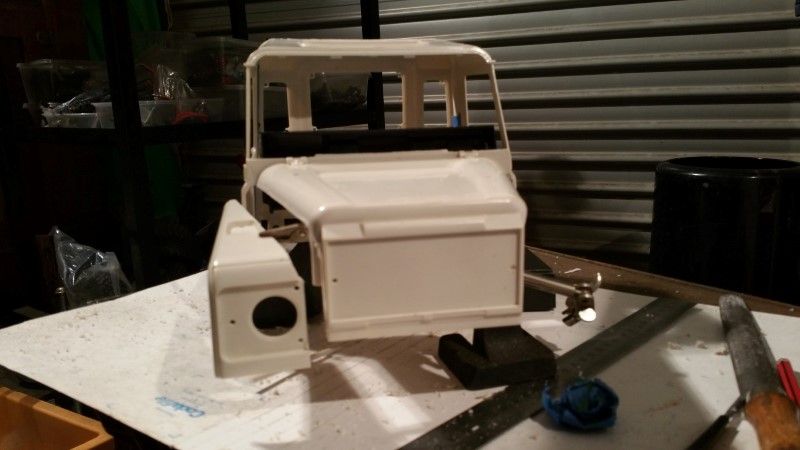 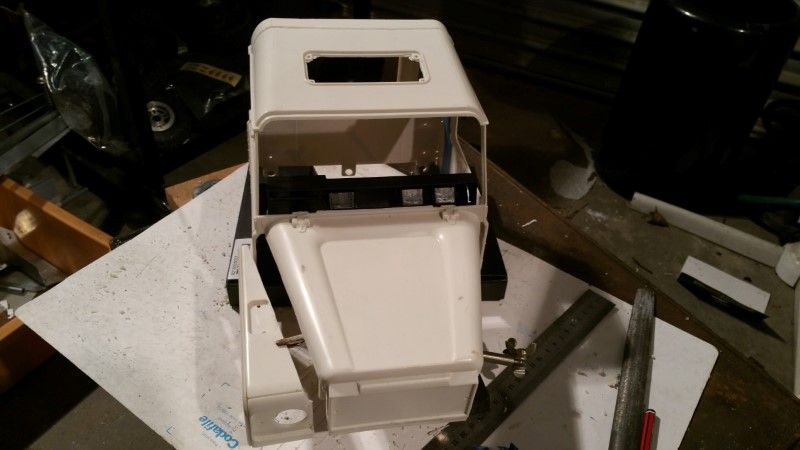 So far I am happy with how this is shaping up. Cheers H2Micr0 |
| |  |
| | #3 |
| RCC Addict Join Date: Nov 2009 Location: Tulsa
Posts: 1,667
|
Looks good so far really dig the prototypes. Are you going to run leaves like the 1:1? |
| |  |
| | #4 | |
| Rock Crawler Join Date: Jan 2013 Location: Australia
Posts: 541
| Quote:
That is actually a good question. I have a couple of leafed rigs so am familiar with them. As this is a modern interpretation, I can elect to use coils if I like. I may go coil front and leaf rear. We will find out when the time comes. haha Cheers H2Micr0 | |
| |  |
| | #5 |
| RCC Addict Join Date: Nov 2009 Location: Tulsa
Posts: 1,667
|
I like the idea of cool overs up front and leaves out back. Looking forward to seeing it man. Subscribed
|
| |  |
| | #6 |
| Rock Crawler Join Date: Jan 2013 Location: Australia
Posts: 541
|
I was helping a mate with his comp rig and we were talking about the D129 build, throwing ideas around for what type of tray/cargo I wanted to put behind the cab, and my mate said, why don't you use that? (pointing to my spare rear tray for my Mog build) Well Duh!!!! Of course!!!!! 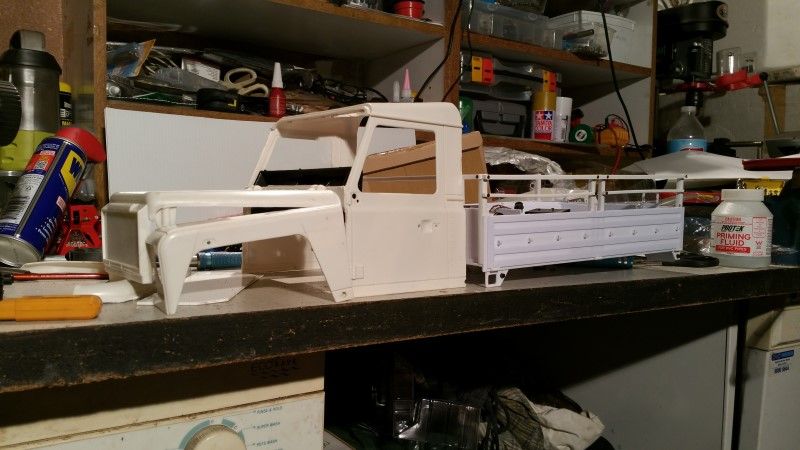 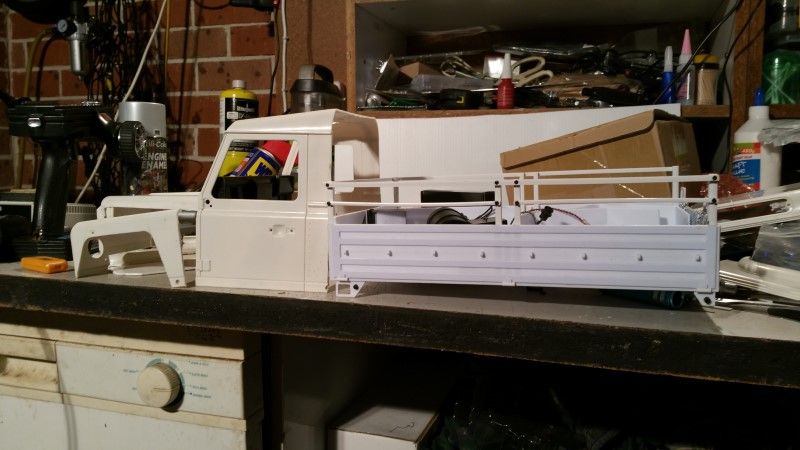 Brilliant!!!!!!! I also started mocking up the new placement of the fender, and think I have found the sweet spot, ensuring I have adequate tyre coverage and keeping it aesthetically pleasing. 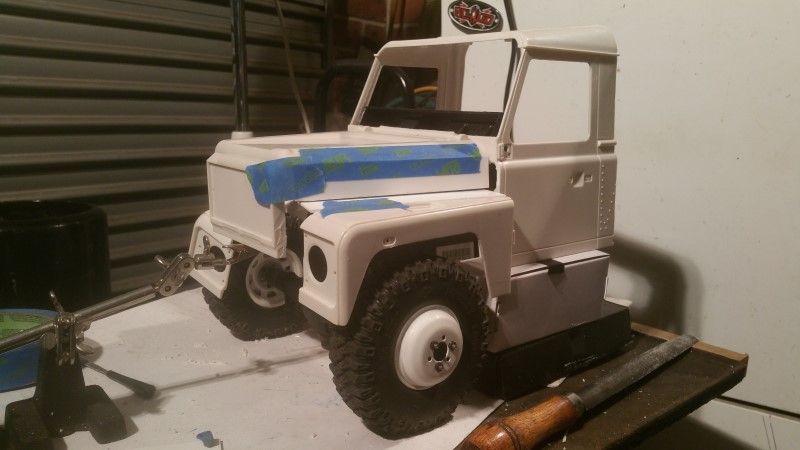 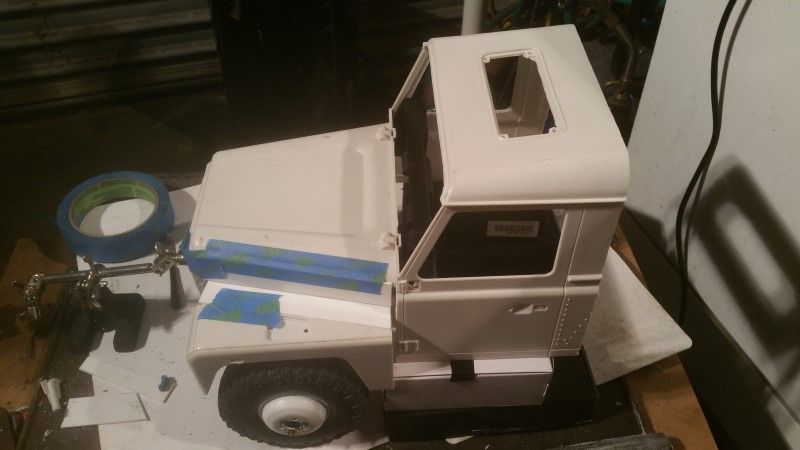 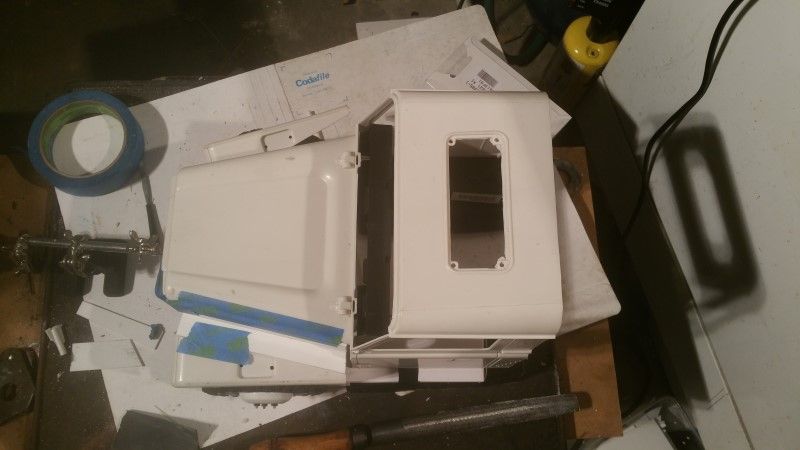 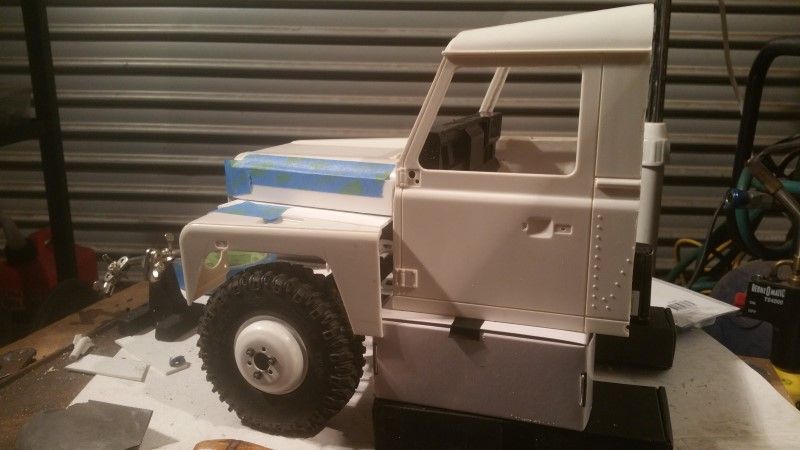 You can also see I have been playing around with the wheel and tyre combo, and quite like this. Gives it quite the 'truck' feel, and should work well with what I hope to run in the back. Cheers H2Micr0 |
| |  |
| | #7 |
| Rock Crawler Join Date: Jan 2013 Location: Australia
Posts: 541
|
Happy with how the fender was shaping up I thought I should actually glue the cab back into place. Some quality time with a couple of files was spent, identifying any high spots and keeping low spots/gaps to a minimum. I used some strips of styrene as joiners to help bond the the two parts and assisting with lining up the edges. 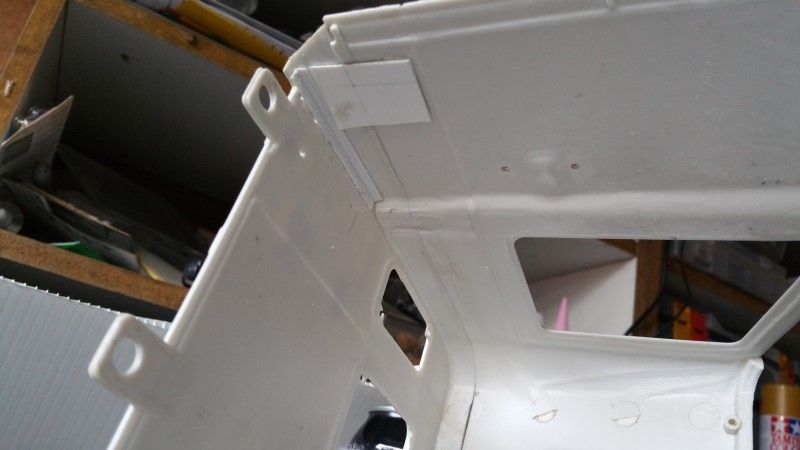 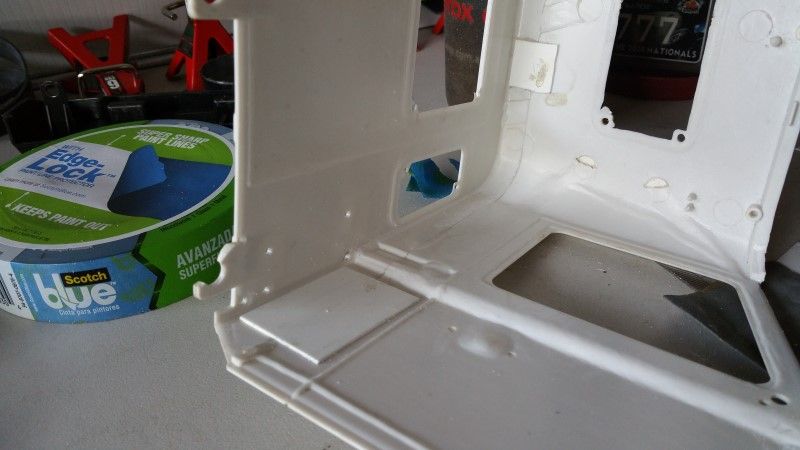 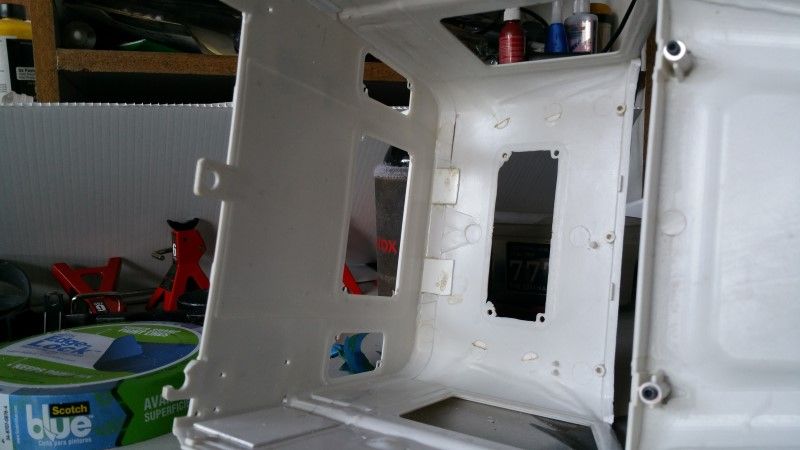 I also applied the MEK to most of the joined surfaces and will add styrene slivers to any gaps later. More to follow soon. Cheers H2Micr0 |
| |  |
| | #8 |
| Rock Stacker Join Date: Sep 2005 Location: UK
Posts: 52
|
Nice work so far , will make a great looking truck when finished Sent from my HTC One M9 using Tapatalk |
| |  |
| | #9 | |
| Rock Crawler Join Date: Jan 2013 Location: Australia
Posts: 541
| Quote:
************************************************** ************ With that done, I wanted to get started on the rear axle assembly. Seeing as I am doing a modern interpretation of the 129" prototype I decided I wanted to run a Dually rear. Now most of the Dually conversions you see, are basically another wheel and tyre on the outside of the standard width axle, making it VERY wide. Now this might work well in some applications, but it wasn't going o work for me. So I decided to narrow an SCX10 diff to bring in the track a bit. I started with a stock SCX10 housing, and standard width rear axles. I grabbed a pair of standard axial C Hubs and set about chopping off the knuckle arms, and then cutting the axles to length so that the pin would sit just outside of the end of the C Hub when on the housing itself. The Bearing now needed to be held in place so I made a washer from some styrene sheet. The axle moved laterally a bit now so I used metal washer to minimise this as much as possible. All in all it works pretty good. Pics. Marking out the washer size. 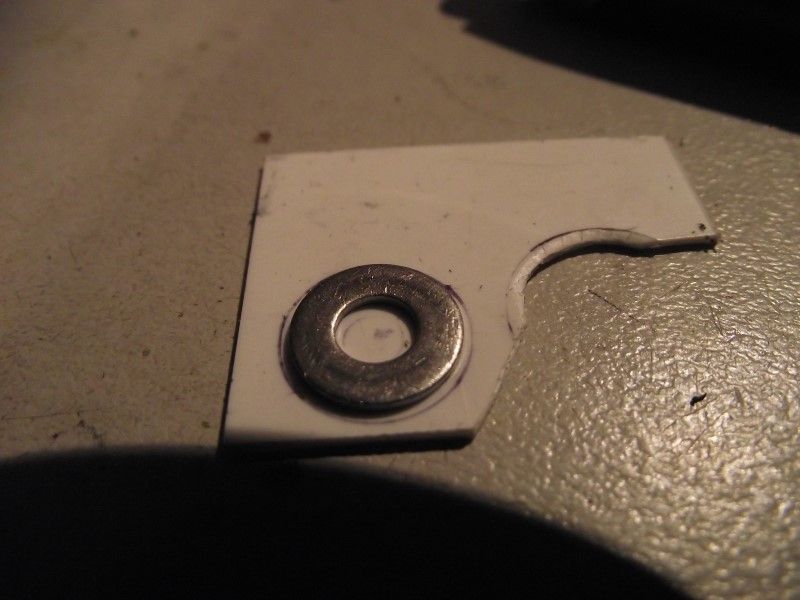 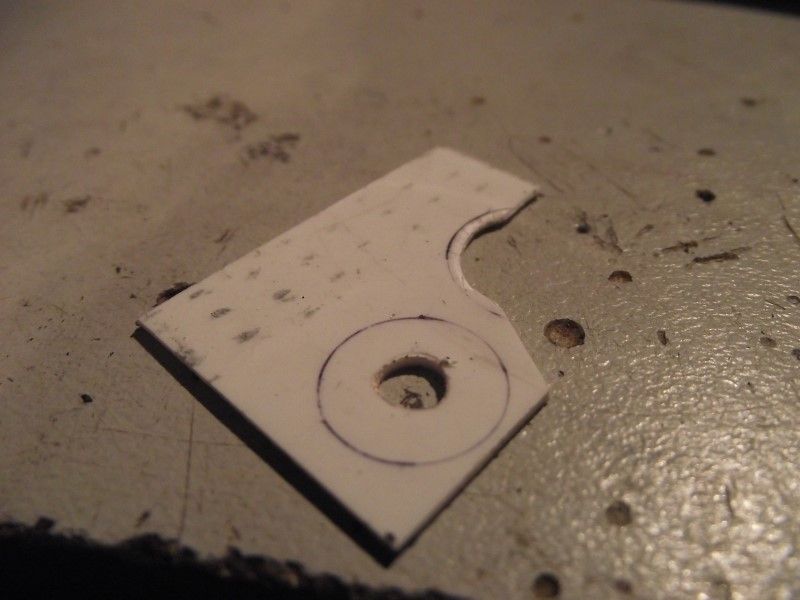 Seems about right. 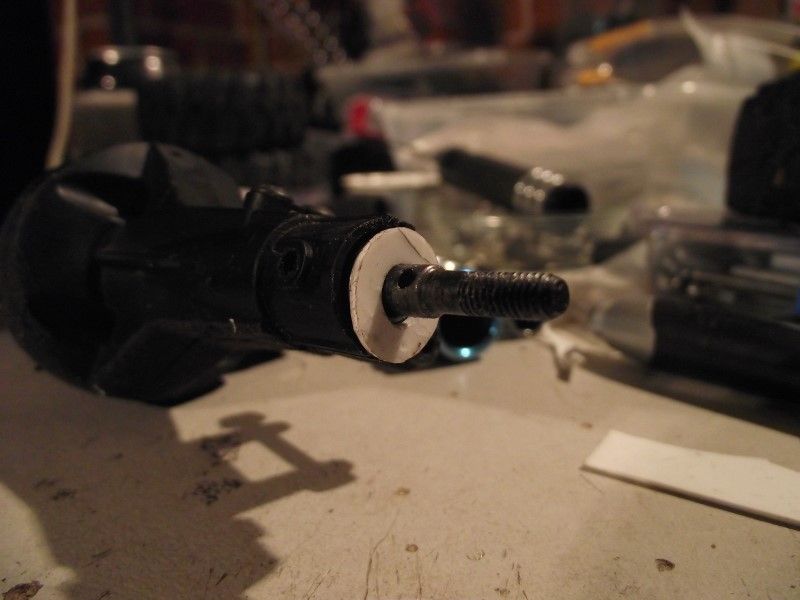 I had to file the outside diameter down so it was a firm fit inside the C Hub. 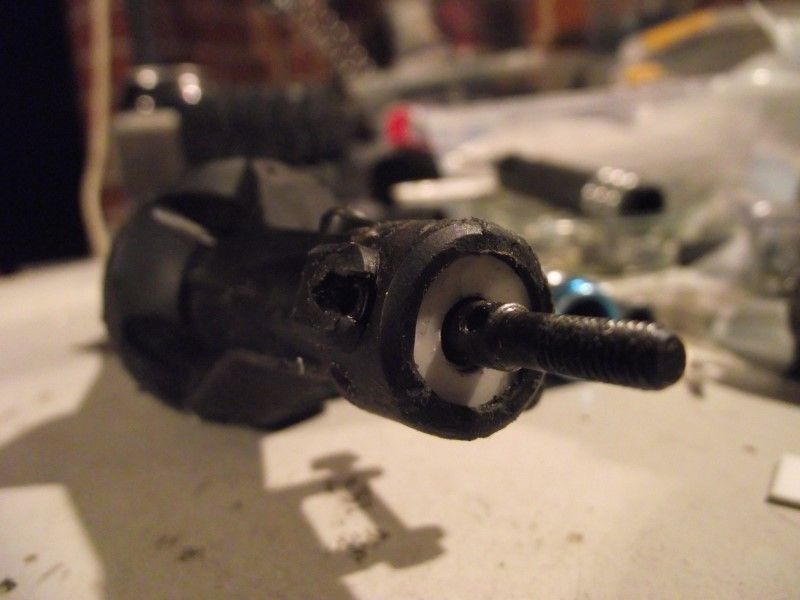 And now ready for the wheels and tyres. 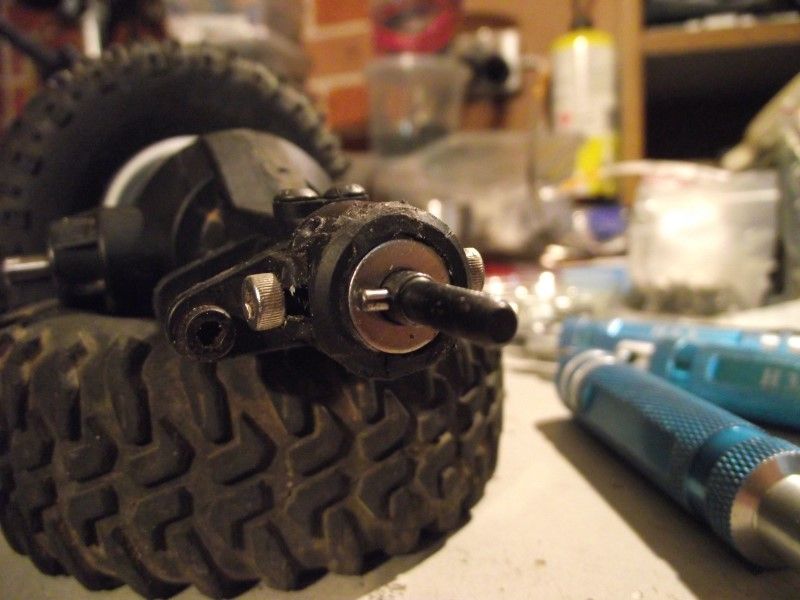 I made the Dually pairs up using older style RC4WD Wagon Wheels. These had a solid inside dish. The same dish is used on the front wheels to emulate the larger truck wheel. Using the MTZ tyres, which are narrow and relatively tall allowed me to use 3 30mm M2.5 bolts, the longest I could purchase to bolt the inner and outer wheels together. Before that I used just three standard bolts per wheel to clamp the beadlock down. And this is the end result. 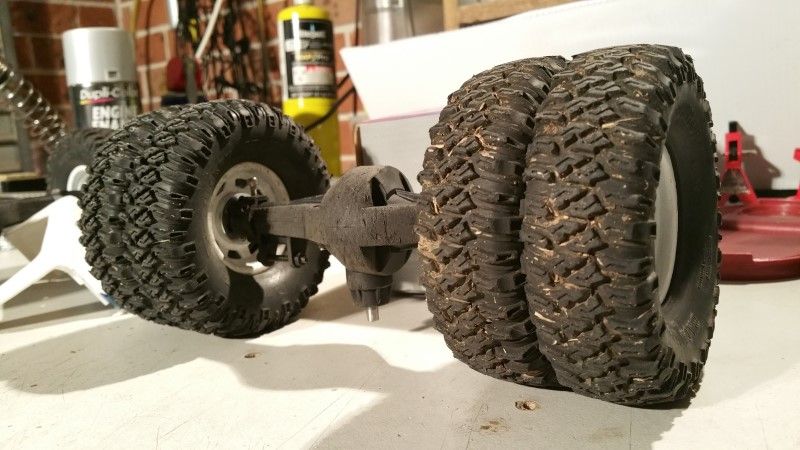 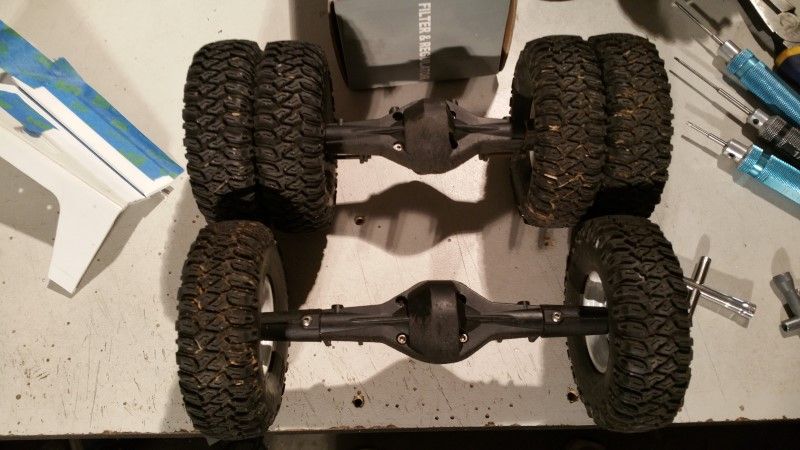 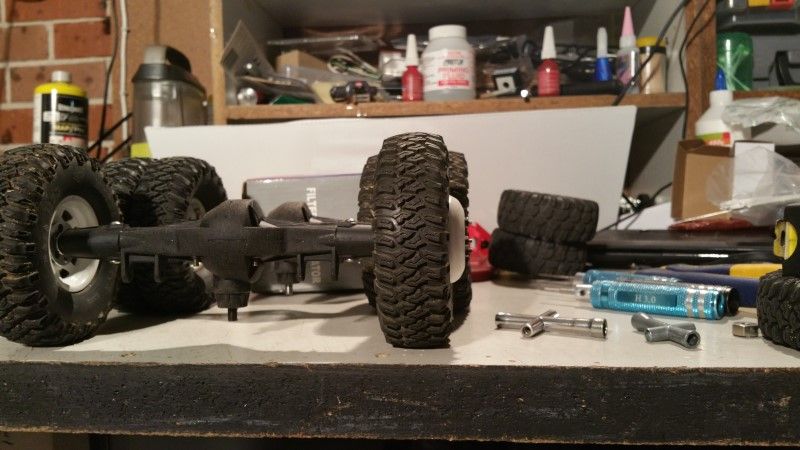 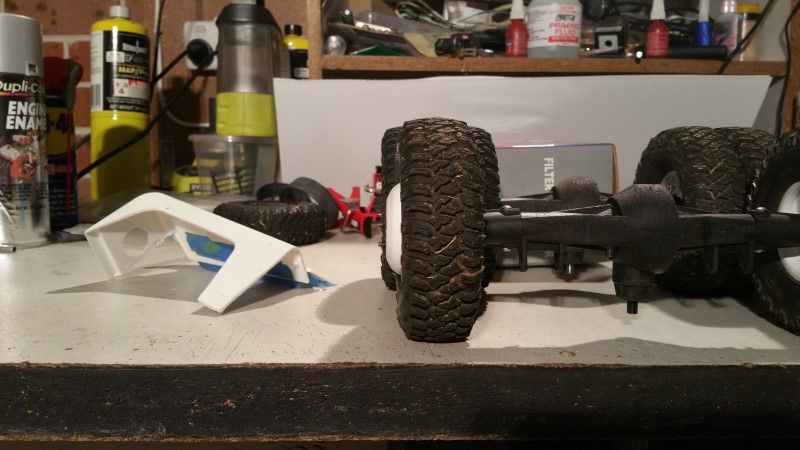 As you can see the track is only just a bit wider that the stock SCX10 width and I think that is quite fitting for this type of vehicle. And of course I couldn't resist mocking it all up to help see if my vision was matching the reality. 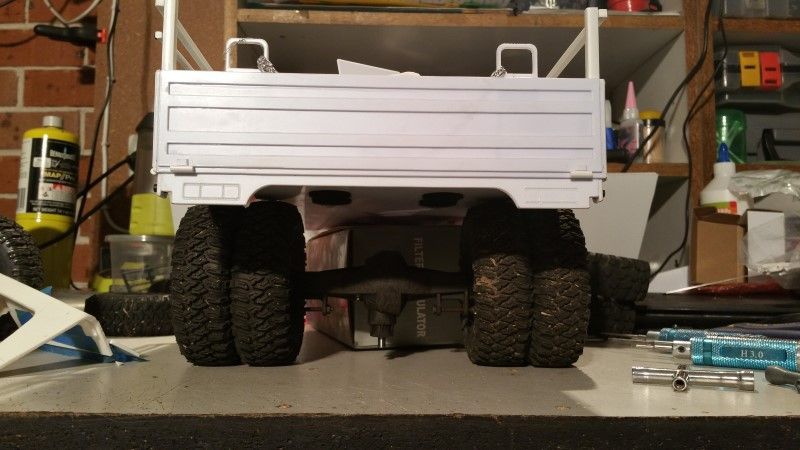 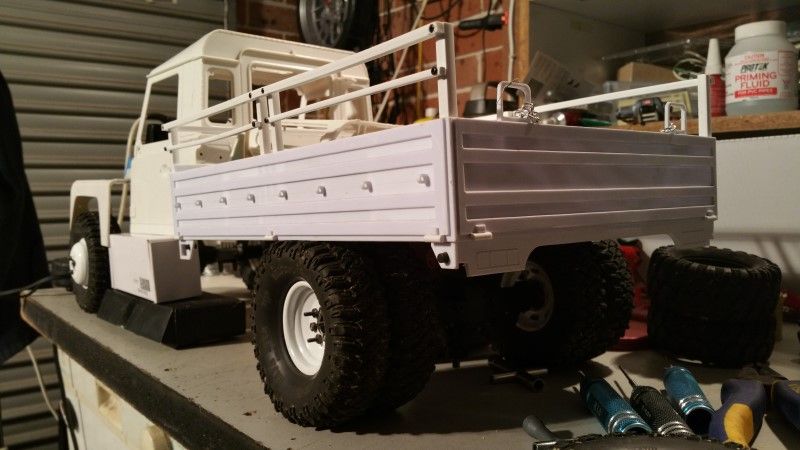 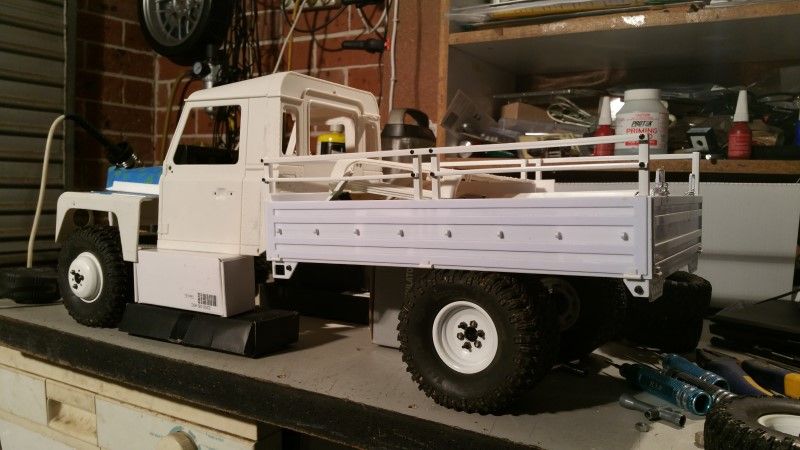 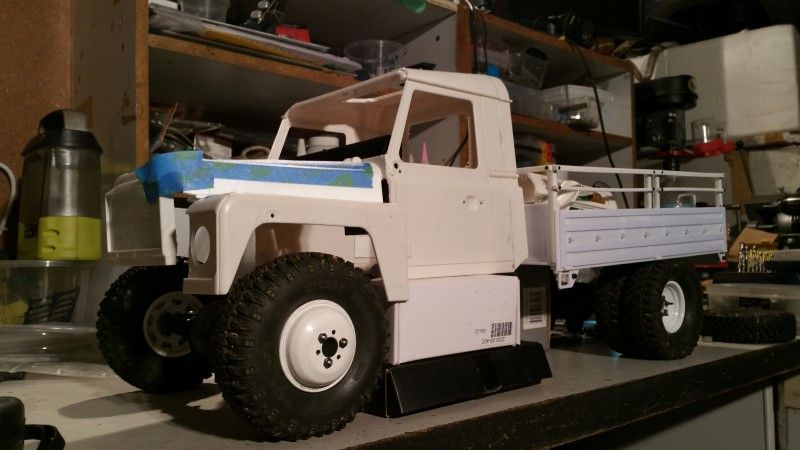 Yep, have a good feeling this is going to turn out better than I hoped it might. Still more updates coming soon. Cheers H2Micr0 | |
| |  |
| | #10 |
| Rock Crawler Join Date: Jan 2013 Location: Australia
Posts: 541
|
Next was to tackle the first fender and work out how to build it out and down, and, attach it so that it is secure and solid on the cab. I used 2mm styrene for the main part of the structure, starting out with some careful measuring I started cutting and gluing. I made a rear 'cap' piece to marry the back of the fender with the body and crossed my fingers that my plan would actually work. Finished fender (well sort of) ready to glue on. 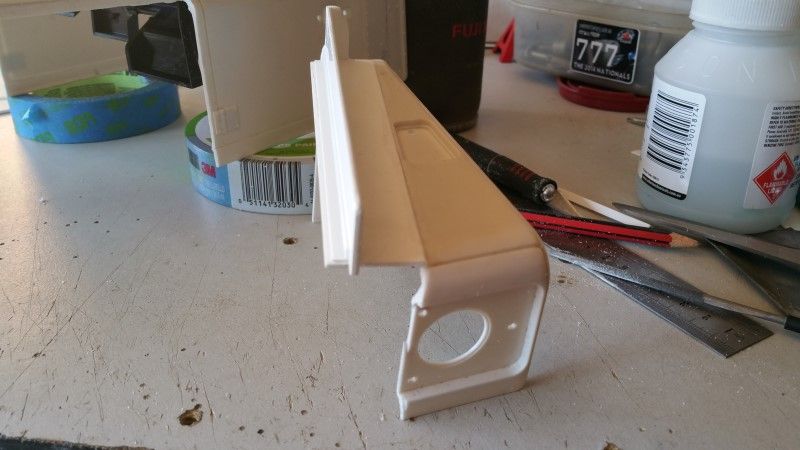 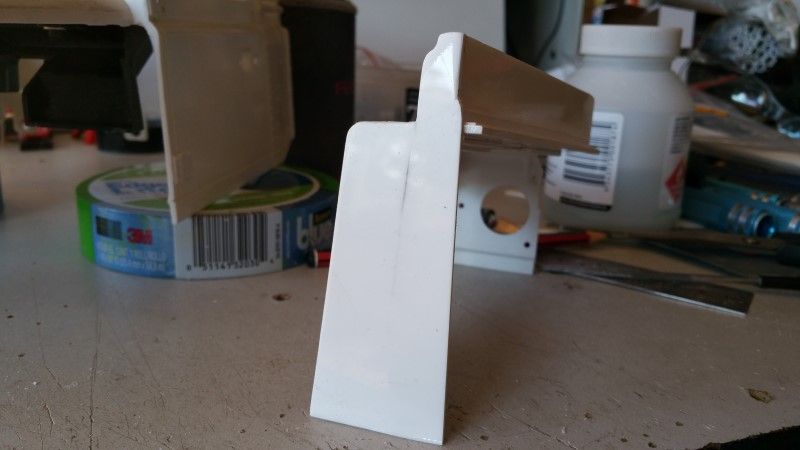 These pics show some of the structural elements. 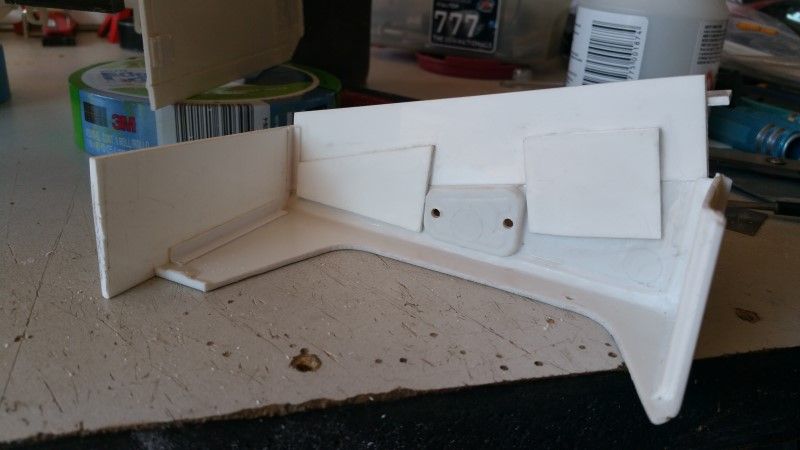 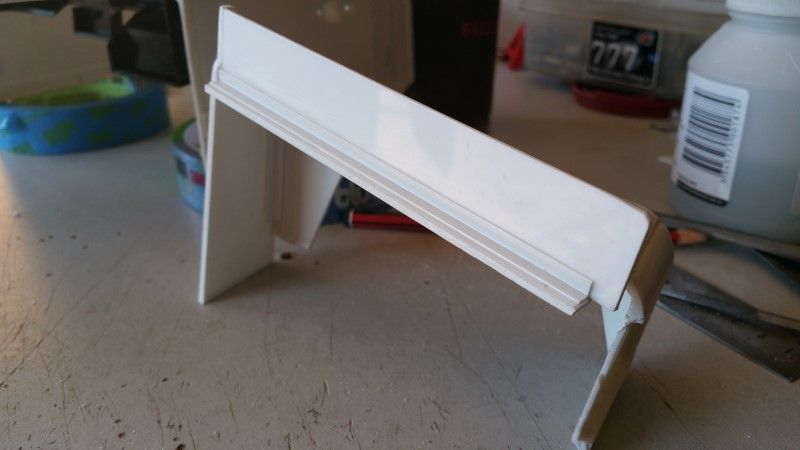 And then, TADA!!!!! 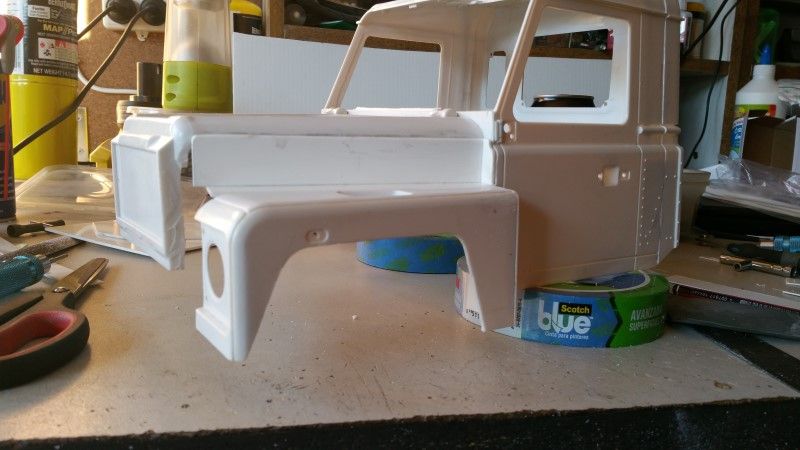 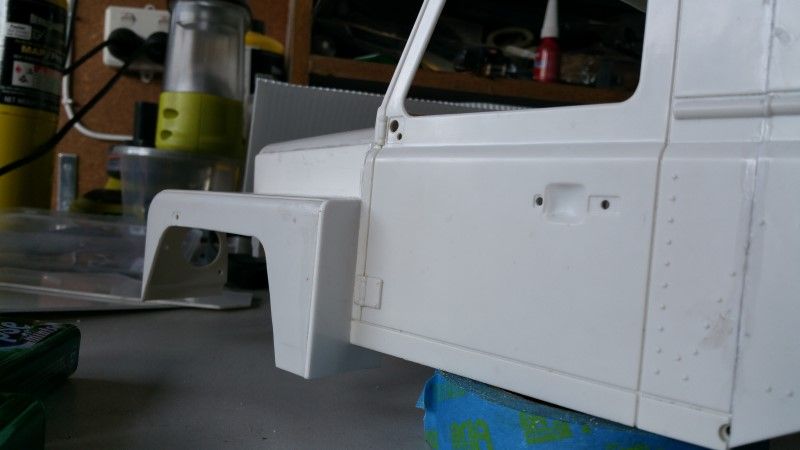 I also added more structural elements underneath to get as strong a join to the main body as I could. 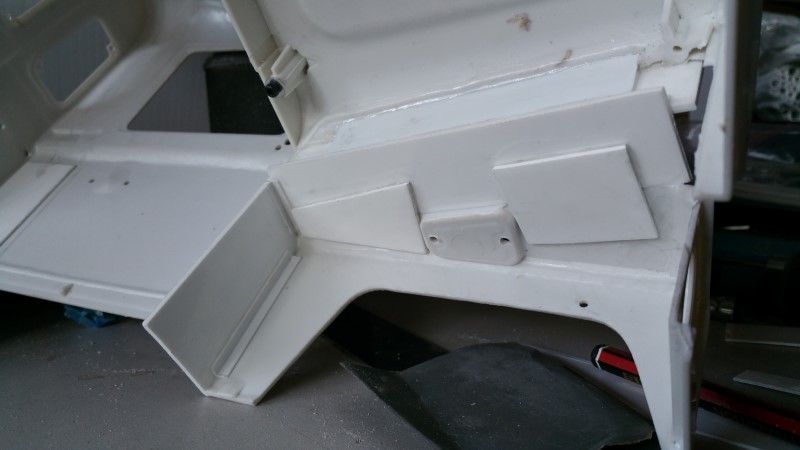 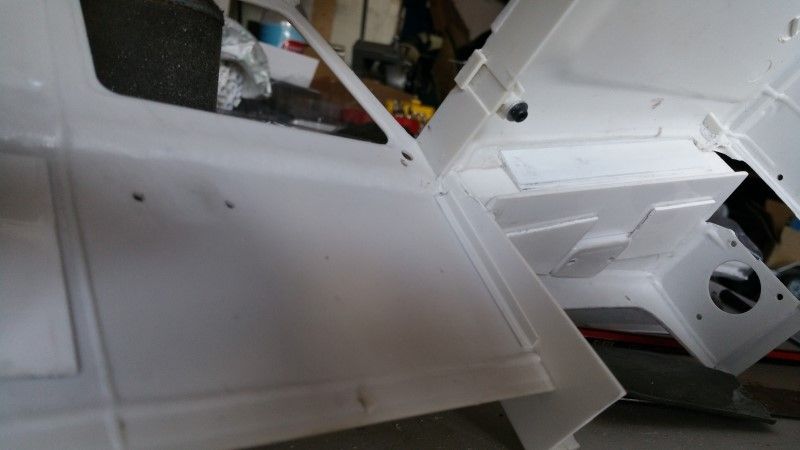 Now to build the other fender and hopefully get it in the same sort of position, and then start to work out just how the hell I am going to fill this big bloody gap LOL 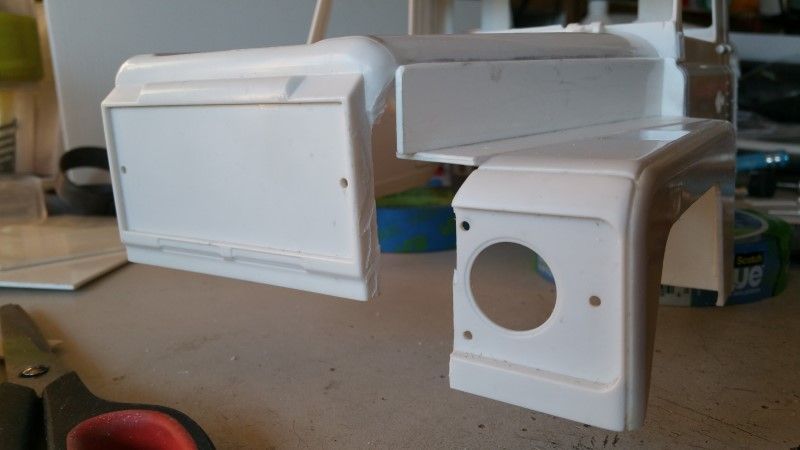 Cheers H2Micr0 |
| |  |
| | #11 |
| Rock Crawler Join Date: Jan 2013 Location: Australia
Posts: 541
|
During the week I was able to duplicate what I did to the left fender with the right fender. Part of my concern was ensuring they ended up at the same height left to right, but it looks good to me now it is done. 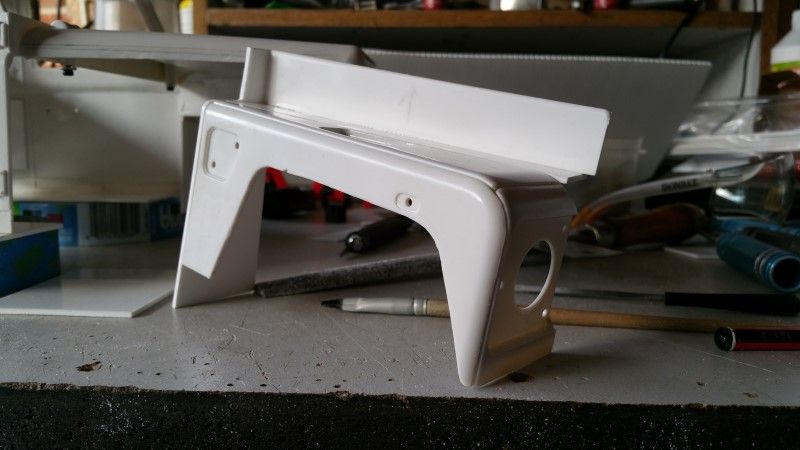 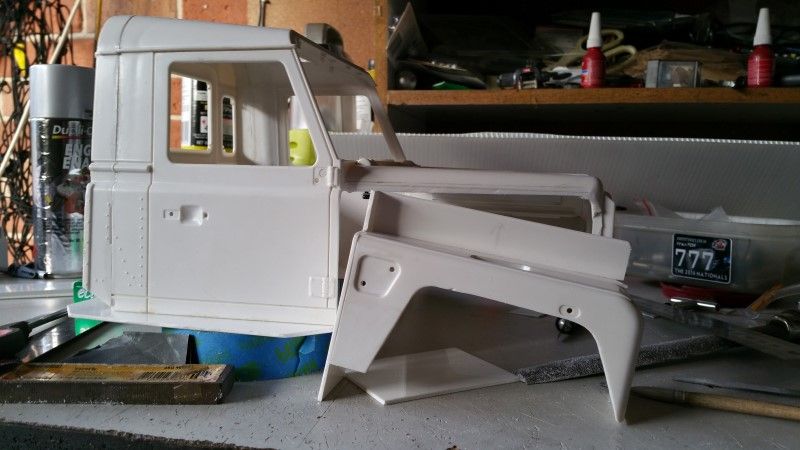 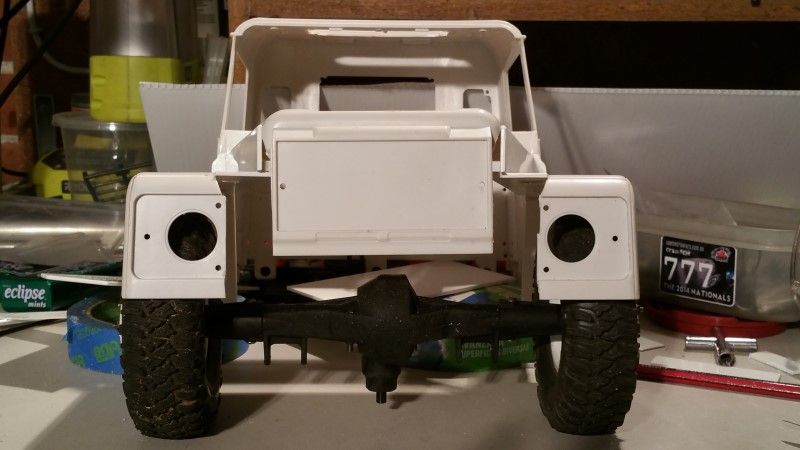 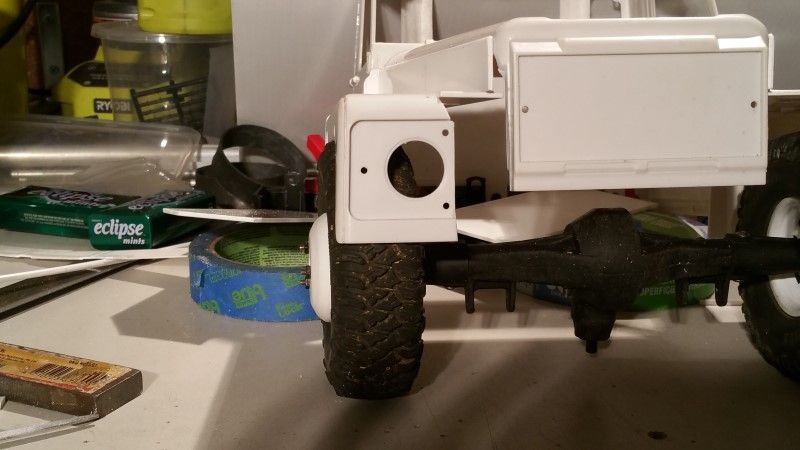 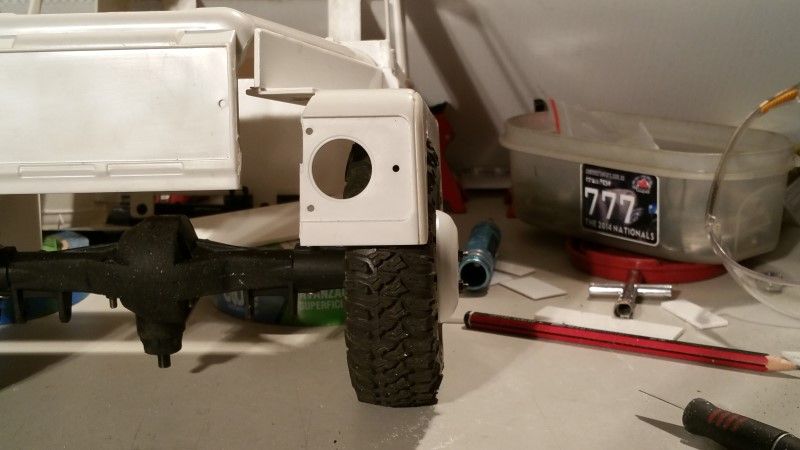 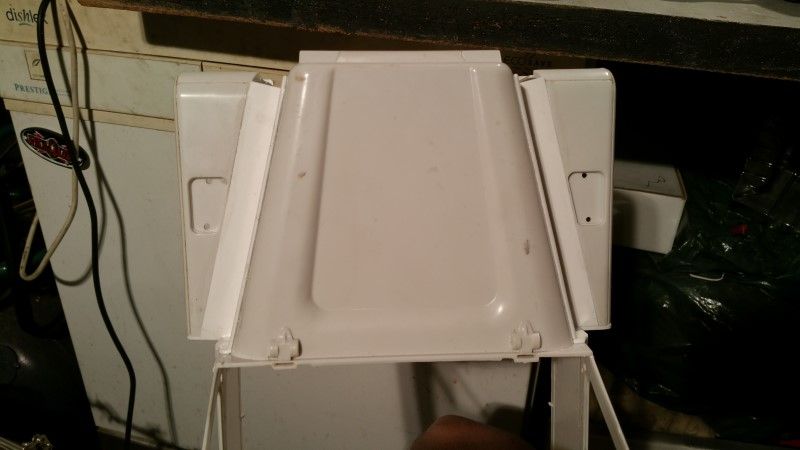 As you can see, tyre coverage is pretty much total, right about where I wanted it to be. And one last pic with a few detail bits thrown around to help me envisage how the hell I am going to fill those gaps LOL. 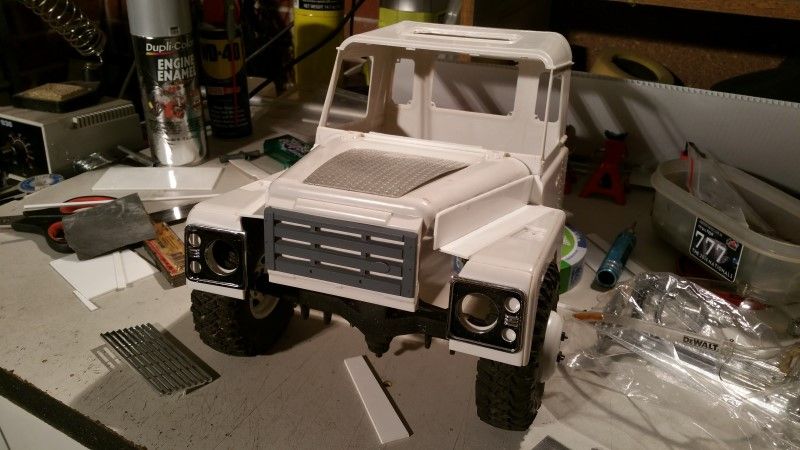 Cheers H2Micr0 |
| |  |
| | #12 |
| Rock Crawler Join Date: Jan 2013 Location: Australia
Posts: 541
|
When I glued the cab back on the body, I had to make a choice regarding which body lines to use as alignment. In the end I decided to use the main body line below the window. This is how the drip rail along the roof ended up. 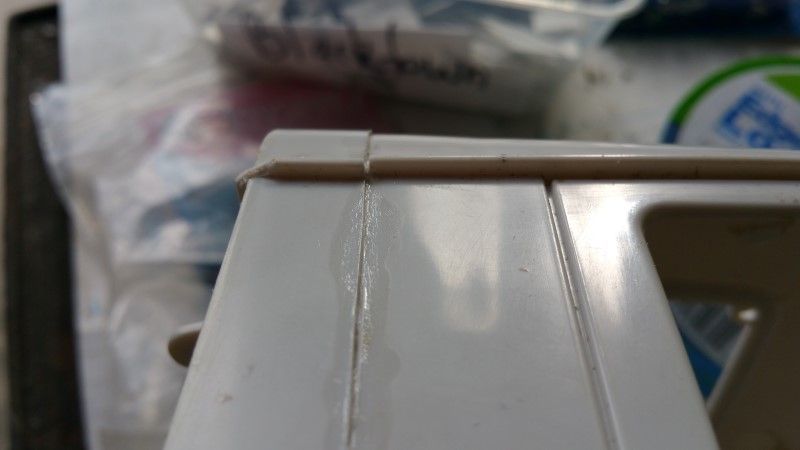 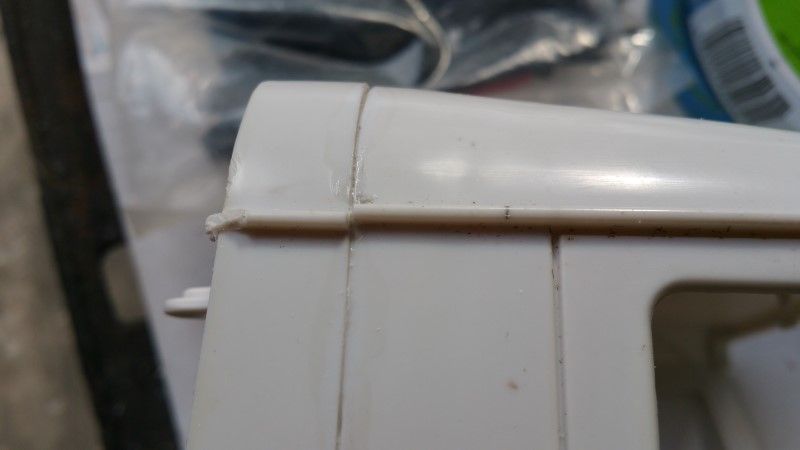 As you can see, it would appear that over the length of the d90 body the measurement between the main body lines lower and the drip rail reduce/narrow slightly. My solution for this is quite simple. 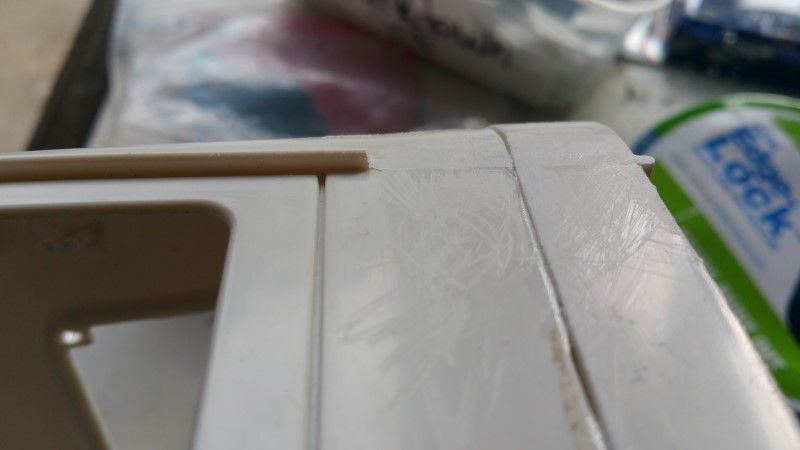 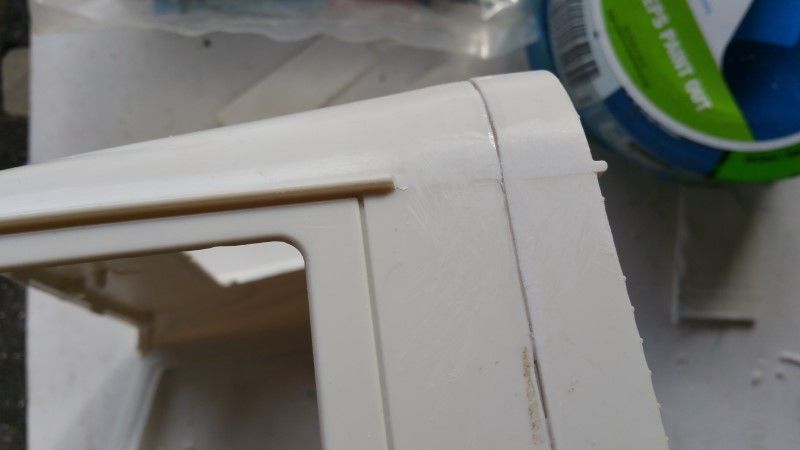 Don't really need the drip rail after the window, so it was removed. Problem solved. Cheers H2Micr0 |
| |  |
| | #13 |
| Rock Stacker Join Date: Jun 2007 Location: Simi Valley
Posts: 74
|
On those big gaps I think you should just carry the ace and curved corner over to the grill, similar to what fj40 fenders do. Awesome build though, way to tackle a totally unique build, definitely haven't seen one of these before! |
| |  |
| | #14 |
| Quarry Creeper Join Date: Oct 2014 Location: Ottawa
Posts: 340
|
Wow! This build is really coming on nicely, that's a lot of modification looks great.  Sean |
| |  |
| | #15 |
| Pebble Pounder Join Date: Aug 2013 Location: United Kingdom
Posts: 112
|
If you look at the 1:1 pics You have of the 129 and find a picture of a series 2/3 88/109 civilian Landrover you will see the wing/fender on the 129 where the headlights sit is much wider that a normal Landrover...they obviously had the same issue with the 'gap' you may need to replicate that..... :-/ Sent from my iPhone using Tapatalk |
| |  |
| | #16 | |||
| Rock Crawler Join Date: Jan 2013 Location: Australia
Posts: 541
| Quote:
Quote:
Quote:
************************************************** *************************************** I have been slowly mulling over how I was going to tackle the gap between fender/headlight and front grill. There are two intersecting curves and the leading curve of the fender to blend in as well. While testing theories I discovered the height of the front fender curve was pretty much spot on to 4 stacked 2mm thick pieces of styrene. So I cut up some pieces to an appropriate size and glued them together. Test fitted them, marked the curves ect and shaped the curve with a file or two. The gap in front of the upper part of the bonnet extension that dropped the guard height I decided to fill using a cut down length of 10mm styrene tube. The main gap left beside the headlight bezel was also filled with 2mm sheet styrene. 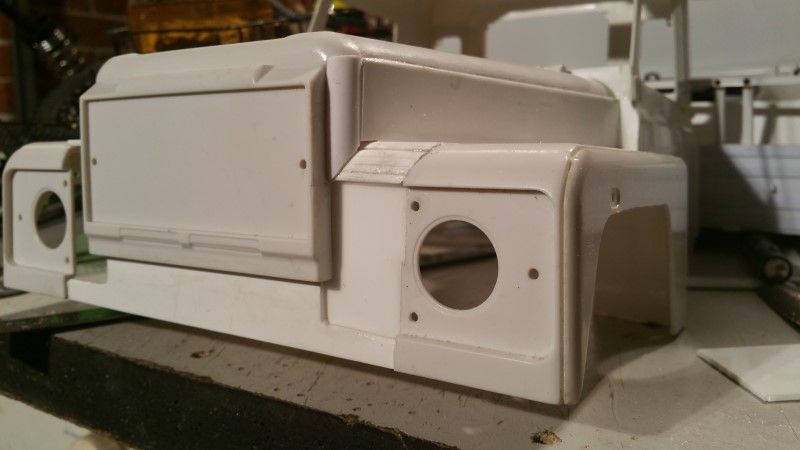 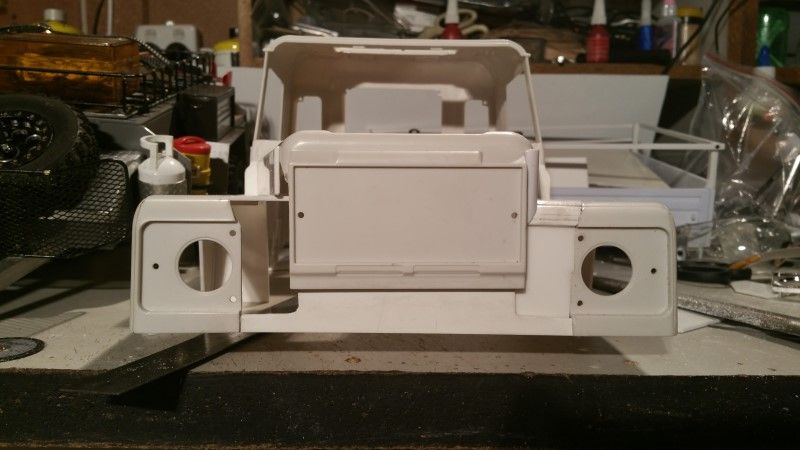 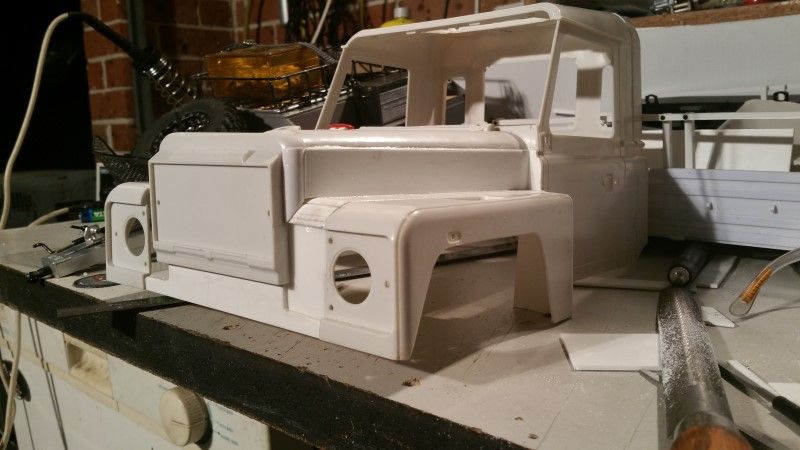 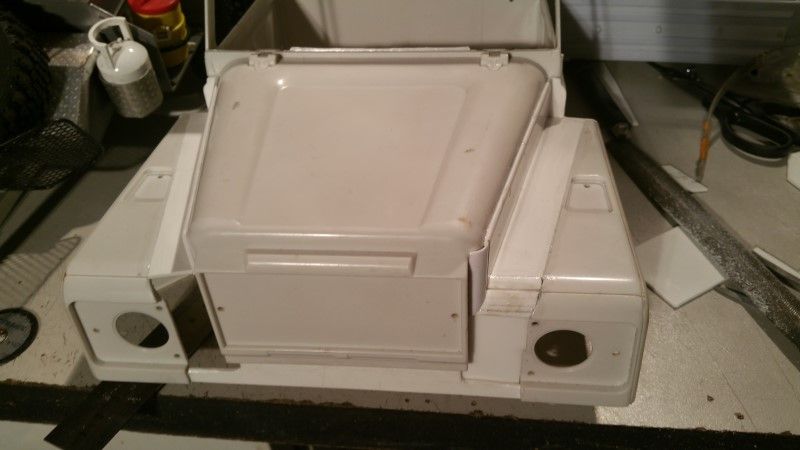 There is still plenty more filing, sanding and filler to finish the curves off, but I am happy with this as a base layer. Much more fab work on the front to go. Cheers H2Micr0 | |||
| |  |
| | #17 |
| Rock Crawler Join Date: Jan 2013 Location: Australia
Posts: 541
|
With the front left side filled in I proceeded to get to work on the right hand side. I thought it might be interesting for some to see a bit of the work needed to do this part. When I was putting the fender extensions in I had no real idea just how the front section was going to be done. With some excess identified I marked out where I needed to trim things back. 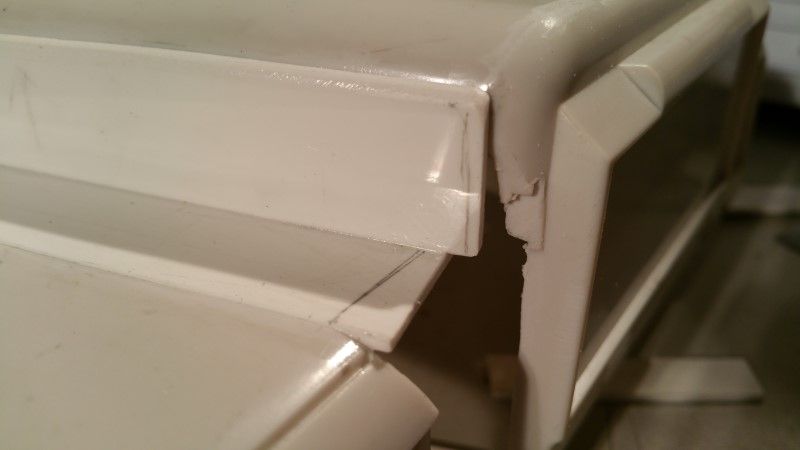 Now I have a good steady hand and plenty of experience using a dremel so this was my weapon of choice. I used two different sizes of cut off wheels. The full size wheel to get the reach for one cut, and the well worn smaller wheel to fit in a more confined area. 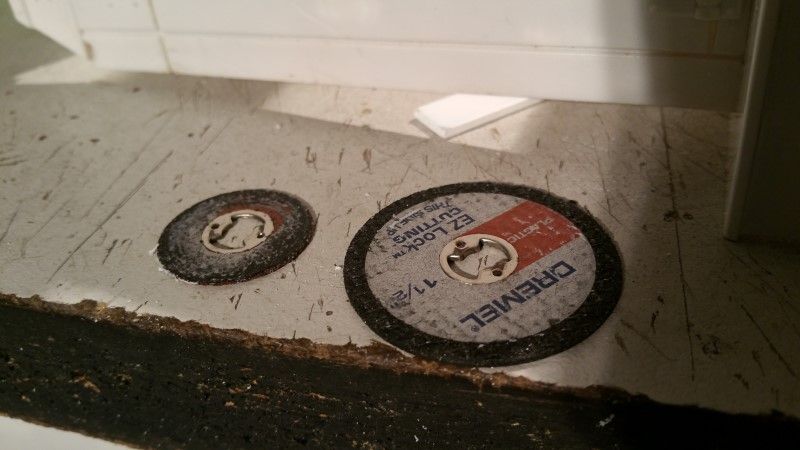 And the result, to be followed by file work. 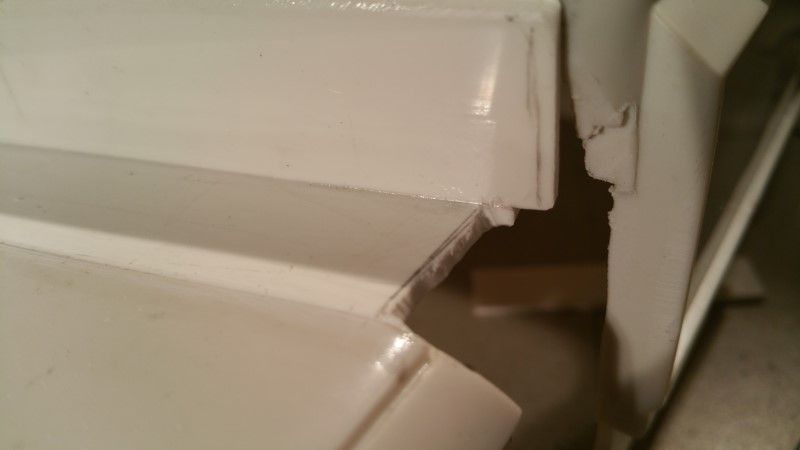 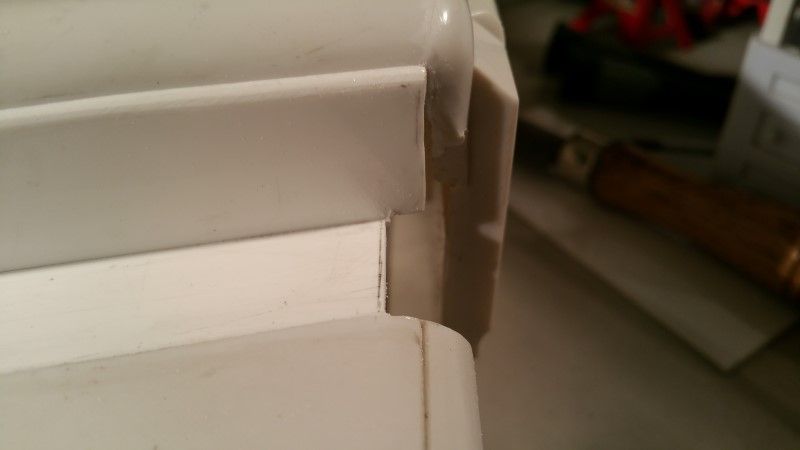 Then I laminated 5 small pieces of 2mm styrene together and then using a large file slowly worked it into shape until the curve was a close match to the fender. 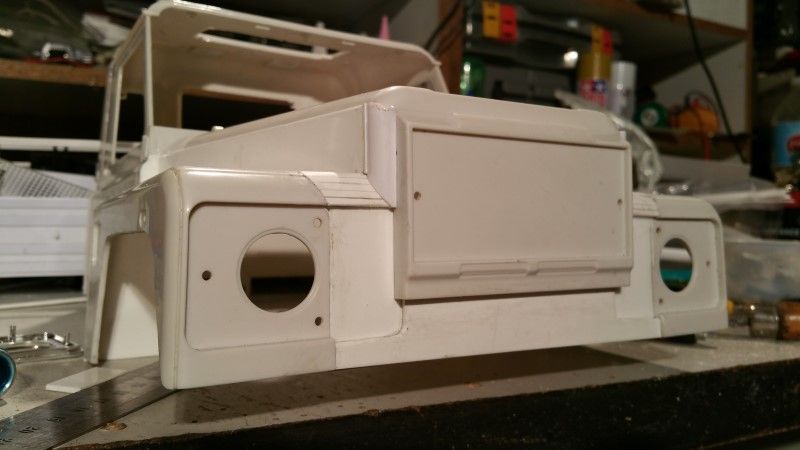 I then filled in the hole below and added in the curved cover piece on the top edge of the grill. The following pics show the structure and pieces from behind. 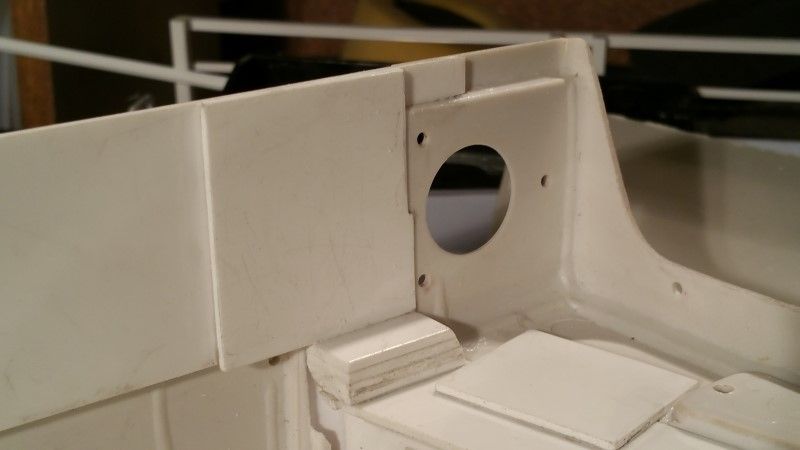 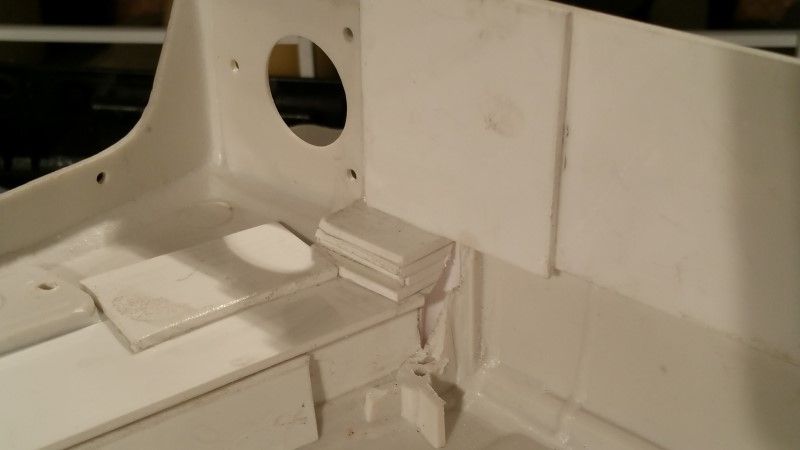 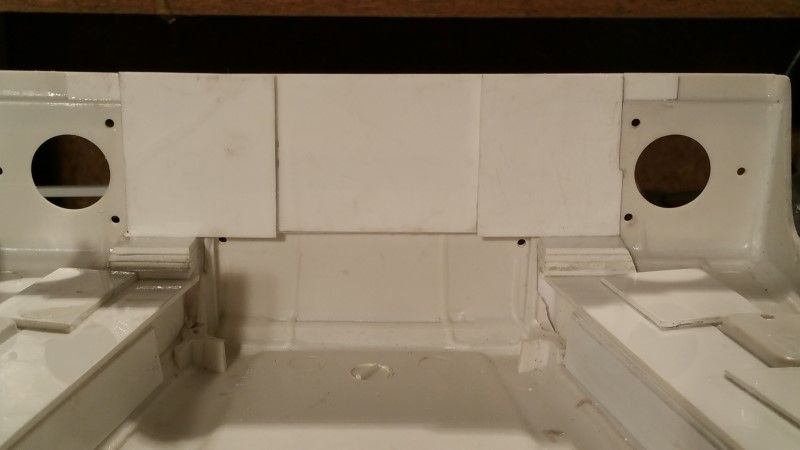 By layering and overlapping various pieces the front end is now very strong. There is still more to do from an aesthetic perspective yet but these pics show how things are progressing. 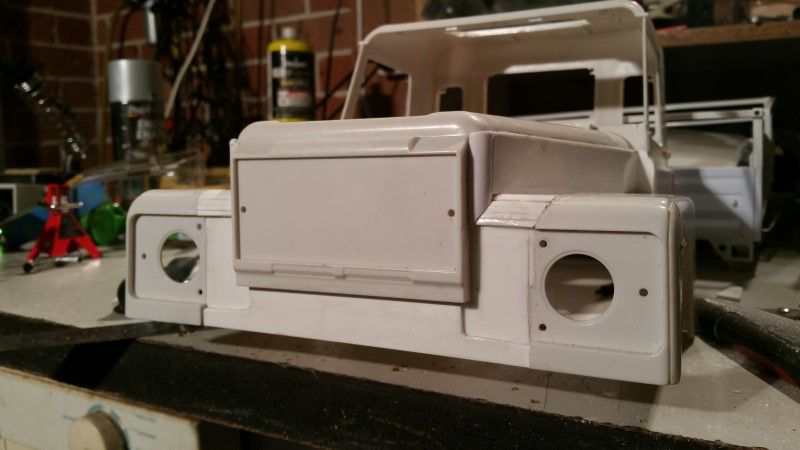 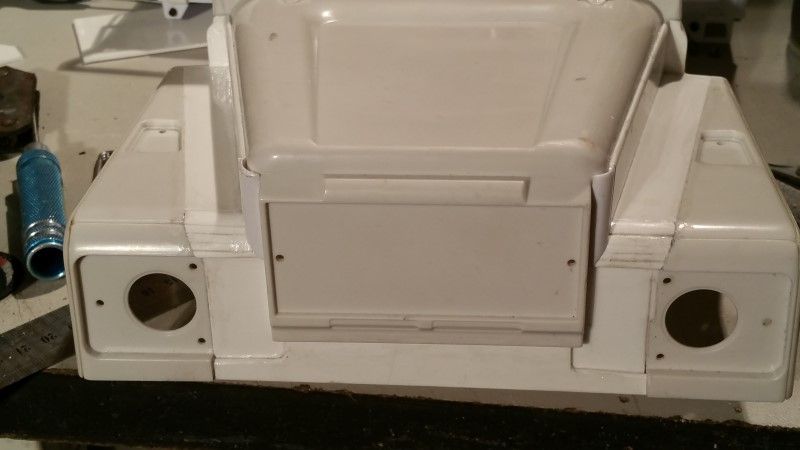 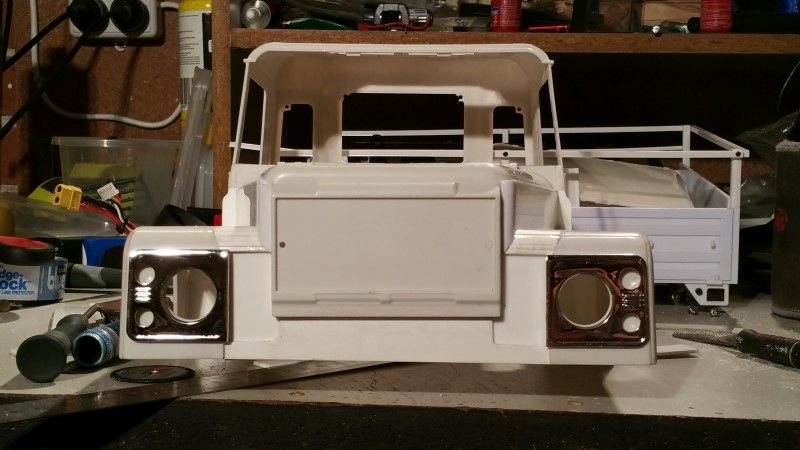 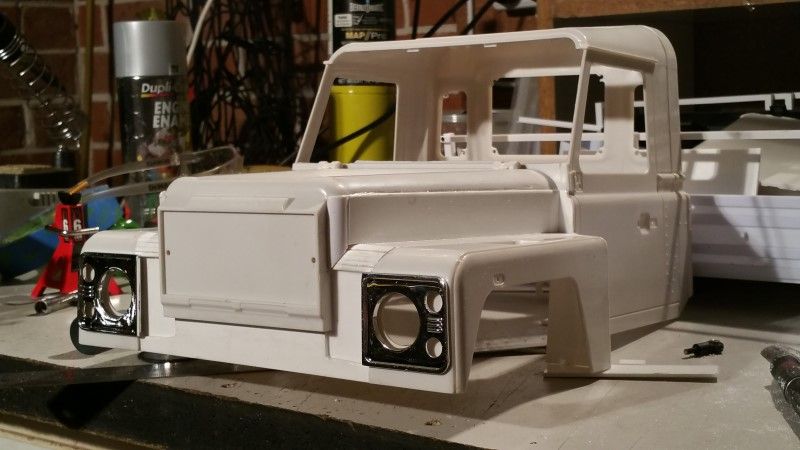 Cheers H2Micr0 |
| |  |
| | #18 |
| Rock Crawler Join Date: Jan 2013 Location: Australia
Posts: 541
|
Sooooo, after my last post I made a little more progress and started on a rolling chassis. 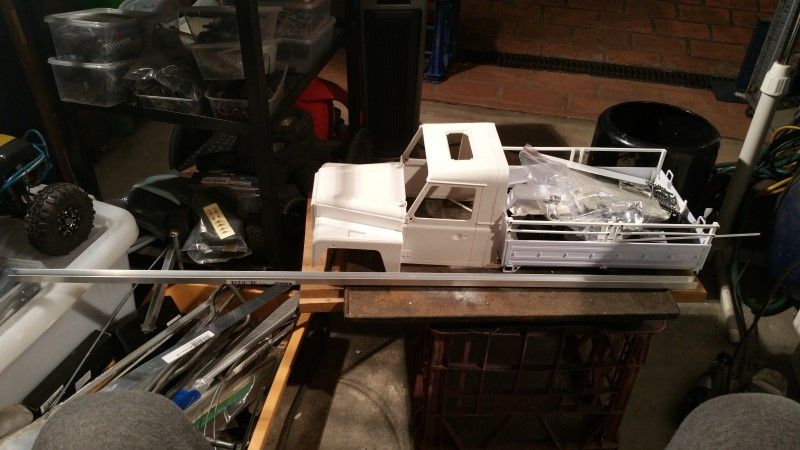 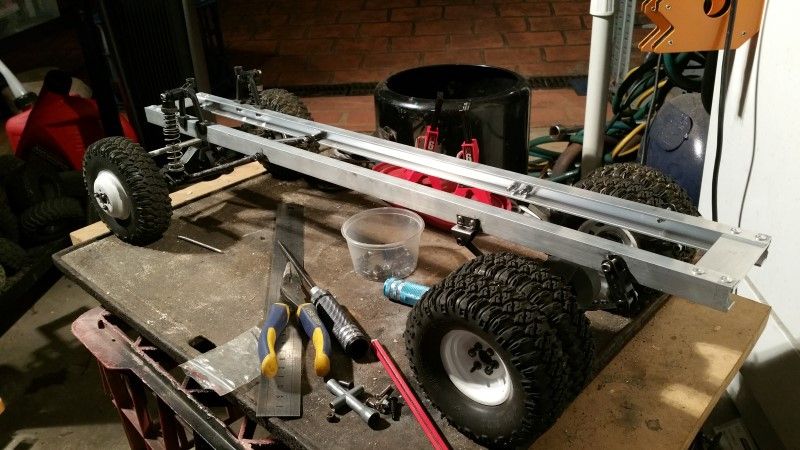 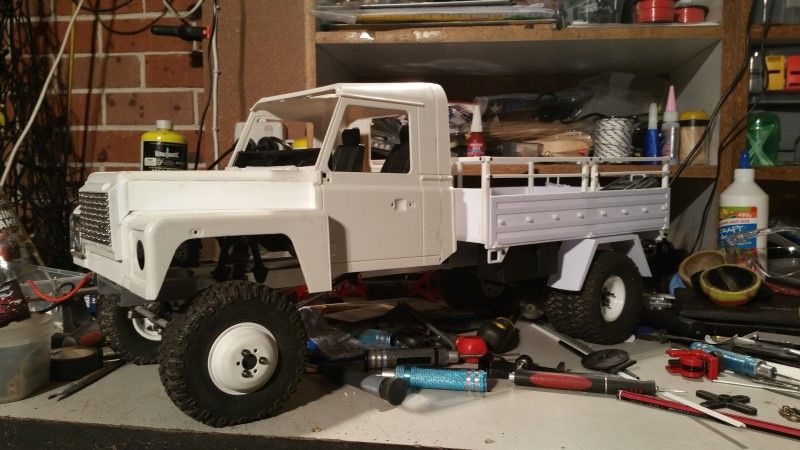 And then it sat up on the shelf like that until just the other day. You see the story goes like this. In around 3 weeks I will be defending my Australian CANZ Nationals Class 1 title. I had gone over the rig that one last year, my FJ45 Ute, and made some changes etc. But the body is looking really sad, and had already decided to retire it after the Nationals this year. While pondering this and looking around my Man Cave, my eyes fell on the D129, under all of the dust and cobwebs. Hmmmmmmmmm. 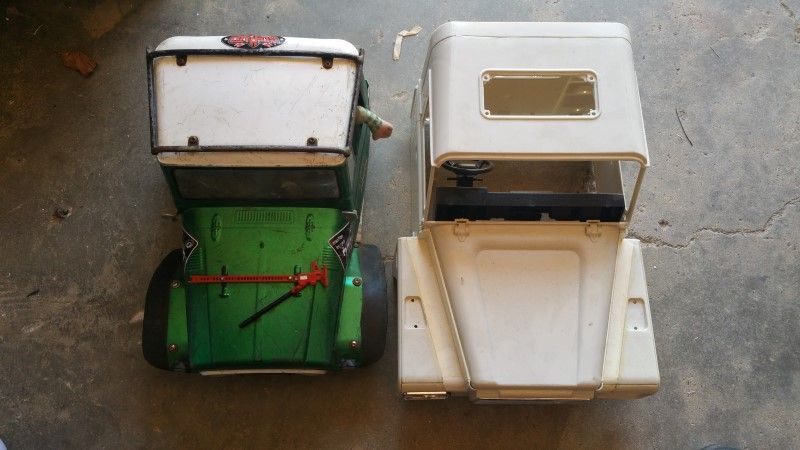 And then I just had to see what it would look like on the chassis. 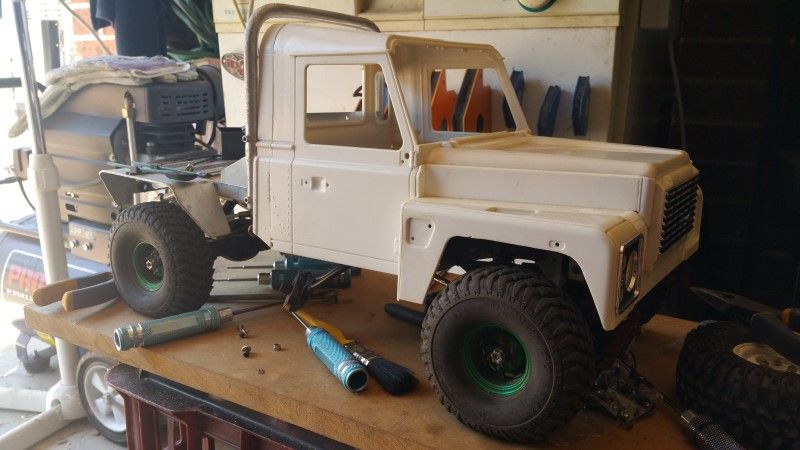 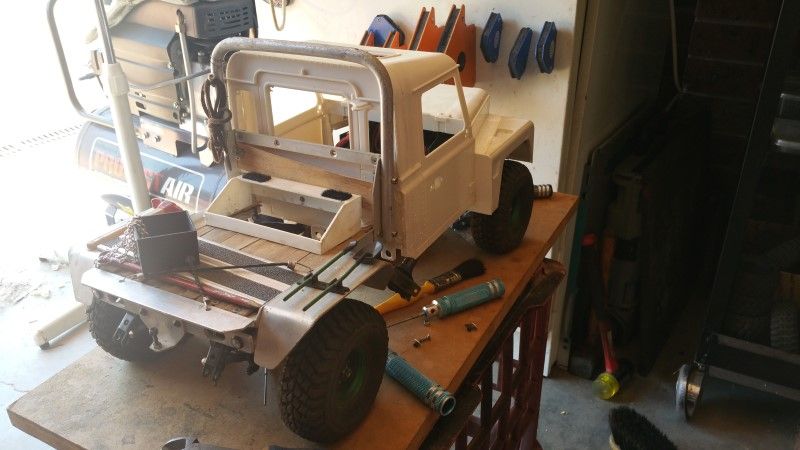 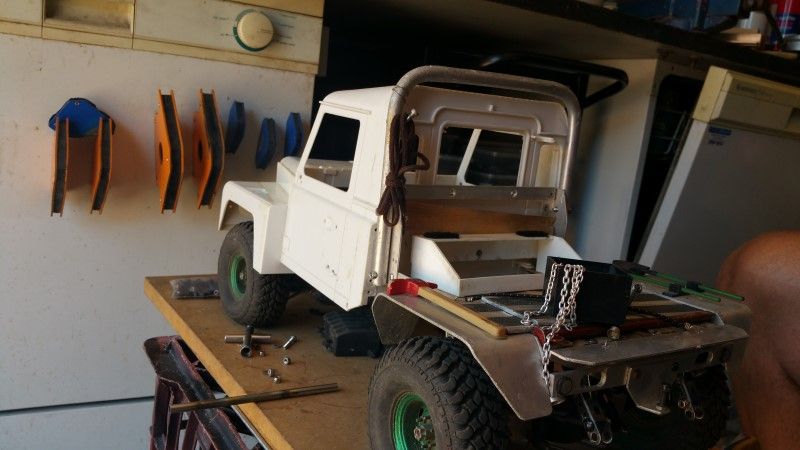 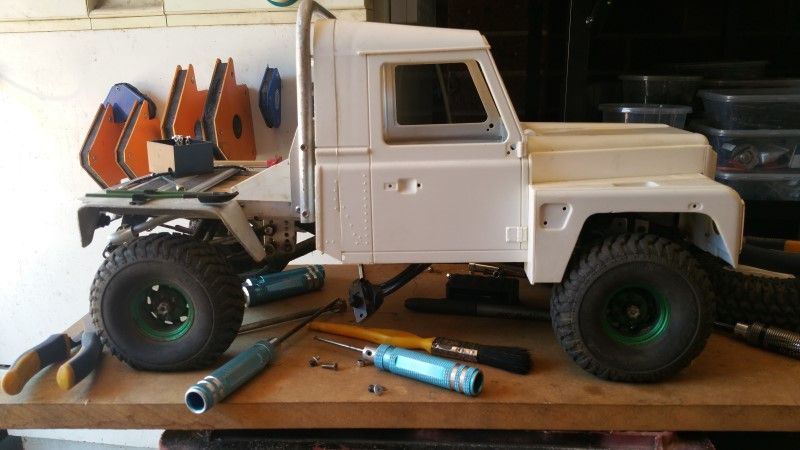 Well, that fits surprisingly well. Oh Dear, what have I done. Cheers H2Micr0 |
| |  |
| | #19 |
| Rock Crawler Join Date: Jan 2013 Location: Australia
Posts: 541
|
I liked what I saw and then next thing you know the body was bolted to the tray and I was wheeling it around the yard!!! 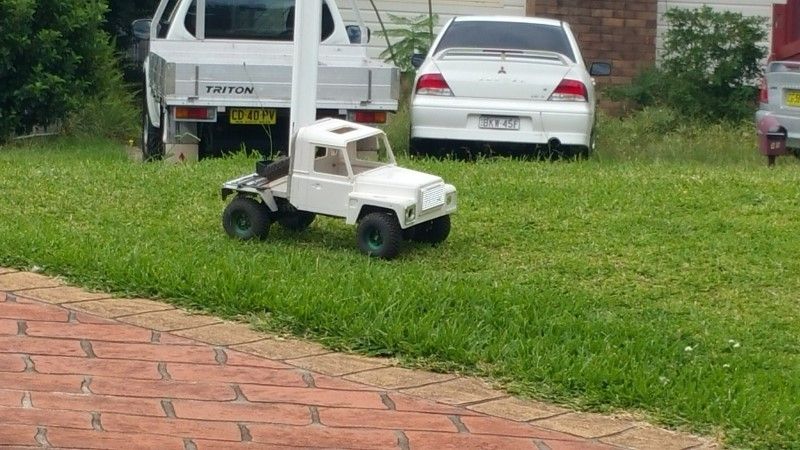 Now I was sure this was heading in the right direction. First thing was to assess the front wheelbase. I decided to open up the back of the wheel arch a bit to even it up. 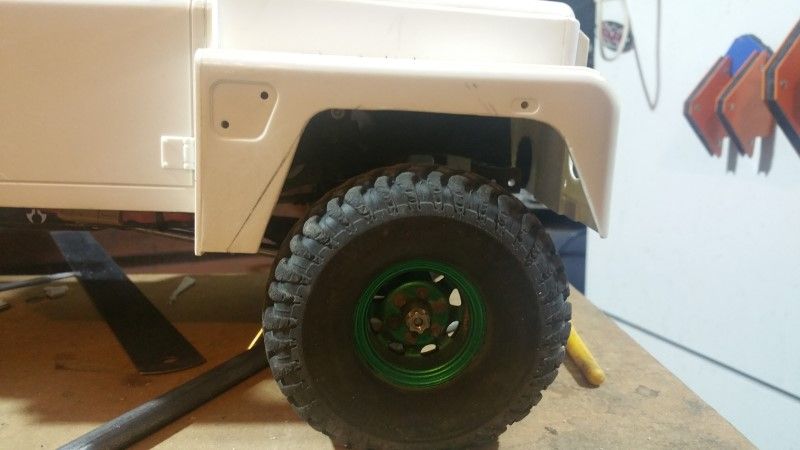 And after some dremel action. 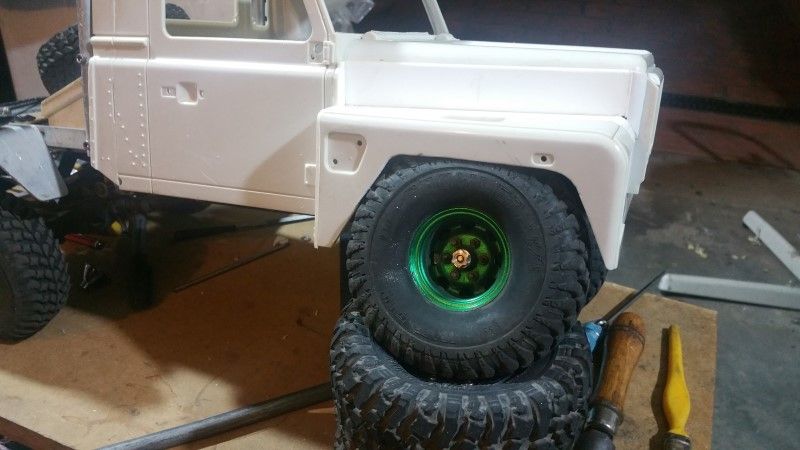 NICE!!!!! Found a new home for the battery. 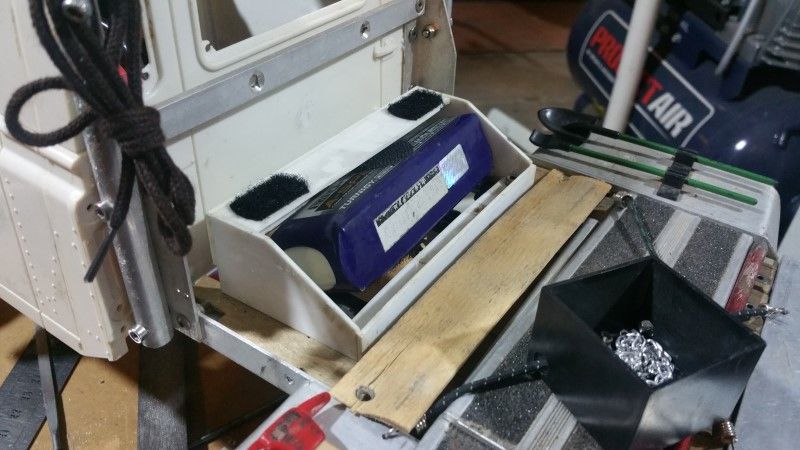 Then fit the interior into the body. 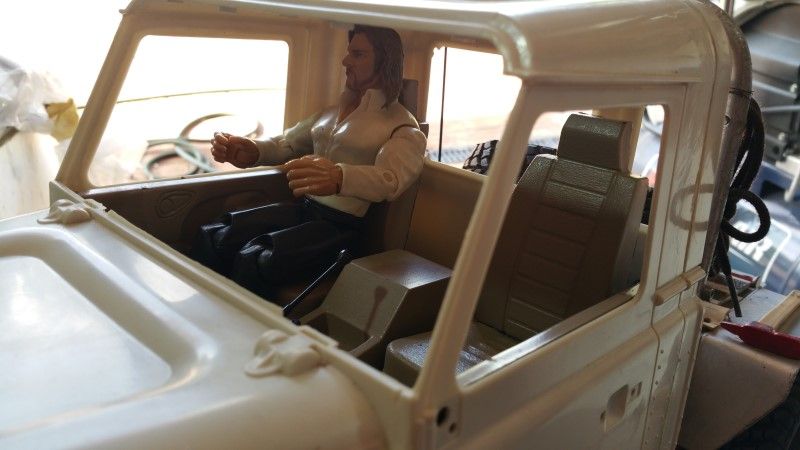 BUT, there is a problem!! 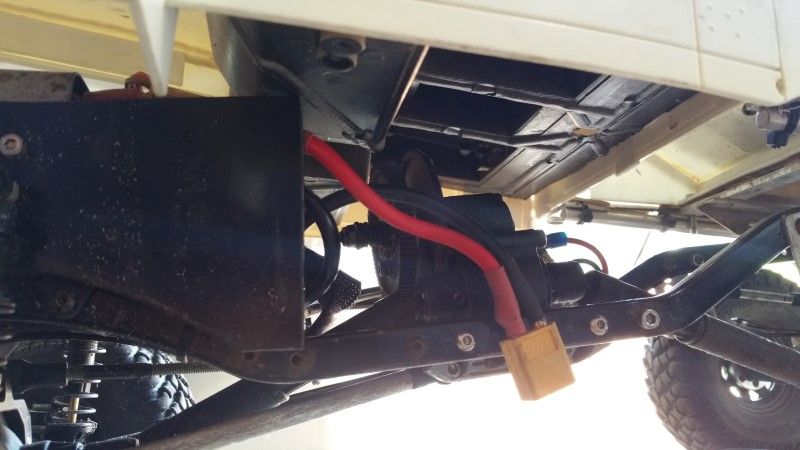 Hmmmmmmmm. Some drastic action is required. 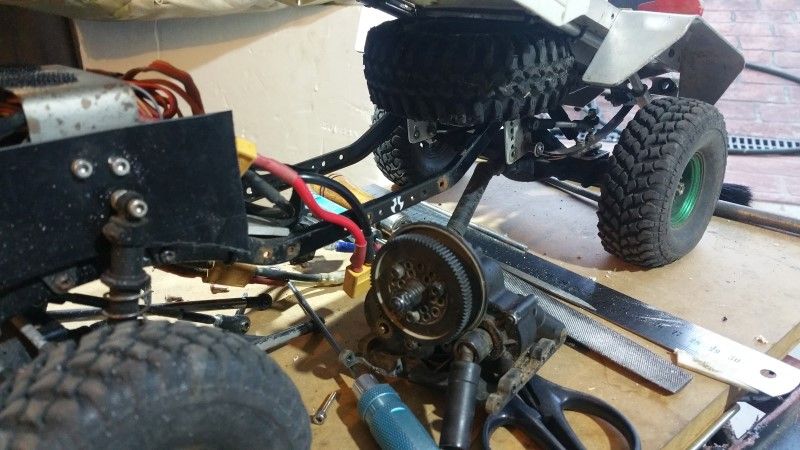 Took out the trans and skid and flipped it all around 180 so the spur is now at the back. Now I could mark and start trimming away the required material. 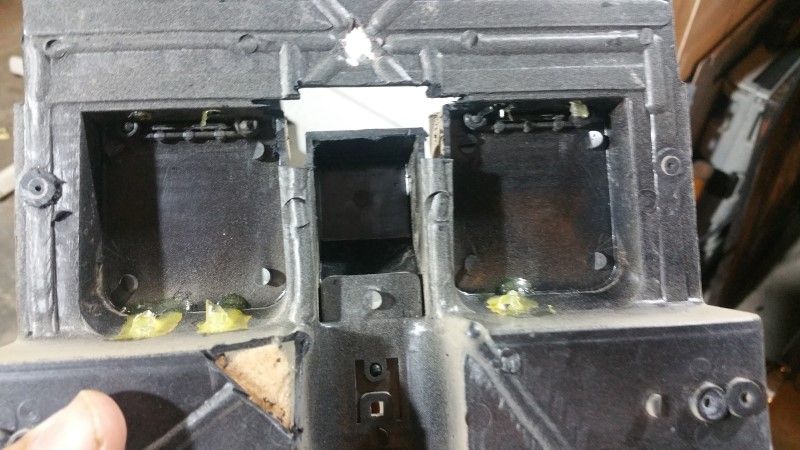 Several trimming sessions later and I could lower the body with the interior in place. If you look carefully, you can just see the spur behind the center console. 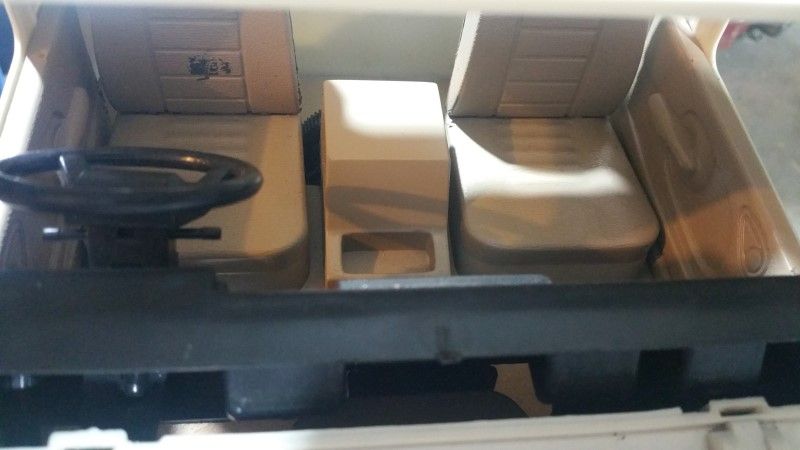 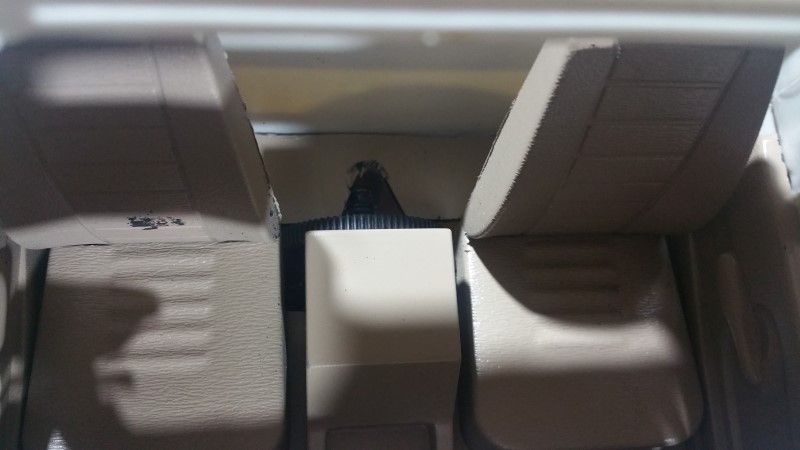 I also had to trim a corner out of the foot well to clear the back of the motor. 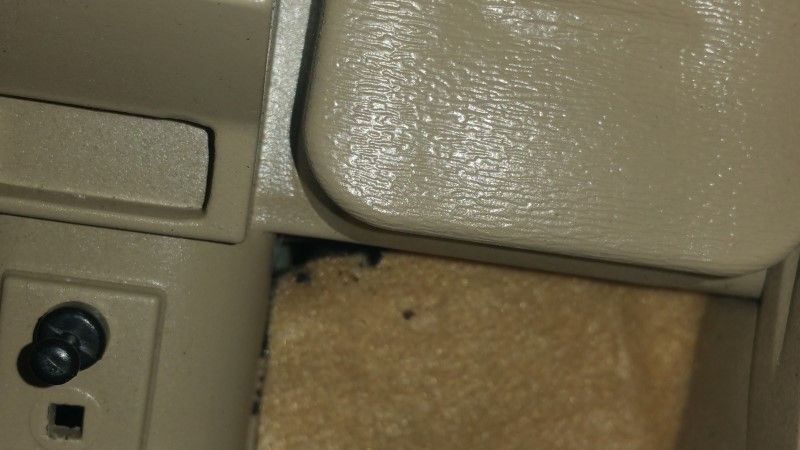 Test drove nicely!! 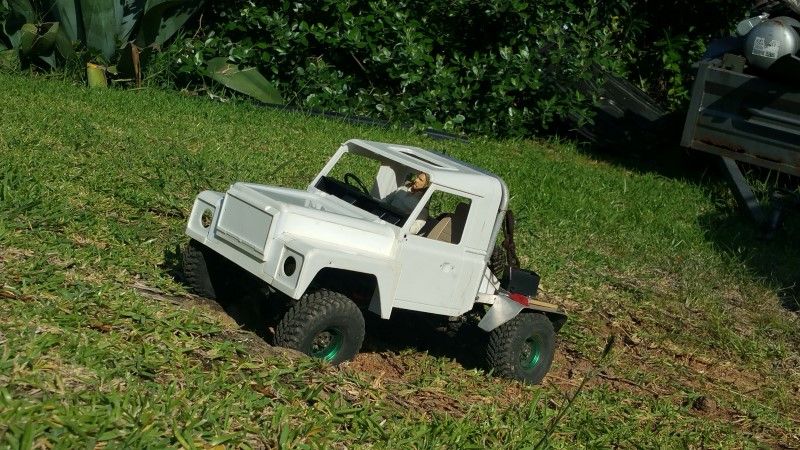 Cheers H2Micr0 |
| |  |
| | #20 |
| Rock Crawler Join Date: Jan 2013 Location: Australia
Posts: 541
|
With all the work I put into making this body, I wanted to give is some protection, and of course to meet the build regulations for Class 1. For now, the front bar will be simple yet functional using steel 10mm OD tube. To mount it to the chassis I used the SCX10 Honcho front cross member. I had to enlarge the two mounts slightly so I could use some 8mm OD tube. First issue was the chassis was behind the body, so I marked out where I needed to make a hole and got busy with the dremel. 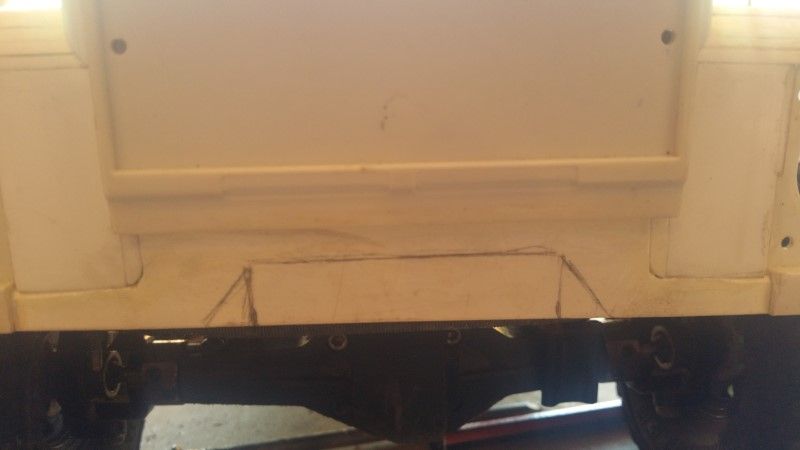 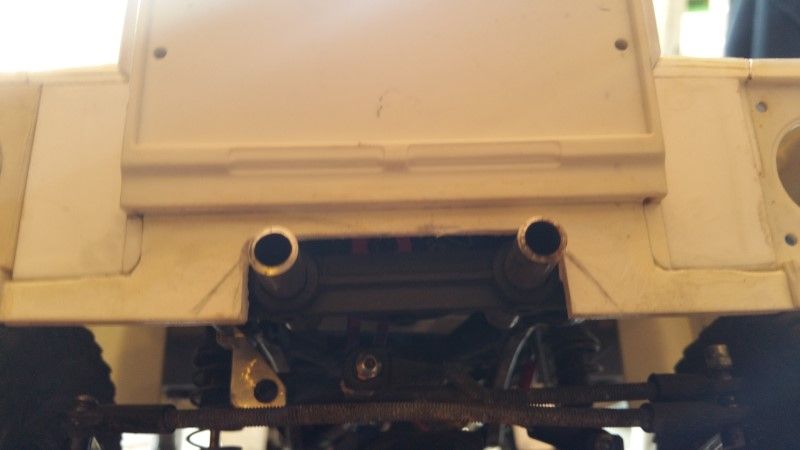 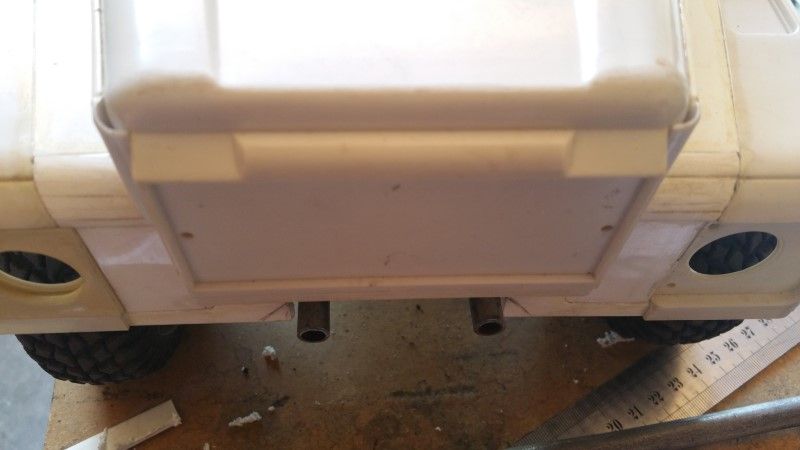 I drilled two holes in the side of the 10mm OD tube so the 8mm OD tube could slide in and be braised in place. 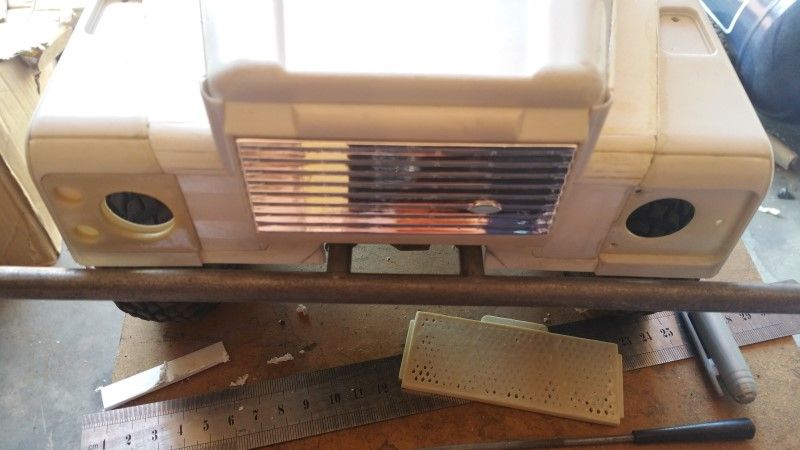 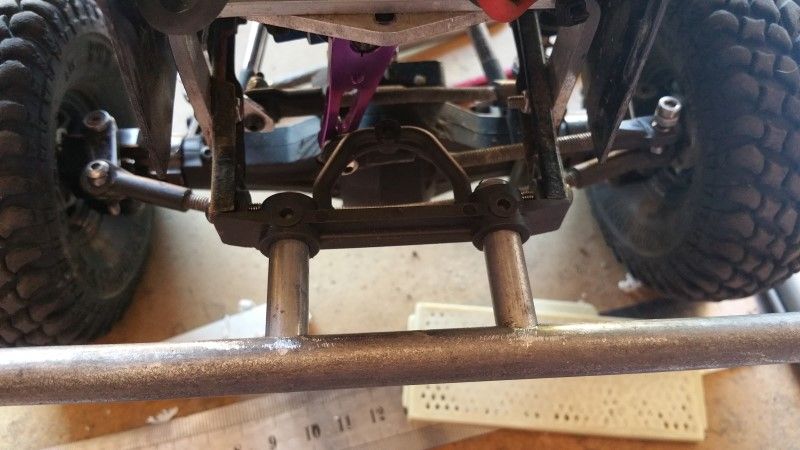 And I will of course need a winch. 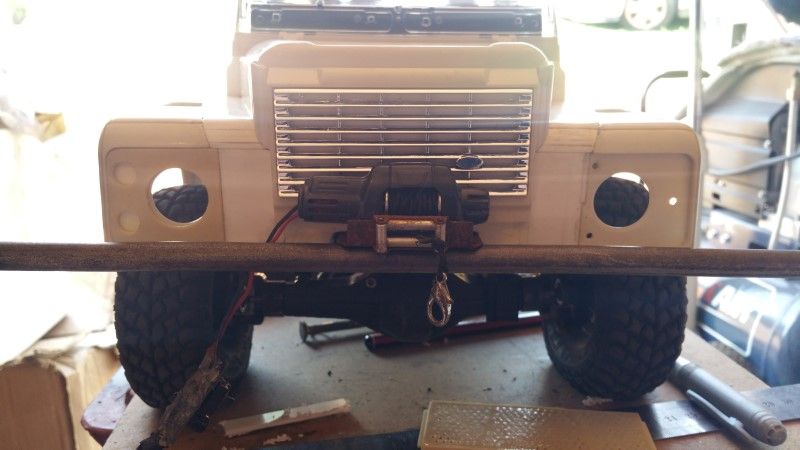 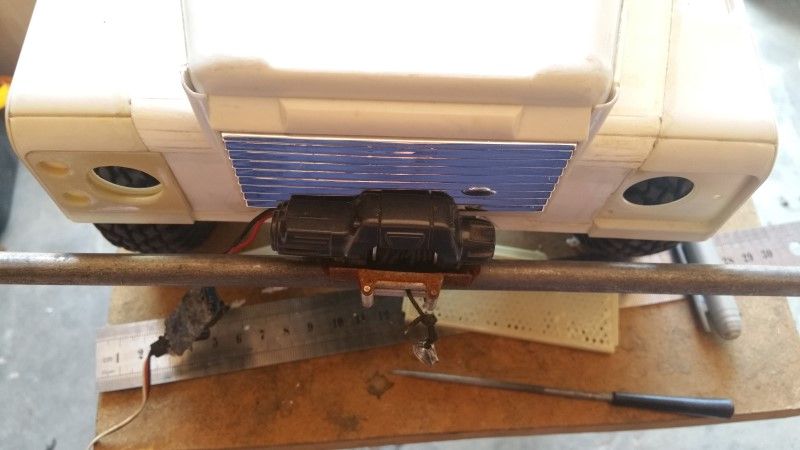 A couple of quick bends and it is shaping up nicely. 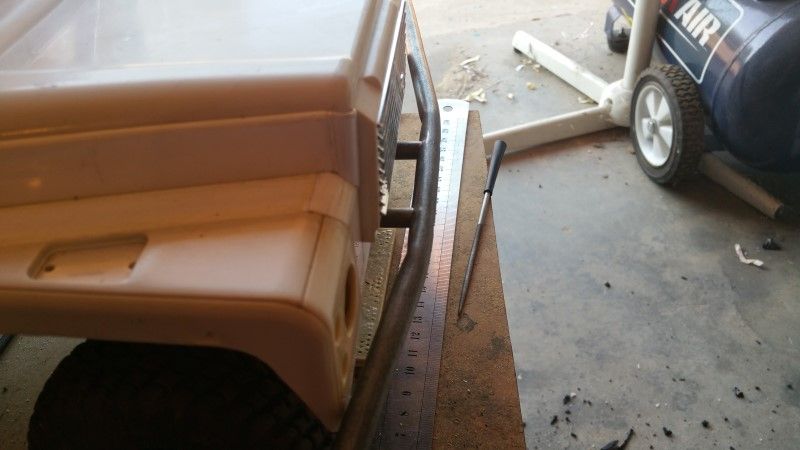 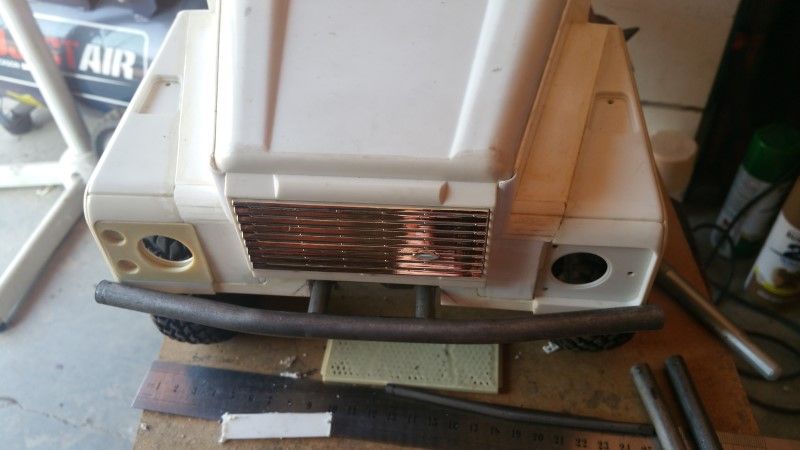 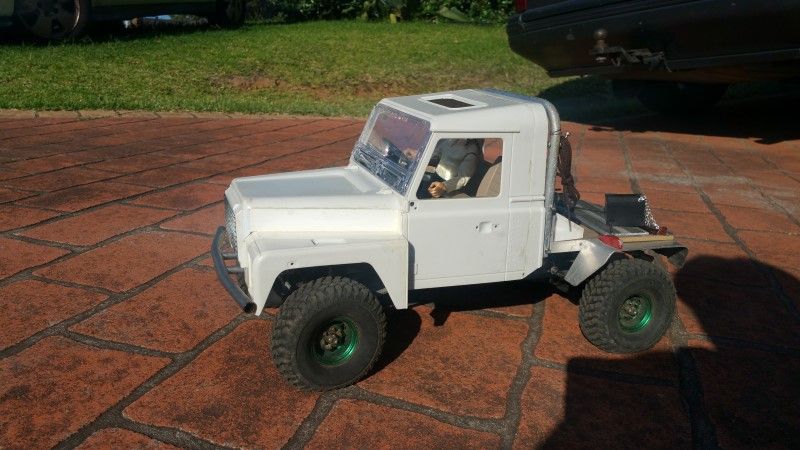 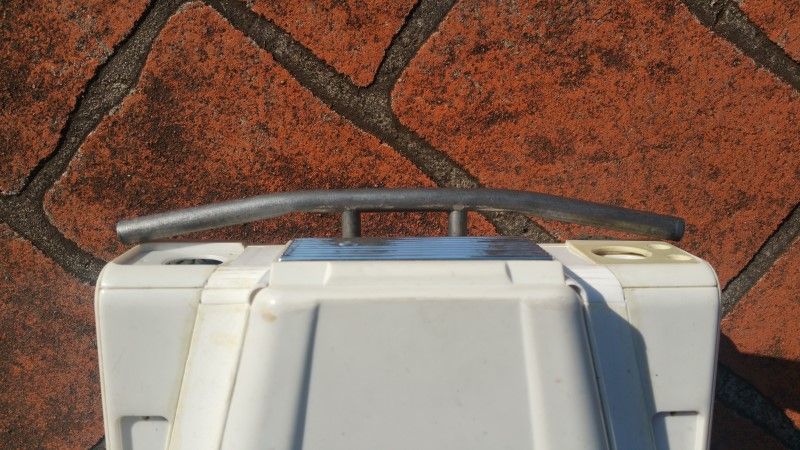 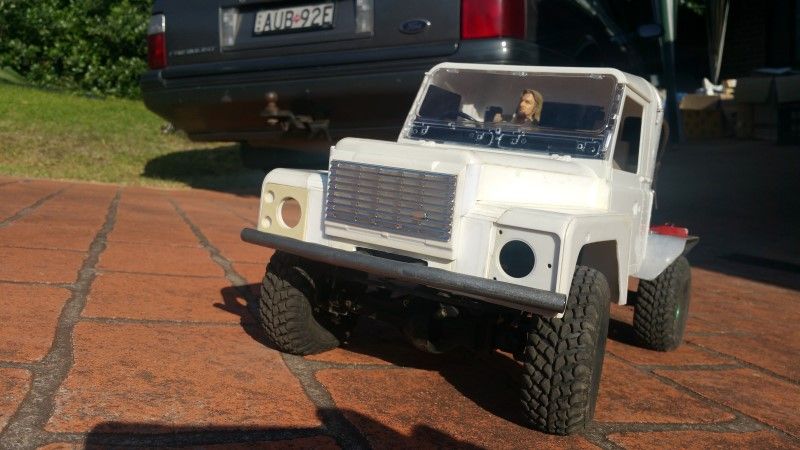 And then this happened!!!! And I love it!!! 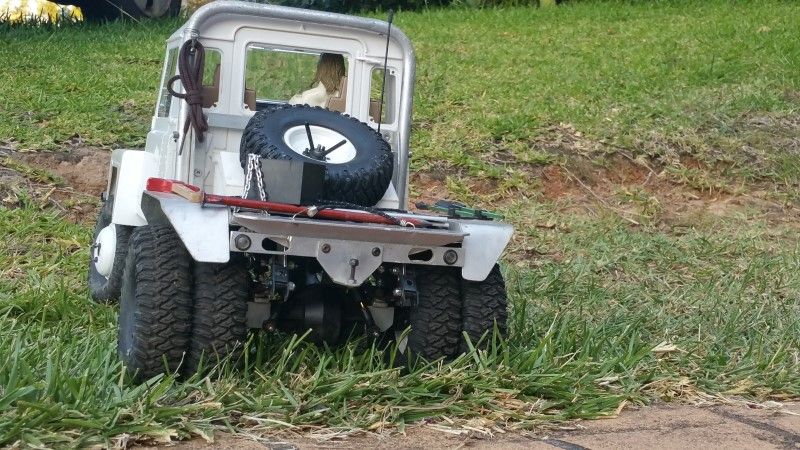 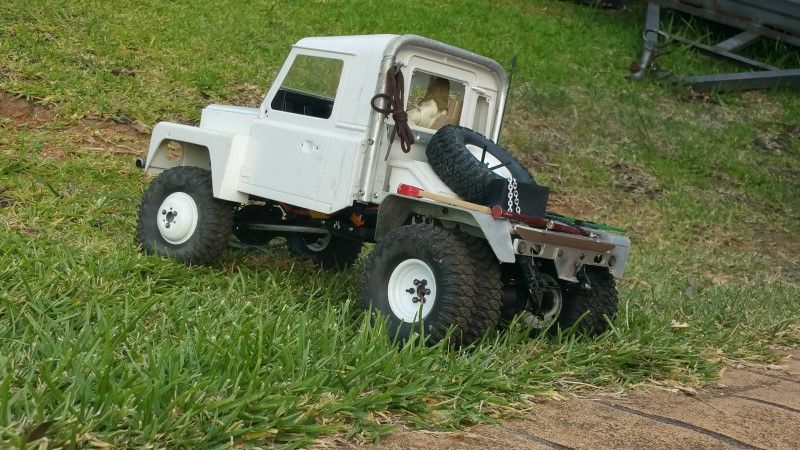 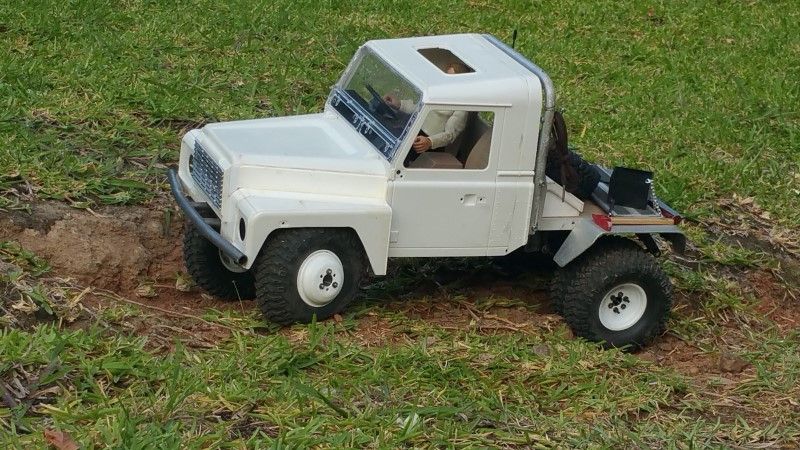 One of the few times an SCX10 diff looks at home size wise LOL 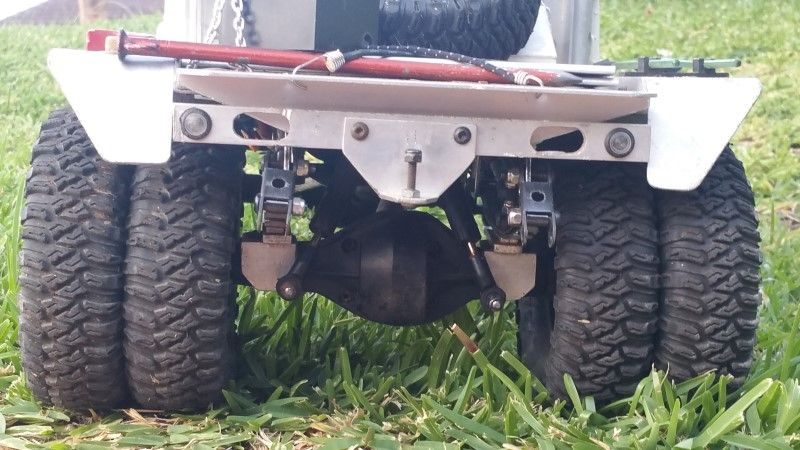 Cheers H2Micr0 |
| |  |
 |
 H2Micr0's Defender 129" - Modern Prototype - Similar Threads
 | ||||
| Thread | Thread Starter | Forum | Replies | Last Post |
| Official Reveiw,,,Pit Bulls "Rock Beast" 2.2 Prototype | dezmoon | Tires and Wheels | 389 | 05-04-2011 09:32 PM |
| |