| |||||||
Loading
 |
| | LinkBack | Thread Tools | Display Modes |
| |||||||
 |
| | LinkBack | Thread Tools | Display Modes |
| | #1 |
| Quarry Creeper  Join Date: Mar 2015 Location: Castle Rock, Colorado
Posts: 377
|
I'm new to this hobby and building trucks, so this won't be one of the "expert" builds. Rather, it will be a new guy working his way through his first build that isn't a pre-engineered kit. I decided to post this build because I have gotten so much valuable information from reading the other builds on here, and maybe someone will find something on this thread that will help them. I also would appreciate any constructive advice on how to proceed with this project. It all started when I walked into my local "Crawler" hobby shop, The Crawl Space, and saw this truck for $85.00. It seemed like a fair price. Little did I contemplate that it would lead to many hundreds of dollars worth of investment in this truck! 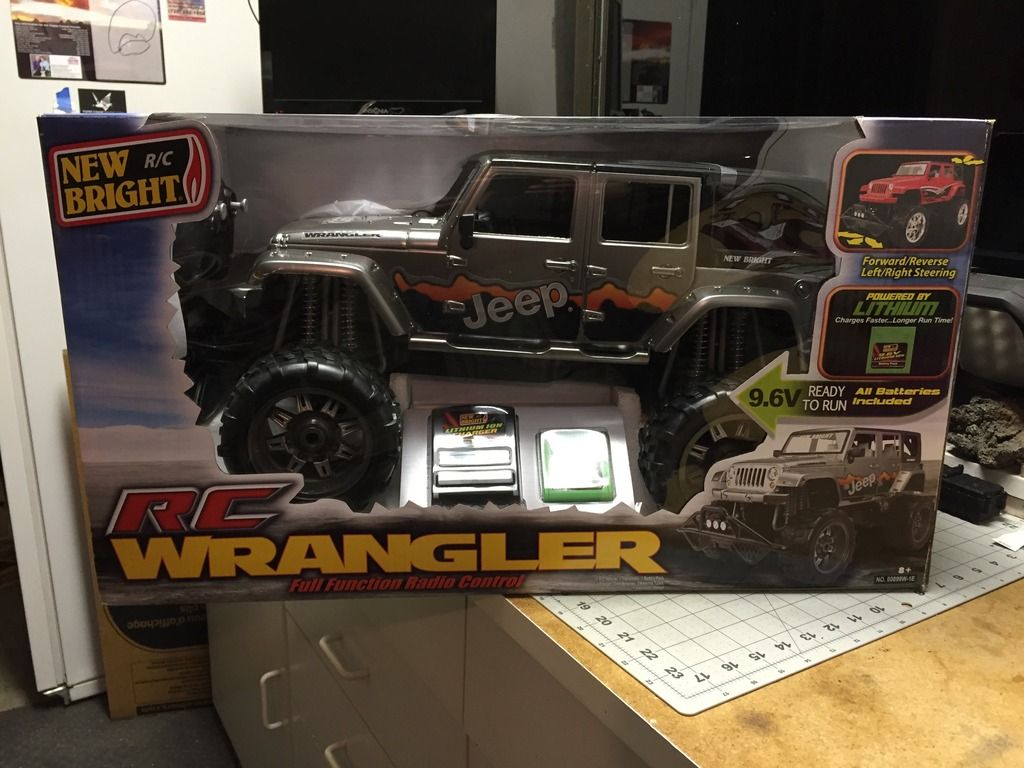 I started by removing the body from the chassis and removing the paper decals that came on the body. 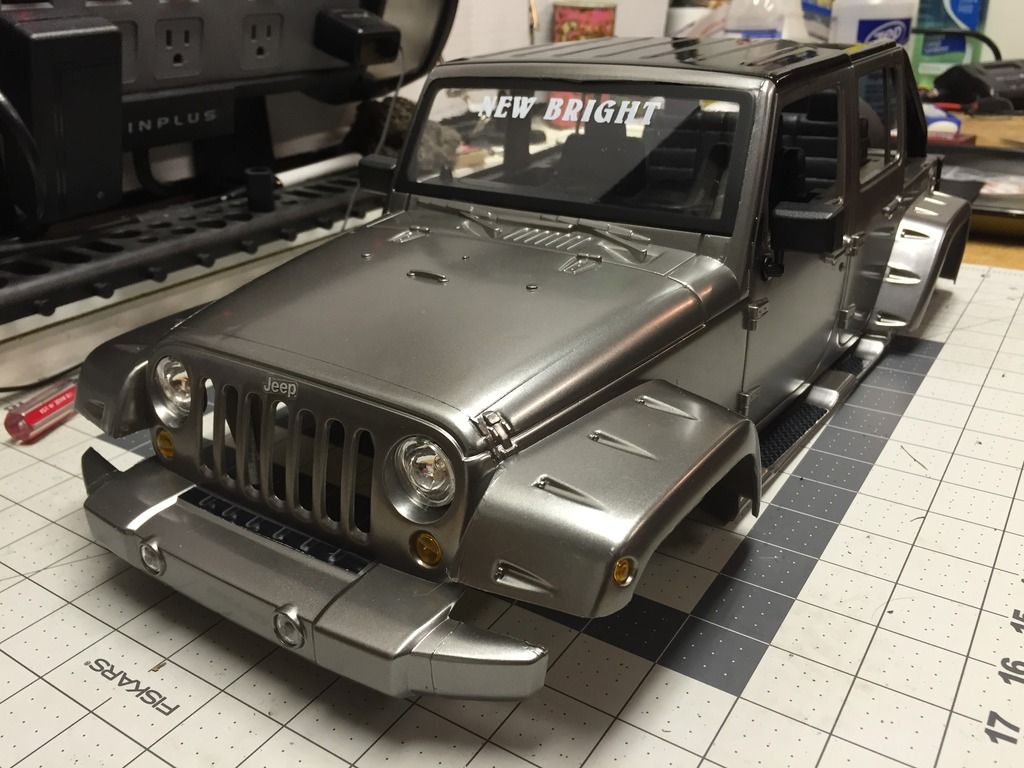 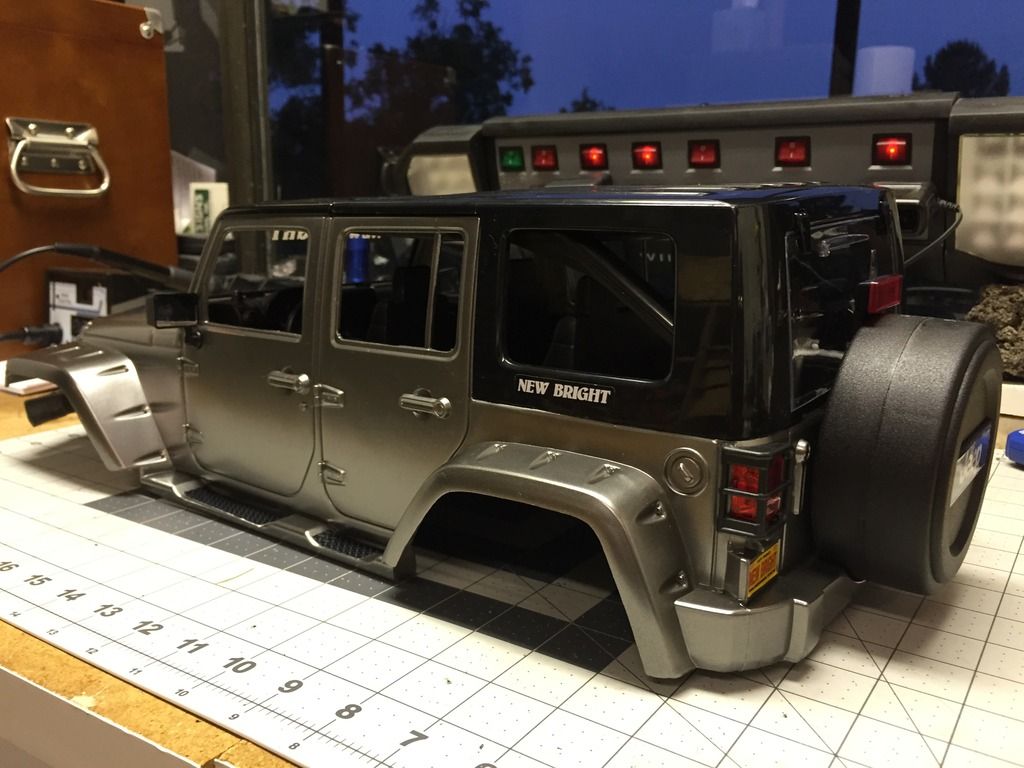 |
| |  |
| Sponsored Links | |
| | #2 |
| Quarry Creeper  Join Date: Mar 2015 Location: Castle Rock, Colorado
Posts: 377
|
Next I wanted to remove the New Bright lettering from the windshield. I read here that a lot of guys had good luck using non-acetone nail polish remover. This is what I used. I got it at Walgreens.  It worked well. If you get the reflection of light just right on the windshield you can still see a very light "ghosting" of the letters, but overall I'm happy with the results.  Last edited by Sammy J.; 11-27-2015 at 08:20 AM. |
| |  |
| | #3 |
| Quarry Creeper  Join Date: Mar 2015 Location: Castle Rock, Colorado
Posts: 377
|
One of my goals was to preserve the interior of the body intact. In order to accomplish this, I decided to use the GCM Cross Canyon Axial Ultimate Combo kit. It is basically designed for this body and comes complete with proper links, CMS and pan hard. It also includes a transfer case. I was surprised at how quickly it showed up in my mailbox. Coming from Canada, I thought it would take weeks. Instead, it took about one week. 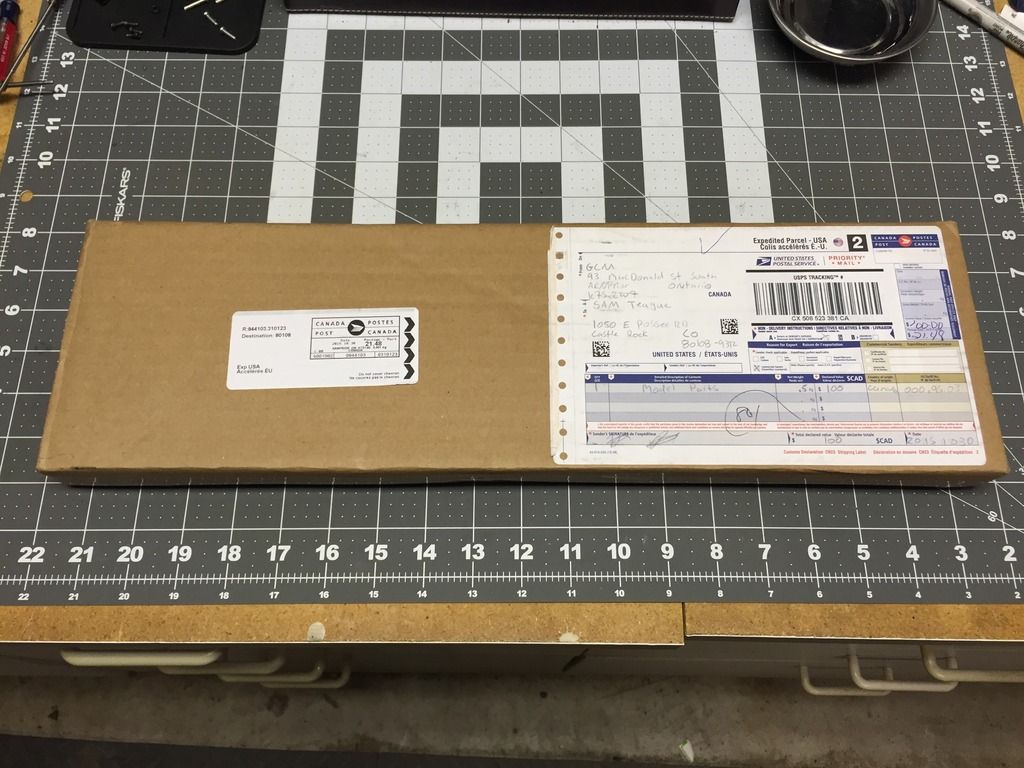 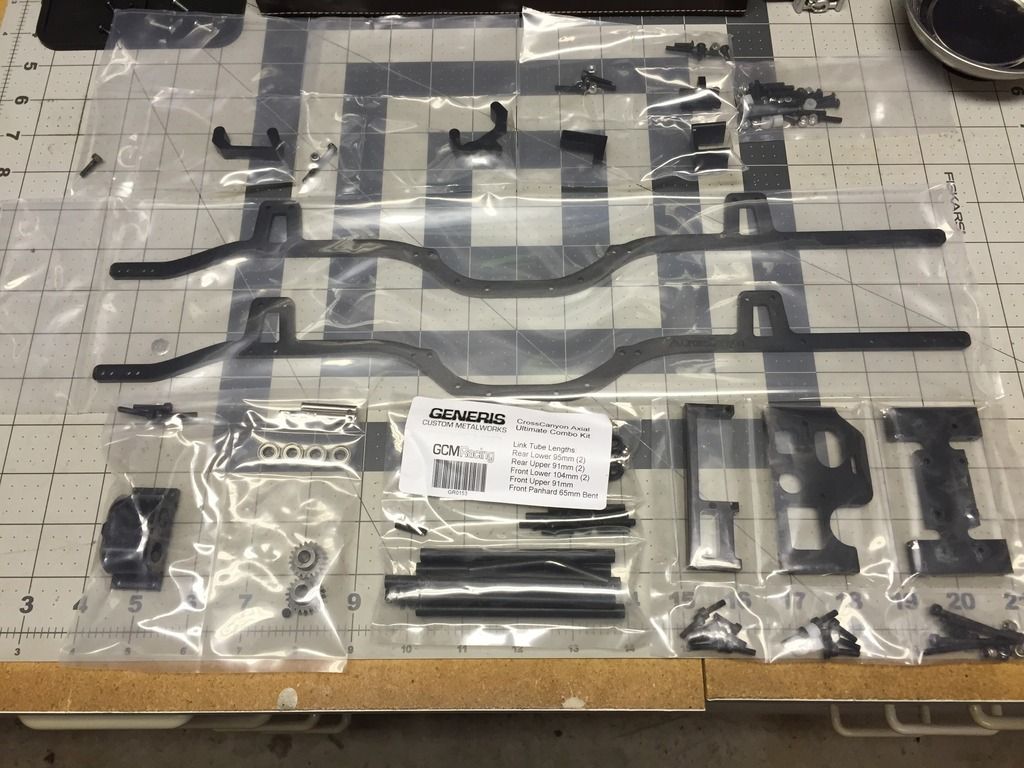 The kit came with no instructions. I was able to learn some of the assembly from a few Youtube videos that GCM has posted. They have an excellent video posted for the assembly of their Skeleton Chassis, and I would have loved to have seen the same level of detail in a Cross Canyon assembly video. There are a couple of Cross Canyon assembly videos, but they just don't have the detail that the Skeleton video has. Having said that, I found Chris at GCM to be extremely helpful with my questions. I would email a question to their service address and would receive a helpful reply, usually within minutes. I just love the enthusiasm the guys at GCM bring to this hobby. |
| |  |
| | #4 |
| Rock Stacker Join Date: Jun 2014 Location: myrtle beach
Posts: 72
|
I'll def be watching this build man. I have the new bright jeep body too. Been saving for the gcm chassis forever! I will say I think it was Black Friday last year I got my nb body from wall mart for 39.00 shipped, I just checked there 49.99 now shipped. A little to late I know but an extra body never hurt especially not been hard plastic. One good roll or a one year old trying to sit on it will crack it up fast! Either way good luck on the build looking solid so far  |
| |  |
| | #5 |
| Rock Stacker  Join Date: Apr 2009 Location: Round Lake
Posts: 82
|
What's the plan for axles? Love that chassis set up btw....
|
| |  |
| | #6 |
| Quarry Creeper  Join Date: Mar 2015 Location: Castle Rock, Colorado
Posts: 377
|
Wow! I just checked the Walmart site and couldn't find this model body. Pretty weird, some ad page kept showing up when I would try to go to the second page. Wonder if Walmart is getting hacked today? Anyway, I would definitely buy a back up of this body at that price. You're right, the thought of breakage is scary. |
| |  |
| | #7 |
| Quarry Creeper  Join Date: Mar 2015 Location: Castle Rock, Colorado
Posts: 377
| I am using standard Axial SCX10 axles, at least for now. The pan hard mount is designed to work perfectly with the Axial axle (with a slight modification), and the trusses are direct bolt-ons to the Axial axles. I am upgrading the front axle with Axial universals and aluminum chubs and knuckles. Last edited by Sammy J.; 11-28-2015 at 06:05 AM. |
| |  |
| | #8 |
| Rock Stacker Join Date: Jun 2014 Location: myrtle beach
Posts: 72
|
Well it's not the exact same they don't make the ones with the interior anymore. The new models come with blacked out windows no interior but the windows will come out and u can use the interior from the old jeep body. screw holes are still molded in the new body. Try and get u a link when I get off work
Last edited by mbcrawler08; 11-27-2015 at 01:22 PM. |
| |  |
| | #9 |
| Quarry Creeper  Join Date: Mar 2015 Location: Castle Rock, Colorado
Posts: 377
|
The transfer case was easy to assemble. GCM has a nice video showing the procedure. There are two ways to assemble it, depending on if you are going with motor forward or motor rearward. In some of my pictures you will see the motor one way and in others, the other way. I was trying to decide which way I wanted to go. I ultimately went with motor forward so I could try to mount the battery behind the spur gear and ahead of the interior. 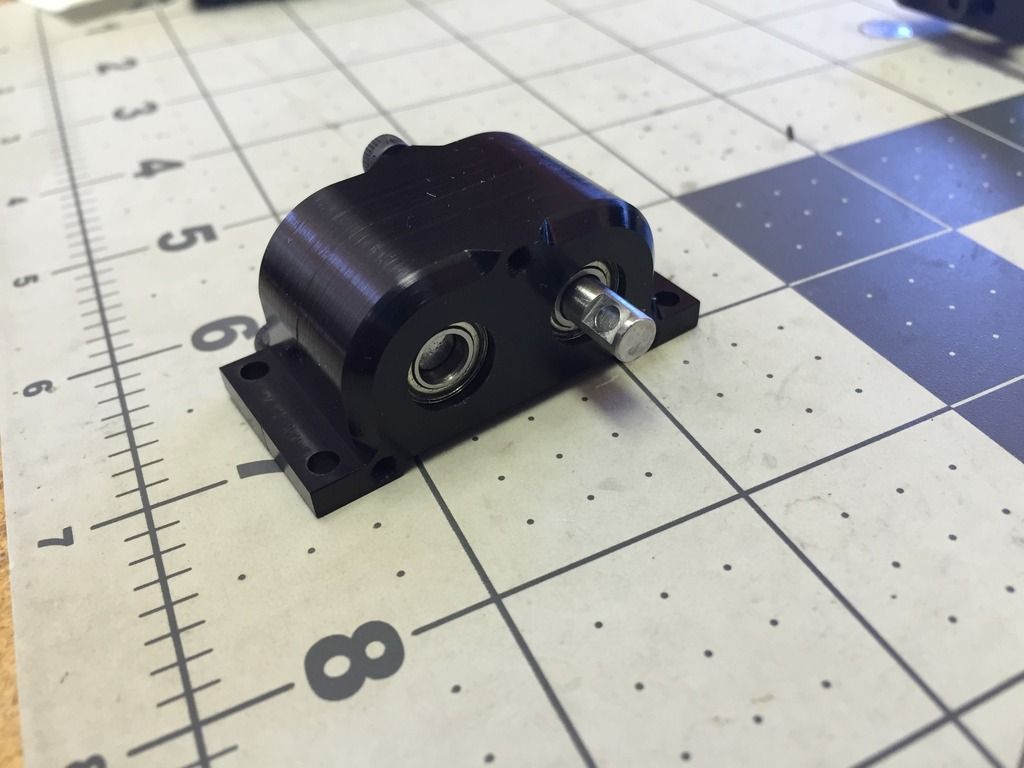 The chassis went together quite easily. Some of the components you will see in the photos (like the can motor) are just there for mock up. They will be replaced. 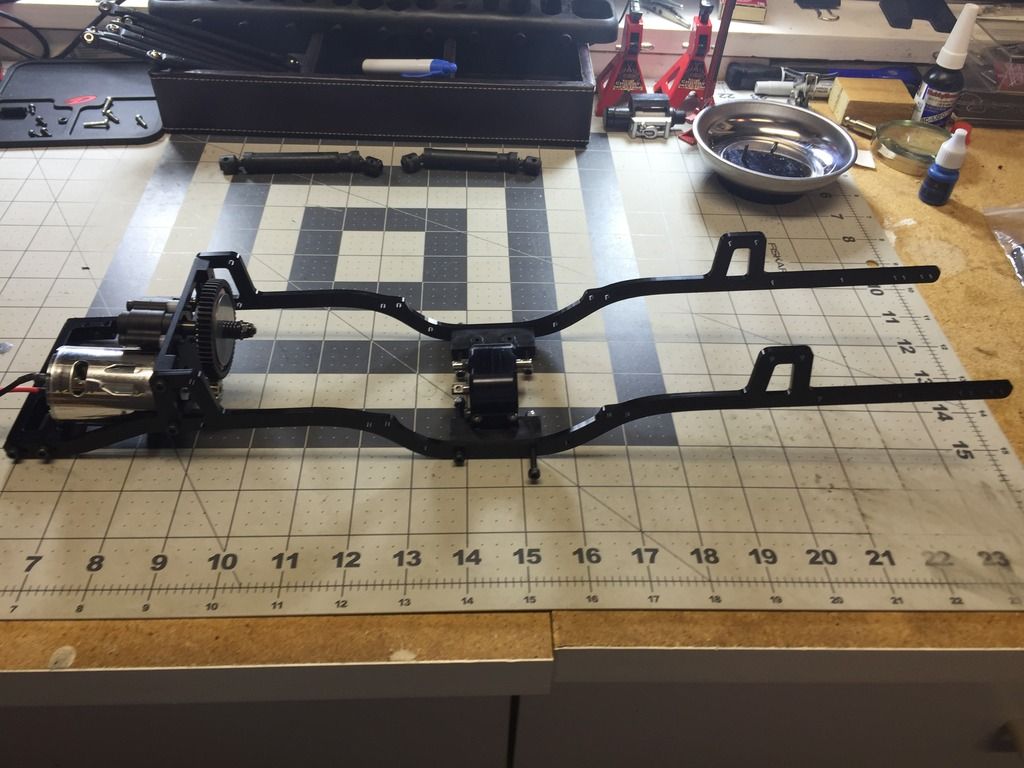 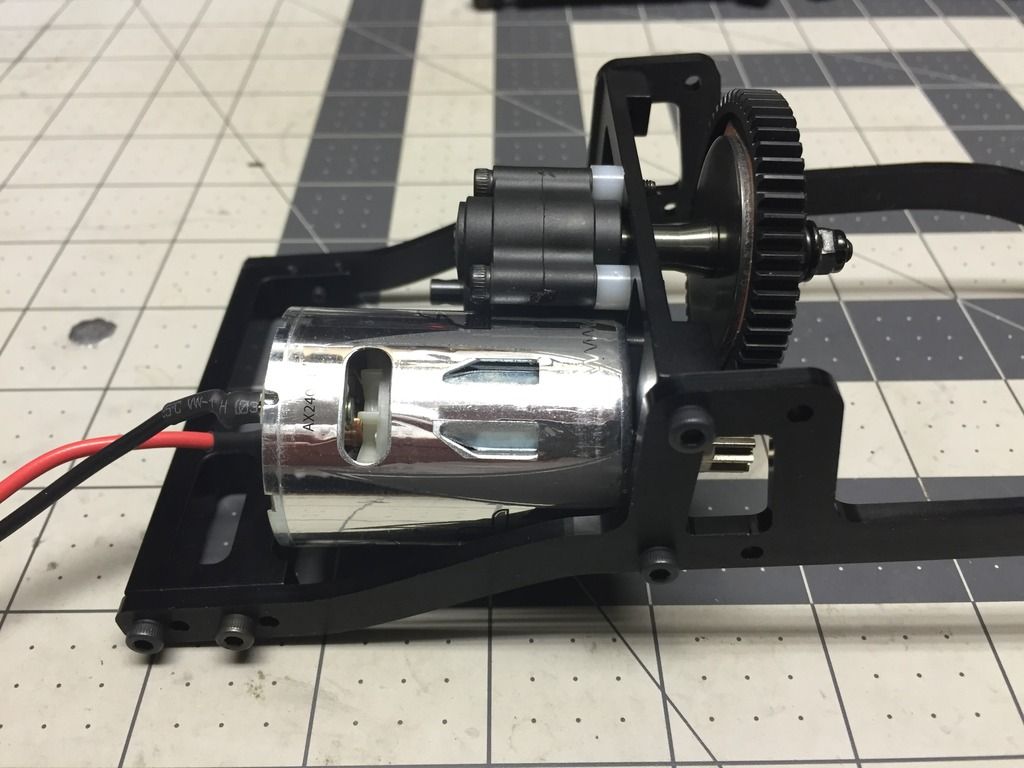 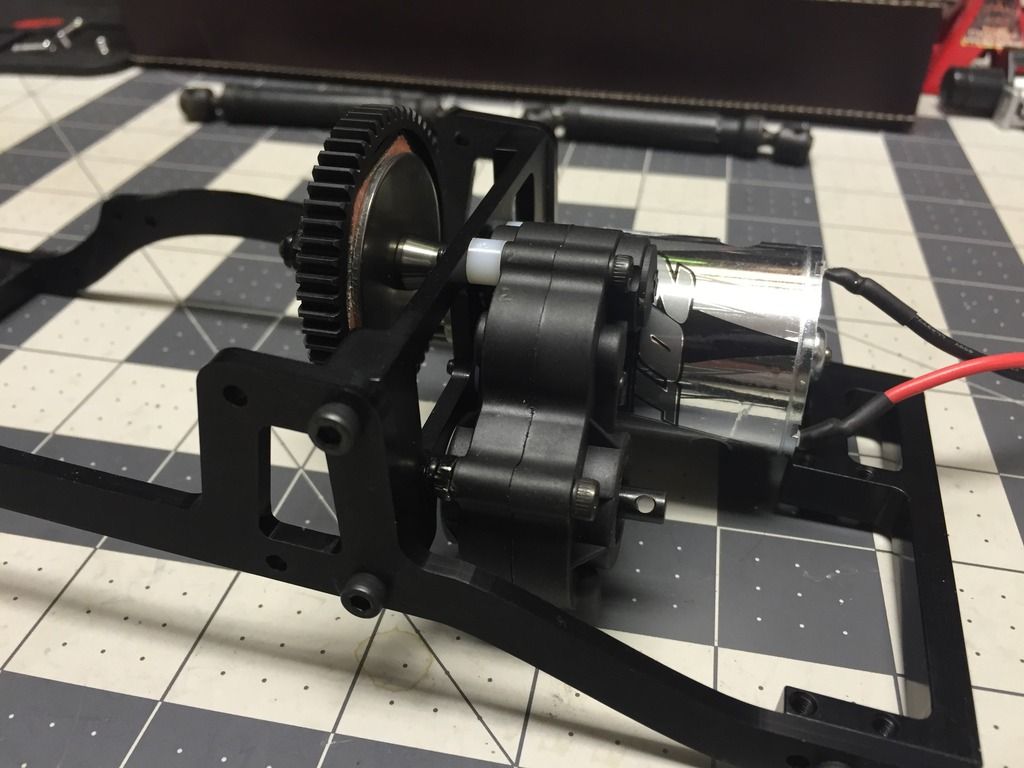 Last edited by Sammy J.; 11-27-2015 at 02:54 PM. |
| |  |
| | #10 |
| Quarry Creeper  Join Date: Mar 2015 Location: Castle Rock, Colorado
Posts: 377
|
Next up, installation of the axles. Had I known that I would be doing a slight modification to the front axle to accommodate the pan hard bracket, I would have done that mod before installing the axle. Once again, the motor transmission mount varies in these photos because I was still trying it both ways. 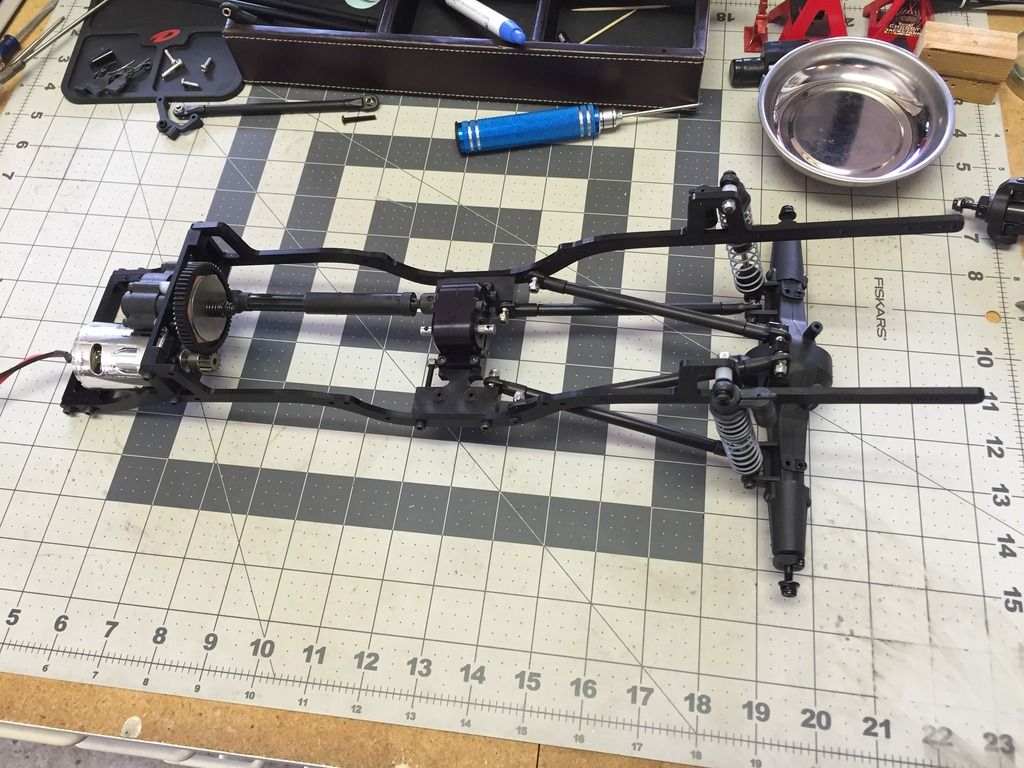 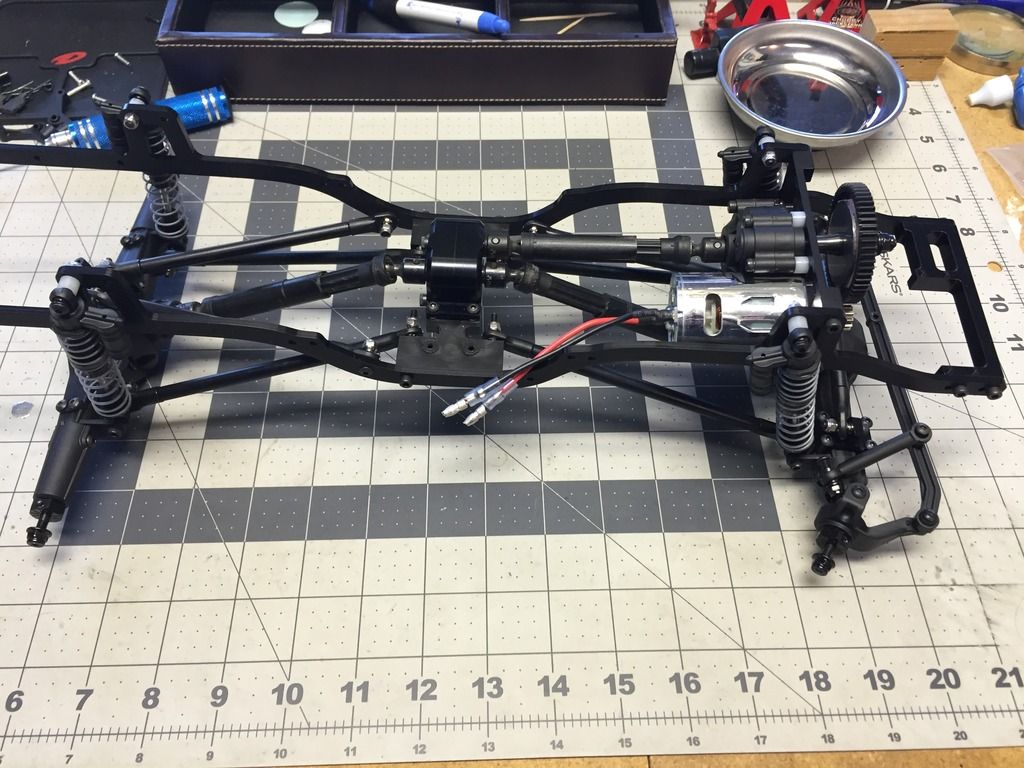 I added some stock WB8 driveshafts and some wheels I had laying around. Once I turned the motor/transmission around to a motor forward position, the stock driveshaft that drives the transfer case was too short to be dependable. Later I will change the driveshafts out for some metal ones. 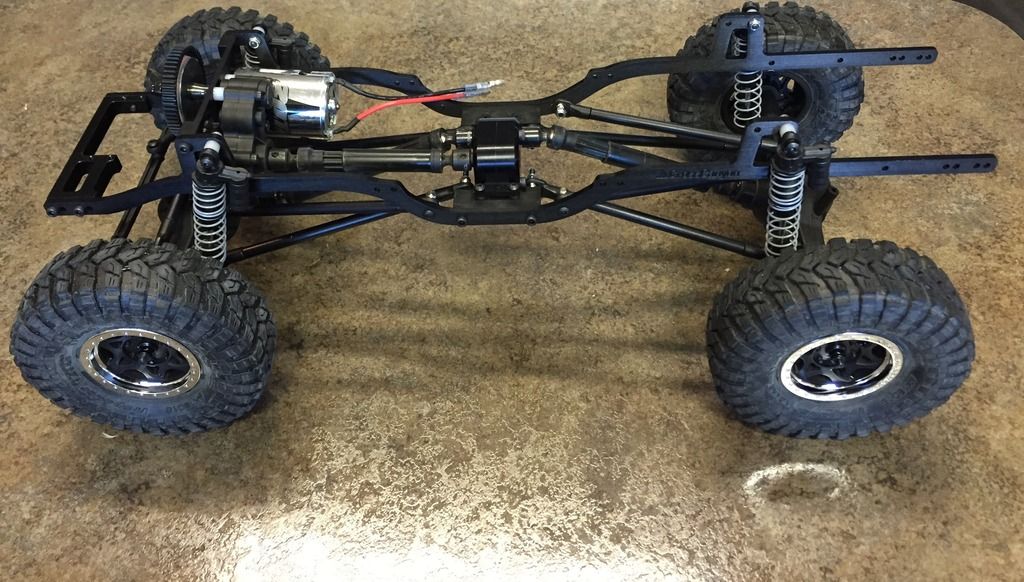 The links in this kit are precut, so it was just a matter of screwing the ball ends on and mounting them. Last edited by Sammy J.; 11-28-2015 at 07:57 AM. |
| |  |
| | #11 |
| Quarry Creeper  Join Date: Mar 2015 Location: Castle Rock, Colorado
Posts: 377
| |
| |  |
| | #12 |
| Quarry Creeper  Join Date: Mar 2015 Location: Castle Rock, Colorado
Posts: 377
| |
| |  |
| | #13 | |
| Rock Crawler  Join Date: Feb 2009 Location: Wrightstown
Posts: 960
| Quote:
Good info, I was wondering how I was gonna get that off of mine. Now I don't have to search, thanx.  | |
| |  |
| | #14 |
| Quarry Creeper  Join Date: Mar 2015 Location: Castle Rock, Colorado
Posts: 377
|
Cold and snowy here in Colorado, so a great day to hang out in the garage and work on the JK! 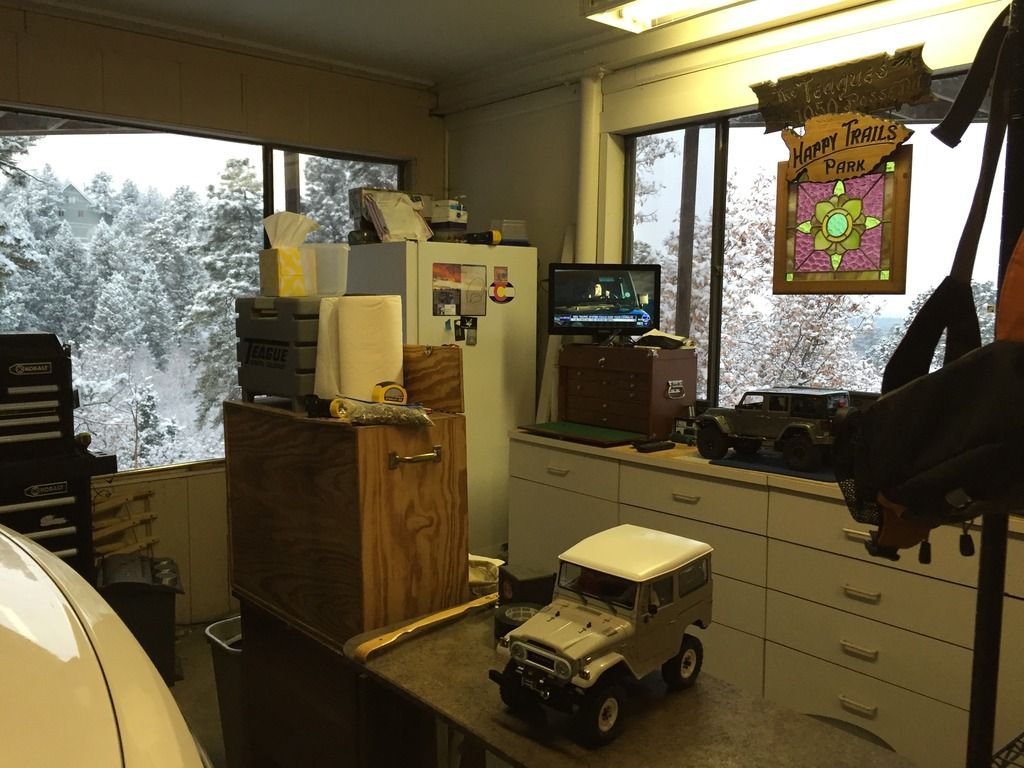 I installed my driveshafts. For the axles I used MIP SCX10 driveshafts and for the transfer case I used a Junfac J90034 driveshaft. They all fit great and operate smoothly. 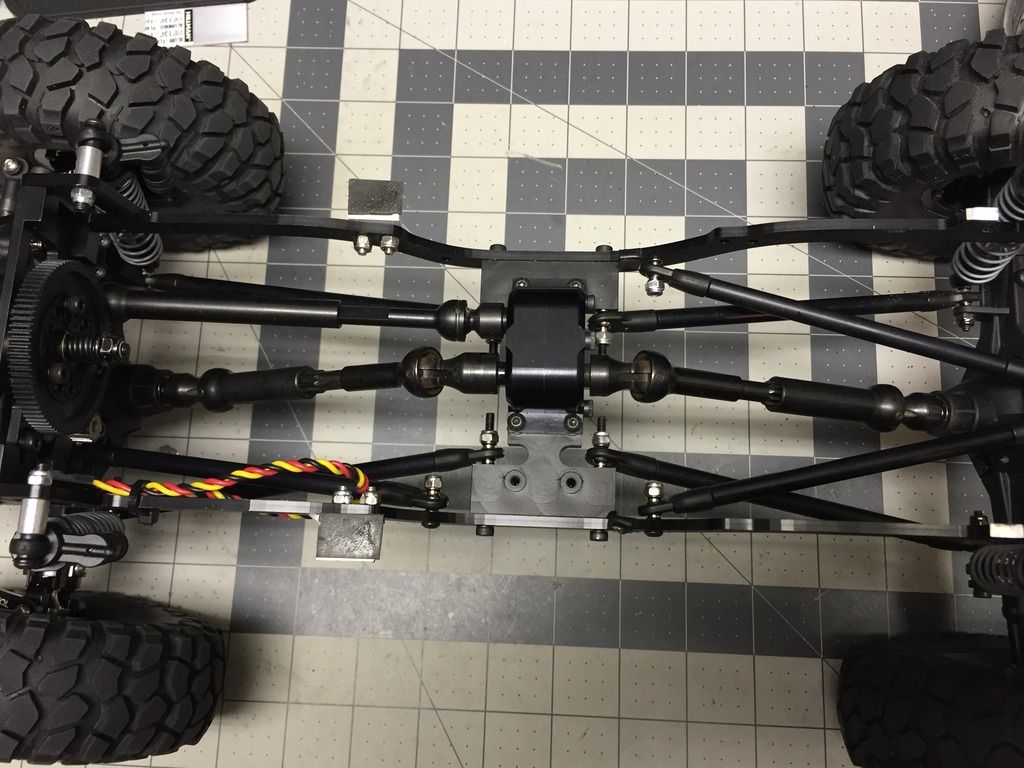 I found a battery/electronics tray that is made for an SCX10 at my LHS. I decided to try to use it for this build. I fabbed a couple of tabs on the frame for it to attach to. 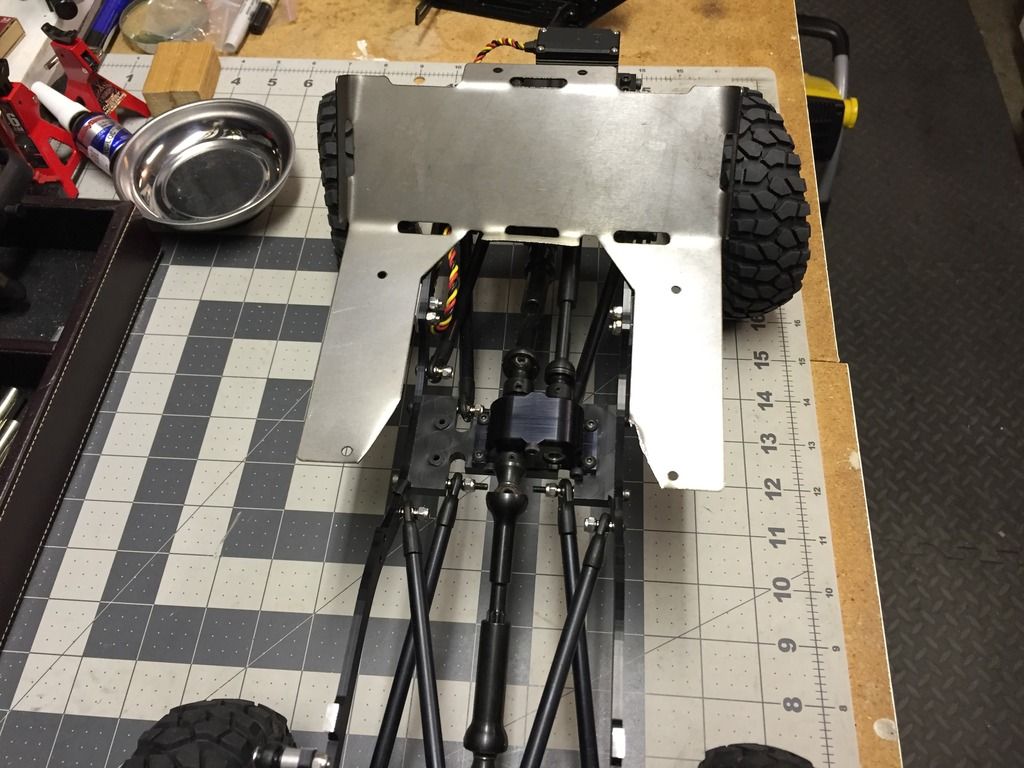 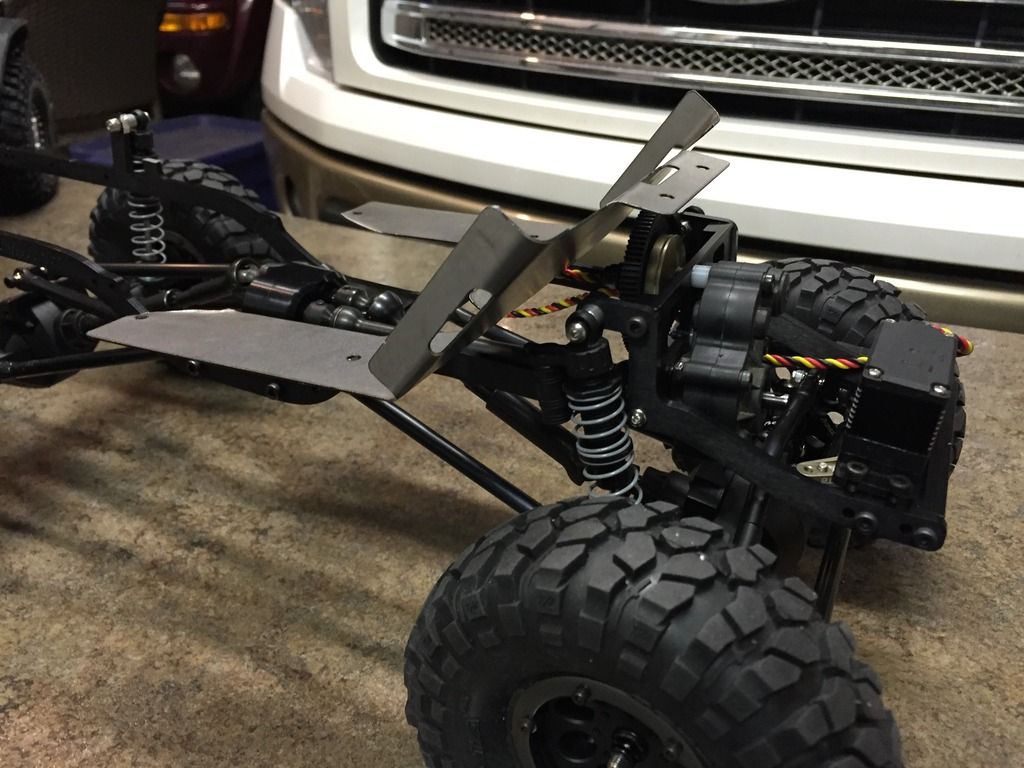 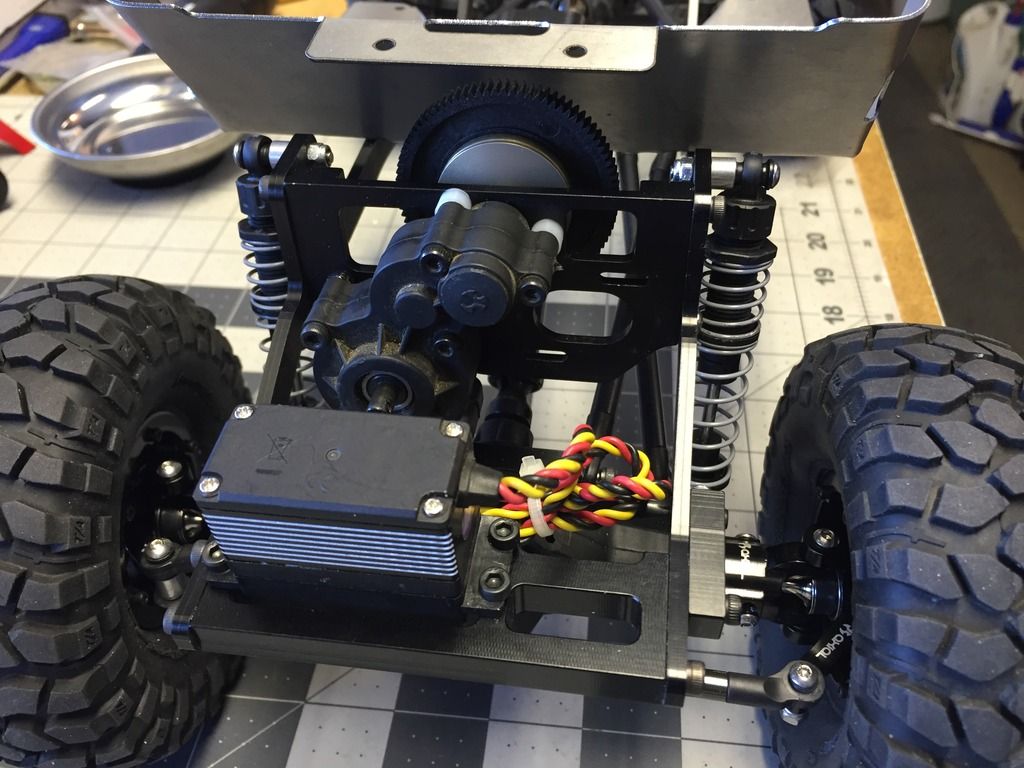 |
| |  |
| | #15 |
| Quarry Creeper Join Date: Jun 2008 Location: San Antonio
Posts: 409
|
Unless the ski resorts are closed, idk why you would waste fresh powder working on your toy! BTW nice build so far  |
| |  |
| | #16 |
| Rock Stacker Join Date: May 2011 Location: Ansonia
Posts: 65
|  look great! I had a blast building mine! And like you said I just learned how to remove the new bright logo! I just covered it with a sticker look great! I had a blast building mine! And like you said I just learned how to remove the new bright logo! I just covered it with a stickerbackyard boogie |
| |  |
| | #17 |
| Quarry Creeper  Join Date: Mar 2015 Location: Castle Rock, Colorado
Posts: 377
|
That is such a cool picture of Crawls all's Jeep! Time for electronics. Here's what I decided to use... Holmes Hobbies brushed 27T Torquemaster Expert motor Castle Creations Sidewinder 3 ESC Castle Creations 10A BEC Hitec 7955TH steering servo Futaba R2104GF 4 channel receiver 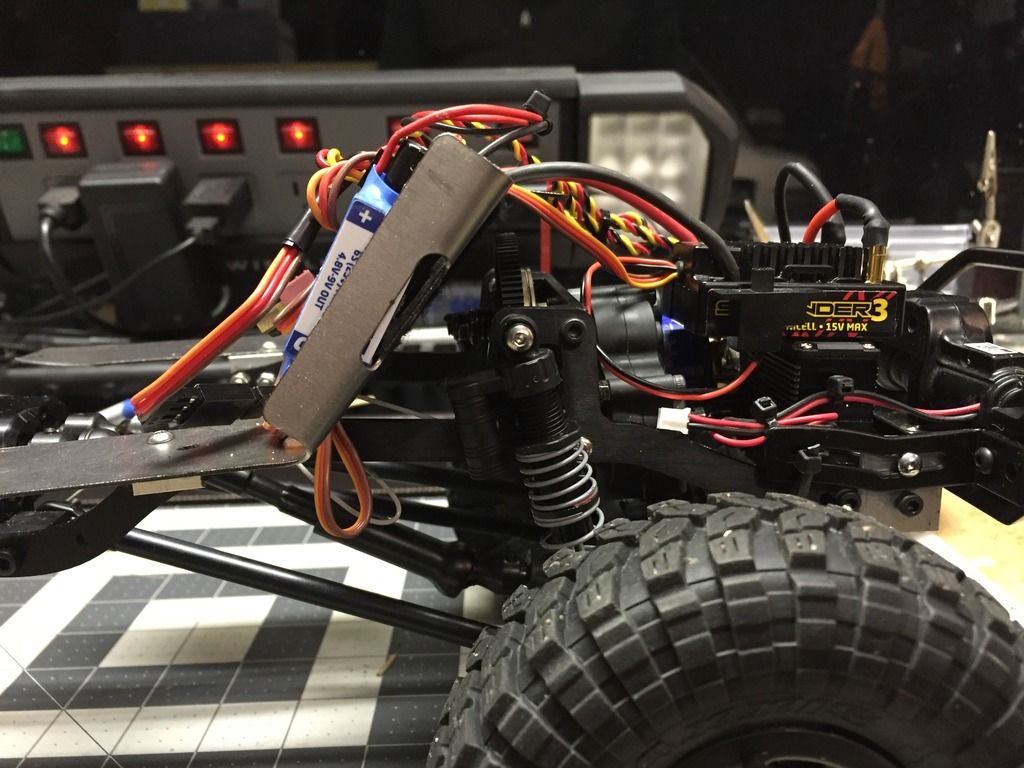 Electronics mounted okay, but the only battery I could mount on the battery tray was a small 2 cell lipo. I want to run a Turnigy 2200mAh 3 cell, but it wouldn't clear the front of the interior when I mounted the body. I ended up bending the bulkhead of the electronics tray up to a 90 degree angle and moving the tray forward on the frame. I had to trim the sides a little to clear the body sides. I also cut down the top of one side so the wires would clear. A cool byproduct of this change is that now the lip at the top of the tray flushed up perfectly with the underside of the body hood. At least for now, I decided to use velcro on that tab and the underside of the hood to fasten the front of the body to the frame. I will probably look into a magnetic mount down the road, but for now this works pretty nifty. 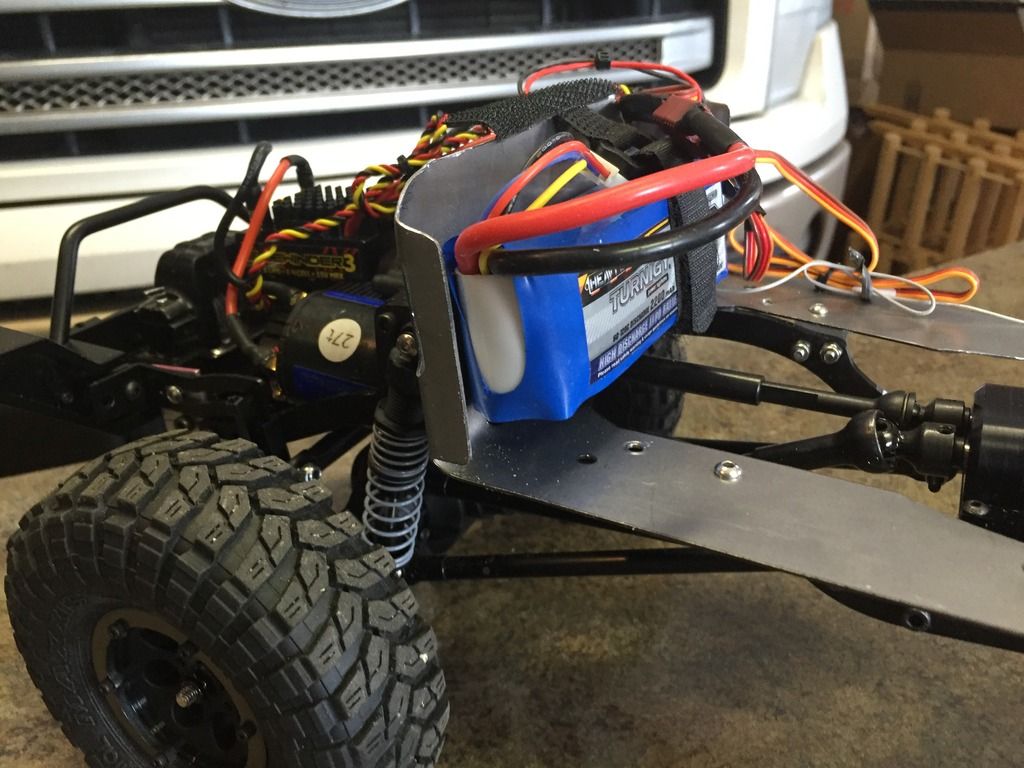 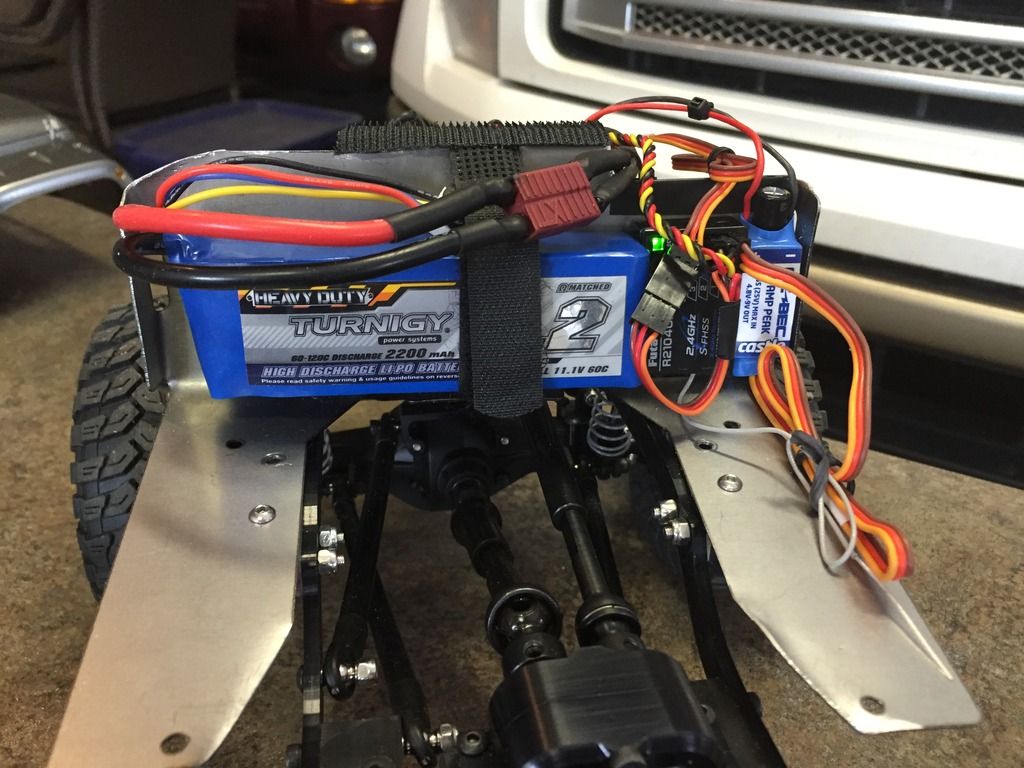 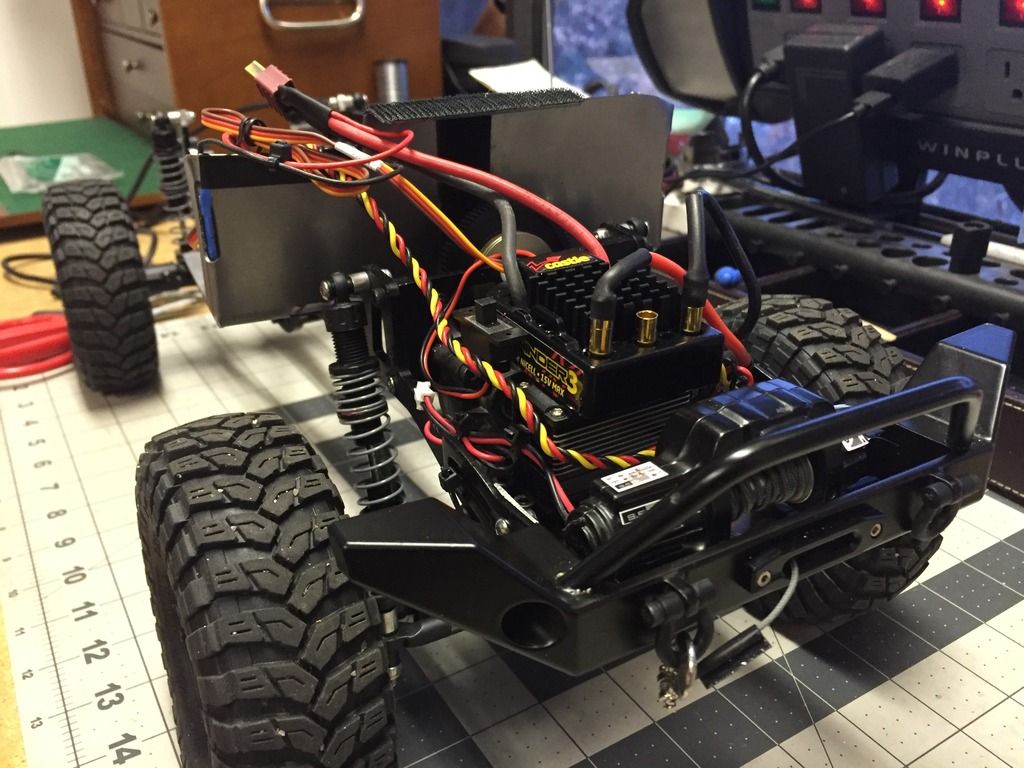 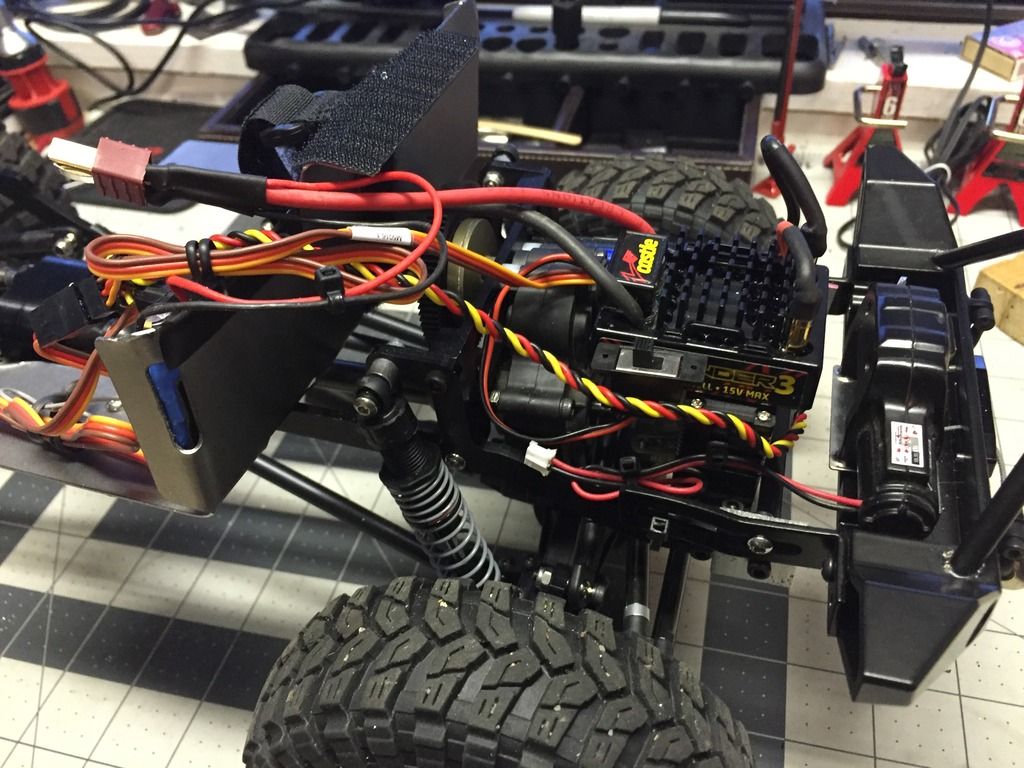 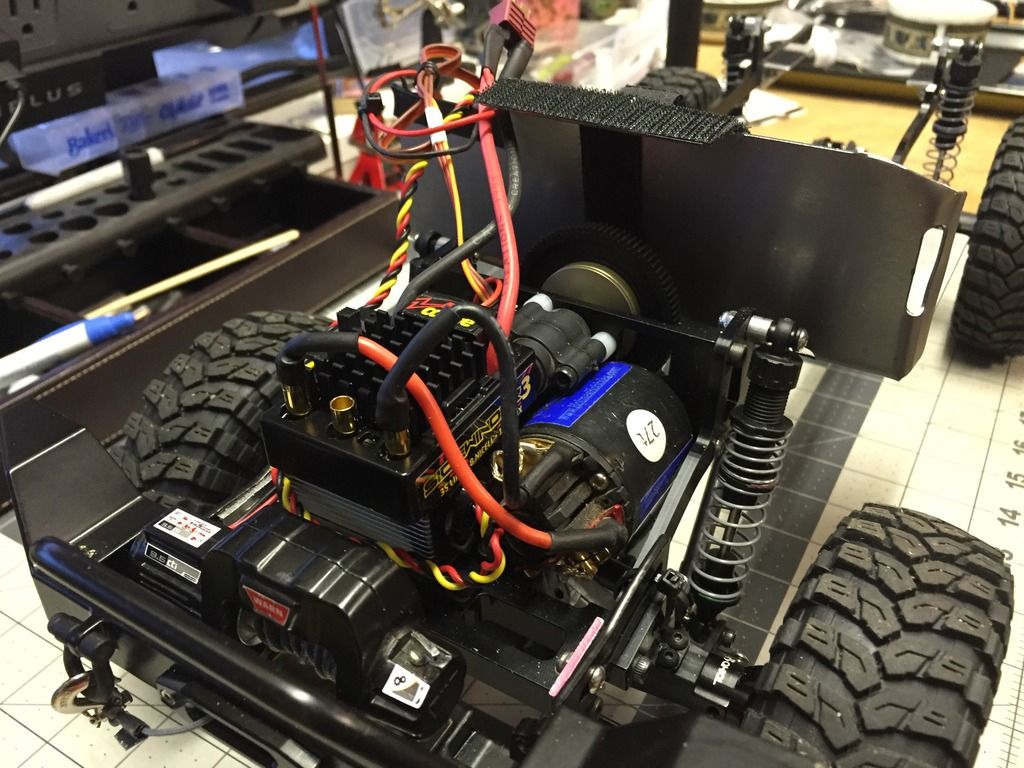 Last edited by Sammy J.; 12-01-2015 at 09:44 AM. |
| |  |
| | #18 |
| Quarry Creeper  Join Date: Mar 2015 Location: Castle Rock, Colorado
Posts: 377
|
I decided to use the rc4wd Rock Hard front bumper. The GCM frame is a little wider than a stock scx10 frame. The Rock Hard bumper had some flexibility in it's mounts. First I had to cut off the moulded bumper. 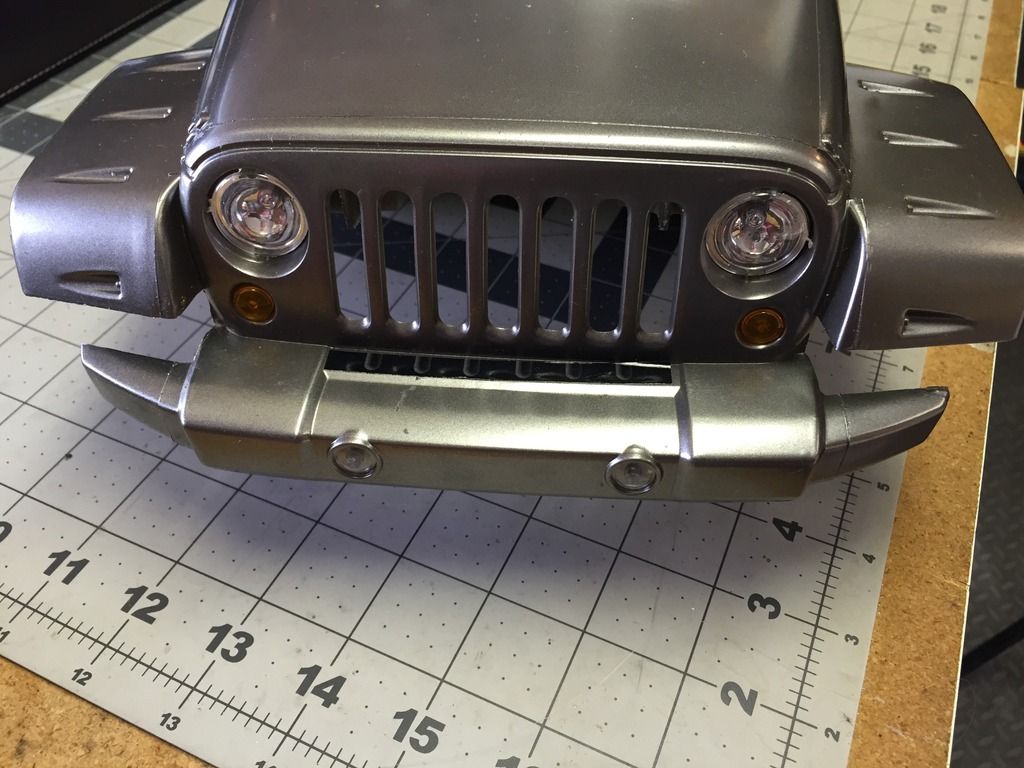 I used the "sewing thread" method I learned here on the paint and body forum. It was really quite easy. 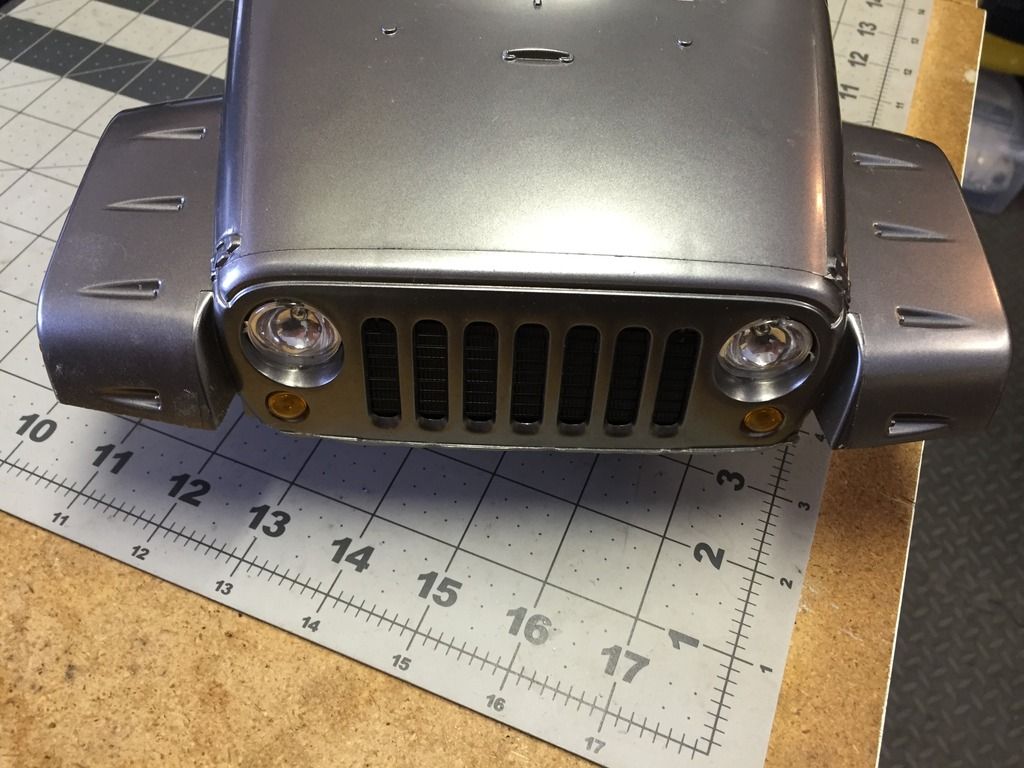 Here is the bumper mounted with a winch. 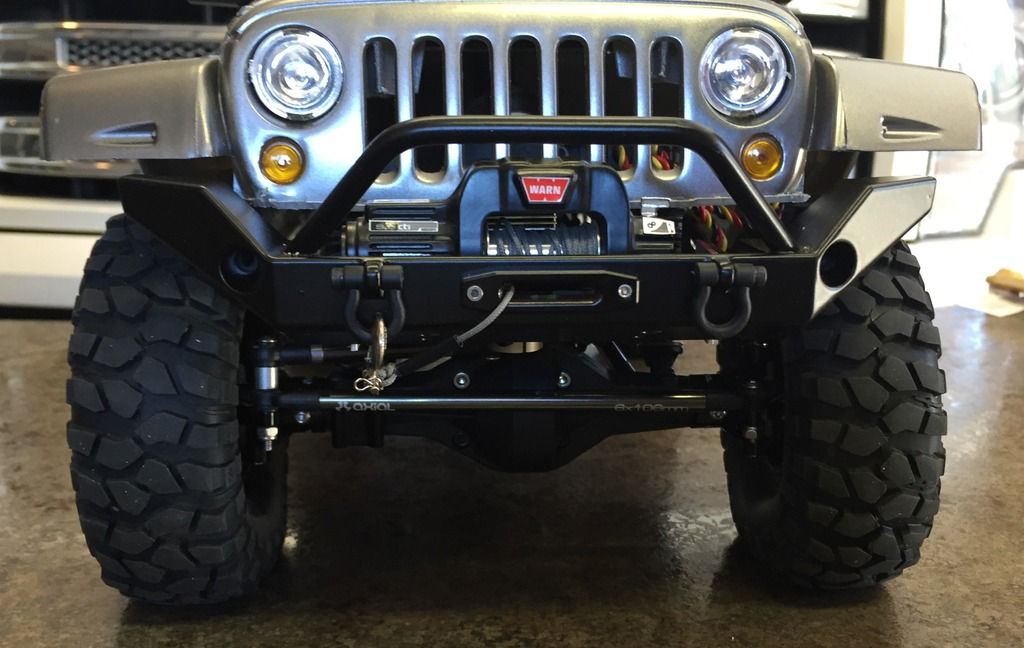 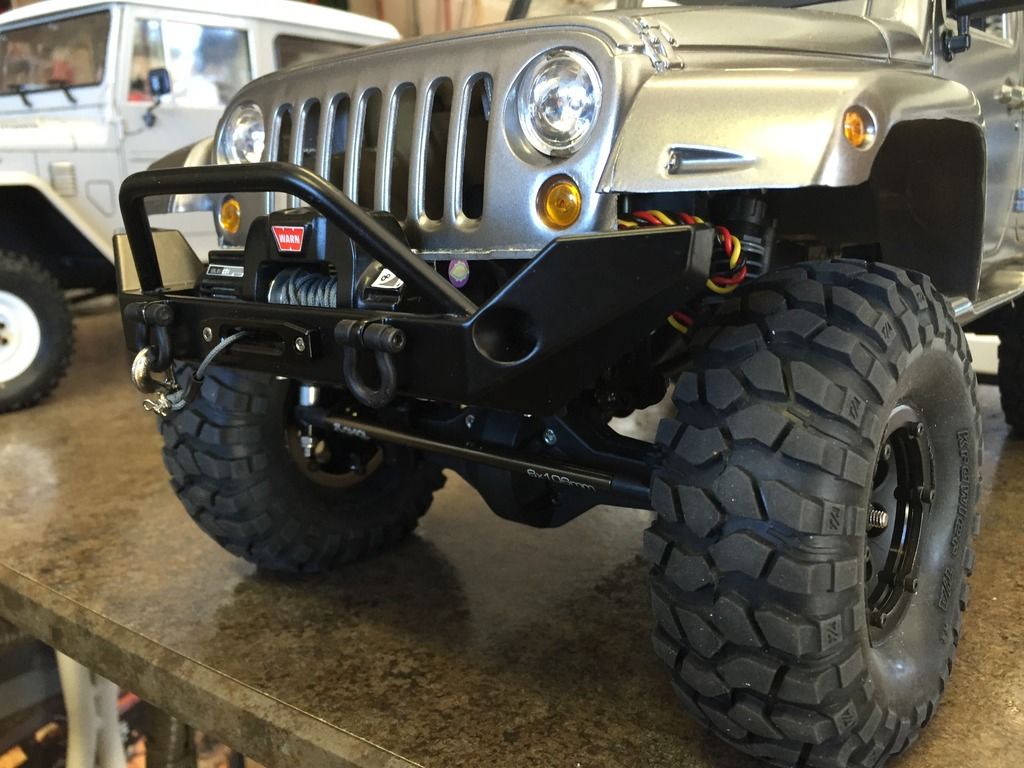 I'm really happy with the look of this bumper. Got some nice shackles on the way. Last edited by Sammy J.; 12-02-2015 at 08:04 PM. |
| |  |
| | #19 |
| Pebble Pounder Join Date: Jun 2013 Location: Espoo, Finland
Posts: 150
|
A few pics a bit further away so we can see the whole kit would be awesome!
|
| |  |
| | #20 |
| Quarry Creeper  Join Date: Mar 2015 Location: Castle Rock, Colorado
Posts: 377
| |
| |  |
 |
| |