| |
| |||||||
 |
| | LinkBack | Thread Tools | Display Modes |
 02-26-2018, 03:54 AM
| #1 |
| Rock Crawler Join Date: Jan 2012 Location: Vitoria-Gasteiz
Posts: 773
|
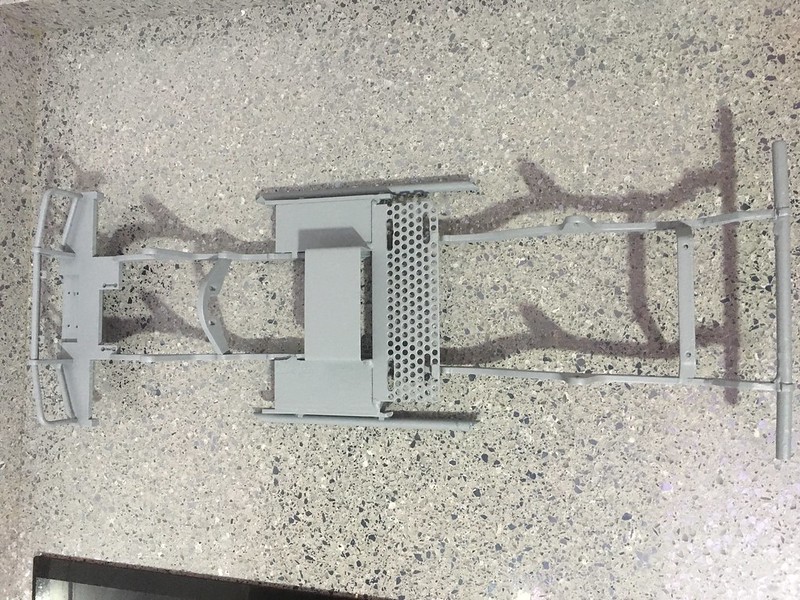
Good . After turning the coconut, and having the occasion after selling my DAB ARB, I bought the one day my Hilux ARB single cab, this trot, I already knew it but whole and ready to be restored, always lends, I leave an old link of your construction and modifications: Toyota Hilux Truggy MAXI-PRO rcmodelex - Scale 4x4 R/C Forums It has gone through many colors, many axes, many puddles etc etc etc .... even some of the pieces of house are known with the car hahahaha Here is a photo on the way home: 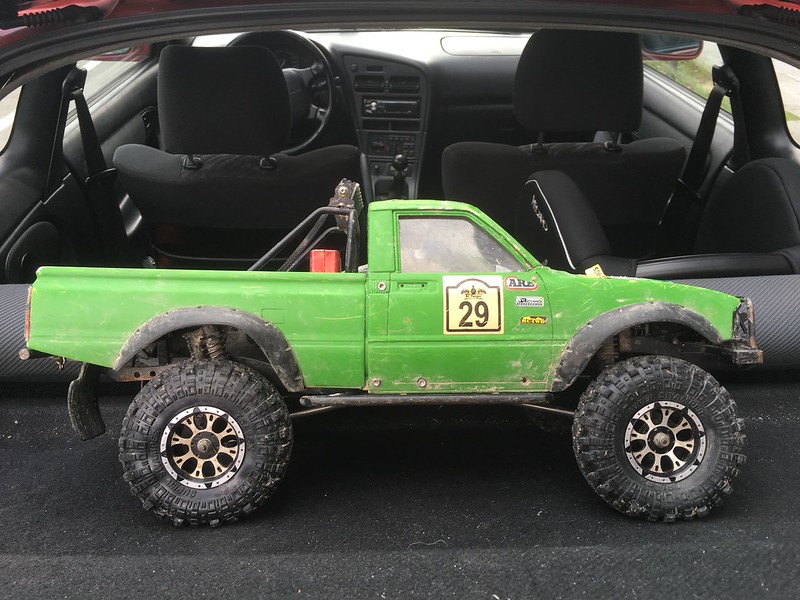 Restauracion hilux arb by alberto espinosa, en Flickr Restauracion hilux arb by alberto espinosa, en FlickrWe started the disassembly: 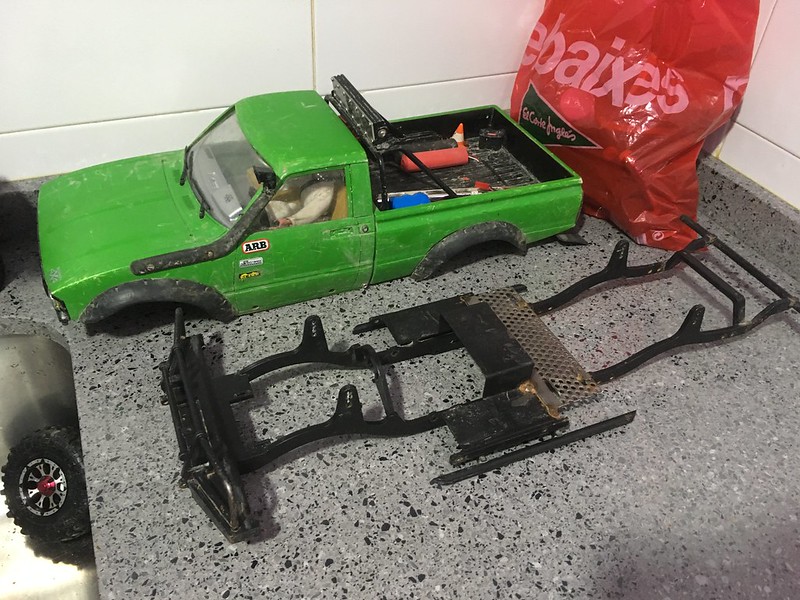 Restauracion hilux arb by alberto espinosa, en Flickr Restauracion hilux arb by alberto espinosa, en FlickrChassis prepared for sanding, priming and repainting: 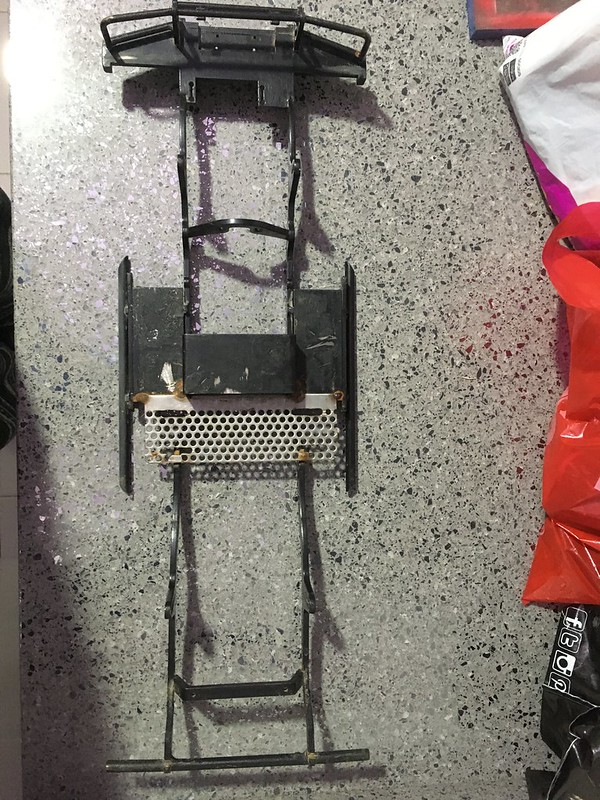 Restauracion hilux arb by alberto espinosa, en Flickr Restauracion hilux arb by alberto espinosa, en FlickrWith its mods on the Mexican chassis, I cut one of the rear bumper bars in its day and climbed the one that was left alone under the riders, to win at the starting angle. And the friend who has had it, I solder a grid plate for battery support, is somewhat more backward than standard but below as well. I start with the HPI, the poor woman had dry time for what you see: 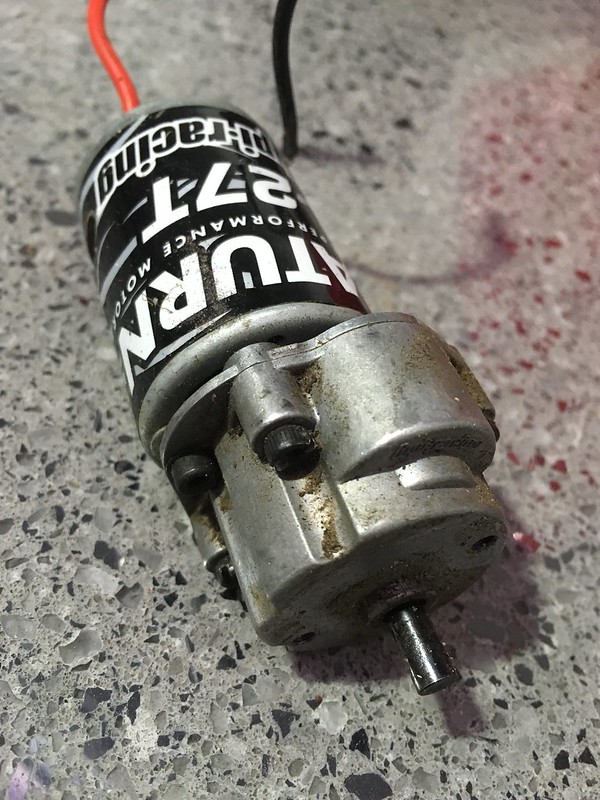 Restauracion hilux arb by alberto espinosa, en Flickr Restauracion hilux arb by alberto espinosa, en Flickr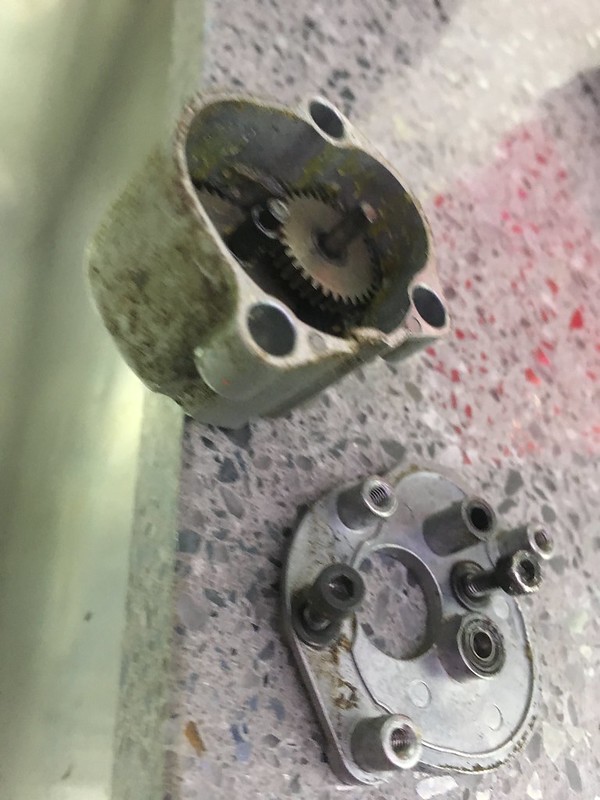 Restauracion hilux arb by alberto espinosa, en Flickr Restauracion hilux arb by alberto espinosa, en FlickrBut it's healthy, good cleaning, and good of fat again: 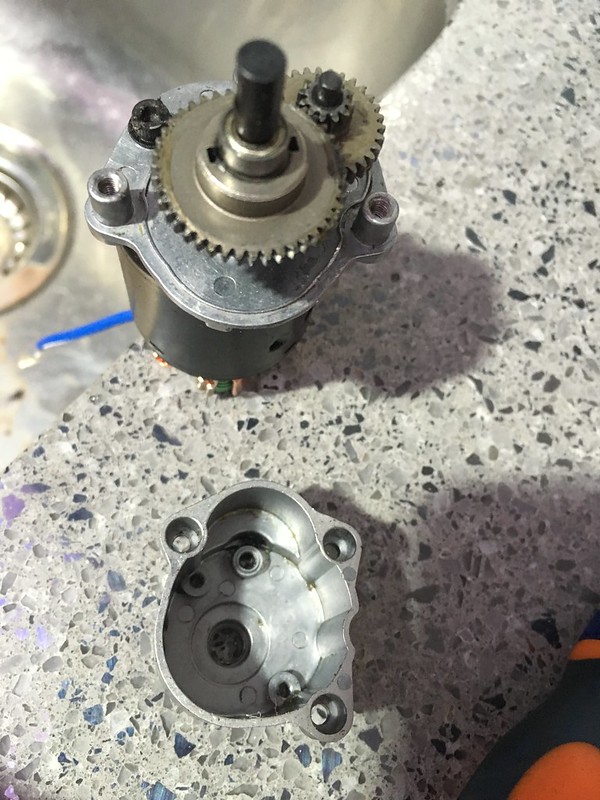 Restauracion hilux arb by alberto espinosa, en Flickr Restauracion hilux arb by alberto espinosa, en Flickr Restauracion hilux arb by alberto espinosa, en Flickr Restauracion hilux arb by alberto espinosa, en FlickrAnd close it, save the fat that comes out (nothing is thrown) and once closed, I give a few laps to hand so it is not too hard at the beginning with so much fat is normal: 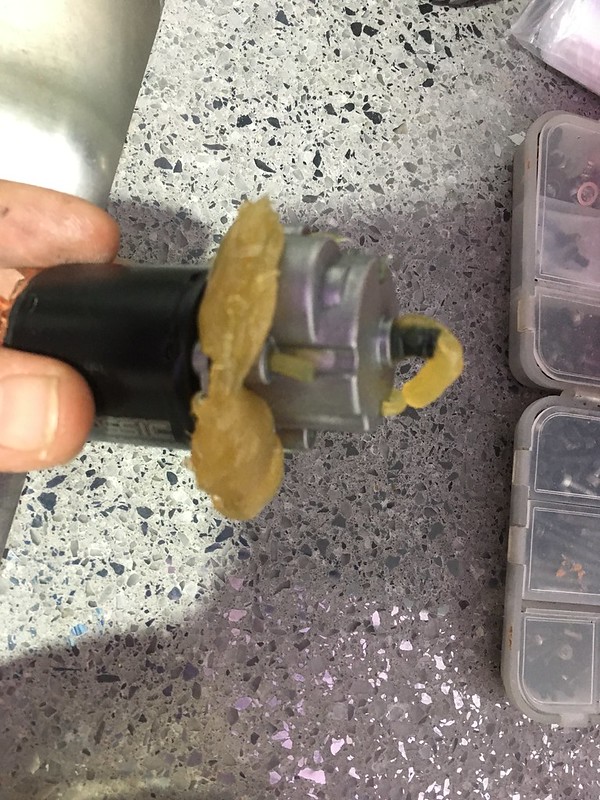 Restauracion hilux arb by alberto espinosa, en Flickr Restauracion hilux arb by alberto espinosa, en FlickrNow it's up to T1, who had the same fat as HPI, naa de naa: So he got out of the car:  Restauracion hilux arb by alberto espinosa, en Flickr Restauracion hilux arb by alberto espinosa, en FlickrSomething ugly but whole, healthy and without gaps: 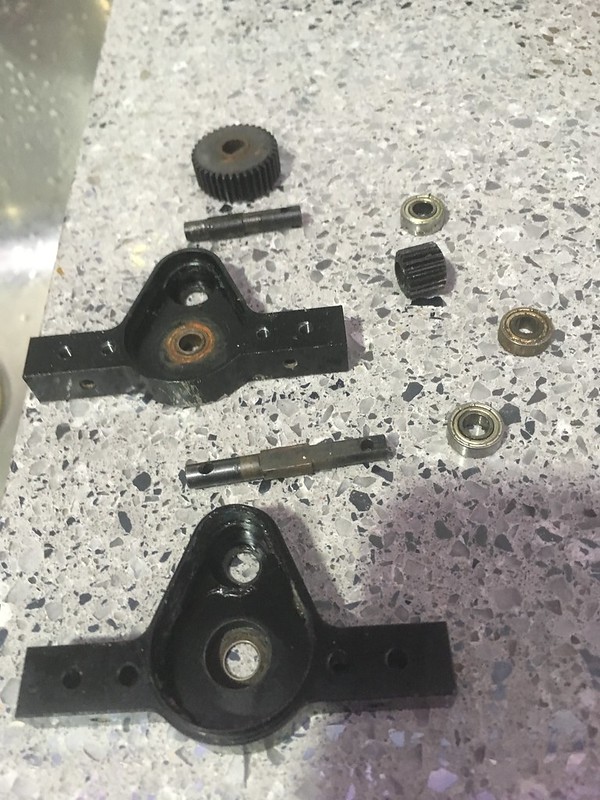 Restauracion hilux arb by alberto espinosa, en Flickr Restauracion hilux arb by alberto espinosa, en FlickrClean: 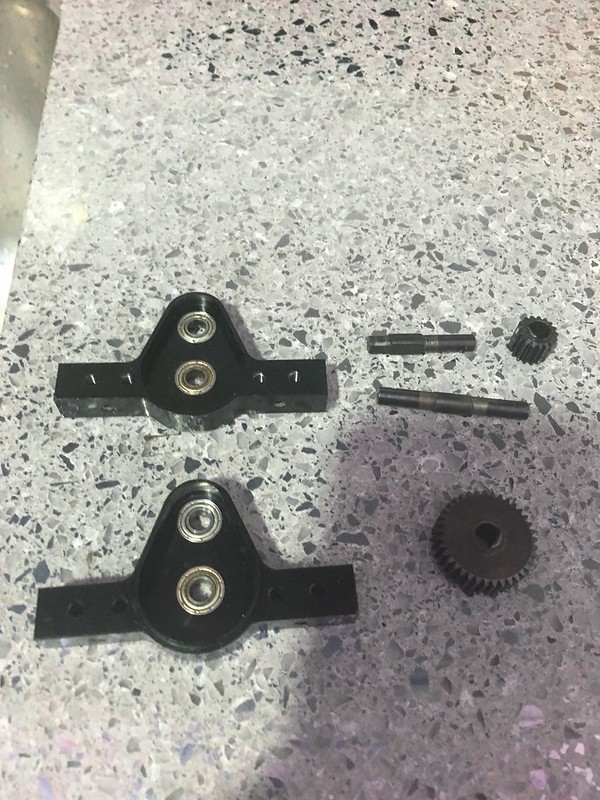 Restauracion hilux arb by alberto espinosa, en Flickr Restauracion hilux arb by alberto espinosa, en FlickrWell of fat as not: 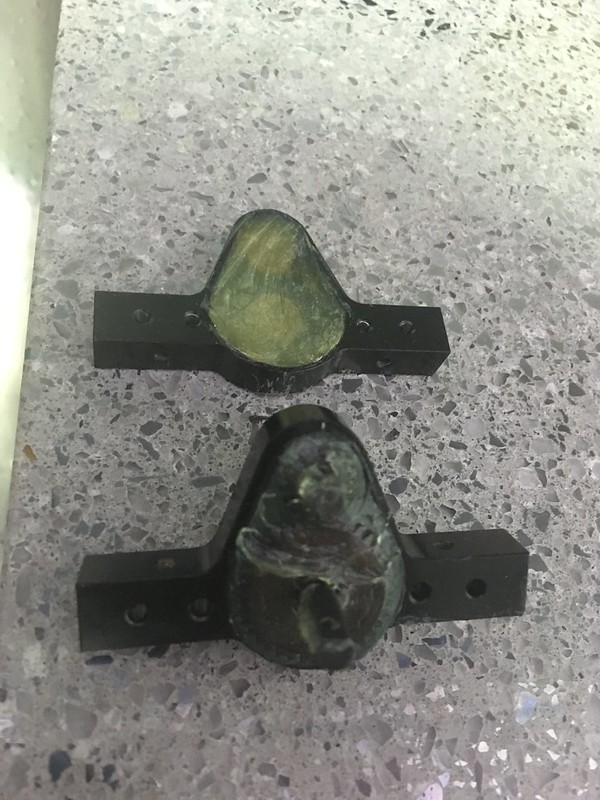 Restauracion hilux arb by alberto espinosa, en Flickr Restauracion hilux arb by alberto espinosa, en FlickrAnd finished, a few times by hand and ready to ride: 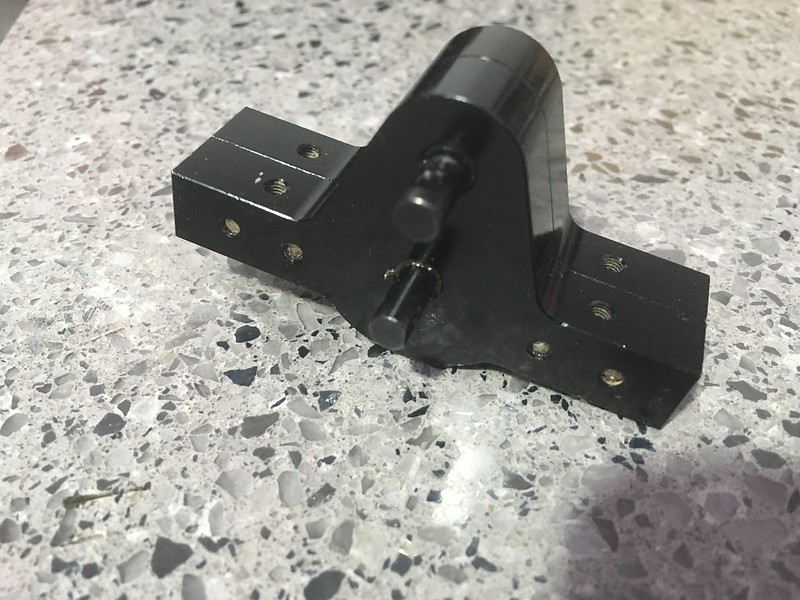 Restauracion hilux arb by alberto espinosa, en Flickr Restauracion hilux arb by alberto espinosa, en FlickrThe axes also have theirs, but the same, they are very healthy despite their appearance, they have neither a past thread nor odd clearances:  Restauracion hilux arb rcmodelex by alberto espinosa, en Flickr Restauracion hilux arb rcmodelex by alberto espinosa, en FlickrClean for the moment outside, when the beef tubes arrive I will open them to clean as the HPI and the T1, at the moment to test suspensions and etc, I will clean them from the outside (I will make a lubrication hole, I will put pictures):  Restauracion hilux arb rcmodelex by alberto espinosa, en Flickr Restauracion hilux arb rcmodelex by alberto espinosa, en FlickrAnd here is a picture of the shock absorbers that I mounted, 110mm front and 100mm back:  Restauracion hilux arb rcmodelex by alberto espinosa, en Flickr Restauracion hilux arb rcmodelex by alberto espinosa, en FlickrThey seem very long, but compressed, they are as long as those of SCX10 series, just what interests me, then if you want to stretch you have margin. Since I was at work, take the opportunity to clean the wheels, even if I did not wear these, I would have a Raceline Monster 1.9 with a 4.19 "KLR voodoo: 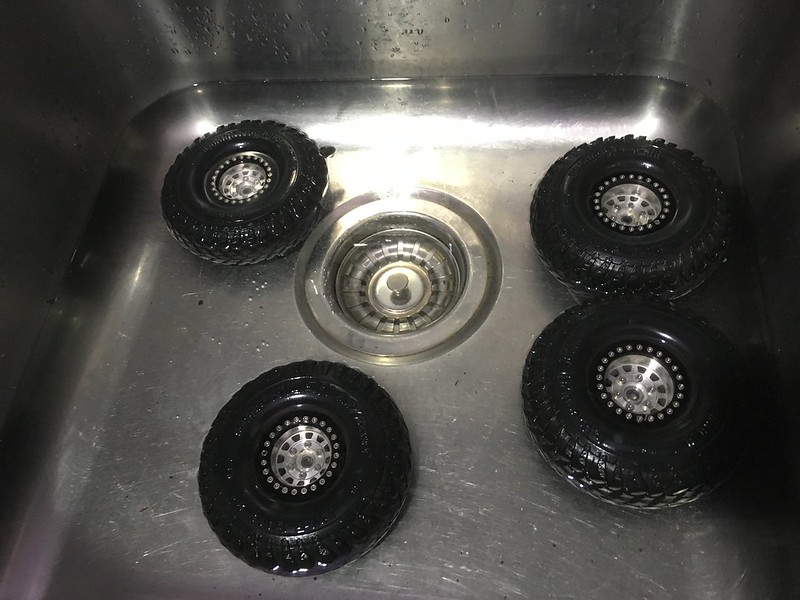 Restauracion hilux arb by alberto espinosa, en Flickr Restauracion hilux arb by alberto espinosa, en FlickrFor the time being it's all, soon there will be more advances |

|  |
| Sponsored Links | |
| | |
|
02-26-2018, 04:52 AM
| #2 |
| I wanna be Dave Join Date: Jul 2014 Location: Deep South
Posts: 3,444
|
Keep it up.
|
|
| |
|
02-27-2018, 02:07 AM
| #3 |
| Rock Crawler Join Date: Jan 2012 Location: Vitoria-Gasteiz
Posts: 773
| |
|
| |
|
02-28-2018, 01:48 AM
| #4 |
| Rock Crawler Join Date: Jan 2012 Location: Vitoria-Gasteiz
Posts: 773
|
The chassis is already painted  Hilux arb rcmodelex restauration by alberto espinosa, en Flickr Hilux arb rcmodelex restauration by alberto espinosa, en FlickrIt is already assembled, the beeftubes are missing to finish with the axles and relocate as god commands the rear shock absorbers: 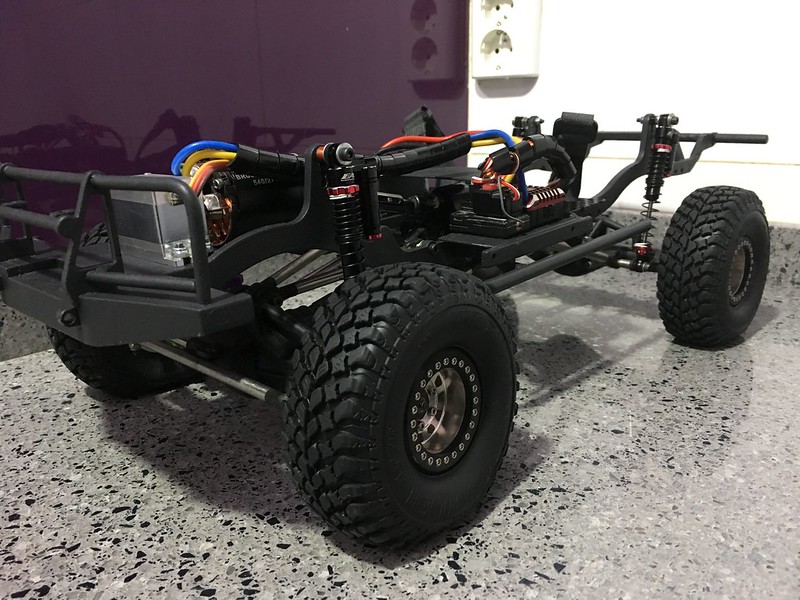 Hilux arb rcmodelex restauration by alberto espinosa, en Flickr Hilux arb rcmodelex restauration by alberto espinosa, en Flickr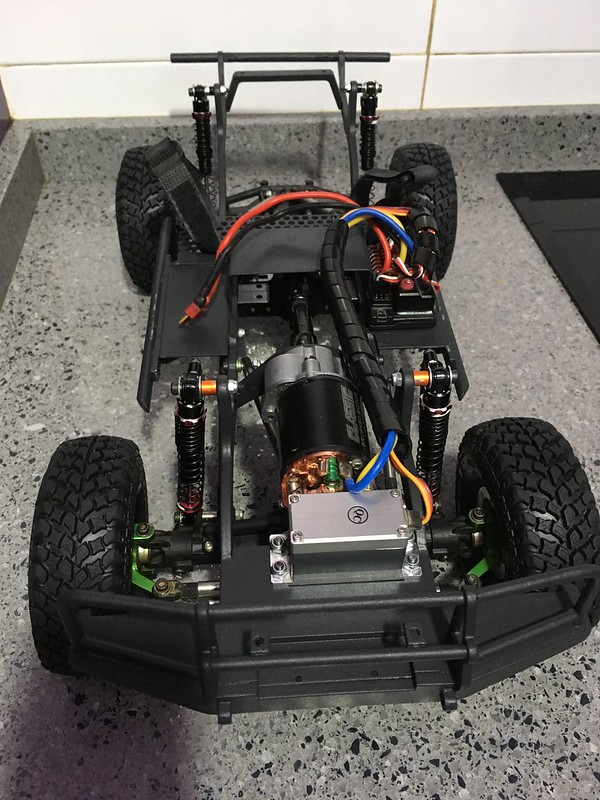 Hilux arb rcmodelex restauration by alberto espinosa, en Flickr Hilux arb rcmodelex restauration by alberto espinosa, en Flickr Hilux arb rcmodelex restauration by alberto espinosa, en Flickr Hilux arb rcmodelex restauration by alberto espinosa, en Flickr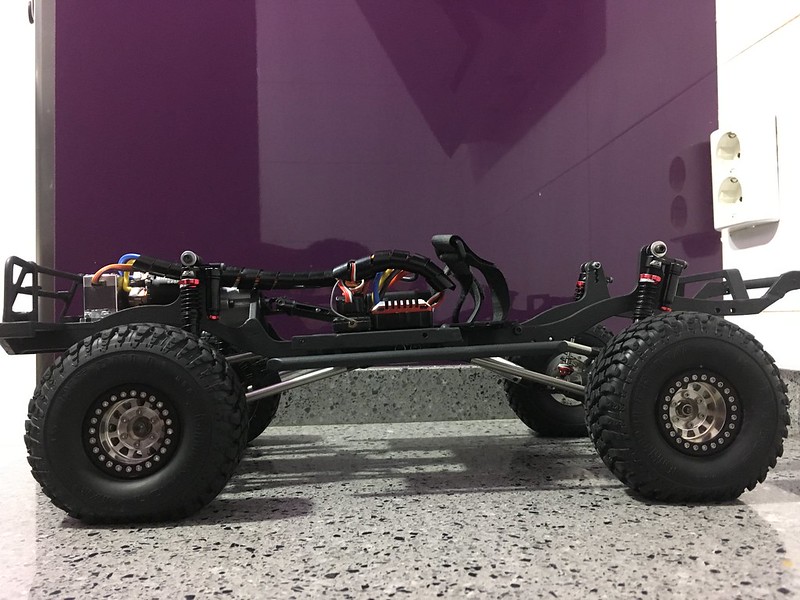 Hilux arb rcmodelex restauration by alberto espinosa, en Flickr Hilux arb rcmodelex restauration by alberto espinosa, en Flickr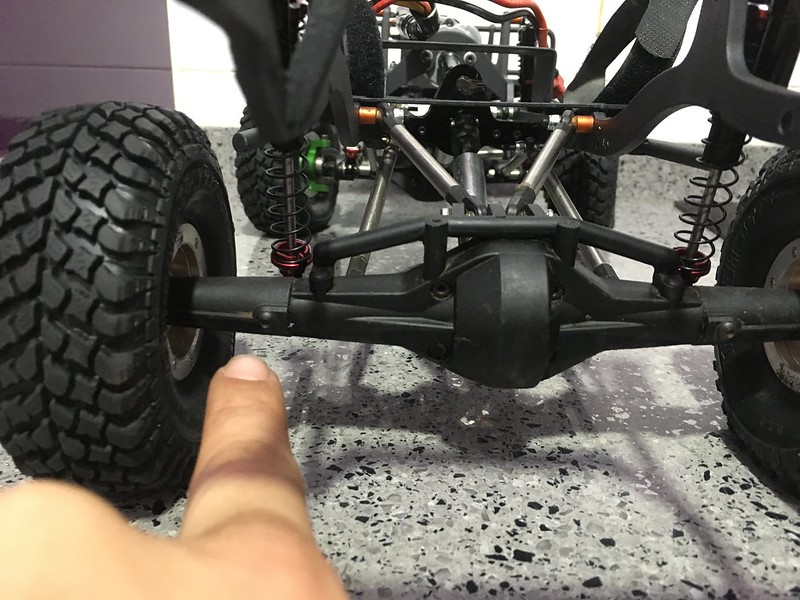 Hilux arb rcmodelex restauration by alberto espinosa, en Flickr Hilux arb rcmodelex restauration by alberto espinosa, en Flickr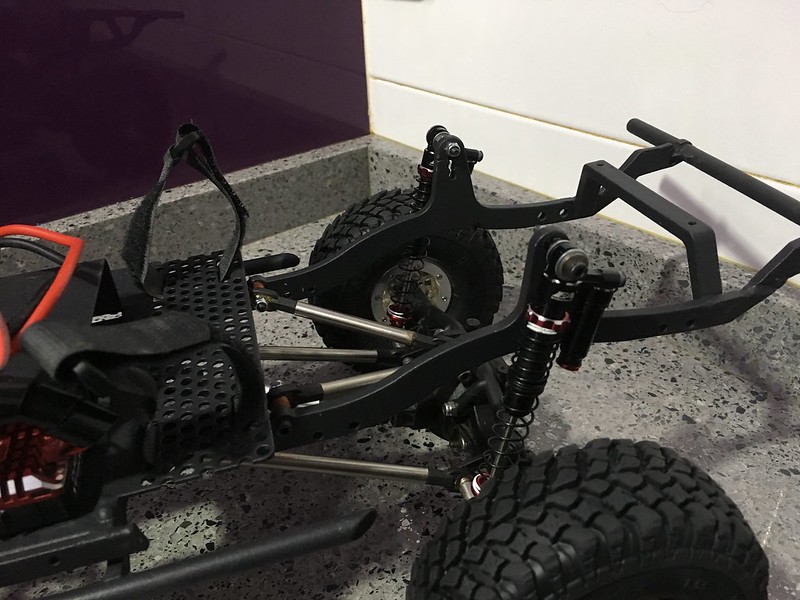 Hilux arb rcmodelex restauration by alberto espinosa, en Flickr Hilux arb rcmodelex restauration by alberto espinosa, en FlickrHere a test of flexibility with the long shock absorbers, I'll test in the field, but it does not look bad 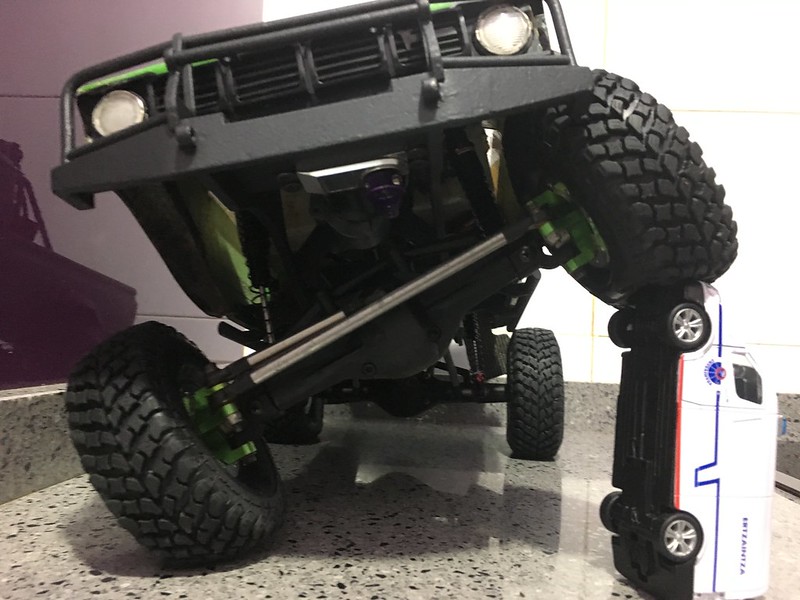 Hilux arb rcmodelex restauration by alberto espinosa, en Flickr Hilux arb rcmodelex restauration by alberto espinosa, en Flickr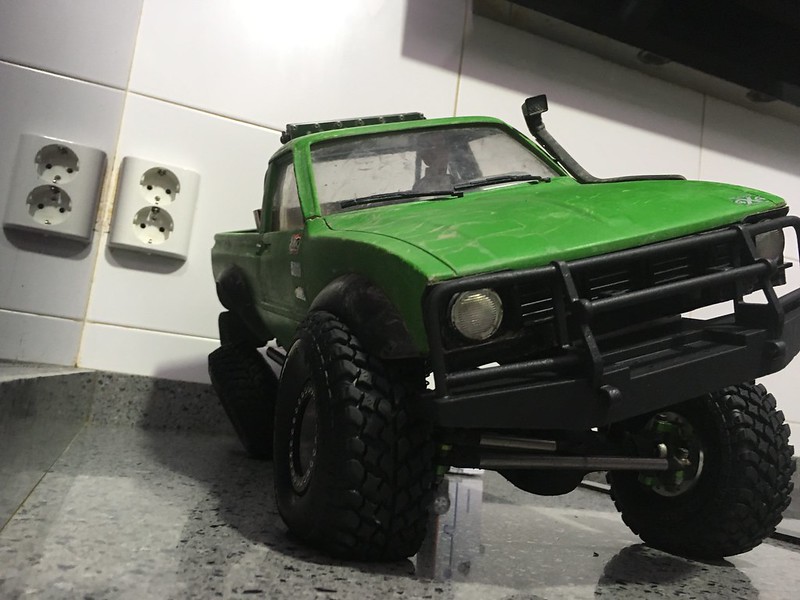 Hilux arb rcmodelex restauration by alberto espinosa, en Flickr Hilux arb rcmodelex restauration by alberto espinosa, en Flickr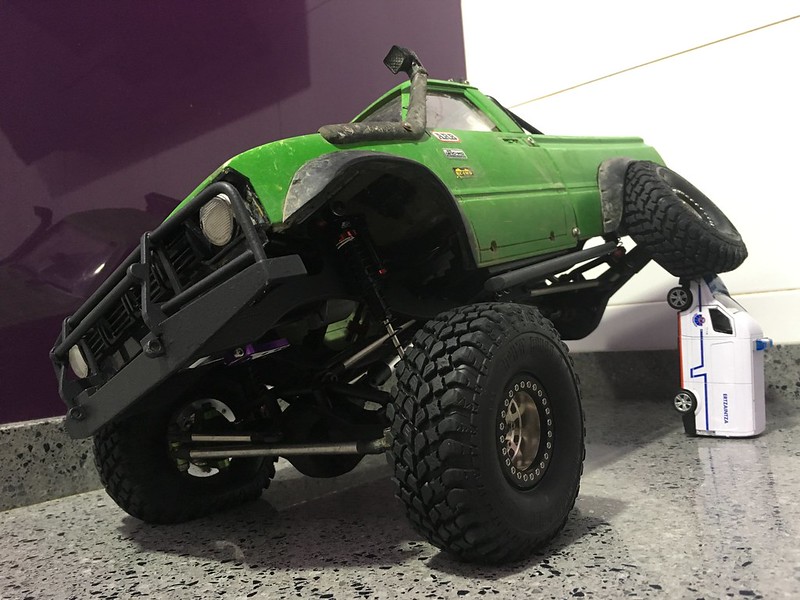 Hilux arb rcmodelex restauration by alberto espinosa, en Flickr Hilux arb rcmodelex restauration by alberto espinosa, en Flickr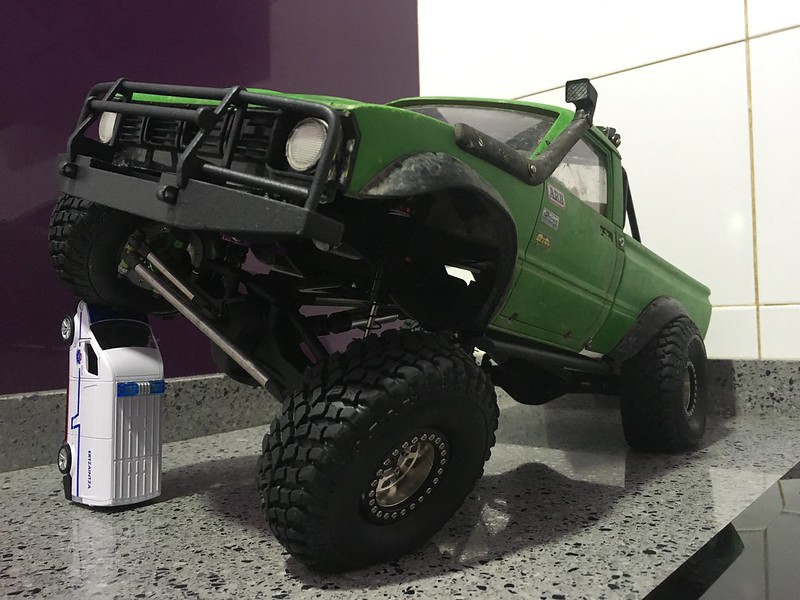 Hilux arb rcmodelex restauration by alberto espinosa, en Flickr Hilux arb rcmodelex restauration by alberto espinosa, en FlickrPhoto at rest: 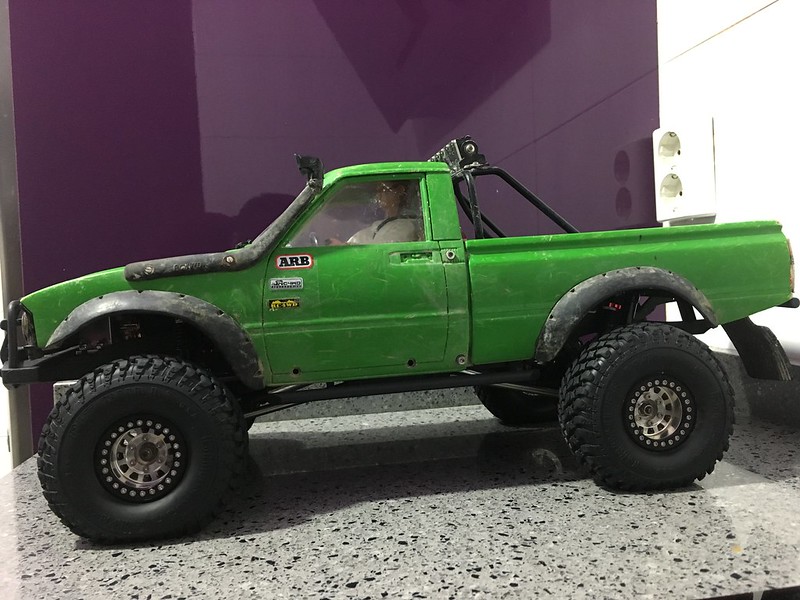 Hilux arb rcmodelex restauration by alberto espinosa, en Flickr Hilux arb rcmodelex restauration by alberto espinosa, en FlickrPhoto below: 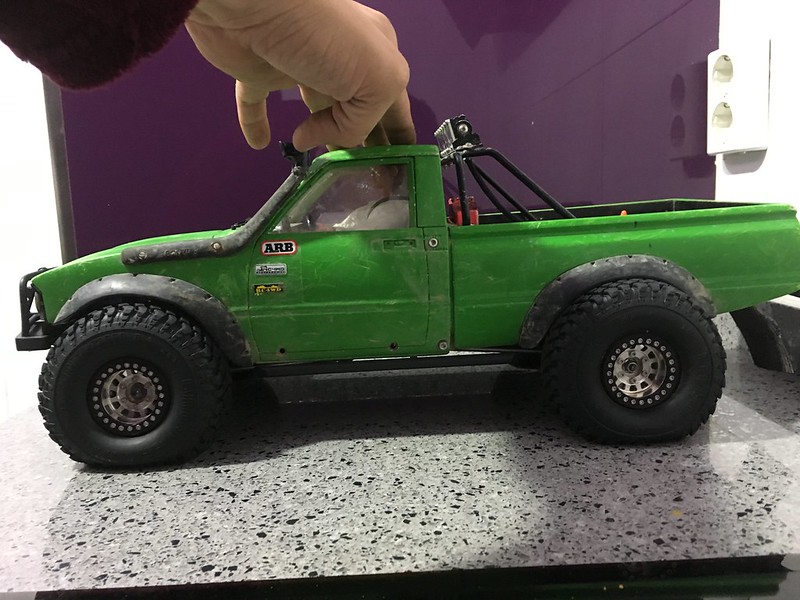 Hilux arb rcmodelex restauration by alberto espinosa, en Flickr Hilux arb rcmodelex restauration by alberto espinosa, en FlickrPhoto above the whole: 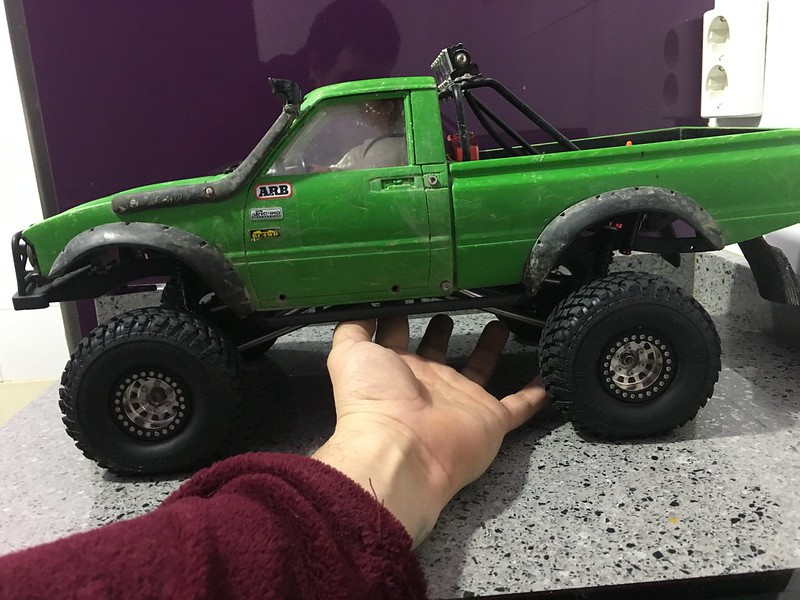 Hilux arb rcmodelex restauration by alberto espinosa, en Flickr Hilux arb rcmodelex restauration by alberto espinosa, en FlickrAnd now, the restoration to the body, its cracks and breaks 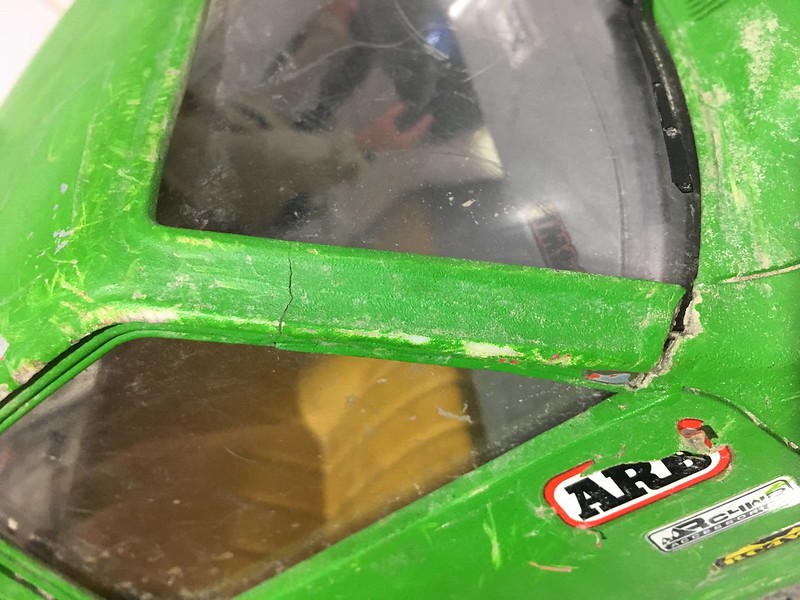 Hilux arb rcmodelex restauration by alberto espinosa, en Flickr Hilux arb rcmodelex restauration by alberto espinosa, en Flickr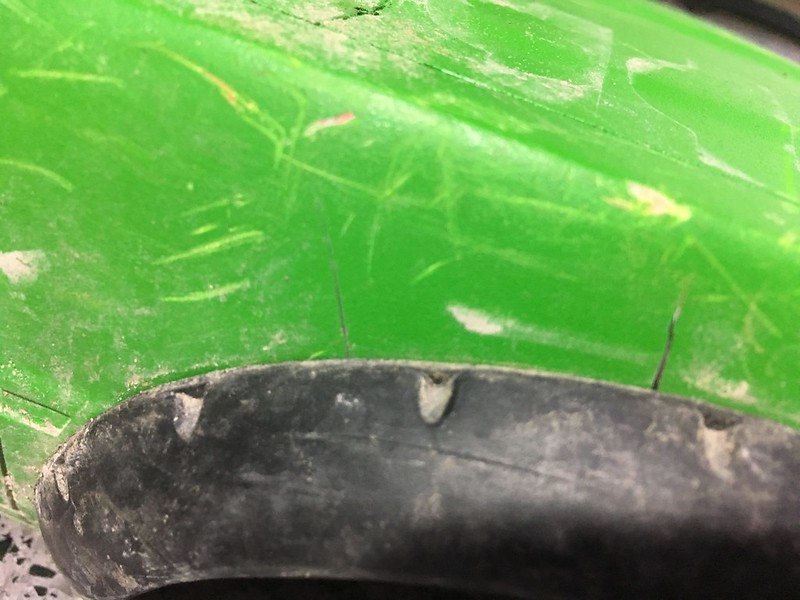 Hilux arb rcmodelex restauration by alberto espinosa, en Flickr Hilux arb rcmodelex restauration by alberto espinosa, en Flickr
|
|
| |
|
03-16-2018, 08:17 AM
| #5 |
| Rock Crawler Join Date: Jan 2012 Location: Vitoria-Gasteiz
Posts: 773
|
Things keep coming ...  Sin título by alberto espinosa, en Flickr Sin título by alberto espinosa, en Flickr Sin título by alberto espinosa, en Flickr Sin título by alberto espinosa, en Flickr
|
|
| |
|
03-19-2018, 01:07 AM
| #6 |
| Rock Crawler Join Date: Jan 2012 Location: Vitoria-Gasteiz
Posts: 773
| |
|
| |
|
03-20-2018, 01:13 AM
| #7 |
| Rock Crawler Join Date: Jan 2012 Location: Vitoria-Gasteiz
Posts: 773
|
It is missing some detail and that they arrive their definitive tires for the voodoo, and although in a few months it will take other axes, almost finished. 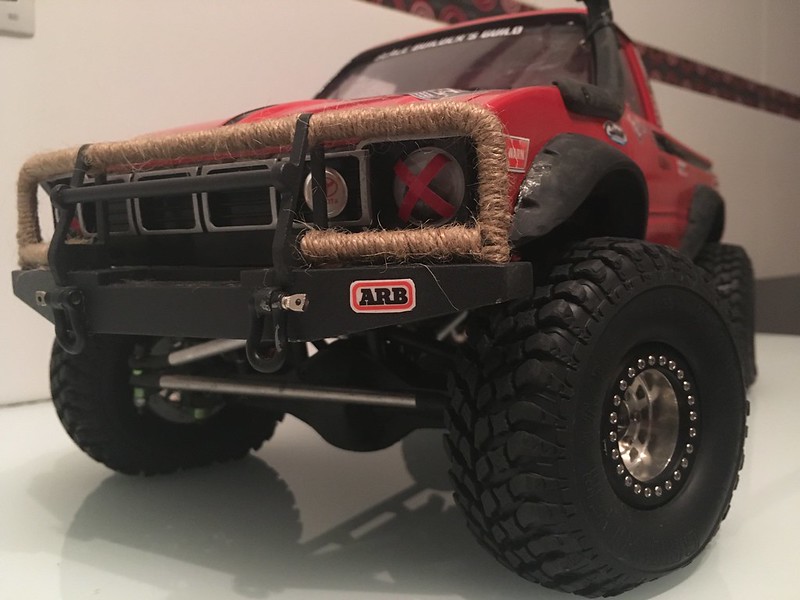 Sin título by alberto espinosa, en Flickr Sin título by alberto espinosa, en Flickr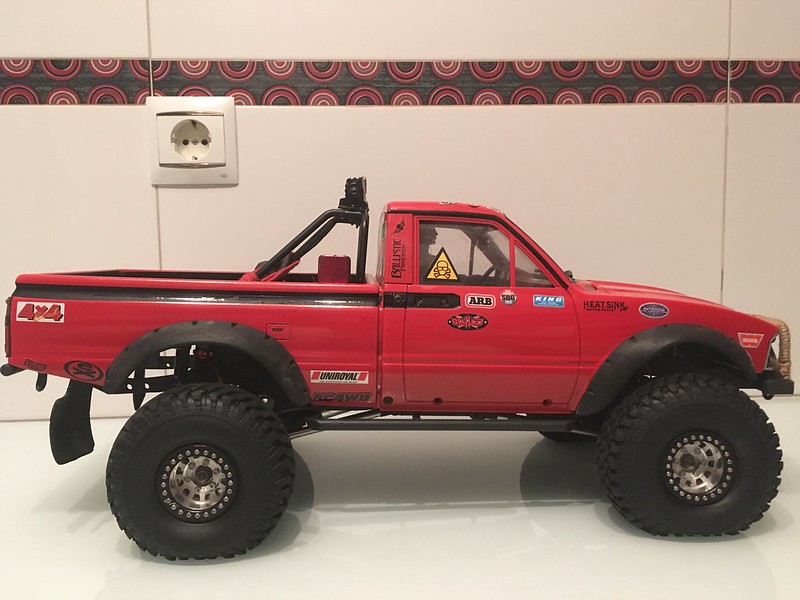 Sin título by alberto espinosa, en Flickr Sin título by alberto espinosa, en Flickr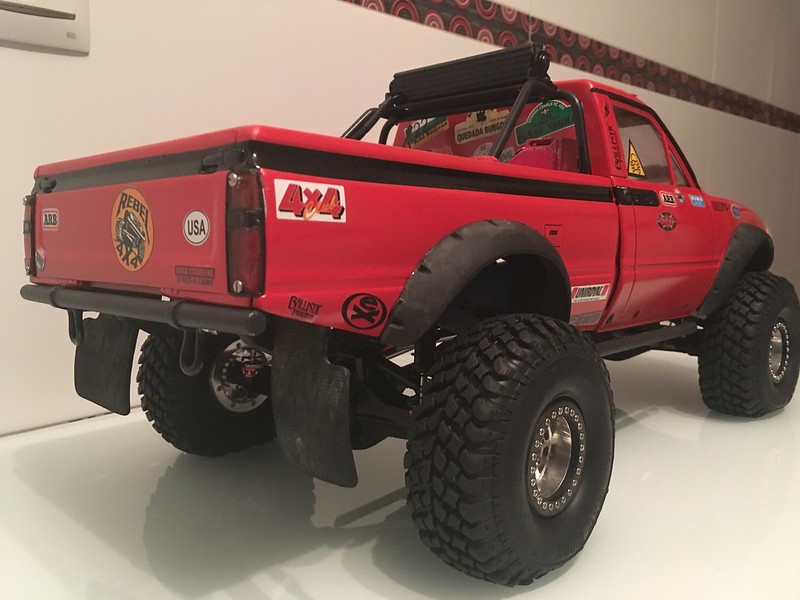 Sin título by alberto espinosa, en Flickr Sin título by alberto espinosa, en Flickr Sin título by alberto espinosa, en Flickr Sin título by alberto espinosa, en Flickr
|
|
| |
|
03-22-2018, 01:52 AM
| #8 |
| Rock Crawler Join Date: Jan 2012 Location: Vitoria-Gasteiz
Posts: 773
|
The wheels are already mounted, now remove the axles, I have orders from MST CFX-W  Sin título by alberto espinosa, en Flickr Sin título by alberto espinosa, en Flickr
|
|
| |
|
03-24-2018, 12:34 AM
| #9 |
| Quarry Creeper Join Date: Jan 2009 Location: LOADING......
Posts: 251
|
Looking great man. I love the stance of your truck. Keep it up!
|
|
| |
|
03-28-2018, 12:24 AM
| #10 |
| Rock Crawler Join Date: Jan 2012 Location: Vitoria-Gasteiz
Posts: 773
|
The last detail, only the axes are missing jijiji 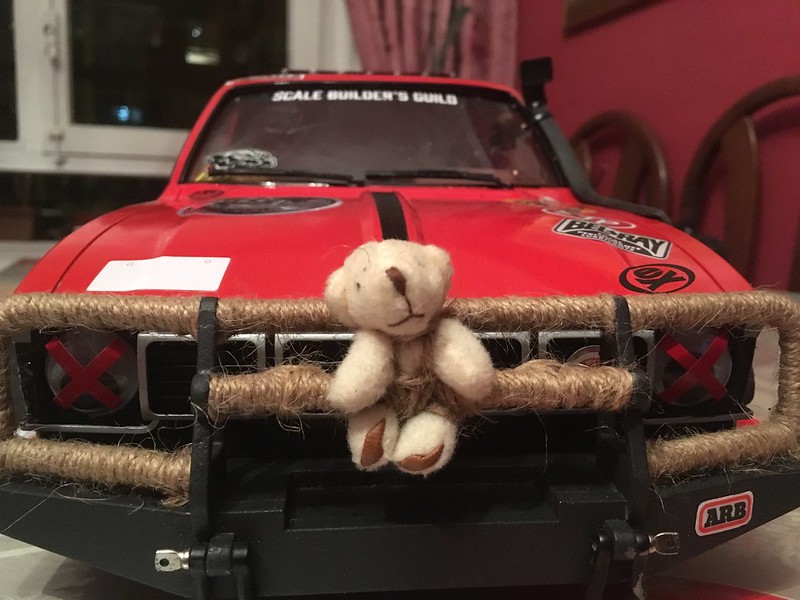 Sin título by alberto espinosa, en Flickr Sin título by alberto espinosa, en Flickr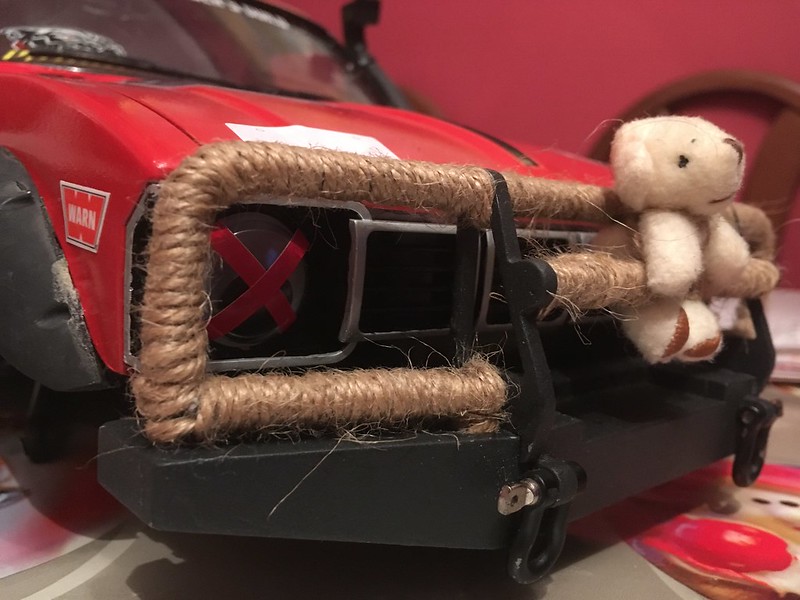 Sin título by alberto espinosa, en Flickr Sin título by alberto espinosa, en Flickr
|
|
| |
|
04-03-2018, 07:10 AM
| #11 |
| Rock Crawler Join Date: Jan 2012 Location: Vitoria-Gasteiz
Posts: 773
| |
|
| |
|
04-04-2018, 12:09 AM
| #12 |
| Rock Crawler Join Date: Jan 2012 Location: Vitoria-Gasteiz
Posts: 773
|
I start to assemble them to see that such MST, at the moment well presented everything:  Sin título by alberto espinosa, en Flickr Sin título by alberto espinosa, en FlickrWell, although the content of each bag has nothing to do with each step to assemble, it is a mixture of things, it does not seem complicated. Everything fits perfectly, the plastic I like, I find it robust and heavy, many bearings and many screws and nuts, but I like how they are, very robust. While waiting for a couple of pieces with weight, I have mounted to test:  Sin título by alberto espinosa, en Flickr Sin título by alberto espinosa, en FlickrTesting, the links below coincide with those already had Axial axes, which in turn, coincided with the axes RC4WD Yota. The top links I have to do some shorter ones. I like how they fit in the Modelex chassis, also allow them to be well up, ideal for porticos, so it does not give more height. Axial scx10 shock absorbers of all the life before and after mount others, but I will also put Axial. It is wide, I counted on it, in addition with the optical effect of the porticos and narrower tires it seems even wider, but with these RC4WD Raceline rims it is the same as Axial and Gear Head . 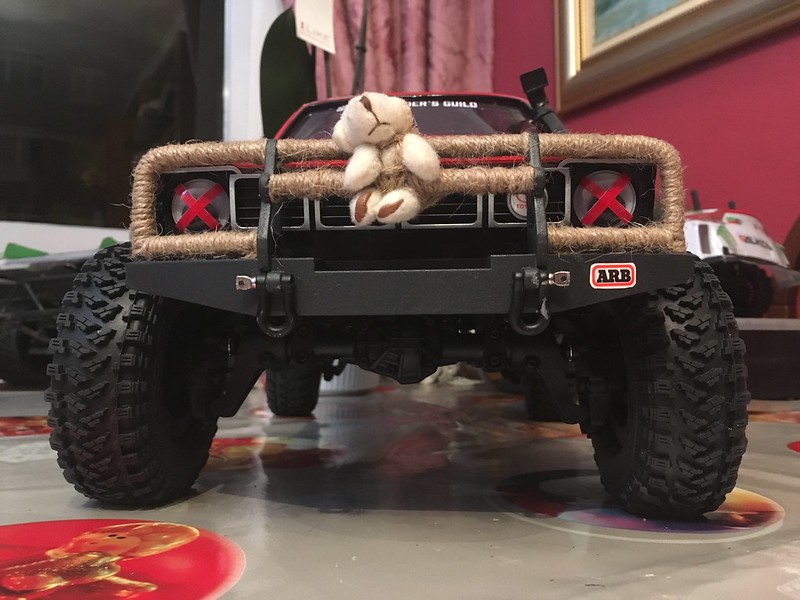 Sin título by alberto espinosa, en Flickr Sin título by alberto espinosa, en Flickr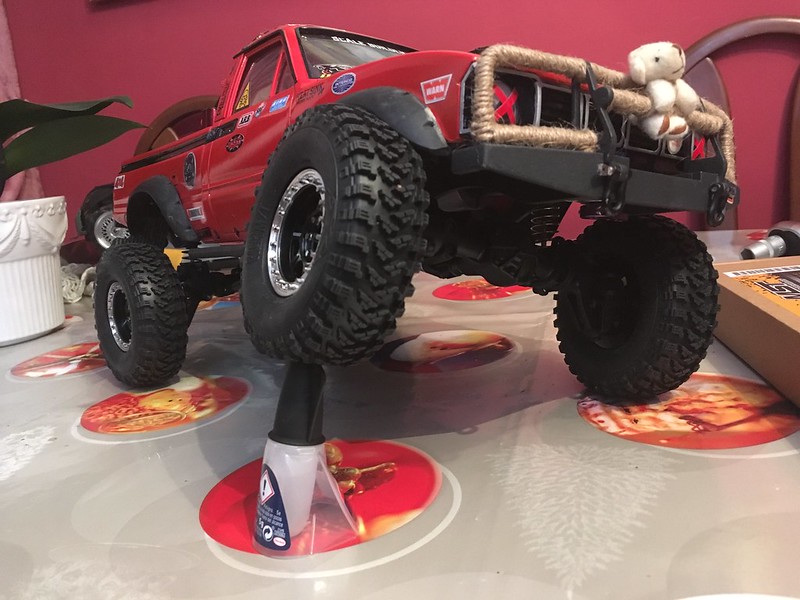 Sin título by alberto espinosa, en Flickr Sin título by alberto espinosa, en Flickr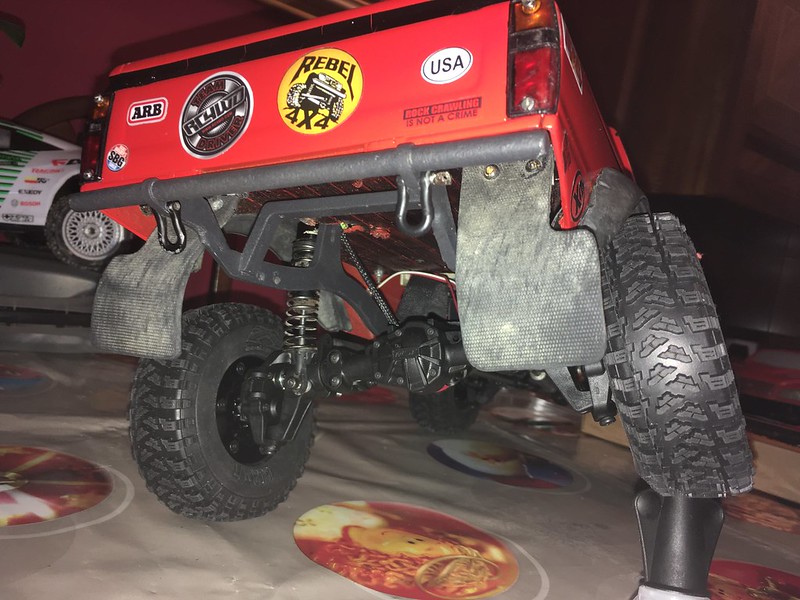 Sin título by alberto espinosa, en Flickr Sin título by alberto espinosa, en Flickr
|
|
| |
|
04-05-2018, 12:30 AM
| #13 |
| Rock Crawler Join Date: Jan 2012 Location: Vitoria-Gasteiz
Posts: 773
|
The upper links are going to give more problems than thought, they are too short and the axles nod, it is necessary to modify the chassis, there is no harm that does not come well: https://www.youtube.com/watch?v=R3hPgOU3Gu4  Sin título by alberto espinosa, en Flickr Sin título by alberto espinosa, en FlickrThis is the idea, put the engine with only one joke between the T1 and the HPI but back, put crossed battery in front and weld some supports for the anchors of upper links so that they can be longer and anchor higher than the lower ones, and with all this put the servo on the axle :  OPTION 1 by alberto espinosa, en Flickr OPTION 1 by alberto espinosa, en Flickr _vyrd13_745IMG_1381 by alberto espinosa, en Flickr _vyrd13_745IMG_1381 by alberto espinosa, en Flickr
|
|
| |
|
 Hilux ARB Rcmodelex (Restauration) - Similar Threads
 | ||||
| Thread | Thread Starter | Forum | Replies | Last Post |
| Hilux DAB ARB rcmodelex | FREEDOM83 | 1.5 Scale Rigs | 14 | 06-12-2017 01:30 AM |
| Toyota Hilux ARB 2012 RcModelex | FREEDOM83 | 1.9 Scale Rigs | 0 | 11-21-2014 09:39 AM |
| RCMODELex arb hilux bumper? | dcrou7 | General Scale Talk | 0 | 04-20-2013 06:06 AM |
| heinie_21's RCMODELex ARB Hilux | heinie_21 | 1.9 Scale Rigs | 78 | 11-29-2012 12:42 AM |
| rcmodelex ARB Hilux Question | LR3 | General Scale Talk | 2 | 01-10-2011 08:19 AM |
| |


 Linear Mode


