| |
 11-05-2007, 06:10 PM
| #41 |
| Pebble Pounder Join Date: Nov 2006 Location: scarborough CANADA
Posts: 132
|
another great build. Your builds are what inspired me to buy another hliux and do a scale build.  Thanks for sharing all this incredible work. |

|  |
| Sponsored Links | |
| | |
|
11-05-2007, 07:18 PM
| #42 |
| Oppan Gangnam Style   Join Date: Jun 2005 Location: Shingle Springs
Posts: 5,164
|
Real men make their own vents! |
|
| |
|
11-05-2007, 07:46 PM
| #43 | |
| Sinking with the ship   Join Date: Mar 2005 Location: El Capitan...sole survivor and sinking fast
Posts: 8,864
| Quote:
| |
|
| |
|
11-09-2007, 08:31 AM
| #44 |
| Sinking with the ship Join Date: Mar 2005 Location: El Capitan...sole survivor and sinking fast
Posts: 8,864
|
I stripped my 1.9 buggy down last night so I could drop it off at the powder coaters today, I also stripped 3 Bruiser frames too, so the only thing that I have to work on was the Hilux. I won some 1.9 mud slingers on scale 4x4 so I decided to see how they looked instead of the BFGs. I took the rims off the rear and gave them a quick hand polish 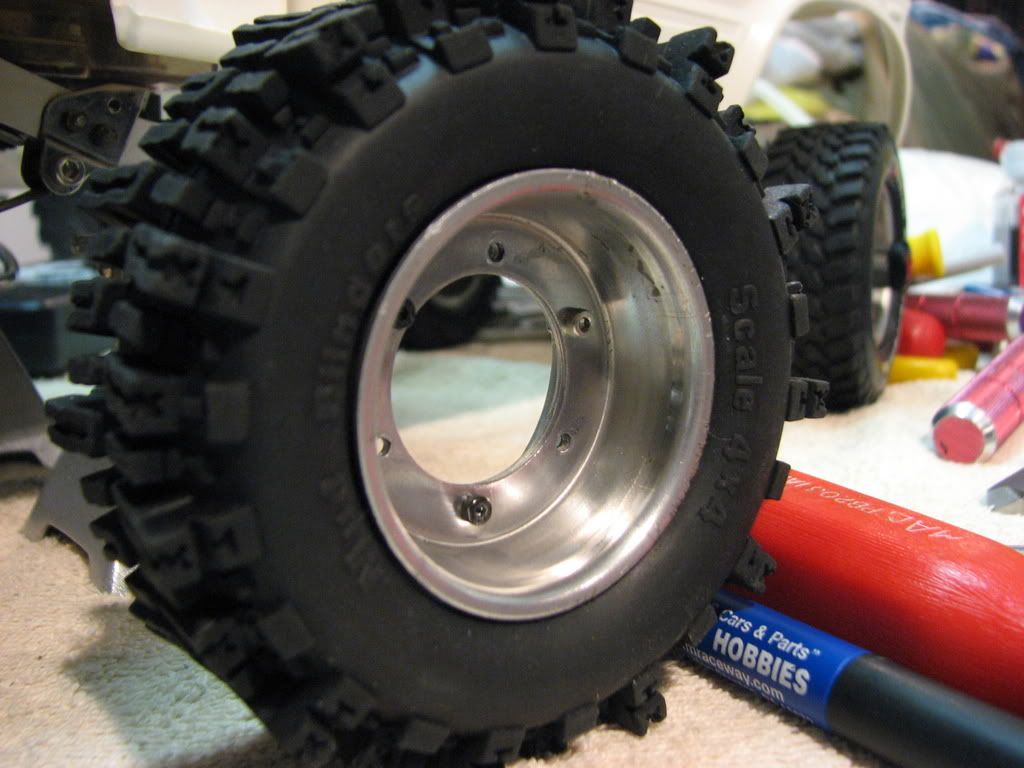 I then installed my new rear hub parts that I picked from KPN on RCMT, he through in some nicer condition caps as well. I decided to paint my hubs black like shodog's hilux, I think they look this way 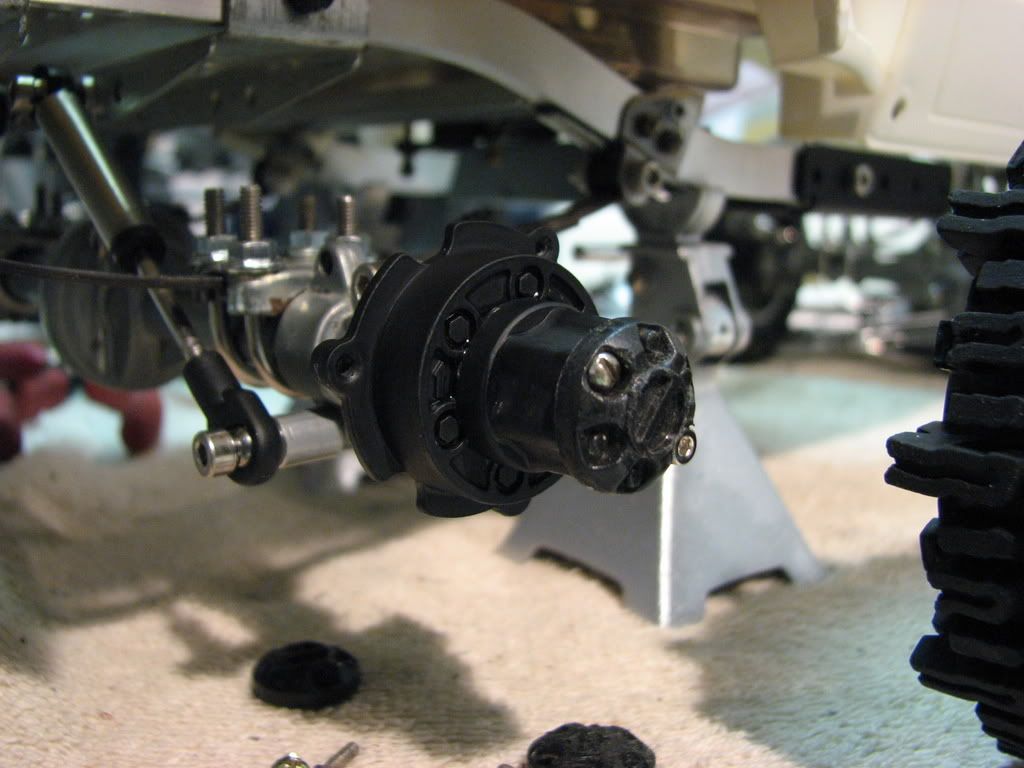 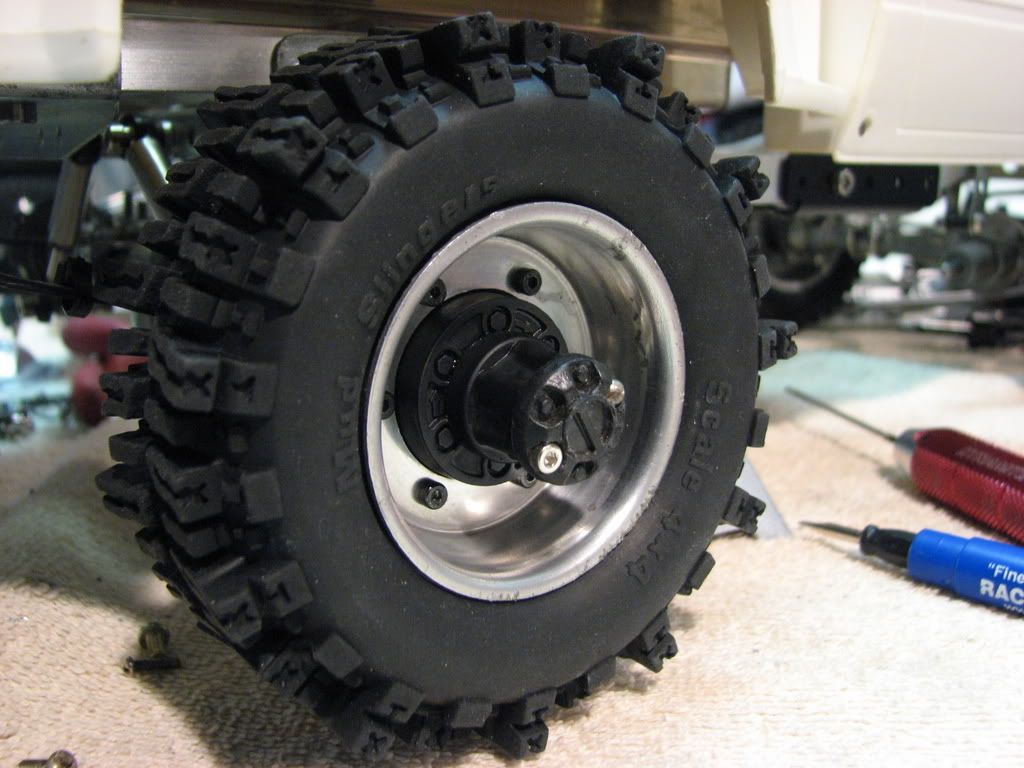 Not sure If I posted about these yet, but I got these sick hub covers from some dude on ebay, the locking part is done in red, looks real slick 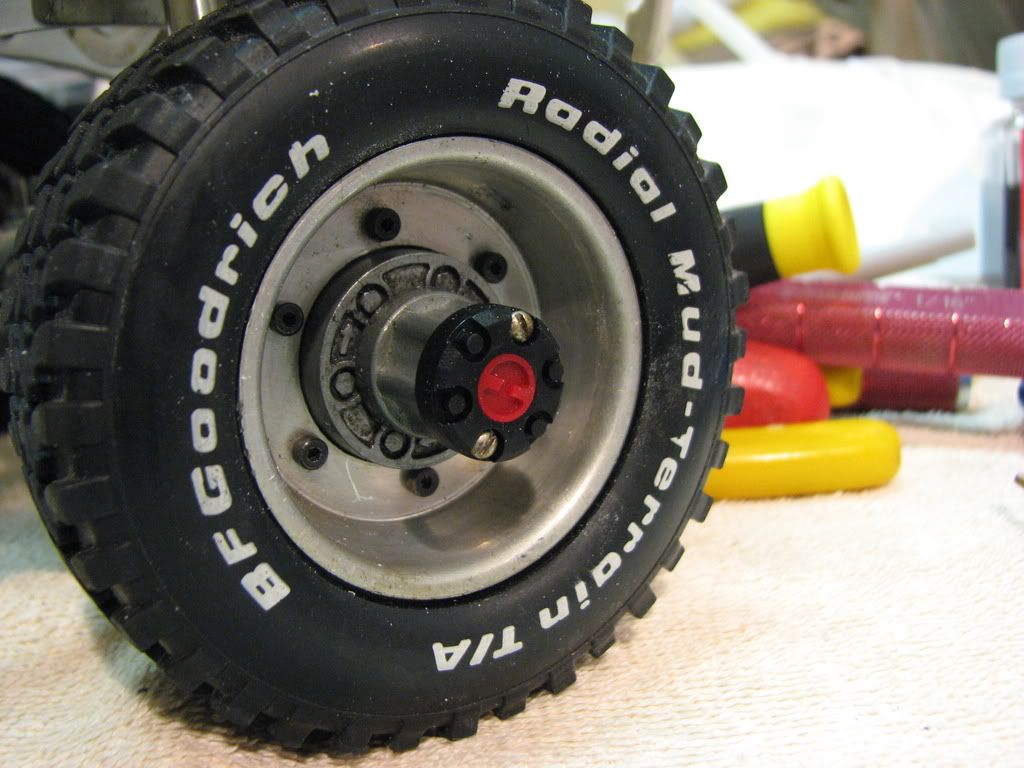 I cant work on the dash untill I get it primed and painted, because I need to install the gages before I start glue in the fire wall and stuff so I started on the bench seat. This takes forever, because I overlap each piece every so slightly although the hilux seat is easier because it doesnt have that stupid bump in it, so its going to look better too 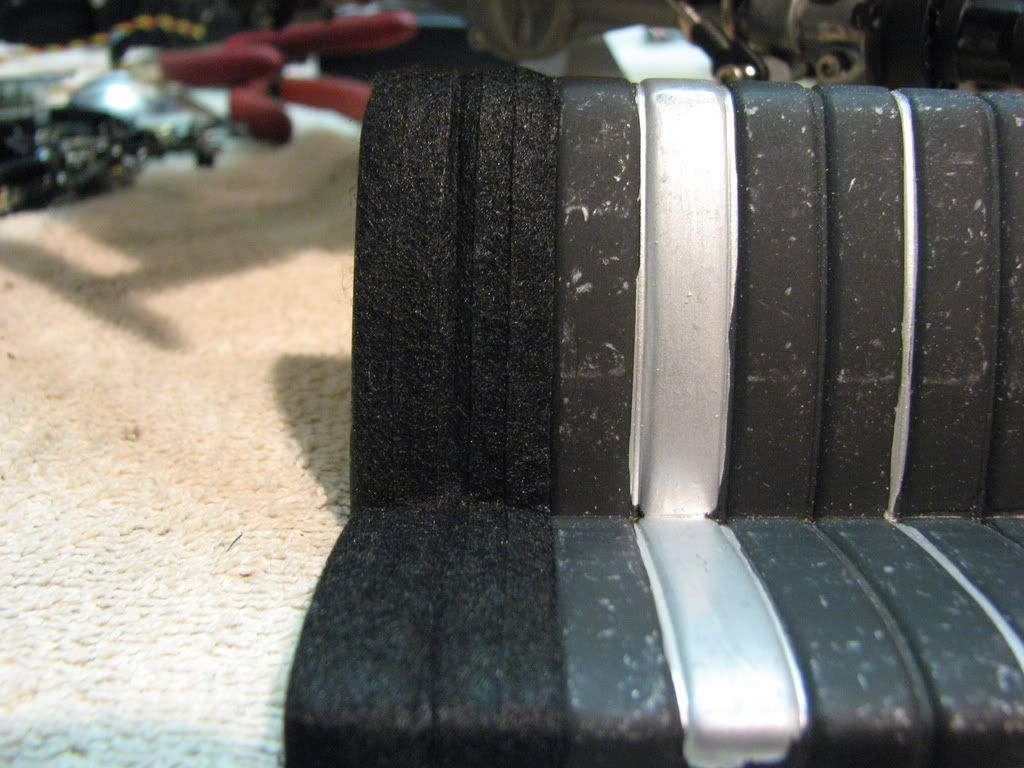 This is as far as I got last night...it was 1 am so it was bed time... 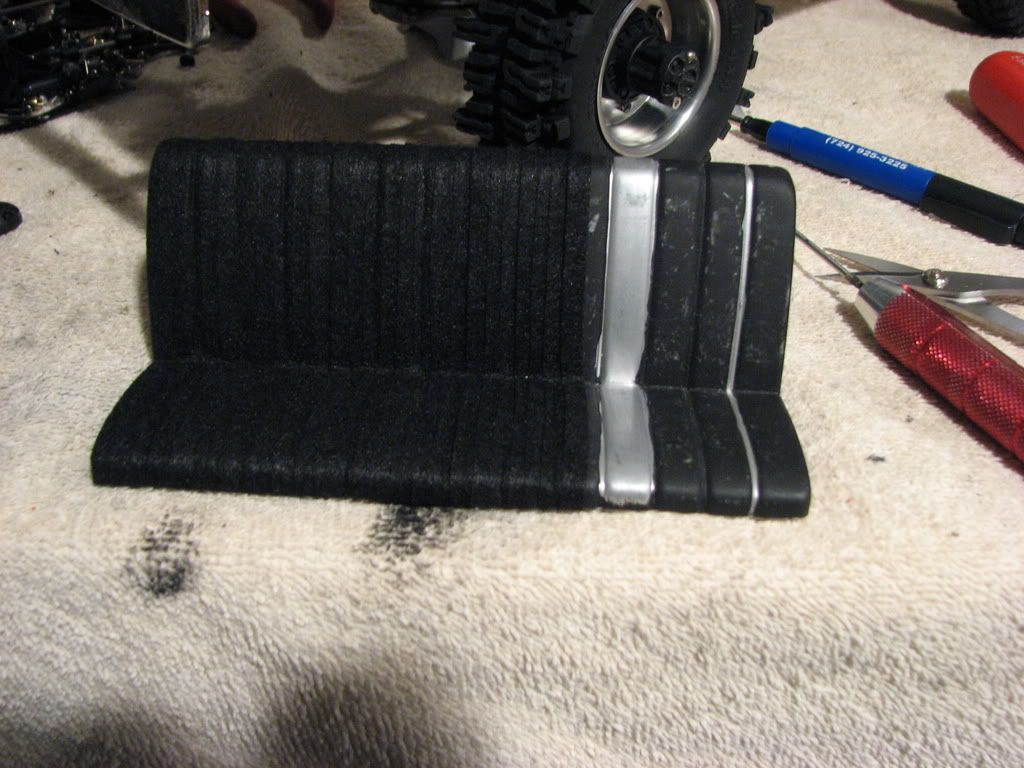 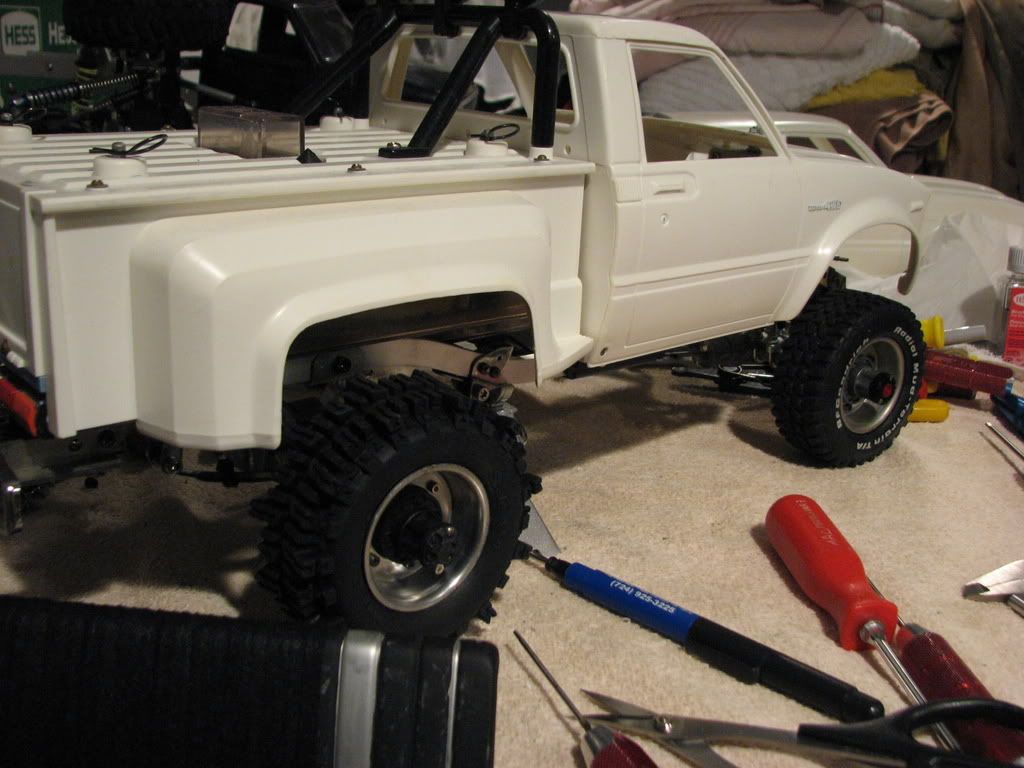 |
|
| |
|
11-09-2007, 12:05 PM
| #45 |
| Rock Crawler  Join Date: Oct 2006 Location: Germany
Posts: 655
|
The hubs look like they should, in black !! Good choice ! Also the seat comes out great. Cant wait to see the complete interior finished BTW: That body looks like absolute new! It has not seen any paint, didn´t it ? I am still stripping paint off, on mine!! -Pete |
|
| |
|
11-09-2007, 06:27 PM
| #46 |
| I wanna be Dave Join Date: Dec 2005 Location: Orlando
Posts: 7,420
|
Amazing work Mike. You're going to make me build another Yota.....
|
|
| |
|
11-09-2007, 06:34 PM
| #47 |
| Newbie Join Date: Nov 2005 Location: San Jose
Posts: 21
|
I like how it's turning out. I have been meaning to pick up a set of the two color caps. Although I'm not so sure about the mud slingers. They are a hot tire, just from the wrong era of the truck. I think the BFG's are more suited to the old school look.
|
|
| |
|
11-09-2007, 07:28 PM
| #48 | |||
| Sinking with the ship Join Date: Mar 2005 Location: El Capitan...sole survivor and sinking fast
Posts: 8,864
| Quote:
I started sanding out the deep scratches, then I am going to up to my stepdads fire house and prime it in the work bay...see what flaws are left and go from there.Quote:
Quote:
| |||
|
| |
|
11-09-2007, 08:36 PM
| #49 |
| Quarry Creeper Join Date: Mar 2007 Location: plymouth
Posts: 325
|
sweet man good job like it with the slingers
|
|
| |
|
11-09-2007, 09:02 PM
| #50 |
| Newbie Join Date: Aug 2007 Location: virginia
Posts: 29
|
nice build, im gettin the ax-10, x-trail setup |
|
| |
|
11-10-2007, 02:10 PM
| #51 |
| I wanna be Dave Join Date: Jun 2007 Location: Arlington wa
Posts: 2,100
|
well i have a 1:1 yota with big meaty tires on it and i think it looks great! this rig looks flawless great job.. and a note on the hubs.. depending on the brand of hub... aisen hubs are metal with blue center...just letting ya know... that interior is amazing...... the vents incredible.. |
|
| |
|
11-10-2007, 02:45 PM
| #52 |
| Sinking with the ship Join Date: Mar 2005 Location: El Capitan...sole survivor and sinking fast
Posts: 8,864
|
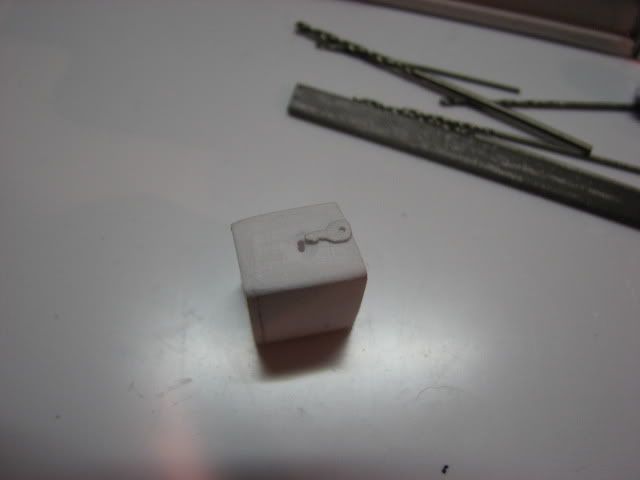
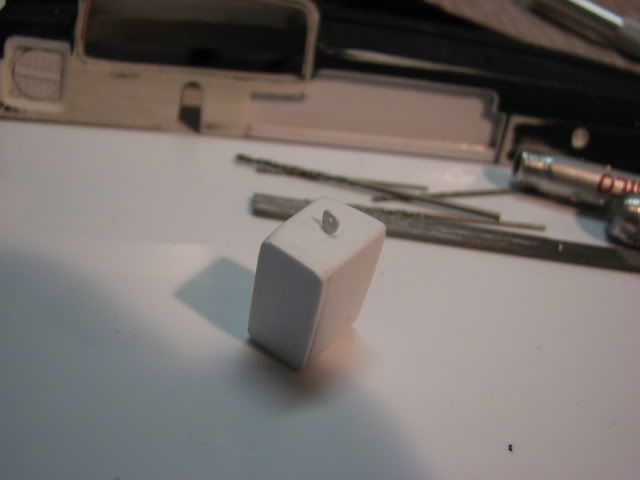
Started on the steering column.... 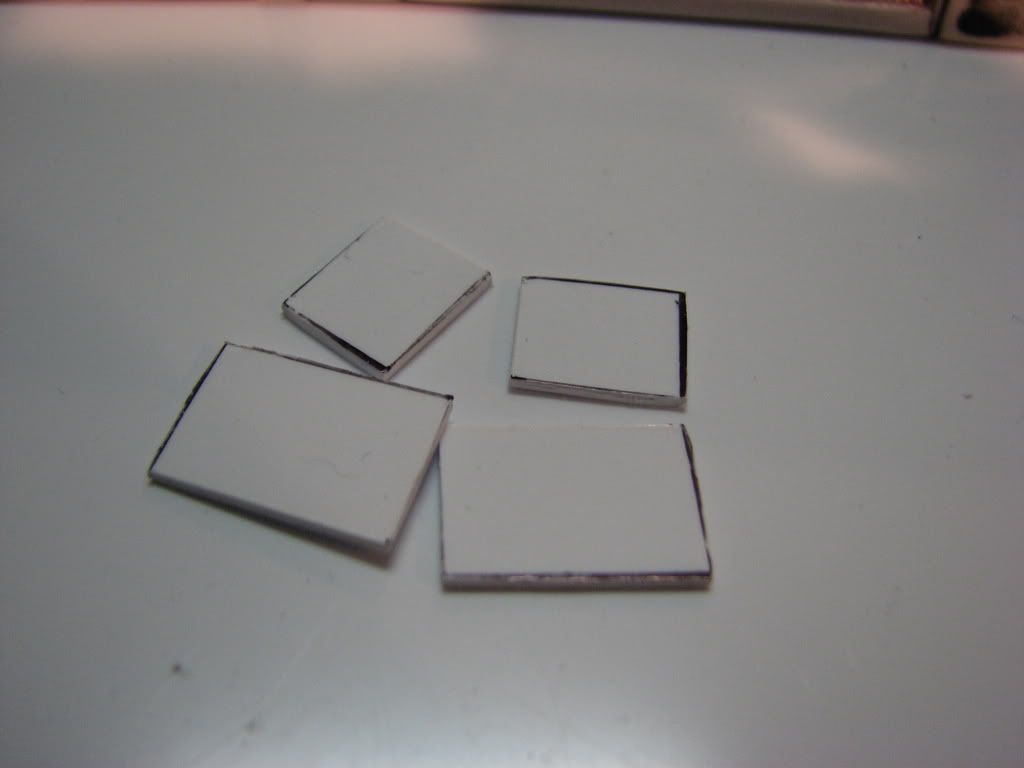 those 4 pcs slowy became this 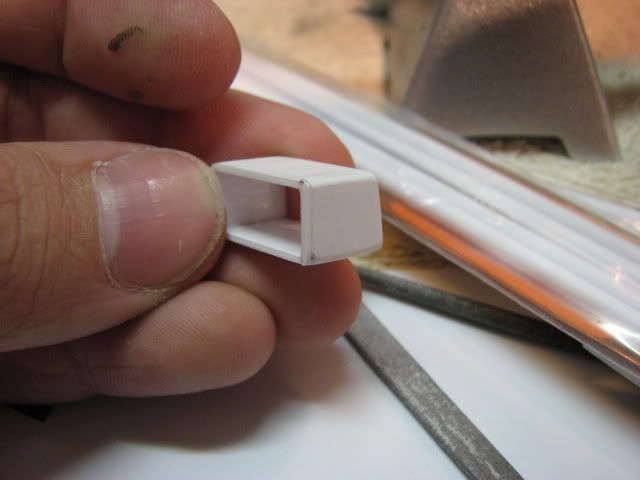 While the glue was drying, I started on the deck... 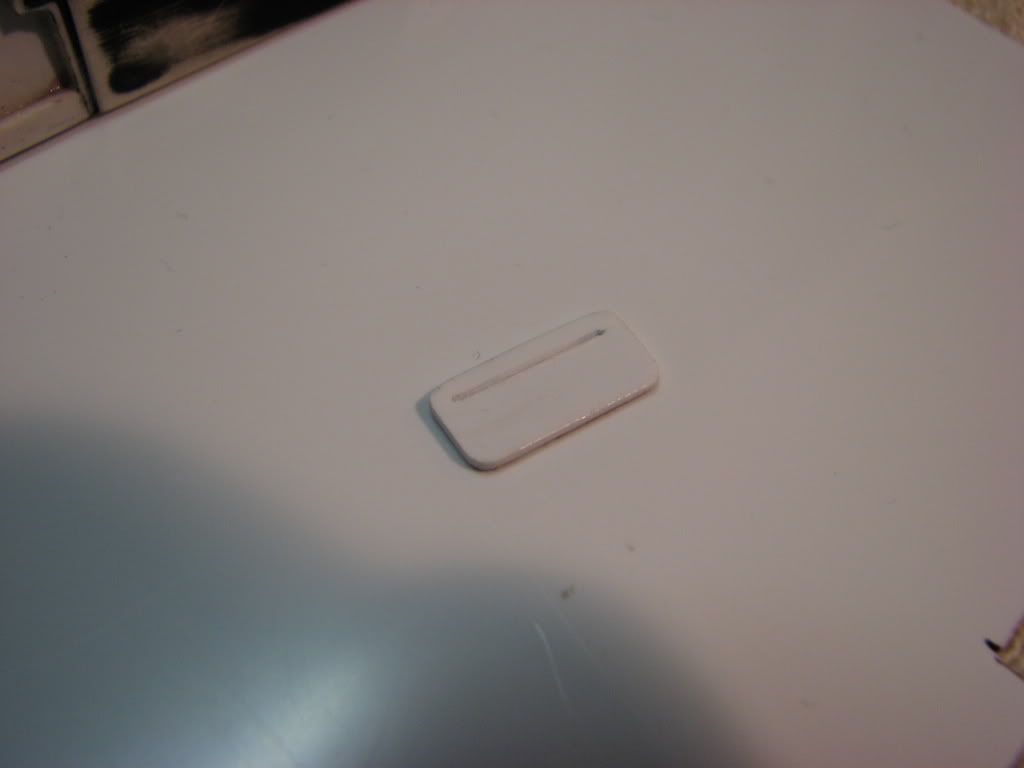 added my volume knob and eject CD button and made a CD as well 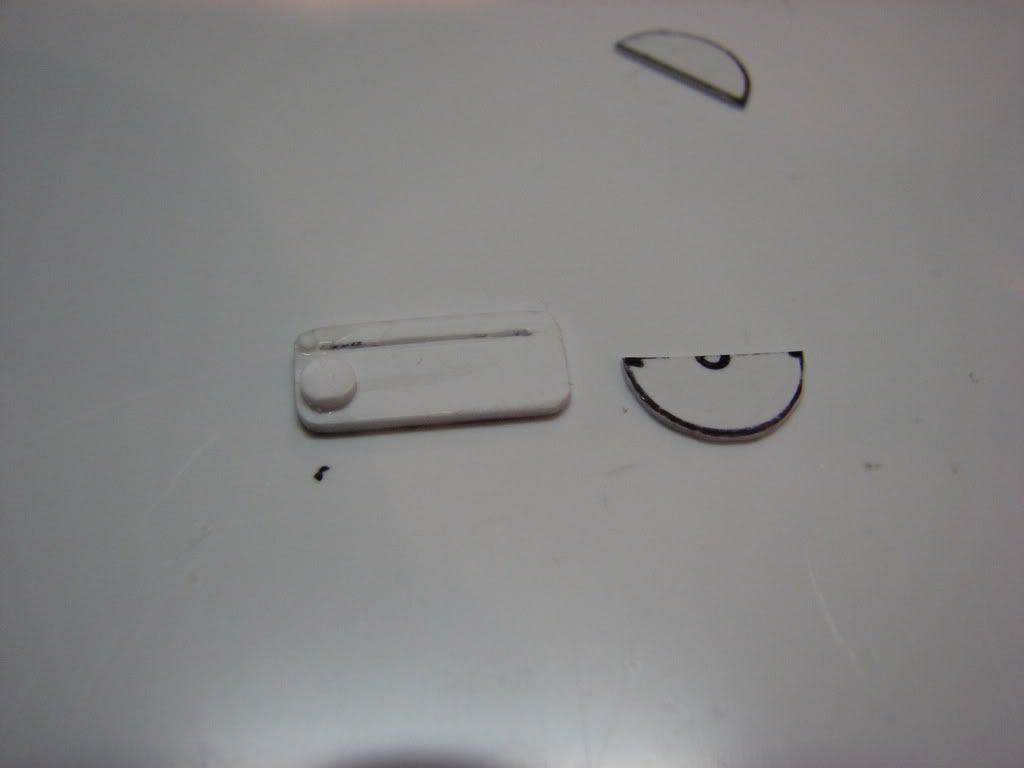 Then added the rest of the buttons... 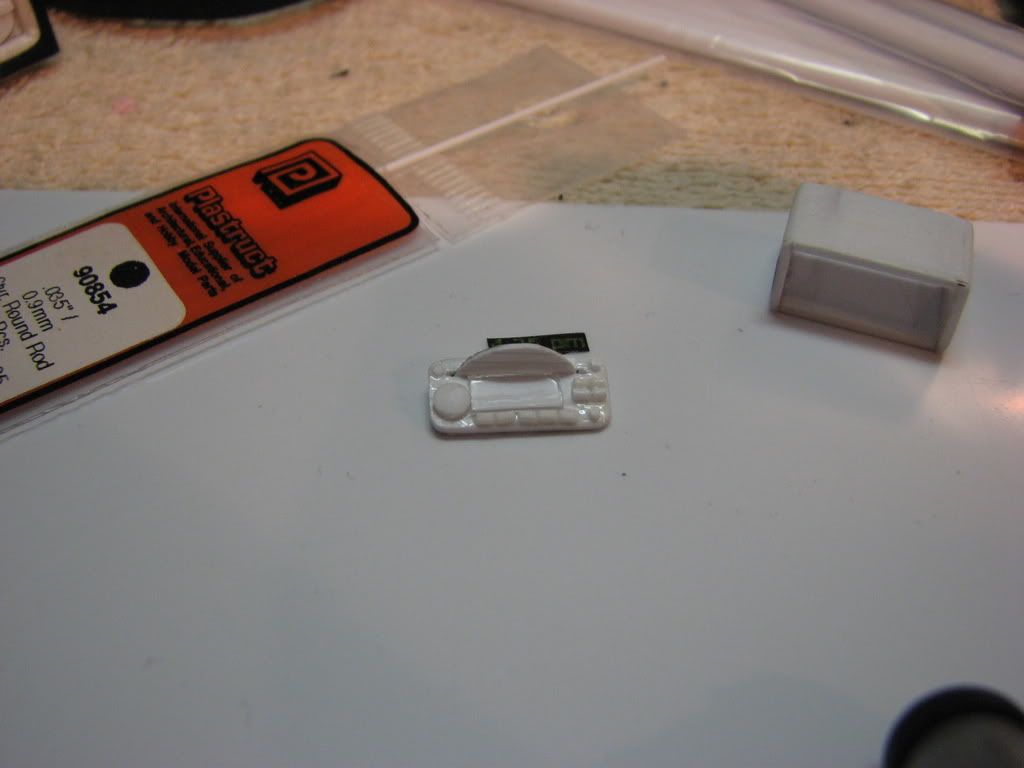 while the deck was drying I went back to the column and started on the key cylinder 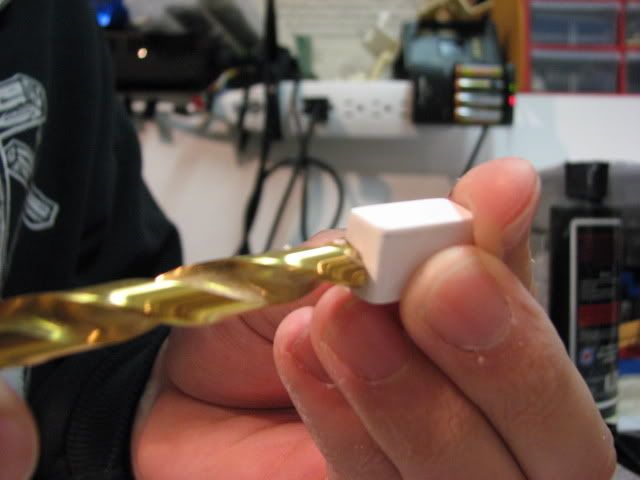 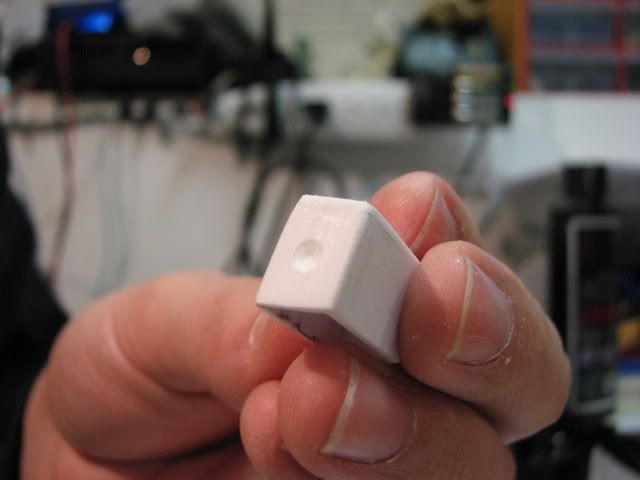 Then I started making this... 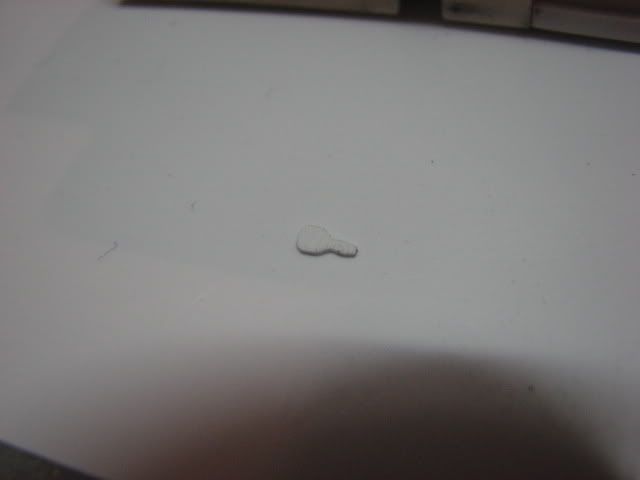 Anyone know what that is |
|
| |
|
11-10-2007, 02:49 PM
| #53 |
| RCC Addict Join Date: Feb 2005 Location: Minnesota
Posts: 1,516
|
A key... I can't believe you are putting keys in the ignition. That's killer |
|
| |
|
11-10-2007, 02:52 PM
| #54 | |
| Sinking with the ship Join Date: Mar 2005 Location: El Capitan...sole survivor and sinking fast
Posts: 8,864
| Quote:
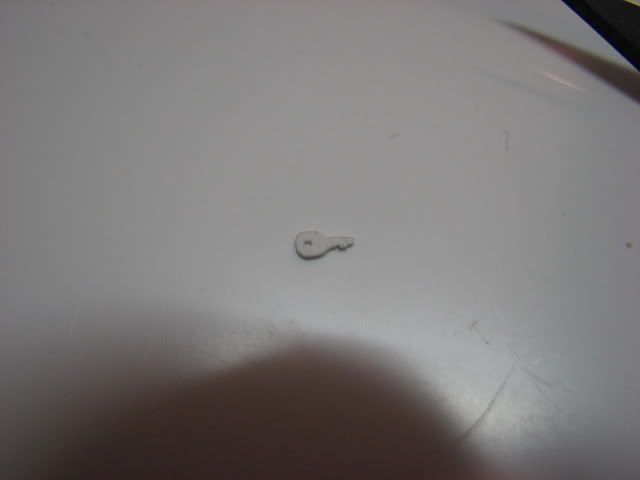   and what good is a key without a key chain  | |
|
| |
|
11-10-2007, 03:02 PM
| #55 |
| RCC Addict Join Date: Jul 2006 Location: Pasadena
Posts: 1,118
|
wow. plain wow.
|
|
| |
|
11-10-2007, 03:09 PM
| #56 |
| I wanna be Dave Join Date: Jun 2007 Location: Arlington wa
Posts: 2,100
|
holy crap... this is too much!! hahah great stuff going on here
|
|
| |
|
11-10-2007, 03:13 PM
| #57 |
| RCC Addict Join Date: Sep 2005 Location: Behind the torch!
Posts: 1,360
| Good job man, raising the bar as usual !!! I'm taking notes for my blazer interior. It's good to see your using good quality tools. Nice little screwdriver ya got there |
|
| |
|
11-10-2007, 05:20 PM
| #58 |
| I wanna be Dave Join Date: Apr 2007 Location: clarksburg
Posts: 2,009
|
great lookin ride Mike details details ..Just wondering where did you get that great idea for the half ejected cd hummm.. Love the key .....and the key chain!!!!!
|
|
| |
|
11-10-2007, 05:32 PM
| #59 | |
| I lost my vendor privileges Join Date: May 2006 Location: TOP OF THE HILL
Posts: 3,014
| Quote:
i agree i have one as well. looking great. well i will be stealing the column idea.thanks | |
|
| |
|
11-10-2007, 06:12 PM
| #60 | ||
| Sinking with the ship Join Date: Mar 2005 Location: El Capitan...sole survivor and sinking fast
Posts: 8,864
| Quote:
Quote:
Had to borrow it, its a great touch.Thanks for all the positive feedback guys, much more to come. Ill be wrenching all day tomorrow | ||
|
| |
 |
| |


 Linear Mode


