| |
| |||||||
 |
| | LinkBack | Thread Tools | Display Modes |
 10-18-2009, 10:42 PM
| #1 |
| RCC Addict  Join Date: Jan 2004 Location: Gunbarrel
Posts: 1,167
|
Well I have a 1.9 Dodge Ram Charger, so I figured I would make one for the 2.2 Class as well. This time instead of a full bodied one I decided to make a tubed out one. I looked online for ideas but was unable to find anything that was good for inspiration. I plan on using: SCX-10 Chassis Axial axles and Trans AX-10 links to stretch out the wheel base 45t Integy motor or a 21t Titan not sure yet Either a Mamba Max or a Sidewinder with a CC BEC Hobbico CS-170 steering servo 3 Racing winch Yea Racing 90mm Shocks Proline Dodge 83 Ram Charger Body Unsure about tire and wheels at this time I started to just bend and braze some solid 3/16" and 1/8" rod. I've used brake line in the past but now prefer the solid rod. After working for a few hours each day for a couple of days I came up with this. 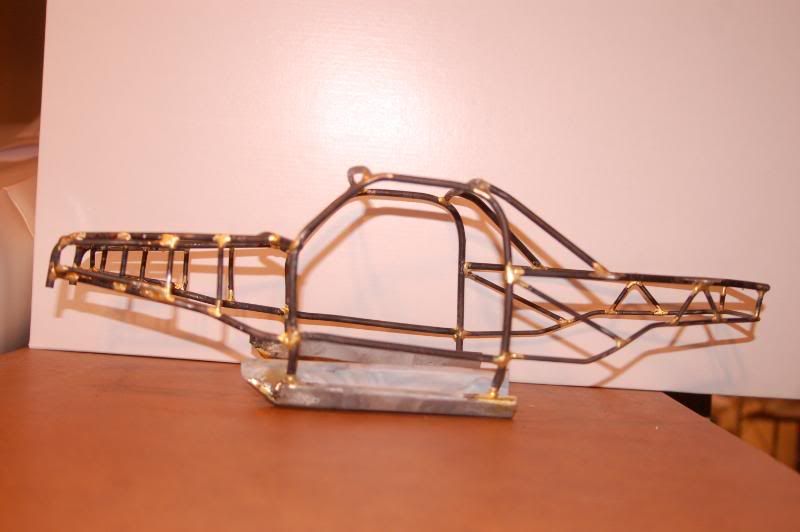 Now after looking at it, I just did not get the feel that this is where I wanted to take this tuber project. So I started over and after a few more days of messing with it I came up with this. 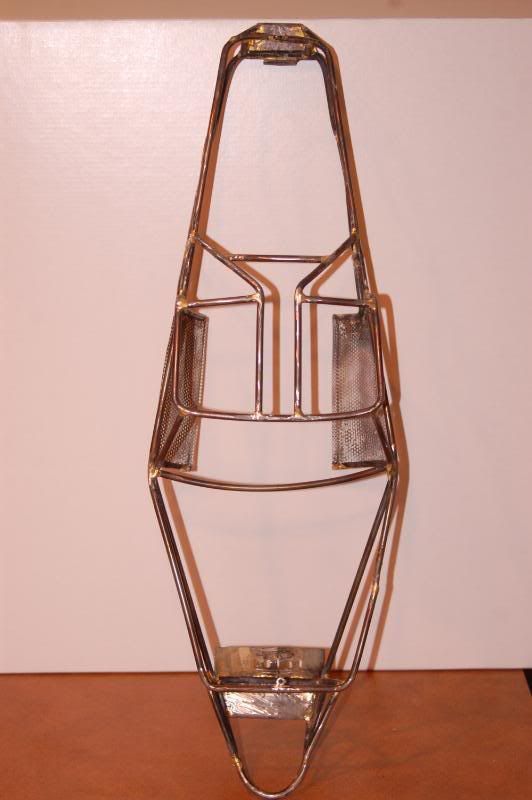 I am so much happier with the way it has turned out. I made this one all from 3/16 solid rod and brazed it all together. For Bumpers front and rear, I used some metal that I found at work. They are bent in a great shape for use as a bumper, but are actually for joining duct work together. To fill in the side I again used some metal that I found at work. I brased all that and added some additional tubes for support. The lower sections of the doors are some metal that I also got from work. It came from some 2x4 light fixtures. I wasn't sure if I was going to like the look here, but turned out pretty well I think.  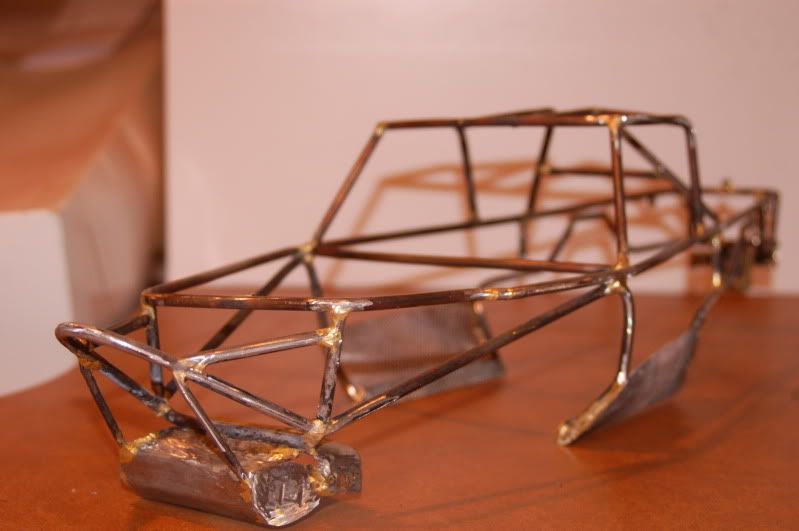 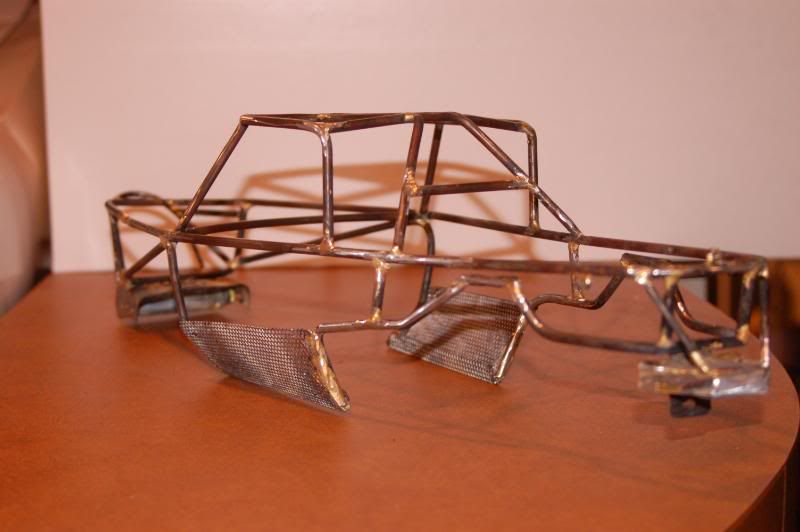 In the above pictures if you look at the rear of the cage, I messed up a little bit, the lower section of tube work interfered with the shock towers, so I cut and bent the tube work up to clear the towers. I actually think that it looks better then it did when it was just a straight tube. The tube work bolts up using three screws into the chassis for easy removal for changing out/ repair of parts. Here are a couple pictures of mock up on the chassis, that I had all ready built up. I figured that most of you have seen that process so there was no reason to get into details about that. You may also notice that there is a scale engine sitting on the servo, I was really hoping that it would look good in there, but it is a little small and will have to leave it out of this build. 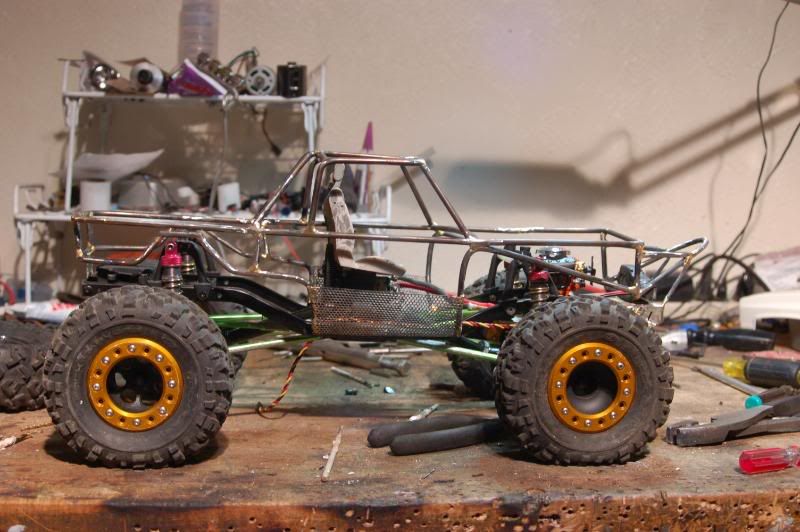 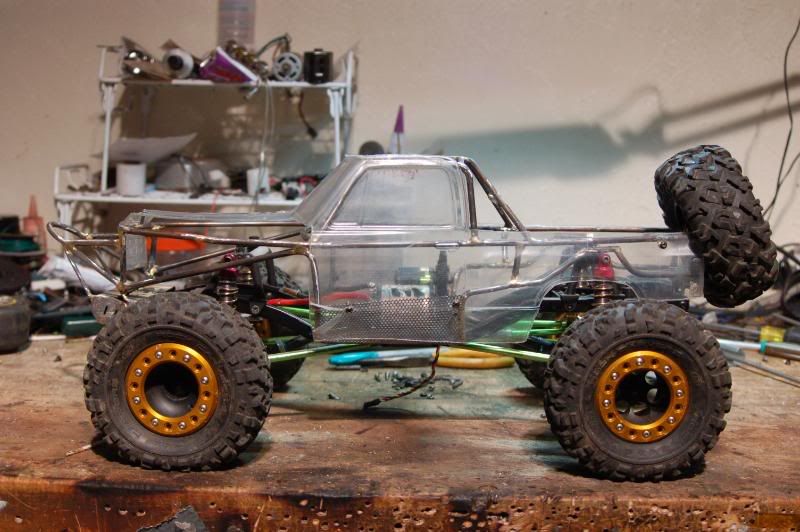 I was at first going to paint the tube work floursent orange and paint the body black to match my 1.9 rig, but talking with the wife I changed my mind to paint the tube work Hammered silver and the body brite candy red. Here is a picture of the tube work cleaned up and primer laid down. 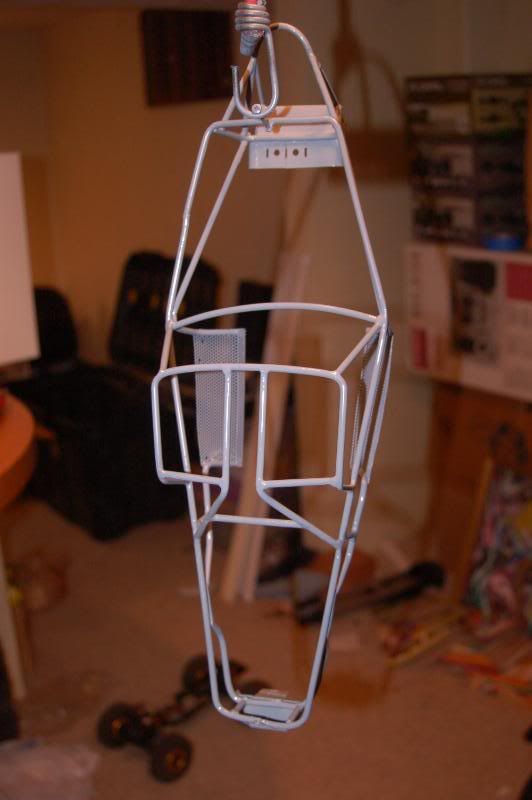 Here is a picture of it painted with silver. The hammer finish did not turn out but just the silver looks pretty good. I did mess it up after these pictures were taken and had to re-braze a couple sections, so I will have to repaint the whole thing again. 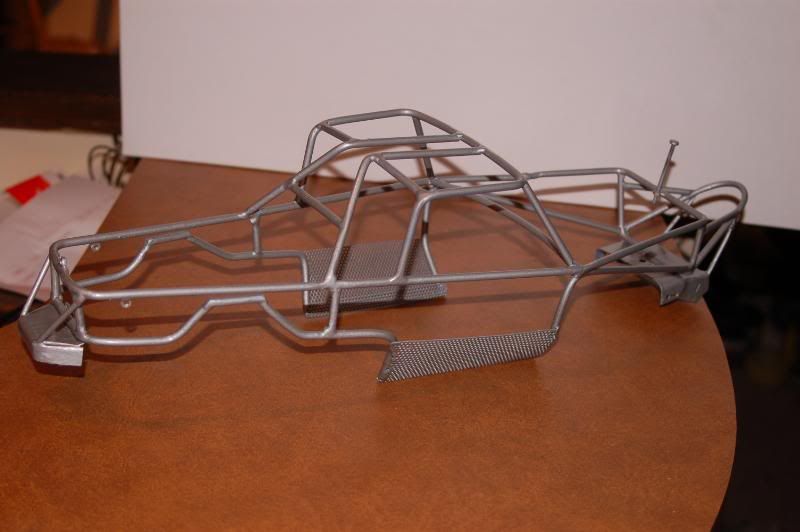 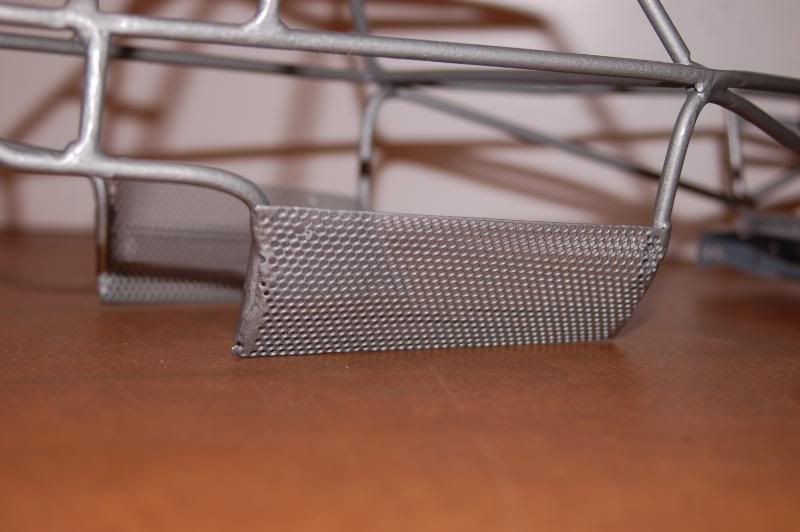 I had planned all along to do an interior, but didn't know that it would be as easy as it was. I have a Fast Lane Jeep JK that I had modified the interior a couple of time in my last 2.2 scaler. As it turns out it fits really well into the Dodge, so I repainted it and added a little styrene work and looks ok for now. I plan on really cleaning it up and doing a nice interior in it. One of the local scaler guys here found some perfect sized skeletons that are going to be idea for the driver and passenger, 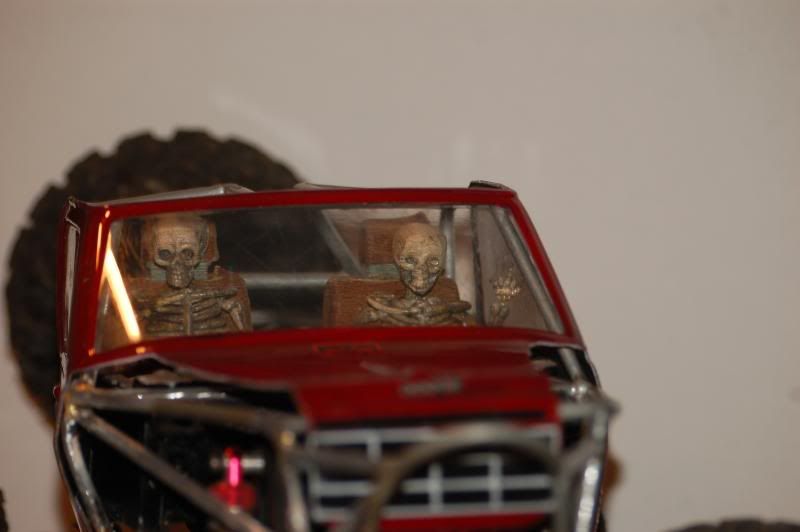 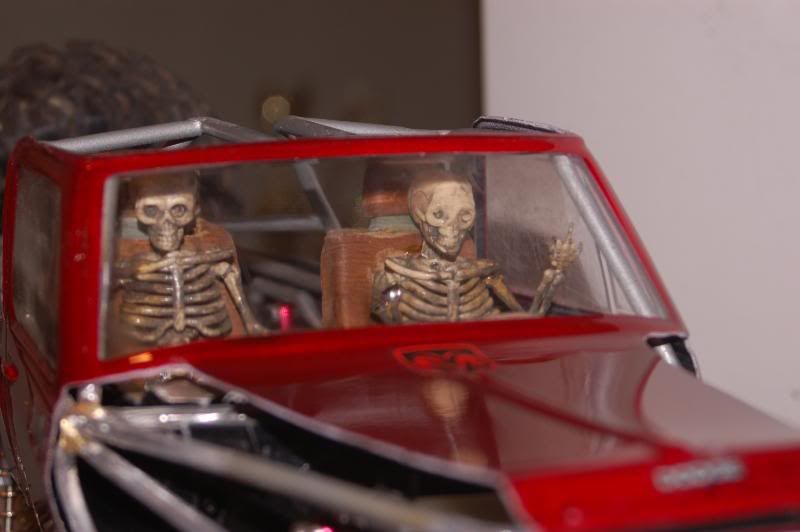 I know for sure that I want to go a different route with the tires. I'm really thinking that RC4WD 2.2 Rok Lox will look really good on this rig. I'm unsure if the Mayhem wheels will stay or get switched out for some of the RC4WD 2.2 steel bead locks. Thats all for tonight, but I did get it all put together and have a few additional parting shots for everyone. More to come later. 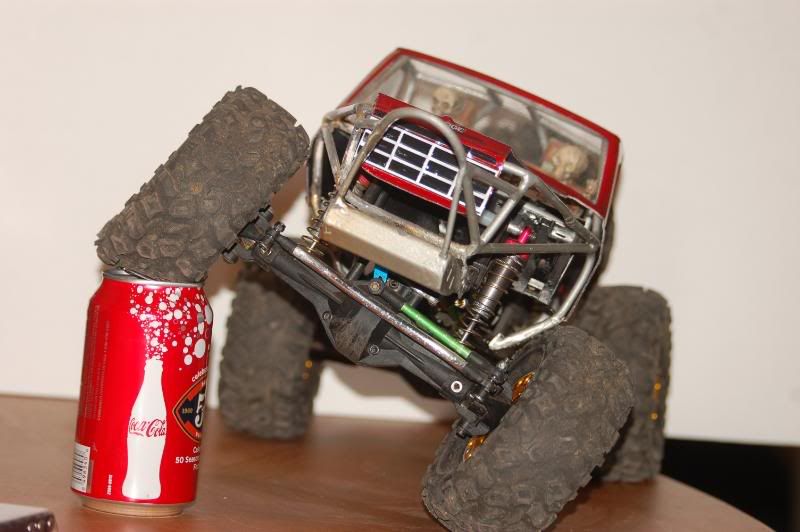 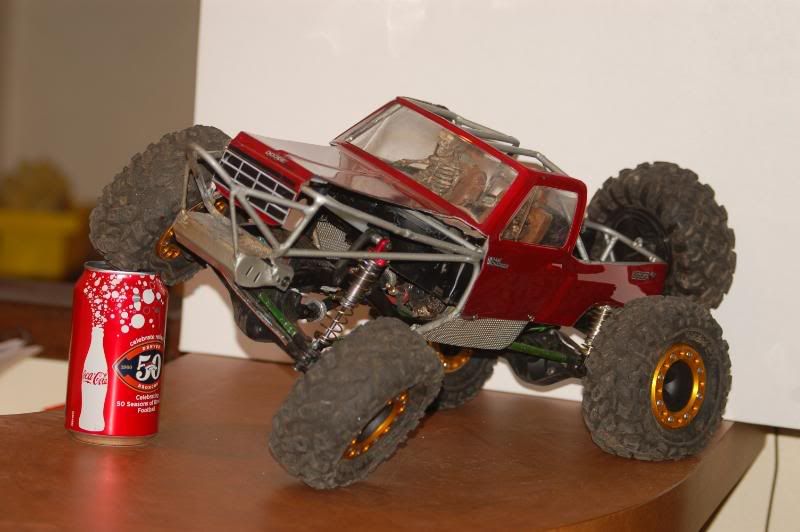 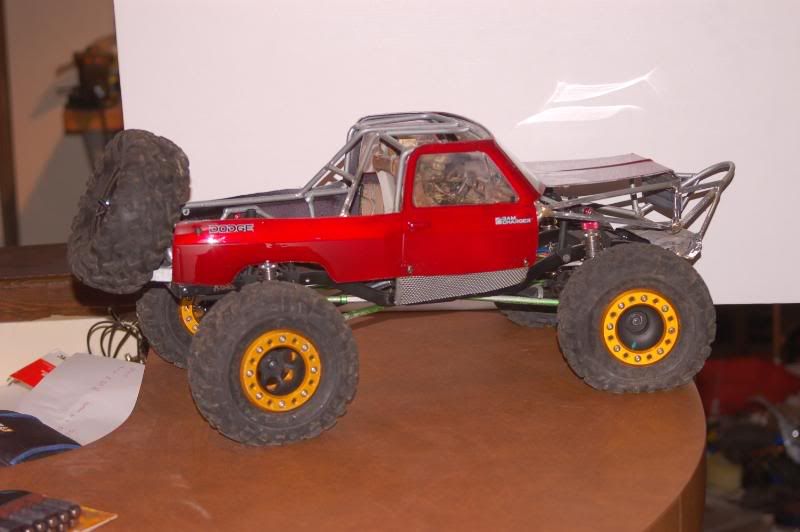 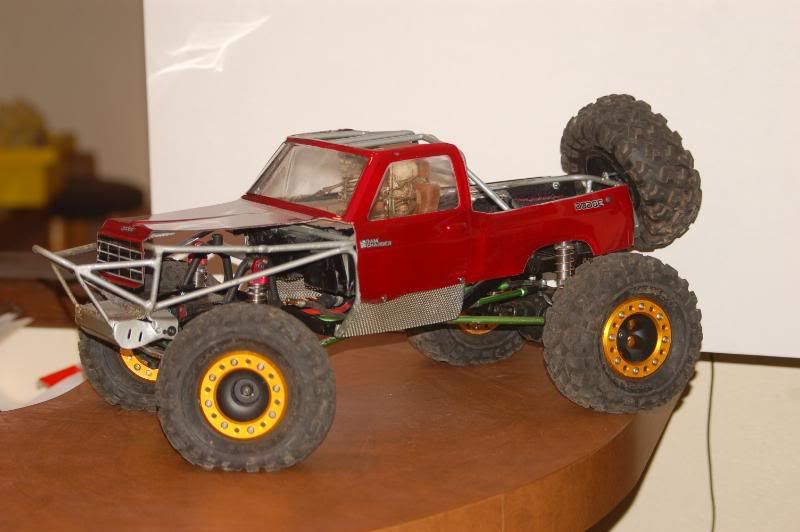 |

|  |
| Sponsored Links | |
| | |
|
10-19-2009, 05:52 AM
| #2 |
| [HOONIGAN]   Join Date: Jan 2008 Location: Littleton
Posts: 572
|
Looks cool Todd. I think 2.2 rok lox will look great on it.
|
|
| |
|
10-19-2009, 08:28 AM
| #3 |
| SORRCA Committee Member  Join Date: Dec 2008 Location: Parkston, SD
Posts: 4,523
|
Dam Todd you must have ESP or something Now that I got Rodney's done, my turn! |
|
| |
|
10-19-2009, 08:53 AM
| #4 |
| Rock Stacker Join Date: Jul 2008 Location: Austin
Posts: 52
|
Is that mesh from a perforated fixture? Looks like some of the direct/indirect ones I spec. Never though of using that. I like it. I'll have to call the rep and see if I can get just the mesh.
|
|
| |
|
10-19-2009, 10:32 AM
| #5 |
| I wanna be Dave Join Date: Aug 2008 Location: cape crud... will you be my friend
Posts: 2,102
|
cool rig.... those drivers rot. i mean rock... those drivers rock. |
|
| |
|
10-19-2009, 11:02 PM
| #6 | ||||
| RCC Addict Join Date: Jan 2004 Location: Gunbarrel
Posts: 1,167
| Quote:
Quote:
I'm not sure what the clip I used for the bumpers are called, but I'm pretty sure that your right on the name. It has a pretty good shape for a bumper to me, and I don't have all the cool tools you have access too! Heck, I just wish that I had a cheep welder to make life a little easier then all the brazing this thing took. Quote:
Quote:
| ||||
|
| |
|
10-20-2009, 08:27 AM
| #7 |
| SORRCA Committee Member Join Date: Dec 2008 Location: Parkston, SD
Posts: 4,523
|
Your 1.9 was sort of the inspiration for my build, and also the fact I have had four Dodge pick-ups over the years. |
|
| |
|
10-20-2009, 09:41 PM
| #8 | |
| RCC Addict Join Date: Jan 2004 Location: Gunbarrel
Posts: 1,167
| Quote:
I'll be looking to see what you come up with, your tube work is top notch! I think if your going to keep most of the body intact the 1.9 will be better suited then the 2.2. | |
|
| |
|
10-20-2009, 09:43 PM
| #9 |
| Rock Crawler Join Date: Mar 2009 Location: Frisco, Texas
Posts: 721
|
aweome rig, nice cage, awesome welding skillz |
|
| |
|
10-23-2009, 07:45 PM
| #10 |
| RCC Addict Join Date: Sep 2007 Location: Westland, MI
Posts: 1,508
|
Nice work man. |
|
| |
|
10-24-2009, 05:46 PM
| #11 | ||
| RCC Addict Join Date: Jan 2004 Location: Gunbarrel
Posts: 1,167
| Quote:
Quote:
I should have some more updates on this later tonight or tomorrow. I have been way to busy at work the last week and have had very little time to work on it. | ||
|
| |
|
10-24-2009, 08:45 PM
| #12 |
| I wanna be Dave Join Date: Jul 2005 Location: North Idaho
Posts: 3,648
|
Nice fabrication!
|
|
| |
|
10-26-2009, 07:56 PM
| #13 | |
| RCC Addict Join Date: Jan 2004 Location: Gunbarrel
Posts: 1,167
| Quote:
| |
|
| |
|
10-26-2009, 08:13 PM
| #14 |
| RCC Addict Join Date: Jan 2004 Location: Gunbarrel
Posts: 1,167
|
Well I did finally get a little time the past weekend to do a little work. I got some lights mounted up for head lights. I really wanted to keep the square headlights to keep with the Ram Charger body, but just could not really find/make anything that I thought looked good. I had some lights from a Tundra high lift that seemed to fit the bill. I will do what I can to hide the wiring, and hope that they don't take too much damage from where I mounted them (I also see now from the picts that I need to adjust them so they are level) I also got the 3 racing winch mounted. I'm still a little unsure of this winch. It does work ok in the 1.9 rig but this 2.2 is so much heavier. I do have a servo winch that I use in my last 2.2 rig, and my just use the 3 racing winch for looks and pass the cable through it. I'll see what it is like once get it out before our next comp. 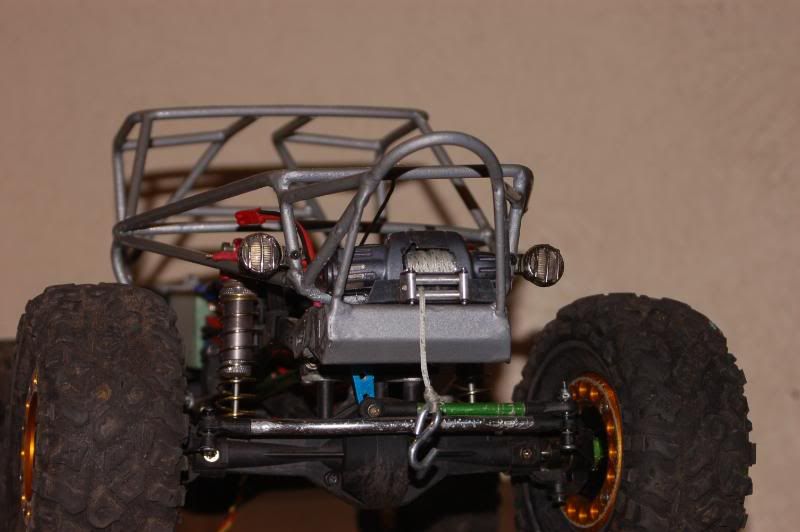 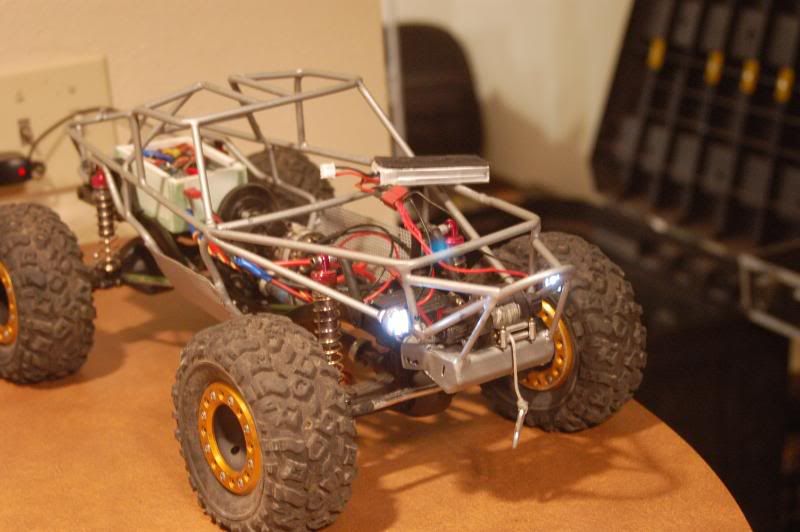 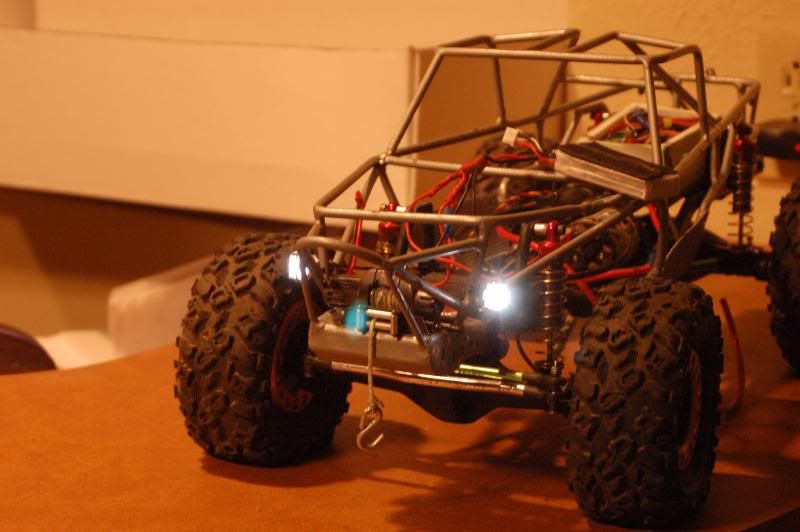 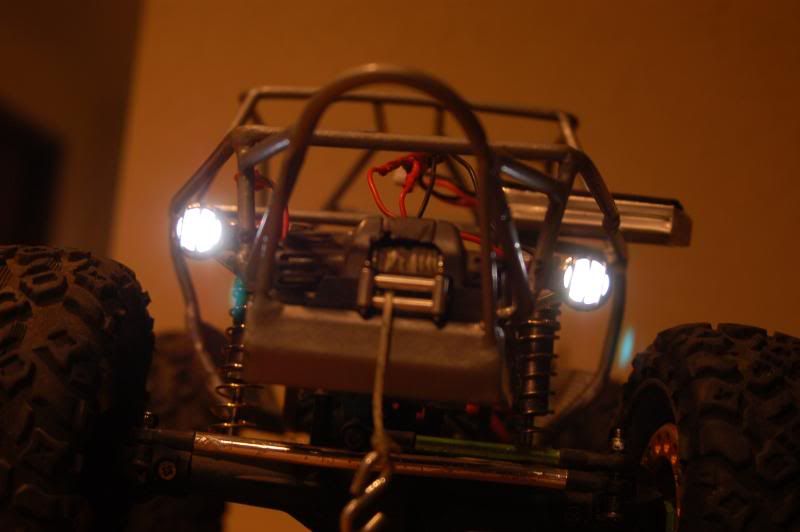 I also built a electronics box from styrene and test fit the electronics in it. I will pull it all out and seal it up so it is water proof. I really wanted this to be up front under the hood, but the steering servo kept getting in the way on the up travel of the suspension.  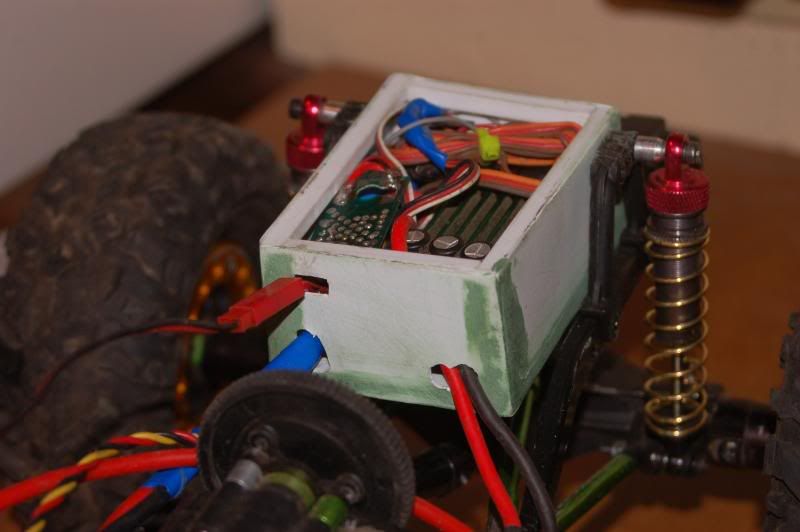 I also did a little styrene work the the interior, but it has a ways to go. I added some extra material to the top of the dash and to the top of the door panels so they would extend out to the tube work of the chassis. 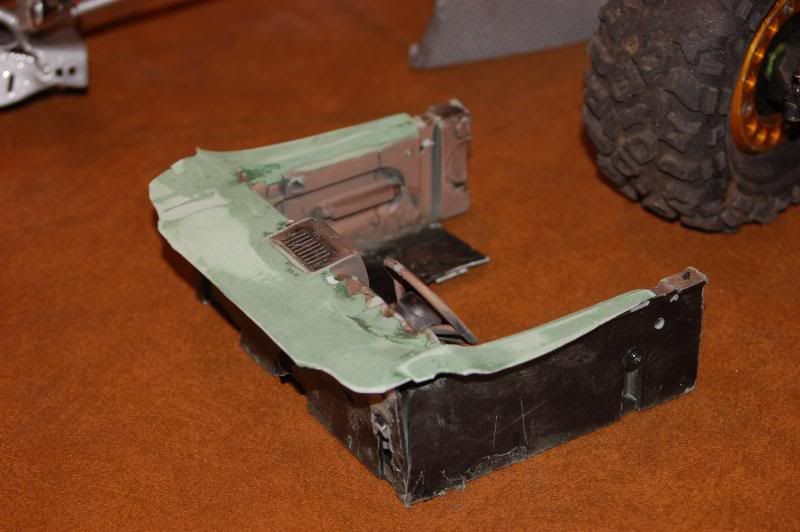 That's all I've got for now but will continue to post up progress. |
|
| |
|
10-26-2009, 08:45 PM
| #15 |
| Quarry Creeper Join Date: Dec 2008 Location: Aurora Colorado
Posts: 346
|
Todd, I have a question about your styrene electronics box. You said you are going to seal it. Can you post up the details when you do this. I am looking for ideas on my scx10. I was hoping to get it done before Lutz if possible since I saw that there is water there in the pictures. Great job on the cage it looks awesome! Subscribed |
|
| |
|
10-27-2009, 10:42 PM
| #16 | |
| RCC Addict Join Date: Jan 2004 Location: Gunbarrel
Posts: 1,167
| Quote:
Water there is really not to deep. I not into the hole submarine thing and for the most part you really won't have to worry about getting the electronic wet if you drive smart. For that event we'll see what is available for courses. Weather or not you get your scx10 done you should come out! | |
|
| |
|
10-28-2009, 03:19 PM
| #17 |
| Quarry Creeper Join Date: Dec 2008 Location: Aurora Colorado
Posts: 346
|
Its done enough. I am looking forward to it.
|
|
| |
|
10-28-2009, 10:12 PM
| #18 |
| RCC Addict Join Date: Jan 2004 Location: Gunbarrel
Posts: 1,167
|
Small update Got some 2.2 Rok Lox and mounted them up to so Vanquish wheels and some Mayhem wheels. I think for now that I'm going to use the Vanquish wheels until I can find a 2.2 that I think will look good on this rig. Mounted on the Mayhem wheels  Mounted on the Vanquish wheels 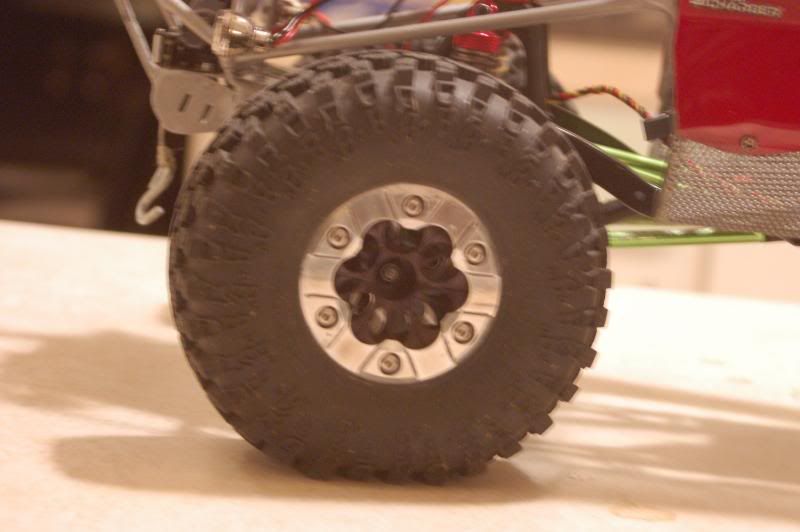 showing off the look I think it will have until I get some new wheels. 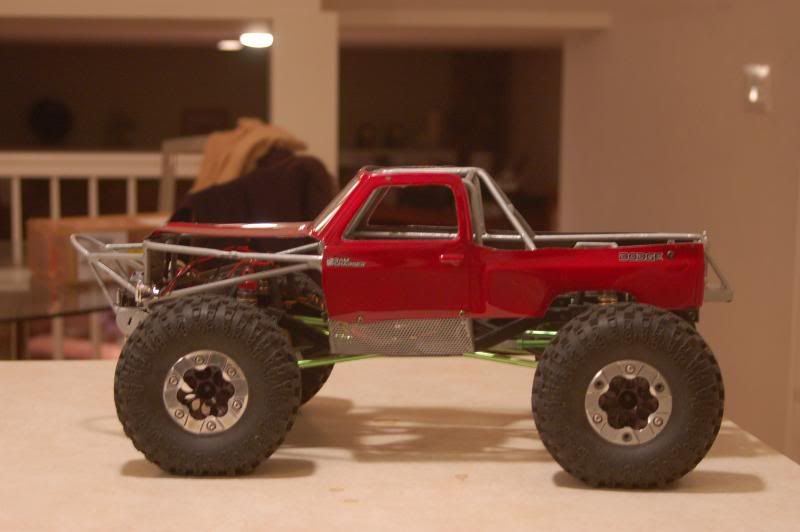 Flex shot 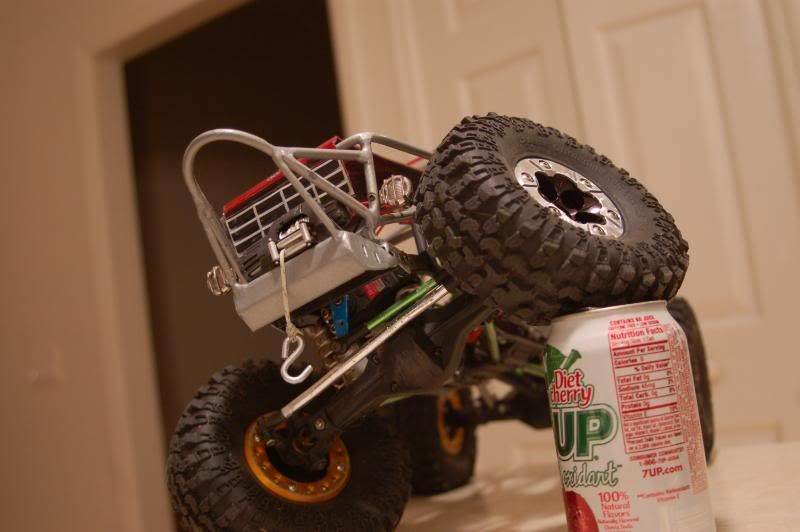 |
|
| |
|
10-28-2009, 10:13 PM
| #19 | |
| RCC Addict Join Date: Jan 2004 Location: Gunbarrel
Posts: 1,167
| Quote:
| |
|
| |
|
11-02-2009, 12:08 AM
| #20 |
| RCC Addict Join Date: Jan 2004 Location: Gunbarrel
Posts: 1,167
|
More progress made. Spent most of the weekend when not working at work, working on the scaler. I finished up installing all of the leds and getting them wired up. I also got the front fender wells installed, finished up the interior, or at least for now. I also finished the electronic box and got everything so it is operational. There are still alot of things that I want to get done, but I will be able to compete with it this upcoming weekend for our scale series. I was asked explain how I was going to seal the electronic box that I made. I use DAP Kwik Seal Plus. It's just a kitchen and bath adhesive caulk that I used to use for keeping c-clips in place when racing nitro off road. I know that you can get it at most hardware stores. I just put it in all of the corners and a small bead on top so when the cover is installed it is like a gasket. I have yet to do it, but where all the wires exit I also apply some to seal those holes as well. Hear is the stuff that I use to seal things up. 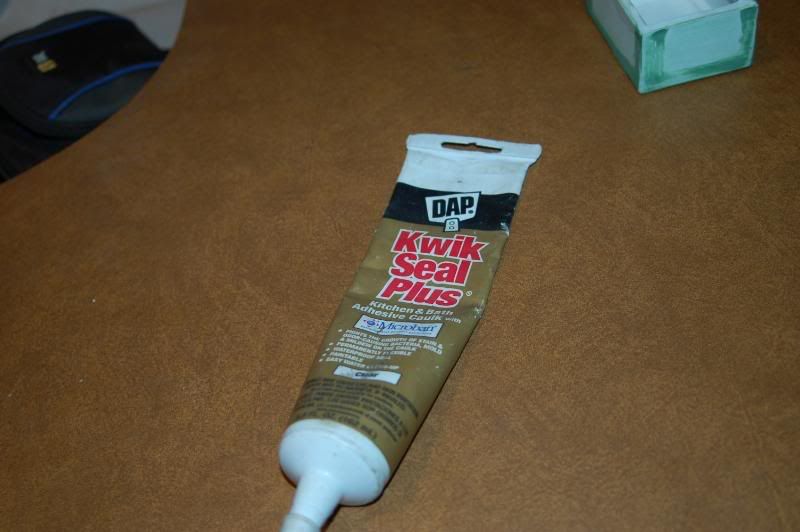 Couple pictures to show it before painting. 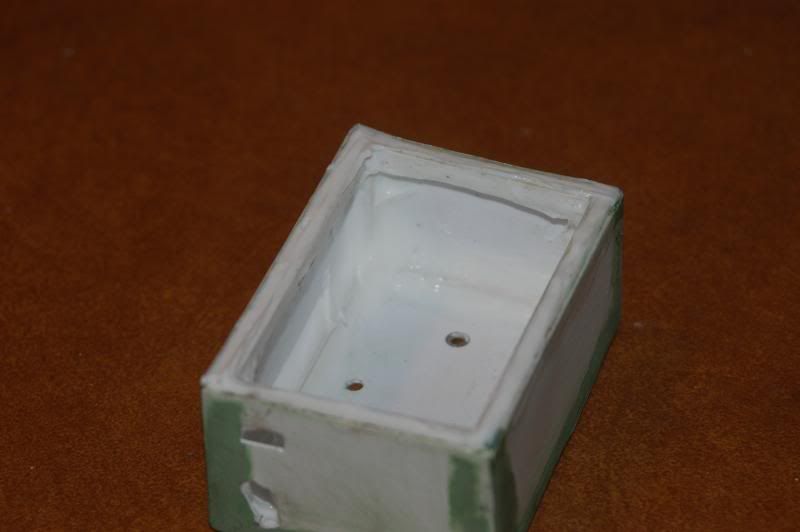 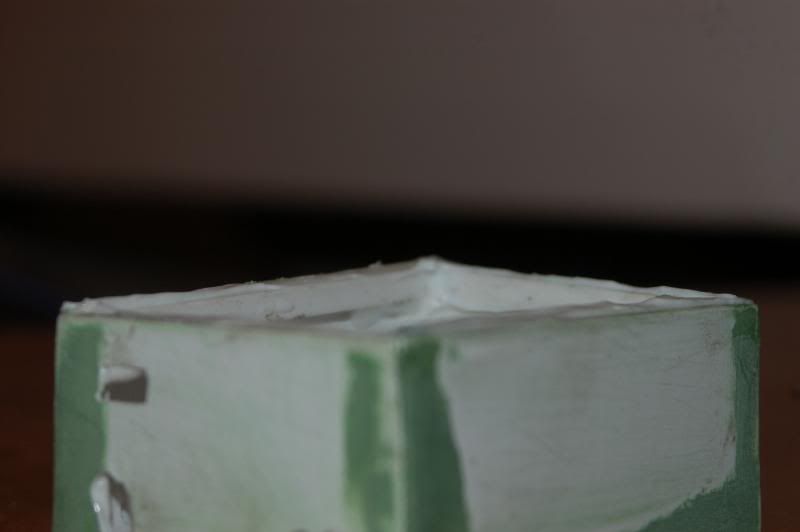 I spent a lot of time wiring up the different leds to two different switches. One switch is for the head and tail lights, the other is for the lights installed into the front bumper and the rock lights. I tried the best I could to show how bright the lights are but wasn't able to show just how bright they really are. The head lights and tail lights are really not all that bright, but the two lights in the bumper are 28,800 mcd and I really not sure what the rock lights are. They came out of something that I got from work and have taken apart. There are 4 leds wired together and have no resistors installed to reduce the voltage. The nice thing about them is that there are a wide angle light and really give good coverage of light under the rig. Tail lights on 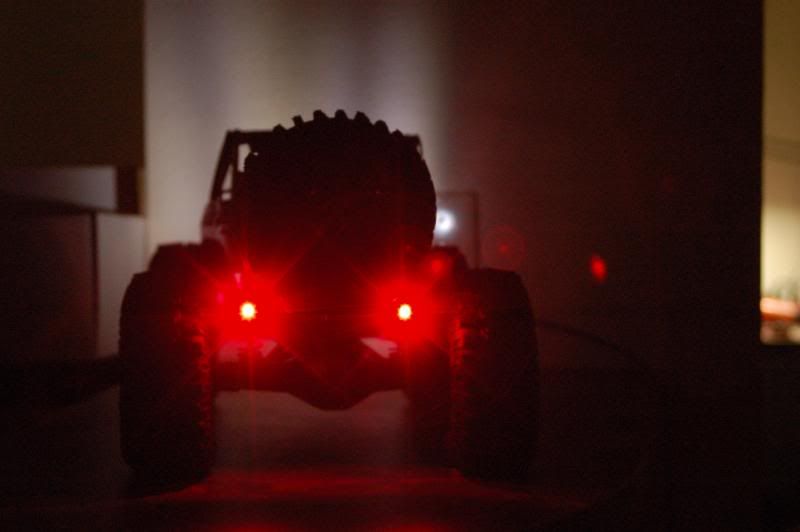 Tail lights and rock lights on 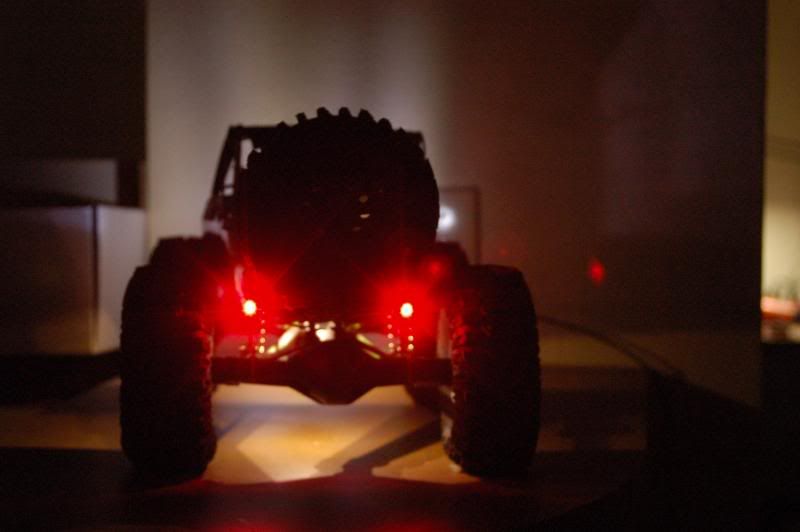 Head bumper and rock lights on 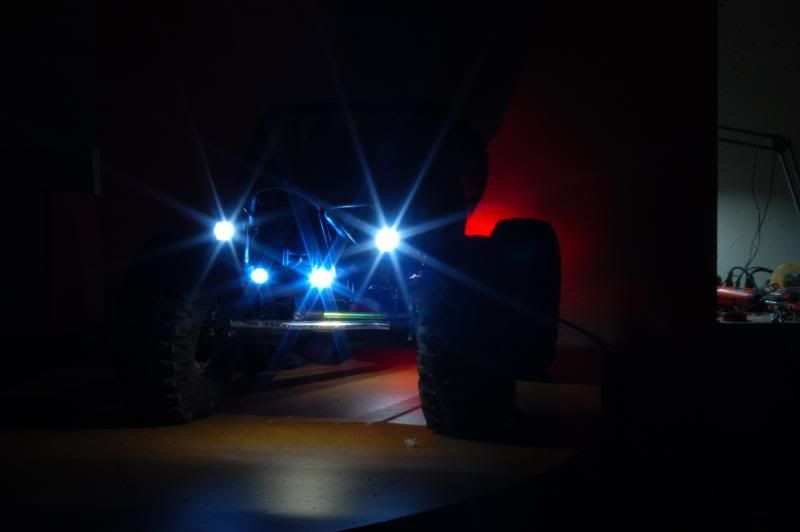 Showing the rock lights 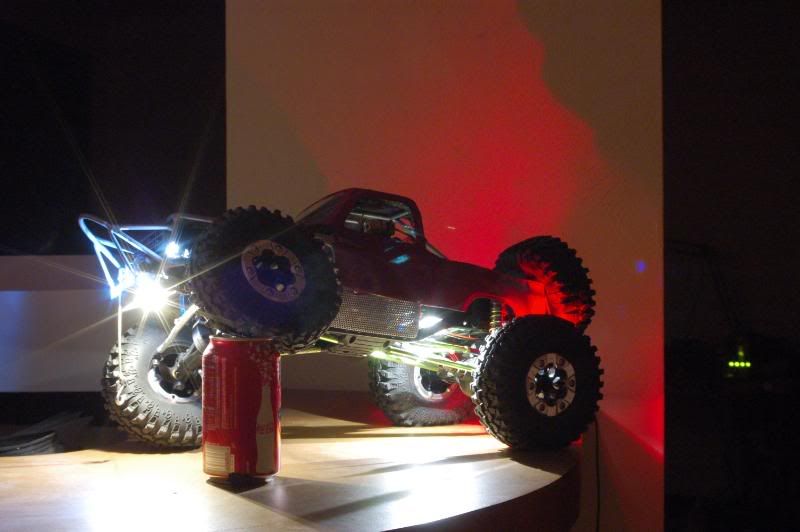 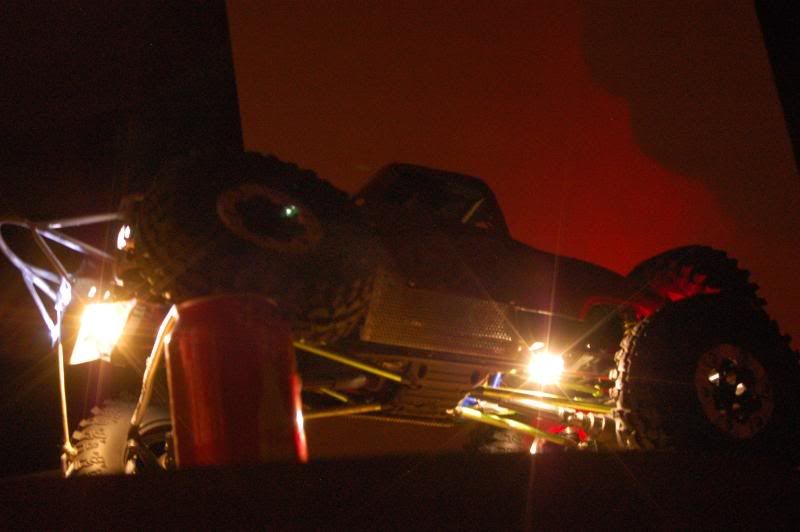 I installed the switches into the electronics box that I located to the back of the chassis to simulated the fuel tank. 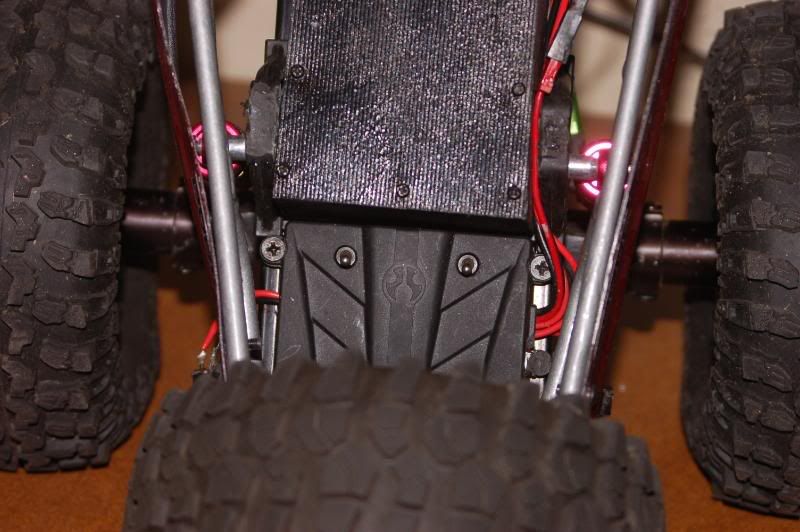 Overall top down view, here you can see the bikini top that I also made for it. 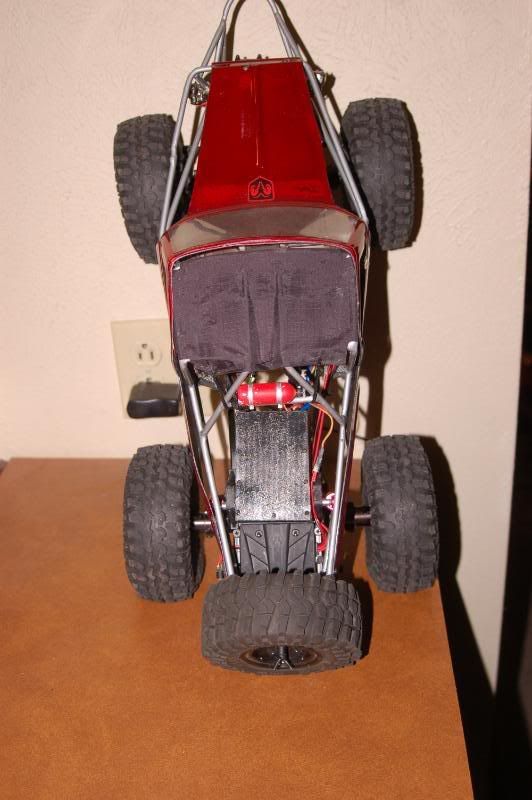 Bumper led. 28800 mcd 10mm leds 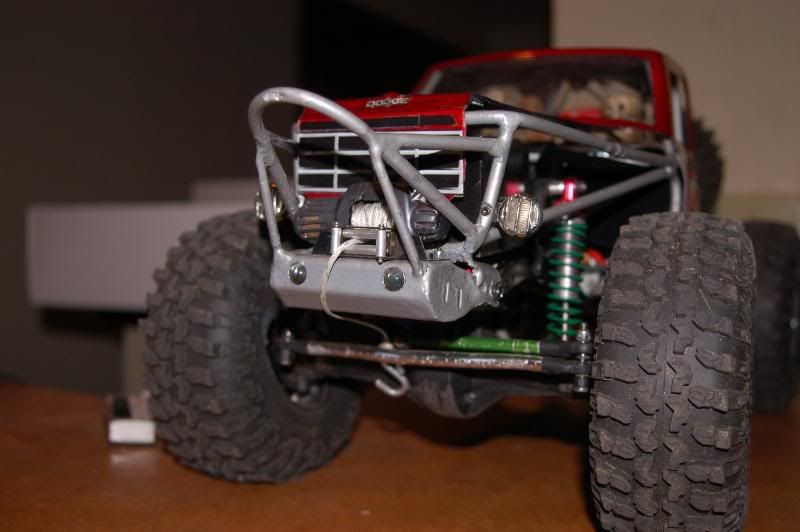 Rock lights 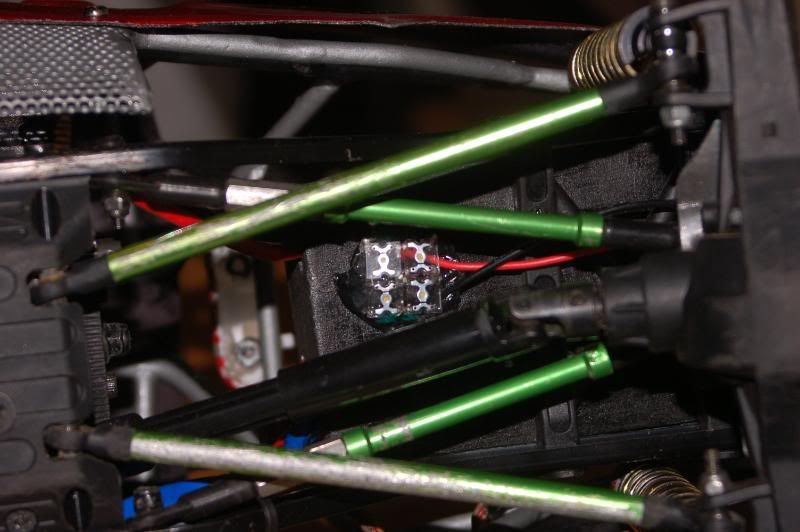 Tail lights 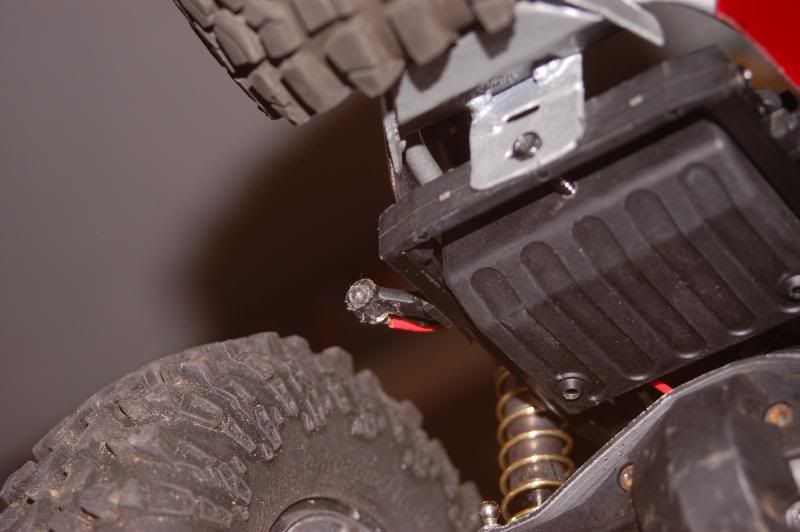 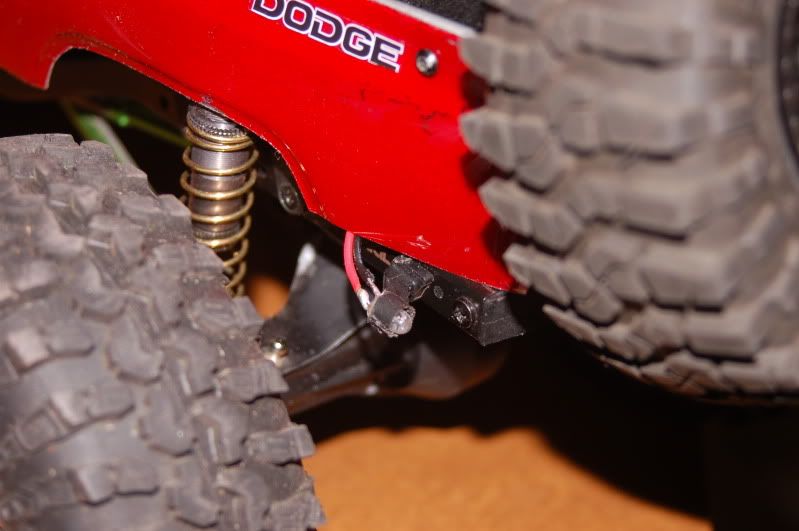 Here you can see the electronic box that I made painted and itstalled. 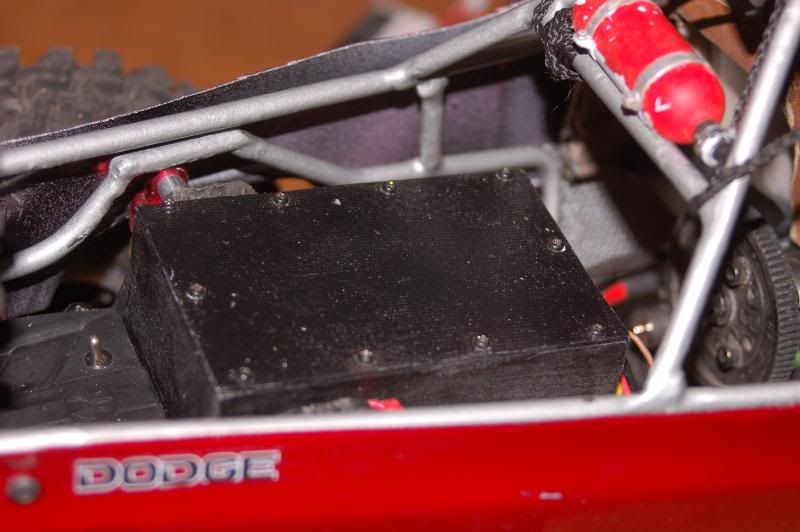 Here is where I decided to install the battery and how I am able to acces it with out taking off the body 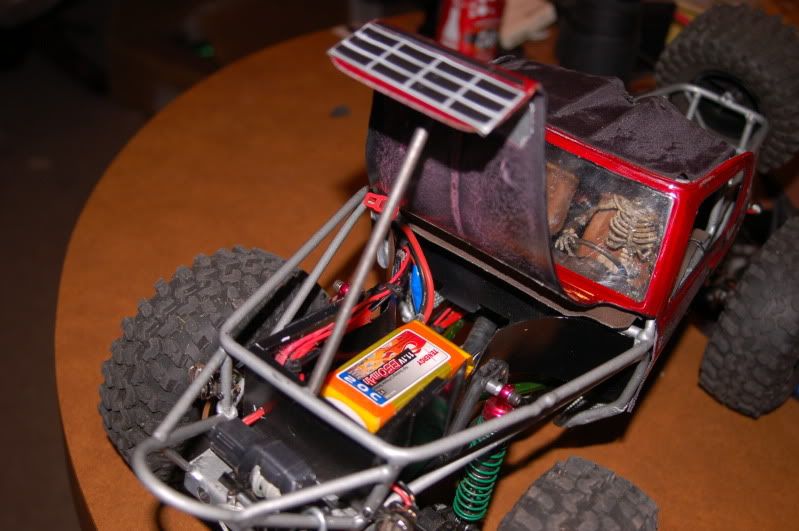 |
|
| |
|
| |


 Linear Mode


