| |
 01-31-2011, 06:01 PM
| #81 |
| Rock Crawler Join Date: Dec 2008 Location: With the ATL Crawlers
Posts: 707
|
Looks great! Very nicely done sir.  I have to ask. Explain the switches and servo? I'm guessing to have indepent control over both servo's on one channel???? I have to ask. Explain the switches and servo? I'm guessing to have indepent control over both servo's on one channel????
|

|  |
| Sponsored Links | |
| | |
|
02-01-2011, 08:49 PM
| #82 | |
| RCC Addict  Join Date: Mar 2007 Location: Penngrove
Posts: 1,809
| Quote:
Also wanted to post up a super sweet retouched picture that Tremelle sent me, thanks man! 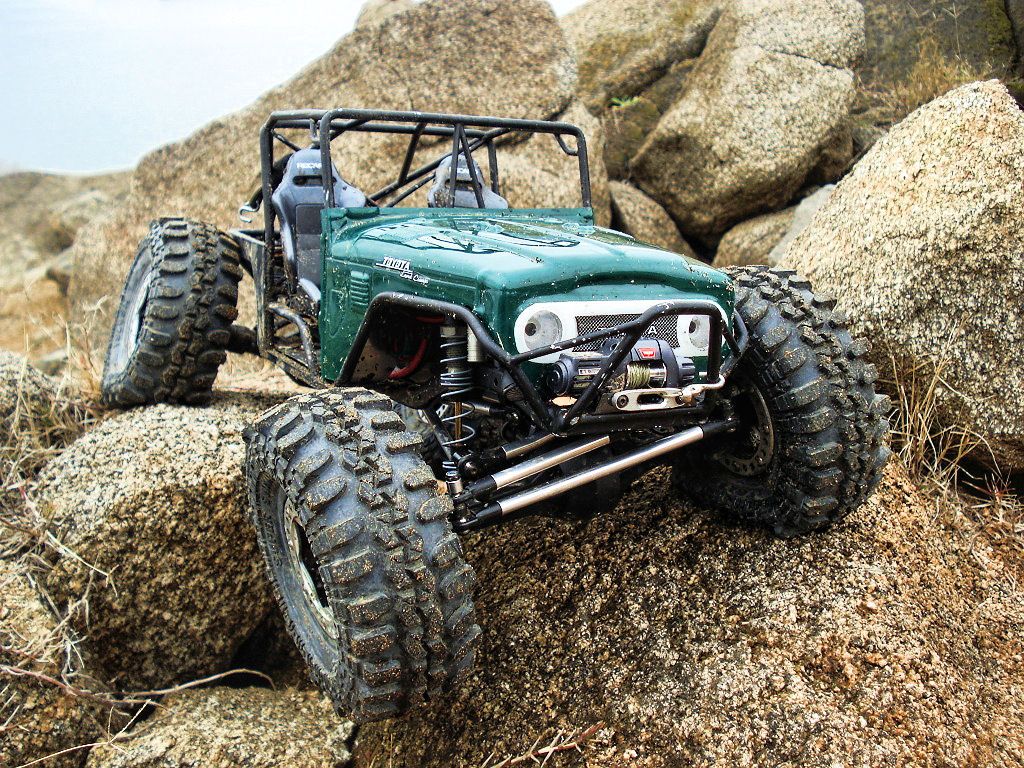 | |
|
| |
|
02-01-2011, 08:55 PM
| #83 | |
| Rock Crawler Join Date: Jan 2008 Location: Cotati
Posts: 704
| Quote:
That's brilliant! I was trying to figure out how you were going to make the dig and winches work on what I assume is still your 3R. | |
|
| |
|
02-01-2011, 09:09 PM
| #84 | |
| RCC Addict Join Date: Mar 2007 Location: Penngrove
Posts: 1,809
| Quote:
| |
|
| |
|
02-01-2011, 09:13 PM
| #85 |
| Pebble Pounder Join Date: Apr 2010 Location: Queen Creek
Posts: 125
|
I noticed that you have the motor with the gear facing towards the front of the vehicle, does it have alot of torque twist with this setup as opposed to having the gear facing the rear of the vehicle? Looking for the best way before i mount my motor and tranny. I'm not running a dig by-the-way.
|
|
| |
|
02-13-2011, 11:25 PM
| #86 |
| RCC Addict Join Date: Mar 2007 Location: Penngrove
Posts: 1,809
|
Been busy at work again the last couple of weeks, f'n lamo with traveling and employee crap 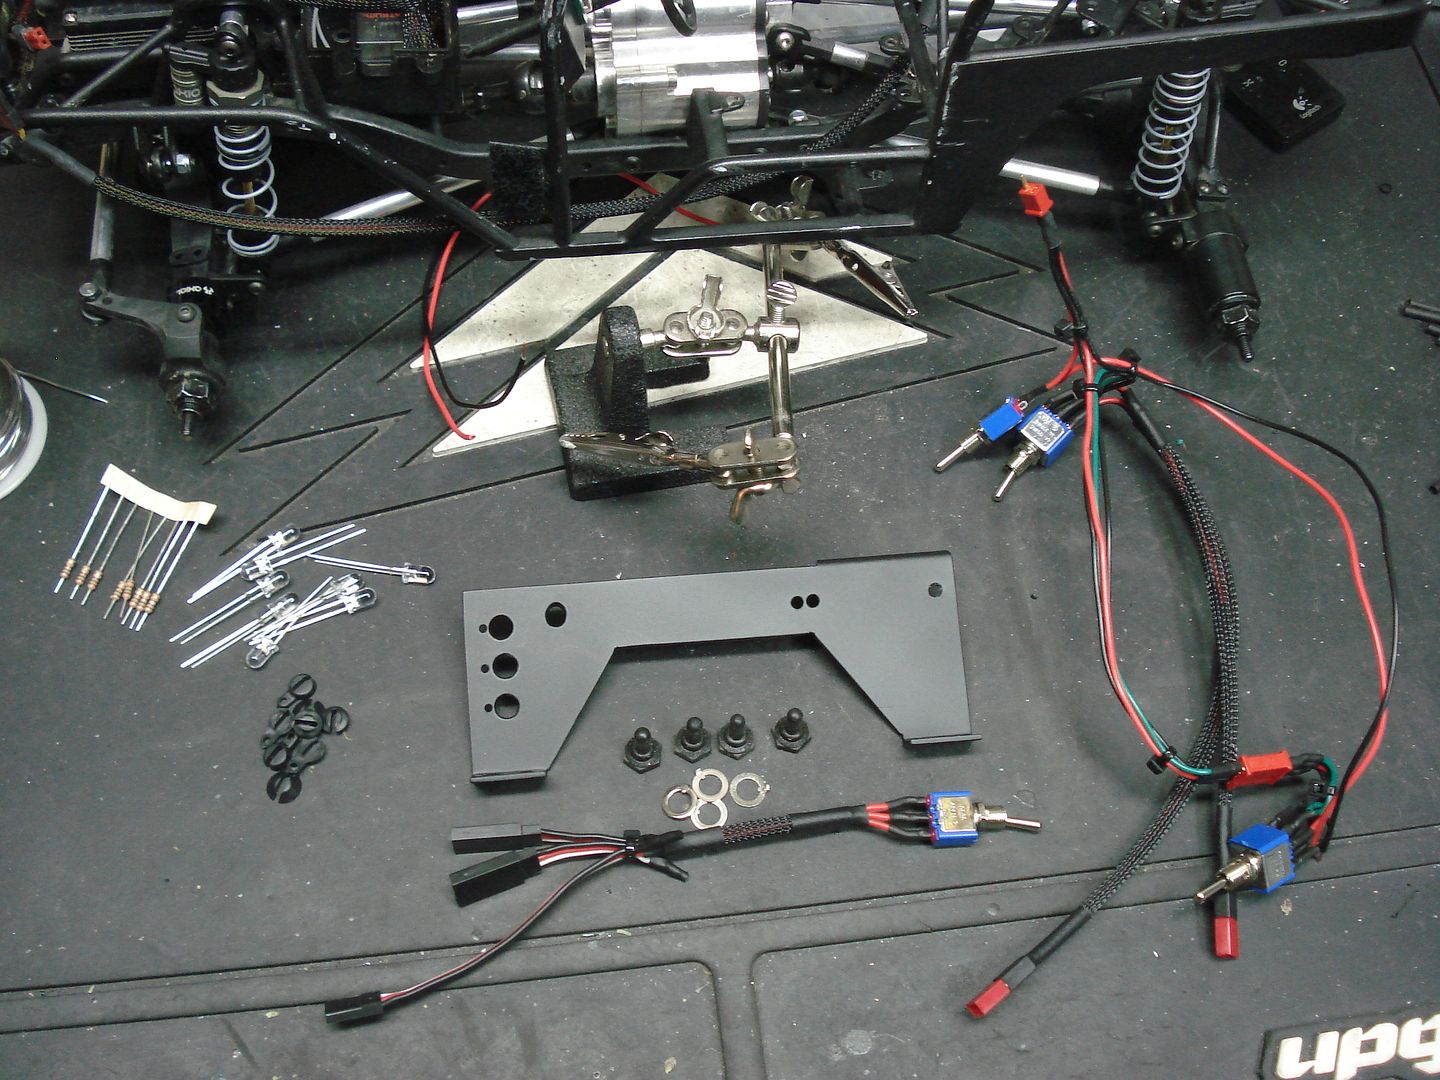 Today I wired up the 8x LED's, I used micro deans for the head lights and also for a light bar that is soon to come... Also to make an easier job of setting the end points for the dig / winch servo's I picked up 3-True-Position adapter from wantAsummit. This should allow me to set symmetric end points for the winch using the radio and then set the dig end points using the 3tp-3pTX 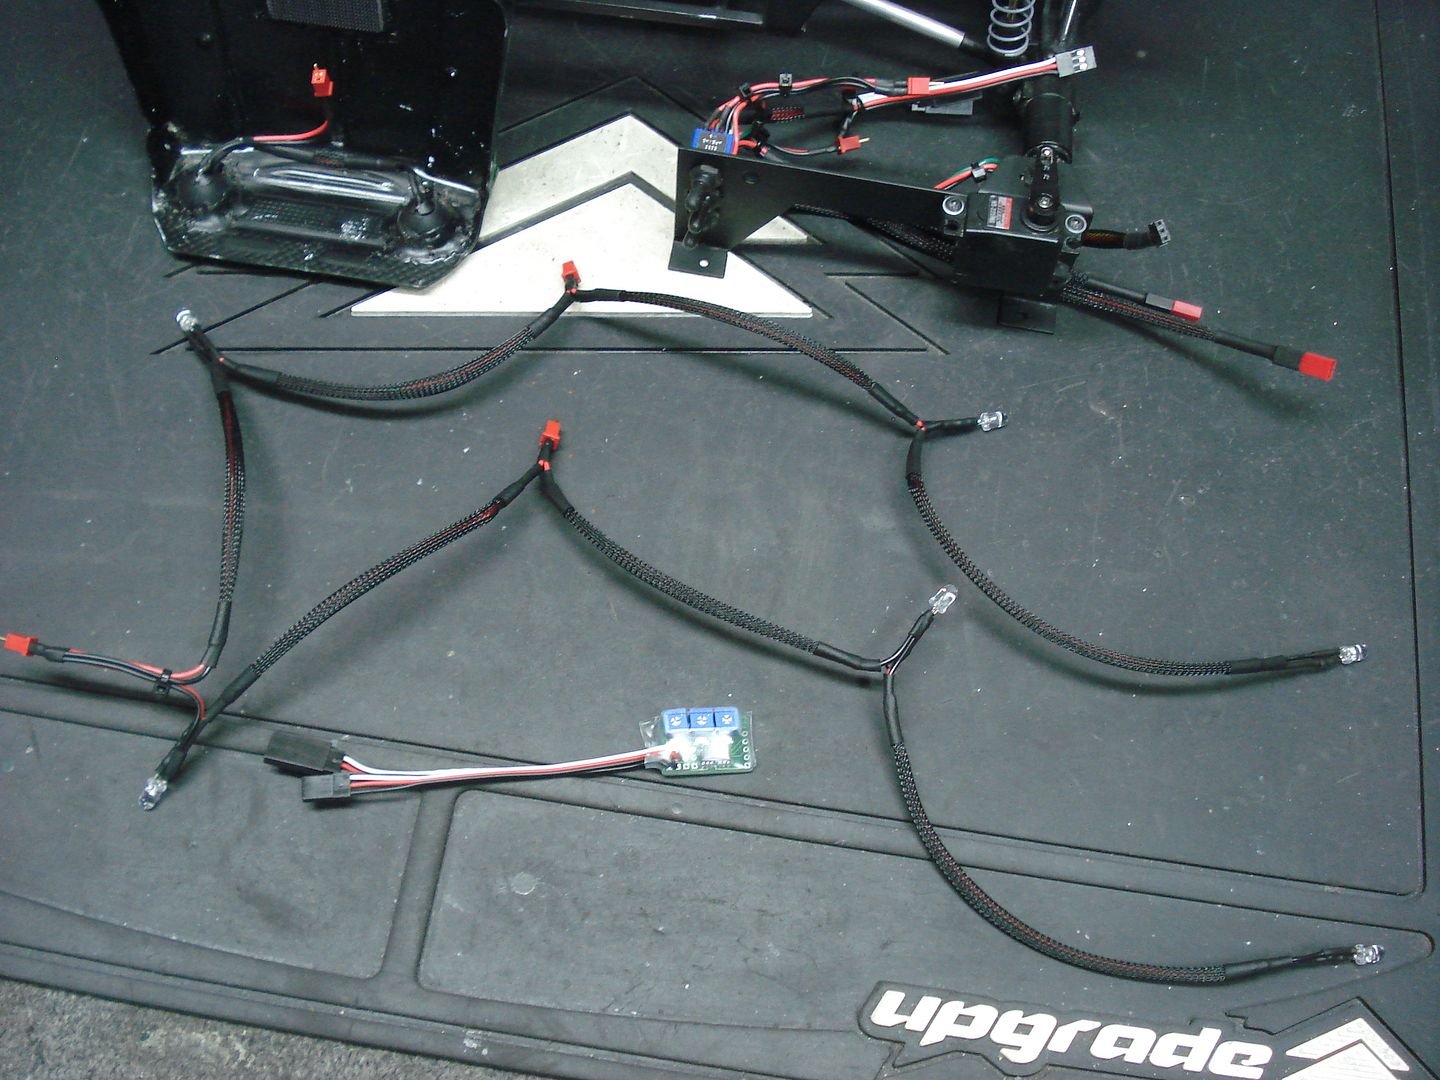 |
|
| |
|
02-14-2011, 12:00 AM
| #87 |
| I wanna be Dave Join Date: Jun 2004 Location: San Jose
Posts: 5,207
|
This thing looks amazing Eric, I wish I had your electrical skills. You always come up with some crazy stuff. Nice work, when are you gonna come down to the south bay again?
|
|
| |
|
02-15-2011, 05:14 PM
| #88 |
| Newbie Join Date: Dec 2010 Location: Calgary
Posts: 42
|
Nice truck where did you get the braided wire cover from.
|
|
| |
|
02-28-2011, 09:06 PM
| #90 |
| Newbie Join Date: Dec 2010 Location: Philadelphia
Posts: 49
|
insane build looks great and is really a runner I have an FJ40 that is the same color - this gives me some ideas Teeth to the wind, Sno Dawg |
|
| |
|
03-01-2011, 05:37 AM
| #91 |
| RCC Addict Join Date: May 2009 Location: NHFF world headquarters, working on the "rock mauling hill shooting NHFF pig squealing death rocket"
Posts: 1,134
|
man that thing is really nice, keep up the good work. |
|
| |
|
03-01-2011, 05:42 AM
| #92 |
| I wanna be Dave Join Date: Dec 2006 Location: Where the sheep run scared.
Posts: 3,008
|
Will you wire my toyota? |
|
| |
|
03-01-2011, 06:15 AM
| #93 |
| Quarry Creeper Join Date: Feb 2009 Location: Seattle, WA
Posts: 374
|
nice work man...looks pretty nice....
|
|
| |
|
03-07-2011, 12:00 AM
| #94 |
| RCC Addict Join Date: Mar 2007 Location: Penngrove
Posts: 1,809
|
Some updates for you guys... I decided it was time for some more beefiness in the axles so I purchased gunner/KC beef tubes, axial under-drive gears for the rear, axial CVD's with gunner pins, Jfab wide hex's and axial knuckles & lock-outs. Also built the rear fender wells using .060" black styrene sheet, I used a heat gun to form the top piece. Same story for the floor and front fender wells. Also added a couple scale touches with the axial shifters mounted on an aluminum plate and the oh-sh!t handle over the glove box: 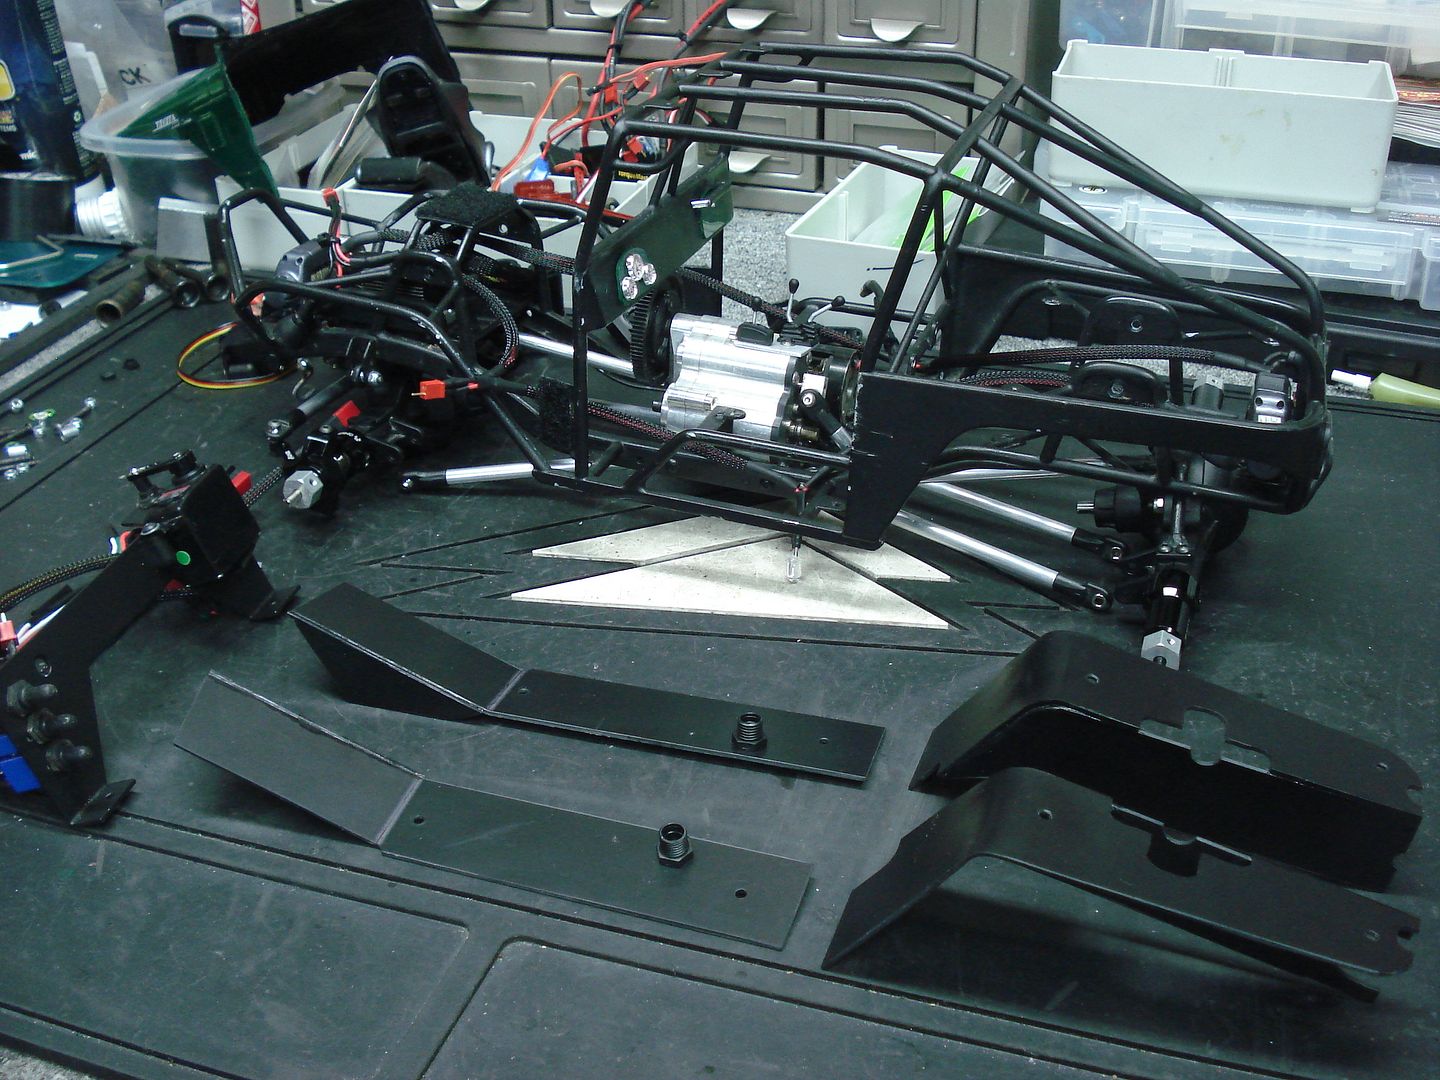 Installed with the bed floor the fenders give the truck a more completed look: 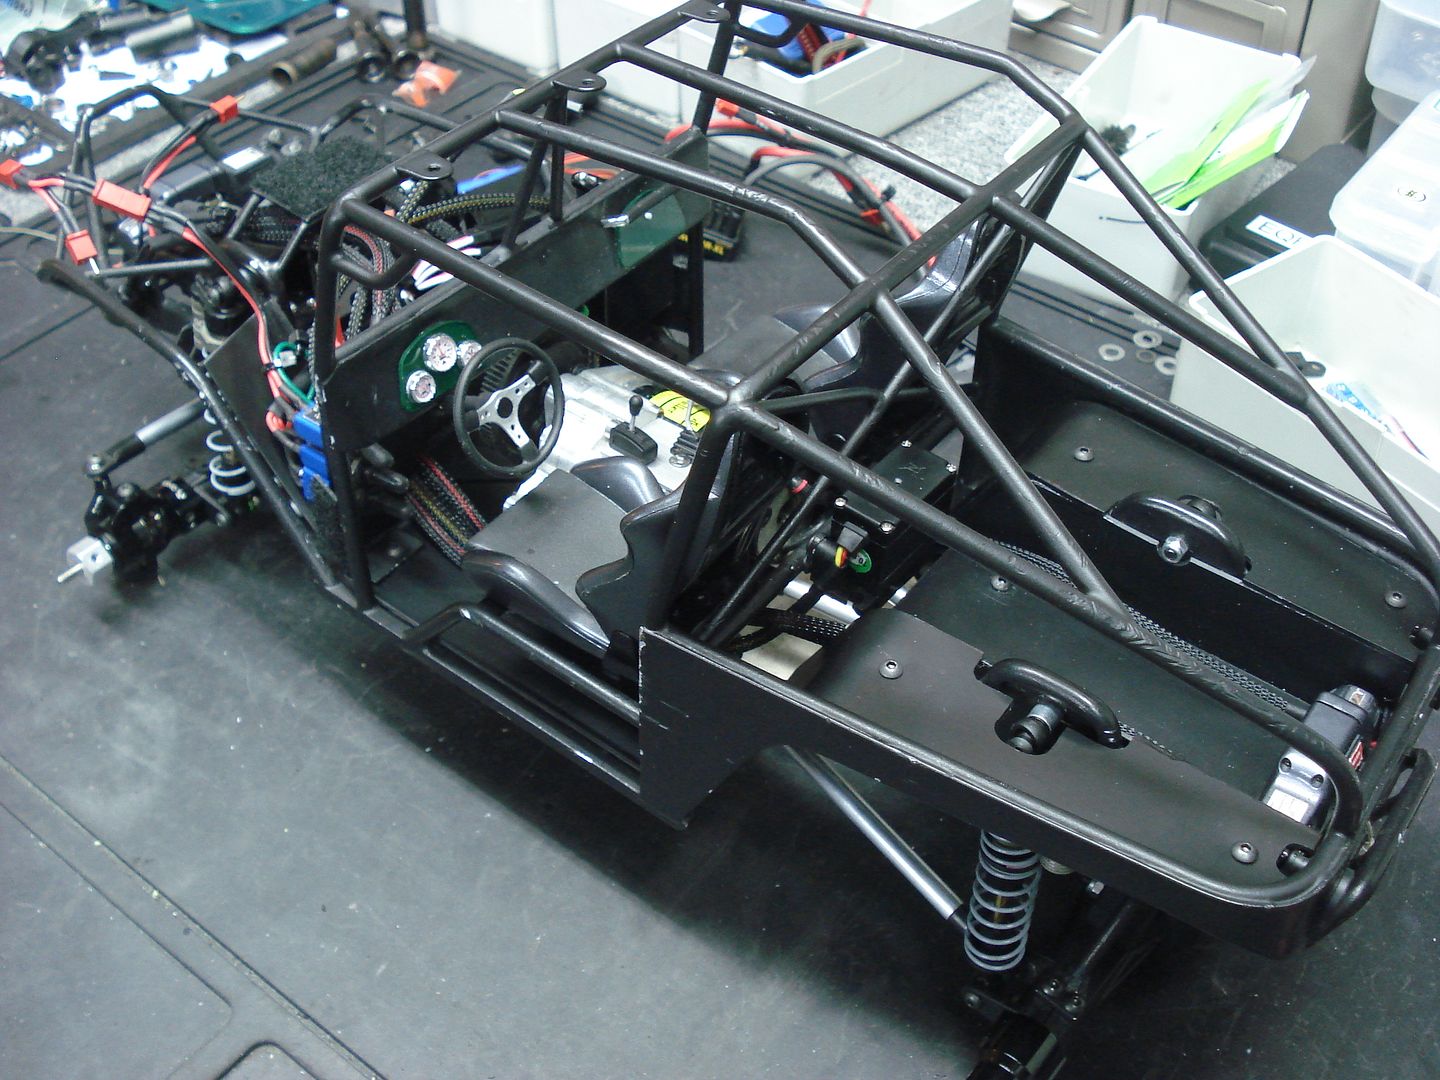 The wiring for the multi-function third channel takes up a ton of space. I ended up having to use two of the 3tp-3pTX units from wantAsummit so that I could dial in the end-of-travel limits independently for each servo. I set it up so that I use the "F-button" when I'm in the the dig mode and for winch I use the "E-switch". Default position for dig at start-up is 4wd but unfortunately when I use the winch the dig servo is neutral so it sometimes goes into front wheel drive. I also get a little glitch when I switch from the dig to the winch servo but it's not too bad.  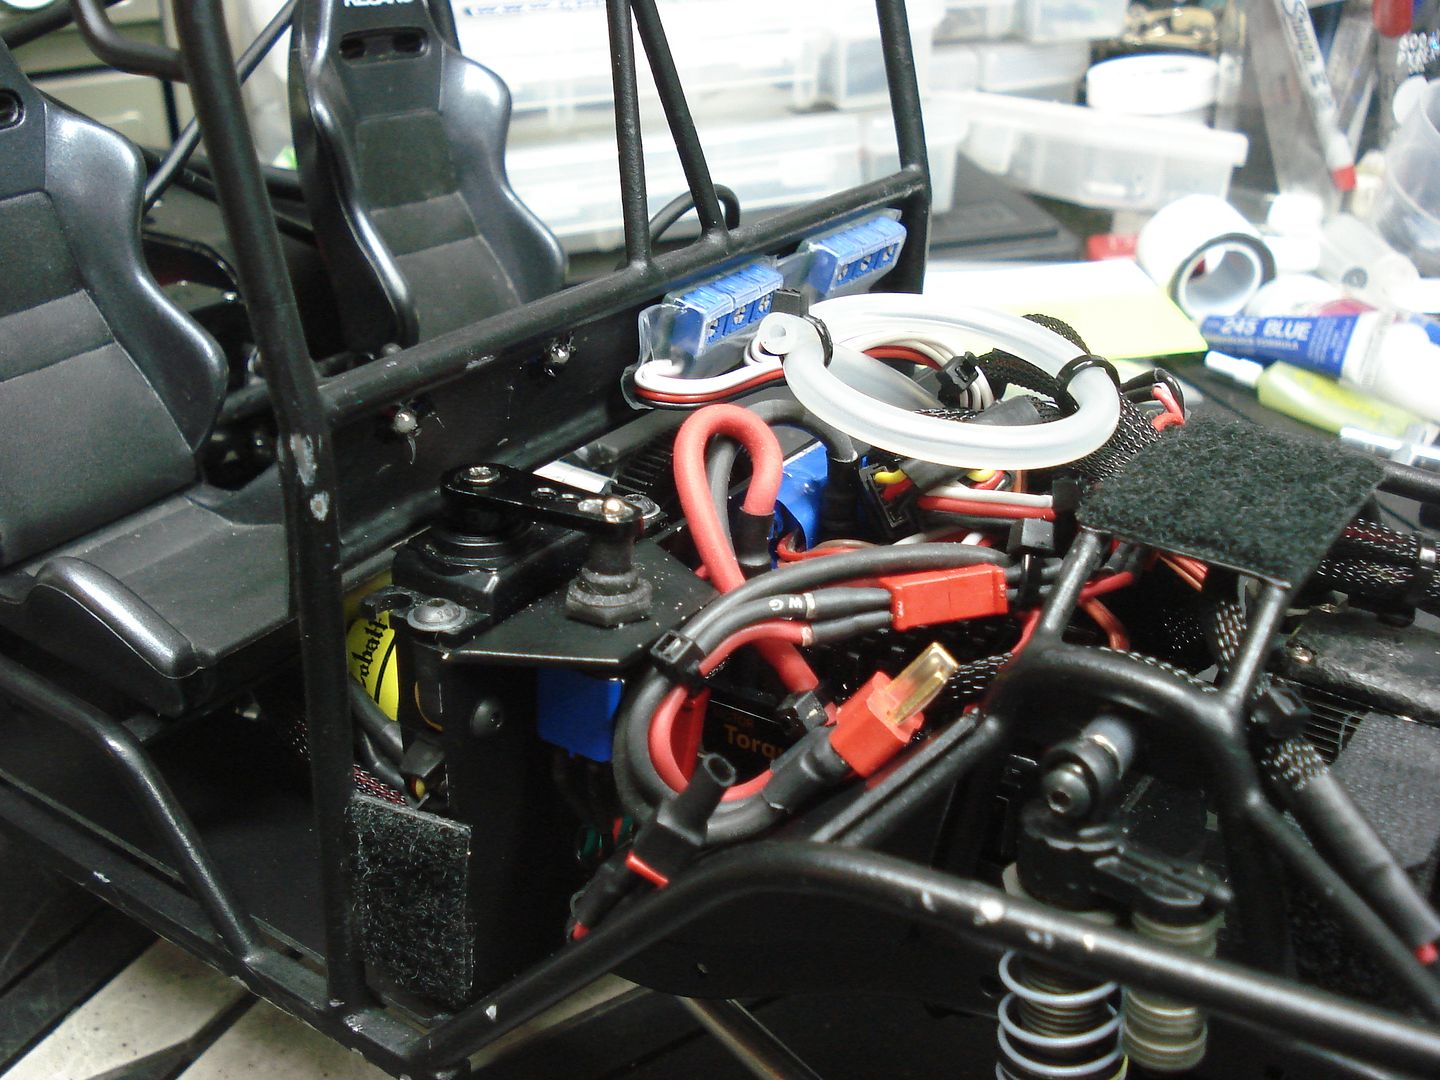 Last edited by Mad4Rnr; 03-07-2011 at 12:09 AM. |
|
| |
|
03-07-2011, 08:51 PM
| #95 |
| RCC Addict Join Date: Mar 2007 Location: Penngrove
Posts: 1,809
|
To get the truck ready for the G6 scale comp last Saturday I also picked up some Nova dual stage foams and stuffed them in the tires. The front end of the rig is a bit heavy so I had to use the medium outer to keep the side walls from folding under on off-camber. To increase the bite I used the firm outer in the rear but a wish I wouldn't have. Also had to narrow the foams quite a bit to allow me to mount the beads. Anyway, here are some pics taken at 1:30AM the night before the comp. These are taken with my new Nikon D90 using the 85-105mm lens. I haven't used a SLR since high school and still learning the camera but here you go (shouldn't have used autofocus in my low light garage): 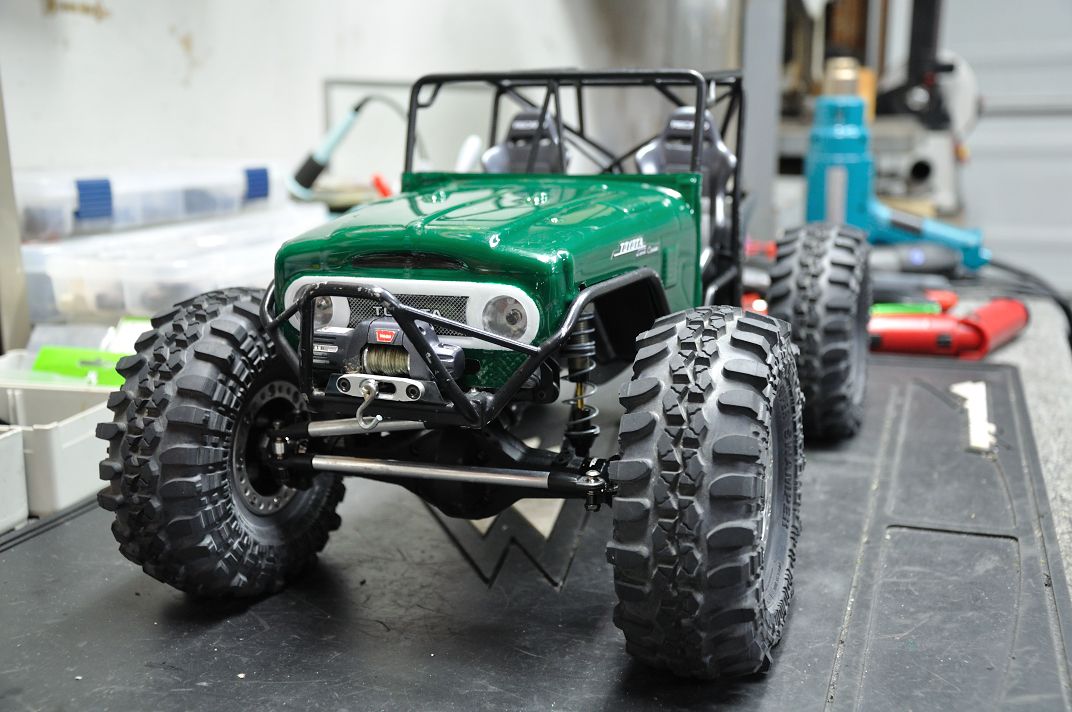 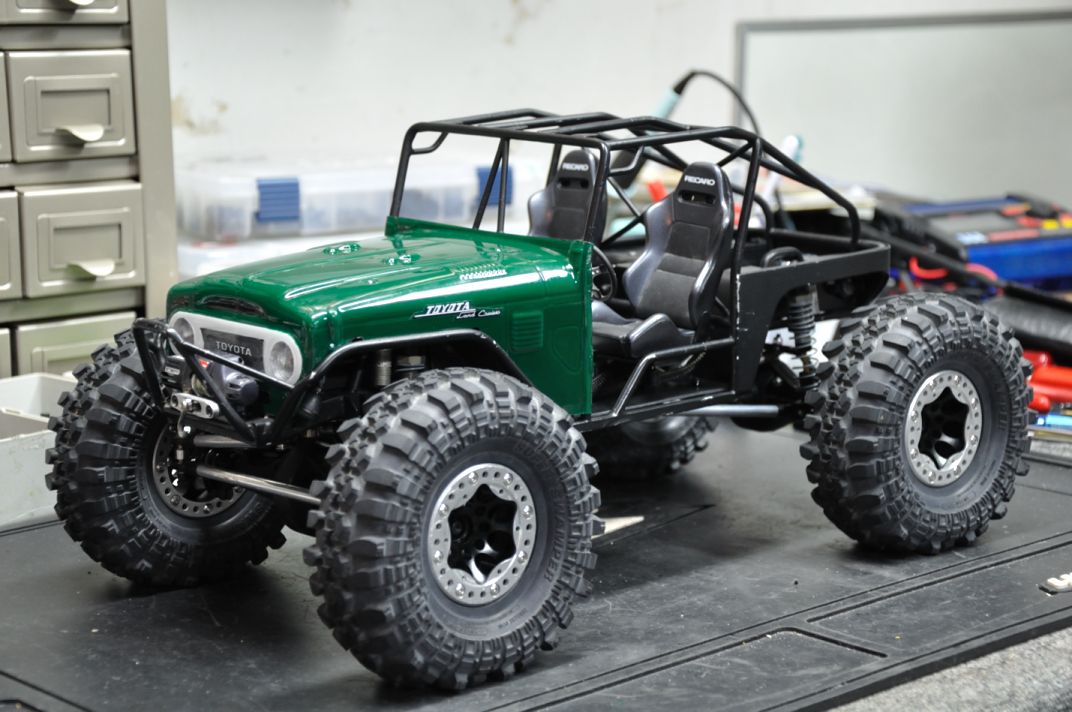 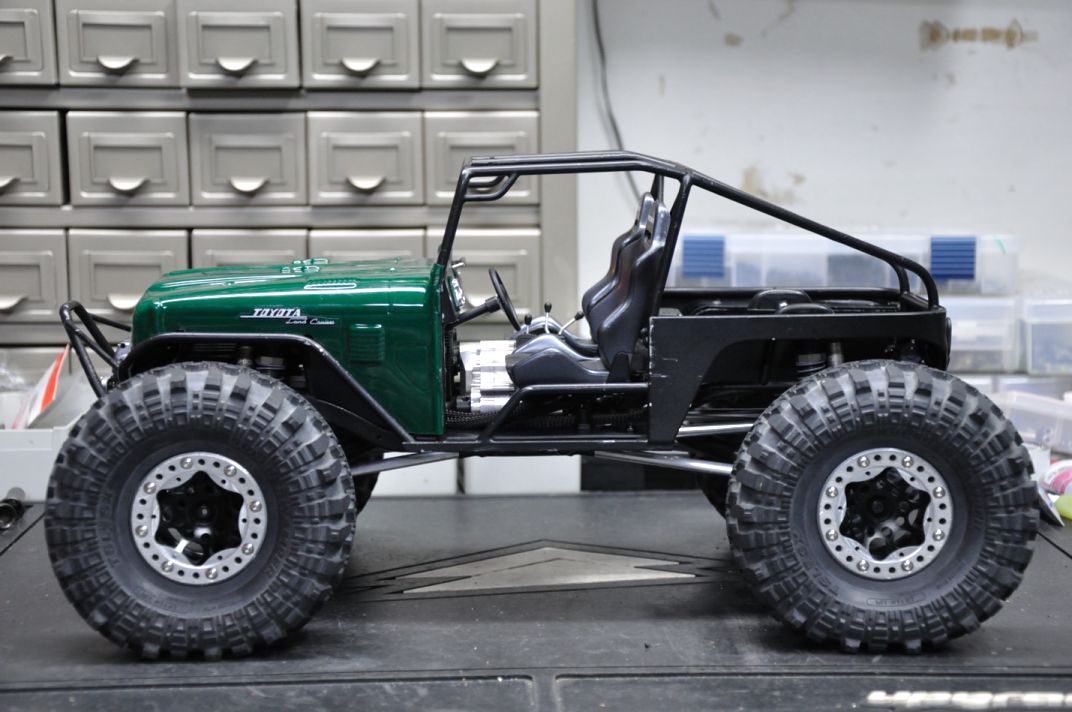 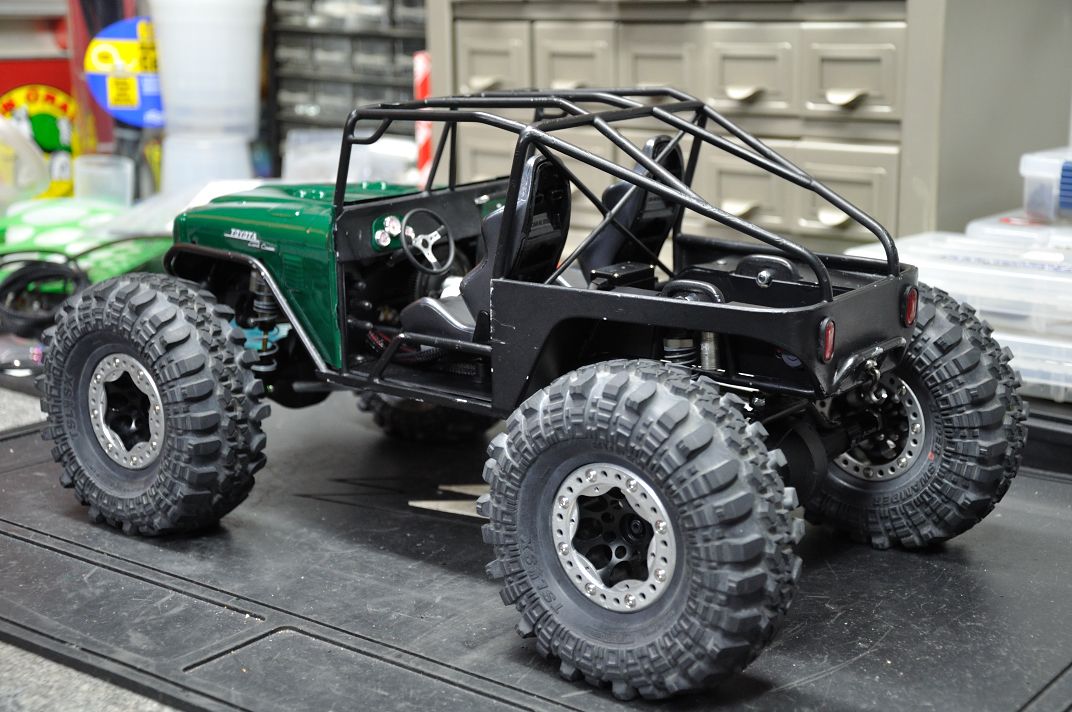 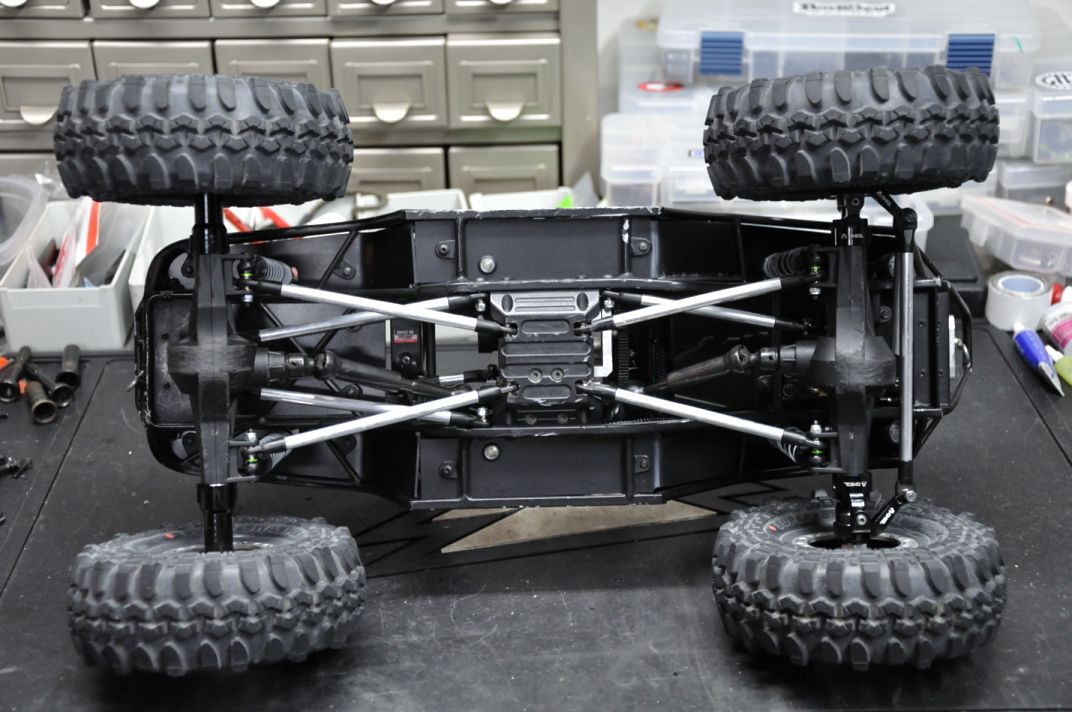 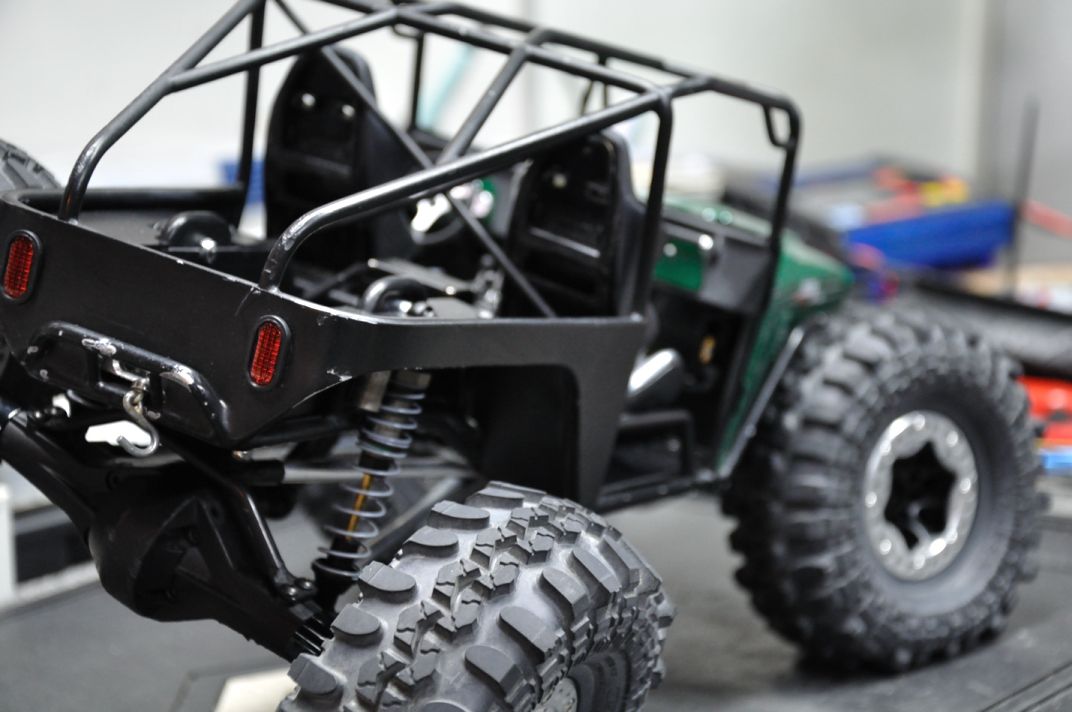 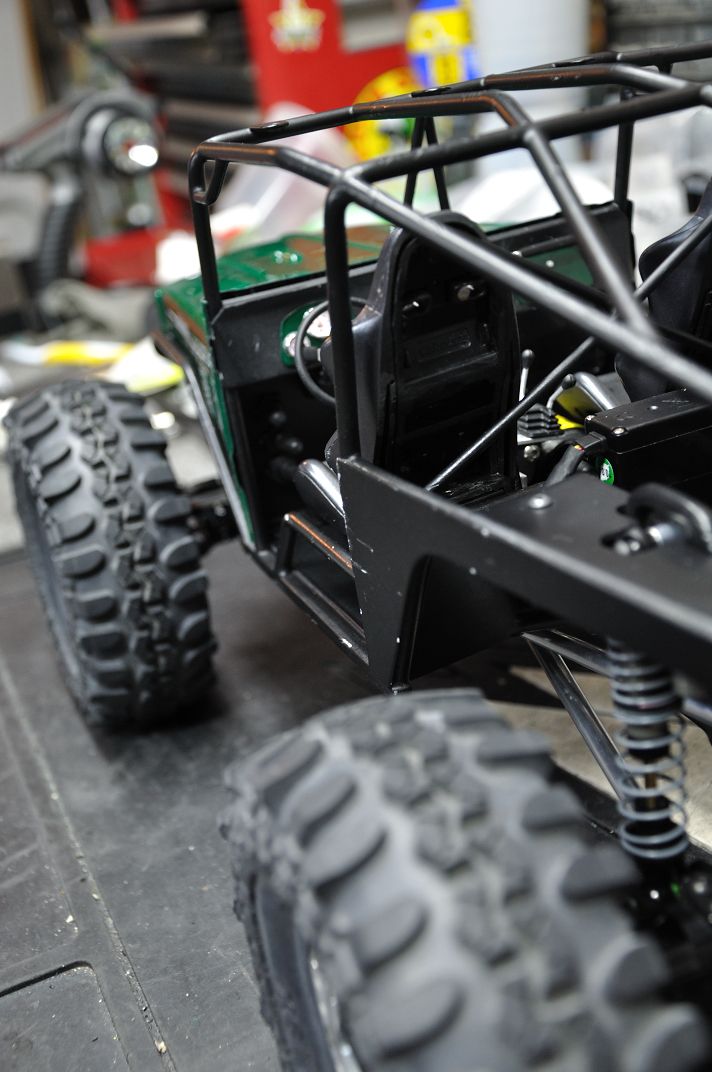 |
|
| |
|
03-07-2011, 10:10 PM
| #96 |
| Quarry Creeper Join Date: Jan 2010 Location: cookeville
Posts: 245
|
Awesome rig!
|
|
| |
|
05-26-2011, 10:40 PM
| #97 |
| RCC Addict Join Date: Mar 2007 Location: Penngrove
Posts: 1,809
|
not much to do here since I built this rig specifically for C3, only a couple small mods... First off I had to get some more mAh's for the thirsty 7t puller motor, to do that I fab'd a new battery plate and rearranged the electronics, now I can squeeze in 3-cell 1800mAh 65C batteries. Also to keep the tires beaded I picked up a set of Mayhem scale 2.2 wheels, which I de-anodized the rings... looks awesome but ugg, all those tiny screws! 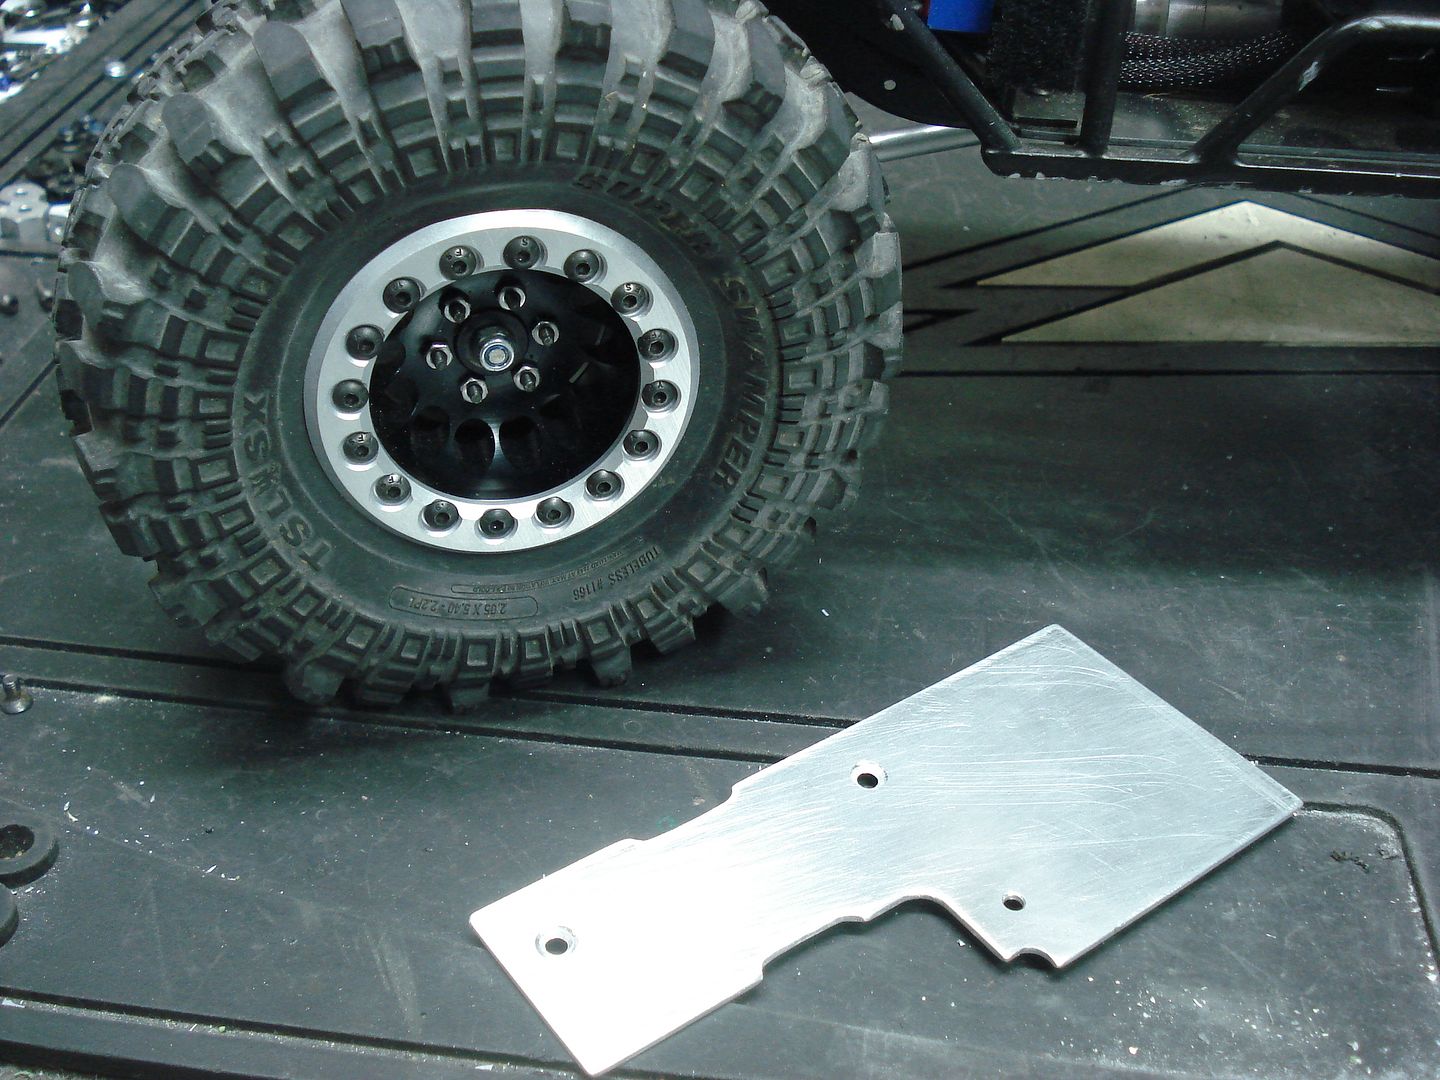 Lastly I fab'd a quick spur gear cover to keep the masses happy, only failure during scale nat's was a broken CVD inner but Gunner pins held up fine. Will need super 300's and other cool stuff soon... |
|
| |
|
05-26-2011, 10:46 PM
| #98 |
| I wanna be Dave Join Date: Jun 2007 Location: Canada, eh.
Posts: 2,919
|
Still really like this FJ Erik, looks great! What brand are the batteries you're running? 65C in an 1800mah battery is pretty spiffy! Is that burst or continuous rating? |
|
| |
|
05-27-2011, 10:17 AM
| #99 |
| Rock Crawler Join Date: Sep 2007 Location: Petaluma
Posts: 607
|
how was MSD Erik? you can still get the 8 hole beadlock rings like i did.looks much better than the 16 |
|
| |
|
05-27-2011, 10:22 AM
| #100 |
| Donkey Punch Champion!   Join Date: Oct 2006 Location: Minneapolis
Posts: 4,660
|
The wheel speed on this thing is wicked. Keep up the wonderful work Eric. Let me know when it's for sale...Chino knows my address. |
|
| |
 |
| |


 Linear Mode


