| |
| |||||||
 |
| | LinkBack | Thread Tools | Display Modes |
 01-16-2011, 02:40 AM
| #1 |
| Quarry Creeper Join Date: Oct 2010 Location: SLc,UT
Posts: 256
|
been working on this droop chassis set up from EEM. The customer service is outstanding by the way. I like the chassis, it sits nice and low. If the droop set up does not work out I can run sprung or semi sprung no problem. I started with a AX10 chassis Axial HD under drive gears in the back STRC servo plates, lock outs and straight axles. Front has STRC knuckles and Cs STRC Skid had a delrin skid from them and it snapped first time out so I went back to the aluminum Super exrta turd blingy integy shocks.  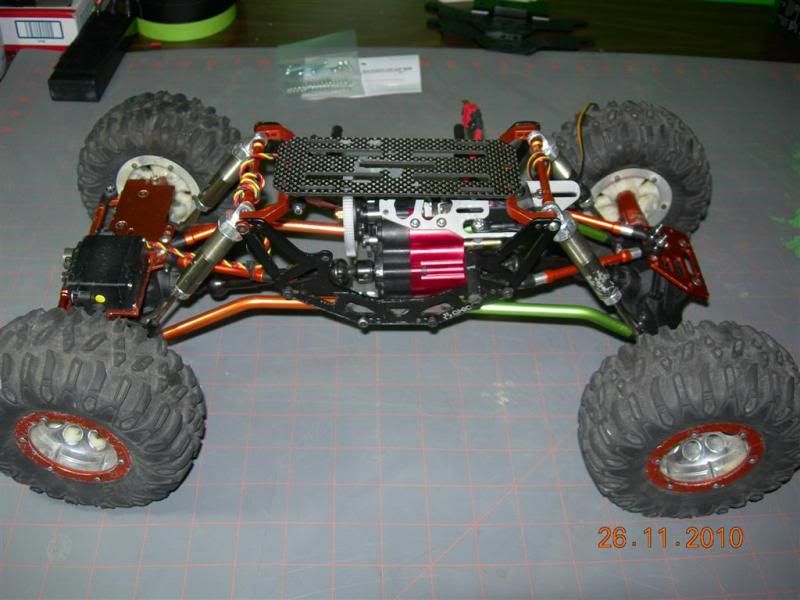  Last edited by durrty; 02-11-2011 at 12:10 AM. |

|  |
| Sponsored Links | |
| | |
|
01-16-2011, 02:44 AM
| #2 |
| Quarry Creeper Join Date: Oct 2010 Location: SLc,UT
Posts: 256
|
The dig unit in the pic is NON FUNCTIONAL. It is more of a pain in the ass than it is worth.
|
|
| |
|
01-16-2011, 07:51 AM
| #3 | |
| Quarry Creeper Join Date: Jun 2010 Location: NTXRCC
Posts: 488
| Quote:
| |
|
| |
|
01-16-2011, 09:19 AM
| #4 |
| Quarry Creeper Join Date: Oct 2010 Location: SLc,UT
Posts: 256
|
its been scrapped.....
|
|
| |
|
01-16-2011, 08:03 PM
| #5 |
| Quarry Creeper Join Date: Oct 2010 Location: SLc,UT
Posts: 256
|
That dig was trouble, I am sure it was great when it was the only thing on the block, but there is a reason I got it for 35 bucks brand new from the maker. I tried the stock mount plate and made 3 others, ran the small servo and laughed hard at it trying to work the dig. So I ran the big servo too. Just too much trouble to mess with when I could run with out and have a reliable rig or put a VP dig in it later. setting up for overall link length. The uppers on there are just to hold it in place. 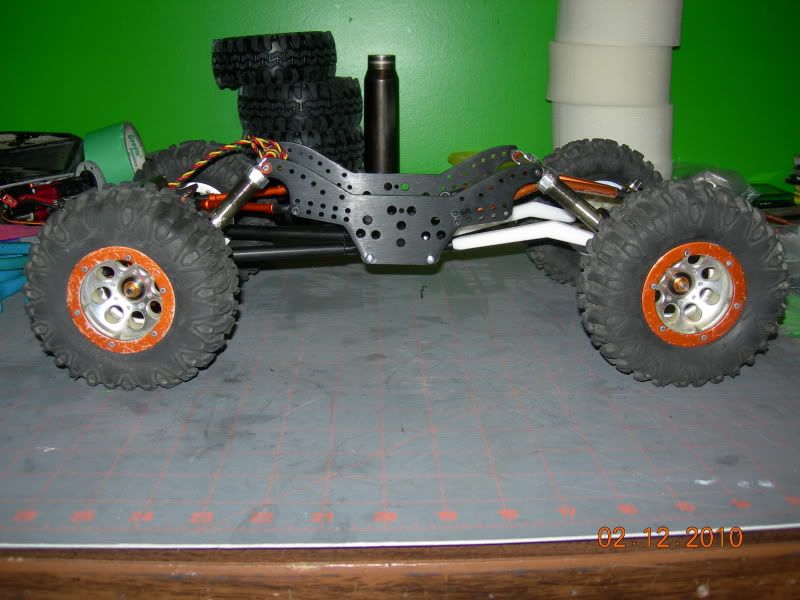 big fat EEM skid 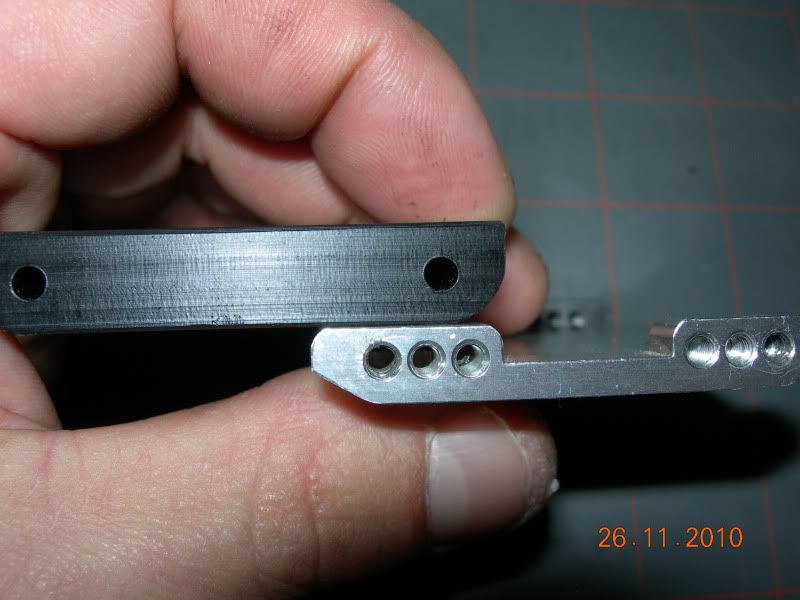 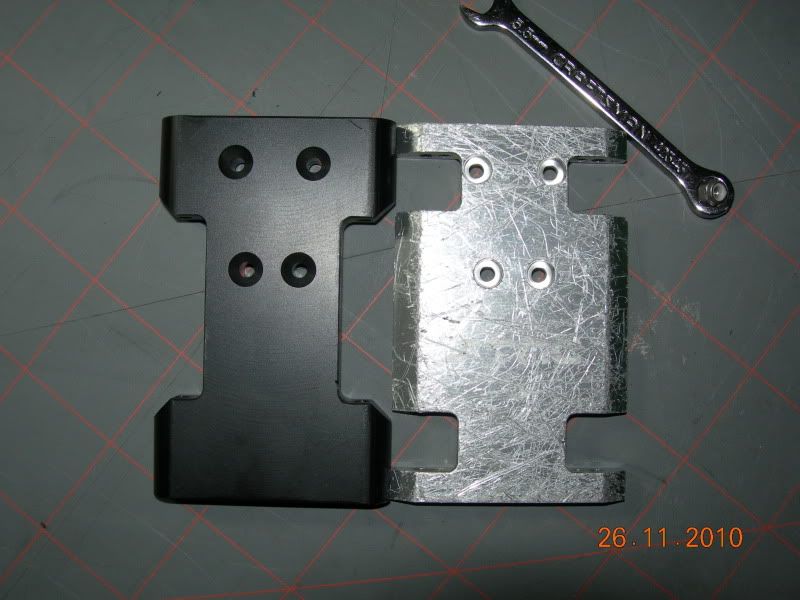 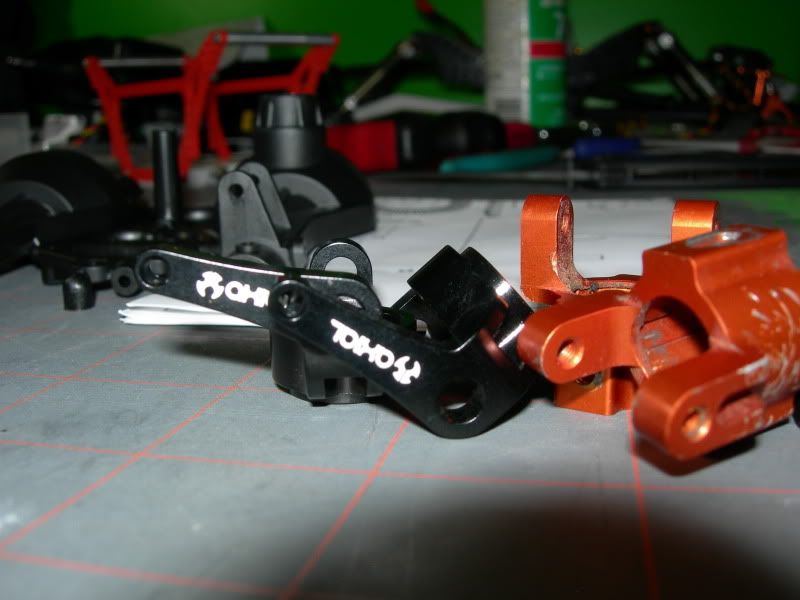 |
|
| |
|
01-16-2011, 09:06 PM
| #6 |
| Rock Stacker Join Date: Oct 2010 Location: SLC
Posts: 89
|
wow you did all that work in one day. im impressed   |
|
| |
|
01-16-2011, 09:12 PM
| #7 |
| Quarry Creeper Join Date: Jan 2011 Location: 801
Posts: 334
|
I run the same EEM package with droop and I love the low cg it gives indeed an awesome setup OT-Where in UT you boys located, im near roy Last edited by EEM-CrawlinMachine; 01-16-2011 at 09:15 PM. |
|
| |
|
01-17-2011, 06:36 PM
| #8 |
| Quarry Creeper Join Date: Oct 2010 Location: SLc,UT
Posts: 256
|
No that was not in one day. My pictures are spread out on the comp and camera still (i think so anyway) Both of us live on the south end of the valley. In sandy and draper. I ended up with 3 inches of belly clearance and want about 2.5-2.75. I started out really low like 2 inches so I never thought I would raise it that much. |
|
| |
|
01-24-2011, 12:03 AM
| #9 |
| Quarry Creeper Join Date: Oct 2010 Location: SLc,UT
Posts: 256
|
new shocks showed up today. Gmade, if they dont work out like I want I will give them to my boy and ill pick up the axial comp shock probably. It went together easy, I used a set of EEM springs instead of the gmade. The gmade are really stiff compared to the EEM stiff droop springs. The rig has been out 2 times now and I like it so far, not done and ready but its working out. The shocks on it are bad so this will help. Next is to take some lead out of the front, 17.5 oz in each front is too much, I got carried away and forgot about the DNA wheels weighing a bunch more than the plastic axial wheels.. Then trim the foam a little in the front and add a little out back. 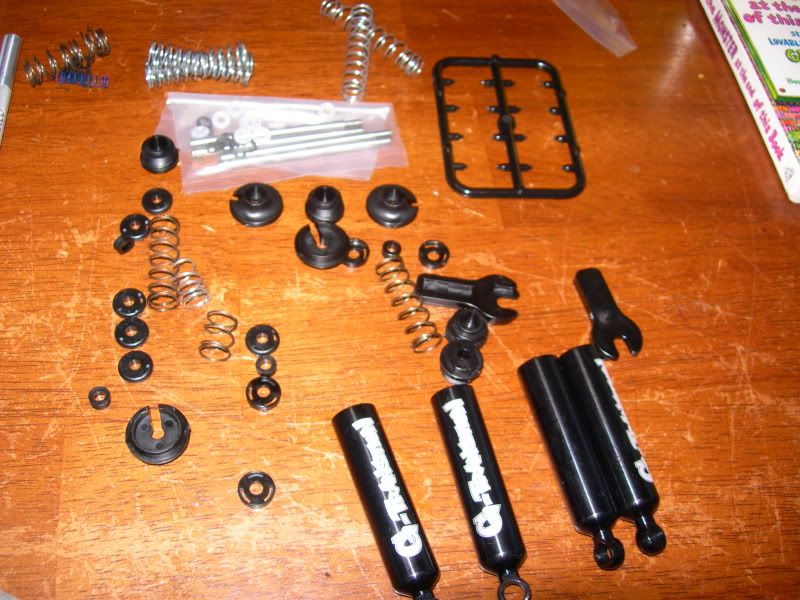 The east end machine spring is a smaller diameter and a bee's dick longer but softer. I still ran the short spring from gmade on top. 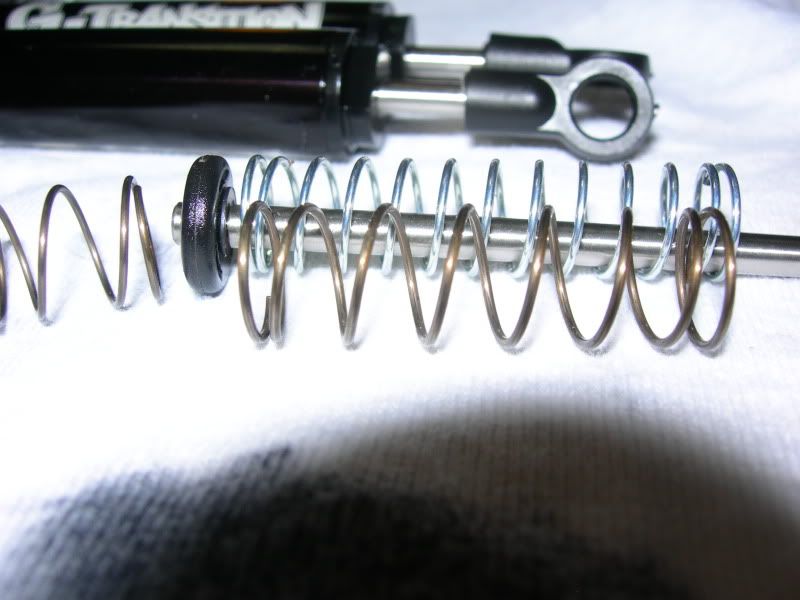 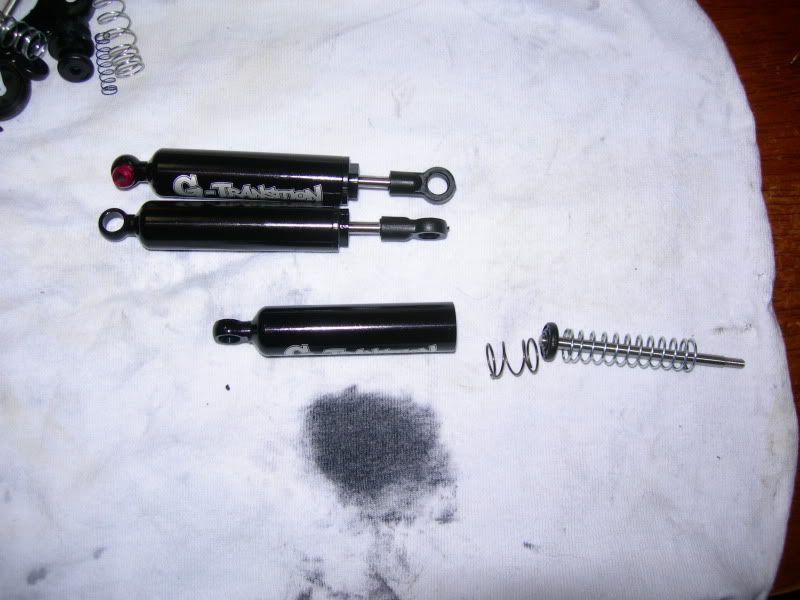 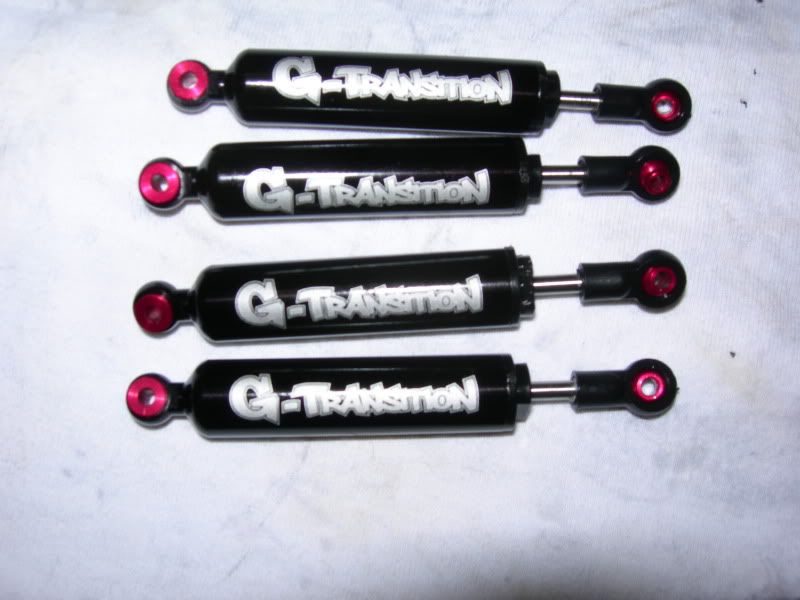 |
|
| |
|
01-24-2011, 12:22 AM
| #10 |
| Quarry Creeper Join Date: Oct 2010 Location: SLc,UT
Posts: 256
|
couple more shots Old tire(with wheel) and new (no wheel just the foam stuffed in) 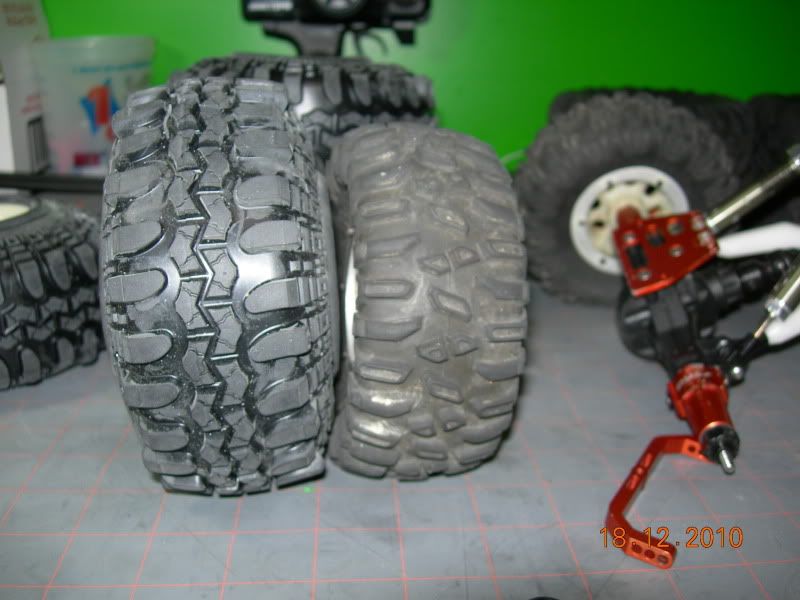 put on axial high steer arms and CVDs. It turns WAY more now I don't know the angle or anything just visibly it cranks the tires over a bunch. 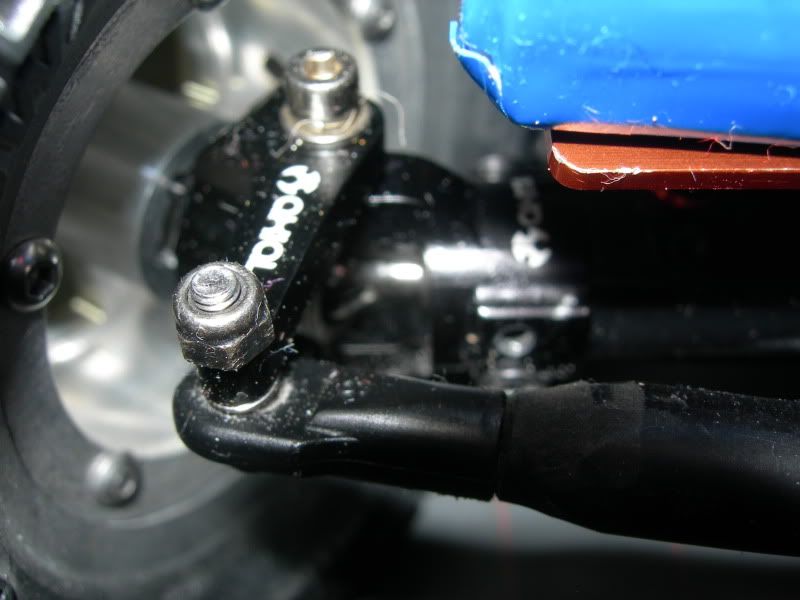 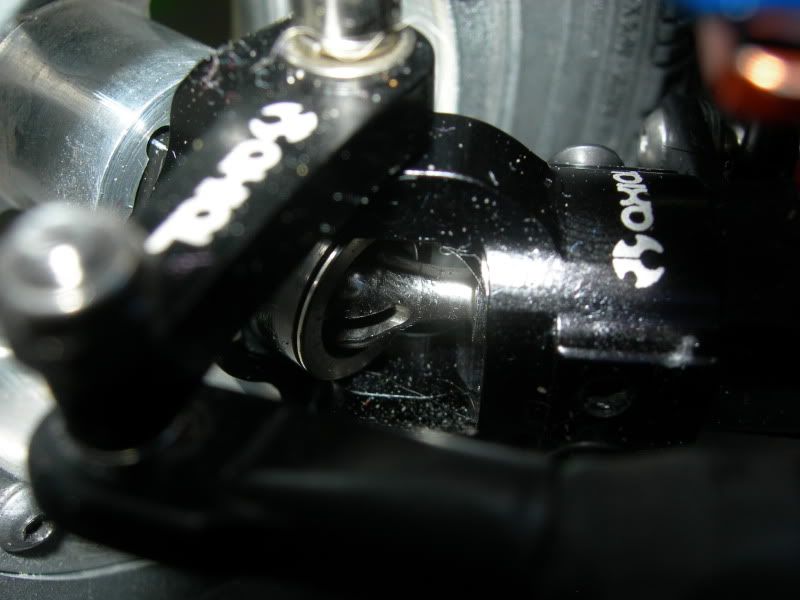 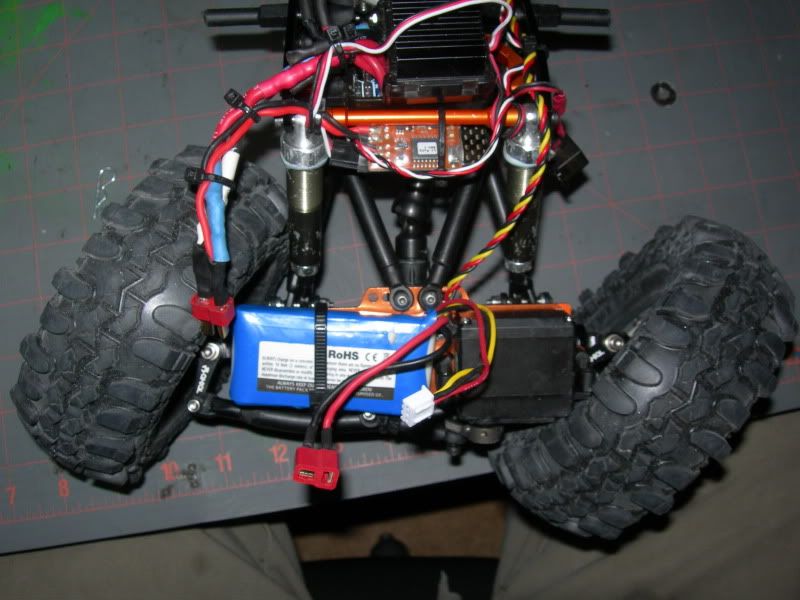 I dont know why this shot is posted all the time but here you go, if its wrong yell at me and tell me why i F..ked it up LOL I left it sitting like that and went to bed, eventually the memory foam gave enough and it fell on the floor.  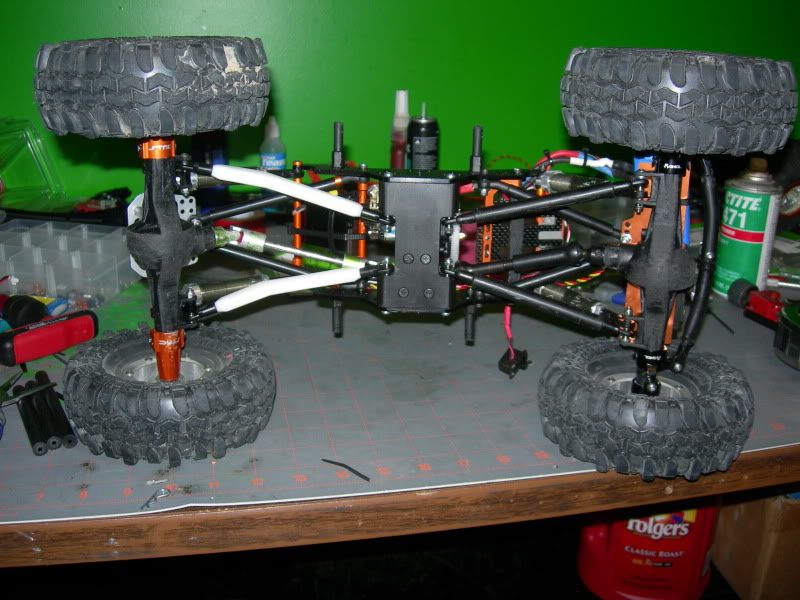 |
|
| |
|
01-24-2011, 12:26 AM
| #11 |
| Quarry Creeper Join Date: Oct 2010 Location: SLc,UT
Posts: 256
|
I made this small tool to center the drill when making links. I made a 3/8 and 5/16 inch hole in the aluminum. Then I take a transfer punch of the correct size and make a nice centered mark to drill. simple and easy. 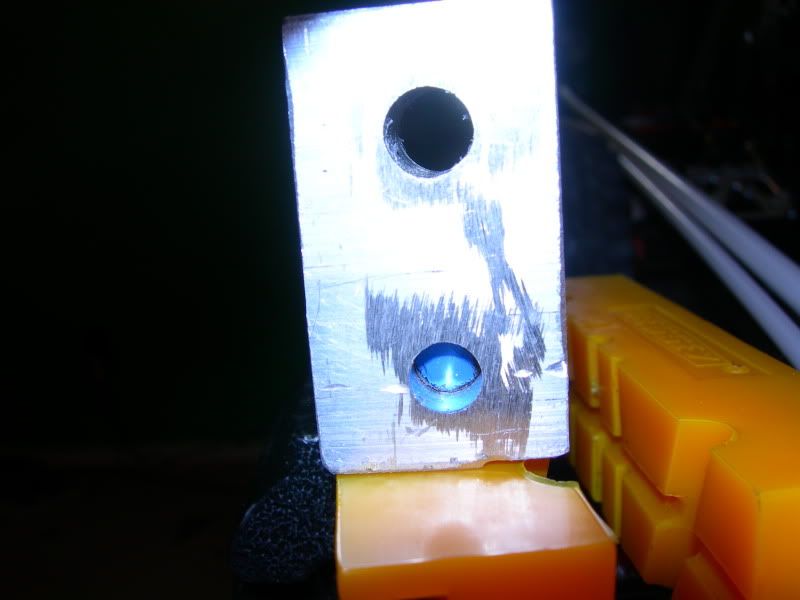 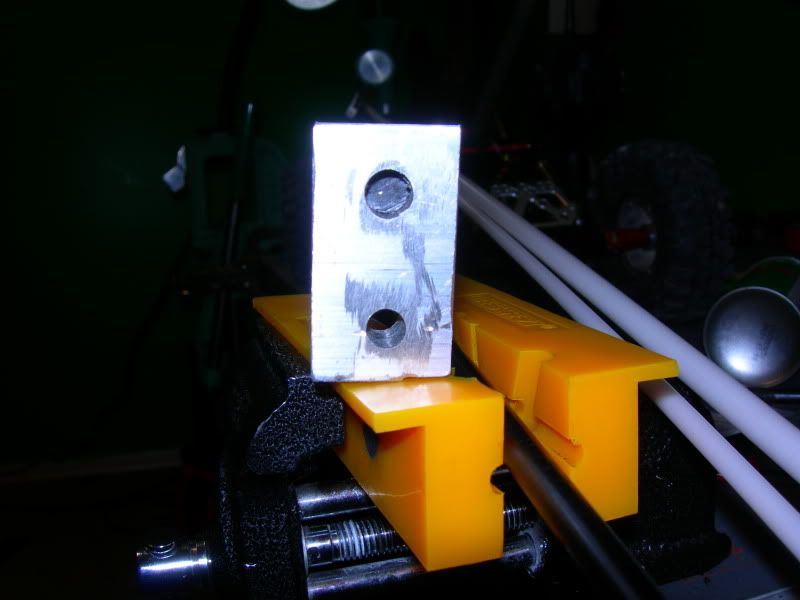 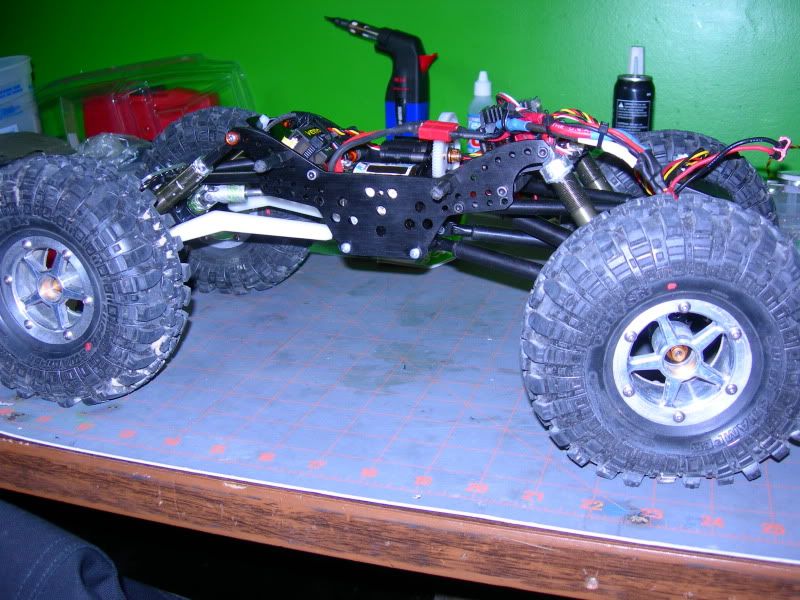 Last edited by durrty; 01-24-2011 at 12:30 AM. |
|
| |
|
01-29-2011, 05:55 PM
| #12 |
| Rock Stacker Join Date: Oct 2010 Location: SLC
Posts: 89
|
kewl
|
|
| |
|
01-29-2011, 06:59 PM
| #13 |
| RCC Addict Join Date: Jun 2008 Location: Nunya Idaho...
Posts: 1,559
|
Looking good, nice job.
|
|
| |
|
01-29-2011, 08:00 PM
| #14 |
| Quarry Creeper Join Date: Oct 2010 Location: SLc,UT
Posts: 256
|
made my own mount for the front and rear today. This was the very first go at it. It works out nice, but this one ended up in the front. The mount really smooths out the flex. 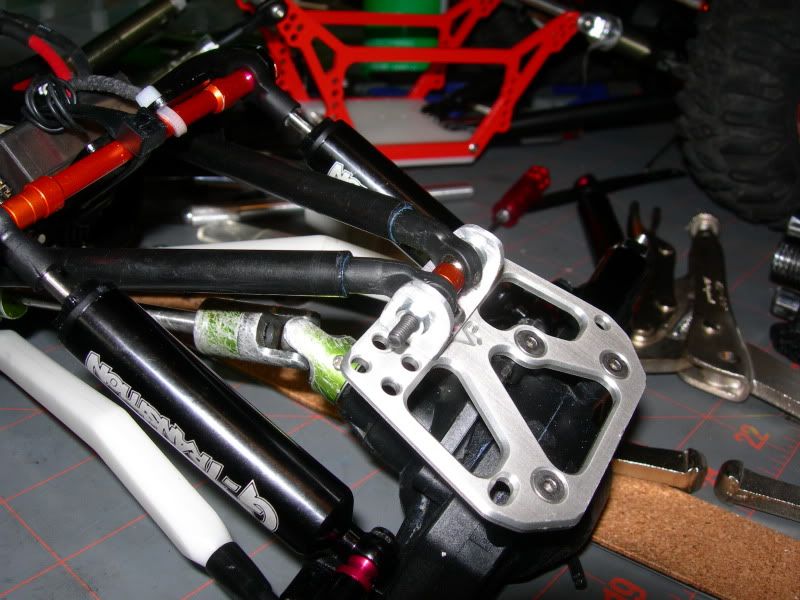 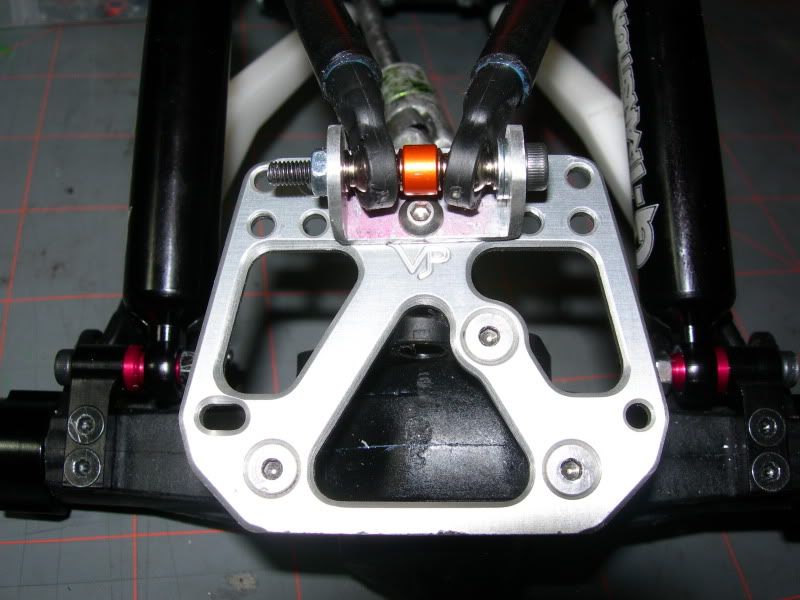 Last edited by durrty; 03-28-2011 at 12:30 PM. |
|
| |
|
01-29-2011, 08:45 PM
| #15 |
| Quarry Creeper Join Date: Oct 2010 Location: SLc,UT
Posts: 256
|
front and rear home made mounts The rear uppers area the same length as the lowers are the same length now. I did not mean for the pinion angle to be so high it does not bind like that so it stays like that for now. REAR 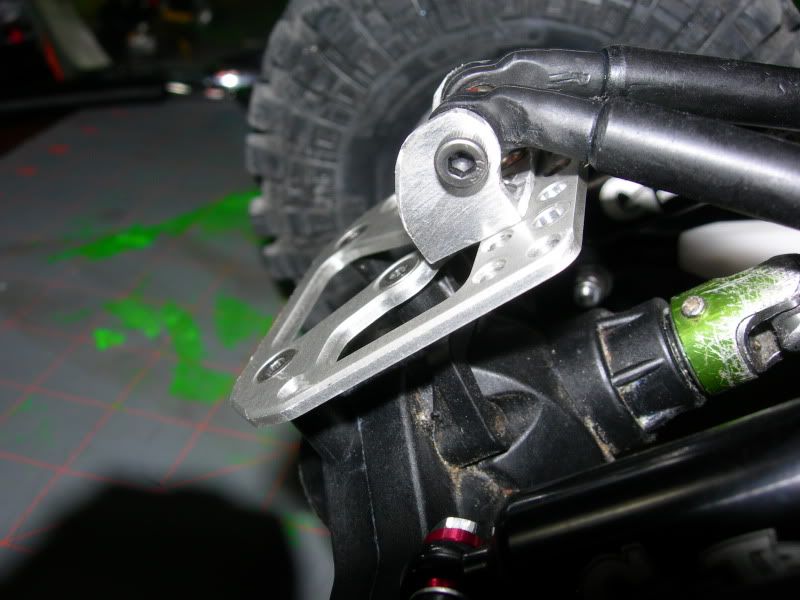 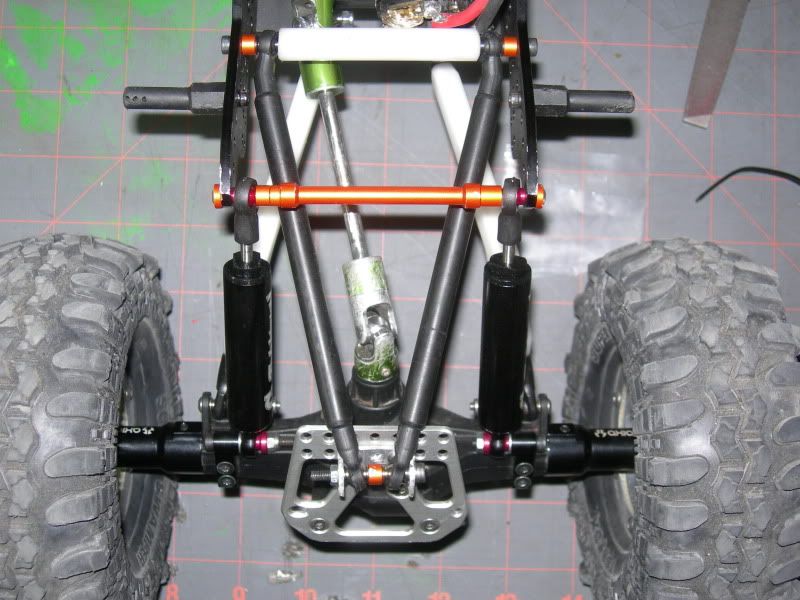 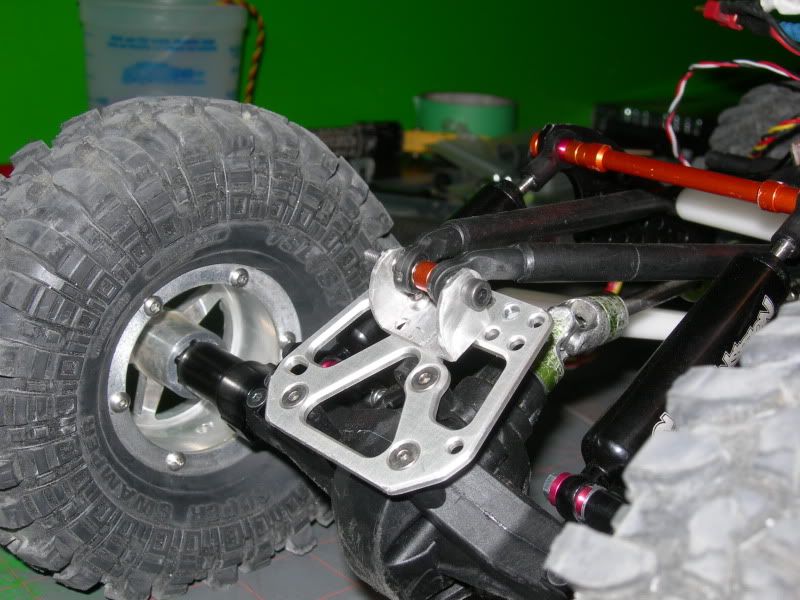 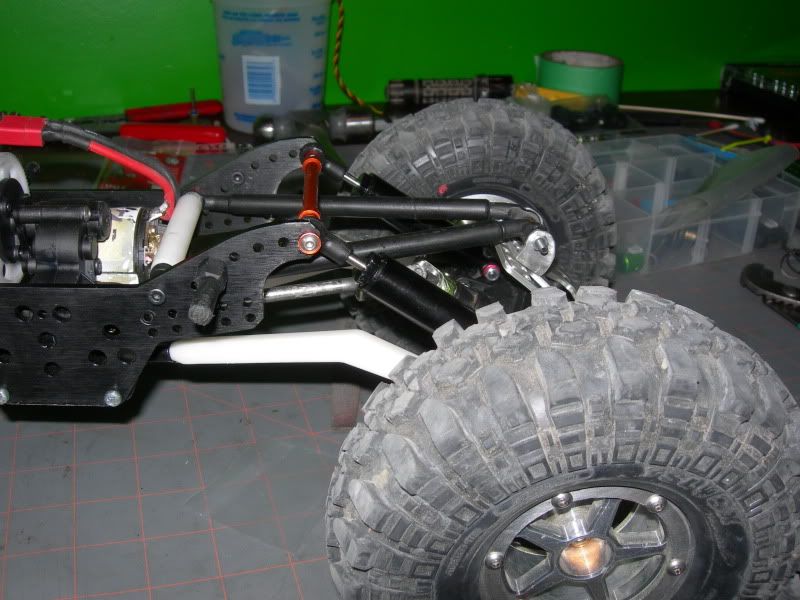 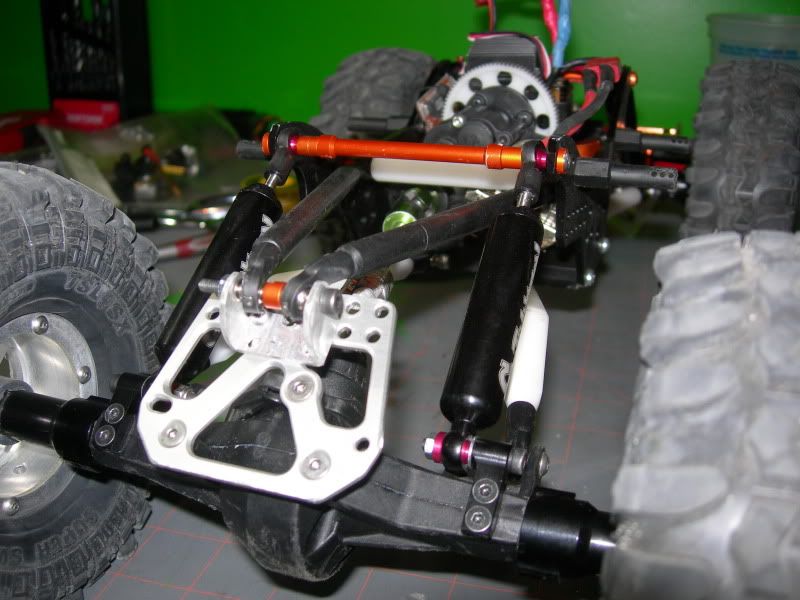 Last edited by durrty; 03-28-2011 at 12:31 PM. |
|
| |
|
01-29-2011, 08:47 PM
| #16 |
| Quarry Creeper Join Date: Oct 2010 Location: SLc,UT
Posts: 256
|
FRONT link mount Works for now i would like to make the links longer in the future.  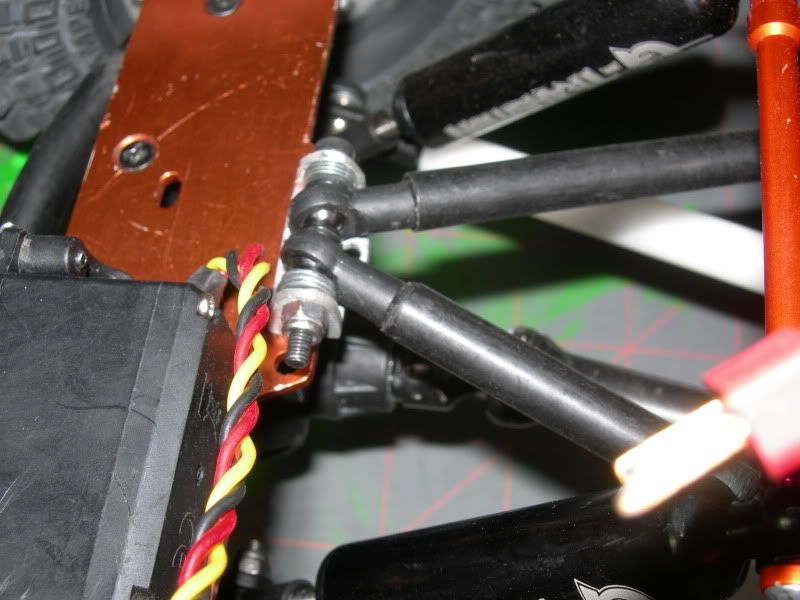 Last edited by durrty; 03-28-2011 at 12:31 PM. |
|
| |
|
01-30-2011, 06:44 PM
| #17 |
| Quarry Creeper Join Date: Oct 2010 Location: SLc,UT
Posts: 256
|
The stupid thing fell off a bench and one of the axial CVDs broke! So I modded the dog bone and cup thang. Works out nice. Took it to the bench grinder and took off the bevel that was already there, I did not measure but its around an 1/8-3/16 of an inch off. 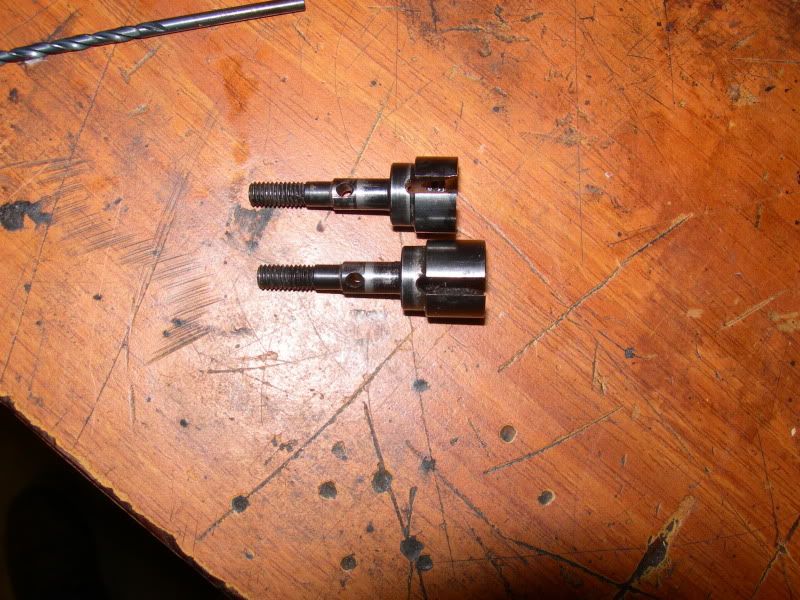 Then i put a carbide grinder bit in my vise and put the axle cup in my drill. they make them in many shapes, these two were what was on hand that worked. 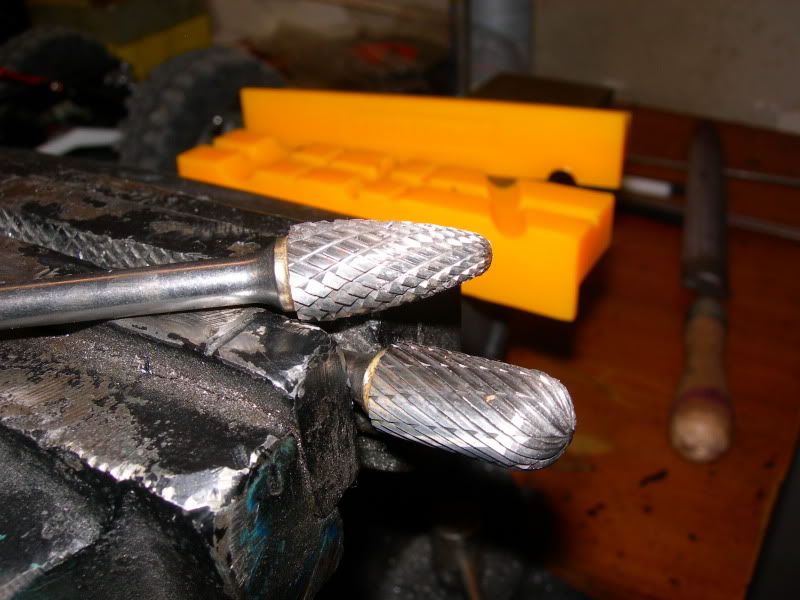 half way there 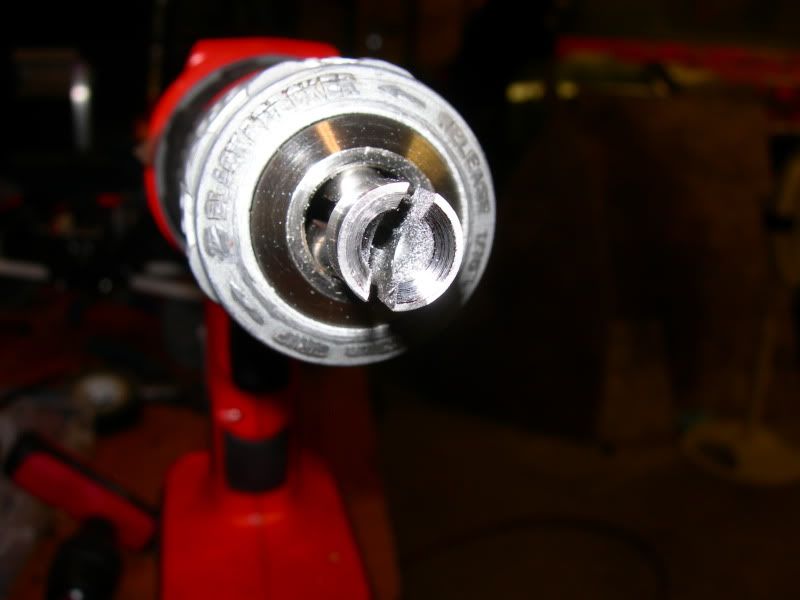 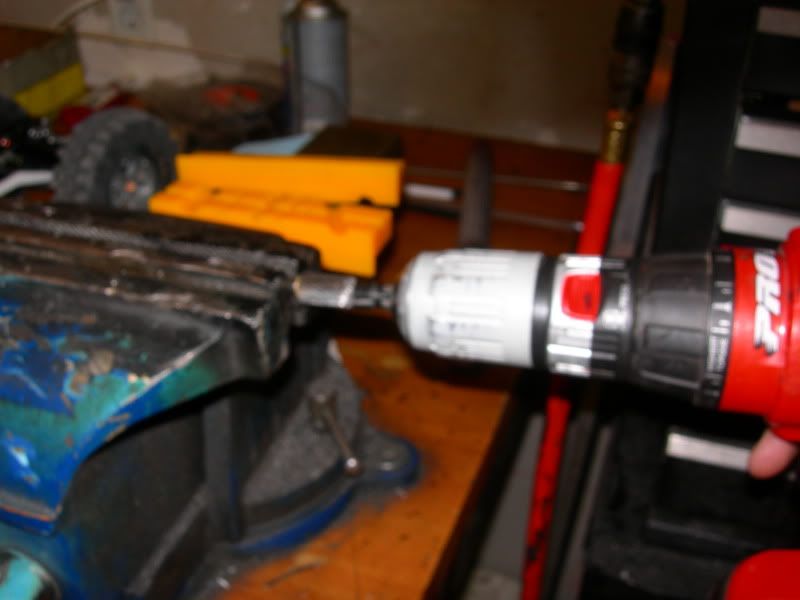 It makes it really clean and smooth. Looks factory to me. 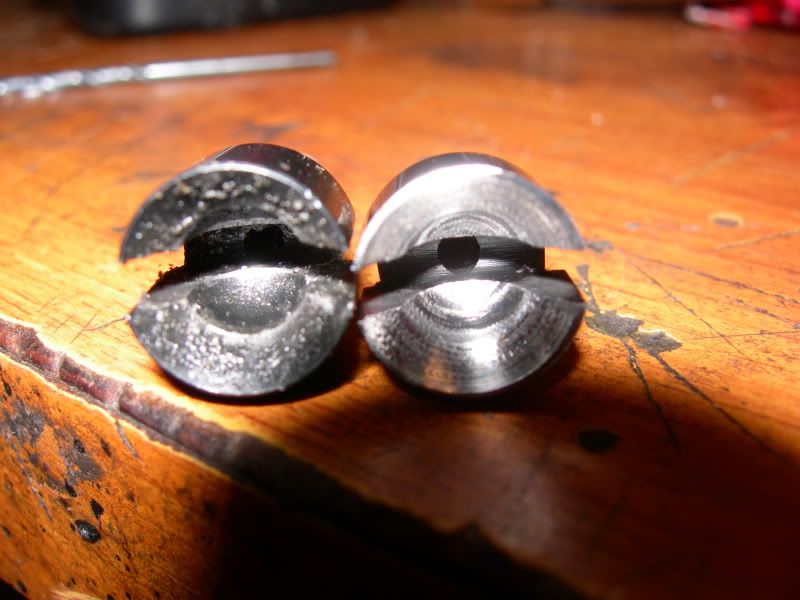 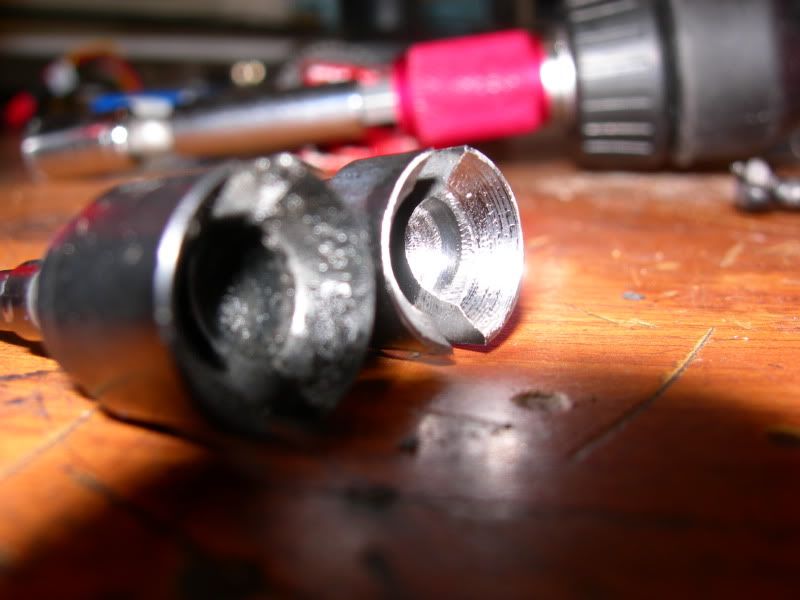 The other side still has an axial CVD in it and with this mod it can turn farther than the CVD. I drove it around a bit today and had zero issues.  this one is the servo pushing it did not pop out or do anything weird driving on rocks. 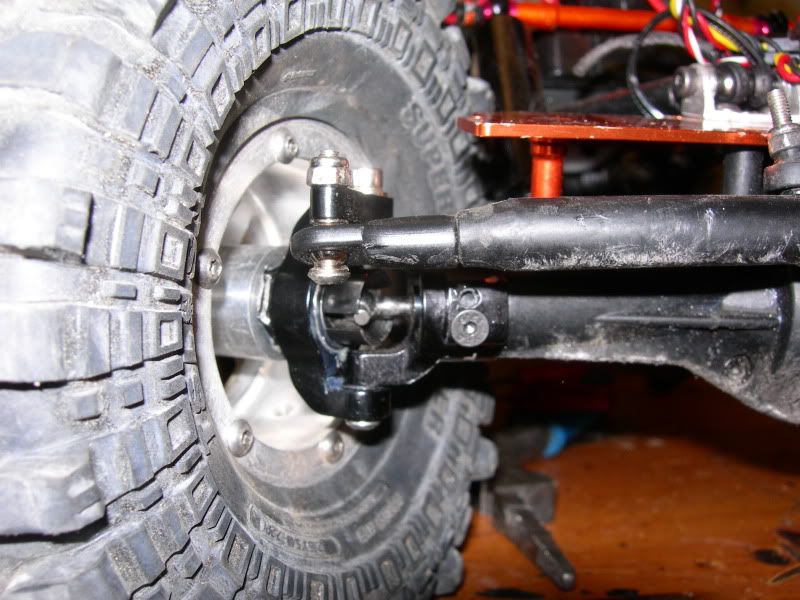 |
|
| |
|
01-30-2011, 09:51 PM
| #18 |
| RCC Addict Join Date: Oct 2009 Location: San Francisco
Posts: 1,927
|
Looks good! Try spacing your links out more on the "d-link" to get the flex even smoother. You may need to triangulate the lowers more though to compensate |
|
| |
|
02-09-2011, 01:02 AM
| #19 |
| Quarry Creeper Join Date: Oct 2010 Location: SLc,UT
Posts: 256
|
The modded stock dog bone will turn WAY farther than the axial cvd. its nice
|
|
| |
|
02-10-2011, 12:36 PM
| #20 |
| Quarry Creeper Join Date: Nov 2010 Location: Toronto Canada
Posts: 445
|
I was searching for the dog bone cup mod the other day, couldn't find pics just convos about it. Thank you for those pictures I will be doing this later today. How are those GMade shocks, I've noticed a few people using them I'm personally getting a little annoyed with the leaky 3 Racing shocks I have.
|
|
| |
|
| |


 Linear Mode


