| |
| |||||||
 |
| | LinkBack | Thread Tools | Display Modes |
 10-04-2007, 02:41 AM
| #1 |
| Pebble Pounder Join Date: Aug 2007 Location: St. Albert - Canada
Posts: 99
| This is my first crawler. The AX-10,000 Tribute Truck. I tried to stay as "true" to the kit as possible. I also tried to hide the wires & keep it clean. Dedicated to: Axial ”axialracing.com” – Thank you for making such a complete crawler. I was not going to buy a Clod (or other), just to throw 70% of the kit away (not to mention all the R&D that goes into making a competitive truck from scratch). Thank you! Hobby Alley – Edmonton, AB. “http://hobbyalley.com” (Support your local Hobby Shop!) Bender “bendercustoms.com” – Where would the World of Crawling be today without Bender? (Yes… this truck is your fault too!) Running Gear: Two AX-10 Kits (#448 – the build, & #388 – extra parts) Two JR DS8711 Ultra Torque Servos (403 oz/in @ .15 sec/60°) – “Waterproofed” Two Orion Supercharge 7.2v-1600 (reconfigured into two “axle packs” (7.2v-3200), that can be ran independently or together and quick changed with velcro straps) Team Losi Mini Peak Detection Charger Spectrum DX3.0 DSM Radio – “Snow-proofed” Receiver Mamba Max ESC – “Snow-proofed” (kinda’… I think it needs more attention before I drop it in a snow bank) Integy Matrix Pro Lathe 55T Motor (sticker removed) Kit Upgrades: Fluorescent Orange “Savage” Springs (1-3/8” longer than stock and softer) – Shocks shortened ¼ inch internally with fuel tubing to lower COG and reduce drive shaft strain. I also used Savage lower spring buckets. Rock Lizard “Race Compound” Tires (they actually stick to glass!) Stock foams (they seem softer than the Race foams), all edges trimmed about 1/2 inch (so they look more like inner tubes). RRP 48 Pitch, 13T Pinion Gear (smoother power & longer battery life) Two Dynamite Aluminum Steering Arms Four Team Losi 10x15 Sealed Bearings (for the hubs, so all exposed bearings are sealed) Green Antenna Parma Foam Body Protectors (reduce body noise and protect the paint) I strengthened the chassis by adding screws to the empty holes beside the upper shock mounts. I also added screws to the holes in the skid plate with spacers to help protect the lower links. Kit Fixes: 3-link “washer” Fix (I used the same size washer as the one already a part of the ball) Drive Shaft Fix (wrapped a wire twist-tie around the shaft and tightened it till I felt resistance in the u-joint. I also used two set-screws in each yoke) I used key-rings to make the velcro straps longer (till I can find something better) Extras: Five Dynamite 4mm Flanged Nuts (gold) Two MLST to Tamya Adaptor Connectors AXIA1300 - 0.5x6mm Spacer AXIA1302 - 2x6mm Spacer MACal 9800 Pro Vinyl (used to protect lower control arms, wrap batteries & wires, black washers on beadlocks, etc.) & Paint (Testors 1246 Silver for the wheels & Pactra Racing Finish for the body (four colors of black, but you can only tell in direct sunlight… kind of a waste of time)). Sacrifice: ’66 GTO 1:18 Scale Die-Cast Muscle Machine (for the 1:10 scale engine and fog lights) Future Upgrades: AX30445 - 30° Angle Threaded Pipe (at least on the back) HPI Baja Bug Off-Road Body: WK Add stick-on weights to the front wheels and change the distribution from 50/50 to 60/40. Two more batteries and a second charger. Special thanks to: Jason – For his “Live AX-10 Build”, allowing me to plan my build while I awaited delivery (Dog Sleds to Canada were all booked!). “Live Axial AX-10 build RC Crawler – For providing those of us still learning to crawl, this fantastic meeting place (I’ll pay for the pastry, but I have a “star” so the coffee should be free!). Last edited by NinJato; 01-28-2008 at 01:42 PM. |

|  |
| Sponsored Links | |
| | |
|
10-04-2007, 03:01 AM
| #2 |
| Newbie Join Date: Aug 2007 Location: Wasatch Bench
Posts: 5
|
I've been lurking here for two months now. I took my son to Nationals in Moab, just so we could soak up the hobby a bit before we jumped in. Since then, I've been literally itching to get started. I've been impressed with the willingness of most of the old-timers around here to help newcomers to the hobby, and I've been reading just about every word I can get my hands on before starting my first build. Here I am, just minutes away from submitting my first order, then you post this piece of work. You have totally raised the bar for all the rest of us noobee's. Your build is meticulous. Your skill is abundantly evident. Your parts list is so detailed it is beyond just helpful and begins to look definitive. If this really is your first crawler, I'm feeling like I should spend another month learning before I open a single package. Wow! You sir, are a gem. |
|
| |
|
10-04-2007, 05:59 AM
| #3 |
| Pebble Pounder Join Date: Aug 2007 Location: St. Albert - Canada
Posts: 99
| Wow right back at ya
You flatter me, Sir! The only way I can think of to repay such a gracious compliment, is to add the rest of the build details to this post. Pinion Gear: I found it to be a tight fit. I shaved off some material off the back, because the set-screw was larger than stock and hit the spur gear. I mounted it as close to the motor as possible, without allowing it to touch the casing. Wheels: I used two set-screws in the wheel hexes. Buy a 1.5 Hex Wrench (I got a Dynamite Machined (anodized red), one), for the bead locks. You will not regret it! It allows you to tighten the set-screws in the yokes as well (I would say 5 10 times tighter than a dinky little key). Also, they do not strip so there is less chance of wrecking the set-screws. Batteries: I used Flash Super Glue (medium gap formula), to glue a square of left-over body material to the bottoms of each three cell pack (built-in battery trays prevent packs from sliding on the axles). I also cut triangles for the pack ends to protect the wires/solder before wrapping with vinyl. Servos: I took them apart and applied grease around the final drive to seal it against the casing. Then I used thread-lock and a toothpick to make casing gaskets (I basically just made one side of the casing wet to form an air-tight seal you definitely do not want to get thread-lock inside your servo!). Sealed the end where the wires come out and thread-locked the screws. I wrapped the wires in green and black vinyl to hide them a bit and put a small strip over the seams of the casing. I finished it off with an o-ring from a Savage shock (I tried the Axial ones, but they were too small and eventually snapped), put onto the final drive before installing the servo arm. Shocks: I added one small and one large shock spacer to the left-rear shock to eliminate torque-twist (I could probably remove the small one after I change the weight distribution to 60/40). Receiver: Wrapped in black vinyl. I cut a hole smaller than the LED so I could see it and maintain a seal. It is completely waterproof, accept where the wires plug in (which is why I labeled it snow-proof instead). DX3.0 Transmitter: Steering mixed 100% to Auxiliary channel to control the rear-steer. I use Model Memory 2 if I want to compete in the 2.2 Class (0% mix rear lockout). I can switch between 4WS and Crab-Steer in Model Memory 1, by pressing either increase or decrease while the menu is on AUX-Rev (the menu will always stay in AUX-Rev too, until you change it). The third channel button can still be programmed for something else (like Lap Timer). I did it this way, because I am too impatient to wait for my Punk Steer computer from clodmodracing.com. Ill let you know how it works out after I get it. Mamba Max: Set for throttle-reverse (no brakes) Hill-brake set to 25% (anything over 30% and the truck noses-over going down steep hills). Power curve set so 75% throttle applies 50% power. Then the next 20% applies the other 50% power and the last 5% is full throttle (when I snap the throttle, I mean full!). Reverse set to 50% power (because the controller has less throw in reverse, it gets touchy when set to 100%) I hope this helps. |
|
| |
|
10-04-2007, 06:36 AM
| #4 | |
| 2006 2.2 National Champ  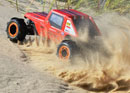 Join Date: Dec 2004 Location: Big Bear Lake
Posts: 8,328
| Quote:
Nice looking build BTW, very clean.  | |
|
| |
|
10-04-2007, 06:57 AM
| #5 |
| Rock Crawler Join Date: Jun 2006 Location: Oak Lawn, Illinois
Posts: 817
|
Bit high don't ya think?
|
|
| |
|
10-04-2007, 07:06 AM
| #6 | |
| Pebble Pounder Join Date: Aug 2007 Location: St. Albert - Canada
Posts: 99
| Quote:
| |
|
| |
|
10-04-2007, 07:08 AM
| #7 | |
| Pebble Pounder Join Date: Aug 2007 Location: St. Albert - Canada
Posts: 99
| Quote:
| |
|
| |
|
10-04-2007, 12:40 PM
| #8 |
| Quarry Creeper Join Date: Aug 2007 Location: NOR*CAL
Posts: 476
|
now thats details.. very nice work |
|
| |
|
10-04-2007, 01:25 PM
| #9 |
| Pebble Pounder Join Date: Sep 2007 Location: Edison
Posts: 135
|
Thats a Nice Looking Rig
|
|
| |
|
10-04-2007, 01:47 PM
| #10 |
| I joined the Band! Join Date: Aug 2007 Location: mission b.c canada
Posts: 233
|
nice detailing to bad it wont stay that way lol.my first crawler body i spent lots of time on the details ,masking etc.it looked awesome for ten minutes, looks like crap now .keep that one for posing and buy a beater thats what i did. i had the toyota fj bushwacker ,my son has the the 1980 blazer, nothing really fits good except a few bug bodies.even the betty body was designed for top mounting.it seems for crawling no matter what you buy you will end up hacking it up to fit the wheels as they articulate, as my truck has broken in it gets more flexible and i have had to cut away more and more.
|
|
| |
|
10-04-2007, 05:47 PM
| #11 |
| Quarry Creeper Join Date: Jun 2007 Location: Tucson
Posts: 299
|
Sweet blower!
|
|
| |
|
10-04-2007, 05:54 PM
| #12 |
| Rock Stacker Join Date: Sep 2007 Location: Murray
Posts: 53
|
Wow... And I thought I kept the inside of my ax-10 looking clean... Nice Build! |
|
| |
|
10-04-2007, 06:09 PM
| #13 |
| Newbie Join Date: Aug 2007 Location: Land 'o' Lakes
Posts: 22
|
nice truck man really awesome i love the blower |
|
| |
|
10-04-2007, 08:38 PM
| #14 |
| Newbie Join Date: Sep 2007 Location: East Wenatchee
Posts: 5
|
Sweet! Cant wait to get into this hobby and buy one of these myself! |
|
| |
|
10-04-2007, 09:07 PM
| #15 | |
| Debunking old stereotypes  Join Date: Feb 2006 Location: 1st and Amistad
Posts: 2,260
| Quote:
I agree. This is a great example of how a build thread should be posted Very clean build, great attention to detail. You did your homework well Excellent choice in components. | |
|
| |
|
10-05-2007, 12:55 AM
| #16 |
| Pebble Pounder Join Date: Aug 2006 Location: South of I-80 in Ill
Posts: 197
|
One word. AWESOME Nuff said there! Very nice ride man! Matt |
|
| |
|
10-05-2007, 08:53 PM
| #17 |
| Pebble Pounder Join Date: Mar 2007 Location: Perkasie PA & Port Norris NJ.
Posts: 134
|
Looks sweet, but you need to trim the body up and slam it down for lower CG..... |
|
| |
|
10-06-2007, 11:33 AM
| #18 |
| Rock Crawler Join Date: Mar 2007 Location: Colorado
Posts: 635
|
incredible rig, real clean and awesome build up... although its so clean i think it was assembled by Angels.
|
|
| |
|
10-18-2007, 06:39 PM
| #19 |
| Pebble Pounder Join Date: Oct 2007 Location: Allentown
Posts: 155
|
where did you get the extra parts for the rear steer? The place where i usually get mine wont have them in stock till november.
|
|
| |
|
04-04-2008, 08:01 PM
| #20 |
| Pebble Pounder Join Date: Aug 2007 Location: St. Albert - Canada
Posts: 99
|
Don't like how it turned out, so I'm doing another one... Here are some pix anyway. 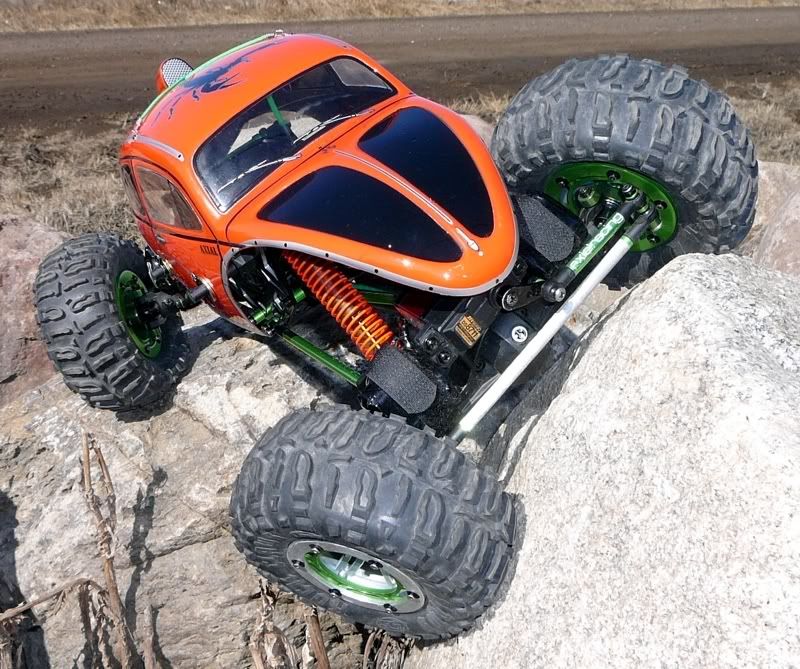 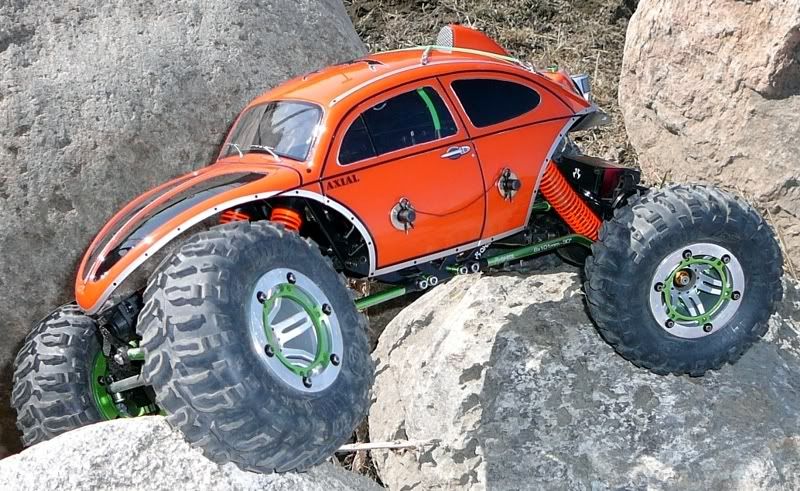 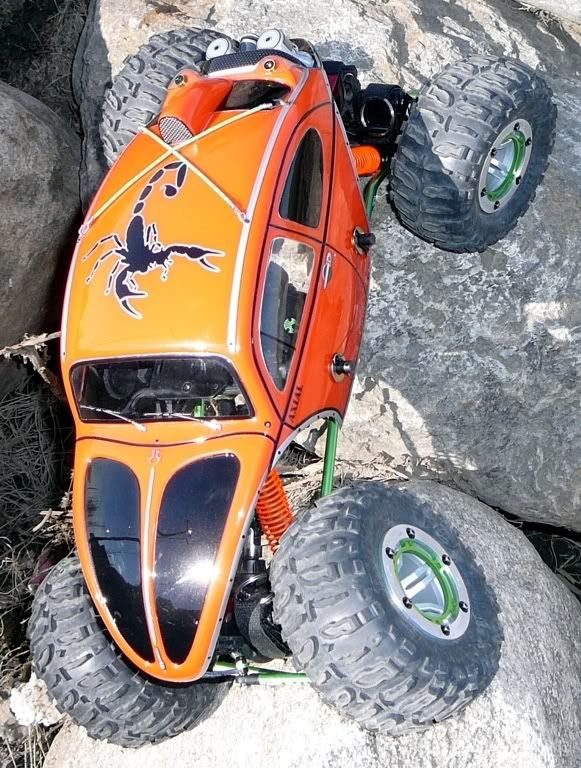 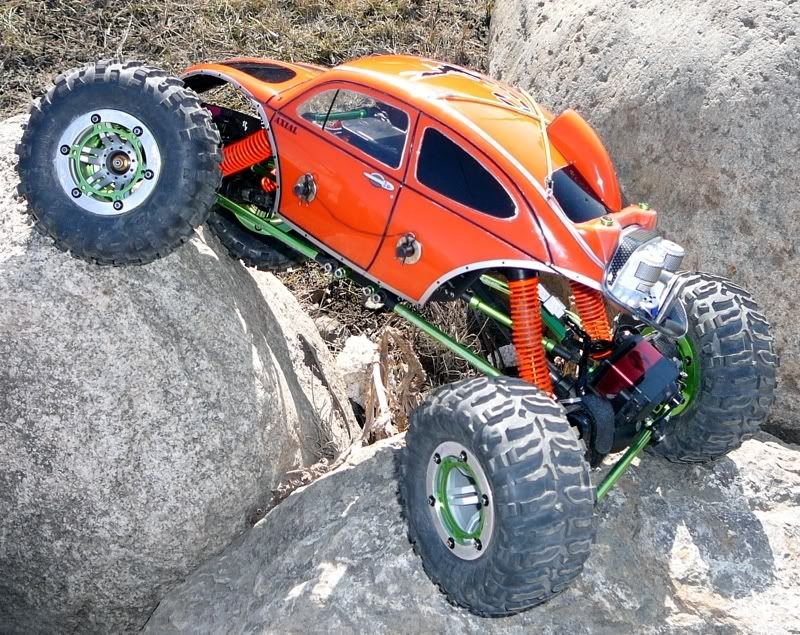 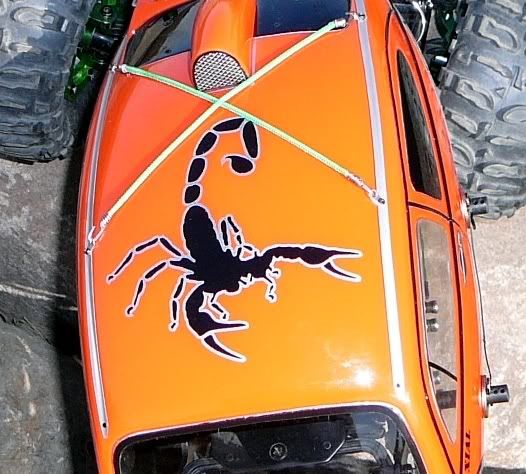 |
|
| |
|
| |


 Linear Mode


