| | #41 | |
| Quarry Creeper Join Date: Oct 2016 Location: Hanover
Posts: 304
| Quote:
 . .Well, I hope the SSDs will hold up to my abuse. I see you what you mean though, the extra long tubes on the SSD does look like it could use some bracing. | |
| |  |
| Sponsored Links | |
| | #42 |
| Quarry Creeper Join Date: Oct 2016 Location: Hanover
Posts: 304
|
So I ended up going with the Traxxas rod ends, even though they were much harder to put in place as they kept falling out as I'm trying to balance them in position. There is some play as mentioned earlier b/c of is smaller diameter, but hopefully it won't be too much of an issue. As stated earlier I used 45wt oil in both front and rear, but for front, I used the Gmades Red hard springs and the the rear used Gmade Green soft springs. 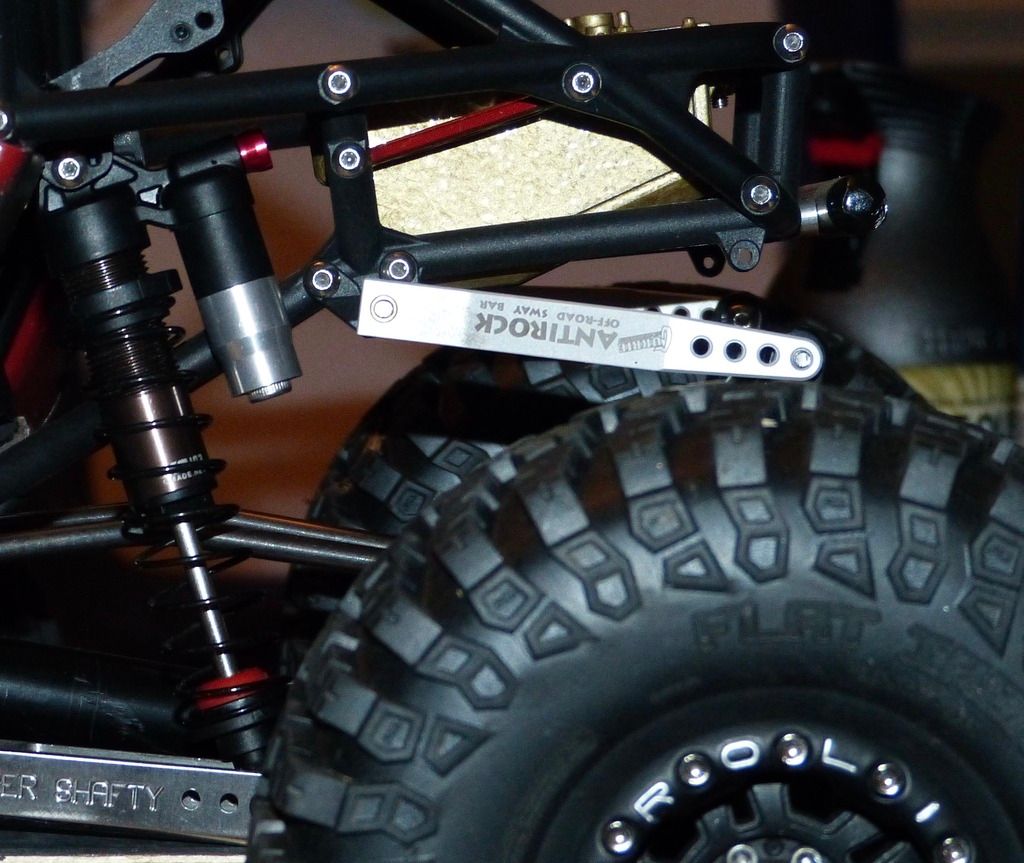 The front installation was much simpler. I did need to use a 5mm spacer to move the shock body from the shock mount. 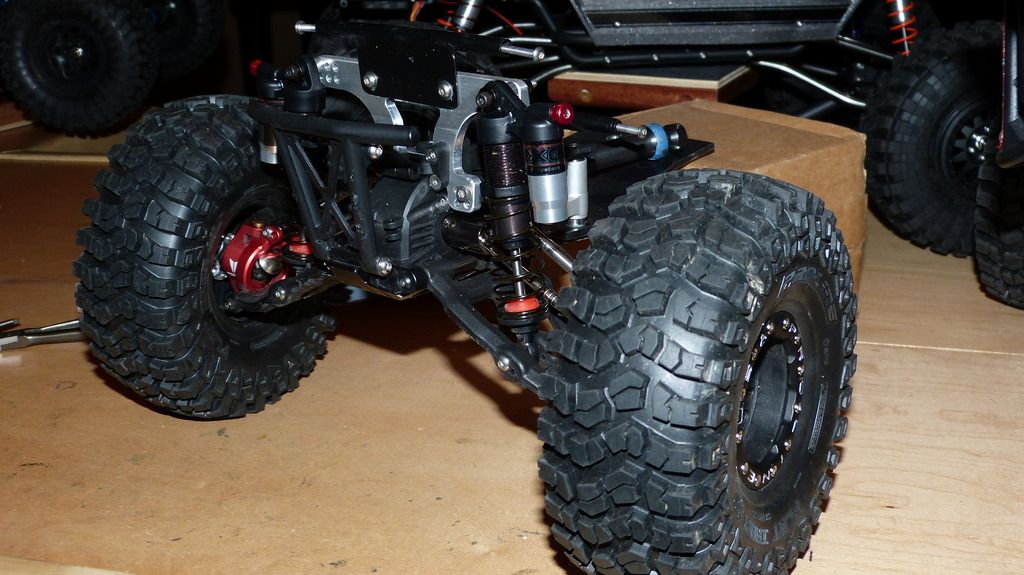 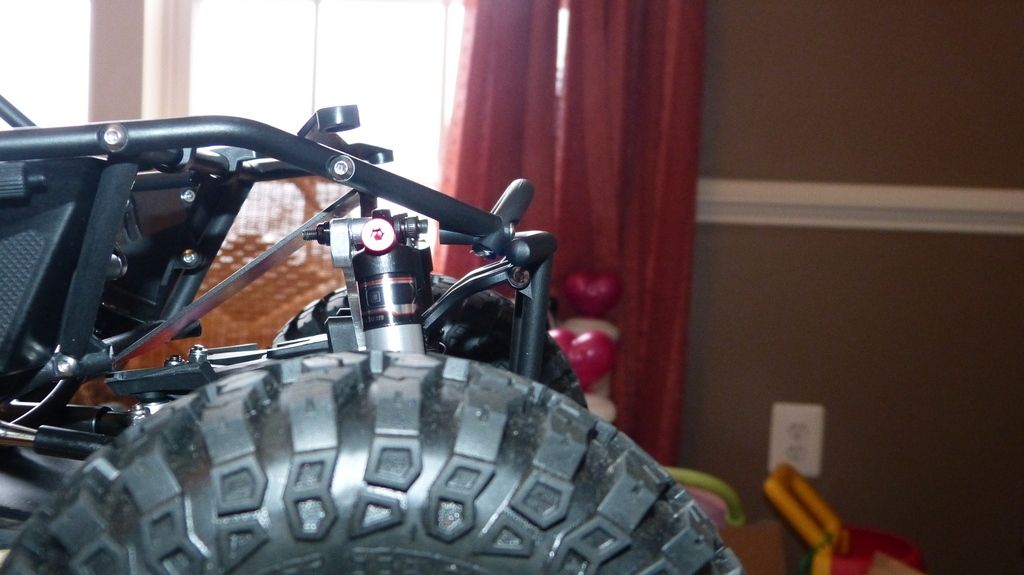 Here is something I found strange. In the front, with the Red Hard stiffed springs and 45 wt oil, it does support the front end, however when I push down on the vehicle, it doesn't push it back up all the way. After pushing it around a little and and hitting it some, it will work it's way back up to full stance, but I thought this was strange. Even dialing up the setscrew to max stiffness doesn't push it all the way up, just make it harder to push down. Normal stance, will support this on it's own 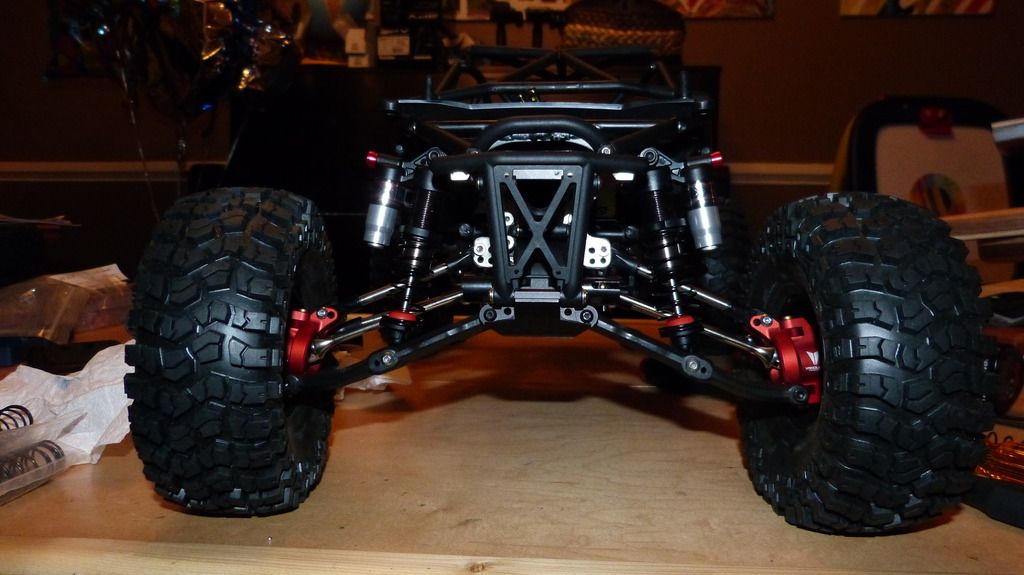 After pushing it down and letting go, it will stay in this position. Eventually will move back up if I'm pushing it around...scratching my head... 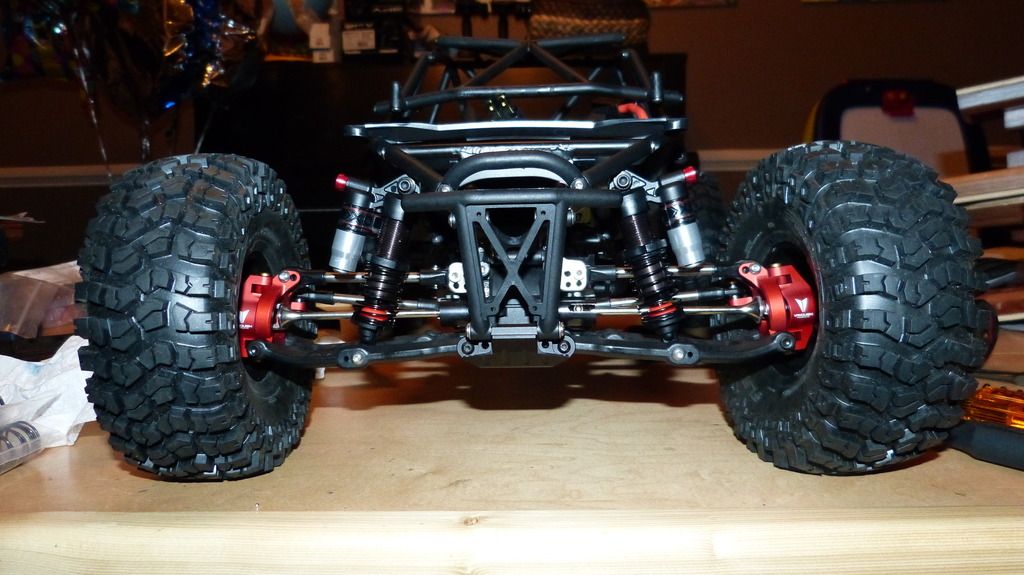 Edit - I originally had the shocks mounted in the middle top hole. I moved the shocks to the outer most hole to get it as straight as possible, which help give it the strength to bounce back when pressed down. It bounces back about half way which is good for keeping the low COG.  Last edited by *Old*; 02-12-2017 at 09:09 PM. |
| |  |
| | #43 | |
| Quarry Creeper Join Date: Oct 2016 Location: Hanover
Posts: 304
| Quote:
However I don't miss pulling those on and off the axles...what a work out! | |
| |  |
| | #44 |
| Quarry Creeper Join Date: Oct 2016 Location: Hanover
Posts: 304
|
Driveshaft time and I am done for today... For the rear, I went with the Traxxas Revo drive shaft. I hear good things about them and they are cheap and I like the fact that I can cut them down to fit if needed. Since this is essentially a scratch build and custom, I didn't know lengths I needed. Plus with the yoke being plastic, I could drill it out to fit the 6mm output I was running. Here it is in full length with the rubber boot removed. I wish there was a way to save the boot, but they glued that shit on tight! 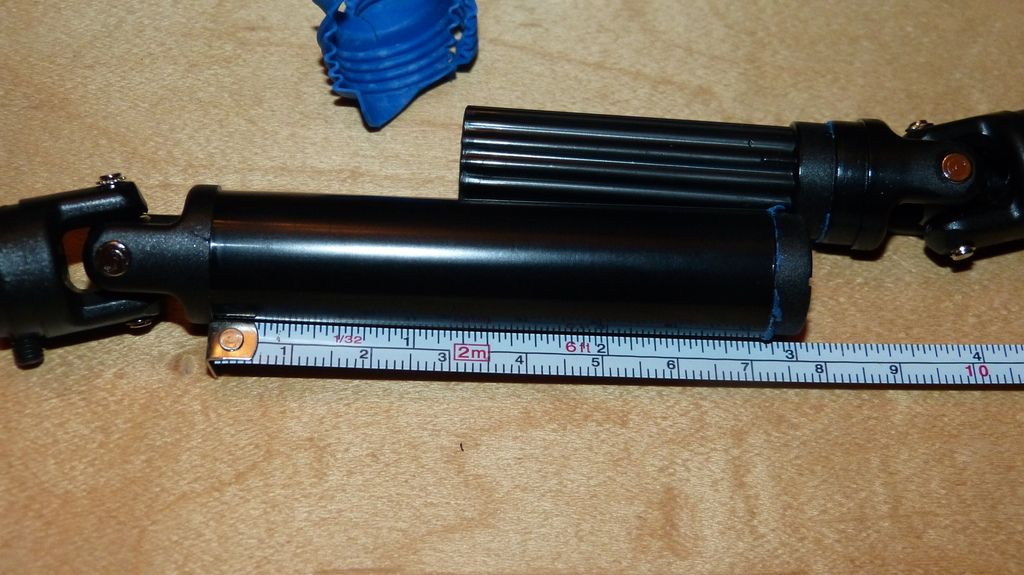 I had to cut off about 5/8" or so, but only on the female tube. The male splined is short enough already. Important note, the male splines are keyed specifically to the female splines, so you can't just insert it any which way you want. It will slide right in her, but you can tell the difference b/c it doesn't go in as smooth and it will bind and feel tighter the further you push it in. So make sure you twist her around to find the right fit and slide him in... I can't help but laugh as I'm typing this out...sounds like I'm teaching a health ed class  .. ..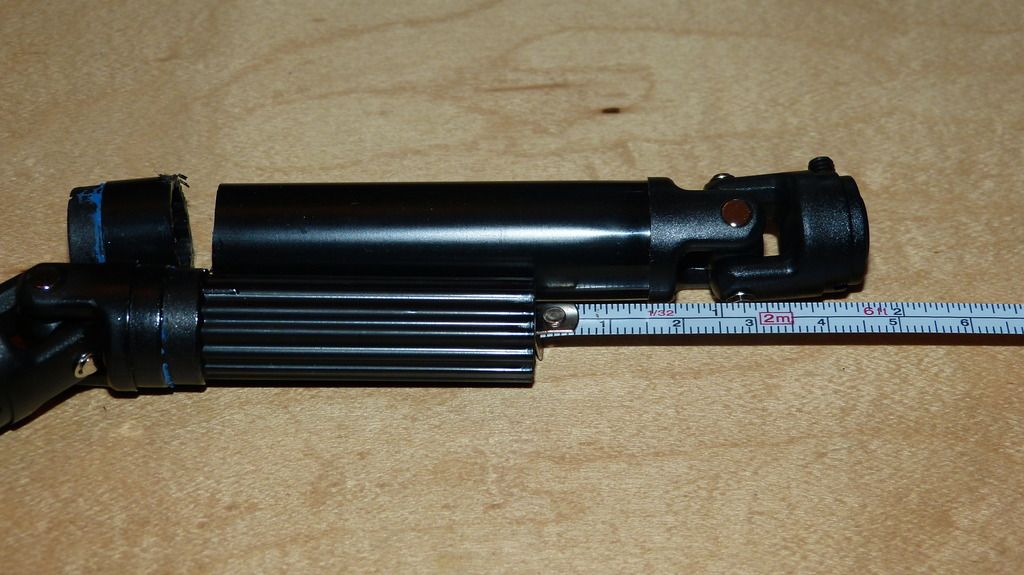 For the rear, I did need to add some shims to keep the pinion gear pushing in and binding with the ring gear. I used 1 - 5x11 .2mm, 1 - 5x8 .8mm and 1 - 5x8 .3mm. It seemed like a lot, but it works!  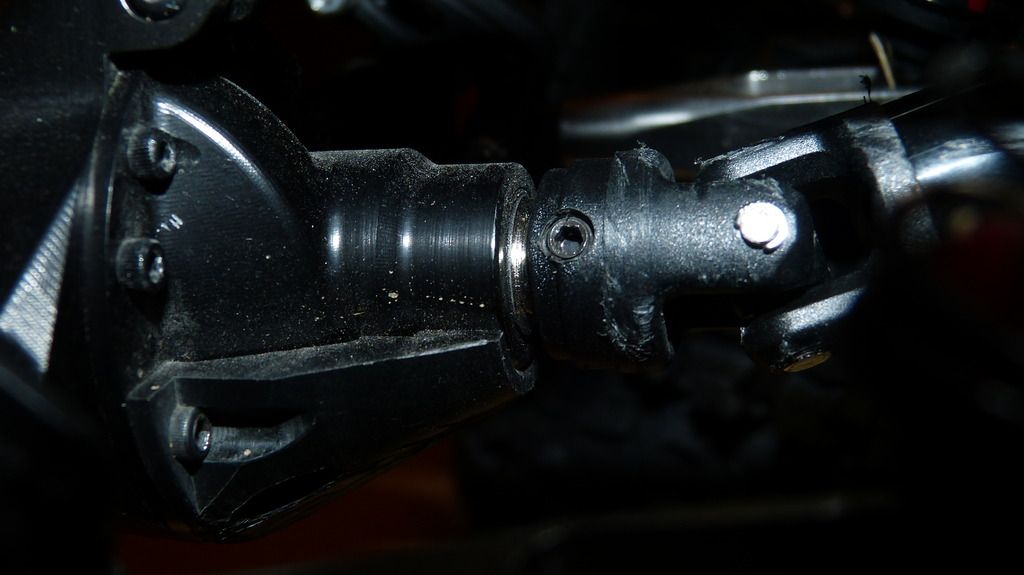 For the front, I originally was planning on using the same Traxxas Revo shaft as the rear, but the yoke was too big, even with the extended output from the tranny, I would've still needed to cut the spur cover some to fit. Cutting the cover is simple to do and only a small upper edge portion would be cut, but I wanted to avoid that for now. So I went with MIPs. I had to get a few different parts b/c they don't list their length, so I wasn't sure which to get. I did list the part #s of what I ended up using in the in 2nd post. One mistake I did (out of many I tried heating it off my my solder iron, but it didn't get hot enough, so I'll torch it later. I have a spare and was much more careful the second time around. With the MIP hub, I didn't need to add any shims to the pinion gear. It seemed like it had a built in shim to it.  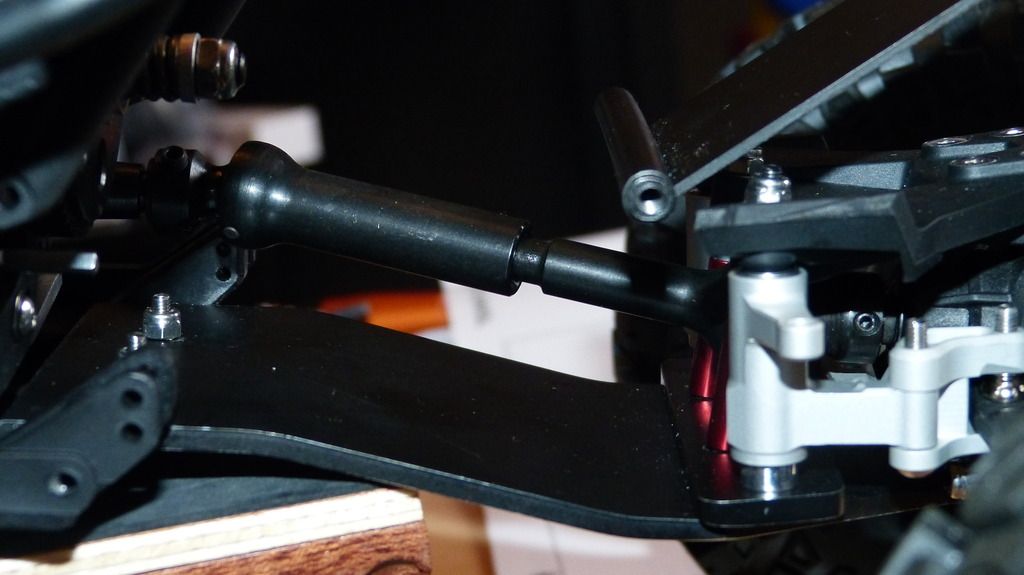 Last edited by *Old*; 02-02-2017 at 02:09 PM. |
| |  |
| | #45 |
| I wanna be Dave  Join Date: May 2015 Location: Moving
Posts: 2,580
|
Lots of great info in this thread for the new builders. Between Bil, you, I and all the other IFS builders I think we've covered everything with several options.  Those Revo/Summit shafts are definitely the way to go if you can fit them. The hardest part is keeping them flat on the pinion but you seem to have found a good solution. If you go with 6mm outputs on the trans, you can drill the yoke to 6mm id and be just fine. Those Revo/Summit shafts are definitely the way to go if you can fit them. The hardest part is keeping them flat on the pinion but you seem to have found a good solution. If you go with 6mm outputs on the trans, you can drill the yoke to 6mm id and be just fine.
|
| |  |
| | #46 |
| Rock Crawler  Join Date: Jul 2015 Location: McKinney, TX
Posts: 509
|
Great thread. You're much better at documentation than I could ever hope to be. Oddly enough I put the Revo drive shaft on my B1B last night. I haven't had a chance to run it but it felt good testing around the house. It didn't seem to wobble as much as the WBs. I would lighten the oil in the front shocks. Use the springs and preload to set the ride height. Oil and piston do the rebound and droop level. Also, that front end will lift like a mofo as soon as you give it power. I have 10wt in my fronts and may go up to 15 or 20. I'm using the same shocks and have been very pleased with their performance. A little more height on the tower would be nice so I didn't have to buy shorter shocks. |
| |  |
| | #47 |
| I wanna be Dave Join Date: Sep 2012 Location: Victoria, BC
Posts: 2,257
|
For the VP sway bar, I used 3mm button head SS bolts cut down to fit with red Loctite and so far the sway bar has remained tighter than a............!!! This is on my solid axle Bomber, the SS grub screws on my B1B have yet to loosen with a dab of red Loctite. (side note...with this close-up picture I noticed there's some rust in that screw above the sway bar...these are now SS bolts!!!)  Last edited by bilinvic; 02-02-2017 at 11:06 PM. |
| |  |
| | #48 |
| I wanna be Dave  Join Date: Apr 2015 Location: Roseville, Ca
Posts: 2,506
| |
| |  |
| | #49 | |
| Quarry Creeper Join Date: Oct 2016 Location: Hanover
Posts: 304
| Quote:
I had to try several different combo shim thickness options to get it the yoke to pull on the pinion as much as possible and also sit flat with no wobble. The drive shaft you have in the middle in that pic looks to be the driveshaft for the Traxxas T-Maxx correct? I have those on order that I want to try upfront in place of the MIPs. They look smaller and may fit. If not, it will go to one of my kids rig. Oh, one note, the Revo Driveshaft, (the one in the left of the pic you have), will fit the Stock Bomber with it's stock trailing arm/upper link length, with no cutting. It's a perfect fit. I put it on my sons Bomber. | |
| |  |
| | #50 |
| Quarry Creeper Join Date: Oct 2016 Location: Hanover
Posts: 304
| Quote:  |
| |  |
| | #51 |
| Quarry Creeper Join Date: Oct 2016 Location: Hanover
Posts: 304
|
Moving on to the Electronics. A lot of folks here seem to recommend the Holmes Hobbies Puller Pro series because of it's low torque power. I chose to go with the Puller Pro BL540 3500kv motor. Also read a lot of good reviews on the Castle Mamba Monster X with it's "on the fly" drag brake on/off which is perfect for a hybrid trail rig like this B1B. Also like how it's waterproofed from the factory as well. They weren't kidding when they said how big this thing is - looks overkill, which is exactly how I like it Because Tower, Amain and RPP had really good sales during the holiday, I opted to purchase these from one of them instead of going direct through HH since they didn't have any sales. Unfortunately doing this, I had to get the Castle sensor "adapter" wire separately, instead of having it included from HH. If I ordered from HH directly, they would've included 1 sensor wire that connects to the HH Motor on one end and directly to the MMX ESC on the other. Instead, the HH motor comes with a standard sensor wire that connects to the HH Motor and then to this Castle sensor adapter, then to the ESC. Phew, that was a mouthful! 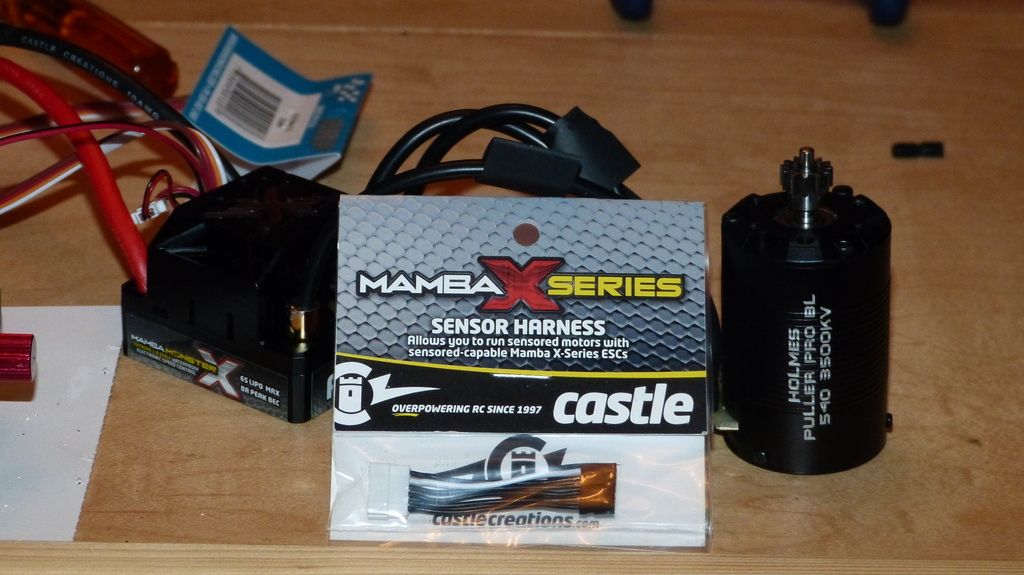 Here is where the sensor wire goes into the ESC. Note the color coded dots below the wires. I had it on reversed at first, but then noticed the color configuration and corrected.  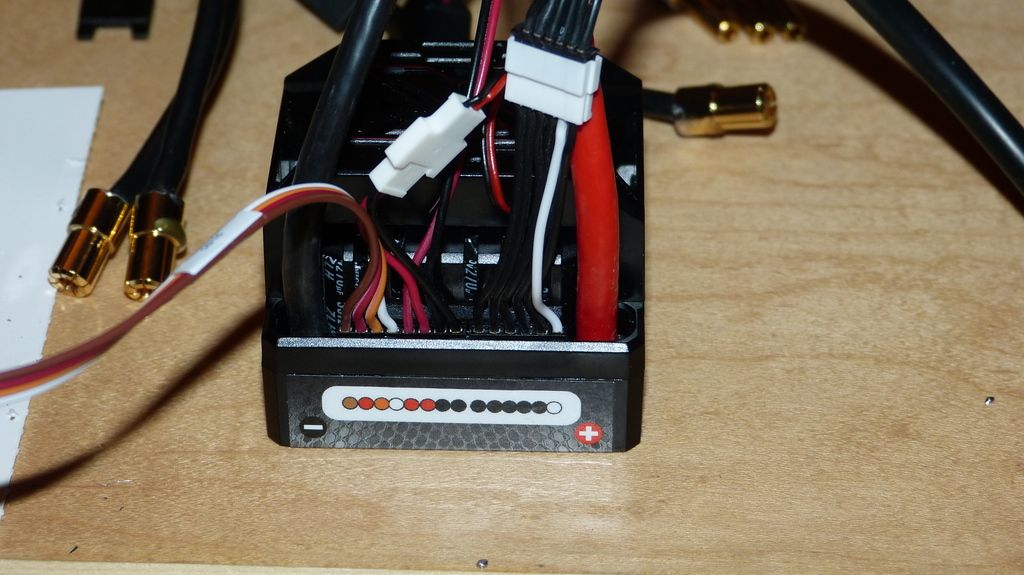 The HH Motor came with 4mm bullets, which I cut off and soldered on 6.5mm bullets. The MMX includes the 6.5mm bullets and heatshrink with it so you don't have to get them separately which is nice. 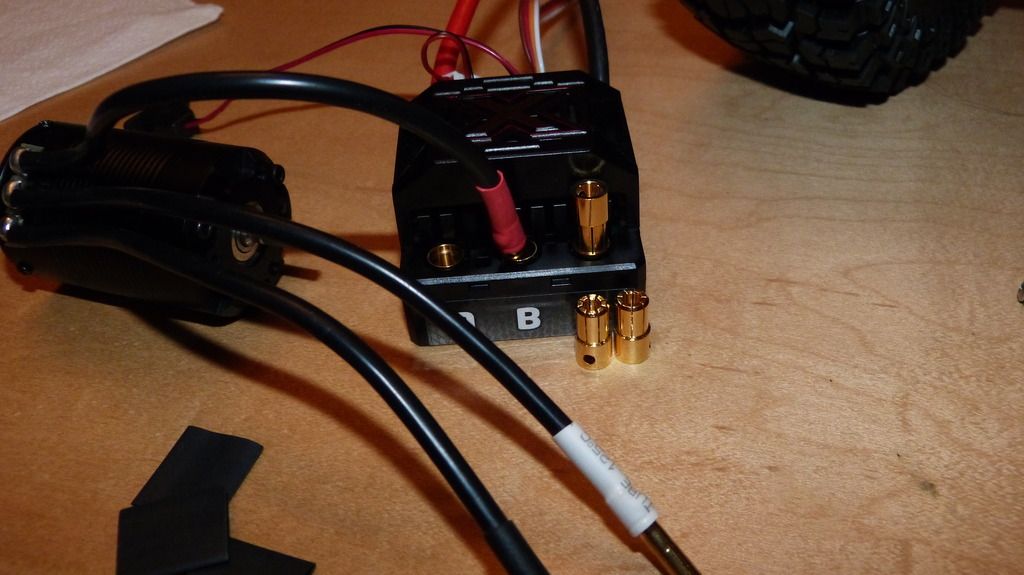 soldered 6.5mm bullets 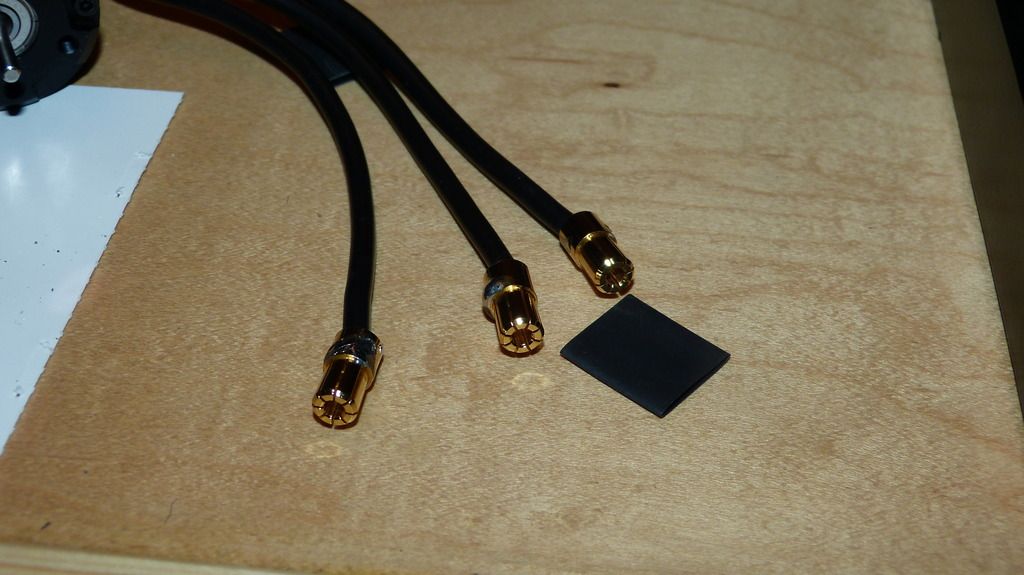 |
| |  |
| | #52 | |
| Quarry Creeper Join Date: Oct 2016 Location: Hanover
Posts: 304
| Quote:
I'm a little surprised about your recommendation on the shock oil wt, especially in the front. I'm going to run it this the way it is and see and may give it a try. The front end seems so heavy compared to the rear; and it seems the front shocks are kinda having trouble supporting the weight at Hard spring and 45wt. We shall see... | |
| |  |
| | #53 |
| Quarry Creeper Join Date: Oct 2016 Location: Hanover
Posts: 304
|
Just a quick little note on battery size discovery here. Axial shows the max size for battery is 149x35x52. I order some Turnigy 5000 25c 3s Lipo with dimensions 146x25x50. The Castle MMX requires you to run a minimum of 5000mah and 25c. Most 5000mah 3s are larger. At first glance, the Turnigy battery looks really nice. I like the 10guage wire, and they just cheap!!  . But I wish it didn't come with this 4mm bullet connector, or had more options to choose from. . But I wish it didn't come with this 4mm bullet connector, or had more options to choose from.After swapping the 4mm bullet to XT60 connector, I mounted the battery in the truck and discovered it's a tad too large. It doesn't allow you to close the hood all the way down. I guess if I really worked it, I could get it pinned shut, but didn't want to deal with that hassle everytime. I'm weird like that So anyway, after searching around for a 3s 5000mah battery with a much smaller footprint, I found Venom and Duratrax Onyx. The Venom is 138x42x33 and the Onyx is 137x43x31. Both fit perfectly and I feel these are the size to be considered when finding the right battery. Unfortunately these batteries are 3 x the price, but since I'm weird like that, I'm dealing with it. 4mm bullet connector 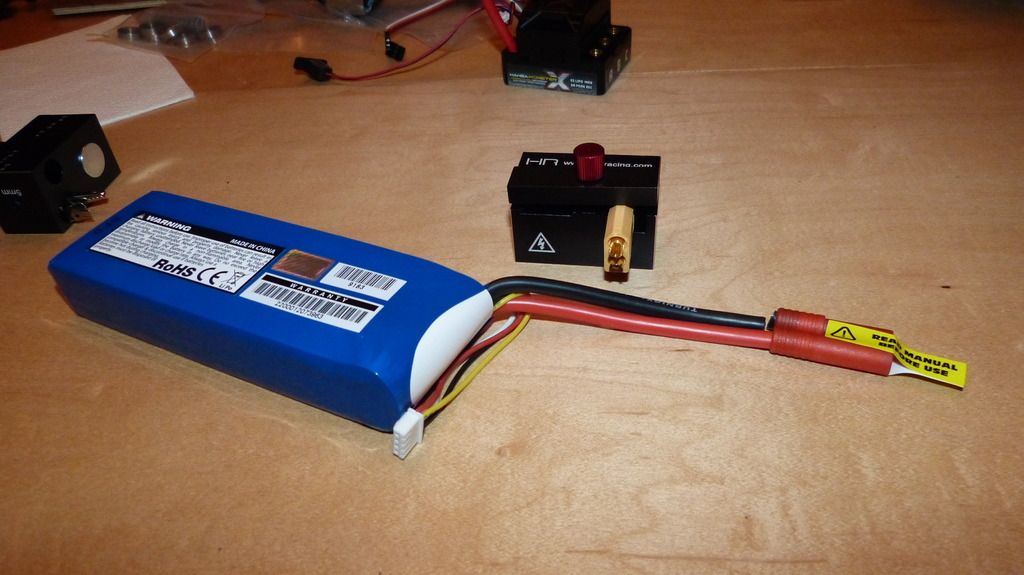 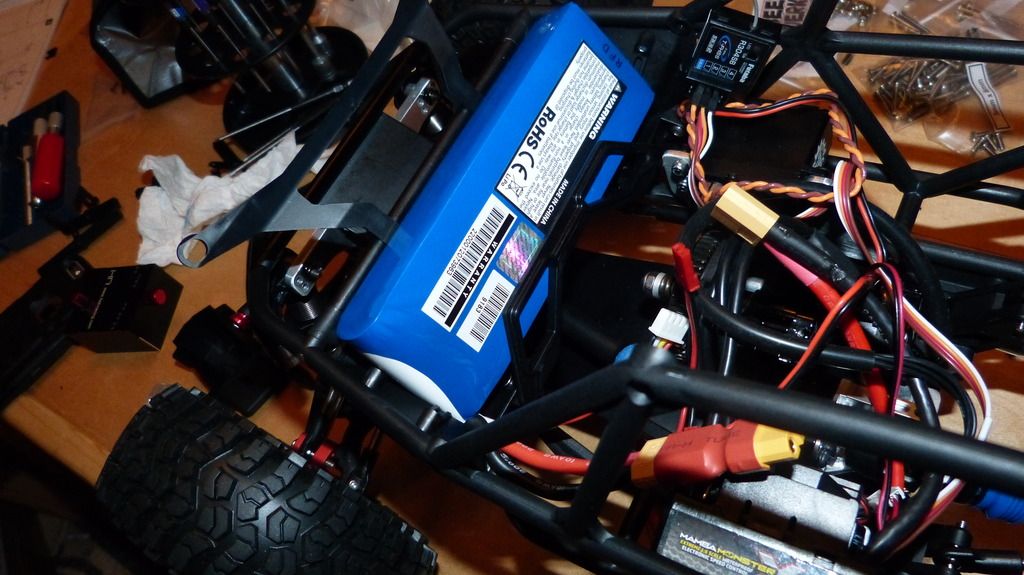 The 10guage battery wire forces the battery up so it can't sit flush in the mount. I didn't want to cut that area out either as the battery would be exposed to debris slung from tires. 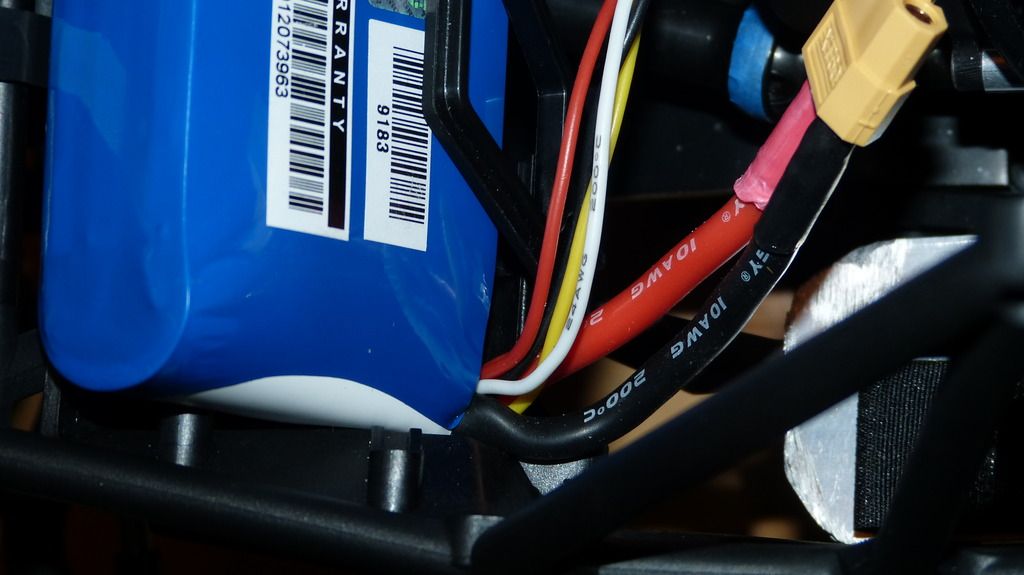 The battery sticks up over the cage. Needs to be closer to flush to close and pin the hood easily. 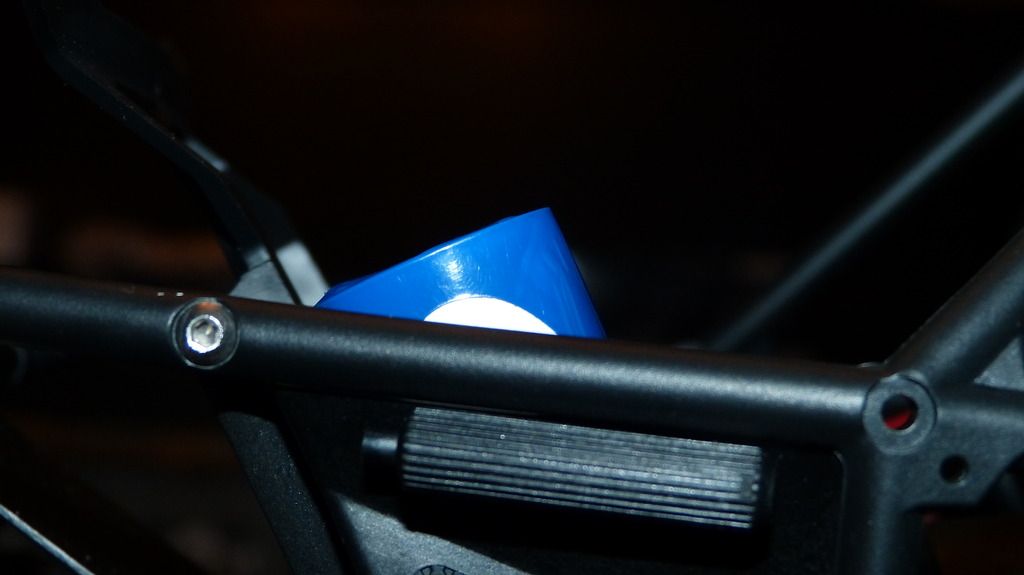 |
| |  |
| | #54 | |
| I wanna be Dave  Join Date: May 2015 Location: Moving
Posts: 2,580
| Quote:
Can we get a pic of the bottom of the truck with that Beast installed? | |
| |  |
| | #55 |
| Rock Crawler  Join Date: Jul 2015 Location: McKinney, TX
Posts: 509
|
10 wt is way too low. I jumped down to 10 after running 35 and hating it. I'm going to 20 now. Couple pics of the drive shaft on my rig. Would like to see *Old*'s   |
| |  |
| | #56 | |
| Quarry Creeper Join Date: Oct 2016 Location: Hanover
Posts: 304
| Quote:
Also, did you have the same problem with the Gmade shock eye for your rear shock mounts? The ones that came with the Gmade for the top shock hoop is too wide to fit into the Bombers shock mount. What did you end up using? | |
| |  |
| | #57 | |
| Quarry Creeper Join Date: Oct 2016 Location: Hanover
Posts: 304
| Quote:
Here is a pic of the underneath. For the 5mm pinion side, I used 3/16" drill bit, which is slightly smaller than 5mm, but with some force, you can slide it in. The 6mm side, I used 15/64 drill bit I believe, which is also slightly smaller but can be slid in with. 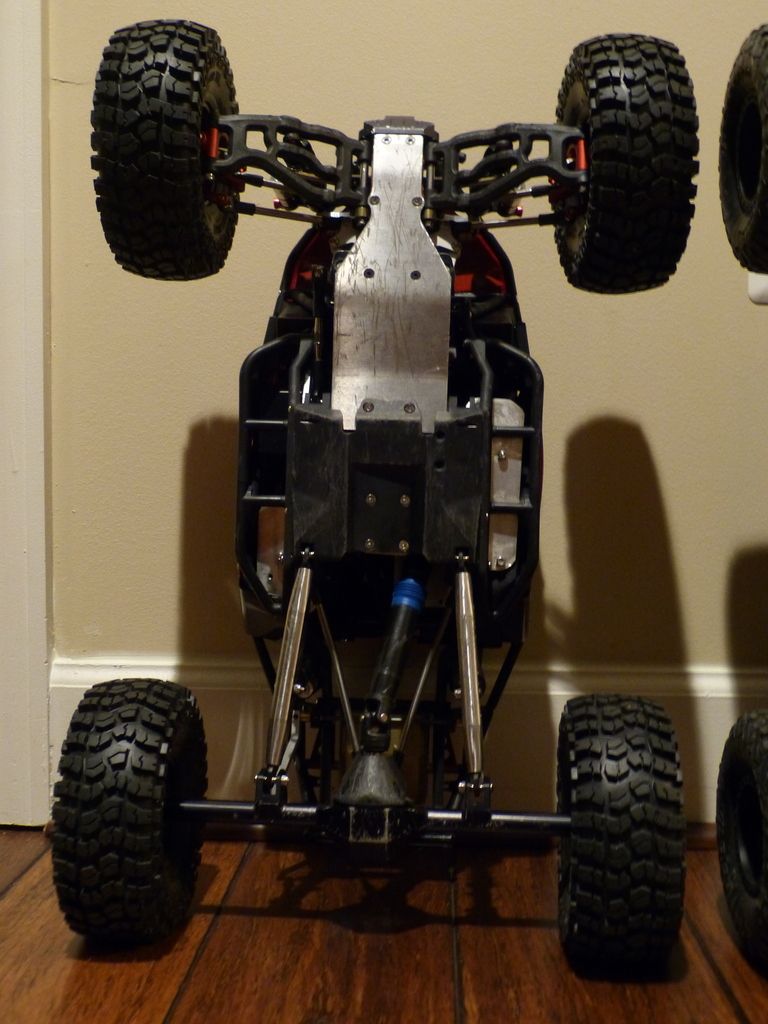 Here is with my sons Bomber. He uses the same shaft, but it didn't need to be modified as the length is perfect. And his is 5mm on both ends. 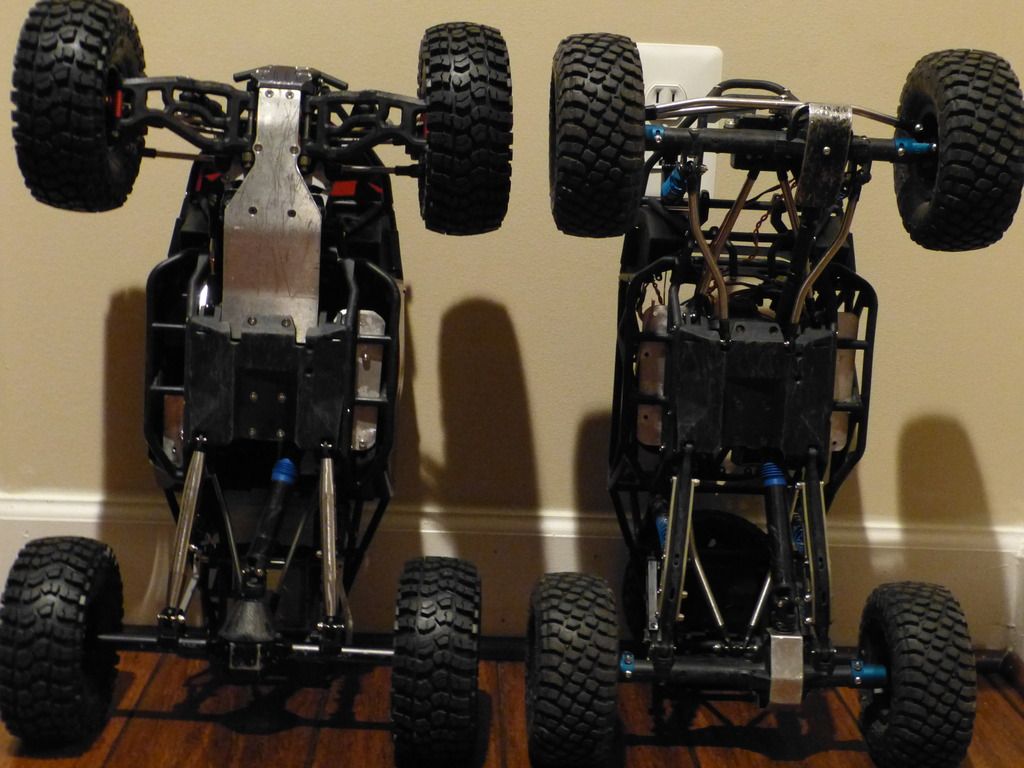 | |
| |  |
| | #58 |
| Rock Crawler  Join Date: Jul 2015 Location: McKinney, TX
Posts: 509
|
Thanks got posting the pics. Nice looking rigs. The skid is a high clearance skid for the B1B from Circle City RC. Easy to find on Facebook. They're part of the B1B kit now. They allow the stock transmission to be used. I still use the DMG plate and my Wraith transmission. I spent too much on the Wraith tranny not to use it. I can't tell you what I'm using the gmade shocks on the rear.. I have so may different sizes that it wasn't hard to find something that fit. They may have been off a Wraith spare parts tree but I'm not sure. Sorry. I did some testing after work today and put two batteries through the B1B. The driveshaft help up really well and was flawless. I'm still not happy with the shocks though. Just needs more tuning. |
| |  |
| | #59 |
| Quarry Creeper Join Date: Jan 2009 Location: Cerritos
Posts: 340
|
Sweet looking setup! I was watching king of hammers today, made me want to build one.
|
| |  |
| | #60 |
| Quarry Creeper Join Date: Oct 2016 Location: Hanover
Posts: 304
|
Got a lot done this weekend and was able to get this going for a test run.  First, I made rear bumper out of 3/8” aluminum rod. I saw some folks running something similar and thought this is the easiest, most basic mod you can do for a rear bumper. Installed these with a 3mm spacer. 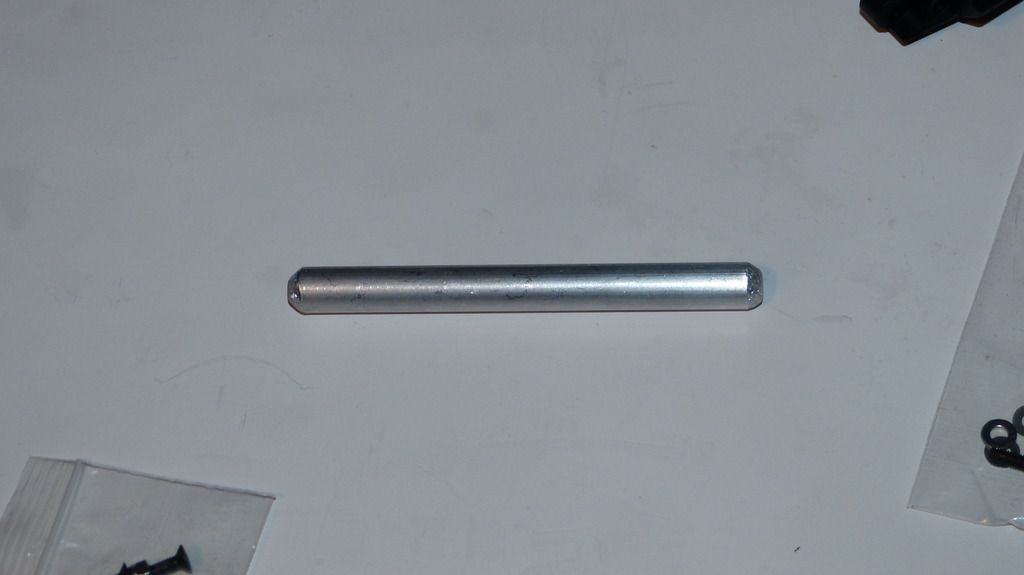 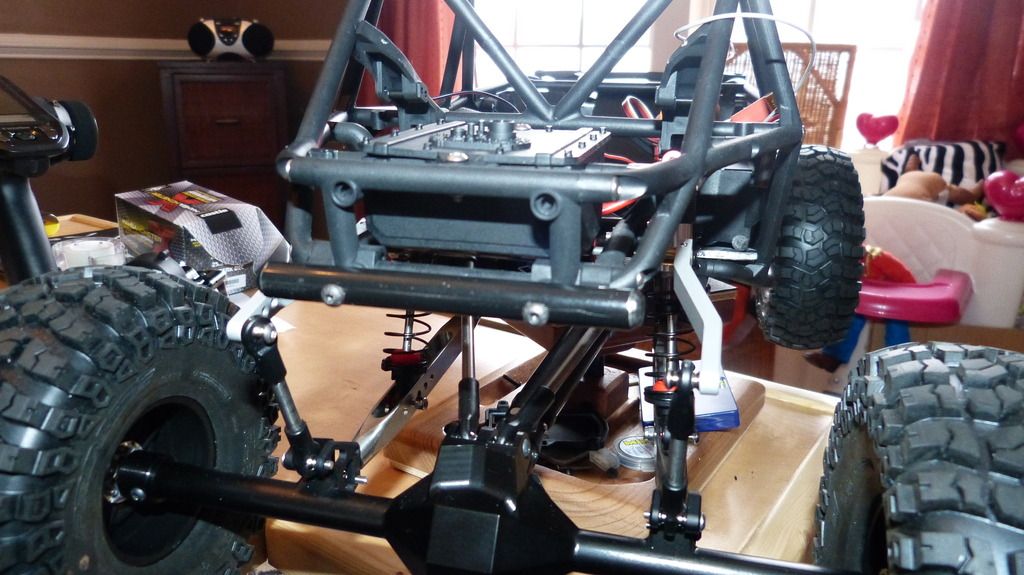 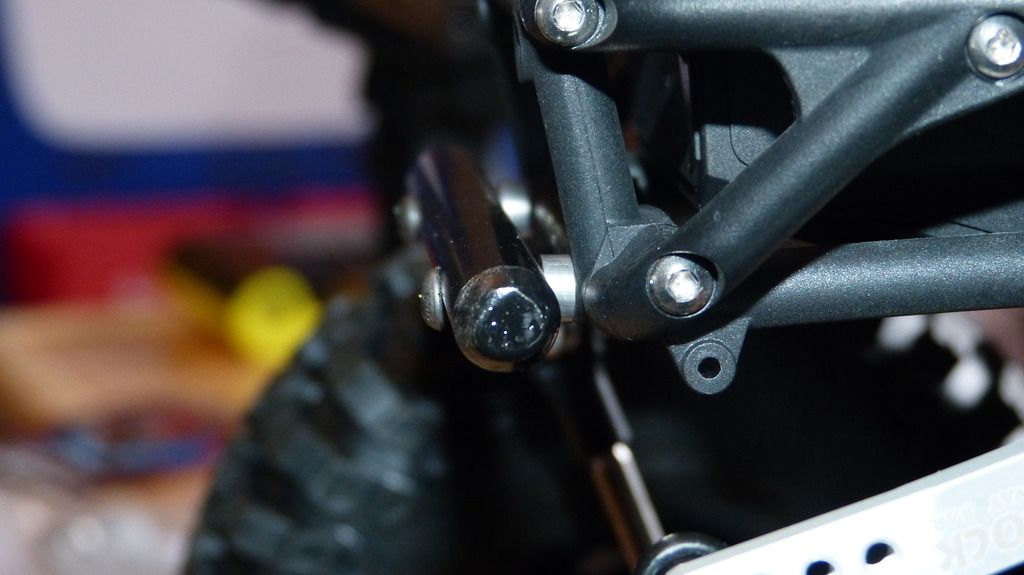 For the frontend, instead of the yeti bumper, I chose to go with the Axial Exo bumper…stole the idea from Screamer since I thought it looked much better than the Yeti.  Mine didn’t quite fit right over the front skid. I had to cut it wider to fit. Other than that, it bolted right up with no other modification necessary. Sorry for the blurry pic, of the area I colored in Black Sharpie was the amount I needed to cut off. 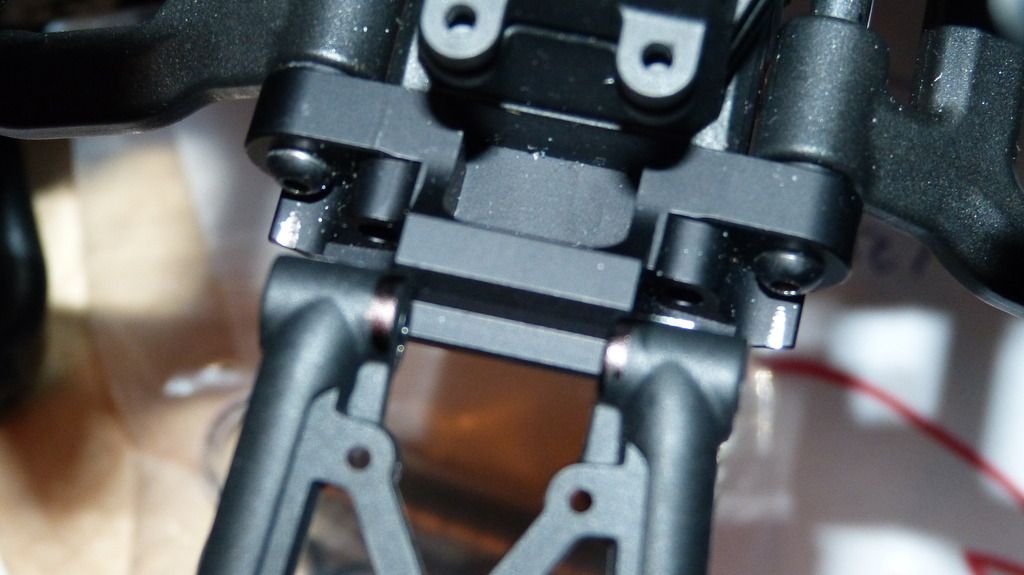 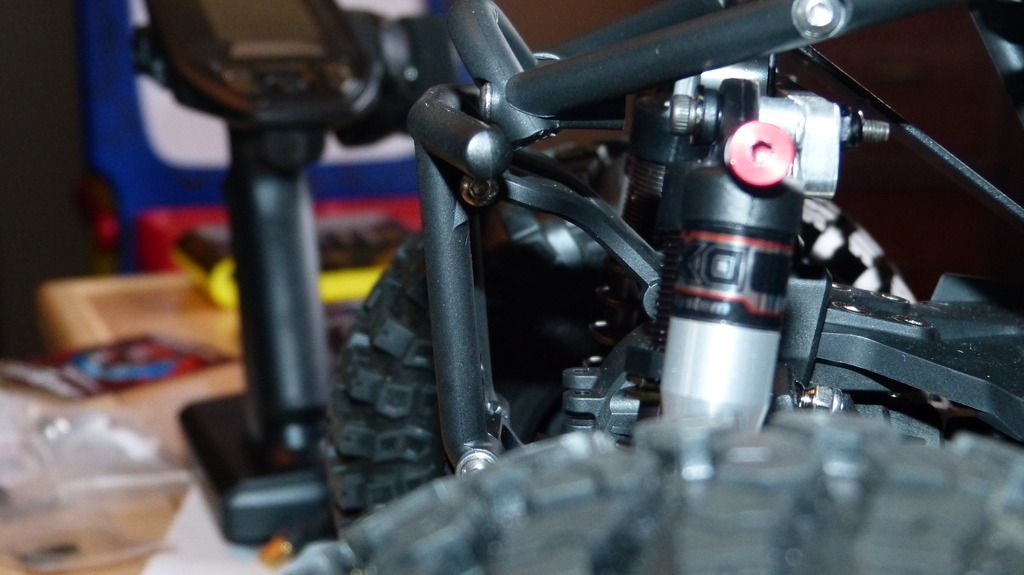  And then finally the Receiver box. Just a quick note on what I did since it needed to be relocated with the DMG IFS skid taking up it's place. I decided to mount the box on the passenger side, right behind the servo mount. I mounted a small aluminum plate so I could attach the box to with a screw. 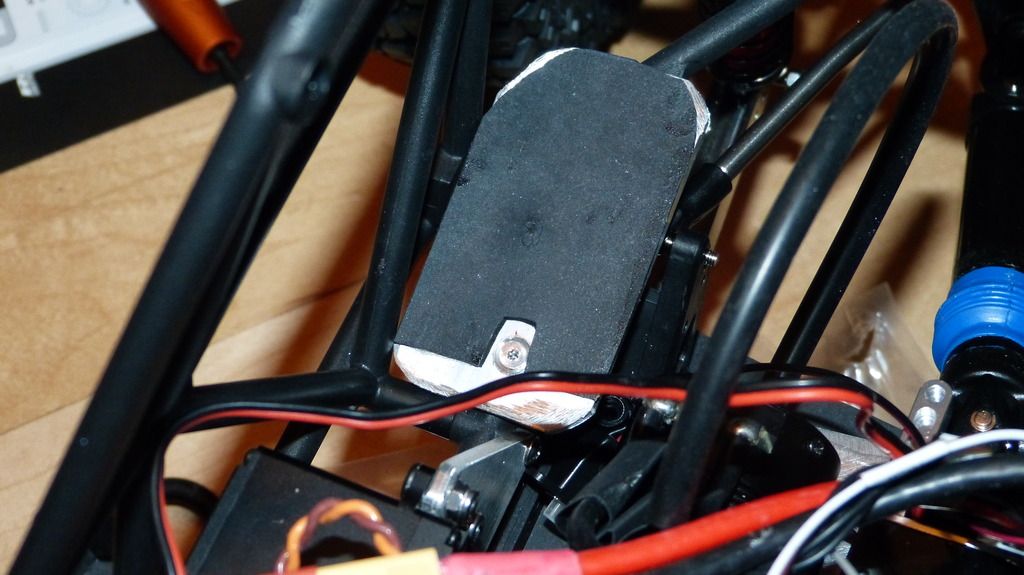 I had to cut the plastic hoop off the box. 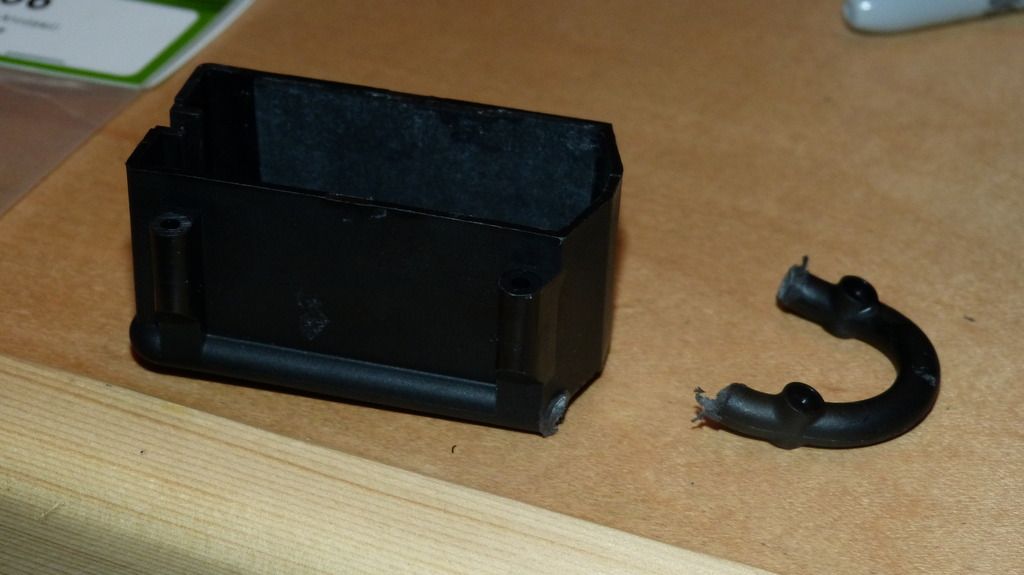 the receiver in it's location 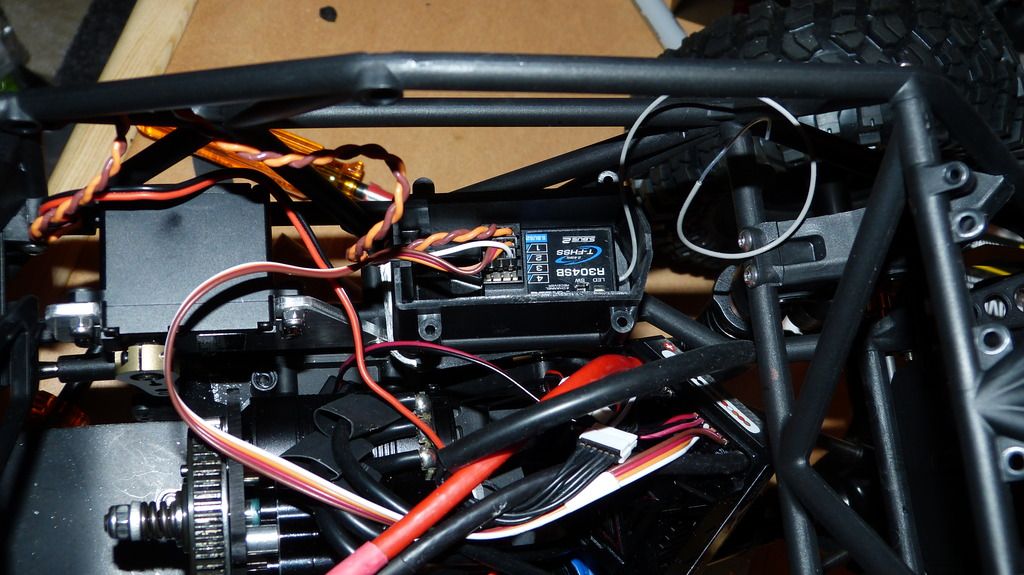 Here is the interior as it sits with all the electronics hooked up. I need to route the wires a little better, but really excited to get this thing moving. 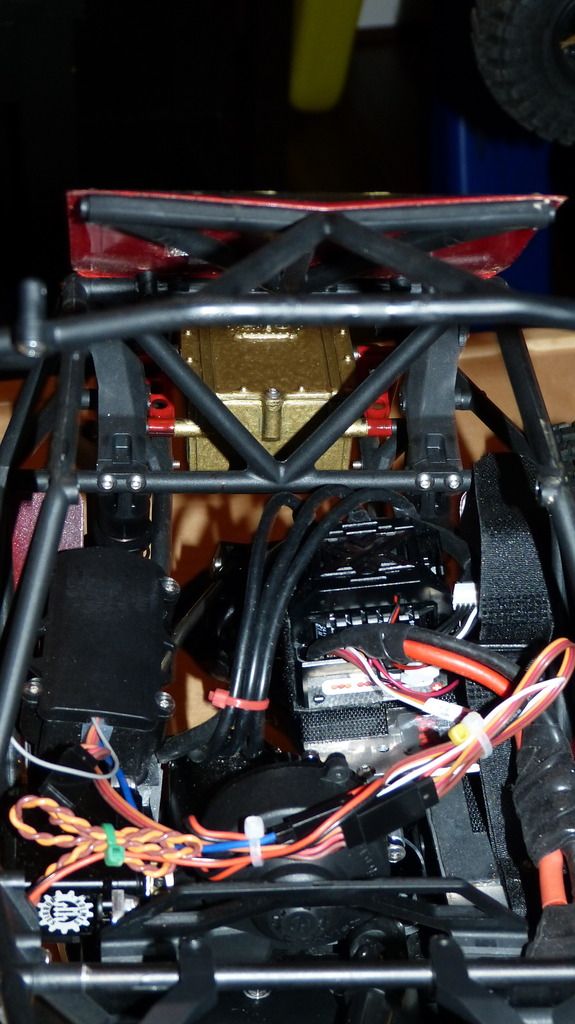 |
| |  |
 |
 My IFS Bomber Build - Similar Threads
 | ||||
| Thread | Thread Starter | Forum | Replies | Last Post |
| bilinvic's DMG IFS B1B Bomber Build | bilinvic | Axial RR10 Bomber | 375 | 04-11-2024 07:56 AM |
| Yoda's RR10 Bomber Build... B1B IFS! | 84yoda | Axial RR10 Bomber | 80 | 04-03-2023 02:07 PM |
| Hwin ifs bomber | erickhe | Axial RR10 Bomber | 17 | 05-22-2018 12:31 AM |
| |