| |
 08-18-2009, 03:45 PM
| #1 |
| I wanna be Dave Join Date: Sep 2006 Location: Stuck on a Rig in the middle of nowhere Utah.
Posts: 2,024
|
Well, I have been gathering parts for a build for my wife for a while now. Crawler Graphics Custom painted Jeep  Link http://www.rccrawler.com/forum/showthread.php?t=174804 Link http://www.rccrawler.com/forum/showthread.php?t=174804Axial SCX-10 scale chassis 3racing winch Tekin FXR Tekin 35t motor 14t pinion 2200mah 3s 20c Lipo CC BEC for steering CC Bec for winch 2.2 Axial wheels 2.2 Losi Rock Carvers with memory foam And some Delrin rod and sheets for misc parts. First off the wheel base of the chassis did not match the body, so I used 5/16" Delrin rod to make the wheel base a little longer. I won't bore you guys the the basic part of this build, because it has been covered several times. Now that the wheel base was right, it needed to mount the body. First off, this chassis was never inteded for a body of this size No big deal, that is the fun of building a scaler. I tried the velcro method and it did not work according plan 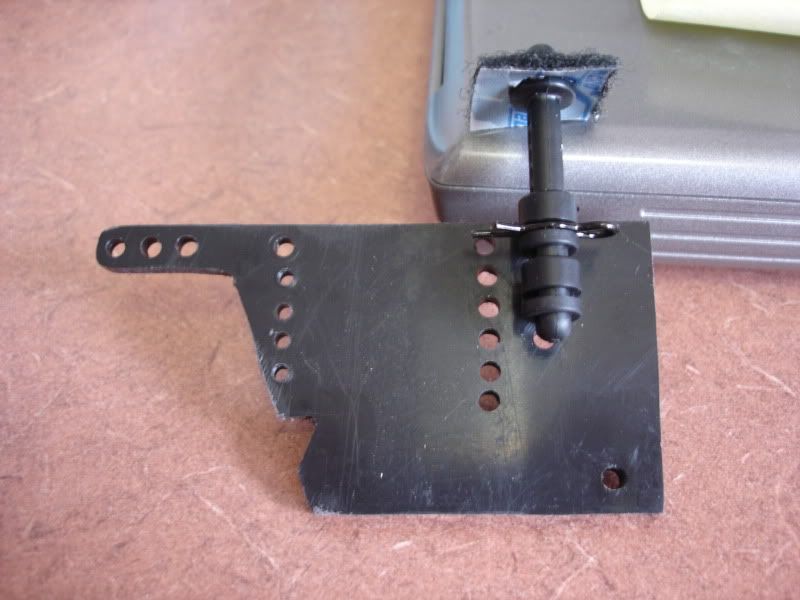  The extra holes were from trying different attachment points. Last edited by 70duncan; 08-18-2009 at 03:57 PM. |

|  |
| Sponsored Links | |
| | |
|
08-18-2009, 03:52 PM
| #2 |
| I wanna be Dave Join Date: Sep 2006 Location: Stuck on a Rig in the middle of nowhere Utah.
Posts: 2,024
|
I had to ditch the Axial shocks. They wouldn't let the rig flex right with the body choice. So I made some out of Traxxas shocks. I just removed the stock spring and added a spring from my Harber fright bin, and cut off the top tab of the shock, then used a bolt to mount the axial rod end on top. You can see the end product in the above picture. Next I had to make a spot to mount the winch and front bumper. It ended up fitting perfectly. You can see how I notched out the hole to match the stock axial bracket. I also made a rounded notch to help clear the servo horn. 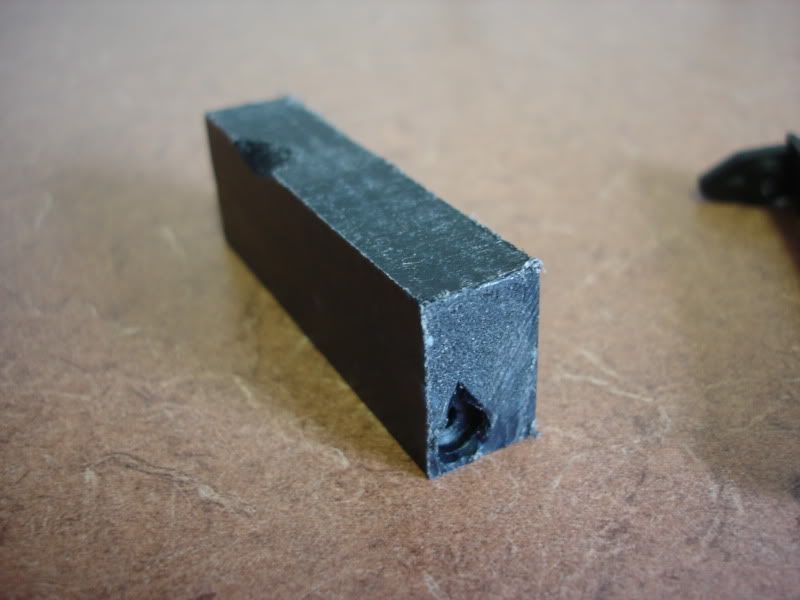 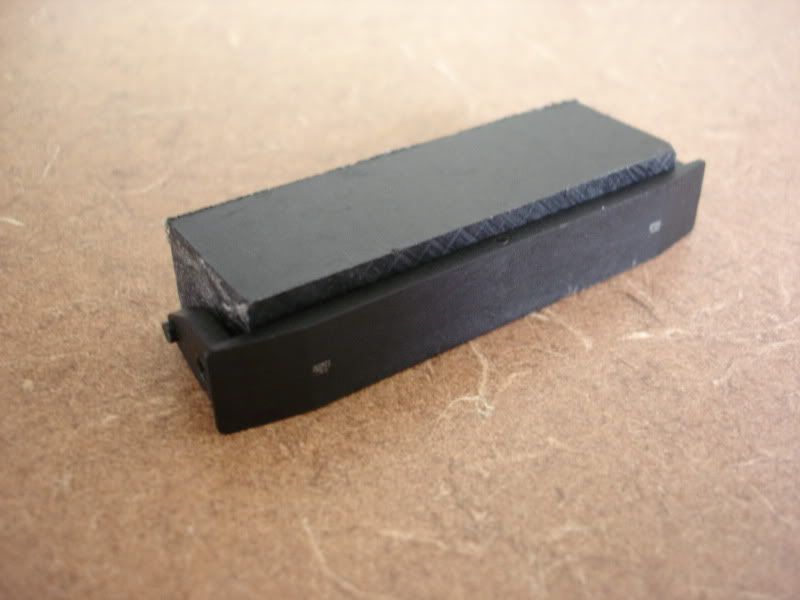 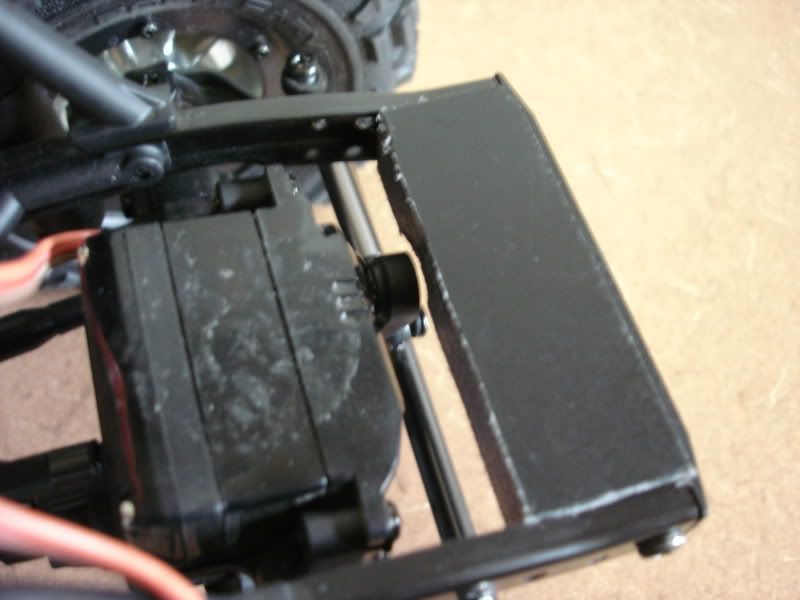 |
|
| |
|
08-18-2009, 04:03 PM
| #3 |
| I wanna be Dave Join Date: Sep 2006 Location: Stuck on a Rig in the middle of nowhere Utah.
Posts: 2,024
|
Next is the mounting bracket for the winch and electronics box. The electronics box is from radio shack. It is going to house the ESC,2 BECs, winch controller, and RX 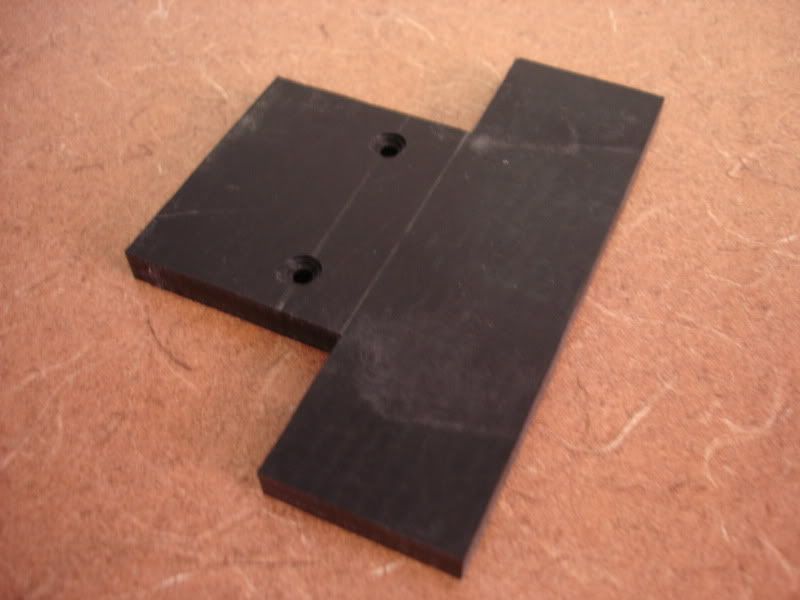 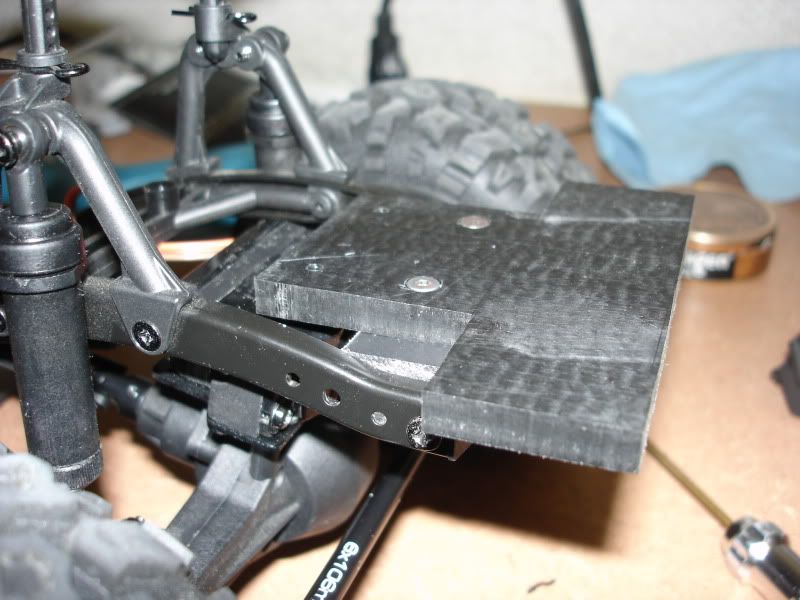 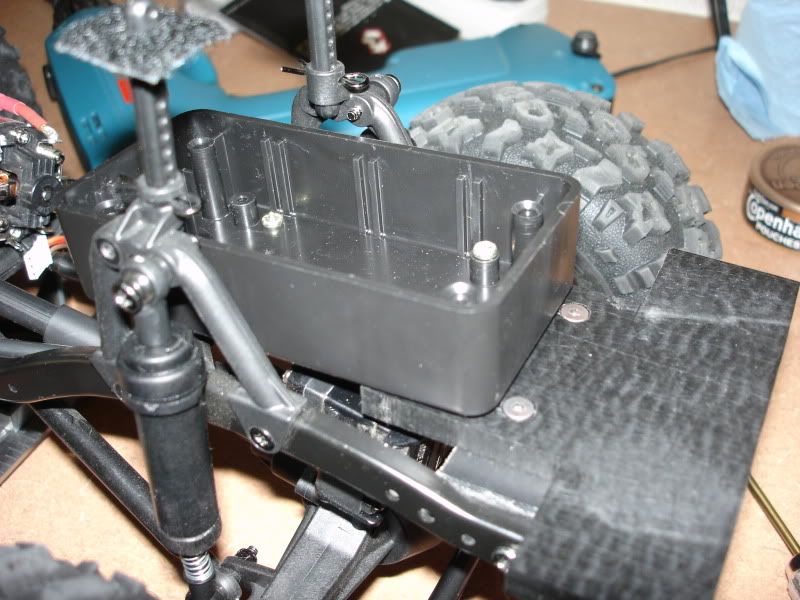  The 2 releaf holes are for the rolers on the winch mount. This way I could keep the winch back far enough to not damage the rollers. |
|
| |
|
08-18-2009, 04:08 PM
| #4 |
| I wanna be Dave Join Date: Sep 2006 Location: Stuck on a Rig in the middle of nowhere Utah.
Posts: 2,024
|
Here a couple of picts with all the electronic mounted and the battery location. I left the rear battery mounting plate on for now. Not sure what for:?. But I will remove it after some crawling. I want to see how it handles first. 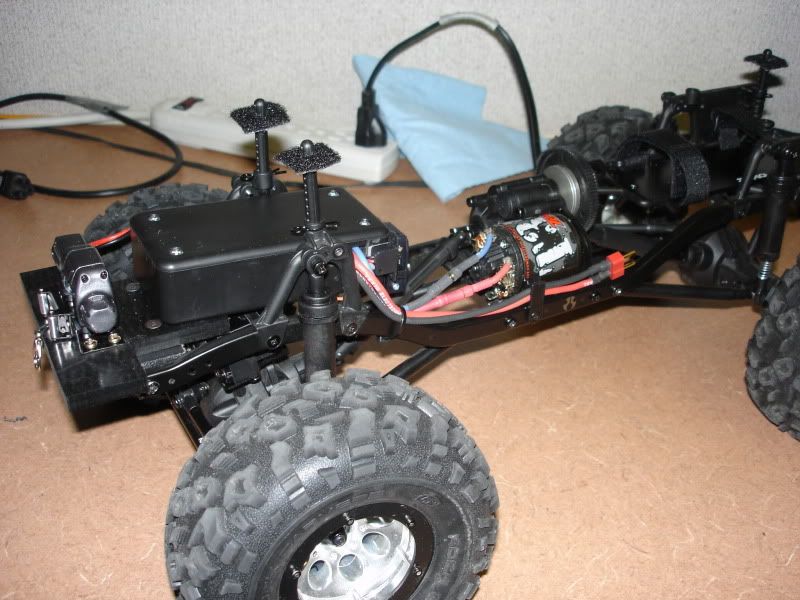 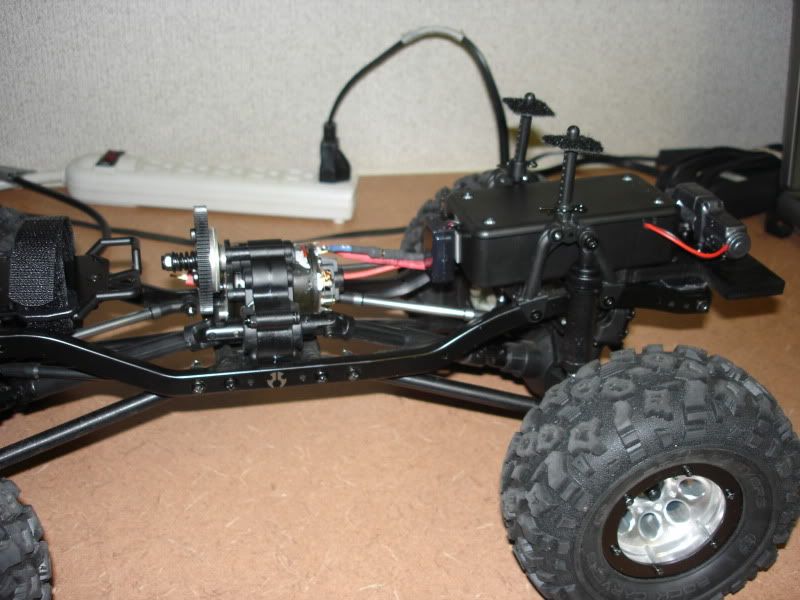 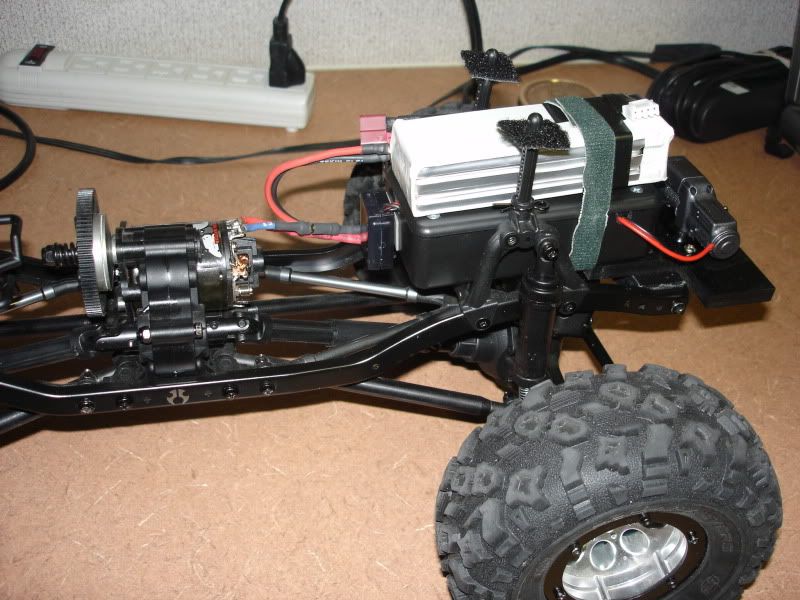 |
|
| |
|
08-18-2009, 04:12 PM
| #5 |
| I wanna be Dave Join Date: Sep 2006 Location: Stuck on a Rig in the middle of nowhere Utah.
Posts: 2,024
|
Here are some body shots. It will take me a while to make the bumpers and rock sliders. But I will post up when I start making some progress. Let me know how it is looking so far. 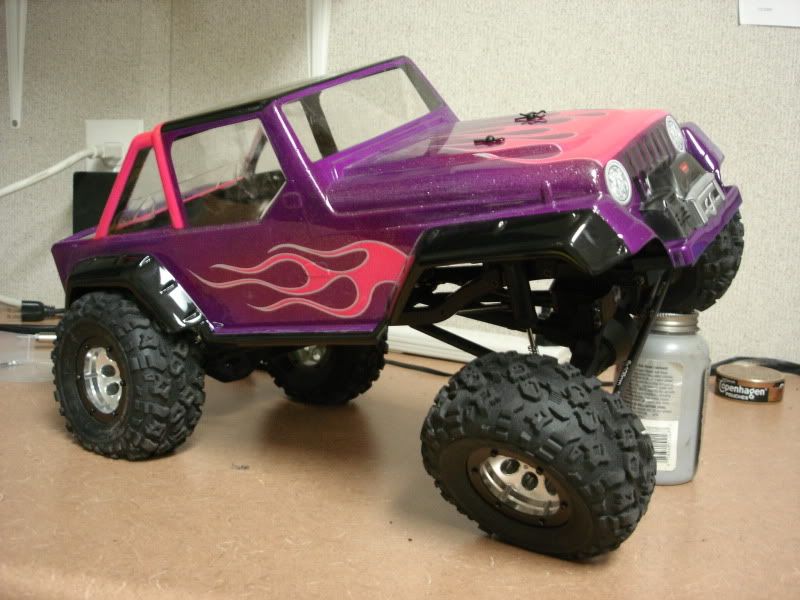 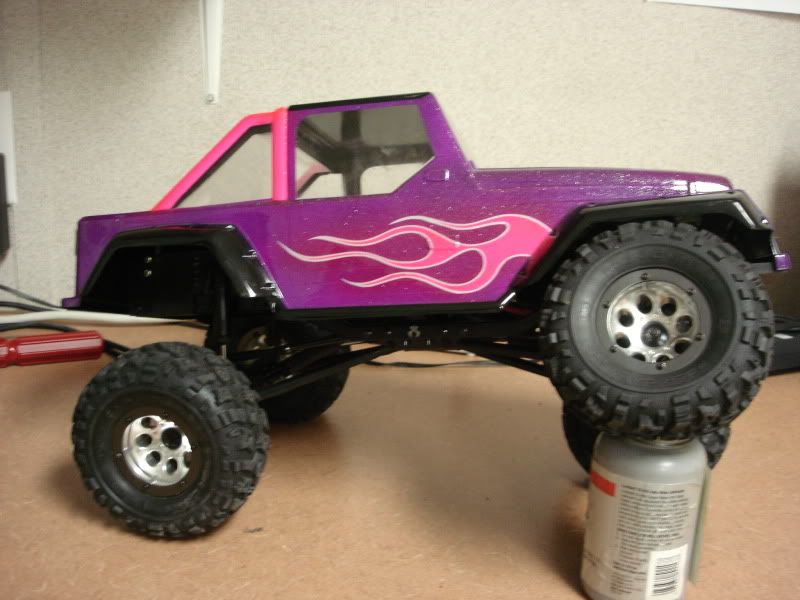 |
|
| |
|
08-18-2009, 04:26 PM
| #6 |
| Quarry Creeper Join Date: Aug 2009 Location: Fresno
Posts: 338
|
Nice! Love that paint !
|
|
| |
 |
| |


 Linear Mode


