| |
 10-12-2011, 09:30 AM
| #21 |
| I wanna be Dave Join Date: Jun 2008 Location: Vermont
Posts: 2,016
|
Here is a tip.. If you insist on taking off the bump stops, don't cut them. |

|  |
| Sponsored Links | |
| | |
|
10-12-2011, 10:50 AM
| #22 | |
| Rock Crawler Join Date: Sep 2011 Location: Southern Utah
Posts: 778
| Quote:
 | |
|
| |
|
10-12-2011, 10:52 AM
| #23 | |
| Rock Crawler Join Date: Sep 2011 Location: Southern Utah
Posts: 778
| Quote:
| |
|
| |
|
10-12-2011, 11:11 AM
| #24 | |
| Rock Crawler Join Date: Sep 2011 Location: Southern Utah
Posts: 778
| Quote:
 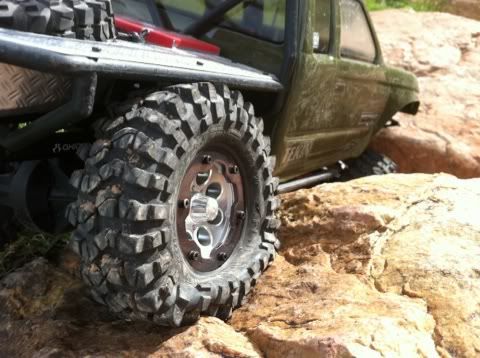 You can kind of see the rock rail from this picture Last edited by steele42; 10-12-2011 at 11:19 AM. | |
|
| |
|
10-12-2011, 11:18 AM
| #25 |
| Rock Crawler Join Date: Sep 2011 Location: Southern Utah
Posts: 778
|
I also think it looks more realistic on a truggy when you can see the spare tire from the side, not just a bunch of diamond plate, so i trimmed up my flatbed so it's still mounted good but you can see the spare tire from the side. 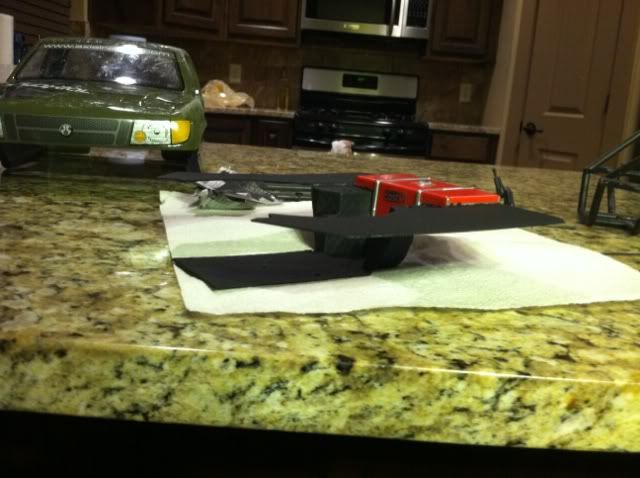 |
|
| |
|
10-12-2011, 11:25 AM
| #26 |
| Rock Crawler Join Date: Sep 2011 Location: Southern Utah
Posts: 778
|
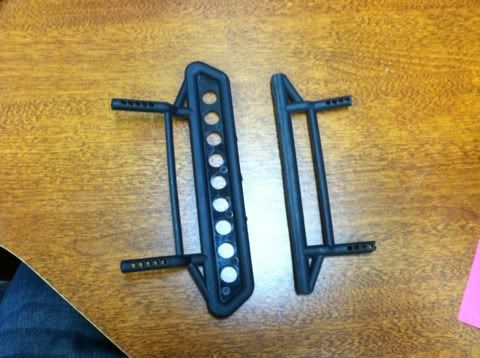
I hope I'm not hogging all the tips, these are just things I did that made me really happy with the performance advantages (and looks.) I got a new DH Fab bumper from RPPhobby that gives me a MUCH better approach angle. It also gave me the winch plate. 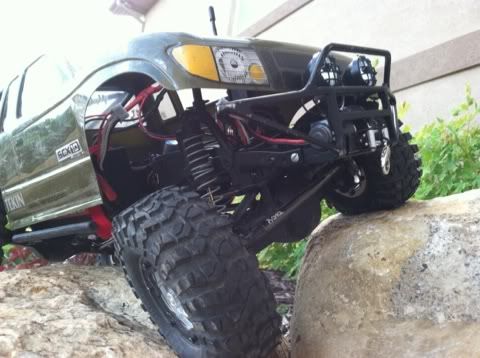  Last edited by steele42; 10-12-2011 at 11:28 AM. |
|
| |
|
10-12-2011, 11:31 AM
| #27 | |
| Rock Crawler Join Date: Sep 2011 Location: Southern Utah
Posts: 778
| Quote:
 | |
|
| |
|
10-12-2011, 11:39 AM
| #28 |
| Rock Crawler Join Date: Sep 2011 Location: Southern Utah
Posts: 778
|
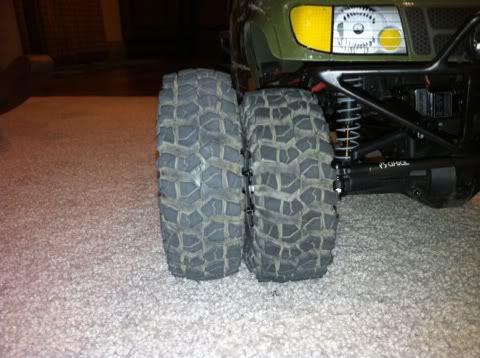
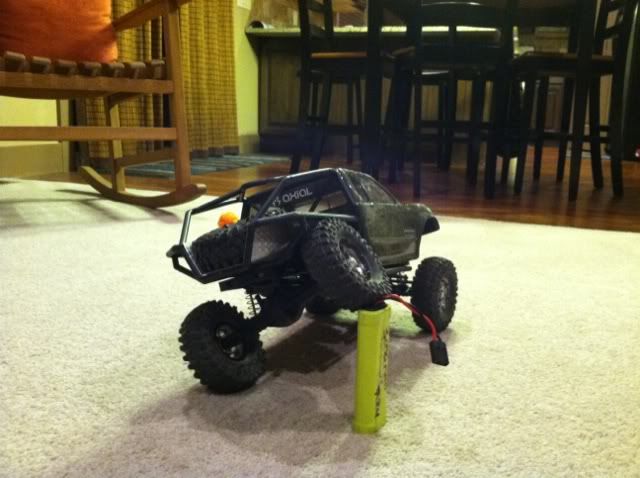
Another easy thing I did was put a softer spring on the rear shocks. This is going to be different for each persons application and rig because it all depends on your current weight distribution (batterys, electronics, etc.) so I'm not saying everyone should do exactly what I did. But based on my rig I put Axials white (soft) spring in the rear shocks. Now I can lift any tire on my whole rig and the shocks on opposing corners will bottom all the way out before it lifts any of the other tires (thus giving me optimal articulation.) Some may say that this would create more torque twist, but I don't seem to have a problem with that. Again, each rig is different, but thats the fun of fine tuning your own rig to your own specs.
|
|
| |
|
10-12-2011, 12:00 PM
| #29 |
| RCC Addict   Join Date: May 2011 Location: Utah County
Posts: 1,802
|
if you mount all your weight as far forward as you can, you will find the backend to be too tight. do what eh above post said about softening your rear springs and you'll get full articulation before lifting one of the light rear tires
|
|
| |
|
10-12-2011, 12:19 PM
| #30 |
| I wanna be Dave Join Date: Jun 2008 Location: Vermont
Posts: 2,016
|
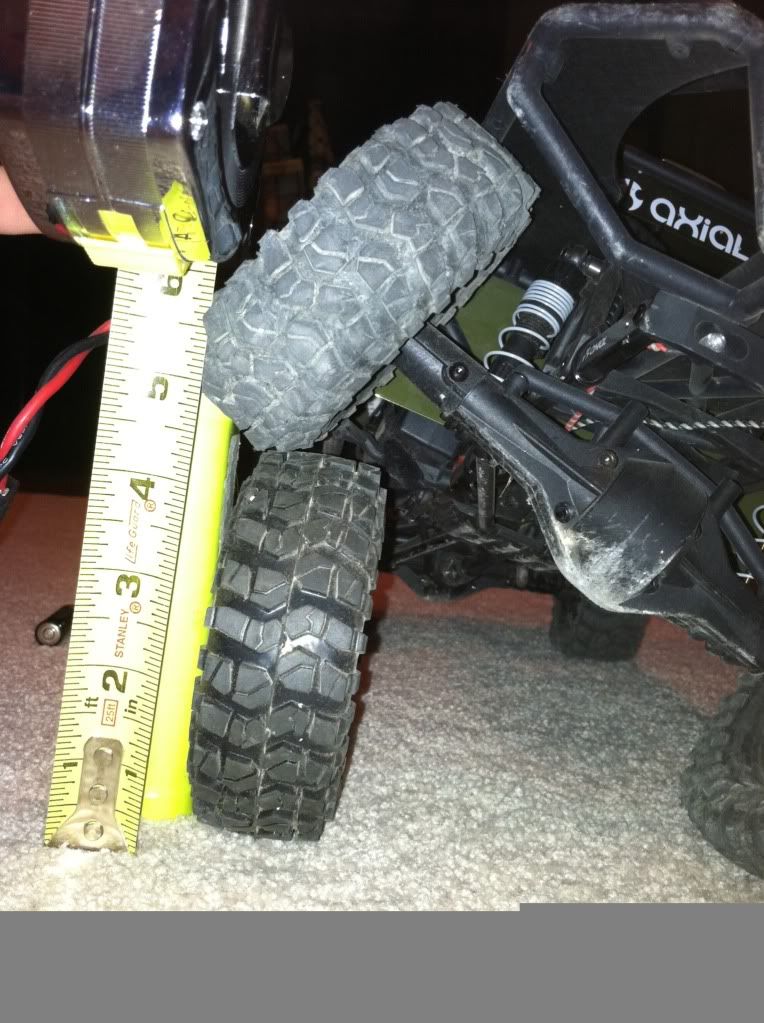
Speaking of the Honcho, you definately want some weight in the rear otherwise it sucks going down hill. I have 3oz in each tire all the way around and it's worked very well for me. This is a personal preference thing, but I find that the articulation of the Honcho with the bumpstops in place is perfect. I wouldn't automatically take them out without driving it first. Plenty of experienced folks on this forum would agree that *less is more* when it comes to articulation. It's been repeated many times and I'll say it here. A good rule of thumb is just enough lift on one corner to match the height of the tires on the truck. So with the stock flat irons on the truck, with 3 corners in contact with flat surface the 4th corner can be lifted about 4.2 inches and that's it. A good starting point. |
|
| |
|
10-12-2011, 03:48 PM
| #31 |
| I joined the Band! Join Date: Mar 2010 Location: nashville,TN
Posts: 405
|
well i thought it would be cool to add scale brake to my rig so...  i took these and made this i took these and made this  |
|
| |
|
10-12-2011, 08:53 PM
| #32 | |
| Newbie Join Date: Feb 2011 Location: wise
Posts: 39
| Quote:
| |
|
| |
|
10-12-2011, 08:58 PM
| #33 | |
| Newbie Join Date: Feb 2011 Location: wise
Posts: 39
| Quote:
now this is cool....very creative  | |
|
| |
|
10-12-2011, 10:48 PM
| #34 |
| Newbie Join Date: Sep 2011 Location: central coast NSW OZ
Posts: 39
|
Just a tip from me. I got my kit second hand but built and they over filled the shocks and they hardly moved so I took a little fluid out now they have full travel.
|
|
| |
|
10-12-2011, 11:29 PM
| #35 | |
| Rock Crawler Join Date: Sep 2011 Location: Southern Utah
Posts: 778
| Quote:
 | |
|
| |
|
10-12-2011, 11:34 PM
| #36 |
| RCC Addict Join Date: May 2011 Location: Utah County
Posts: 1,802
|
boom
|
|
| |
|
10-13-2011, 12:11 AM
| #37 | |
| RCC Addict Join Date: Jun 2009 Location: Salmon Arm BC
Posts: 1,777
| Quote:
| |
|
| |
|
10-13-2011, 08:41 AM
| #38 |
| Newbie Join Date: Feb 2011 Location: wise
Posts: 39
|
ax10wannabe...you can bend your factory sliders up with alittle heat and make them form to the bodyjust like a real slider.mine was terrible when i first got it but didnt want to remove them so with some heating and bending i have got a fix..this is if you dont want to cut them and want to keep them on.. 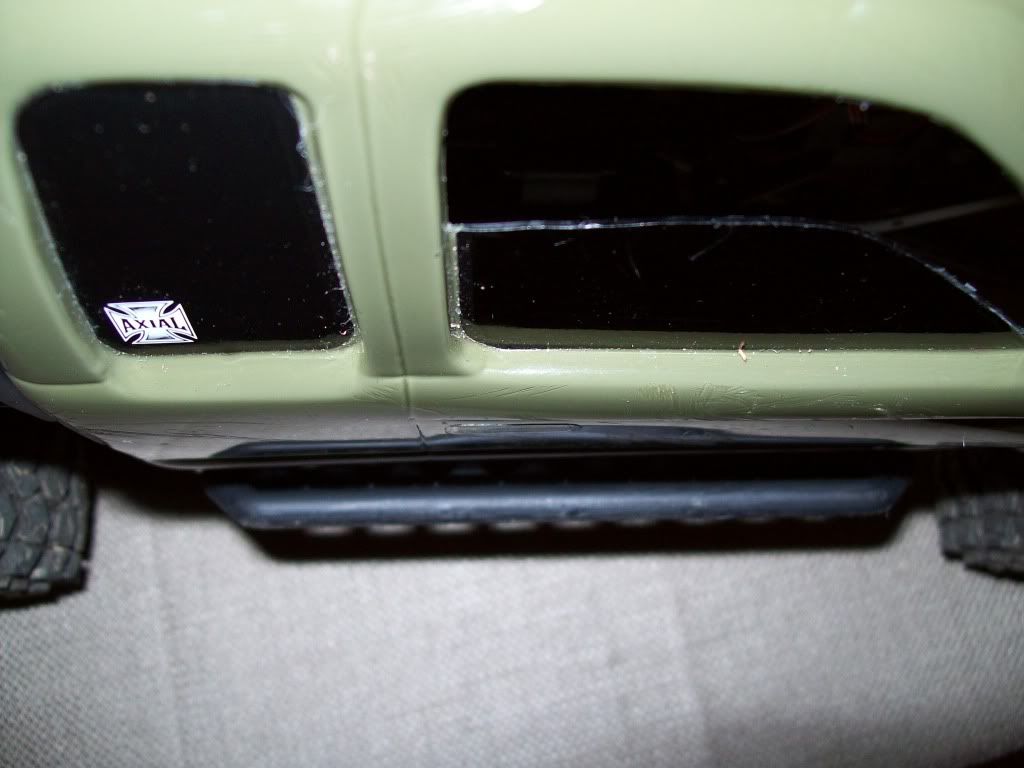 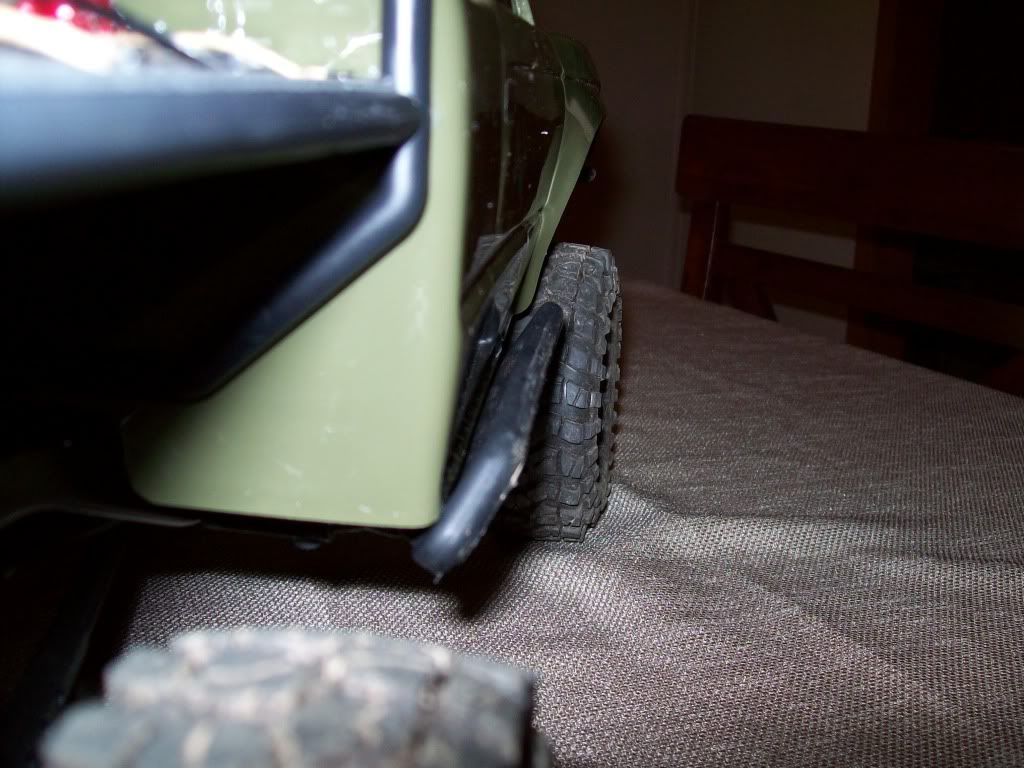 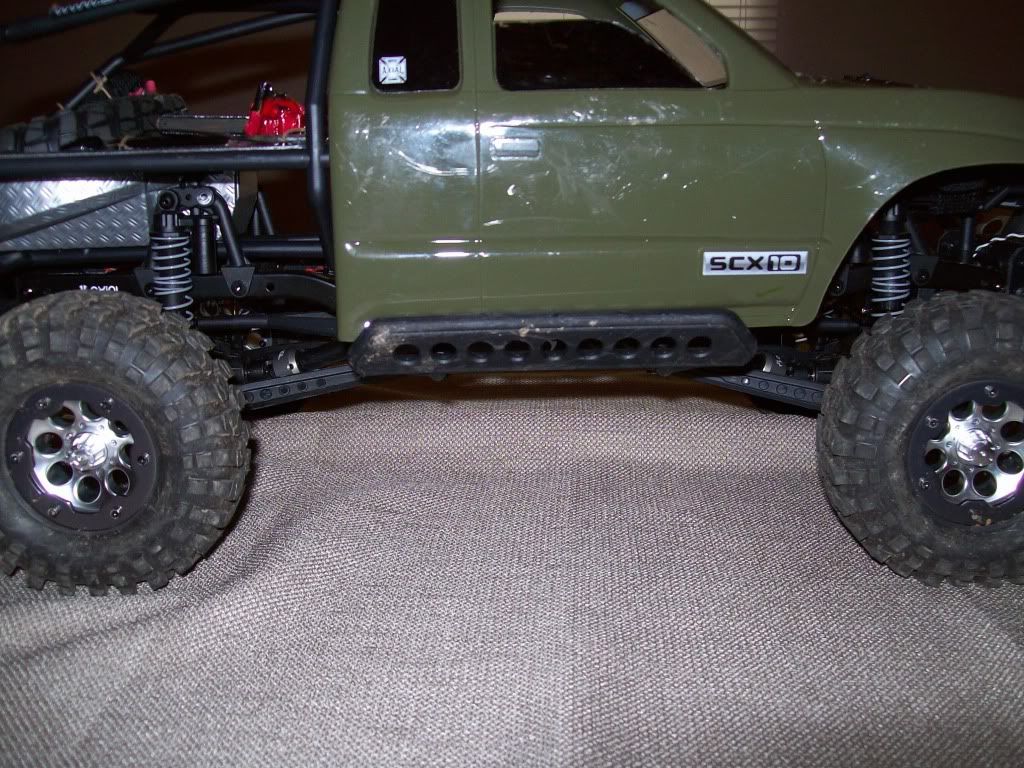 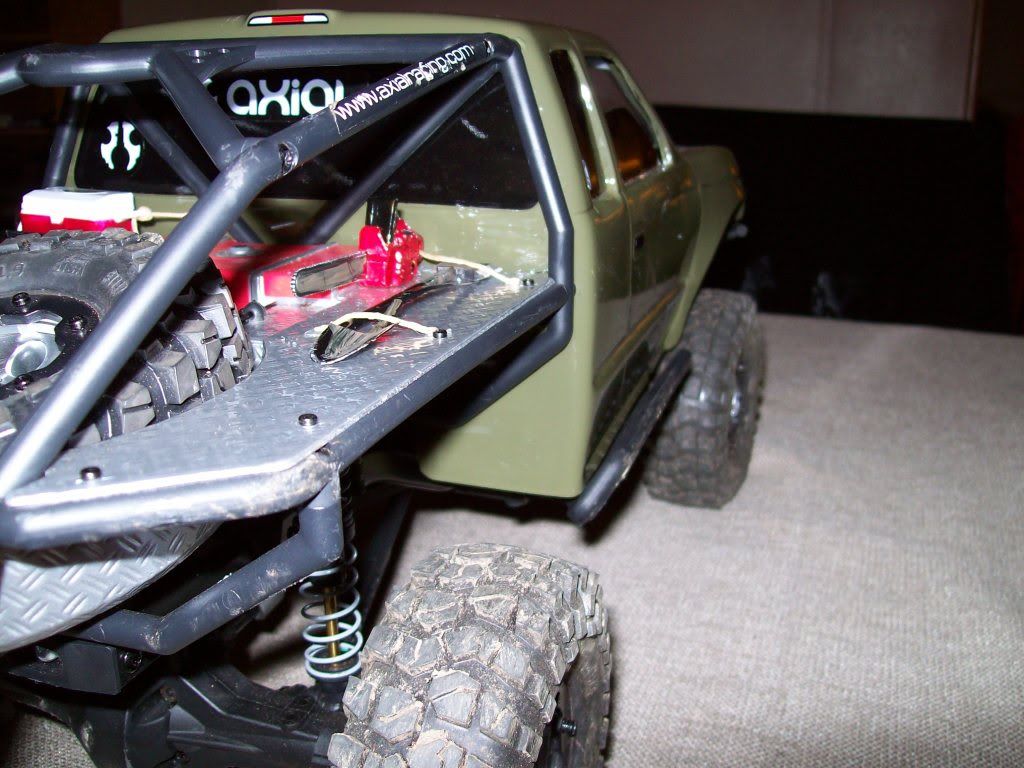 i hope this will help some!!! |
|
| |
|
10-13-2011, 10:06 AM
| #39 |
| RCC Addict Join Date: Jun 2009 Location: Salmon Arm BC
Posts: 1,777
|
hmm... thats an idea too... i dont mind cutting them up because im building a chassis out of solid rod anyways and want to finish it this winter but im planning out a interior right now so it would make it easier with them on.
|
|
| |
|
10-13-2011, 10:12 AM
| #40 |
| I joined the Band! Join Date: Mar 2010 Location: nashville,TN
Posts: 405
|
the sliders are supposed to be more on the bottom than the side. id say move them inbound instead of making them mate with the side. now the cutting them off at the longer tube would be cool.
|
|
| |
 |
| |


 Linear Mode


