| |
 08-19-2011, 07:46 PM
| #41 |
| I wanna be Dave  Join Date: Jan 2006 Location: Corruptifornia
Posts: 12,107
|
Originally I was going to remove the battery tray completely and just use foam around the battery to take up extra space, center battery and prevent rattling. After a friend did this mod his battery cover didn't fit as well, so I looked closer at the design and saw that the sides of the battery tray form most of the groove that the cover slides into and help hold it snugly while providing some spring loading against the clip that catches as the cover slides into place. That and the battery fit so perfectly into the tray with all the wires and plugs! More pics to come! Last edited by Natedog; 08-19-2011 at 07:56 PM. |

|  |
| Sponsored Links | |
| | |
|
08-19-2011, 08:06 PM
| #42 |
| Quarry Creeper Join Date: Jul 2011 Location: Lake City, Fl
Posts: 380
|
how are your cut Flatirons treating you? I've been thinking about doing mine, but I don't want to cut them and then hate it, lol I was thinking either cut these Flatirons on the rig, OR, leave them as they are, order some RC4WD Boggers and cut them |
|
| |
|
08-19-2011, 08:20 PM
| #43 | |
| I wanna be Dave Join Date: Jan 2006 Location: Corruptifornia
Posts: 12,107
| Quote:
 Mmmm....spicy....dinner time!  Last edited by Natedog; 08-19-2011 at 08:24 PM. | |
|
| |
|
08-20-2011, 10:28 AM
| #44 | |
| Pebble Pounder Join Date: Jun 2011 Location: CA
Posts: 121
| Quote:
Upgraded Honcho | |
|
| |
|
08-20-2011, 01:27 PM
| #45 | |
| I wanna be Dave Join Date: Jan 2006 Location: Corruptifornia
Posts: 12,107
| Quote:
Truck looks nice, both of them! Is it optical illusion, the TSL appears slightly shorter than the FlatIron? Pitbulls look sweet! | |
|
| |
|
08-20-2011, 01:37 PM
| #46 |
| I wanna be Dave Join Date: Jan 2006 Location: Corruptifornia
Posts: 12,107
|
Crawling the Slot, 3s and cut up Flat Irons rock! 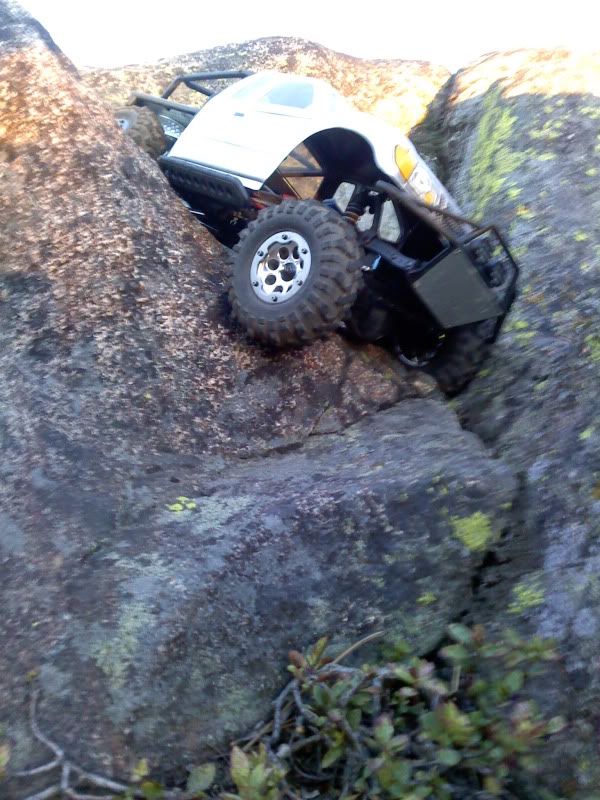 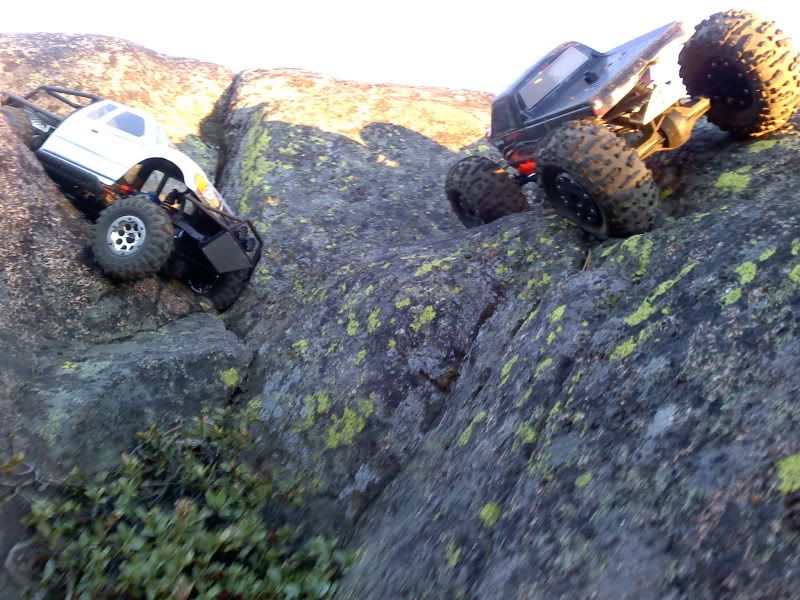 |
|
| |
|
09-07-2011, 11:57 PM
| #47 |
| I wanna be Dave Join Date: Jan 2006 Location: Corruptifornia
Posts: 12,107
|
Crawled again at the lake this last weekend and my body is takin a beating! Cut out some thick lexan to reinforce the cab to cage mounting holes, they are already half torn through at the 'bed' height (middle) holes! %*@#^&*#&*@@#!!! Pics to come. I'm looking at mounting just the bed to the frame with screws and some aluminum (non-pivoting) brackets at the rear and then drill through the crossmember (that rear shockmounts bolt to) and then drilling through the bottom of the rollcage and bolting it together. This would lower my bed about 3/16" Can't figure a good way to mount the cab though... Anybody mount just the cage to the frame and then the body separately to the frame? How did you mount the lexan cab? |
|
| |
|
09-16-2011, 11:08 AM
| #48 |
| I wanna be Dave Join Date: Jan 2006 Location: Corruptifornia
Posts: 12,107
|
Reinforced the back of the cab with a piece of lexan that was thicker than the cab itself, stuck it to inside of cab with peice of double-sided tape, then used a body reamer to make the screw holes. Nice video shot by friend while crawlin at the lake: Sorry I'll have to re-link later. EDIT: Here's the vid! trying to embed 27CDB6E-AE6D-11cf-96B8-444553540000"> My old Yoter, just one reason why I like my Honcho so much. 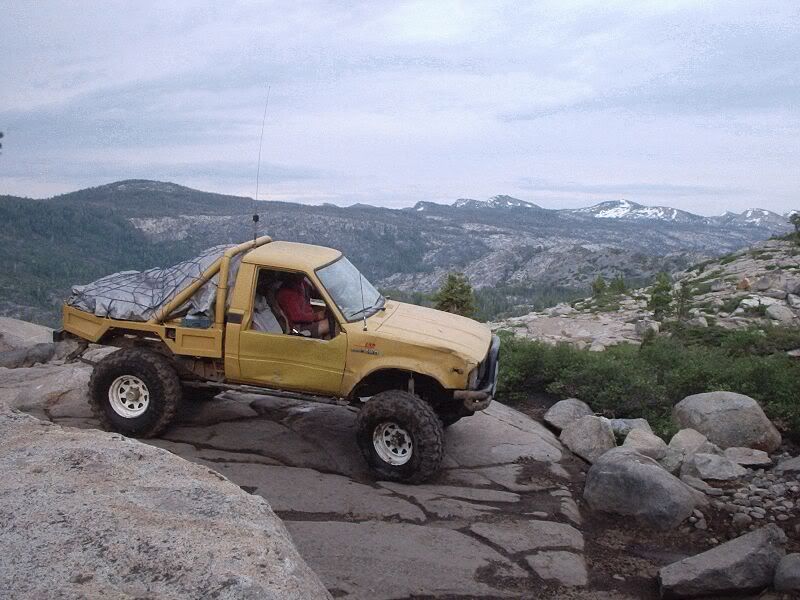 Last edited by Natedog; 10-18-2011 at 05:37 PM. |
|
| |
|
10-15-2011, 12:42 AM
| #49 |
| Pebble Pounder Join Date: Jun 2011 Location: CA
Posts: 121
|
What are you doing on page 10? Bump.
|
|
| |
|
10-18-2011, 05:38 PM
| #50 | |
| I wanna be Dave Join Date: Jan 2006 Location: Corruptifornia
Posts: 12,107
| Quote:
Vid link is working now. Thanks for asking, I'm working on lowering my battery tray and will of course update with pics of how I did it. I still haven't found a good way to mount the cab if I directly bolt the bed to the frame. Any suggestions? Last edited by Natedog; 10-18-2011 at 05:46 PM. | |
|
| |
|
10-26-2011, 03:30 PM
| #51 |
| I wanna be Dave Join Date: Jan 2006 Location: Corruptifornia
Posts: 12,107
|
Updates! What the heck is this? Que?  Last edited by Natedog; 11-16-2011 at 09:30 PM. |
|
| |
|
10-27-2011, 01:33 AM
| #52 |
| I wanna be Dave Join Date: Jan 2006 Location: Corruptifornia
Posts: 12,107
|
Cab back reinforcement cut out and ready to install. Cut it out from a sticker header card from the local craft store, looks and feels like really thick lexan. Note the piece of double-sided tape in the center to hold it while I ream the marked holes and to keep it from possible vibration while crawling. You can also see the place at bottom of cab where the frame rails started to rip and deform the bottom of the cab during hard roll-overs. The two holes below the rear cab window also have visible signs of starting to pull through the lexan. 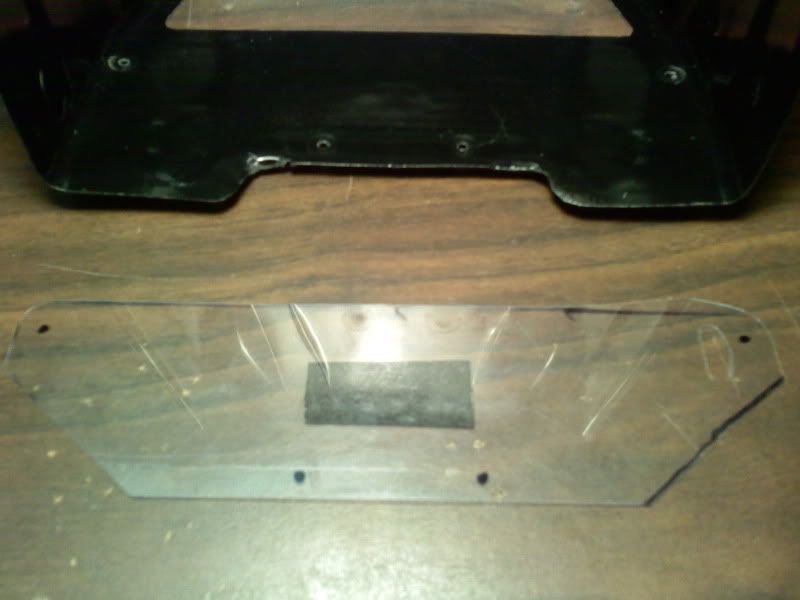 Held in place with the double-sided tape, holes reamed and ready to reinstall the screws that hold the back of the cab to the Honcho rollcage. 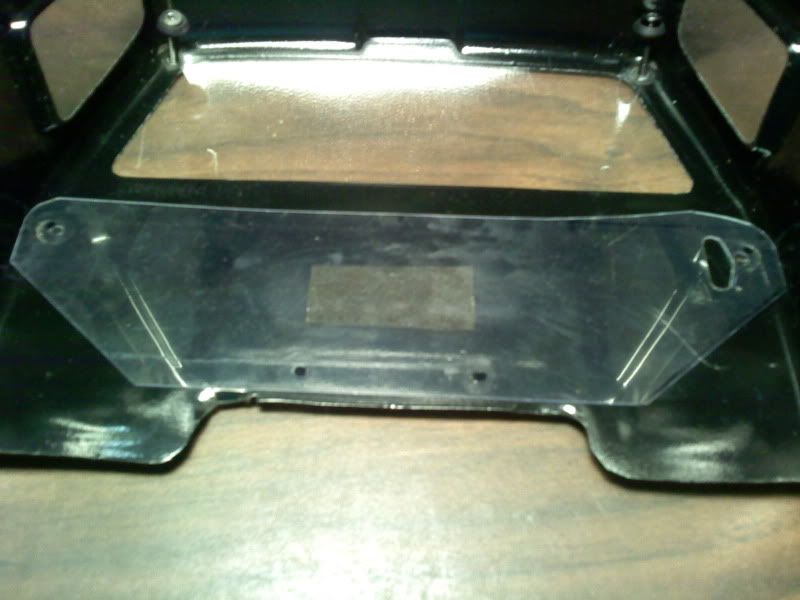 Last edited by Natedog; 10-27-2011 at 01:36 AM. |
|
| |
|
10-27-2011, 01:14 PM
| #53 |
| Quarry Creeper Join Date: Sep 2007 Location: mountains of ca
Posts: 317
|
Nice looking rig, I like the mod's ya done to it. Im a snag your hinged body idea there if thats cool. The crack, hmm them rocks look familiar........ Gj |
|
| |
|
10-30-2011, 01:14 AM
| #54 | |
| I wanna be Dave Join Date: Jan 2006 Location: Corruptifornia
Posts: 12,107
| Quote:
Like to see your pics when you get your hinged body mounted.Nice, that was a great trip rained occasionally, still lots of snow around on all the mountains....I need to camp more! | |
|
| |
|
11-03-2011, 04:16 PM
| #55 |
| I wanna be Dave Join Date: Jan 2006 Location: Corruptifornia
Posts: 12,107
|
Better beadlock screws....use 2-56x1/2" (I now prefer 2-56x3/8") buttonheads or countersink the beadlock rings and use flat head screws, no more of the problems wearing the heads off or getting rock grindings and dirt packed into the driver holes. I did this starting back when with my AX-10 and have buttonhead screws on-hand for my Honcho, just haven't done it yet. Yes I know stock screws are metric and the 2-56 are not, but they will fit and don't strip out the plastic as easily. I may even fire up the drillpress, countersink my lock rings and use the flatheads, not sure yet. I'm running stock SCX plastic shocks with 30wt silicon oil....works good and I like them they are very well sprung and damped imo. The smaller diameter and dual springs with different rates are pluses in my book, but I'd like to buy the aluminum bodies for them. Wish Axial had aluminum caps available for them, not just bodies. Last edited by Natedog; 06-24-2014 at 06:41 PM. |
|
| |
|
11-16-2011, 09:29 PM
| #56 | |
| I wanna be Dave Join Date: Jan 2006 Location: Corruptifornia
Posts: 12,107
| Quote:
These go with it, need to drill two holes in each bracket and two holes in my frame rails (one per rail.) 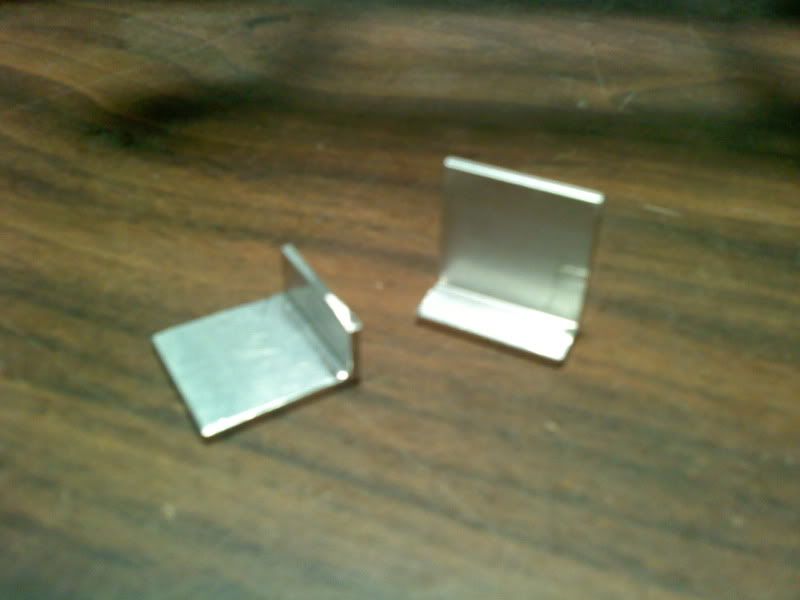 New frame rail holes drilled...the middle hole is what I'll be using to mount these. I drilled these and the corresponding bracket mount holes to #48 in numbered drill bit sizes (0.076", 1.930mm). 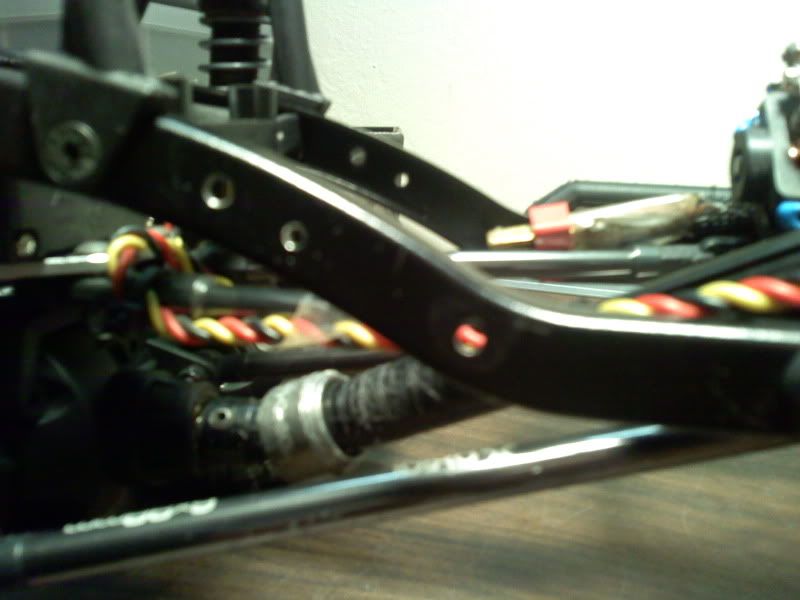 Last edited by Natedog; 11-17-2011 at 11:29 AM. | |
|
| |
|
11-16-2011, 09:33 PM
| #57 |
| I wanna be Dave Join Date: Jan 2006 Location: Corruptifornia
Posts: 12,107
|
New brackets mounted, need to drill one more hole each for 3mm screws.  Kinda blurry pic from below before I tightened the 2mm nuts and screws. I'm using 2mm hardware here because it is plenty strong enough, doesn't need to remove as much frame rail material for the holes therefore frame is stronger, and they are significantly lighter weight than 3mm hardware. The regular flat nuts are just for mock up and fabrication, they go together quicker especially in tight spots because I can spin them on and off easily. Locknuts will be used for final assembly. The 2mm socket head screws are from myAX10 beadlocks which have since been replaced with flat head (countersunk) 2-56 screws. EDIT: Forgot to add the pic.  Last edited by Natedog; 11-16-2011 at 11:50 PM. |
|
| |
|
11-16-2011, 09:50 PM
| #58 |
| I wanna be Dave Join Date: Jan 2006 Location: Corruptifornia
Posts: 12,107
|
Example of flat head (countersunk) 2-56 screws installed in my AX-10 wheels. Can you say, "...smooth?" Or, where the 2mm screws came from, bought nuts and washers to use with them for projects like this. 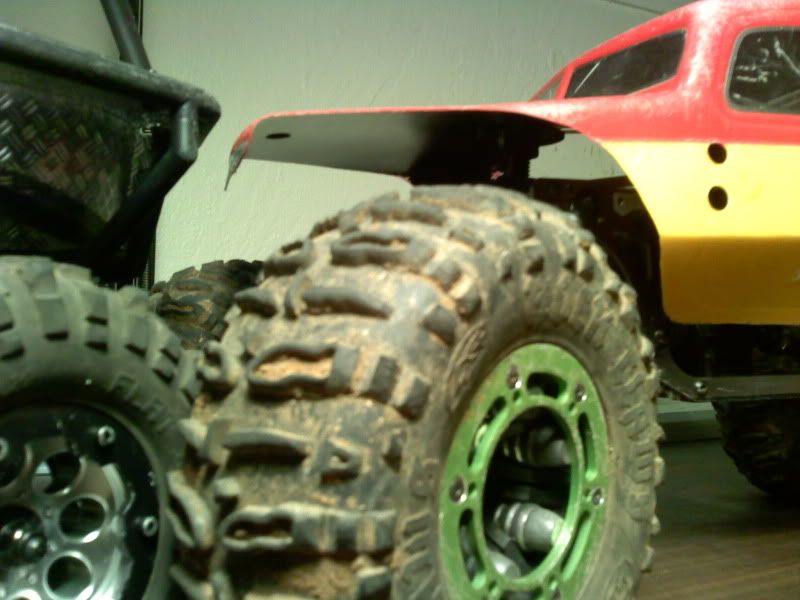 Smooth from any angle, this mod has been working great for years on this truck through all it's different setups: 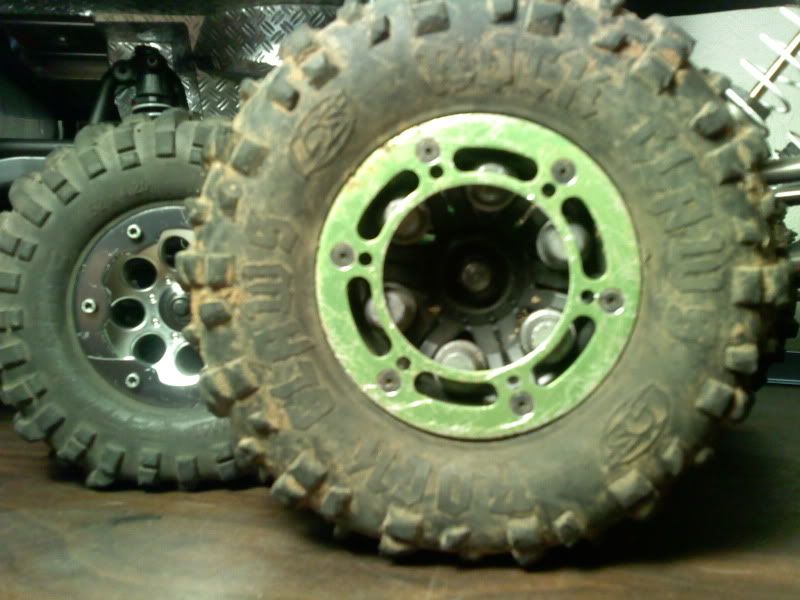 Last edited by Natedog; 11-16-2011 at 10:10 PM. |
|
| |
|
11-16-2011, 10:08 PM
| #59 |
| I wanna be Dave Join Date: Jan 2006 Location: Corruptifornia
Posts: 12,107
|
End of a long day of testing.  Late afternoon modification inspiration...must...keep...working....  |
|
| |
|
11-17-2011, 02:20 PM
| #60 | |
| I wanna be Dave Join Date: Jan 2006 Location: Corruptifornia
Posts: 12,107
| Quote:
Looked at the numbered drill bit size chart and I think I'm going to step these up to #47 drill bit size holes (0.0785", 1.994mm) so that the heads of the 2mm screws sit properly on the frame rails with the underside of the head fully against the frame rail. Another reason I went with 2mm hardware and very tight tolerance holes is the lack of room inside the frame rail channels to install nuts. The brackets take up some of that precious room, but it fits. | |
|
| |
 |
| |


 Linear Mode


