| |
 11-18-2011, 09:57 AM
| #61 |
| I wanna be Dave  Join Date: Jan 2006 Location: Corruptifornia
Posts: 12,107
|
Made new cage piece out of hollow nylon tubing from an on-road car universal body mount kit to reduce weight and lower cog. I ran out of material, so don't have a cross brace in the forward set of holes, but the cage is strong enough with only the one cross-brace and still has the original built-in flex to absorb hard falls. I'll use some Rit dye to black it out the new pieces if they hold up well and will get some weights of the different pieces later.  |

|  |
| Sponsored Links | |
| | |
|
12-03-2011, 02:06 PM
| #62 |
| I wanna be Dave Join Date: Jan 2006 Location: Corruptifornia
Posts: 12,107
|
Start of my new improved bed/body pivot setup! This uses no brackets...zero! The bed is now as low as it can go without cutting crossmembers or bottom of bed cage, the rear tires just touch at full articulation.  Lighter weight, lower COG, less parts and should be just as durable if not more! EDIT: Parma body mount post cut to just under 70mm length and both ends drilled to 0.099" (#39 drill bit) so that the 3mm machine screws will self-thread and be kinda tight. This is the pivot so I don't want them working loose. Cross brace/pivot mounts with two 3x12mm buttonhead screws. 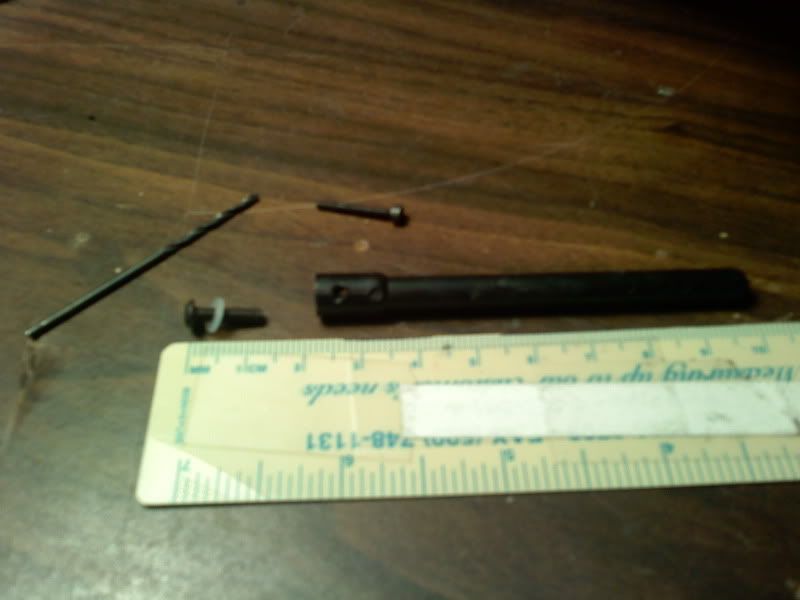 Cross-drilled with 0.070" (#50 drill bit) for the 2x16mm bed/cage mounting screws. The white plastic washer is from Associated Team car shocks rebuild kit. 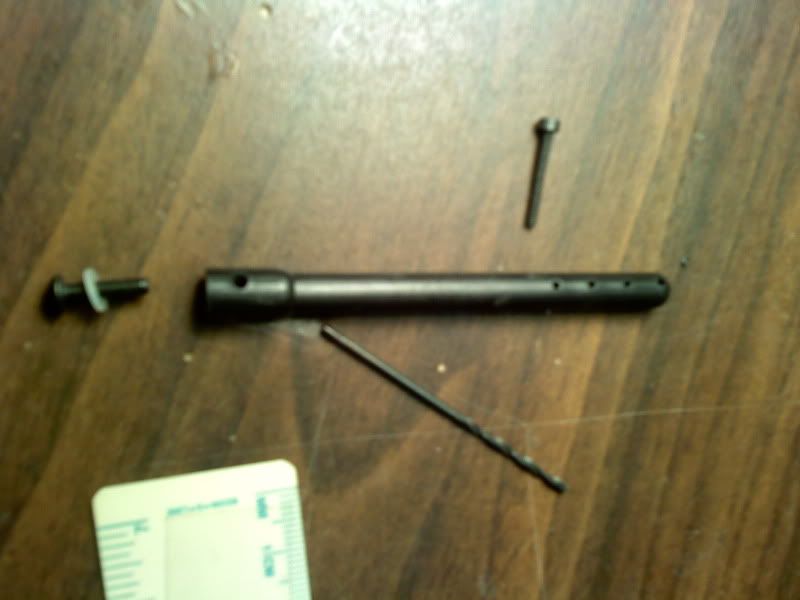 Top view bolted together with 2x16mm screws and locknuts. 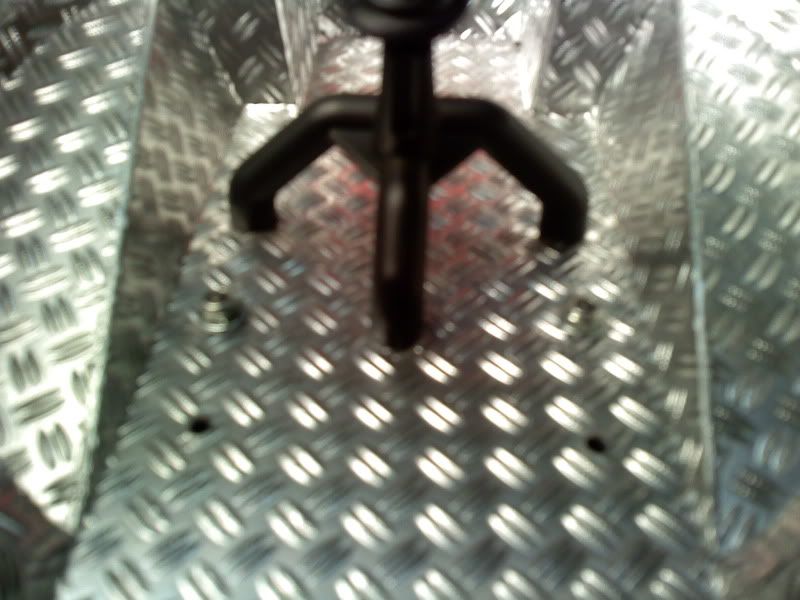 Stay tuned...more to come! Last edited by Natedog; 12-03-2011 at 04:33 PM. |
|
| |
|
12-03-2011, 02:56 PM
| #63 |
| RCC Addict Join Date: Oct 2011 Location: Brighton UK
Posts: 1,363
|
I just turned my existing rear posts upside down to lower the bed, then chopped off the excess plastic above the top hole were the clip goes through.
|
|
| |
|
12-03-2011, 08:17 PM
| #64 | |
| I wanna be Dave Join Date: Jan 2006 Location: Corruptifornia
Posts: 12,107
| Quote:
The lexan bed sits touching the top of my rear shock towers, I'm assuming that yours sits the same height?
| |
|
| |
|
12-03-2011, 11:07 PM
| #65 |
| I wanna be Dave Join Date: Jan 2006 Location: Corruptifornia
Posts: 12,107
|
Bottom view looking forward, the new pivot piece is also the rearmost frame crossmember. I used plastic instead of aluminum so that hopefully it flexes similar to the rest of the plastic members. There is a good deal of flex built into the SCX frame imo so that it doesn't bend the metal frame rails as easily during hard use. Kinda like an old Ford or Chevy pickup frame flexes. 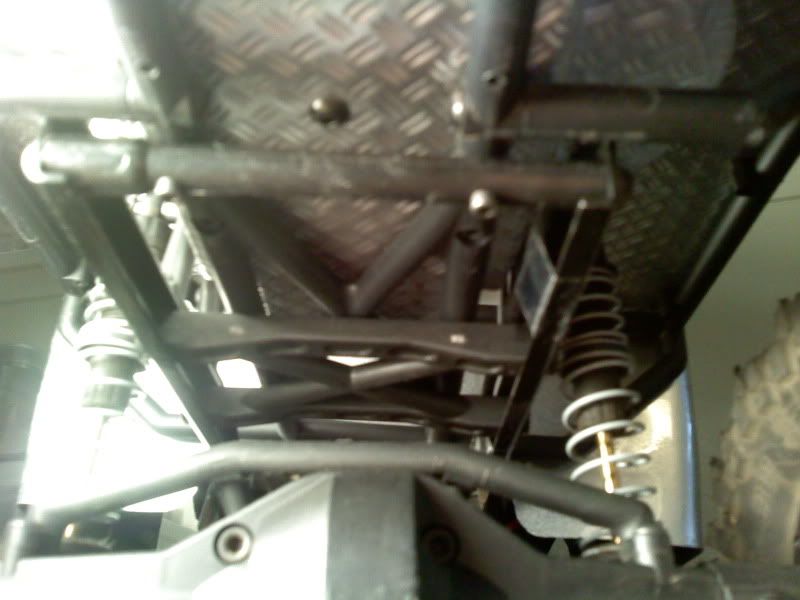 Another view from the bottom 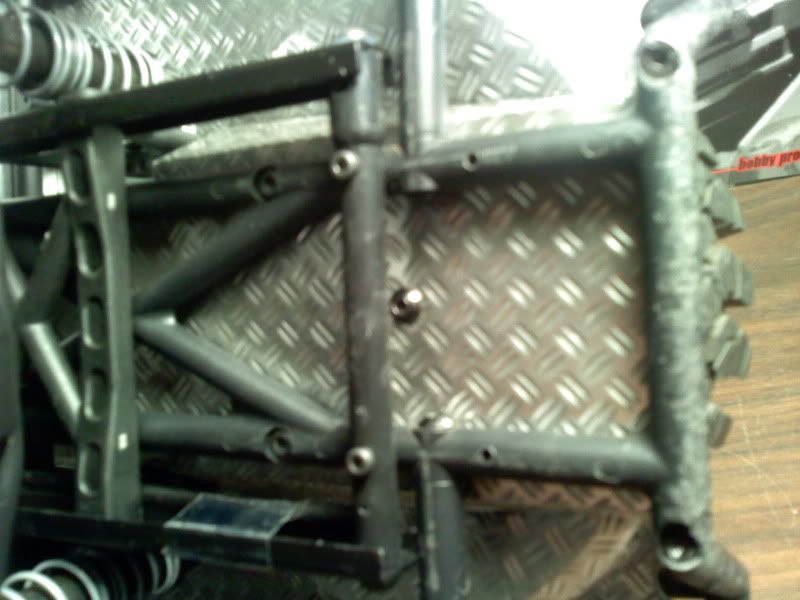 Side view with the cage/body pivoted open. 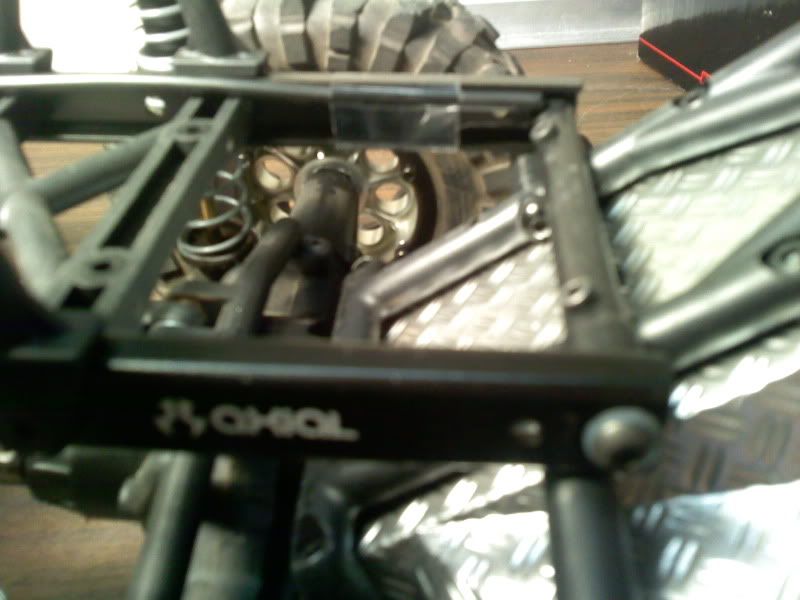 That clear shiny type of Scotch tape holds my antenna to the inside of the right rear frame rail. It's lightweight, cheap, and holds great! Also cheaper and thinner than zipties...lol. Last edited by Natedog; 12-03-2011 at 11:10 PM. |
|
| |
|
12-11-2011, 10:11 PM
| #66 |
| I wanna be Dave Join Date: Jan 2006 Location: Corruptifornia
Posts: 12,107
|
Raised the front body mounts to level out the body in relation to the frame rails. My stock nerf bars help alot but the right side of cab is tearing at the front door/fender seam. body is pretty thin right there and it's a natural crease line. Might trim the bottom of cab to bottom of doors, what do you think? I was started some brakeline nerf bars awhile back but have not finished them...kinda worried they might transfer too much beating to the frame and bend something? 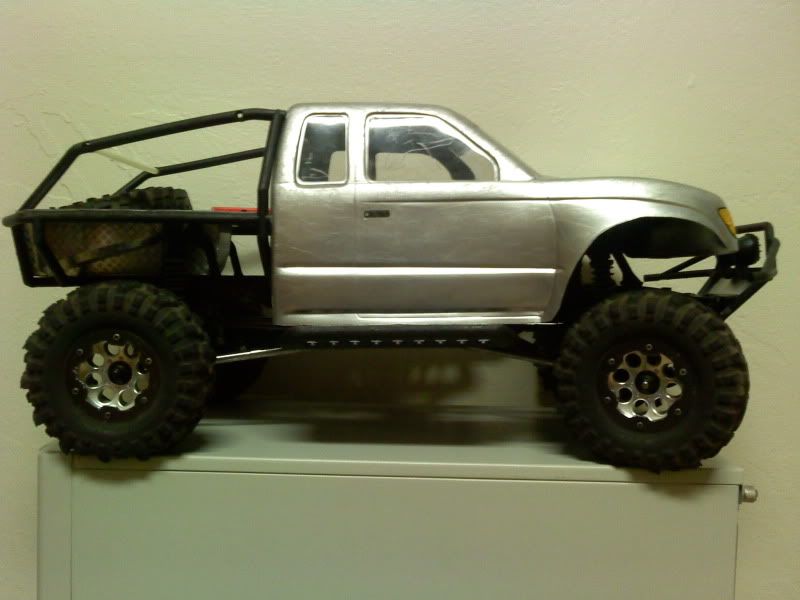 |
|
| |
|
12-12-2011, 09:15 PM
| #67 |
| I wanna be Dave Join Date: Jan 2006 Location: Corruptifornia
Posts: 12,107
|
I'm looking to put my esc and rx in a box and seal them up. I still have the stock box but am having problems finding a good low place with room to mount it. I'll use rtv silicone to seal it completely. I thought about the rear between frame like a gas tank, but it hangs low and the rear diff hits it during compression. Where should I mount the box that will clear the bed and not drag on the ground out back? |
|
| |
|
12-12-2011, 10:35 PM
| #68 |
| I wanna be Dave Join Date: Jan 2006 Location: Corruptifornia
Posts: 12,107
|
Just thinking about my battery tray rebuild and came up with this idea for rx/esc box held to stock crossmember with two screws, then at the rear underneath with two factory screw holes braced to the frame rails and the battery pack velcro'd and strapped to back side of box with a little shelf underneath....jsut set it all in there for the pic. It all clears the links and driveshaft by a millimeter or two. 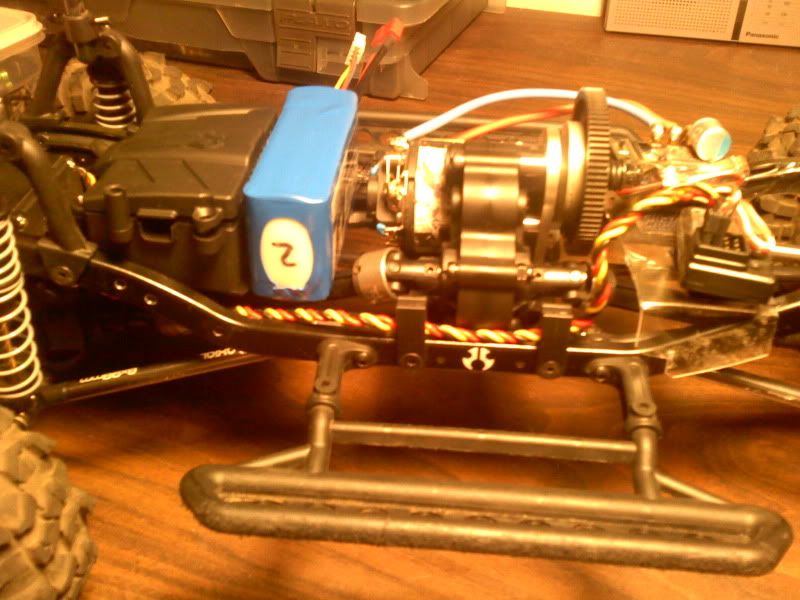 |
|
| |
|
12-16-2011, 02:14 AM
| #69 |
| I wanna be Dave Join Date: Jan 2006 Location: Corruptifornia
Posts: 12,107
|
Wow...no input on the battery and rx/esc box setup I posted about? No opinions or dont care? My battery tray idea morphed again, this time NO BRACKETS! It will be attached to the frame by two 3x8mm buttonhead screws with locknuts. I started with a 1 and 3/16" wide piece of aluminum x 0.060" thick x about 6" long, folded a 90* bend at one end about 5/8" long in my bench vise and tapped it with a rubber coated deadblow hammer to make sure it's nice and proper bent. Then clamped the long part in my vise with 3.950" between bent end and the top of my vise. This number was arrived at by measuring several spots across frame rails (outside to outside) just behind the front shock towers. The frame rails start narrow and widen out as they get closer to the center skidplate. So I kinda took an average and added a bit more to allow for the shrink in distance the bending would create. I did a test piece with scrap to be sure. 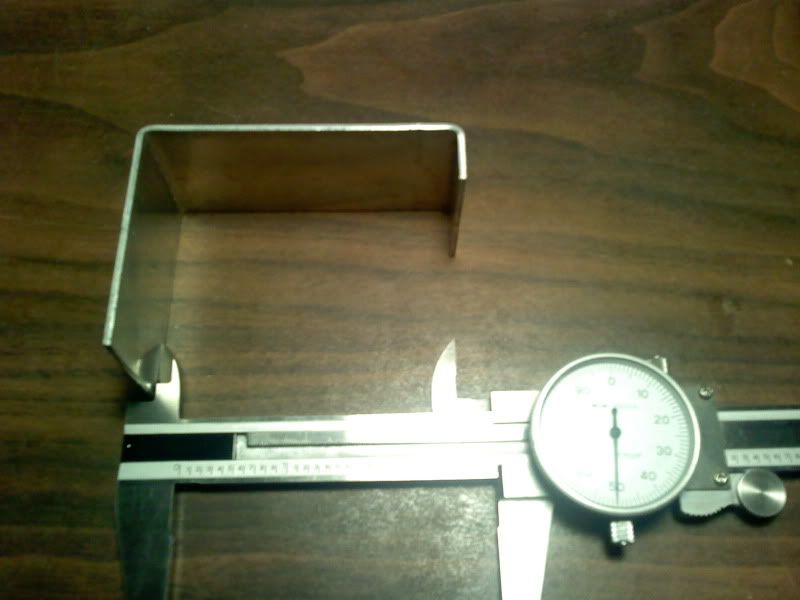 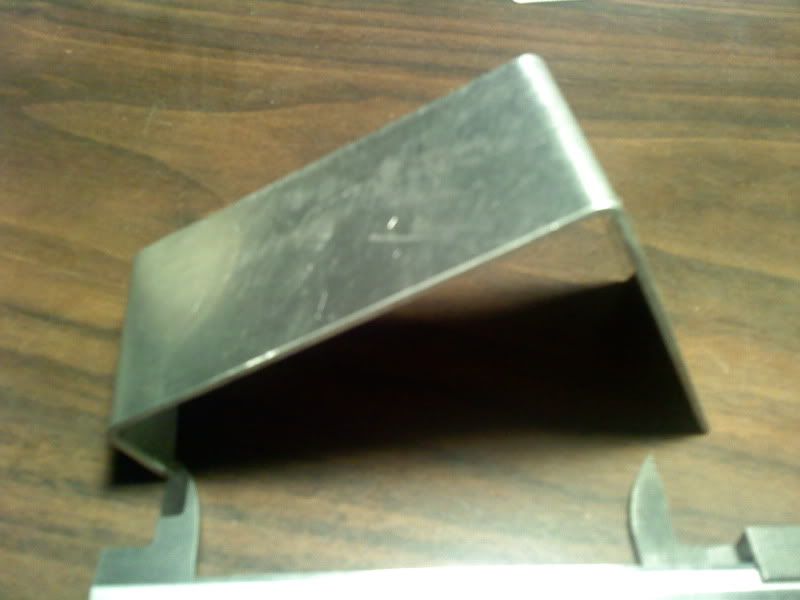 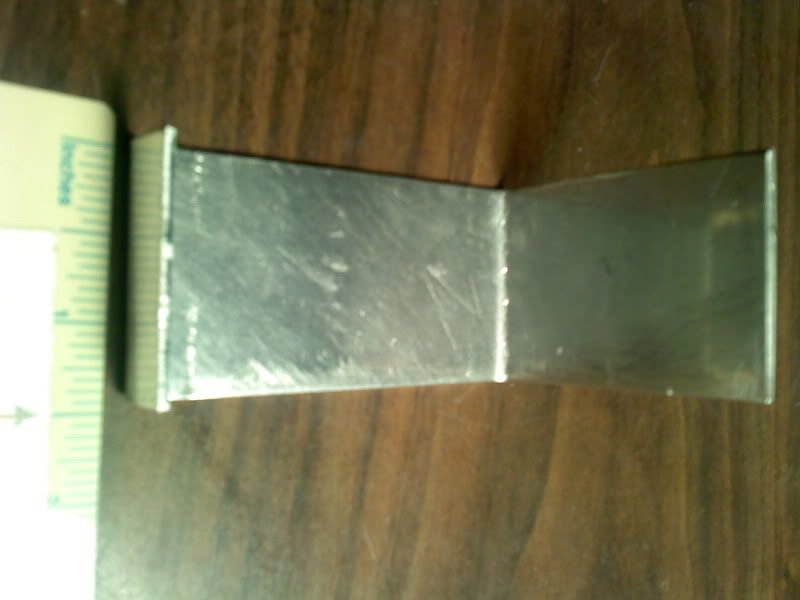 |
|
| |
|
12-16-2011, 02:18 AM
| #70 |
| I wanna be Dave Join Date: Jan 2006 Location: Corruptifornia
Posts: 12,107
|
Then I cut the long end down to about 5/8" like the other side, these will hang down over the frame rails and be drilled for mounting screws, one 3x8mm buttonhead per side with a small plastic shim washer between frame and battery plate if needed. I cut 45*s at the rear corners to help with the increased frame width at the rear, but will be cutting a little more and doing the same at front corners. After it's all fitted, I'll trim the excess from both ends hanging over the frame rails and round the corners a little more.  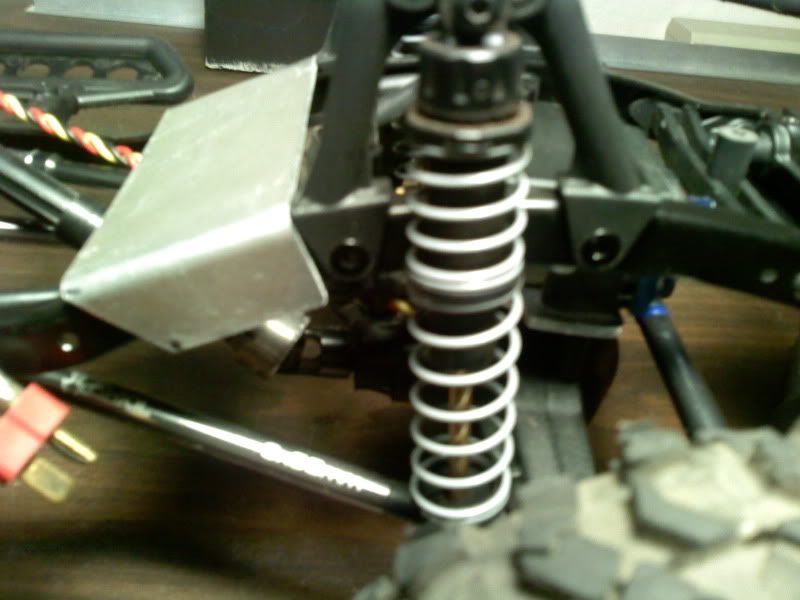 Last edited by Natedog; 12-16-2011 at 01:22 PM. |
|
| |
|
12-18-2011, 01:53 PM
| #71 |
| I wanna be Dave Join Date: Jan 2006 Location: Corruptifornia
Posts: 12,107
|
Battery tray redoux is done! Top view from the front (body mounts and shock towers in foreground): 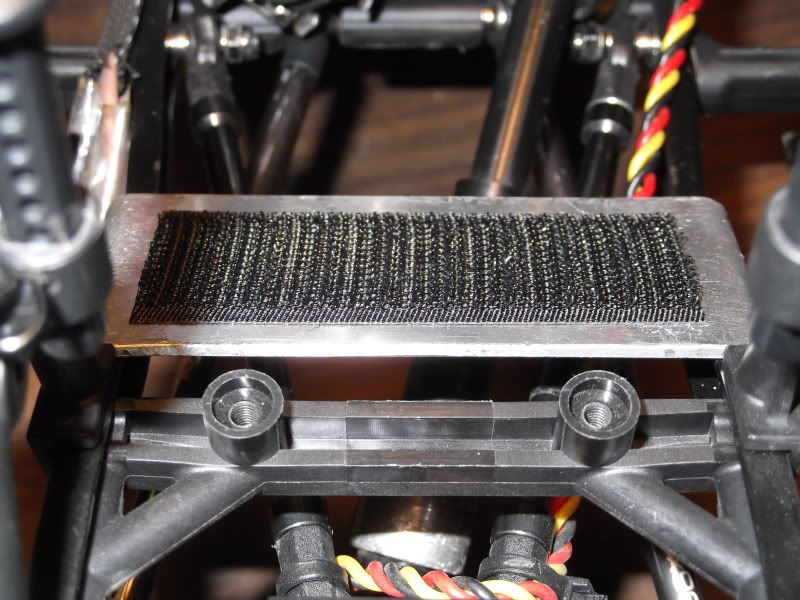 Bottom view: 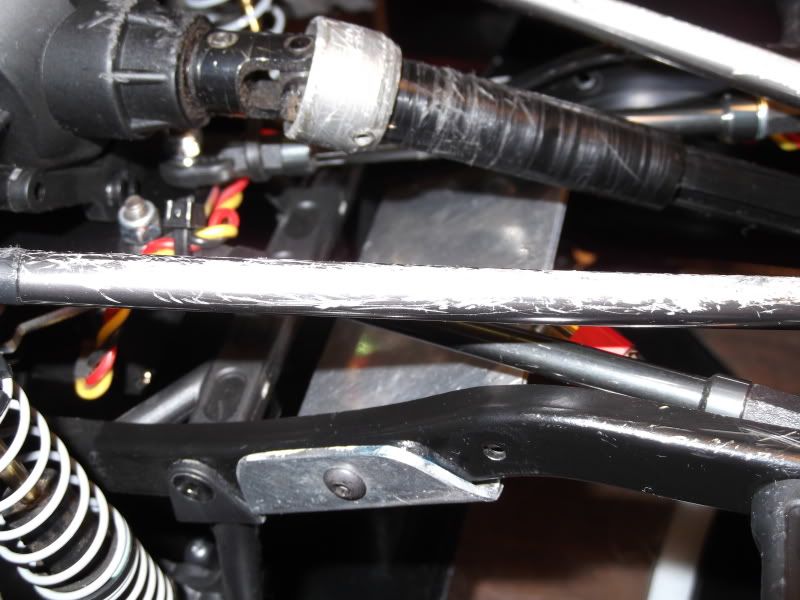 Side shot with the velcro on plate 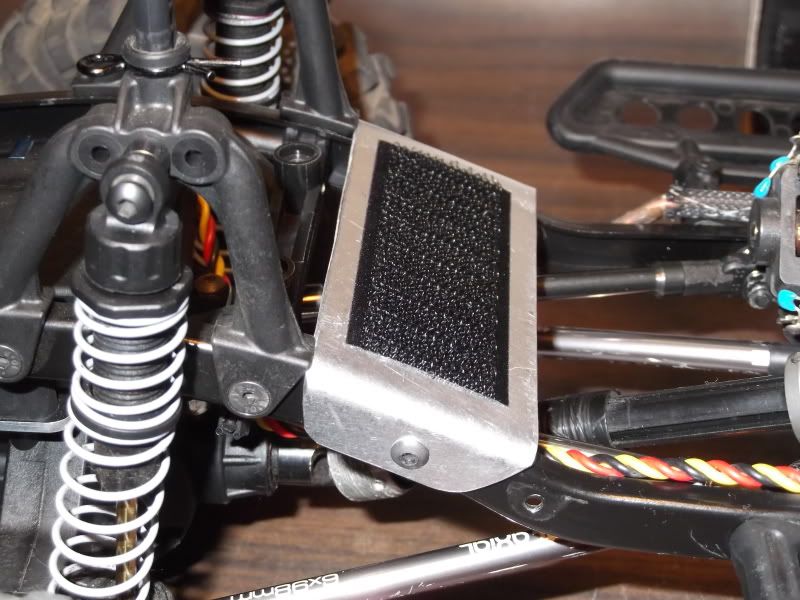 Battery mounted and strapped in! 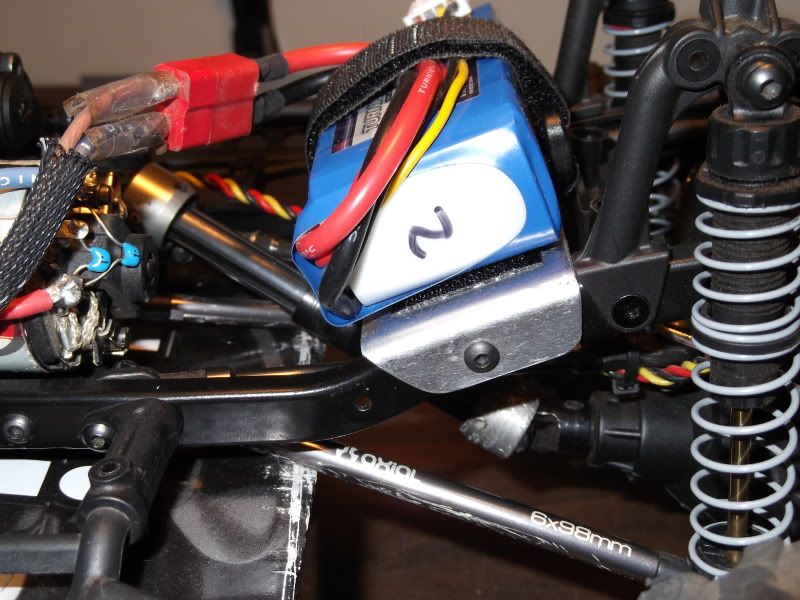 |
|
| |
|
12-18-2011, 01:59 PM
| #72 |
| I wanna be Dave Join Date: Jan 2006 Location: Corruptifornia
Posts: 12,107
|
Total weight of new mount with screws and velcro is just over 15 grams. Last edited by Natedog; 12-18-2011 at 02:14 PM. |
|
| |
|
12-18-2011, 02:02 PM
| #73 |
| Pebble Pounder Join Date: Oct 2005 Location: Sacramento
Posts: 170
|
Lots of work, nice job dude |
|
| |
|
12-18-2011, 07:43 PM
| #74 | |
| I wanna be Dave Join Date: Jan 2006 Location: Corruptifornia
Posts: 12,107
| Quote:
| |
|
| |
|
12-18-2011, 07:48 PM
| #75 |
| Pebble Pounder Join Date: Oct 2005 Location: Sacramento
Posts: 170
|
Yea need to go test all these things you have done now! I have always gown with the thought dont do to much at once without testing cause you might do so much and find its not right then all that time lost...so git er done |
|
| |
|
12-18-2011, 08:52 PM
| #76 | |
| RCC Addict Join Date: Oct 2006 Location: crawlifornia
Posts: 1,612
| Quote:
Good work Natedog. What about the flex factor you mentioned? let's go crawl and see how it works eh... | |
|
| |
|
12-18-2011, 08:58 PM
| #77 |
| RCC Addict Join Date: Jun 2011 Location: Gilbert, AZ
Posts: 1,634
|
Nice work on the battery tray, same location I used, but yours looks a lot cleaner.
|
|
| |
|
12-18-2011, 11:11 PM
| #78 | |||
| I wanna be Dave Join Date: Jan 2006 Location: Corruptifornia
Posts: 12,107
| Quote:
Quote:
Almost forgot, thanks...as Rockhugger said, I liked my old battery tray and it worked really well but I didn't like how it hung outside the frame rails and it was very rigid. That's why this one has only one screw mounting point per side and is made of a softer grade of aluminum so that it can flex along with the rest of the frame! We need to go crawl soon...I'm shooting for this coming weekend! Quote:
Last edited by Natedog; 12-18-2011 at 11:15 PM. | |||
|
| |
|
12-18-2011, 11:16 PM
| #79 |
| I wanna be Dave Join Date: Jan 2006 Location: Corruptifornia
Posts: 12,107
|
These fell off of somewheres while I was finishing my new battery tray.  |
|
| |
|
12-18-2011, 11:24 PM
| #80 |
| Pebble Pounder Join Date: Oct 2005 Location: Sacramento
Posts: 170
|
lol well I only said that cause im guilty of it to, see this pain in the arse clod I got sitting here |
|
| |
 |
| |


 Linear Mode


