| | #161 |
| RCC Addict Join Date: Oct 2006 Location: crawlifornia
Posts: 1,612
|
Looks good mang!!!
|
| |  |
| Sponsored Links | |
| | #162 |
| I wanna be Dave Join Date: Jan 2006 Location: Corruptifornia
Posts: 12,107
| Thanks mang! Yesterday I accidentally dropped one of my baked wheel pieces on to the patio and it had barely a scratch on the paint!  Assembled all but one last night, mounted on truck and they look great imo. Assembled all but one last night, mounted on truck and they look great imo.
|
| |  |
| | #163 | |
| Pebble Pounder Join Date: May 2010 Location: sac
Posts: 108
| Quote: Wow. Such a beautiful place. Mind to share the location please? Thanks  | |
| |  |
| | #164 |
| I wanna be Dave Join Date: Jan 2006 Location: Corruptifornia
Posts: 12,107
| Thanks yes it is, Rubicon area.
Last edited by Natedog; 02-04-2014 at 10:37 PM. |
| |  |
| | #165 |
| I wanna be Dave Join Date: Jan 2006 Location: Corruptifornia
Posts: 12,107
|
Installed some BPC stainless steel beef tubes, great fit and finish, threads were perfect too. Bruce is local guy making some nice parts for scalers! http://www.bpchassis.com/apps/webstore/ 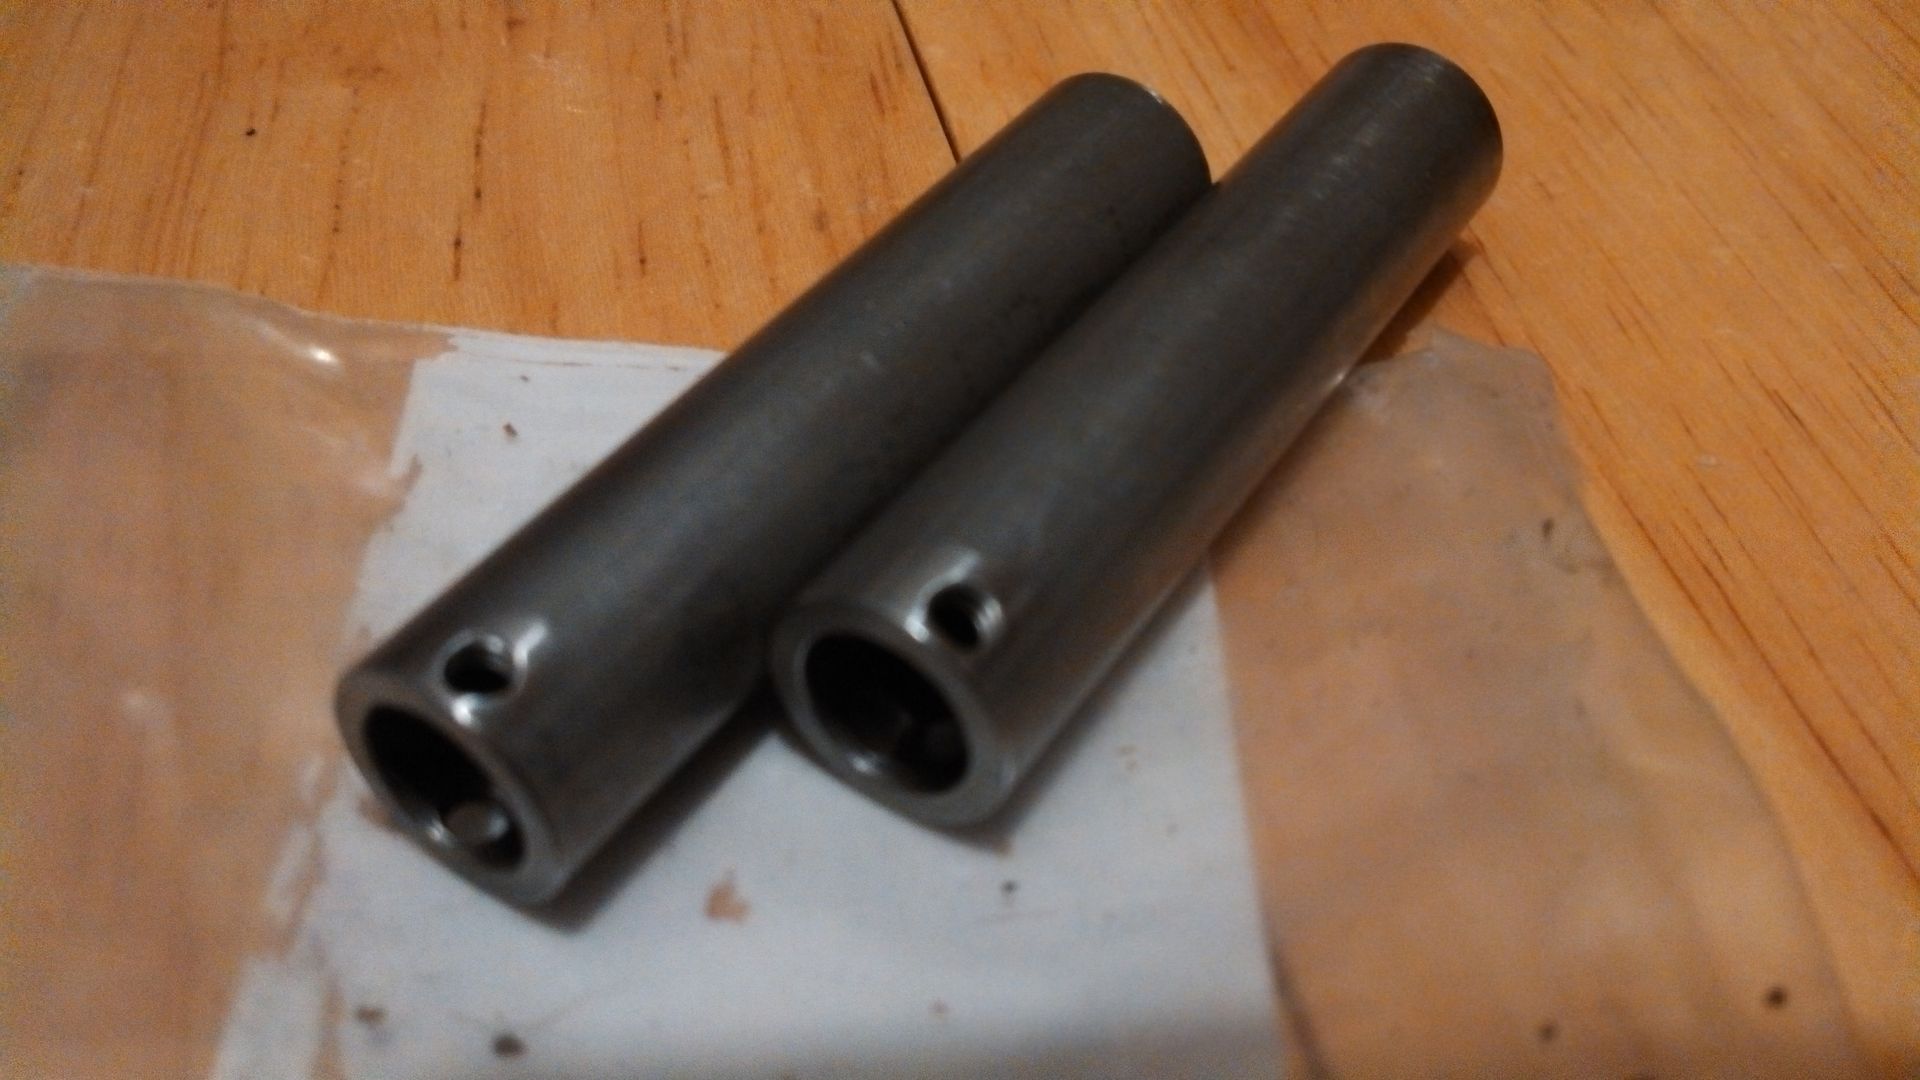 Testing Crawler Innovations foams with Rockhugger! 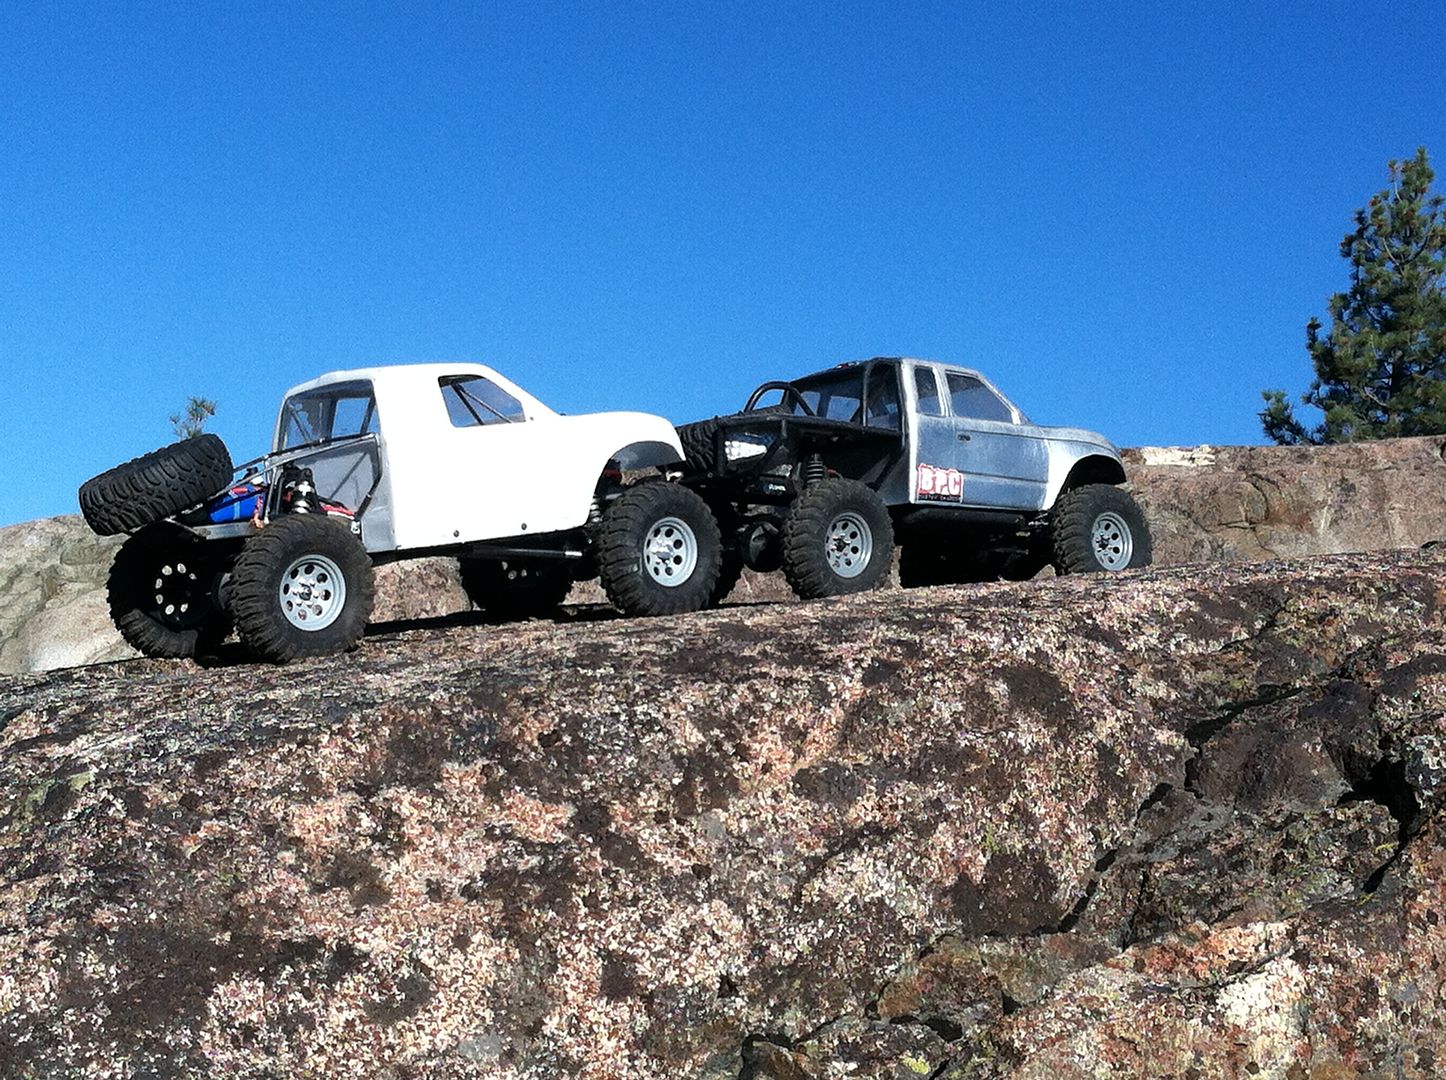 These CI foams sidehill very nicely, a big improvement over the stock Ripsaw foams that would roll under almost until the rim hit the rocks in this same spot.  Sun's getting low... 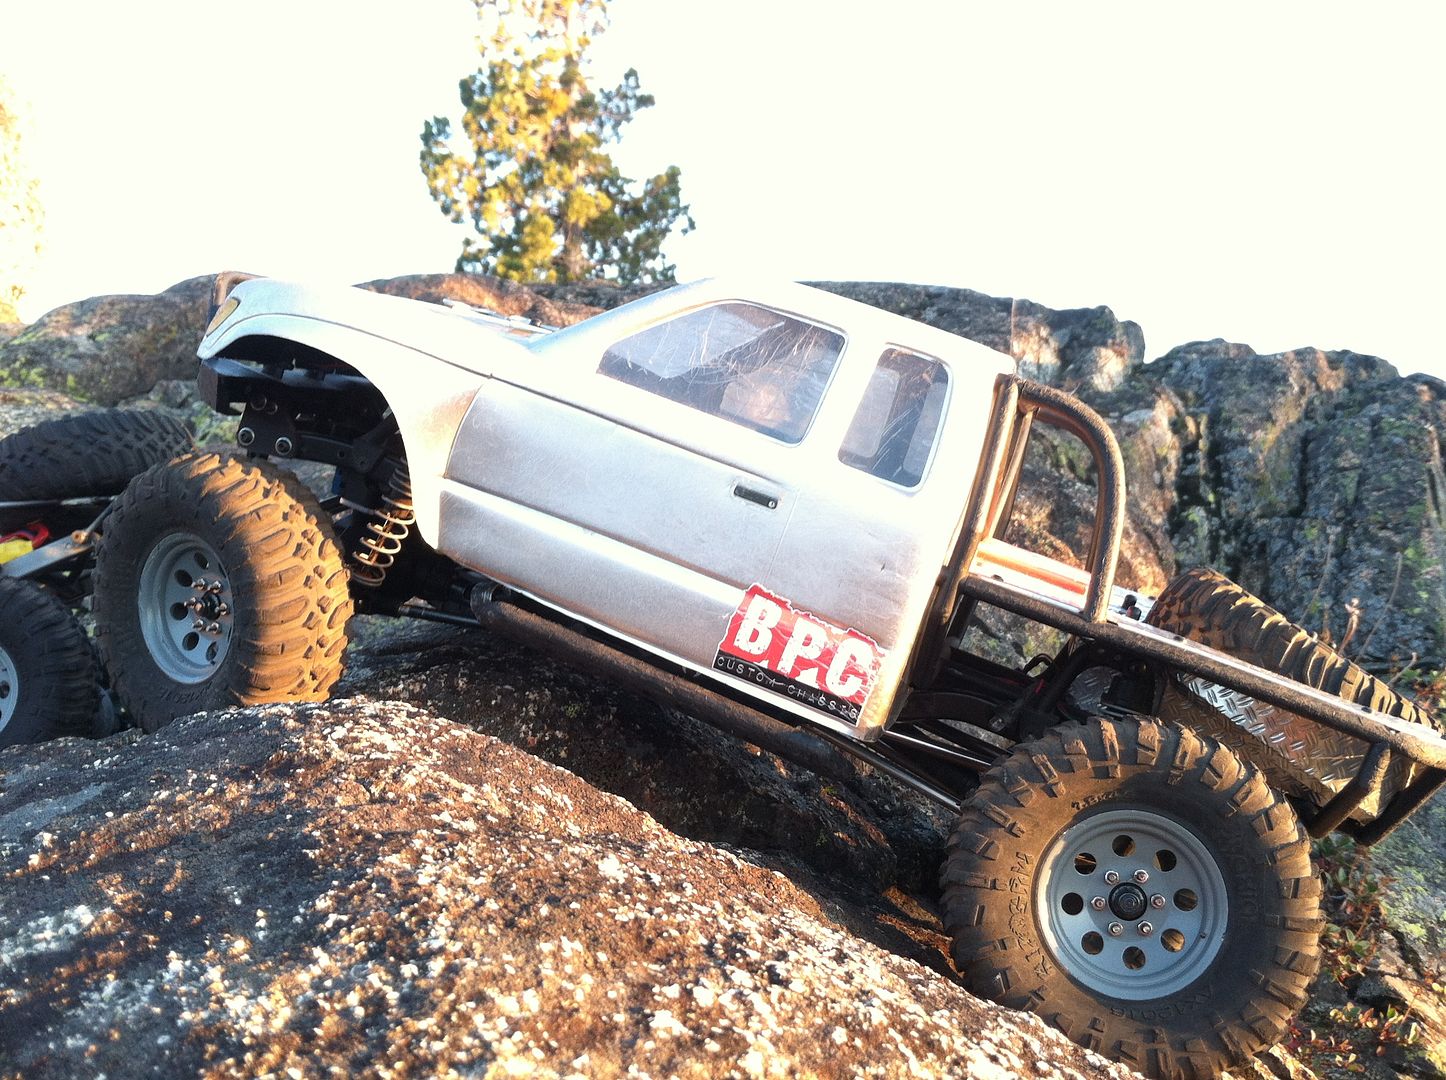 Little night time crawl.  Last edited by Natedog; 11-17-2013 at 01:46 PM. |
| |  |
| | #166 |
| RCC Addict Join Date: Oct 2006 Location: crawlifornia
Posts: 1,612
|
very nice pics... who's your photographer ? Those wheels look sweet on there in that color   |
| |  |
| | #167 |
| I wanna be Dave Join Date: Jan 2006 Location: Corruptifornia
Posts: 12,107
|
Some rock huggin dude with an awesome camera. ;) Thanks, your machined locking hubs set yours off nicely too. The two shades of grey are both good, I'm working on a mod for the wheels and picked up the rest of the parts today.
|
| |  |
| | #168 | |
| I wanna be Dave Join Date: Sep 2006 Location: Anchorage, Alaska
Posts: 3,099
| Quote: Where do we get them ? ...a link would be nice. I have not added beef tubes... 'cause I only found the mild STD steel BT's for sale. SS availability has my interest's renewed. | |
| |  |
| | #169 |
| I wanna be Dave Join Date: Jan 2006 Location: Corruptifornia
Posts: 12,107
|
@TacoCrawler, pm'ed ya.  |
| |  |
| | #170 |
| I wanna be Dave Join Date: Sep 2006 Location: Anchorage, Alaska
Posts: 3,099
| |
| |  |
| | #171 |
| I wanna be Dave Join Date: Jan 2006 Location: Corruptifornia
Posts: 12,107
| |
| |  |
| | #172 |
| I wanna be Dave Join Date: Jan 2006 Location: Corruptifornia
Posts: 12,107
|
2mm screw (with flatnut) versus 2.5mm screw (with locknut), doesn't sound like much, but it's a lot more thread area to bear the load (even with the 2.5mm flatnuts I went with). 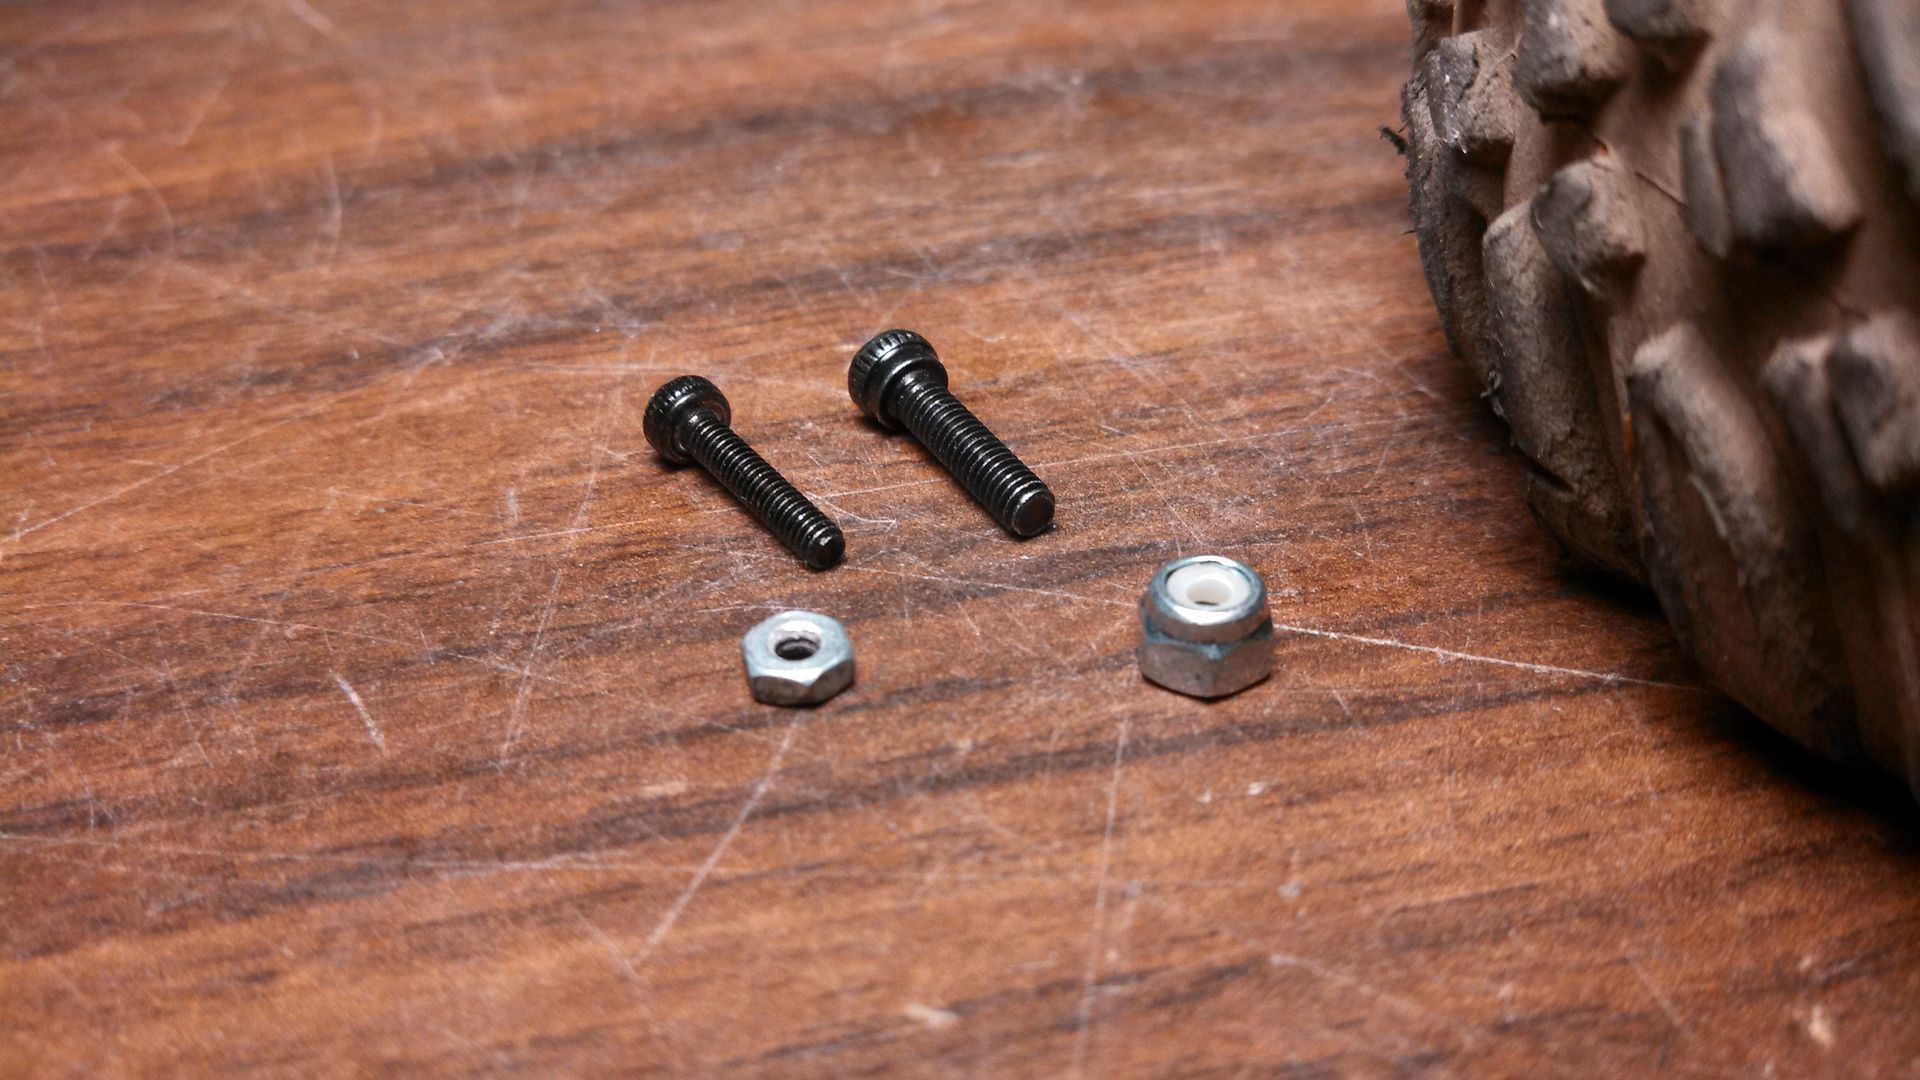 RC4WD hex adapters testing (they use 2.5mm hardware). FYI the RC4WD hubs would have fit fine, but I wanted to drill mine and use them, now I have spares too! 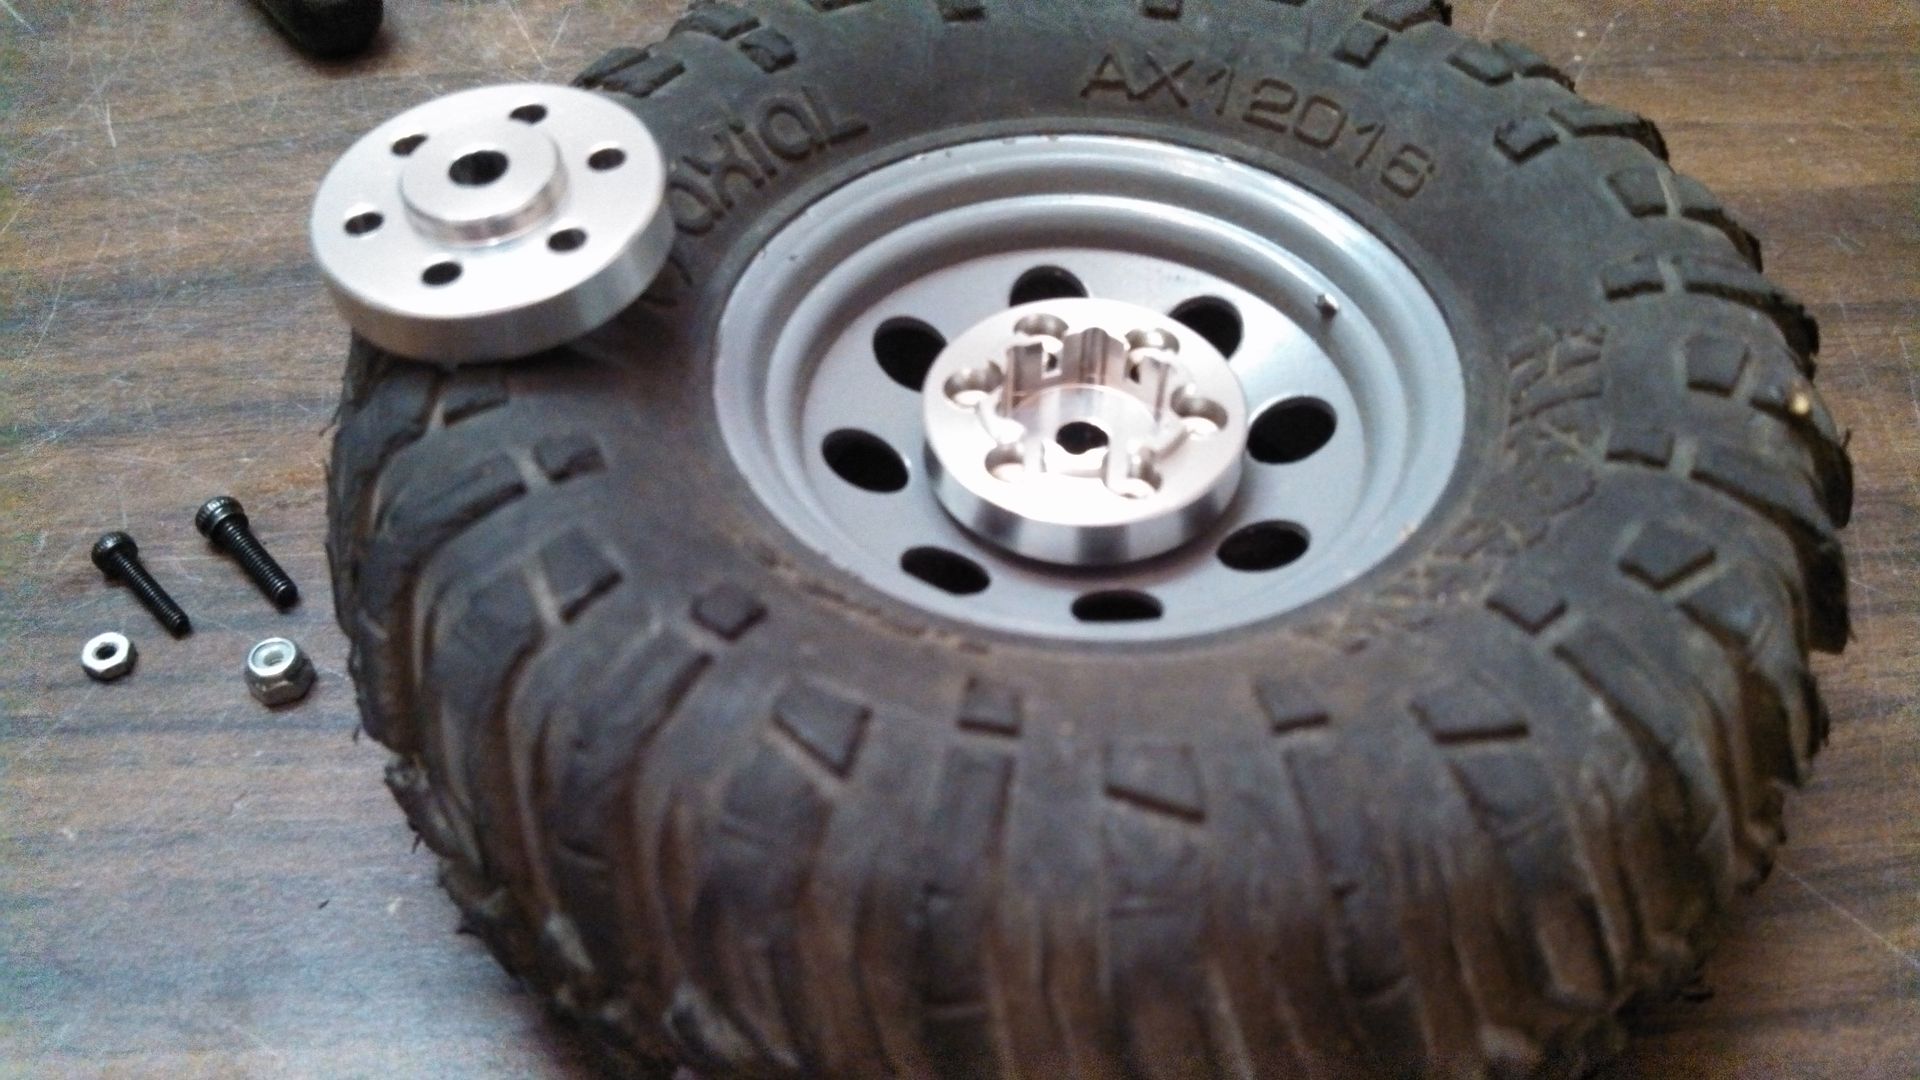 #39 (0.099") and #16 (0.177") drill bits, lots of careful setup, and a little time with my Hot Racing hex adapters (that use 2mm hardware). One down and three to go. 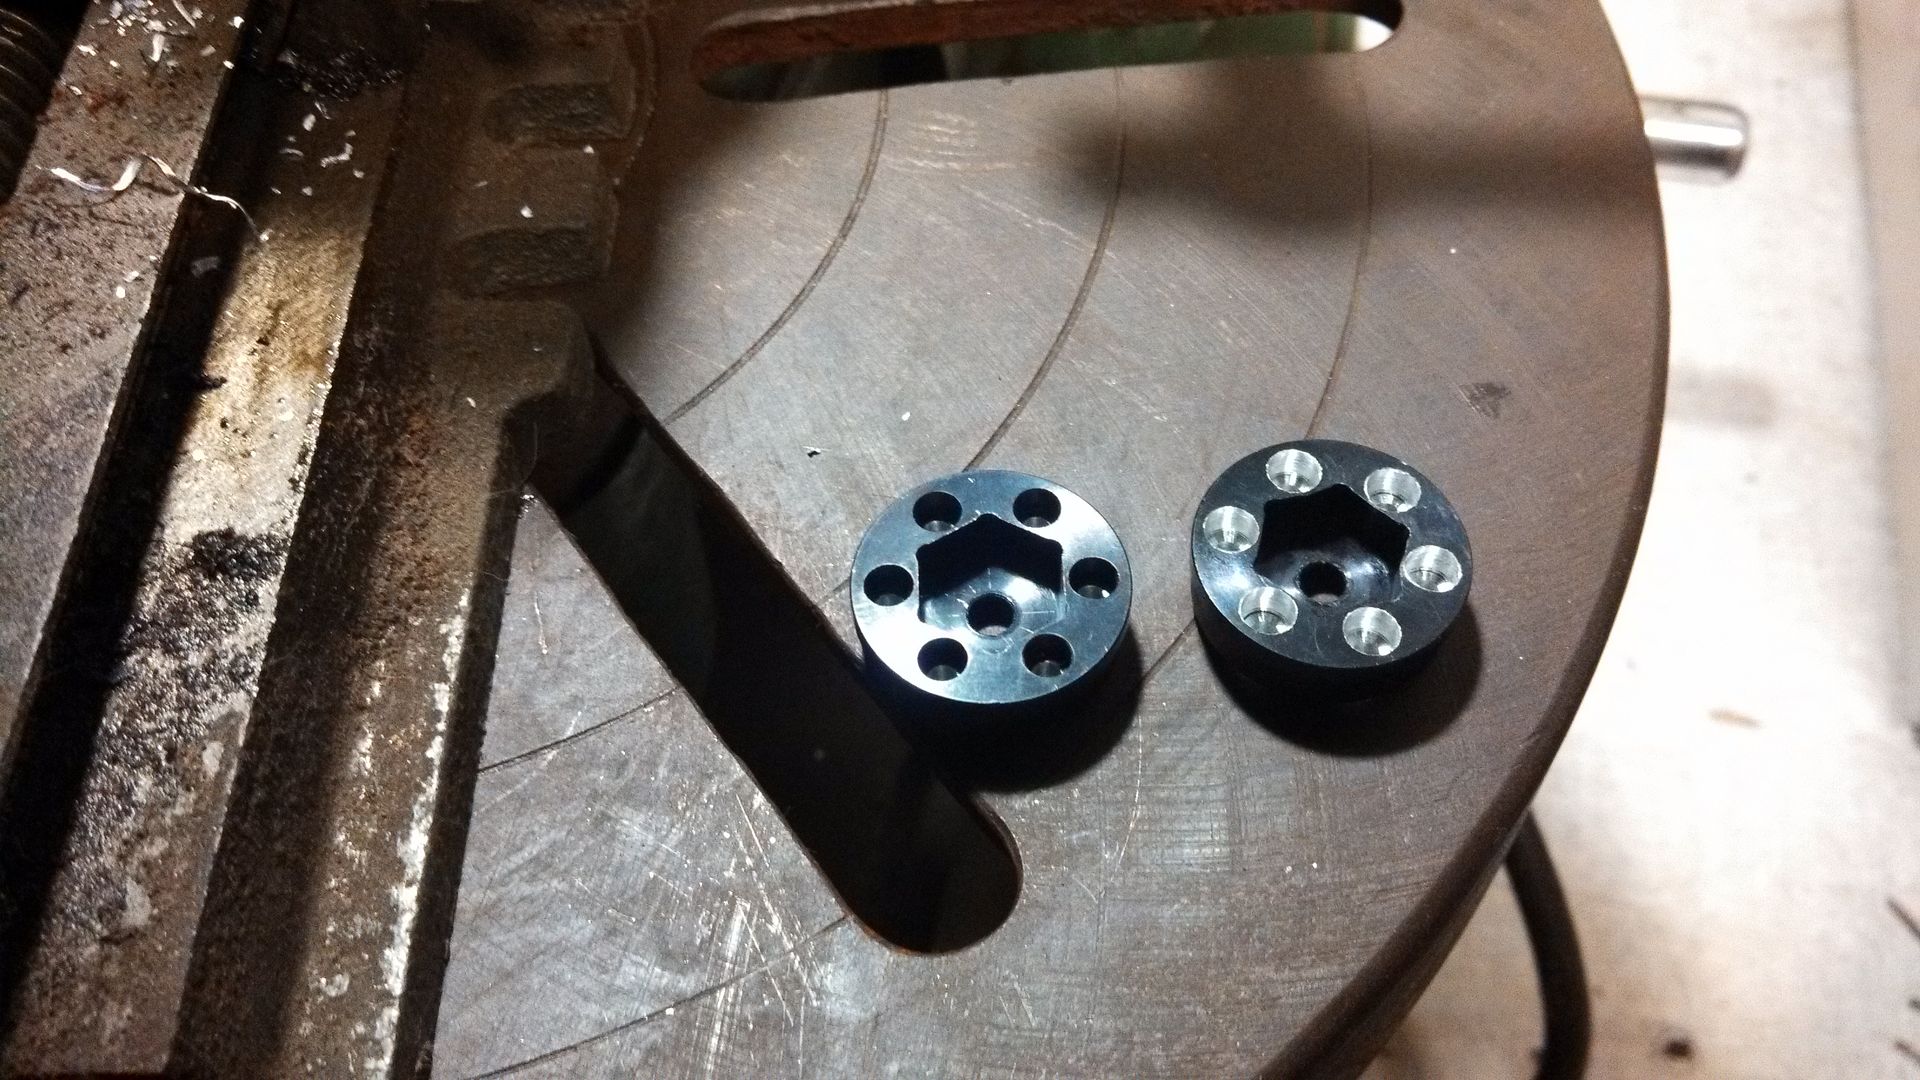 Last edited by Natedog; 06-28-2015 at 04:29 PM. |
| |  |
| | #173 |
| I wanna be Dave Join Date: Jan 2006 Location: Corruptifornia
Posts: 12,107
|
Re-assembled and mounted! The 2.5mm hardware really feels tighter than the original hardware when I cinched it down with the wrench, but didn't feel like it was about to strip the threads. Took them apart again and used Q-Tip soaked in Simple Green and water mix to clean inside and outside of bead on all four tires and wheels...reassembled while still a bit wet, hopefully the lack of powdered dirt coating and the Simple Green will make it all hold. We'll see. 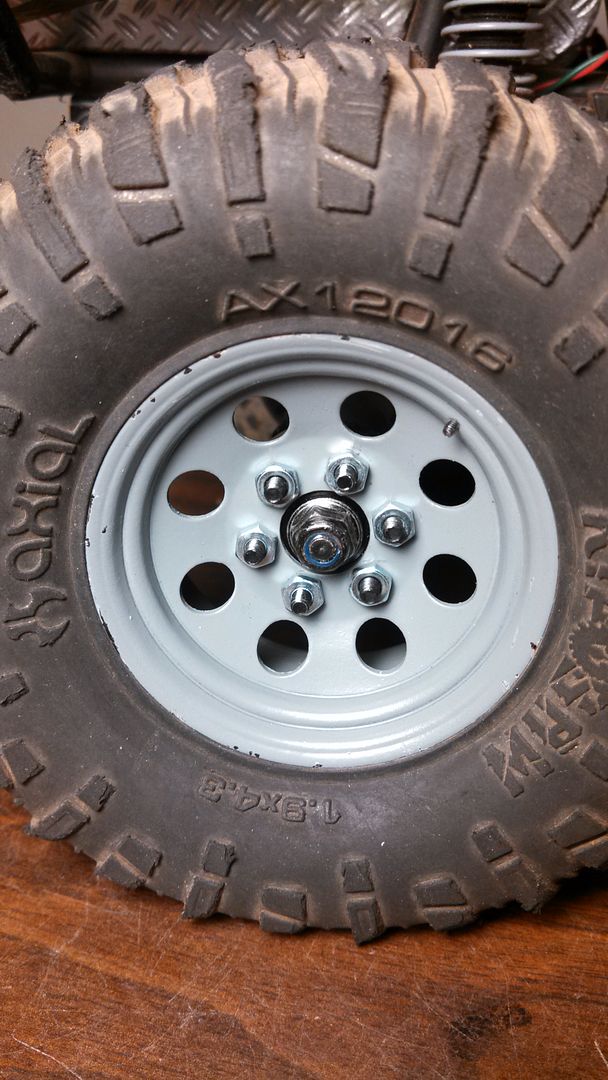 Last edited by Natedog; 12-30-2013 at 01:52 AM. |
| |  |
| | #174 |
| I wanna be Dave Join Date: Jan 2006 Location: Corruptifornia
Posts: 12,107
|
Bought some parts from DLux that helped the front end wobbly. 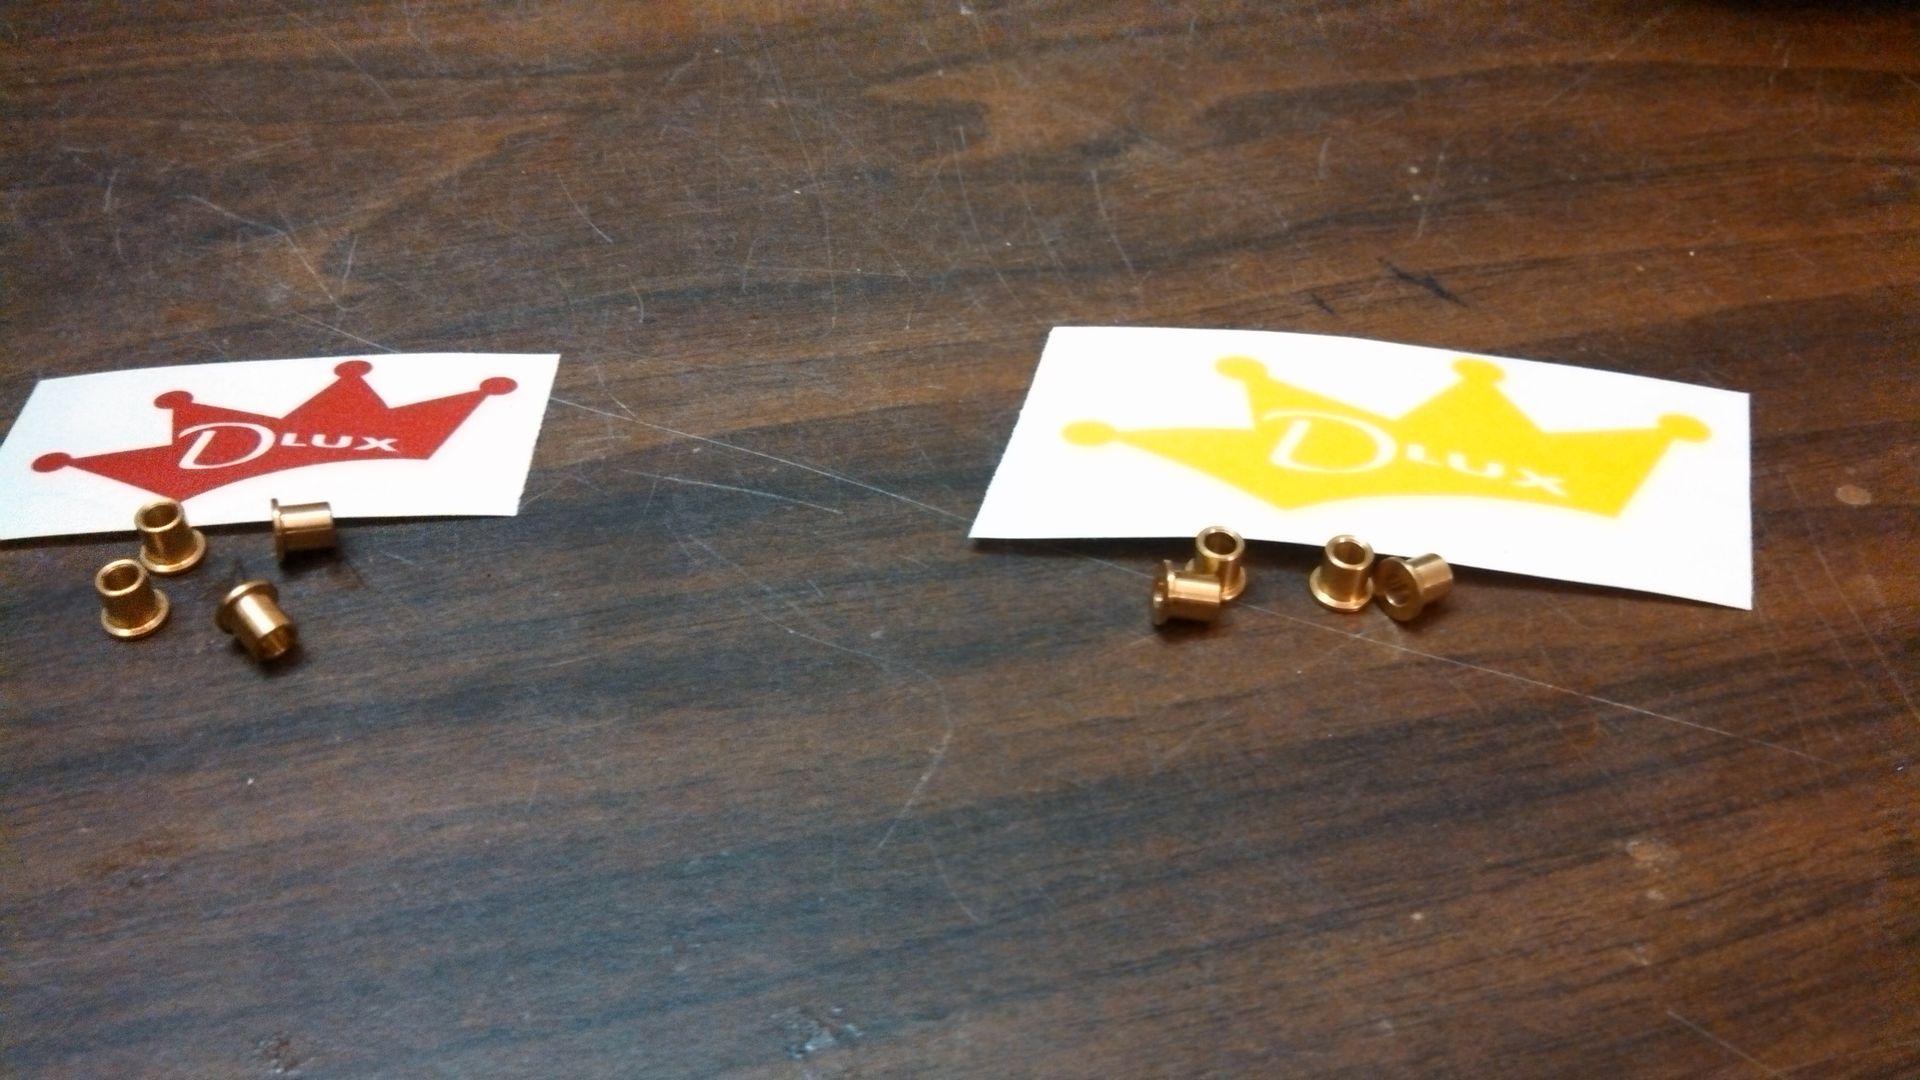 Acquired these for more foam testing.  Lost the bumper lift, did some grinding and moved the bumper way back, resulting in about the same approach angle as with the bumper lift. 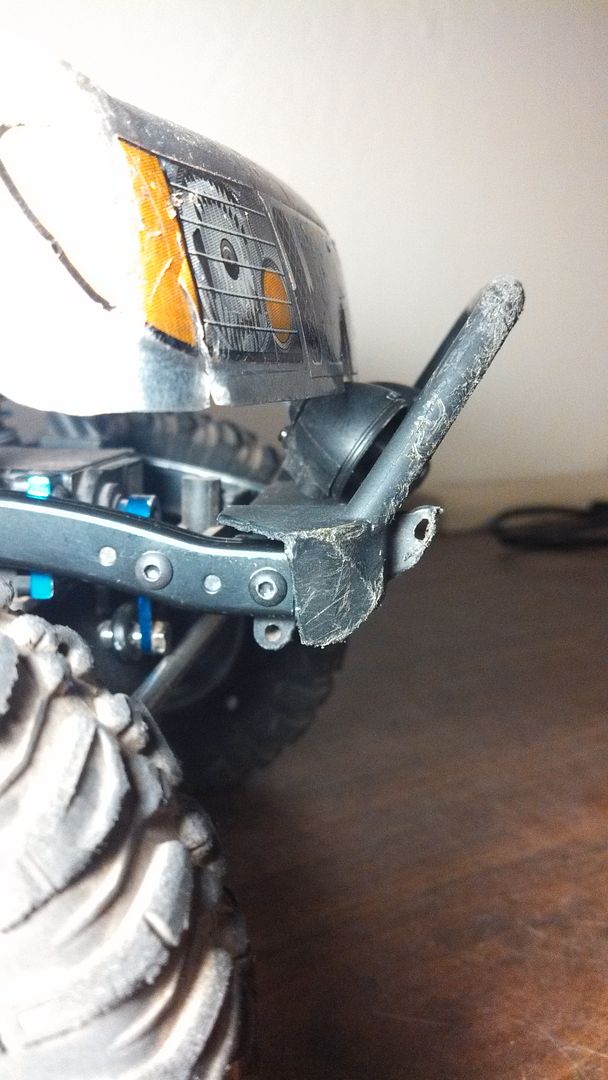 Better pic coming... Last edited by Natedog; 11-12-2013 at 01:25 AM. |
| |  |
| | #175 |
| I wanna be Dave Join Date: Jan 2006 Location: Corruptifornia
Posts: 12,107
| |
| |  |
| | #176 |
| I wanna be Dave Join Date: Jan 2006 Location: Corruptifornia
Posts: 12,107
|
A couple pages back I mentioned that I use the body mounts inverted like this to keep from breaking rear shock hoops, they just key into the bed body mount holes, thus giving support to the shock hoops. If you want to pin them, just drill the little body clip holes up top or cut the mounts off a little shorter and that way you have the pin holes because I made my own flipping body mounts at rear of bed cage.  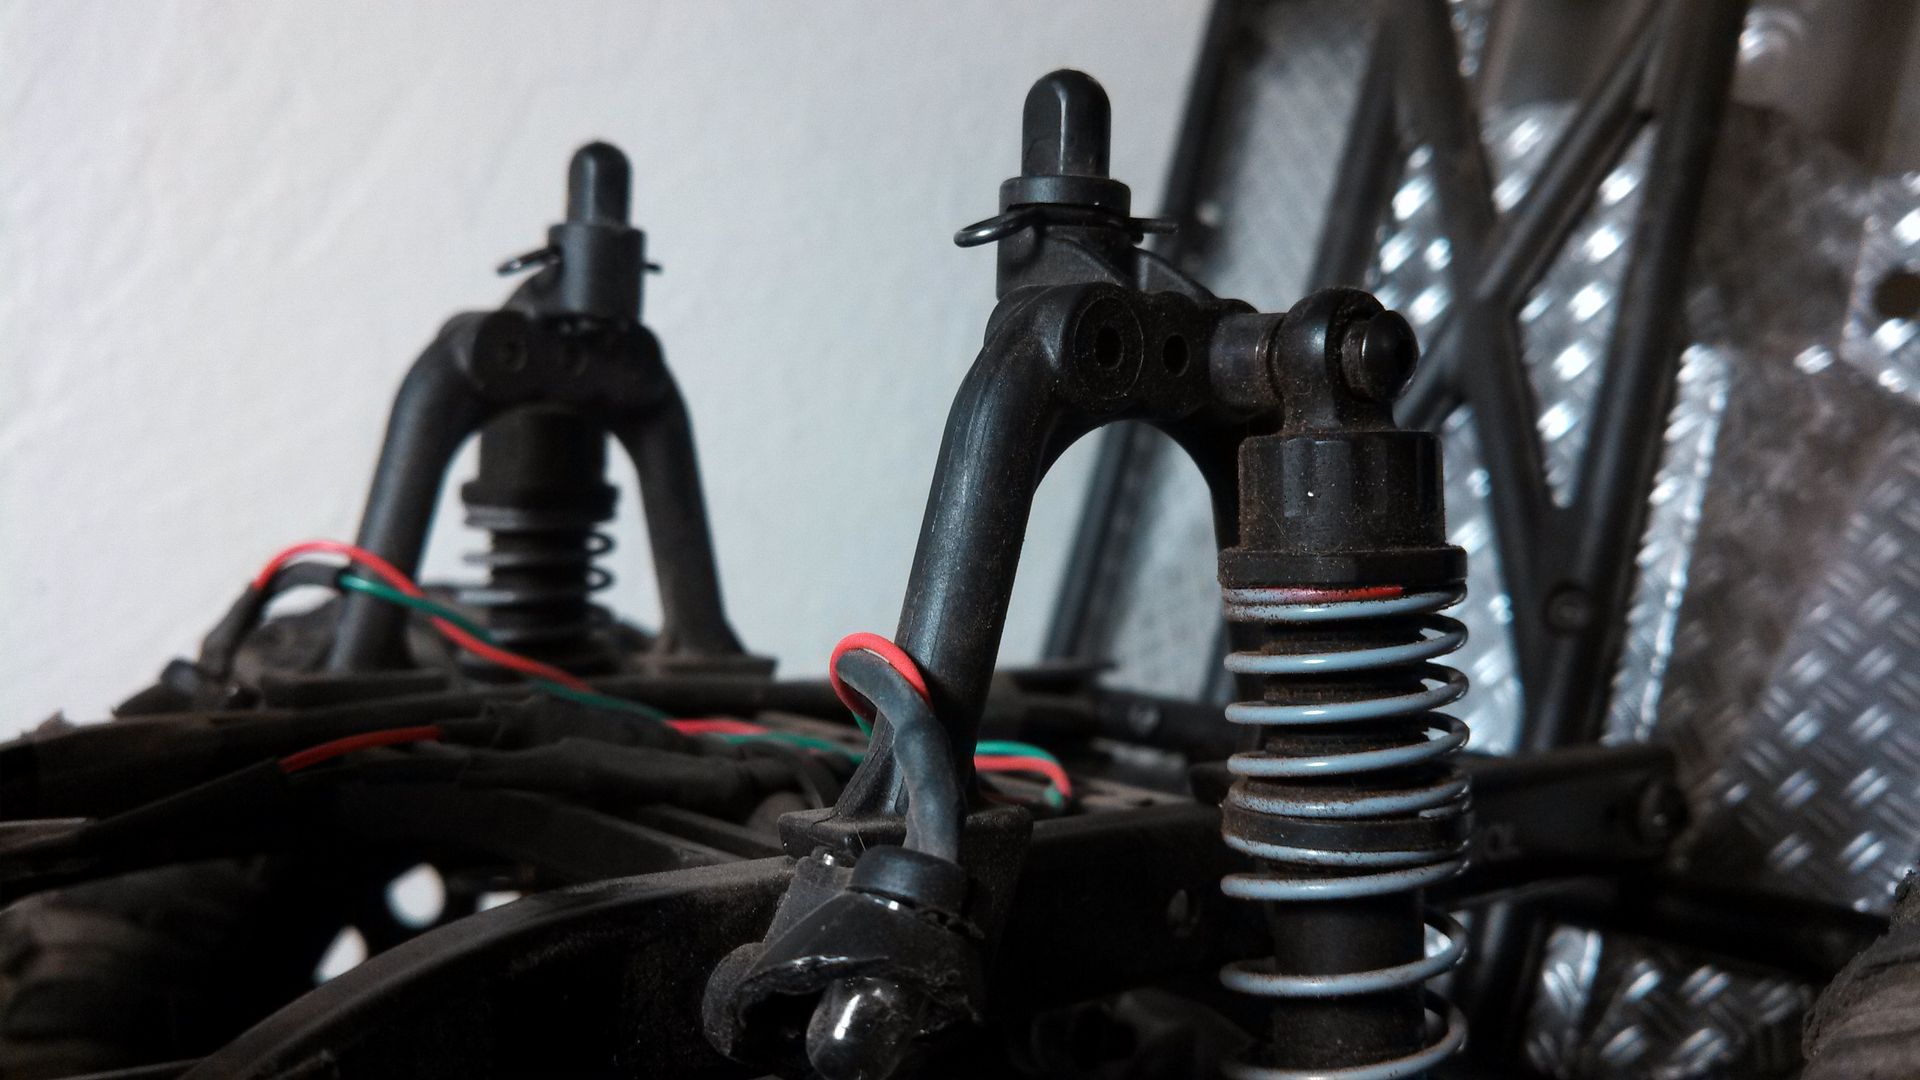 Last edited by Natedog; 11-18-2013 at 05:45 PM. |
| |  |
| | #177 |
| I wanna be Dave Join Date: Jan 2006 Location: Corruptifornia
Posts: 12,107
|
SNOW RUN! 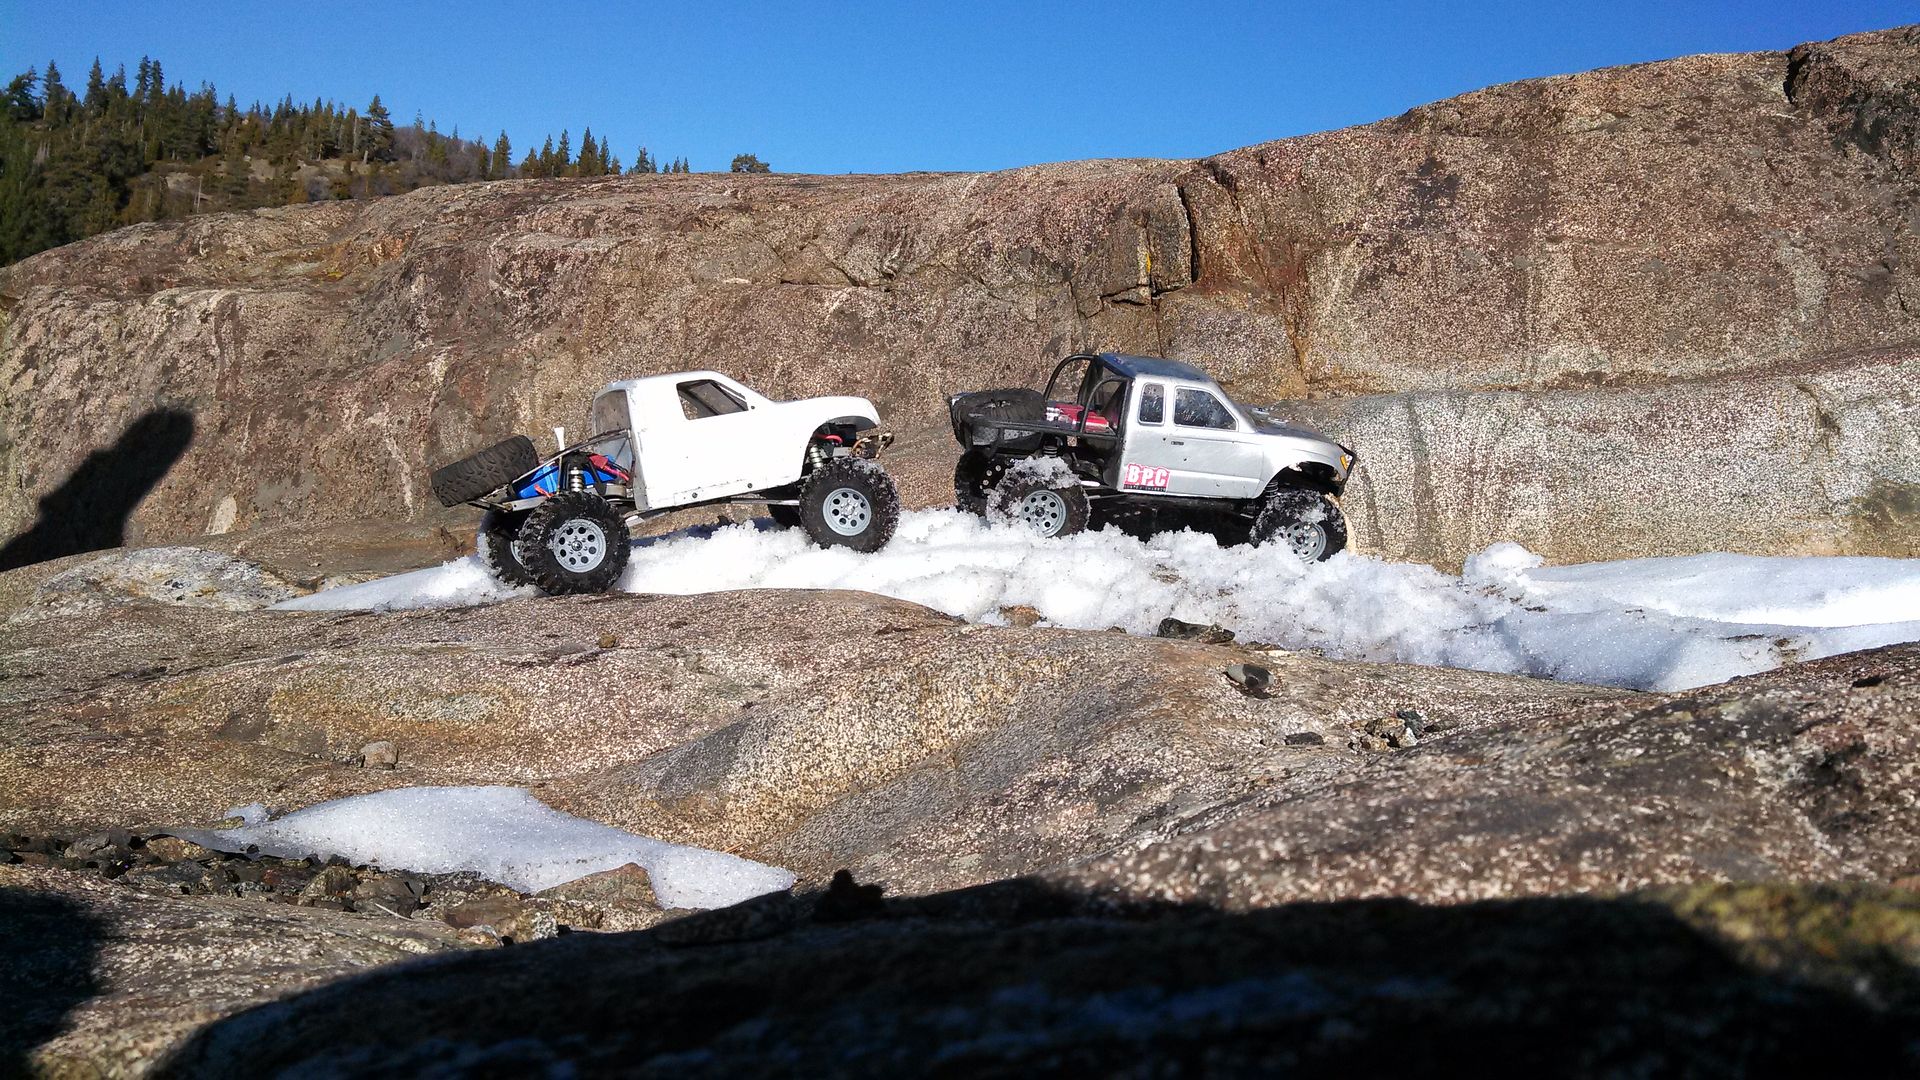 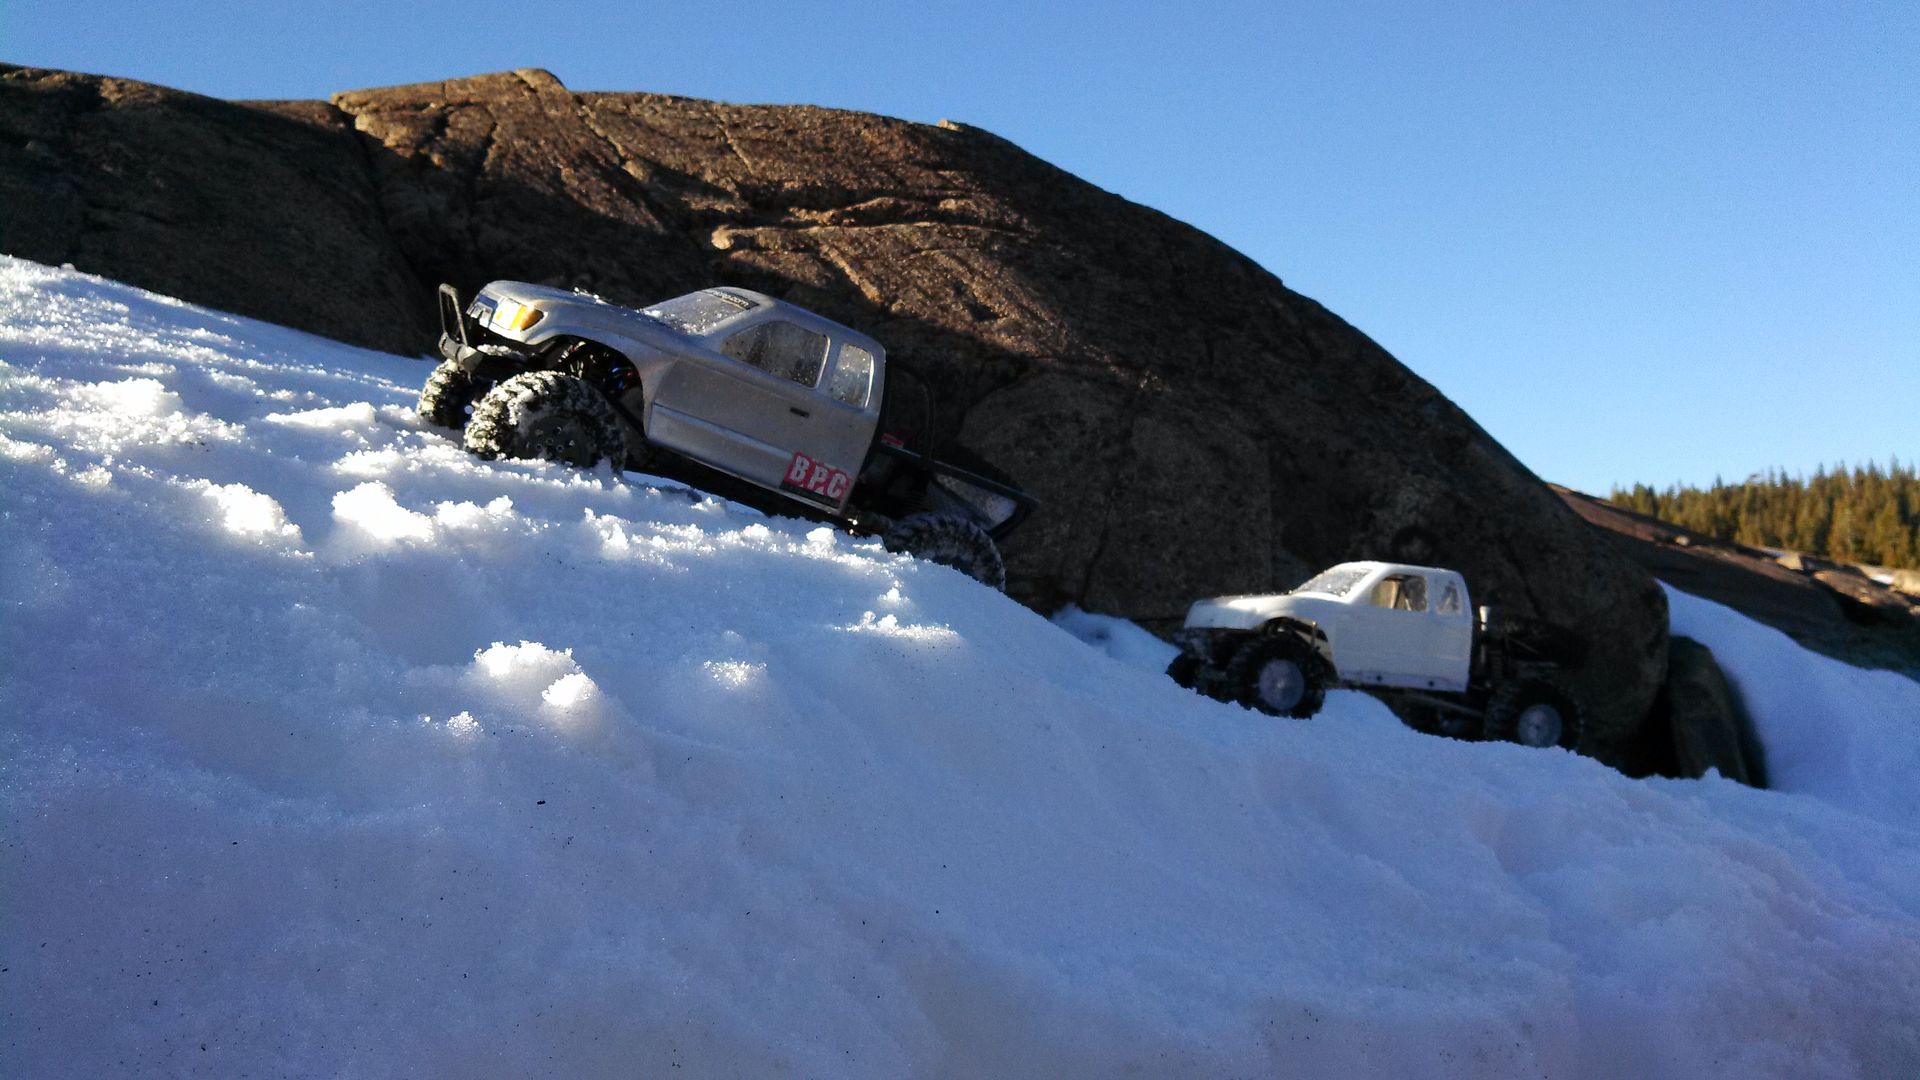 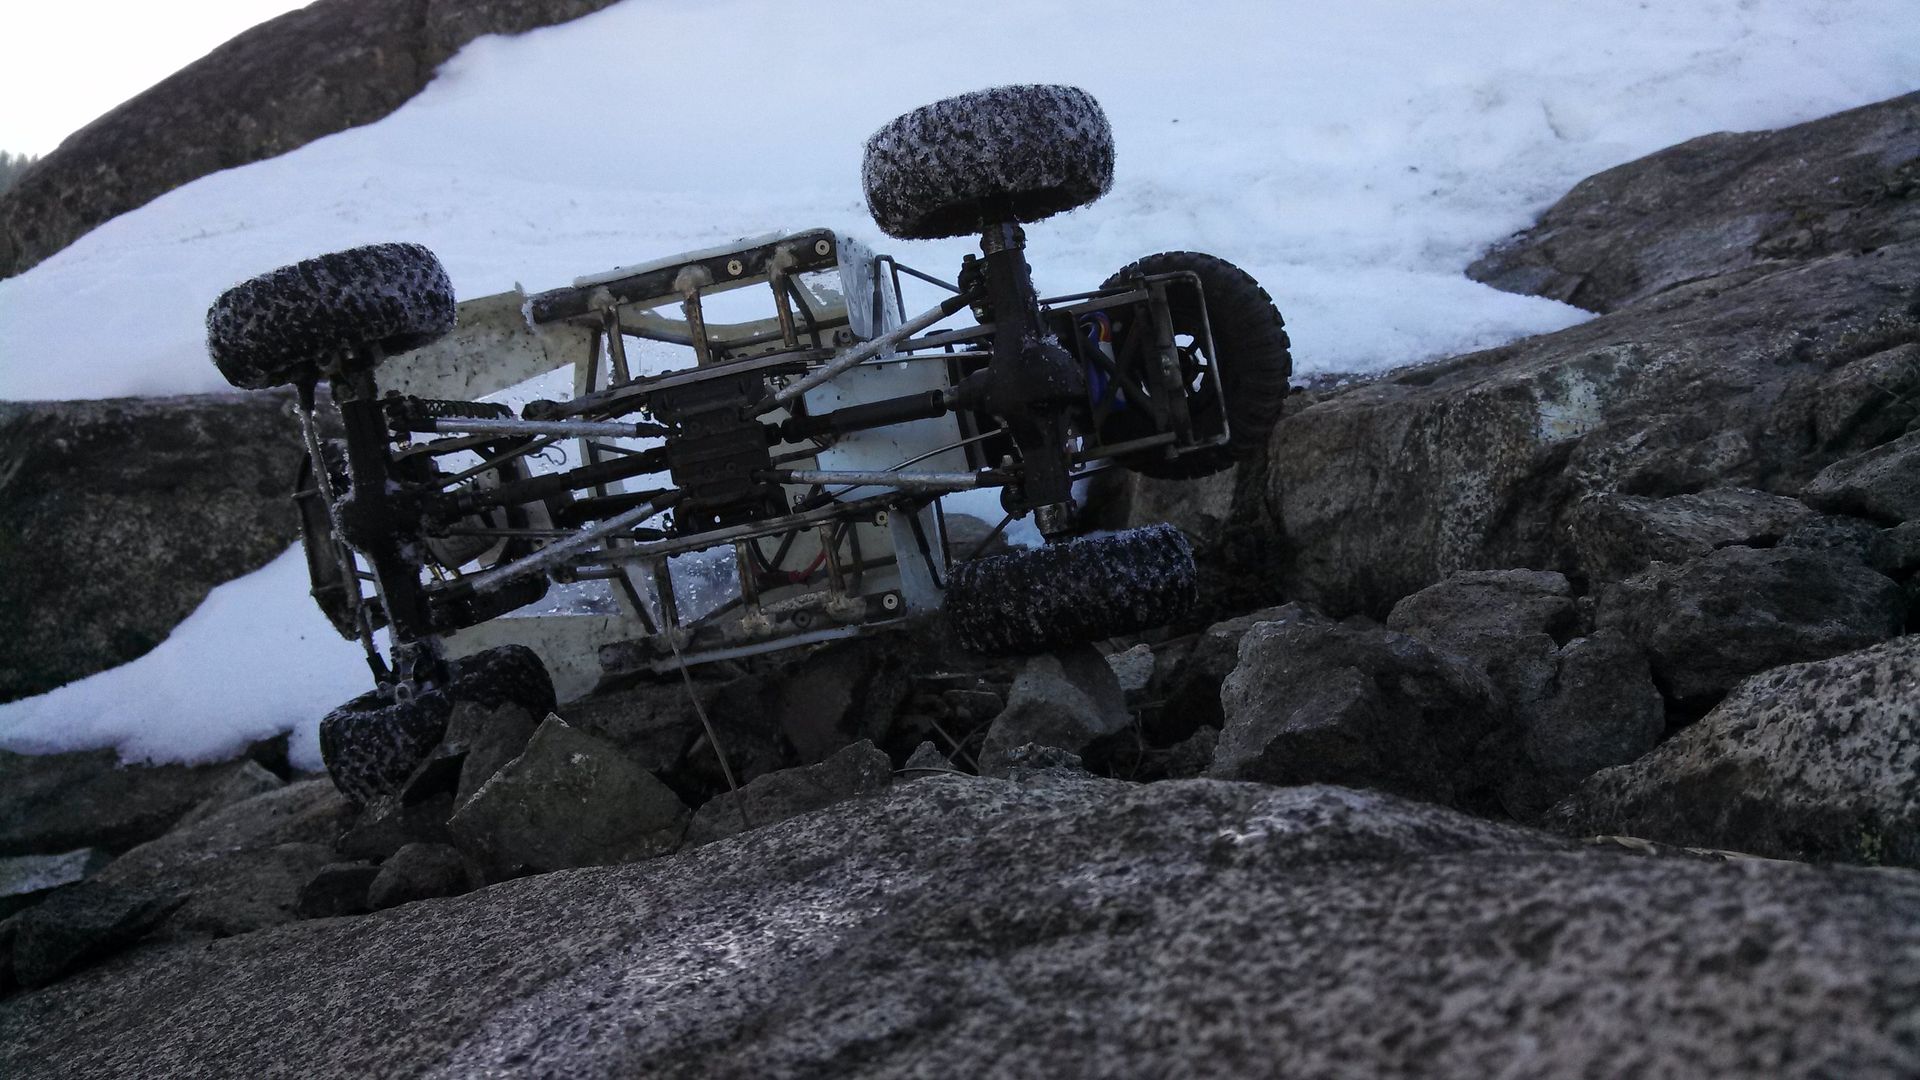 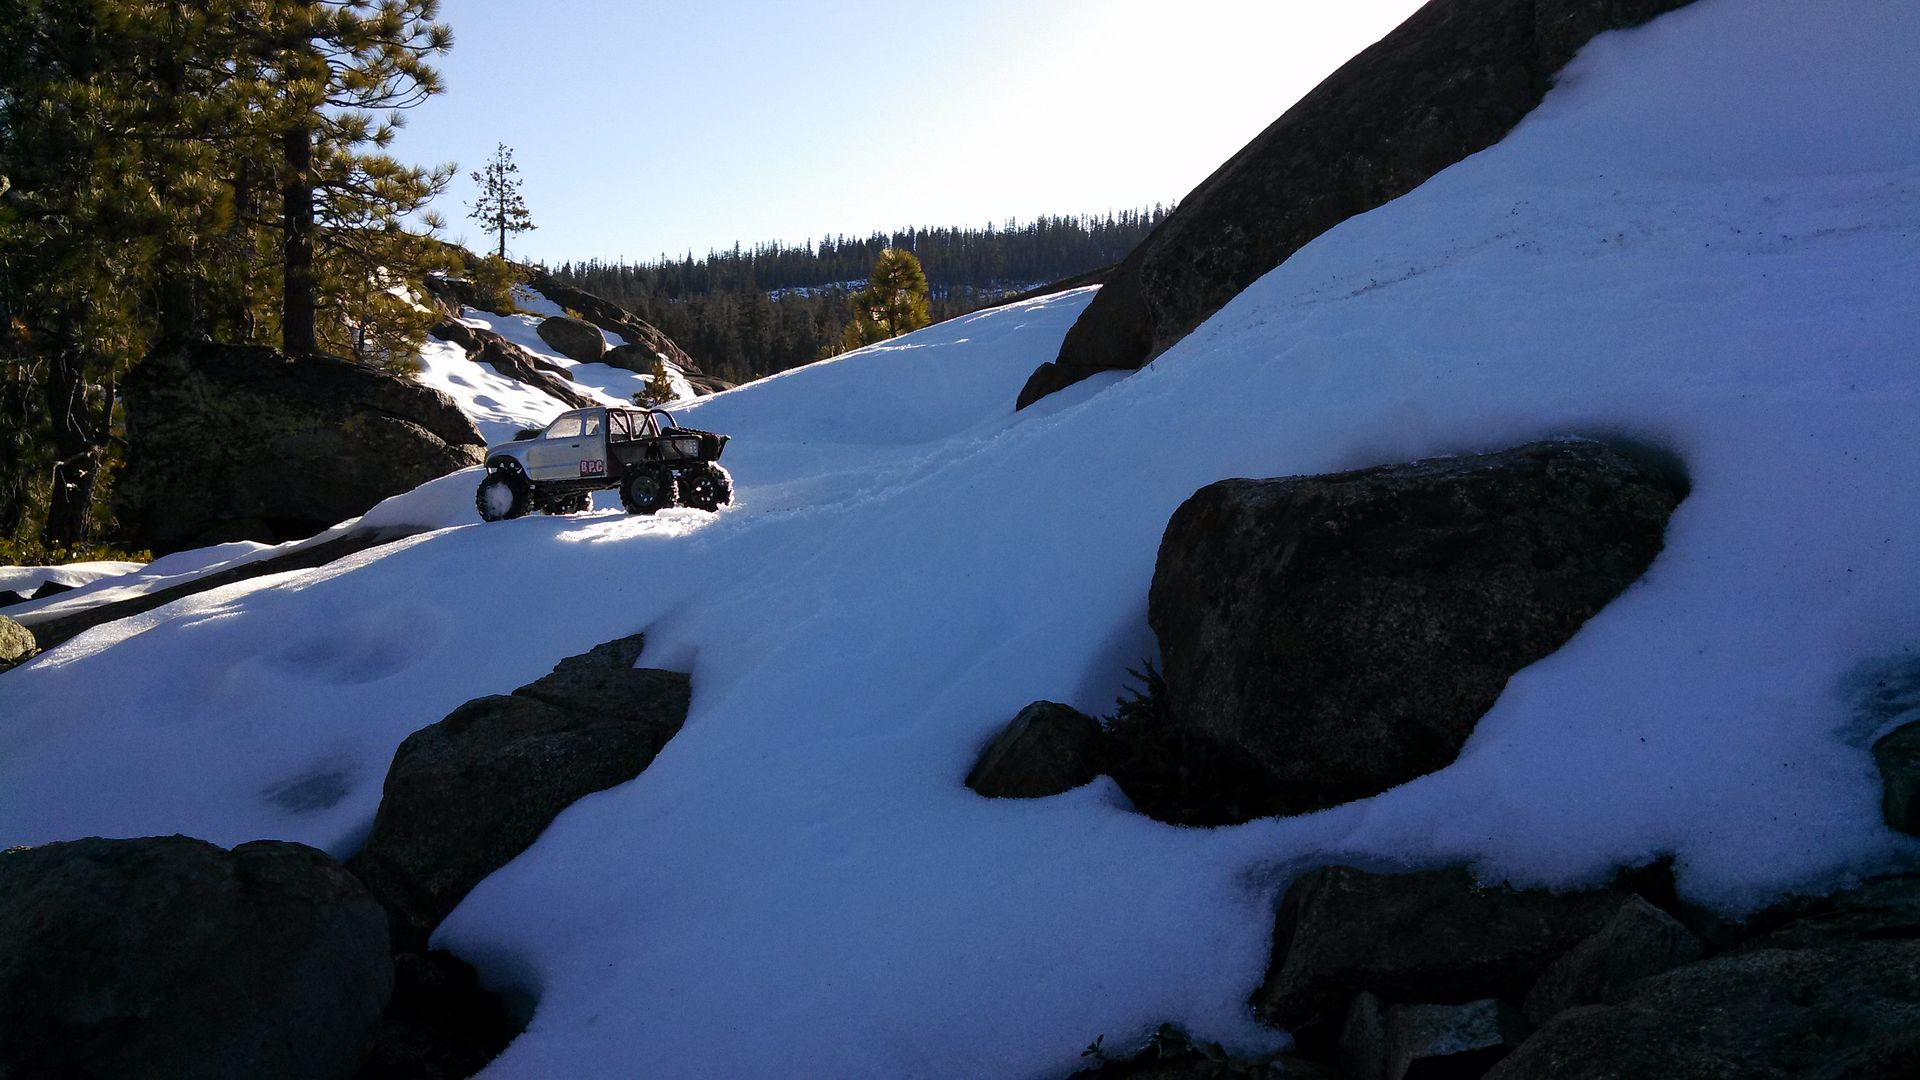  Trucks did great in the snow and we had a blast! We went through batteries faster than usual due to all the full throttle wheeling, all four of my tire beads held perfectly this time and there was lots of full throttle on snow, ice and rocks! Crawler Innovations foams are still working great! Rockhugger managed to smoke his motor right at the end of the day, other than that no damage despite our best efforts. |
| |  |
| | #178 |
| I wanna be Dave Join Date: Jan 2006 Location: Corruptifornia
Posts: 12,107
|
Lots of granite, sandstone and deep sand! Hot Racing wheels are holding beads great now that I took the time to drill out hex adapters (and use 2.5mm instead of 2mm hardware) and clean the tire and wheel beads before mounting. OEM Steel 1.9 Stock Beadlock Wheel Hexes Part Number Z-S0268 would have worked just fine too! http://store.rc4wd.com/OEM-Steel-19-...es_p_1249.html Here's their other 6 lug wheel hexes in various offsets: http://store.rc4wd.com/Billet-wheel-...els_p_270.html I used the ones that I did with Traxxas 2wd Slash plastic front wheel hexes to add about 5mm per side...cheaper and I can vary my track by changing just the hexes. Crawler Innovations foams are still kicking azz and have broken in very nicely, side-hill grip and not rolling under! 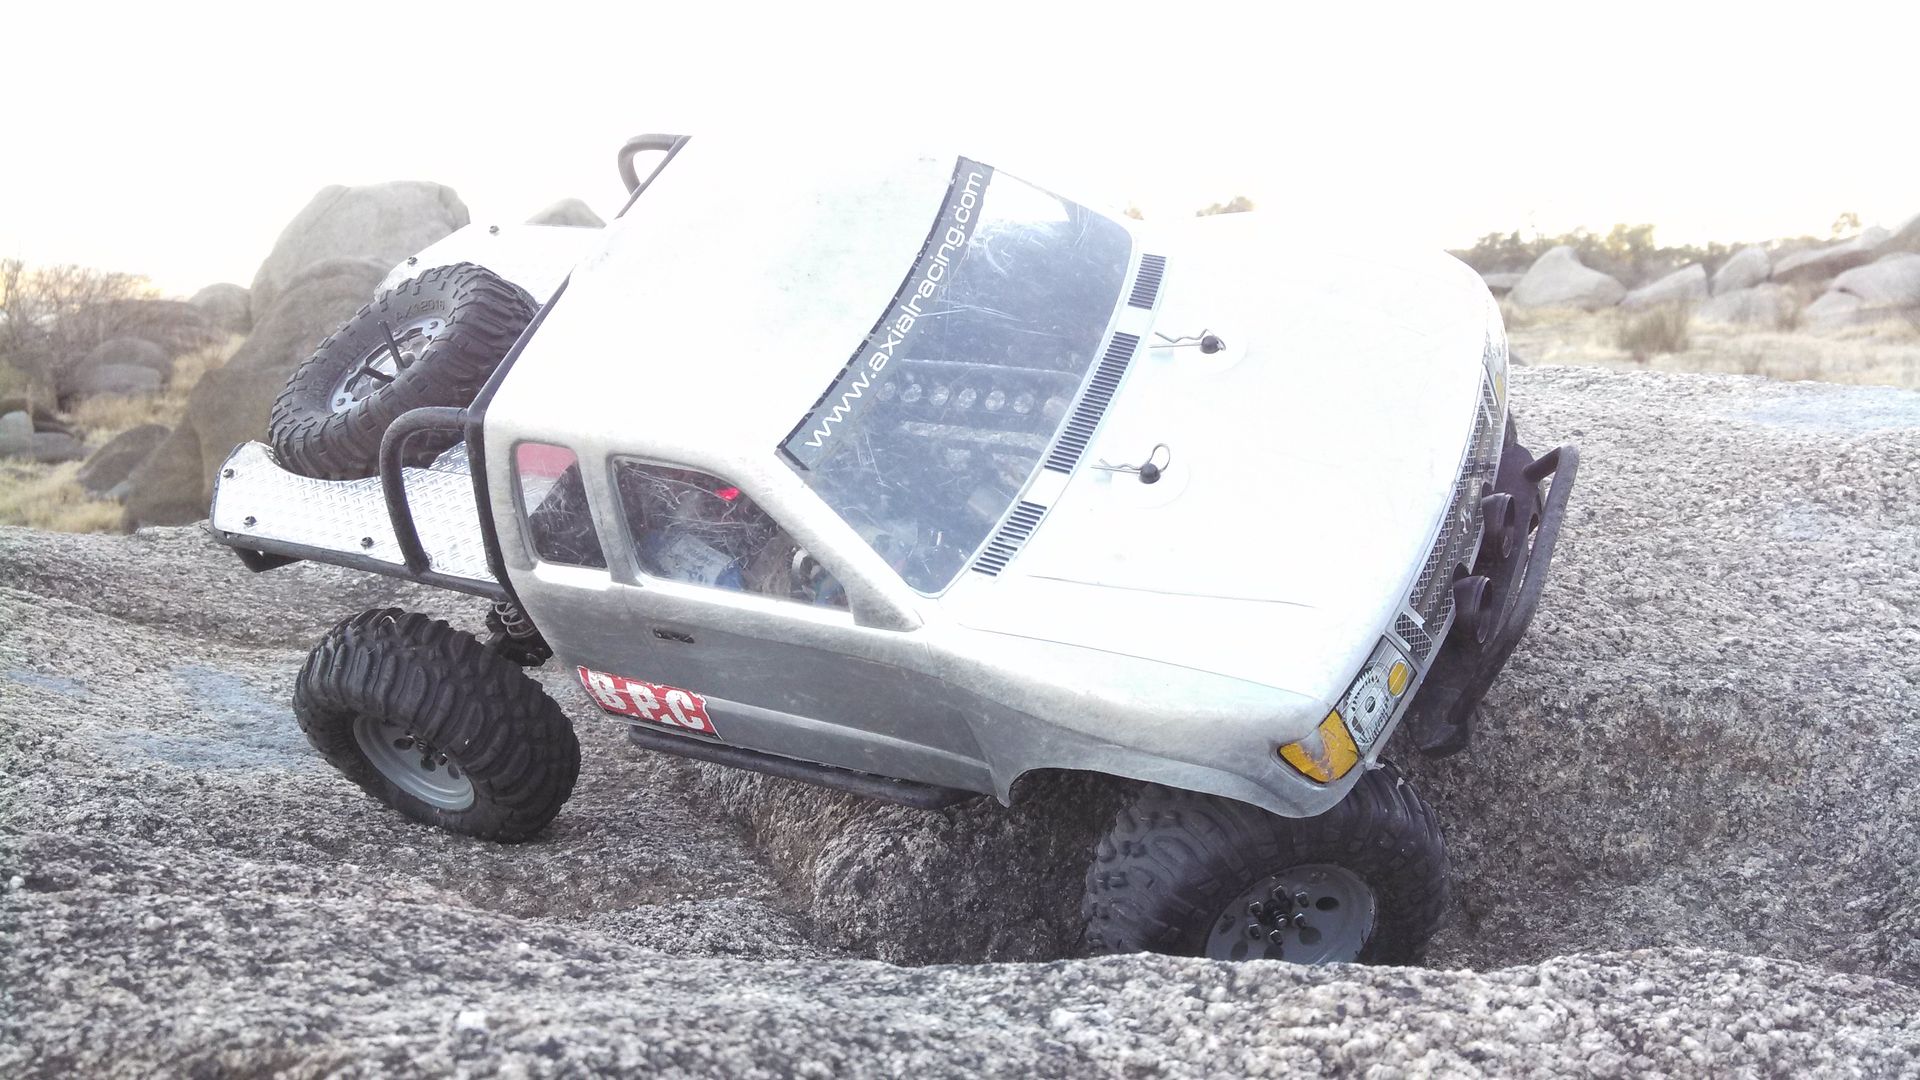 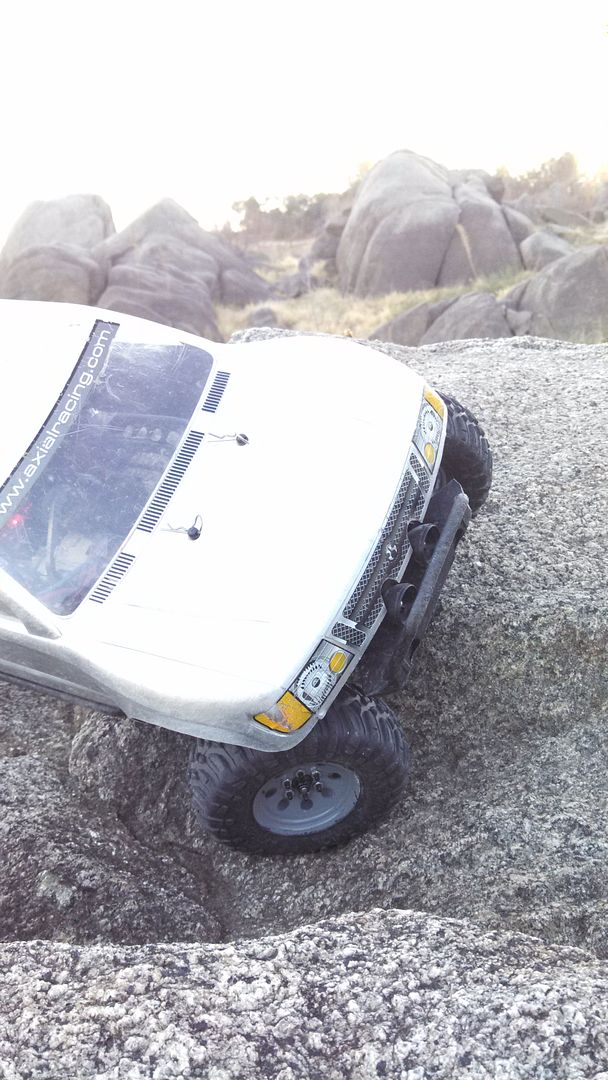 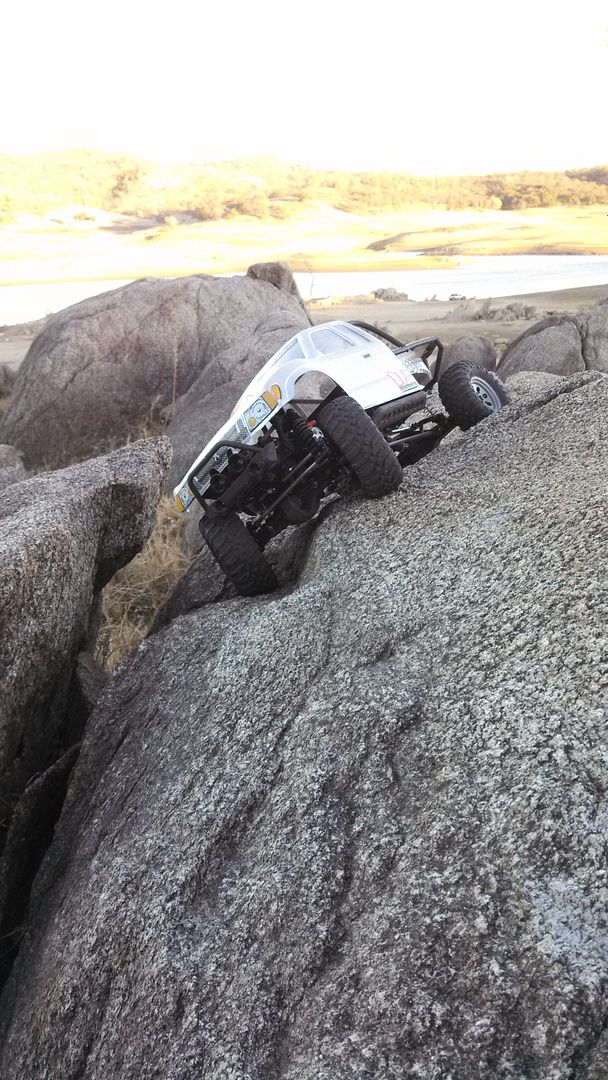 Last edited by Natedog; 02-04-2014 at 10:46 PM. |
| |  |
| | #179 |
| I wanna be Dave Join Date: Jan 2006 Location: Corruptifornia
Posts: 12,107
|
EXTRA beefy tubes 29.5 grams per side = 59 grams per axle and Stainless Steel! EDIT: I need to trim down the outer ends a bit. 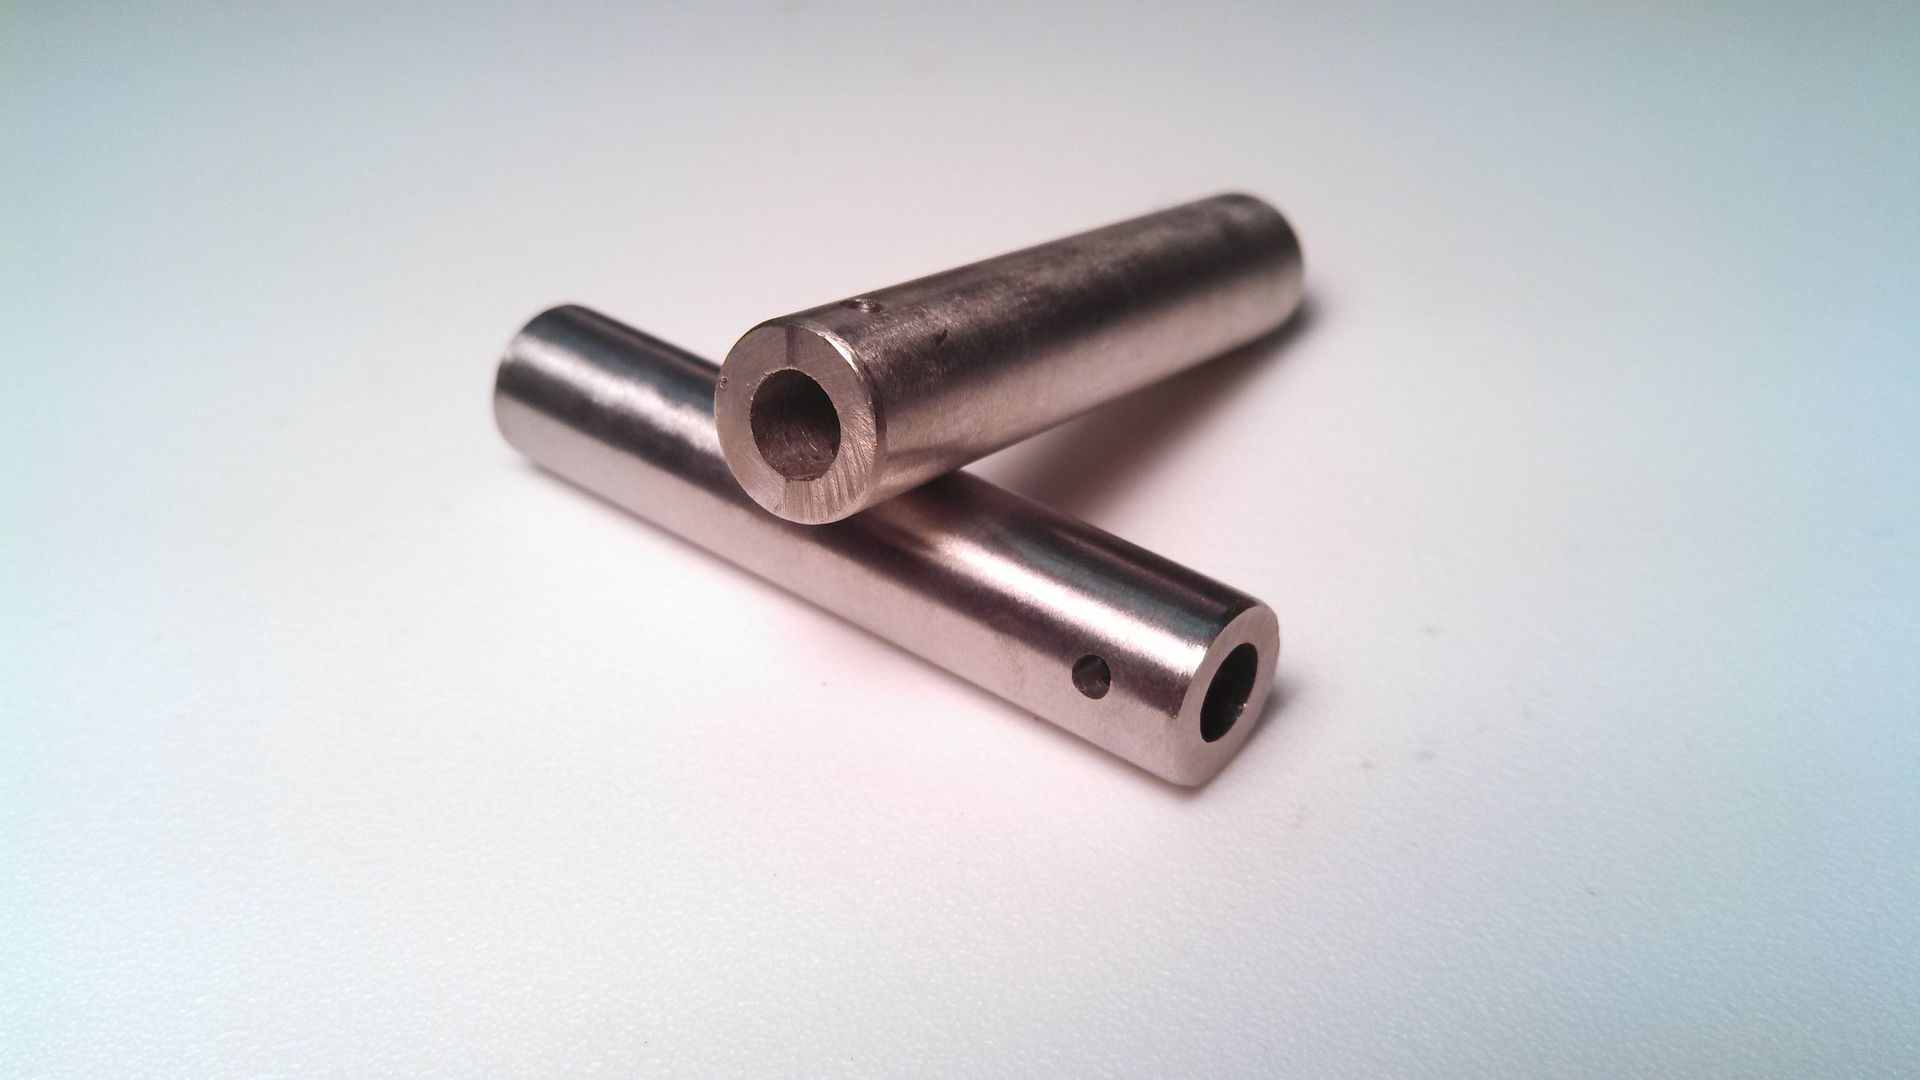 Last edited by Natedog; 02-04-2014 at 10:50 PM. |
| |  |
| | #180 | |
| I wanna be Dave Join Date: Sep 2006 Location: Anchorage, Alaska
Posts: 3,099
| Quote:
I bought the biggin69 BT's and they're std/mild steel tube. but these (v) do look more like SS !? ...nice, who's the mfg'r ? ^ You prolly told me already... but I must've forgotten Have you tried using the Rr. stock one piece solid axle shafts with these ? I'd think there would be some interference at the inner tube's end (ID) and with the axle shaft binding at the end of the beef tubes ID (inner end at the diff/locker) I think my front Axial universal's could spin in those. But I even had issue with the biggin69 std beef tubes when using the stock one piece axle shafts in the rear axle. Had to chamfer the tubes inner end ID somewhat to free the axle. curious to see how these work out for you Last edited by TacoCrawler; 01-19-2014 at 01:50 AM. | |
| |  |
 |
| |