| |
 08-17-2011, 05:45 AM
| #1 |
| Quarry Creeper Join Date: Aug 2011 Location: United Kingdom
Posts: 300
| Can someone please explain how this is done and what the advantages are of doing it over the standard configuration? I unfortunately cannot get my head around it!!!! does it extend the wheelbase in any way ot increase the ride height? Is it just for more clearance? ...??????? :( I have so far found out that if you buy the kit you will not be able to do the 4 link and will require additional parts however if you buy the RTR you get the parts included to modify it later....is this correct? Some close up pics of a 4 link vs. standard would be great as I am kind of a visual person |

|  |
| Sponsored Links | |
| | |
|
08-17-2011, 06:33 AM
| #2 |
| RCC Addict Join Date: Jul 2009 Location: Dover, NH
Posts: 1,153
|
It does not increase flex as the stock setup does not limit flex. The shocks are the limiting factor in how much travel you get (stock or 4 link). What the 4 link helps with is strength (2 links connected to the upper axle) compared to one with the stock y upper link. It does not increase ride height or lower it, that is a function and setting of the shocks. The 4 link also can help when setup correctly to limit torque twist to a degree. it is not a major problem stock, but can be limited further with a good 4 link setup. There is too much info to post hear as to why that is. But the major thing in my opinion is strength as I have had the stock y link plastic pieces and the joint where it connects to the axle fail. The trail ready comes with the 4 link adaptor but you need upper links. they will need to be about the same size as the lowers if not a hair shorter. |
|
| |
|
08-17-2011, 08:24 AM
| #3 |
| Quarry Creeper Join Date: Aug 2011 Location: United Kingdom
Posts: 300
|
Ok thanks for that. Think I can sort of visualize it now Would you or someone be able to list the exact parts that are required to do this if you only have the kit i.e. what additional parts tress are required, screws, links etc. If there is a tutorial for this a link would be greatly appreciated. I have a feeling it is a basic change but need to understand exactly what and how  |
|
| |
|
08-17-2011, 09:44 AM
| #4 |
| Quarry Creeper Join Date: Aug 2011 Location: United Kingdom
Posts: 300
|
Is there a way to do this with standard Axial parts from either the kit or RTR? I am not heavy into modding and like to use original parts!
|
|
| |
|
08-17-2011, 10:13 AM
| #5 |
| Rock Crawler  Join Date: Dec 2009 Location: Colorado Springs
Posts: 670
|
You can do a 4 link with axial parts. Do you already have a scx10? The rtr's come with the 4 link mount, the kit does not. You can buy that part separate though. It's parts tree axi80043. You will need 2 if you are doing the front too. If your converting a rtr honcho or dingo, buy the aluminum links kit. It will contain all the links needed to setup the 4 link, and has instructions to build those links. The link kits are ax30549 for the dingo, and ax30550 for the honcho.
|
|
| |
|
08-17-2011, 10:21 AM
| #6 |
| Quarry Creeper Join Date: Aug 2011 Location: United Kingdom
Posts: 300
|
Thanks LDogg! Don't have a kit yet but planning on getting one so just getting all my ducks in a row before the order is placed So you are saying that if I buy the kit and the additional parts trees I will be able to 4 link the front and rear? I assume that one part tree will do the front and the other will do the rear or do you need two either way? The instructions that you mentioned that come with the RTR to show how to do the 4 link installation, is it in the manual or on a seperate sheet? |
|
| |
|
08-17-2011, 10:36 AM
| #7 |
| Rock Crawler Join Date: Dec 2009 Location: Colorado Springs
Posts: 670
|
the aluminum links kit is what has the instructions. it will also include the links that are needed. all you need from the parts tree is the truss, unless you leave the links plastic. so... to convert an RTR buy an RTR buy the aluminum links kit if you want. you don't need the parts trees for the truss, it's included in the RTR. to convert the build it your self kit buy the kit buy the parts trees for the truss, it's NOT included in the kit, only in the RTR. you will need to pickup some additional links for the uppers. you can either use the 20mm posts like in the link below, or get longer links separately. I ended up swapping out the upper links in all three rigs that I did this on. I just bought several set of links, from 91 to 106mm, and played around with the fit. I also had the aluminum links kit on 2 of these. check this link out for pics. http://axialracing.com/wordpress/200...nk-axle-truss/ does that make sense? |
|
| |
|
08-17-2011, 10:40 AM
| #8 |
| Rock Crawler Join Date: Dec 2009 Location: Colorado Springs
Posts: 670
|
also look at this post. http://axialracing.com/wordpress/200...r-to-aluminum/ the aluminum links upgrade kit basically includes everything there, you just need to truss, which in included in the RTR. |
|
| |
|
08-17-2011, 10:54 AM
| #9 |
| Quarry Creeper Join Date: Jul 2011 Location: Lake City, Fl
Posts: 380
|
if you 4-link the front though, you'll have to either drill holes in the servo mounting plate to mount the top links to, or chassis mount your servo. you can't mount the upper link bracket to the axle with the servo mounted on the axle they're pretty easy to make though. I just ordered 2 packs of large Traxxas rod ends, bought some 8/32 all-thread from Lowe's, and some 1/4 steel brake line from Auto Zone. the length of the 1/4 brake line sleeved over the all-thread is what makes the links the length they are, so you have to get them just about perfect for everything to come out right, but it's not hard at all. did all 8 links, and the steering linkage, and still have some material left over. it also takes ALL of the side to side slop out of the axle. like said before, flex wasn't increased at all though; that's all in the shocks 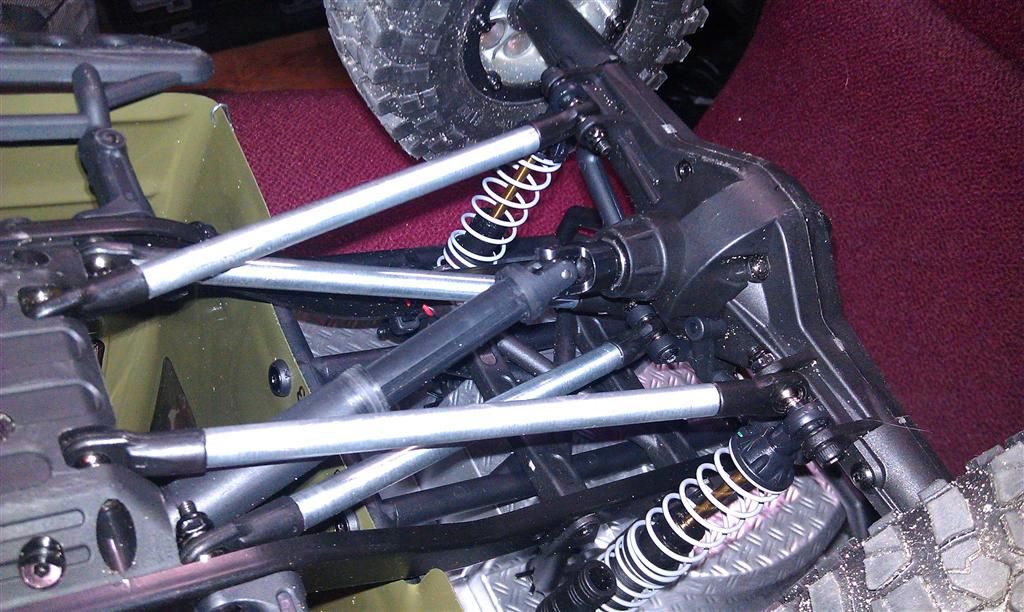 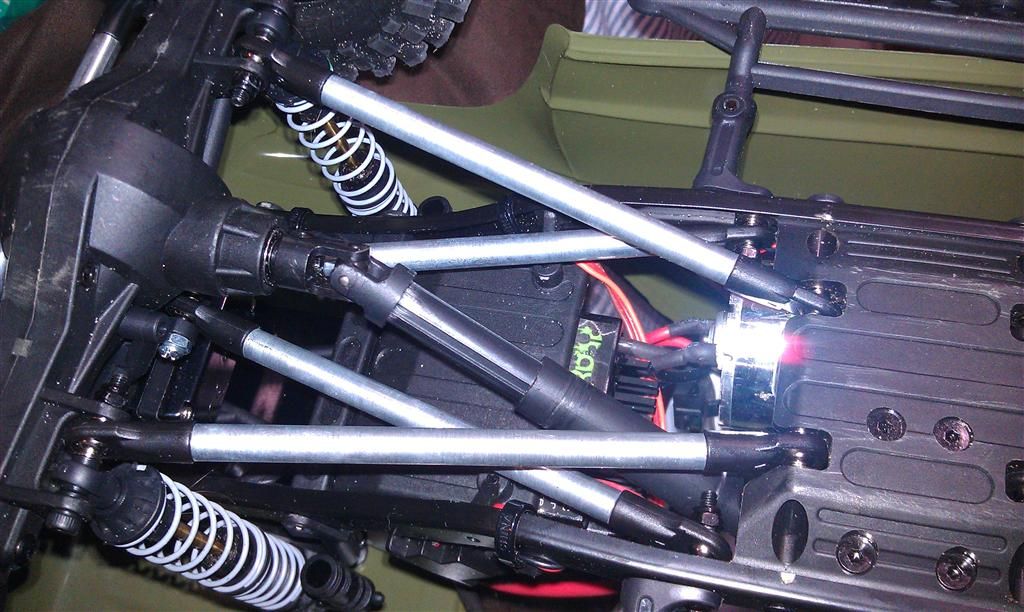 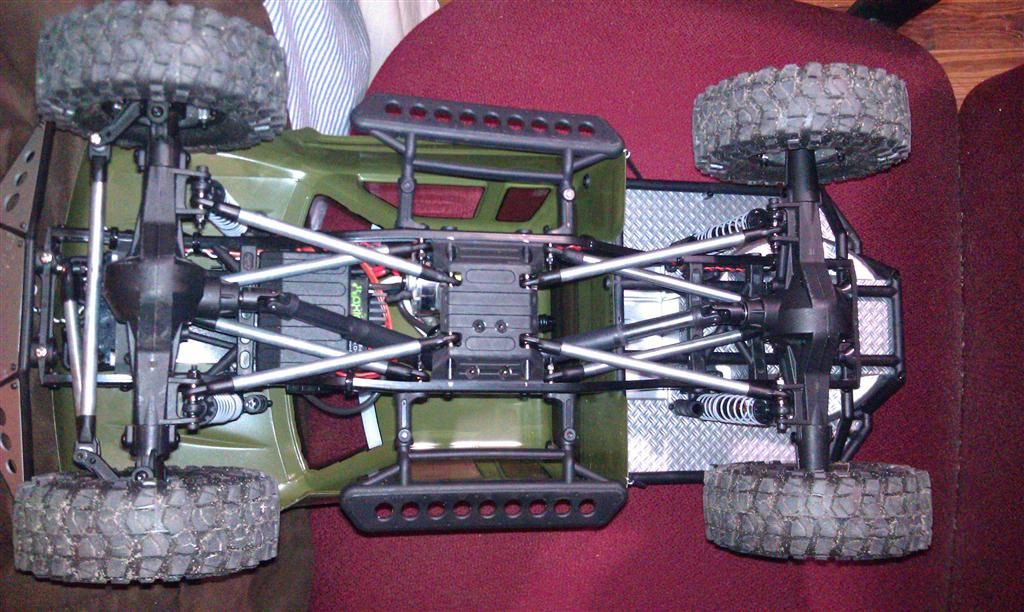 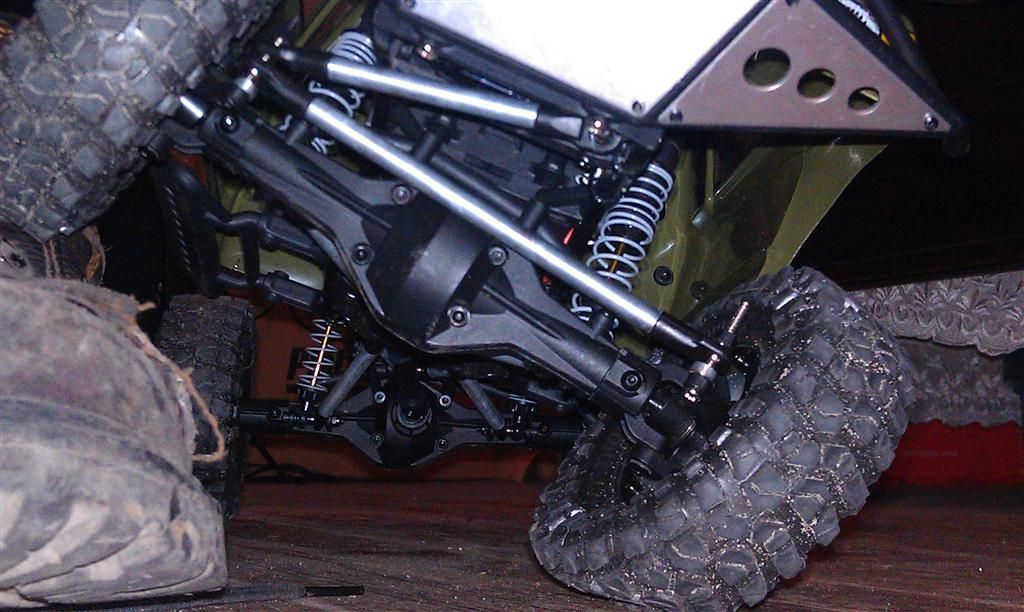 |
|
| |
|
08-17-2011, 12:43 PM
| #10 |
| RCC Addict Join Date: Jul 2011 Location: Orlando
Posts: 1,153
|
I didnt have to drill or move or modify anything with my Honcho RTR to install the 4 links and lower link setup. Nothing was touching or binding, it all laid into place where it should. Maybe I got lucky. Here are some pics, the truck is dirty in pics after crawling in Sanford. 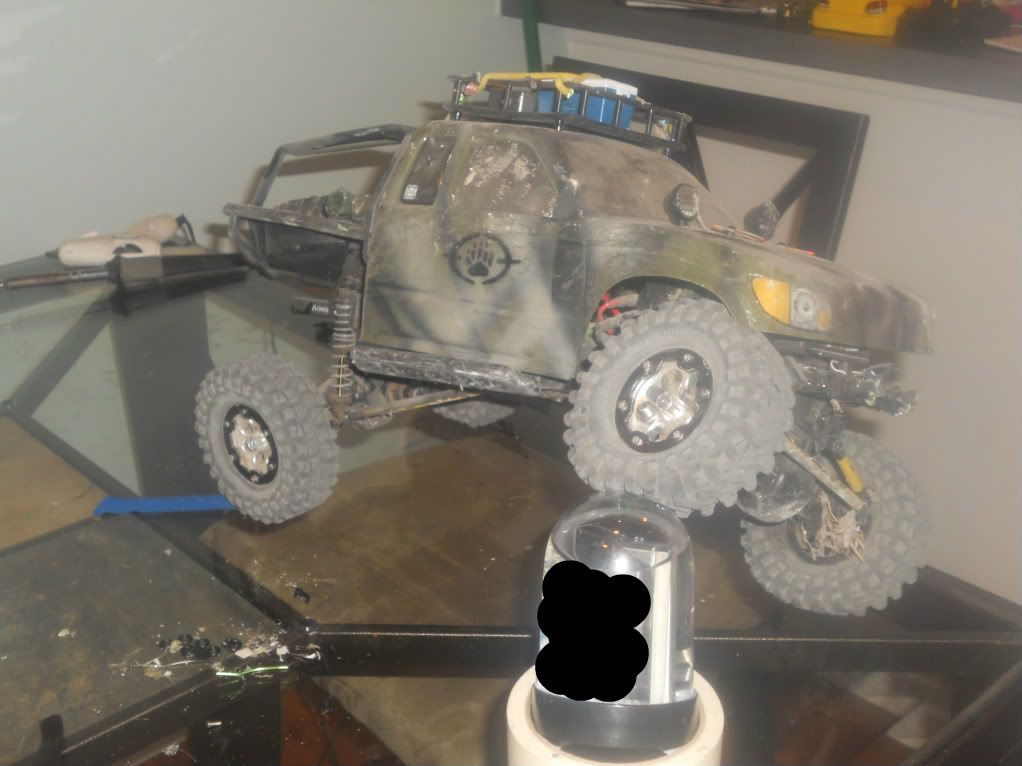 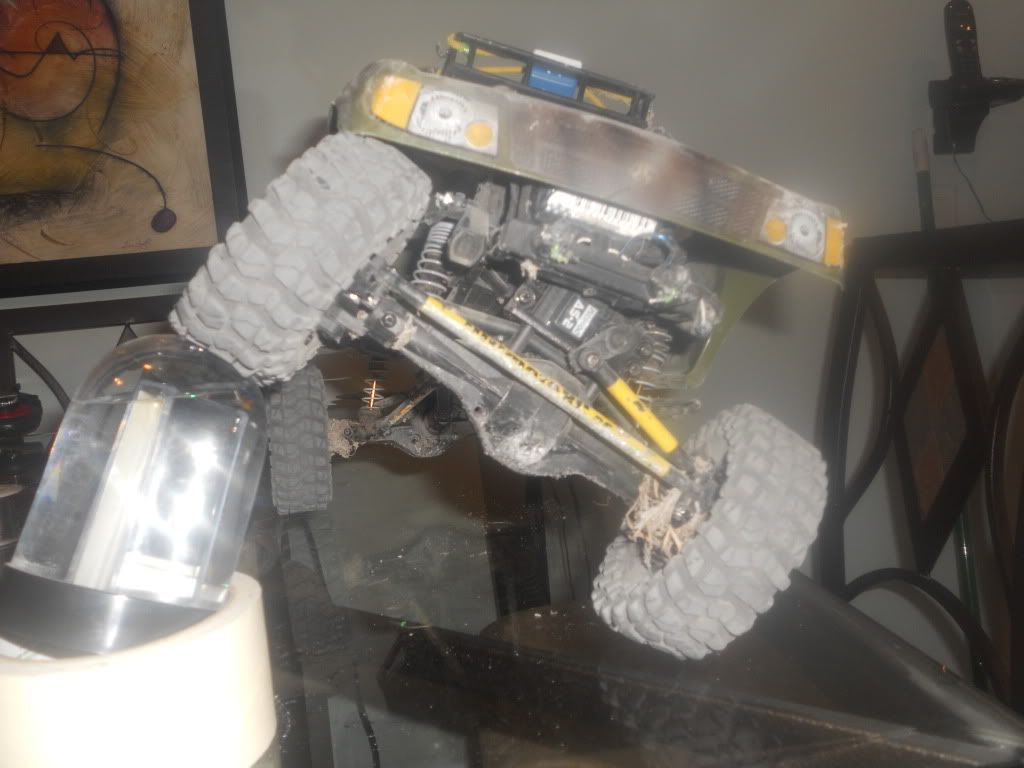 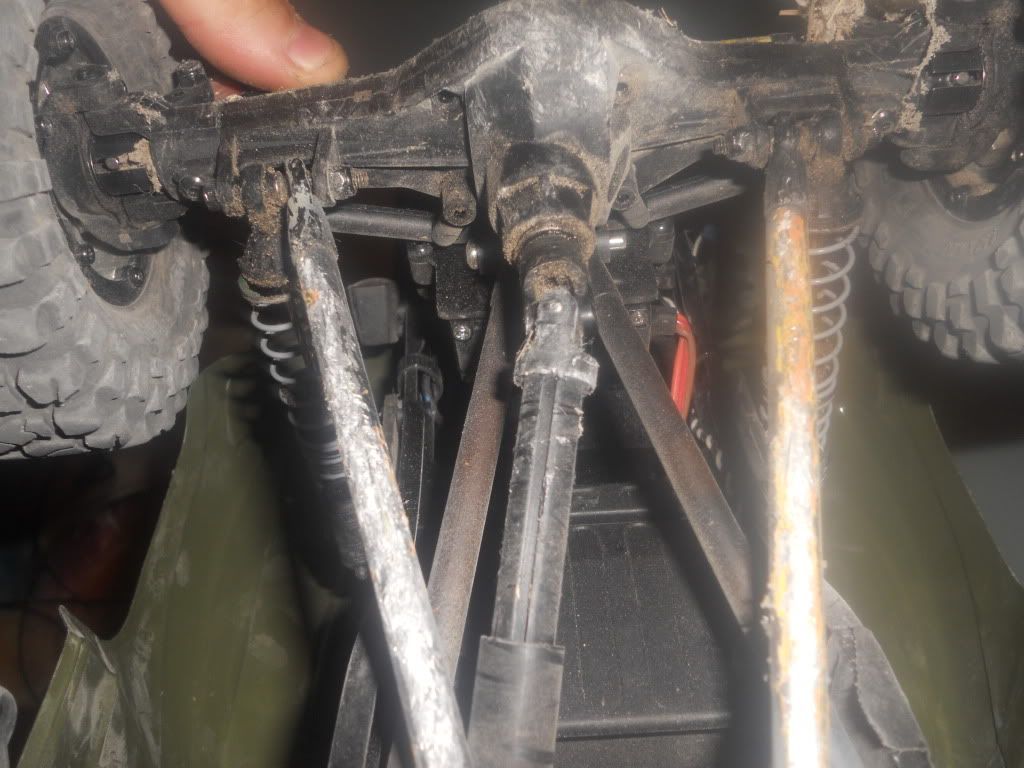 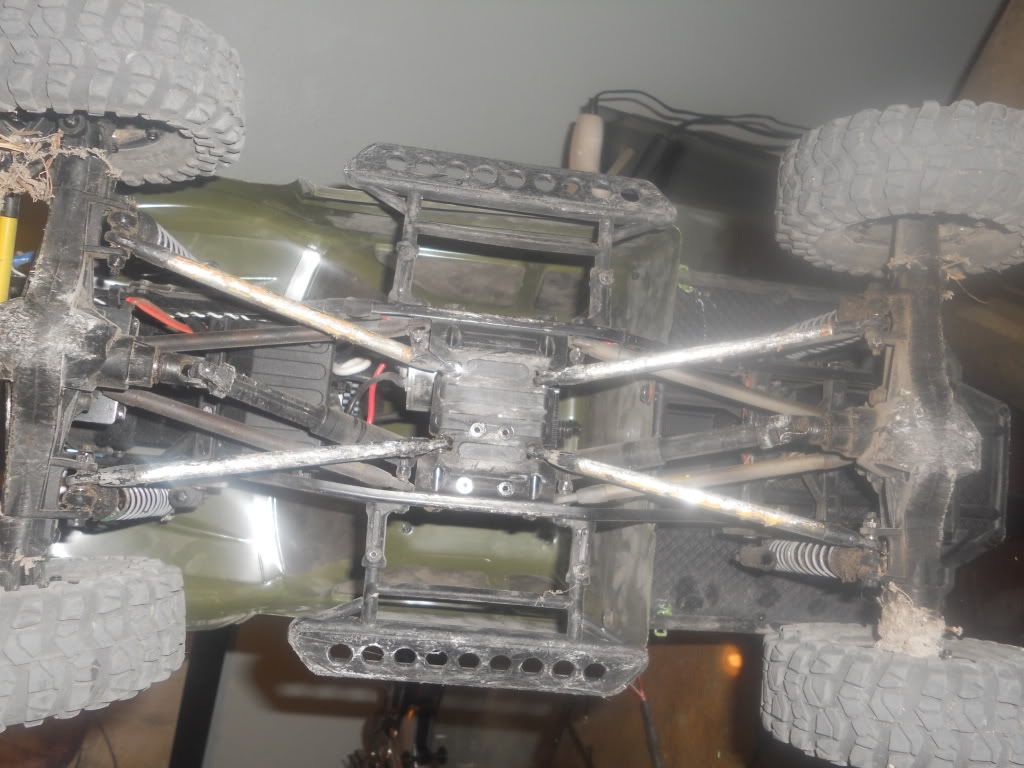  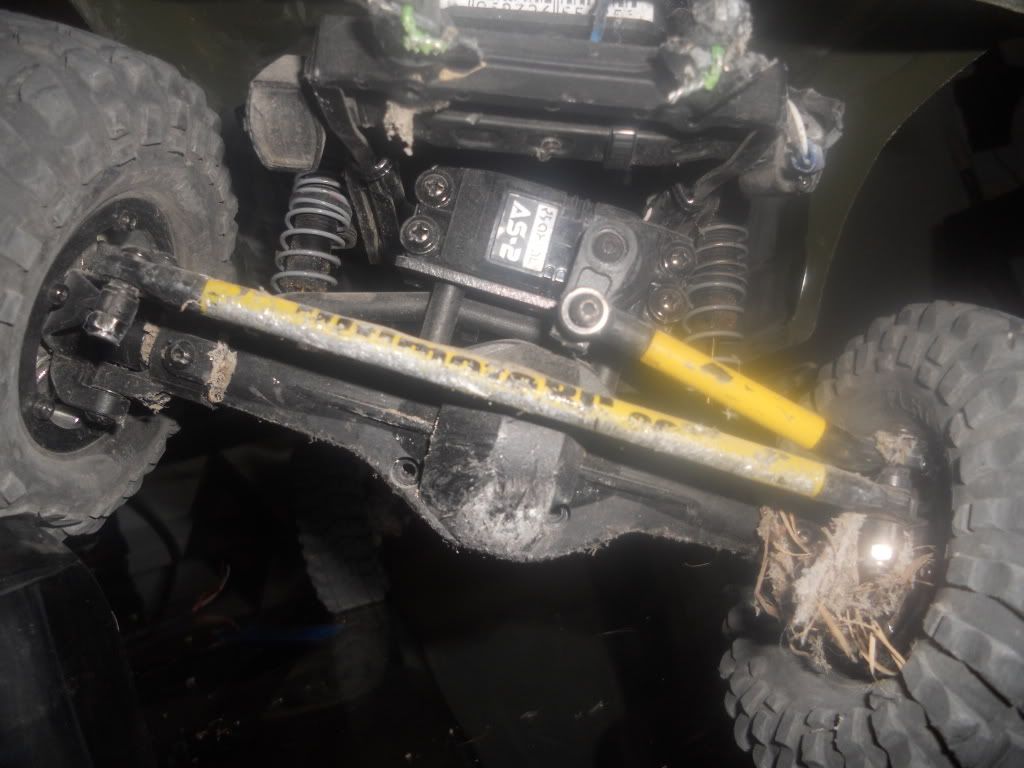 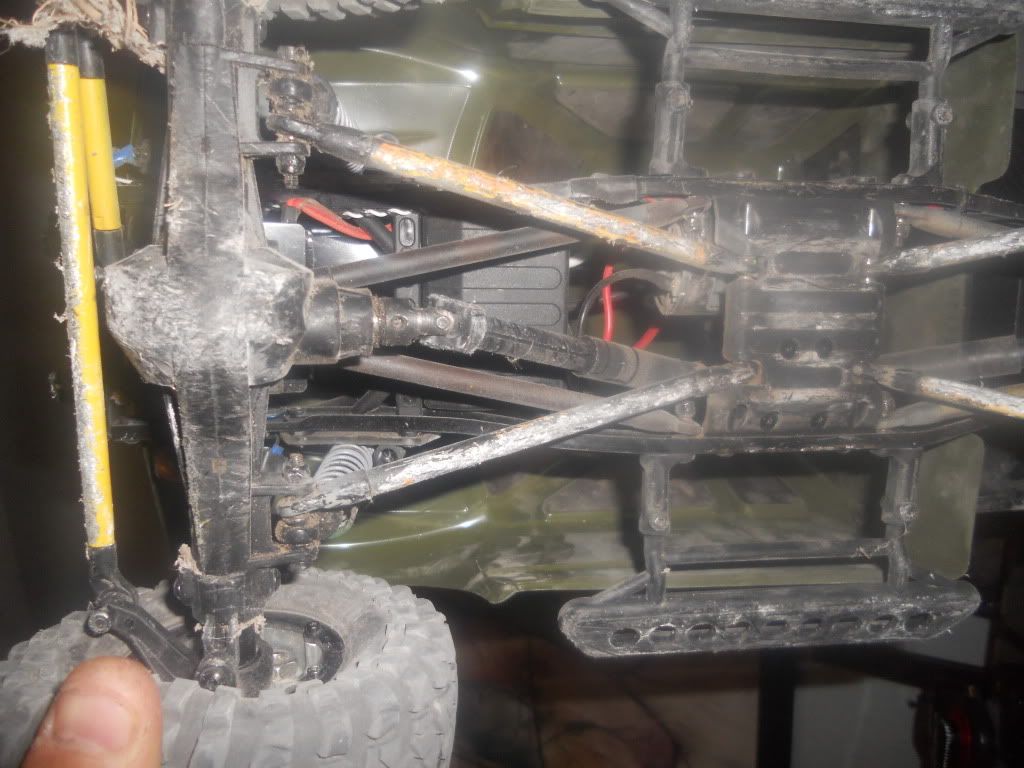 |
|
| |
|
08-17-2011, 01:33 PM
| #11 | |
| I wanna be Dave  Join Date: Jan 2006 Location: Corruptifornia
Posts: 12,107
| Quote:
I'm running axle mounted servo.
| |
|
| |
|
08-17-2011, 03:06 PM
| #12 |
| Quarry Creeper Join Date: Oct 2010 Location: Grandview, IA
Posts: 356
|
@AsILayDying your pretty yellow links aren't so pretty and yellow anymore lock, maybe if you climbed more rocks then you slid across they'd last longer! Also what did you blot out with black in the first pic, I'm really urious
|
|
| |
|
08-17-2011, 04:51 PM
| #13 | |
| RCC Addict Join Date: Jul 2009 Location: Dover, NH
Posts: 1,153
| Quote:
| |
|
| |
|
08-17-2011, 06:01 PM
| #14 |
| I wanna be Dave Join Date: Aug 2004 Location: central VT
Posts: 2,300
|
I 4-linked the front and rear of my kit scx with 105mm original version T-maxx turnbuckles, part number TRA2339. I'm still using the stock lower links. They work perfect in the rear with the rod ends threaded fully on. For the front I had to grind a couple mm off of the RH thread to get the castor angle I was looking for. This setup has the front axle pinion end of the driveshaft a little below the links, 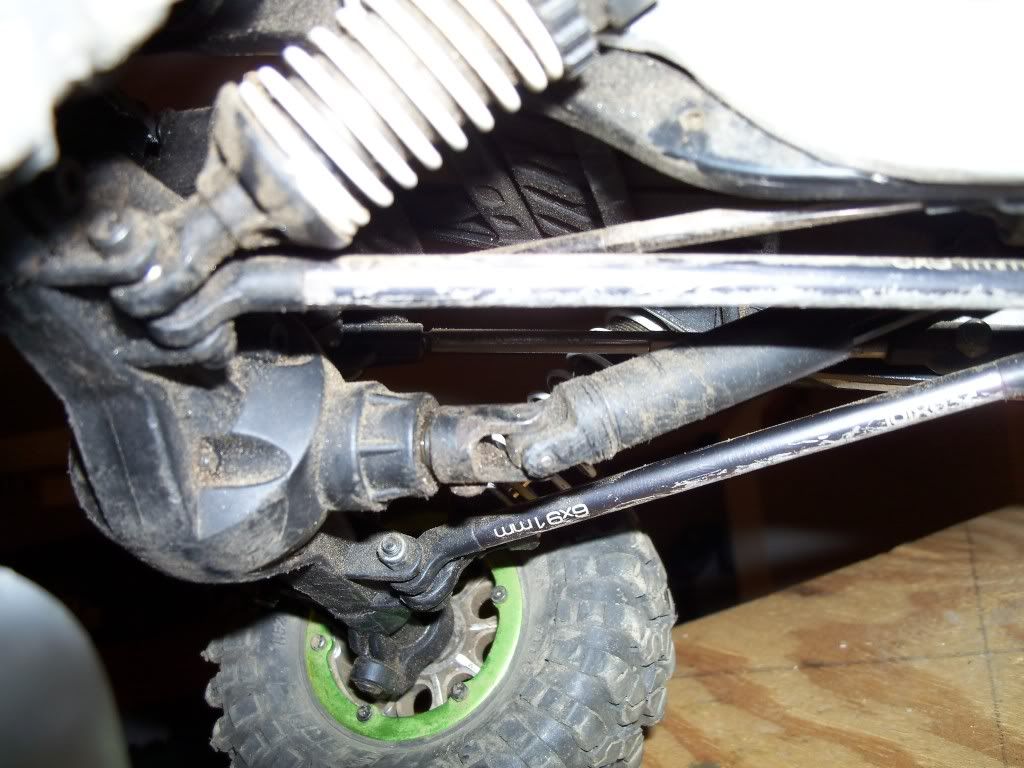 and the rear is right level with the lower links. 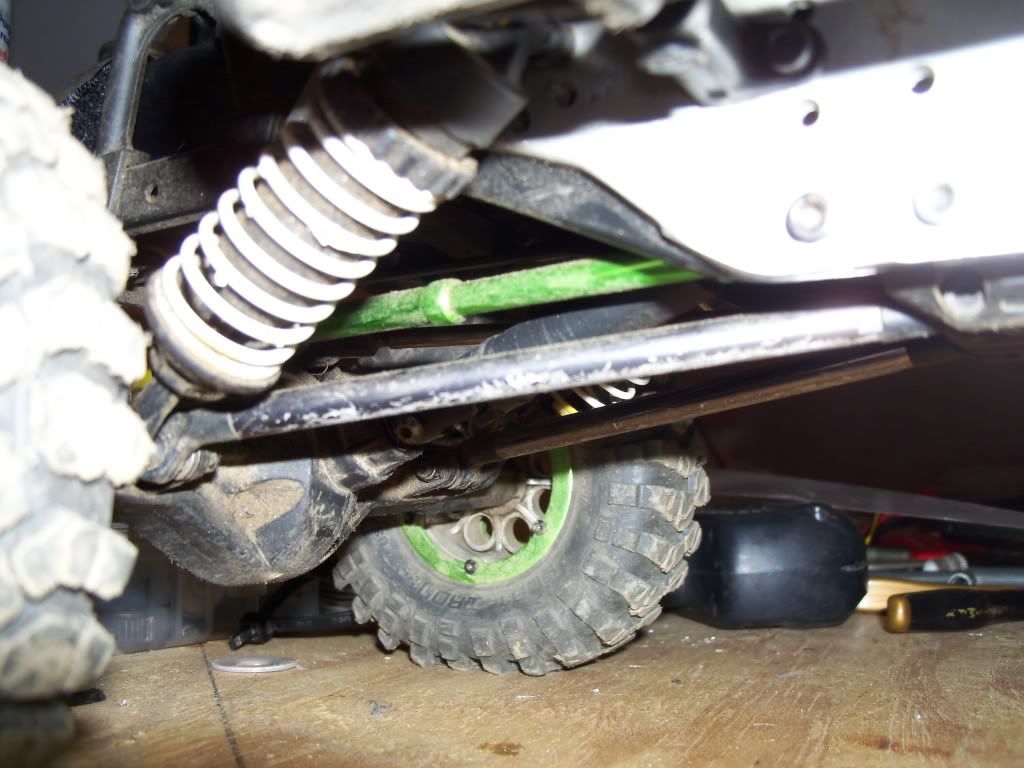 NOTE: this pic shows my temporary mockup links, but the Traxxas ones ended up the same length. |

| |
|
08-17-2011, 06:45 PM
| #15 |
| RCC Addict Join Date: Jul 2011 Location: Orlando
Posts: 1,153
|
Ha ha ha , yall are so funny. Nice Fed... Im new to this crawling thing so I may hit some rocks a little harder then I should at times but its def not from sliding . Anyways, yeah they arent yellow anymore and I painted them camo colors to blend with the body.As for the blacked out image, its a picture of me and my wife in a SnowGlob from x-mas. She hates when there are pics on the forum of her and she didnt agree. LOL. Oh well let me see if I can put one up. this is her 2 years ago my son just turned 1 there. We were out watching a Michigan game at the bar.  |
|
| |
|
08-17-2011, 07:40 PM
| #16 |
| Quarry Creeper Join Date: Jul 2011 Location: Lake City, Fl
Posts: 380
|
ah, well I have been proven wrong |
|
| |
|
08-17-2011, 07:44 PM
| #17 |
| RCC Addict Join Date: Jul 2011 Location: Orlando
Posts: 1,153
|
^^^^ ha ha ha. Yeah I thought the same thing when I looked at the rig and thinking to myself. Hmmm that doesnt look right but why would they give me the part if it didnt work. Let me see if it works. And wahlah... it worked. Anyways it really doesnt matter moving the servo to the frame was probably a good move anyways. Thats most likely my next mod. Gonna try something a little diff though, we shall see if it works.
|
|
| |
|
08-17-2011, 08:16 PM
| #18 | |
| Quarry Creeper Join Date: Oct 2010 Location: Grandview, IA
Posts: 356
| Quote:
Now that explains it! However I was hoping it was something a tad more embarassing for you as your chick is not at all lol. | |
|
| |
|
08-18-2011, 01:58 AM
| #19 | |
| Rock Stacker Join Date: May 2010 Location: Tacoma
Posts: 80
| Quote:
| |
|
| |
|
08-18-2011, 06:53 AM
| #20 |
| Quarry Creeper Join Date: Aug 2011 Location: United Kingdom
Posts: 300
|
Thanks all Checked in the RTR manual and it seems to be the parts tree AX80043 and part number 1 that I need. Still checking on the exact links by comparing teh contents of the link kit to the Axial blogs that LDogg posted |
|
| |
 |
| Thread Tools | |
| Display Modes | |
| |


 Linear Mode


