| |
| |||||||
 |
| | LinkBack | Thread Tools | Display Modes |
 02-22-2012, 05:37 PM
| #1 |
| Pebble Pounder Join Date: Sep 2009 Location: joppa,al
Posts: 156
| this is a build to mount a tamiya brat body on a stock scx10 frame(no welding or custom frames) that is easy, cheap and still be able to change it back to a stock truck if you want. my goal was to build it so the average user could do it and then change it back if they wished using common handtools. you already have most parts(minus links and post) from your spare parts that came with your trucks. here is what the finished project will look like. 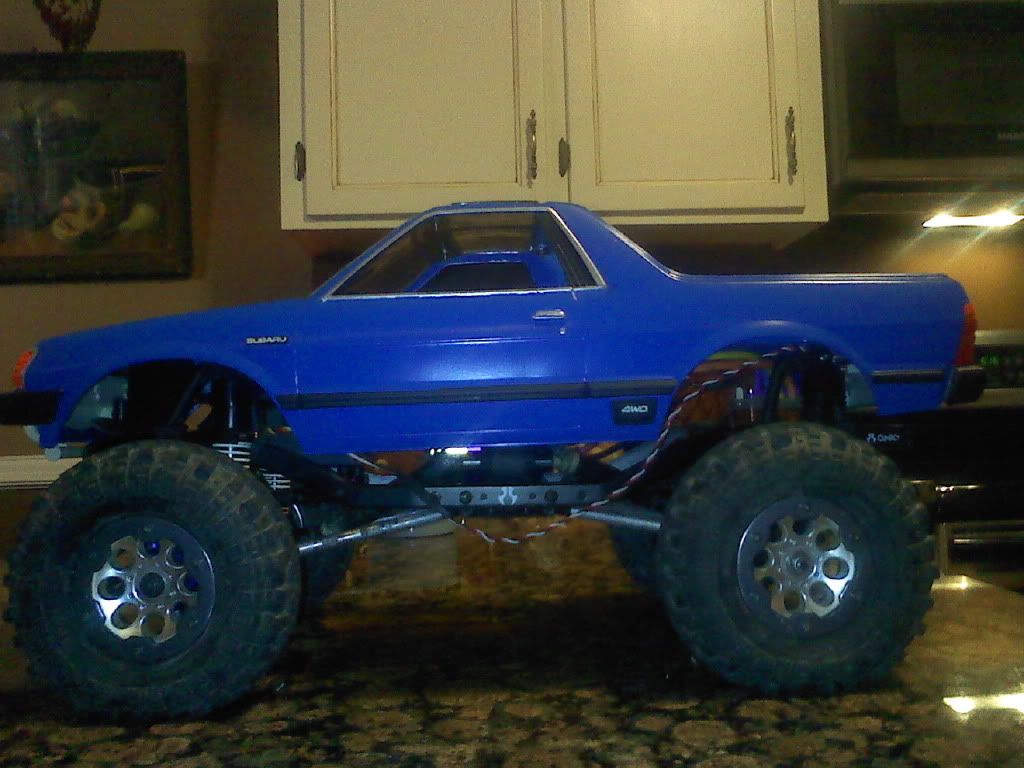 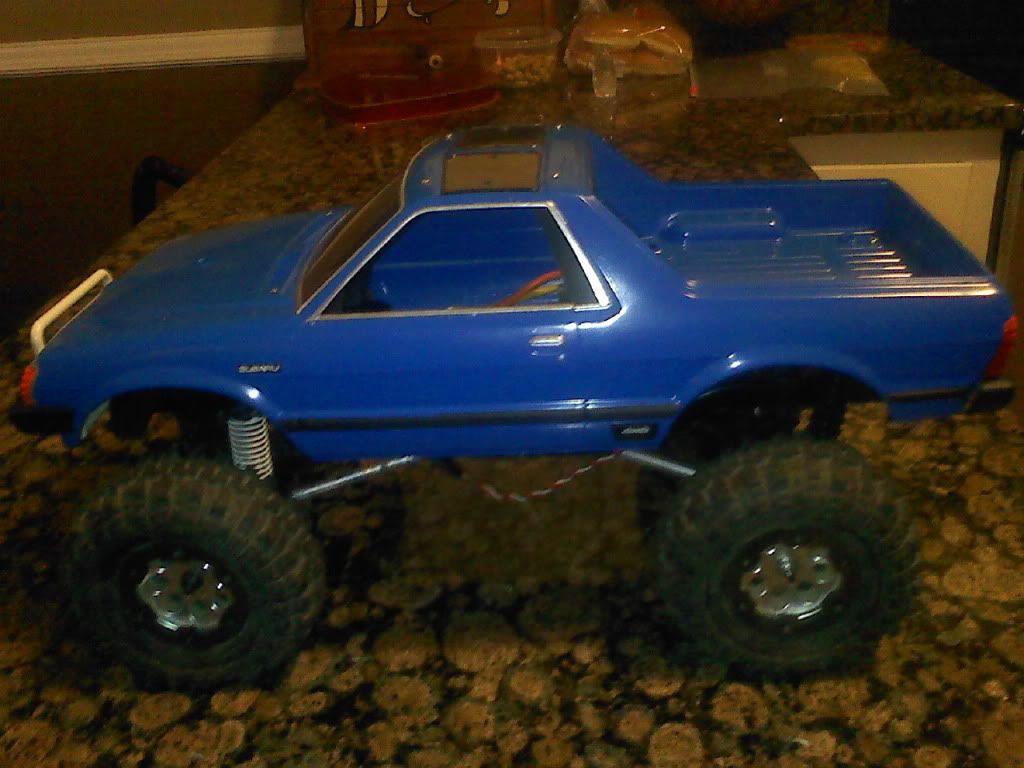  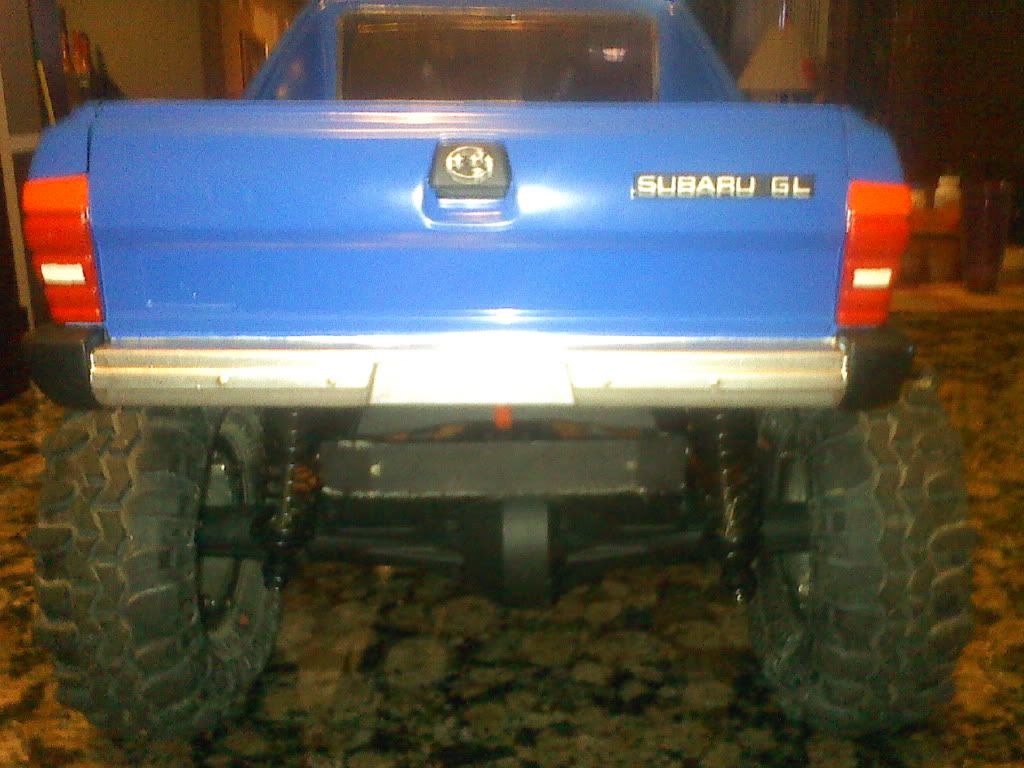 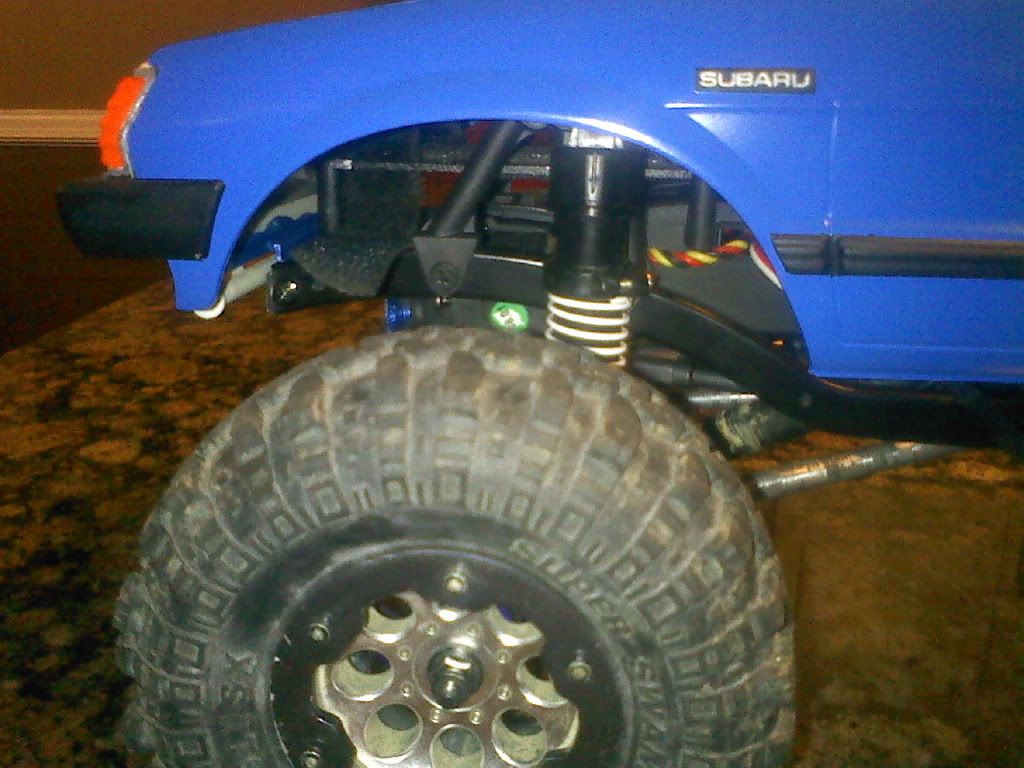 you notice no bumpers! the reason being, everybody will use their own bumper style more than likely. Last edited by rebel35747; 03-02-2012 at 05:47 PM. Reason: update |

|  |
| Sponsored Links | |
| | |
|
02-22-2012, 05:52 PM
| #2 |
| Pebble Pounder Join Date: Sep 2009 Location: joppa,al
Posts: 156
|
more information about how it got started is here http://www.rccrawler.com/forum/axial...ml#post3566336 |
|
| |
|
02-22-2012, 06:10 PM
| #3 |
| Rock Crawler Join Date: Oct 2011 Location: minot
Posts: 923
|
sweet now i can build the newest fad on rcc just like everyone else!
|
|
| |
|
02-22-2012, 06:14 PM
| #4 |
| MODERATOR   Join Date: Jul 2004 Location: Ohio
Posts: 18,928
|
Brat fad was about 2007.  |
|
| |
|
02-22-2012, 07:21 PM
| #5 |
| Rock Crawler Join Date: Oct 2011 Location: minot
Posts: 923
|
and tight jeans were 87... not h8n, just have seen 3 (edit) make that 4 seperate brat threads active in the last 3 days! Last edited by elsewhere; 02-22-2012 at 09:17 PM. |
|
| |
|
02-23-2012, 12:43 PM
| #6 |
| Pebble Pounder Join Date: Sep 2009 Location: joppa,al
Posts: 156
|
parts you will need.parts tree ax80043-1 (4 link truss), ax80084 (short driveshaft parts) ax80031-4 assorted axial links and post or the aluminum upgrade kit. not sure of the link sizes in the upgrade kit's but you can buy the post from 10mm to 70mm in 5mm steps, or a way of making your own links( can be done with the tool's used in this build) tools you will need. a drill or drill press(easier), 1/8 inch or 3mm drill bit, hacksaw or dremel tool with cut off disc or cut off tool,and a caliper or a way of measuring accurate mm's, and of course the normal hex's and screwdriver's and such. |
|
| |
|
02-23-2012, 12:46 PM
| #7 |
| Pebble Pounder Join Date: Sep 2009 Location: joppa,al
Posts: 156
|
First you will need to disassemble your truck to get to the frame rail's. next bolt the frame rail's together on the ends like so. makes it easier to cut both at the same time and keep them straight with each other. 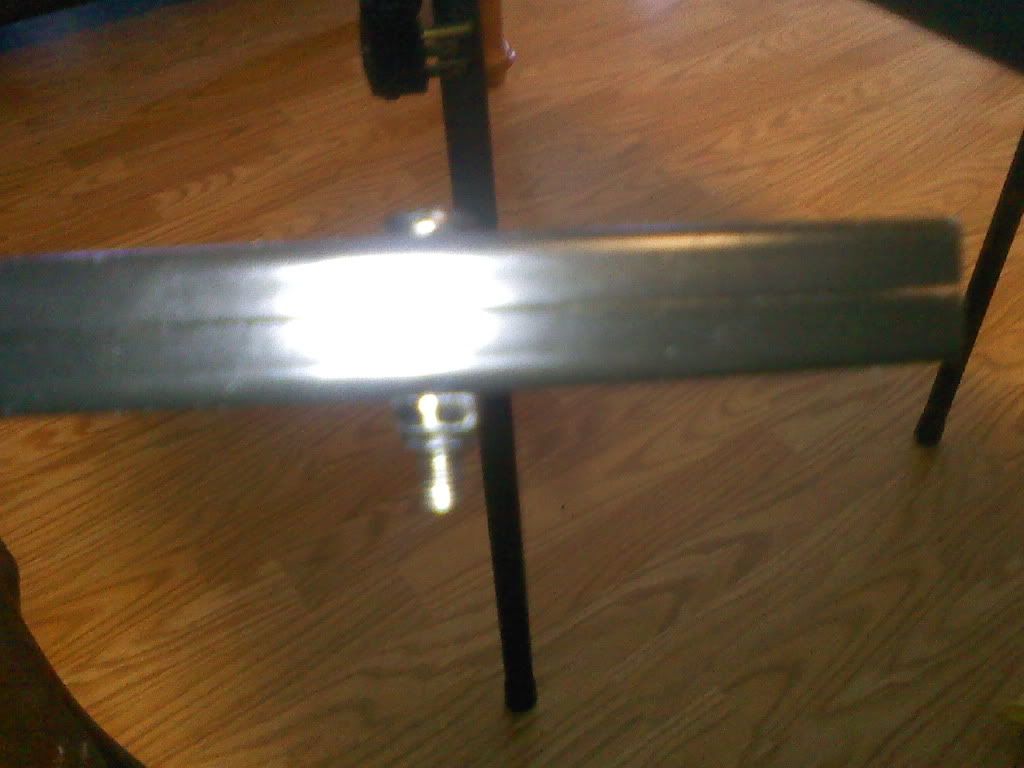  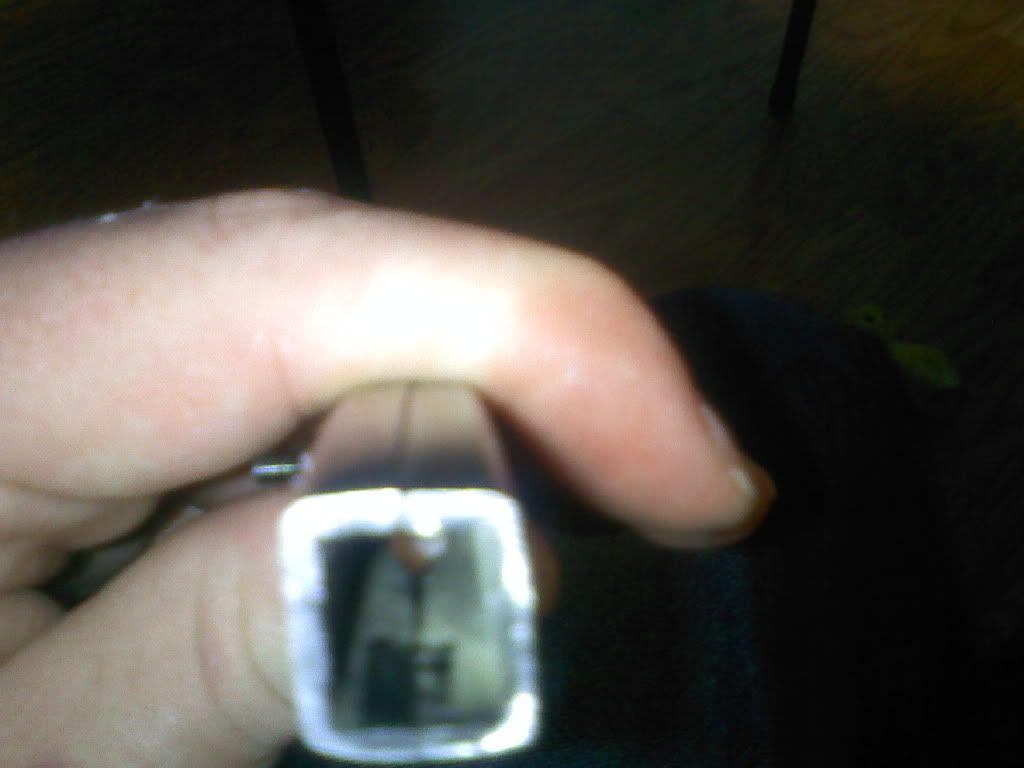 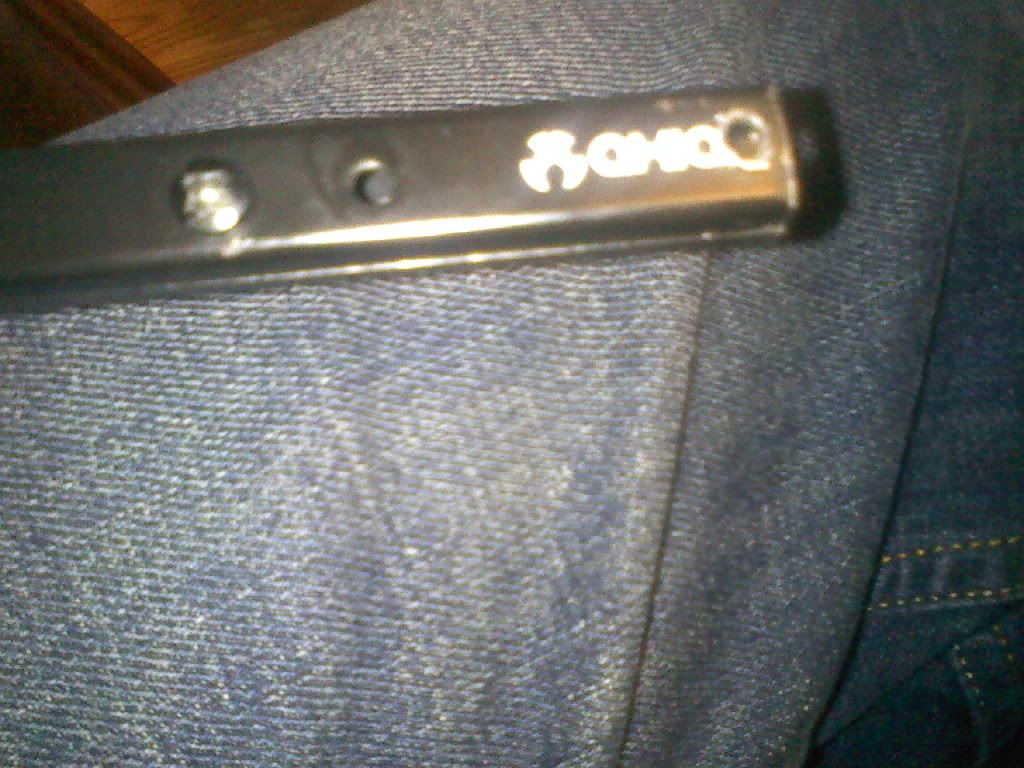 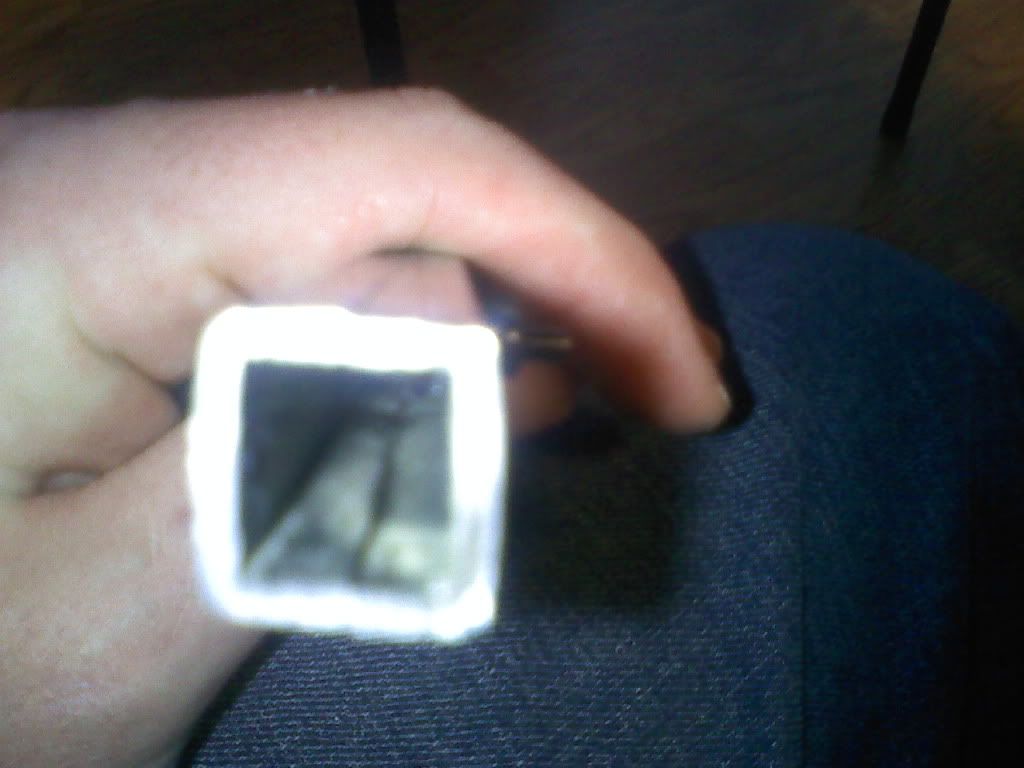 |
|
| |
|
02-23-2012, 12:48 PM
| #8 |
| Pebble Pounder Join Date: Sep 2009 Location: joppa,al
Posts: 156
|
cut 22mm's off the back (the one the says axial) and 16mm's off the front. keep the rail's bolted together.  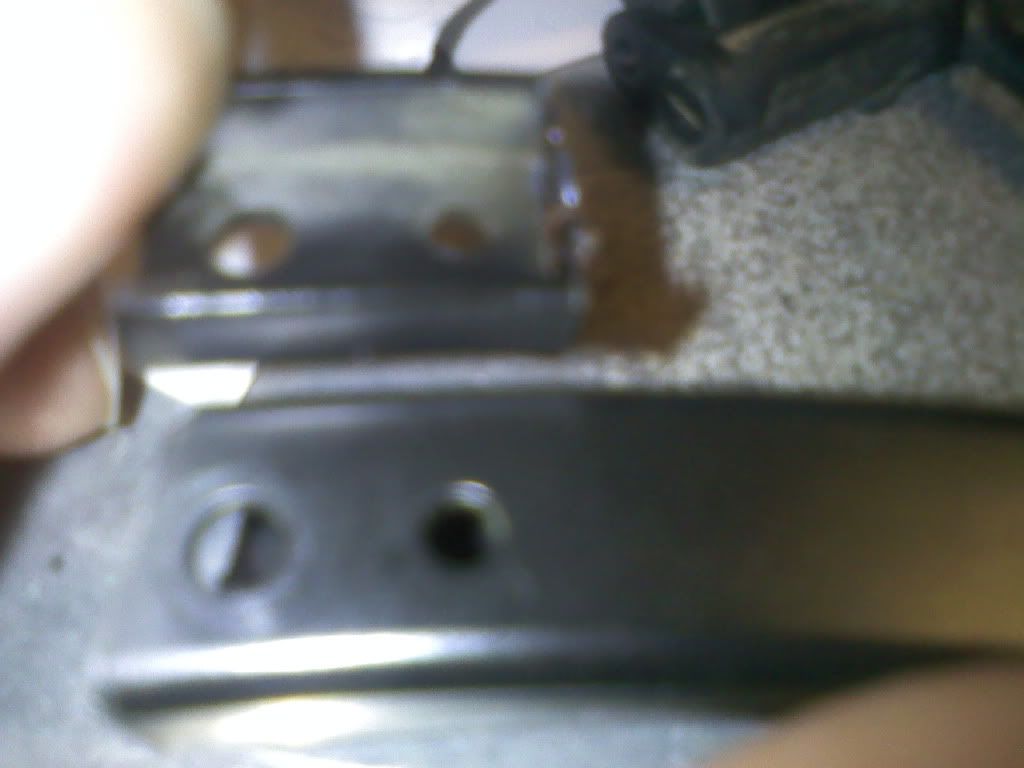 |
|
| |
|
02-23-2012, 12:56 PM
| #9 |
| Pebble Pounder Join Date: Sep 2009 Location: joppa,al
Posts: 156
|
while the rail's are still together, take the peice you cut off the back and lay it on the end so you can mark where to drill your hole for the brace/bumper mount. 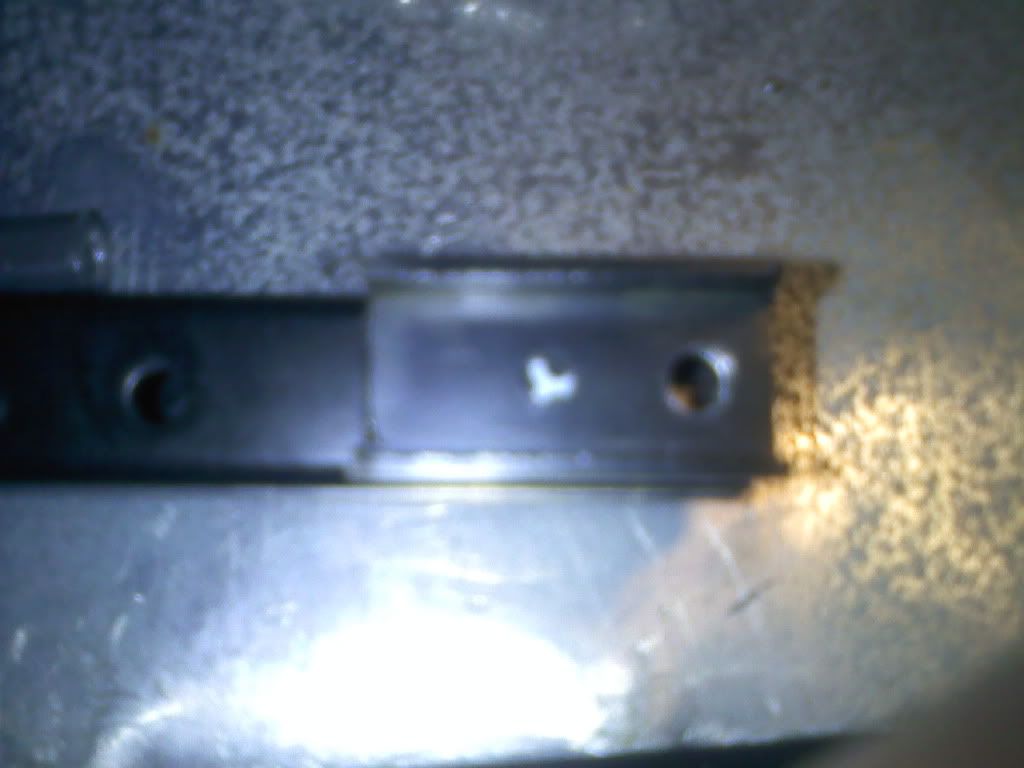 drill a 3mm or 1/8 inch hole at the larger of the holes. you can also drill the small hole if you want but i didn't drill a 3mm or 1/8 inch hole at the larger of the holes. you can also drill the small hole if you want but i didn't 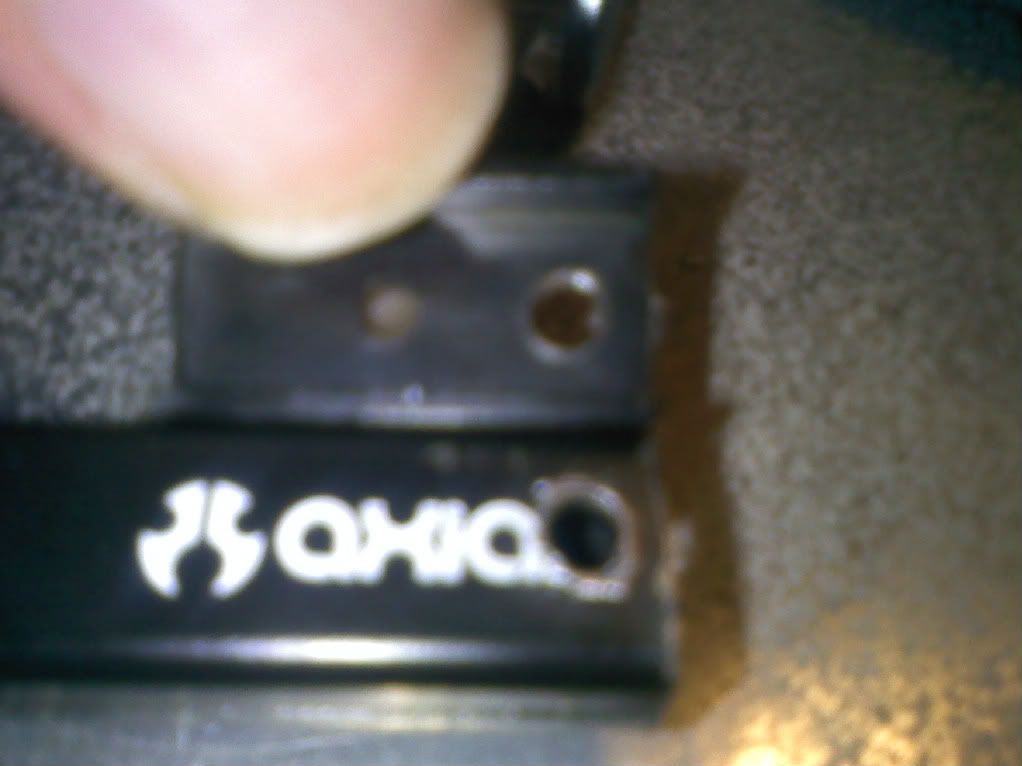 |
|
| |
|
02-23-2012, 01:10 PM
| #10 | |
| RCC Addict   Join Date: May 2011 Location: Utah County
Posts: 1,802
| Quote:
| |
|
| |
|
02-23-2012, 01:29 PM
| #11 |
| Pebble Pounder Join Date: Sep 2010 Location: Lees Summit
Posts: 190
|
I was thinking the same thing. I guess we'll just have to wait for the next installment to see a possible Resurrection.
|
|
| |
|
02-23-2012, 02:50 PM
| #12 |
| Pebble Pounder Join Date: Sep 2009 Location: joppa,al
Posts: 156
|
well semi reversible. you can still return to using the original body and still use the dingo back bumper, however, the stock front bumper will be harder to use.
|
|
| |
|
02-23-2012, 04:51 PM
| #13 | |
| Pebble Pounder Join Date: Sep 2009 Location: joppa,al
Posts: 156
| Quote:
| |
|
| |
|
02-23-2012, 05:15 PM
| #14 |
| Pebble Pounder Join Date: Sep 2009 Location: joppa,al
Posts: 156
|
while you have your grinder (or dremel tool) out, lets do the servo plate and battery plate. this is how i marked the servo plate  this is after being filed this is after being filed 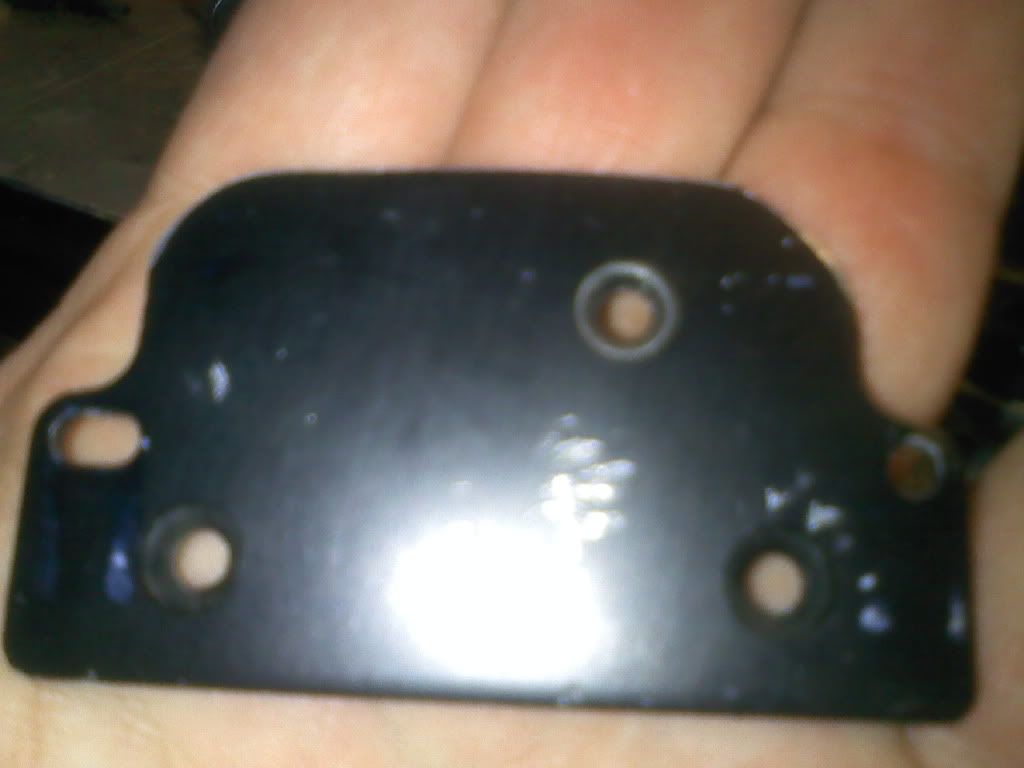 now if you run the battery up front like most, we need to grind it to fit also. start by grinding one end like so 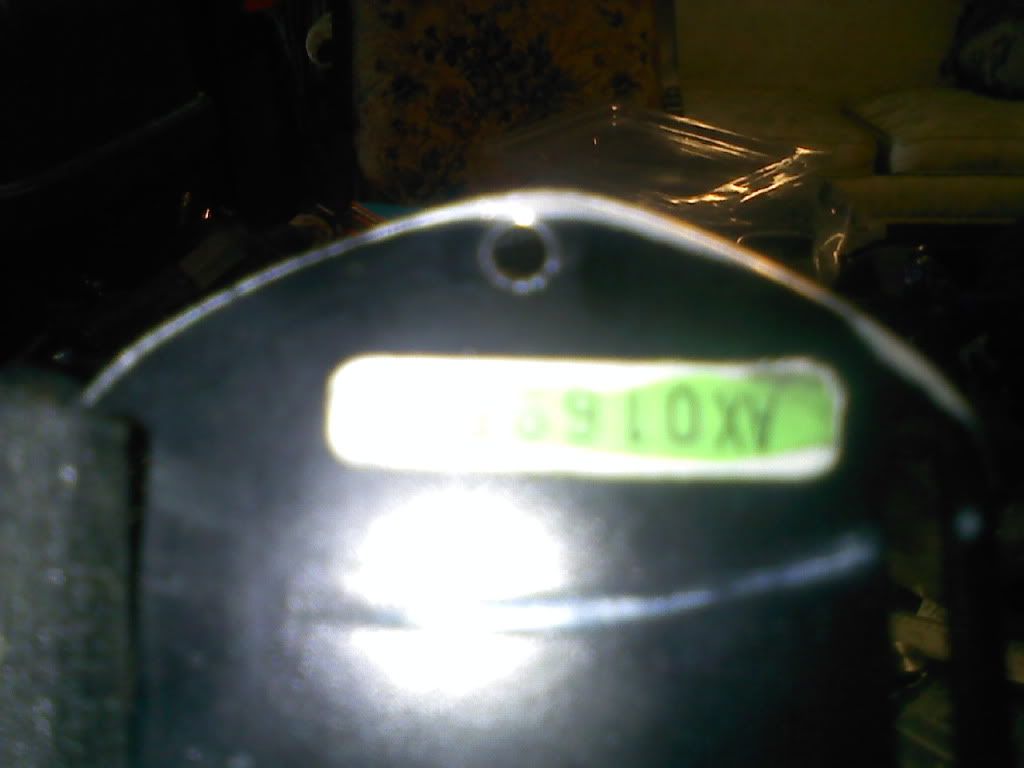 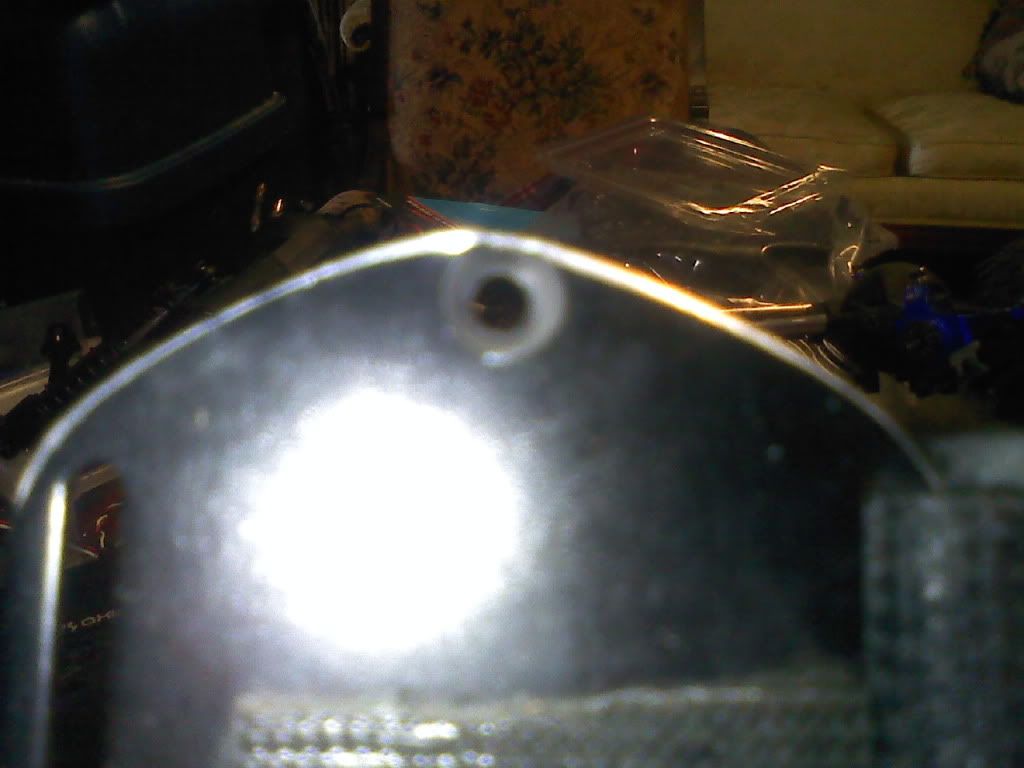 next, i used the battery cage to mark where i needed to drill the 2 holes in the plate. 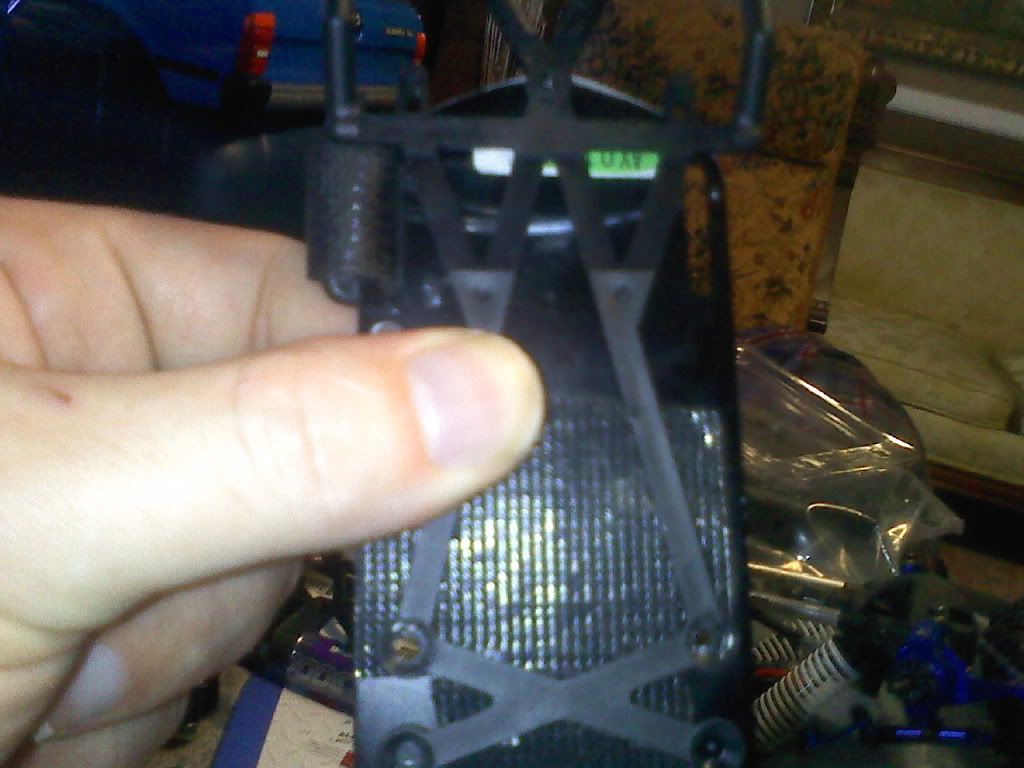 just put a screw through the plate and cage on the end and drilled the 2 holes where the 2 closest to the screw was in the cage. just put a screw through the plate and cage on the end and drilled the 2 holes where the 2 closest to the screw was in the cage. |
|
| |
|
02-24-2012, 05:46 PM
| #15 |
| Pebble Pounder Join Date: Sep 2009 Location: joppa,al
Posts: 156
|
next we'll start on the rear axle. for this we need 2 60mm links for the lower and 2 55mm links for the top. you may have enough stuff to make the right lenght already in your parts box, such as a 55mm post + a 5mm or 6mm post(yes that makes it 61mm's but not to worry) 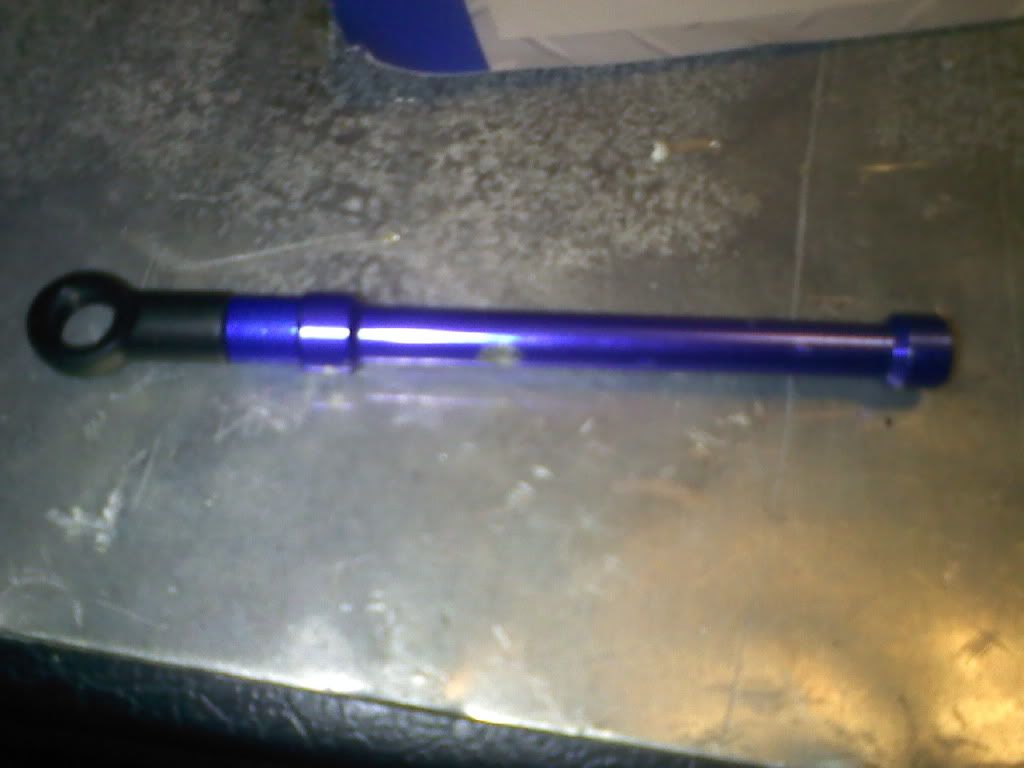 point being there's all sorts of ways to make that length. you will use the 4 link truss from part tree point being there's all sorts of ways to make that length. you will use the 4 link truss from part tree ax80043 on the rear. attach 2 55mm post as shown 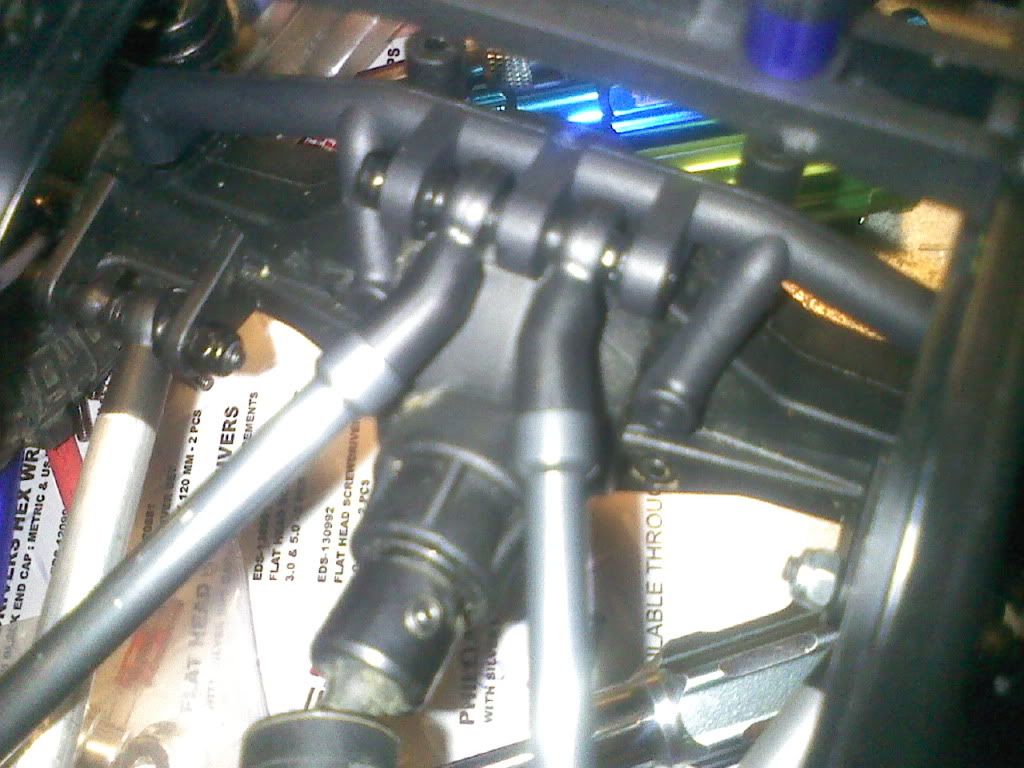 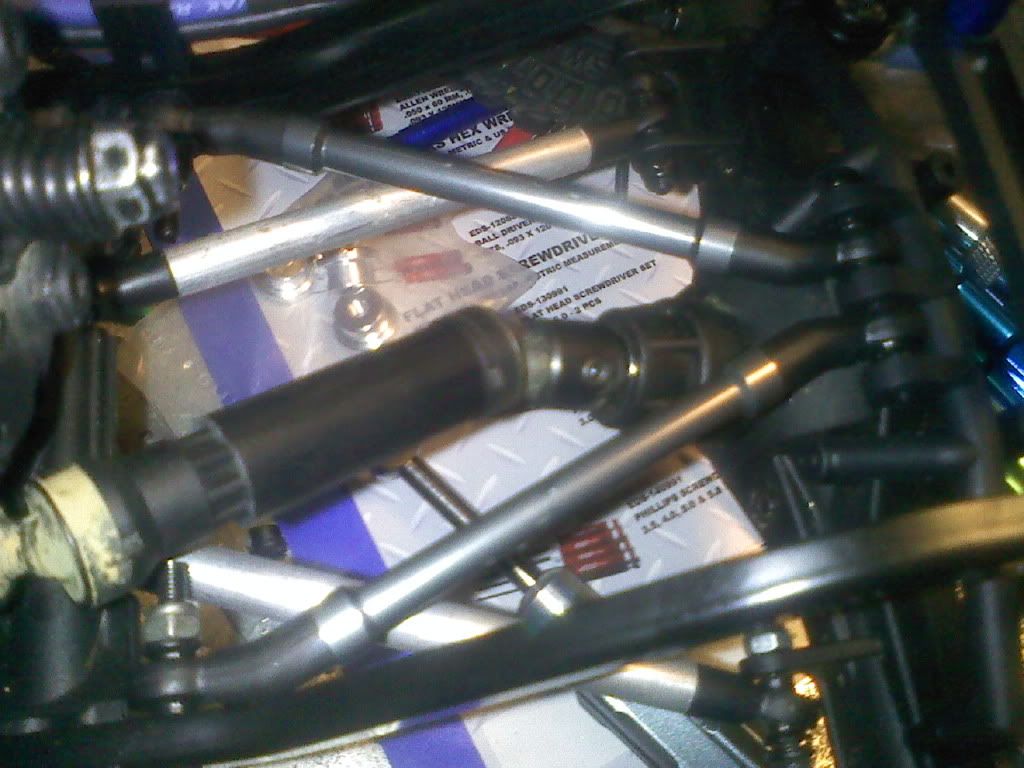 notice the curved link ends(parts tree ax80005) and the direction's. now just attach the lower links(60mm) as usual except put a spacer where the shock would go instead of the shock notice the curved link ends(parts tree ax80005) and the direction's. now just attach the lower links(60mm) as usual except put a spacer where the shock would go instead of the shock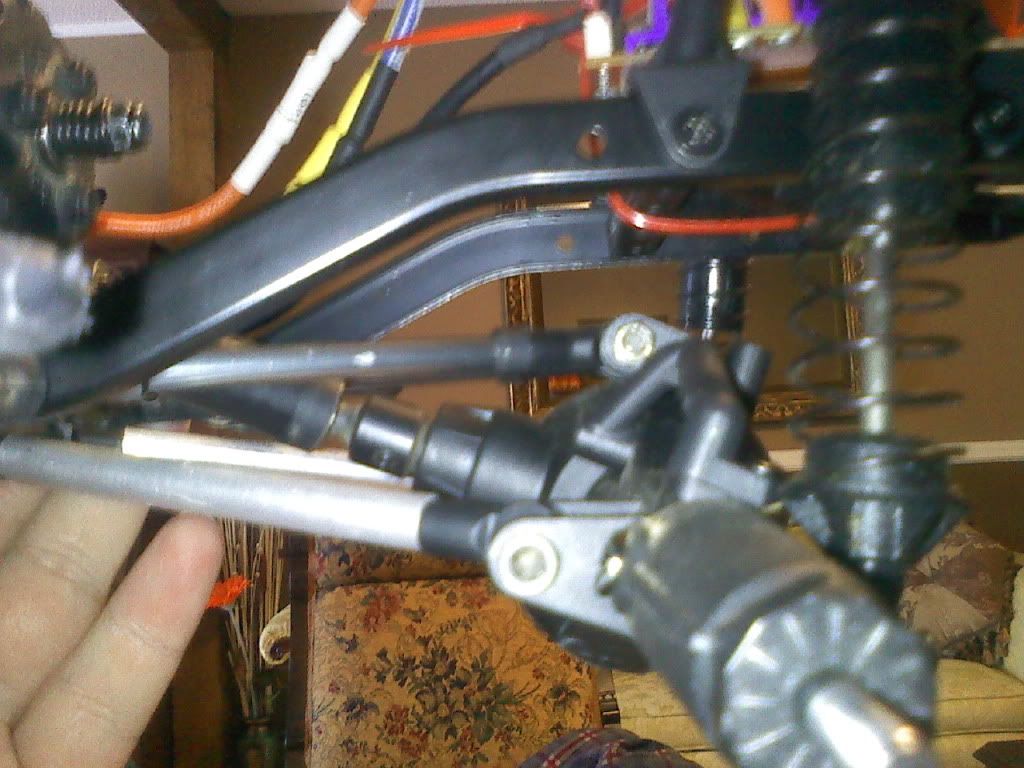 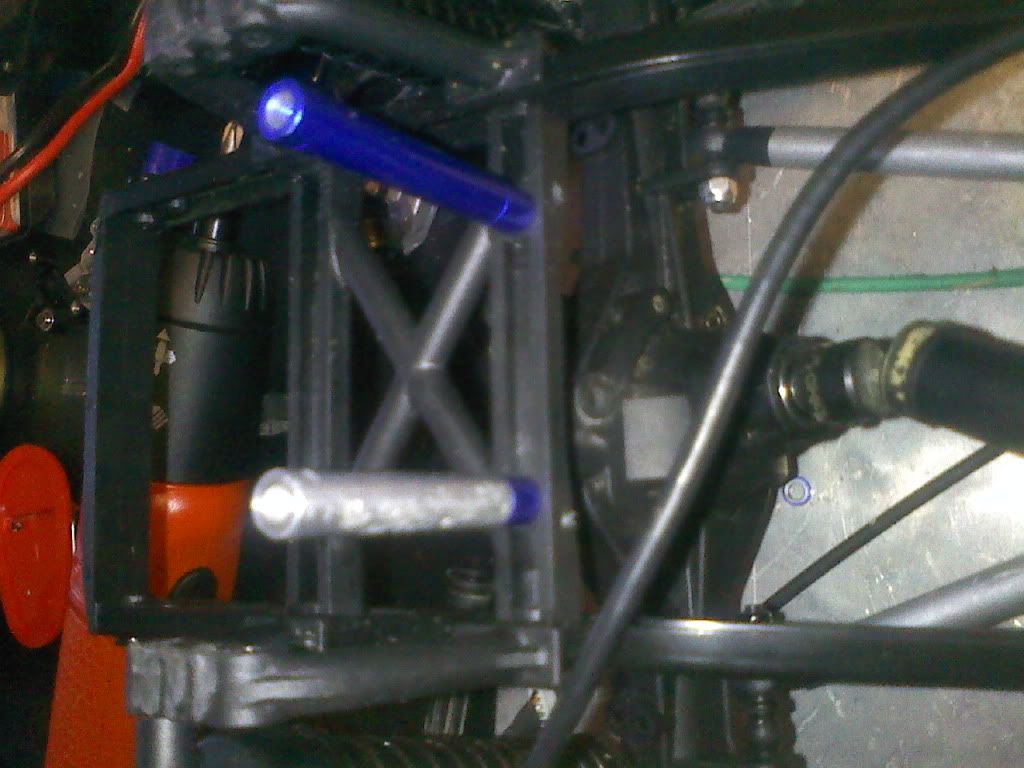 Last edited by rebel35747; 02-24-2012 at 05:55 PM. |
|
| |
|
02-24-2012, 06:27 PM
| #16 |
| RCC Addict  Join Date: May 2010 Location: Midwest
Posts: 1,917
|
Cool build ...my eyes hurt!! |
|
| |
|
02-24-2012, 06:36 PM
| #17 | |
| Pebble Pounder Join Date: Sep 2009 Location: joppa,al
Posts: 156
| Quote:
 ) )and thanks for the encouragement | |
|
| |
|
02-25-2012, 06:05 PM
| #18 |
| Pebble Pounder Join Date: Sep 2009 Location: joppa,al
Posts: 156
|
now take the rear shock hoop's and grind, cut, or sand the body post mounts off even with the top of the hoop. 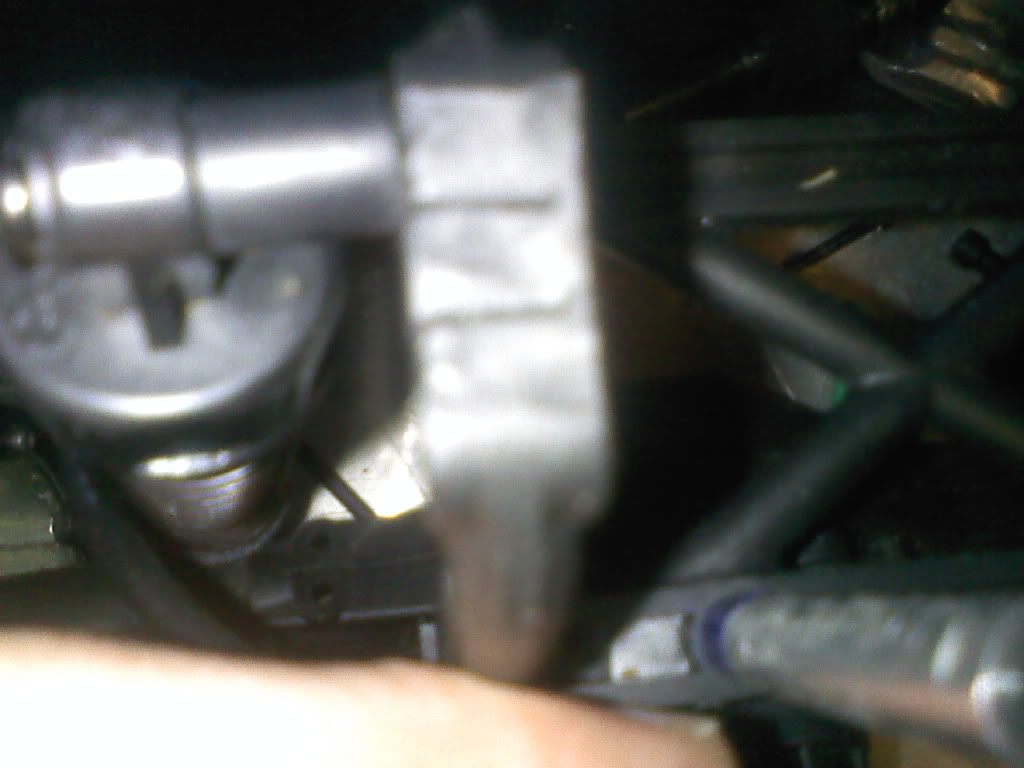 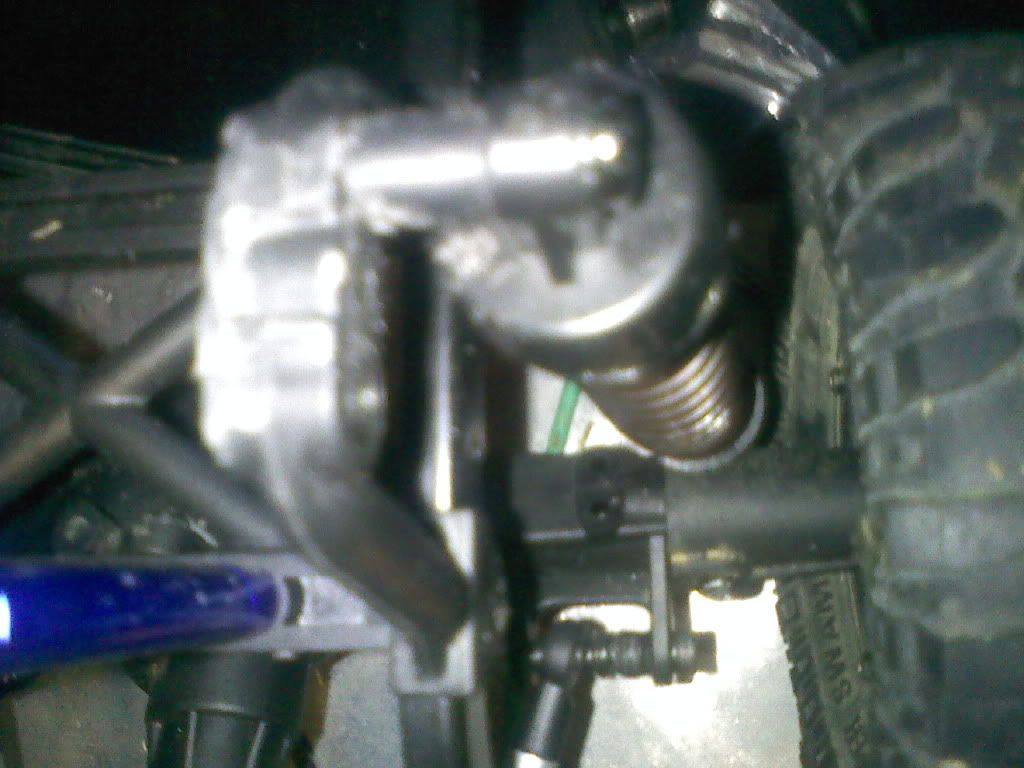  don't worry, I'll show you how to use your body post and the hoop to mount it. next disassemble your drive shafts and get the short drive shaft's from parts tree ax80084. you still need to cut both parts of the rear one down to 28mm. don't worry, I'll show you how to use your body post and the hoop to mount it. next disassemble your drive shafts and get the short drive shaft's from parts tree ax80084. you still need to cut both parts of the rear one down to 28mm. 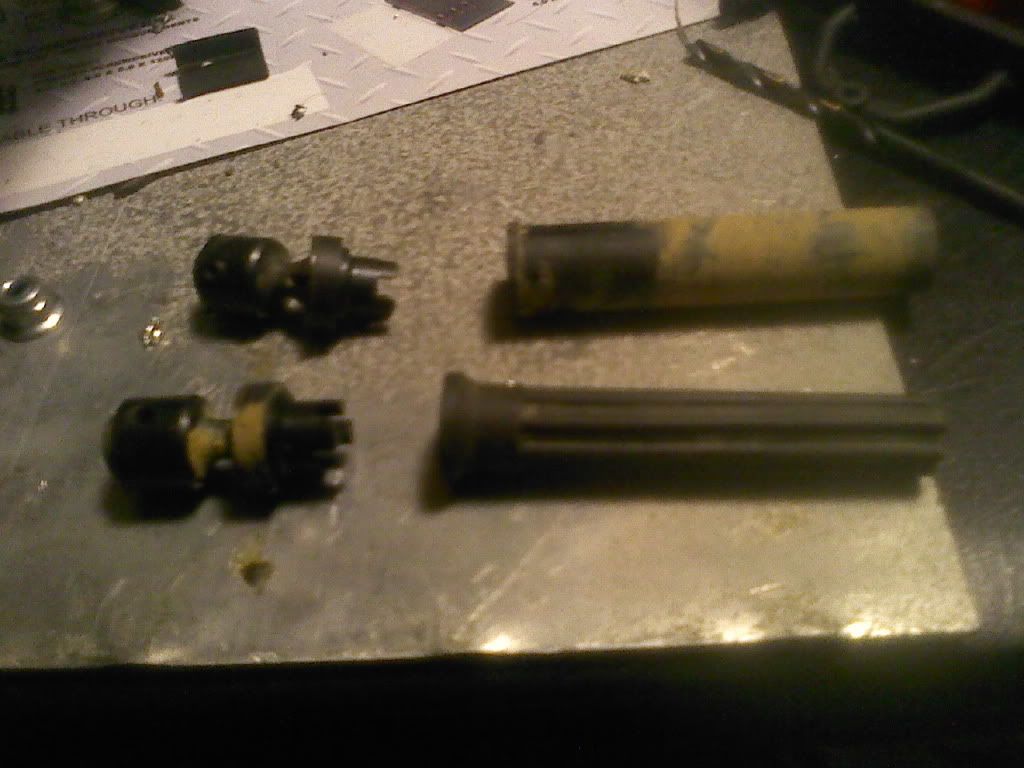 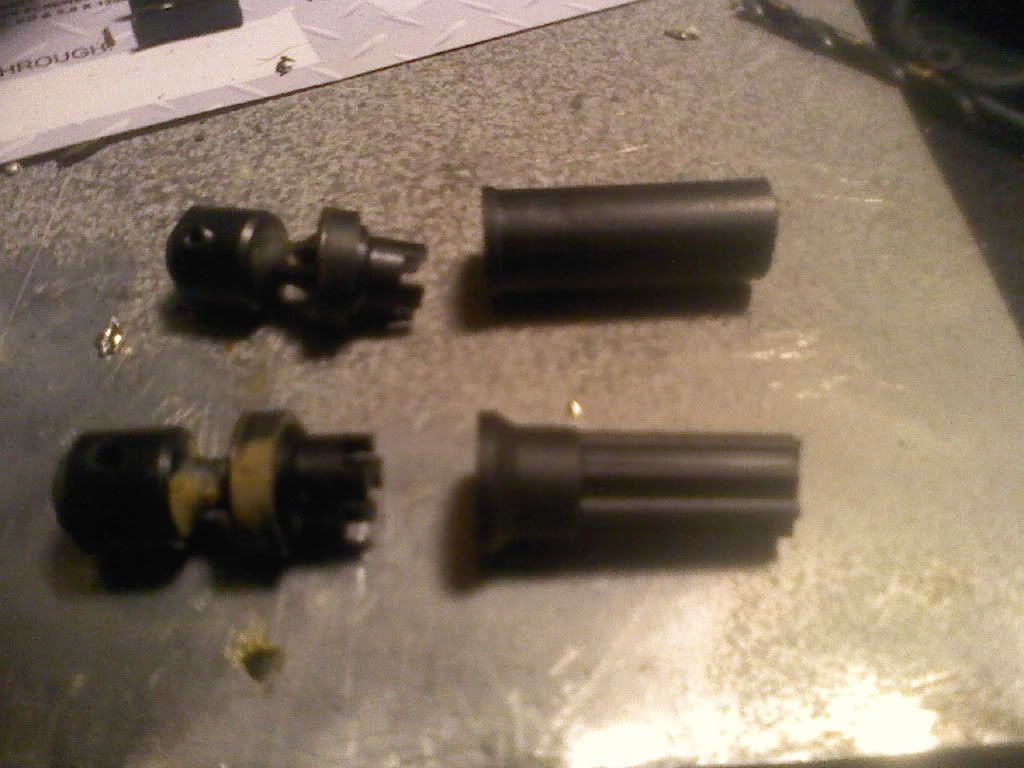 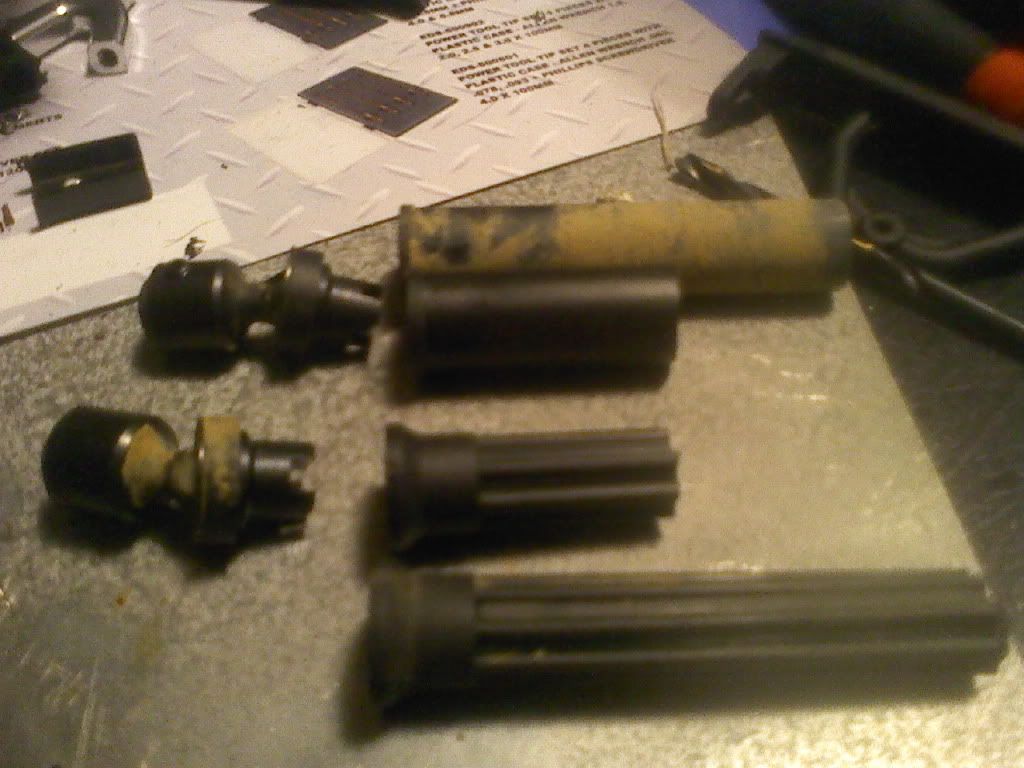 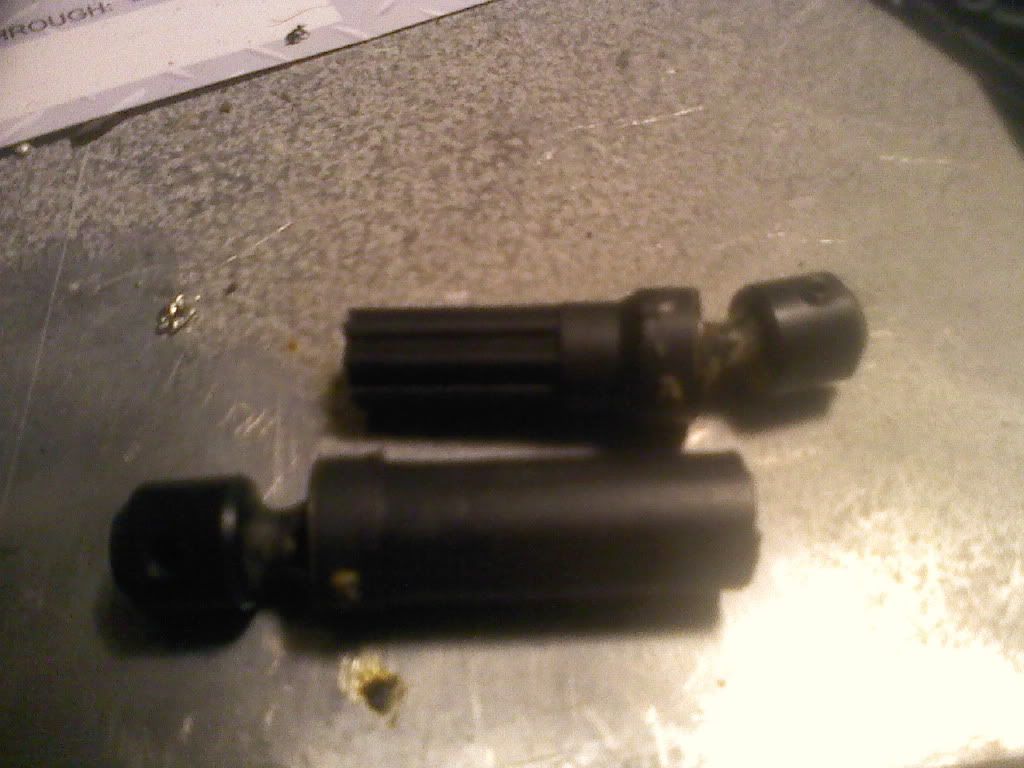 just assemble drive shaft's back and there you have it. now on the shocks, I'm using a longer than stock shock so i mounted the bottom end to the axle using a longer screw in the straight axle adapter.(you may not need to with stock shocks) just assemble drive shaft's back and there you have it. now on the shocks, I'm using a longer than stock shock so i mounted the bottom end to the axle using a longer screw in the straight axle adapter.(you may not need to with stock shocks)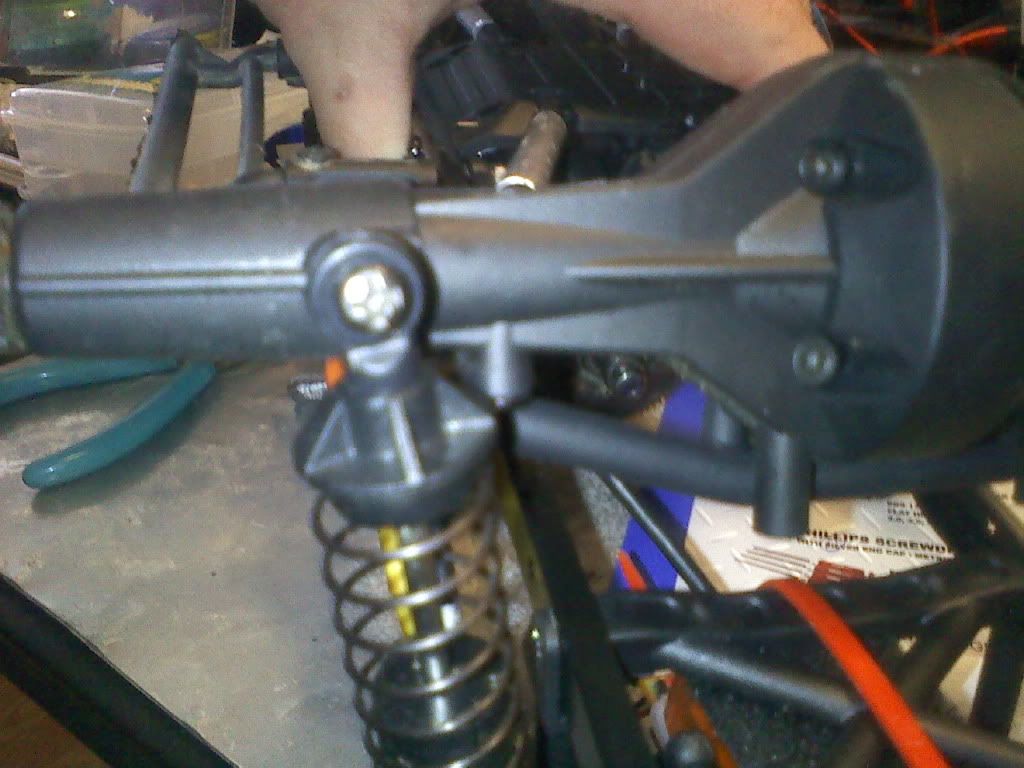 if you look back at the above pictures you'll notice i put a spacer at the top also(can't remember what parts tree it came from, but it's in the extra part's) if you look back at the above pictures you'll notice i put a spacer at the top also(can't remember what parts tree it came from, but it's in the extra part's)
|
|
| |
|
02-25-2012, 06:13 PM
| #19 |
| Pebble Pounder Join Date: Sep 2009 Location: joppa,al
Posts: 156
|
now for the body mounting. get parts tree ax80031 part number 4 on the tree. take a screw of the right length and pass it through one of the shock hoop holes your not using(i used the middle one) and screw the mount onto the side of the hoop  now just slide your post in the mount and adjust to the height you want. now just slide your post in the mount and adjust to the height you want.  (tip: put them in upside down to let it set a little lower(on top of the shock hoops)) (tip: put them in upside down to let it set a little lower(on top of the shock hoops))
|
|
| |
|
02-26-2012, 09:55 AM
| #20 |
| Pebble Pounder Join Date: Sep 2009 Location: joppa,al
Posts: 156
|
hmmmm.... not much interest showing |
|
| |
|
 Brat Build(easy,cheap)(new rear bumper!!) - Similar Threads
 | ||||
| Thread | Thread Starter | Forum | Replies | Last Post |
| cheap easy mods | yazholes | Newbie General | 8 | 12-29-2011 03:31 AM |
| Cheap and Easy upgrades | devenaberger | Axial SCX-10 | 8 | 04-28-2011 10:42 PM |
| Subaru Brat build | sierradmax | 1.9 Scale Rigs | 7 | 12-11-2009 08:31 AM |
| Another Brat Build | pantablo | 1.9 Scale Rigs | 68 | 09-16-2008 12:18 PM |
| |


 Linear Mode


