| |||||||
Loading
 |
| | LinkBack | Thread Tools | Display Modes |
| |||||||
 |
| | LinkBack | Thread Tools | Display Modes |
| | #1 |
| Newbie Join Date: Sep 2013 Location: santa fe springs
Posts: 29
|
Hey everyone, I recently joined this forum and needed to submit my Dingo. Let me know what you guys think. I got alot of inspiration from all of the members of this site so I dont remember who I got some of the following mods and ideas from but thank you all. The following are the specs of the rig. Axial SCX10 Dingo Kit Castle Creations SCT Sidewinder ESC 27t brushed Axial motor 2s 5000mah GensAce Lipo Airtronics FHSS-3 RX/TX Hitec HS-625MG Super Torque Servo 4 Link all the way around this rig Removed bump stops from stock shocks Now for the pictures. This is the rig, I painted the outside with Plasti Dip Blaze Blue 11oz aerosol can. I got the paint at a local auto parts dealer. At first i painted the body with just the Plasti Dip and i went ahead and took it on a mock up run and the first scratches started chipping the paint. I went back to the auto parts store and the guy at the counter recomended Bull Dog Adhesion promoter. Works like a primer so I went ahead and sprayed that first then the Plasti Dip and the end result is what you see. 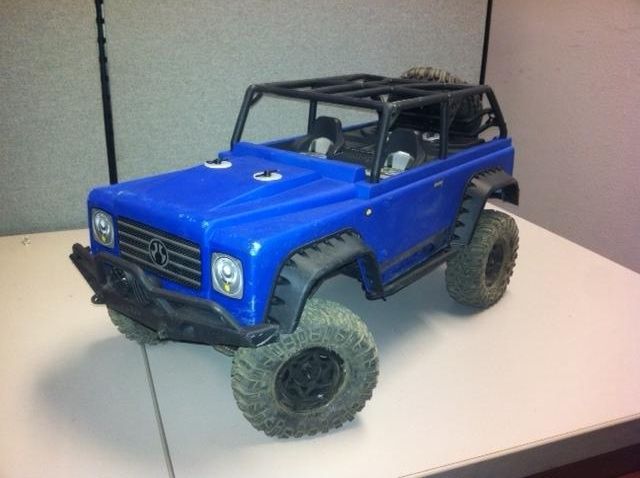 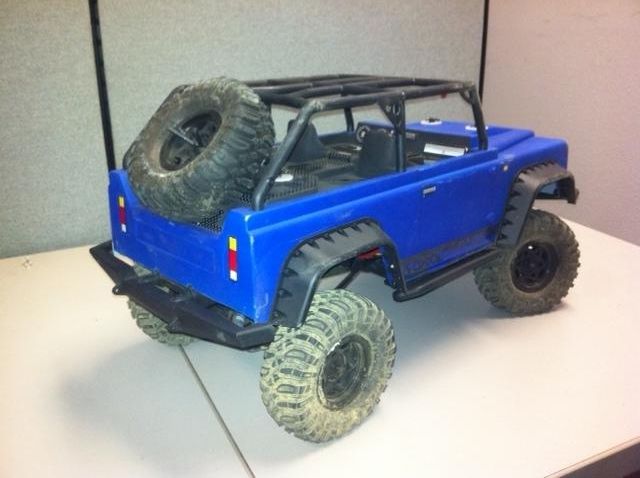 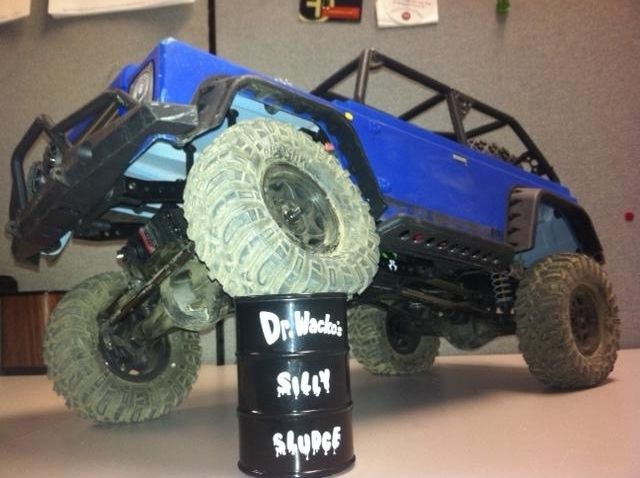 Next up is the 4 link setup all the way around the rig. Obviously came with the upgraded lower links and steering links as well. The only thing that is moded on this part is the upper links, once again I got the idea from this site and I do not remember who (my apologies) to give the credit to but you know who you are. 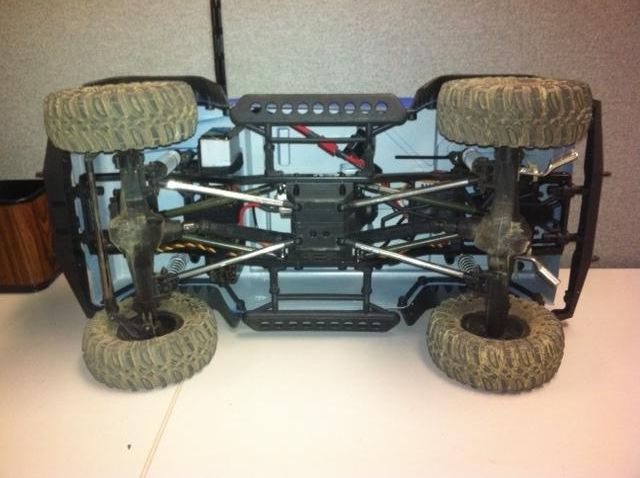 I used 8-32 all thread and 1/4" brake line for the links and Traxxas rod ends. 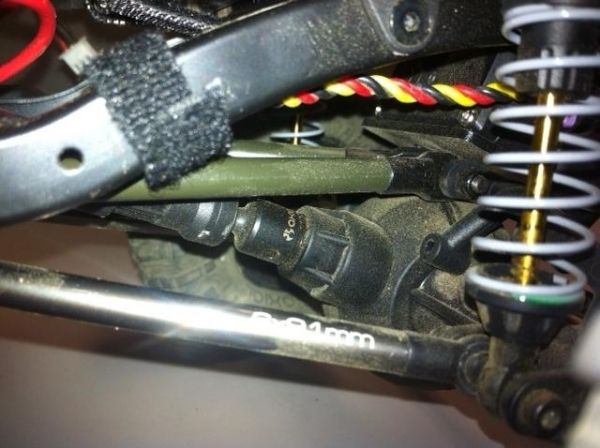 Front 4 link setup. (Notice bump stops removed from shocks)  Rear 4 link setup. (Notice bump stops removed from shocks) 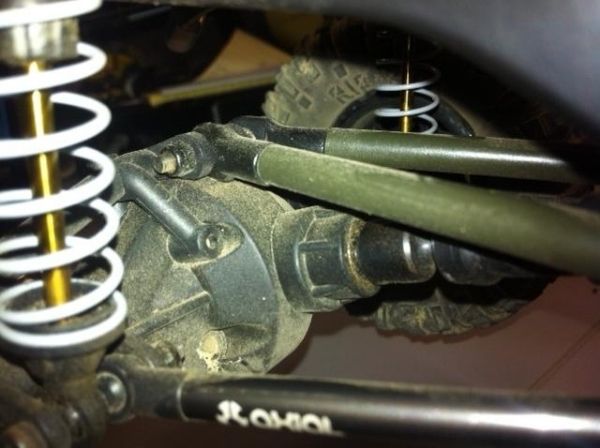 Next is the battery and electronics location. 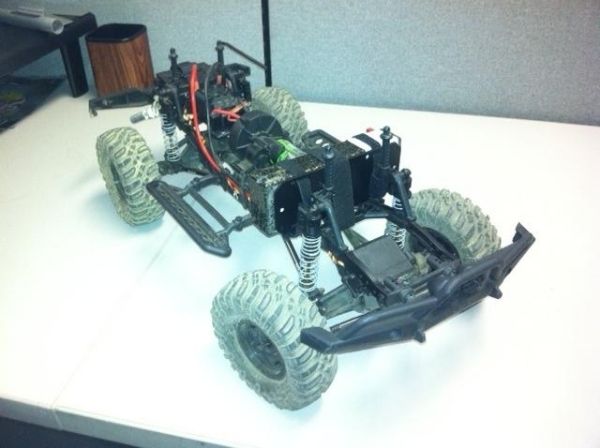 With the upper 4 link mod the servo would hit the cross brace for the battery tray so i went ahead and placed the battery up against the front shock tower mounts. I attached them with velcro on each end and one in the middle for extra measure. 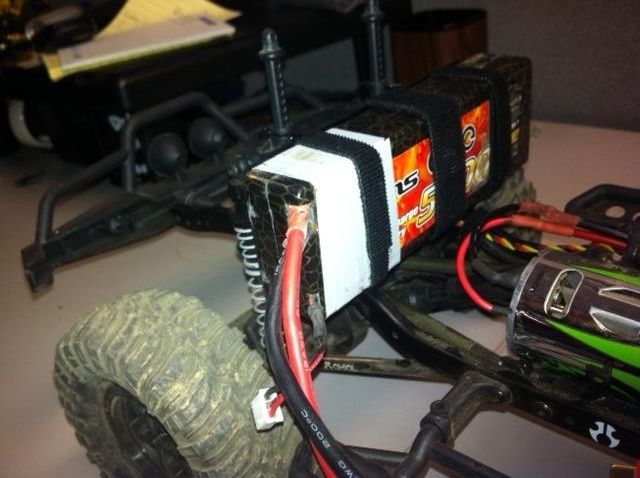 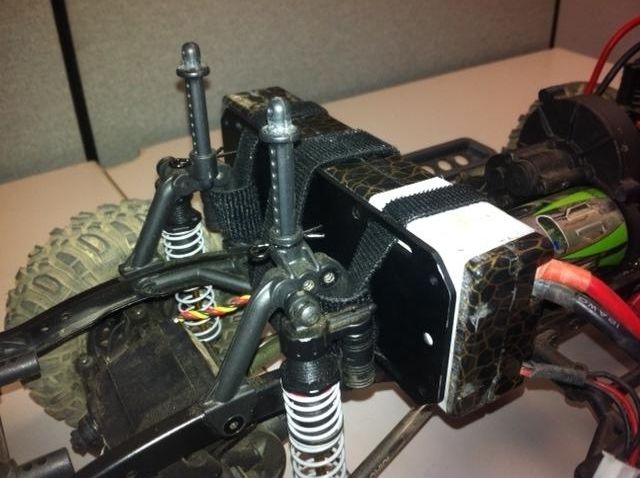 This next picture shows how i mounted the electronics in the rear. I used the battery tray and mounted it in the rear and secure the RX box with velcro and double sided taped the Castle SCT SW ESC to the tray. (Those chrome lugs on the side of the chassis are for looks I have one on each side of the frame, with the body on they look like exhaust tips. I will throw in a picture later for you to see how they look). 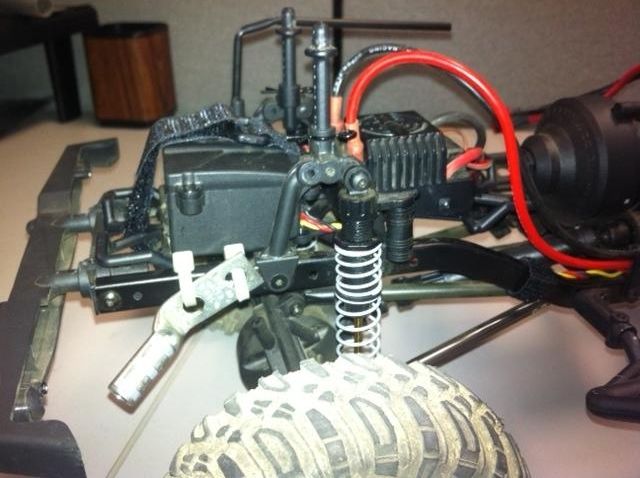 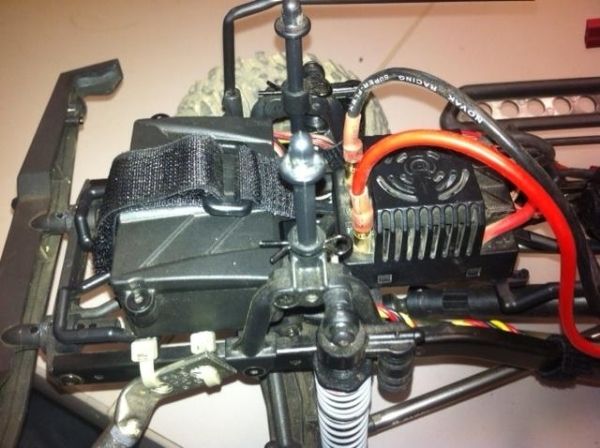 Next is the servo mounting (which is nothing new to anyone here). 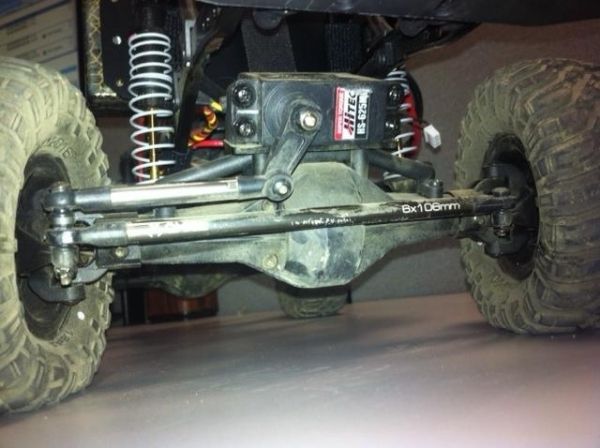 And finally I will show you those lugs that i had attached to both sides of the chassis to double as exhaust tips. (These are attached by zip ties) 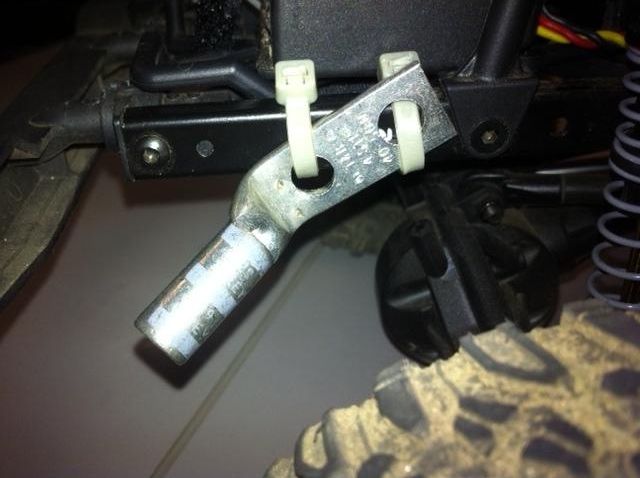 Here is the rear view from underneath with the body off to show the lugs. 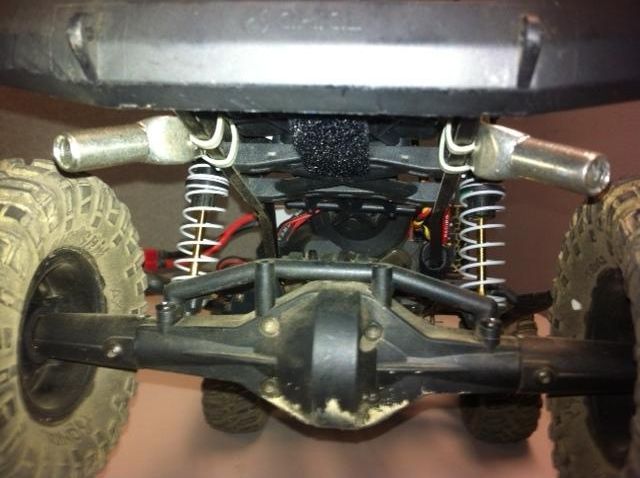 And the end result. These are still tucked underneath the body so there wont be a possibility to get them hung up on anything. 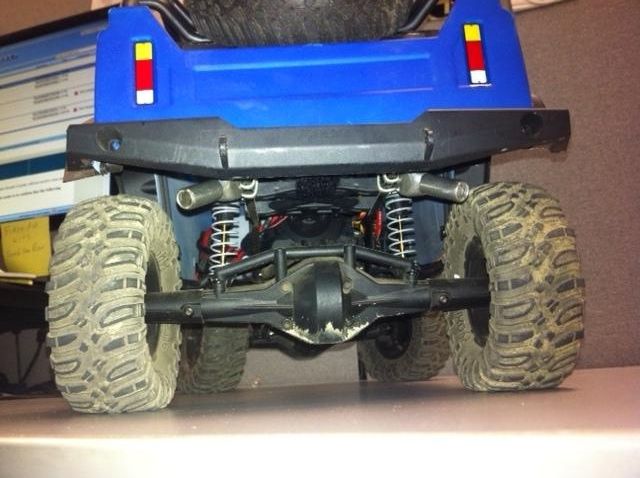 So there it is my build of the Dingo Kit. I still need to throw in some LED's and I will also be shortening the front bumper (only progress pics) and also raising it. Let me know what you guys think of the build I welcome any questions or suggestions and comments |
| |  |
| Sponsored Links | |
| | #2 |
| Rock Crawler Join Date: Jan 2013 Location: Laguna Niguel
Posts: 588
|
nice job dude!
|
| |  |
| | #3 |
| Newbie Join Date: Sep 2013 Location: santa fe springs
Posts: 29
|
Thanks.
|
| |  |
| | #4 |
| Rock Stacker Join Date: Aug 2013 Location: St. Louis
Posts: 68
|
How does it handle with your placement of components. I built mine with more weight up front so curious how it handles in the air and in turns. Nice job.
|
| |  |
| | #5 | |
| Newbie Join Date: Sep 2013 Location: santa fe springs
Posts: 29
| Quote:
Thanks 1fox2go i had them around the work area and decided to throw them on and they fit the rig. | |
| |  |
| | #6 |
| Newbie Join Date: Sep 2013 Location: santa fe springs
Posts: 29
|
Update to the Dingo Kit. yesterday i went to my LHS and picked up some Axial 1.9 beadlocks wheels and RC4WD Mudslingers to accompany the wheels. i have to admit those tires are way smaller then the stock 1.9 Ripsaws that come on the kit i was surprised at the difference although the RC4WD tires are advertised as 1.9's. Regardless i went ahead and threw them the beadlocks and installed them on the Dingo. also i went to my parents house and came across some parts from my HPI Sprint 2 Drift that i had stashed there. the only item i grabbed were some replica disk brakes minus the calipers. i had bought these a while back on an overseas RC Drift website that offers all things RC Drift, the name of the website is Genki Dori Dori. so i decided to throw them on the Dingo to see how they would look and they fit perfectly. also while at my parents i went through some of my old boxes of junk that i still have there and i found my old friend and now driver of the Dingo, Jammet The Rat. he was a character in an early 90's cartoon show called Capitol Critters. as soon as i seen him i knew i wanted to make him my driver of my rig. enough chit chat following are the pics of the beadlock wheels with tires and Jammet the driver. enjoy. i have no idea what gang sign or arthritis Jammet has going on but his hands were busy. the "Thug Life" tattoo he has on his belly was written on his belly by me early on when i had bought him. 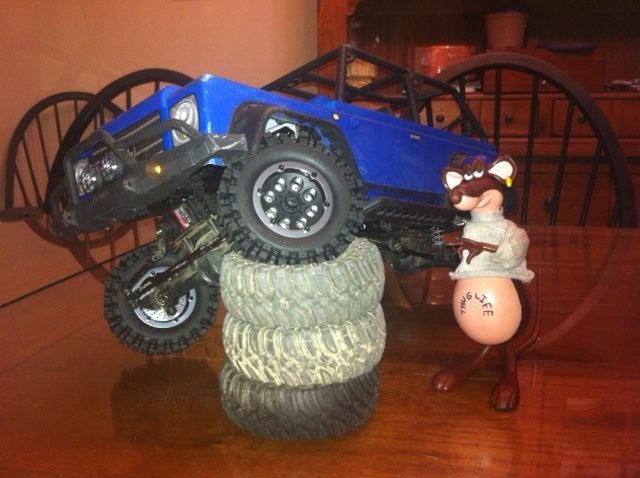 here is some more pics of Jammet and the Dingo. What do you guys think of the ride heigh? i think i may need to lower it or change the body. the tires gave it a whole new look. what body would you guys recommend? 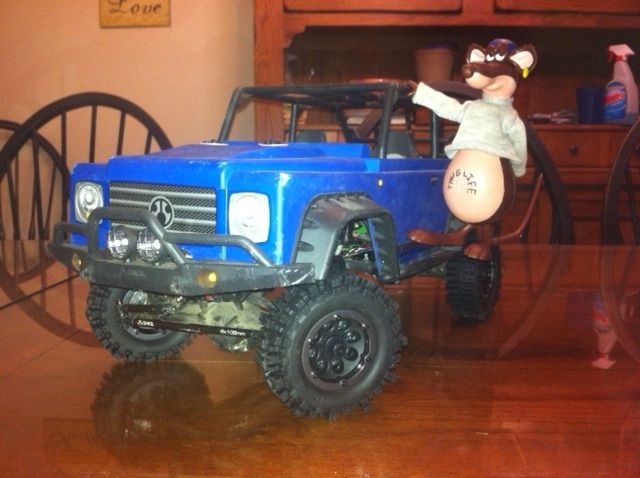 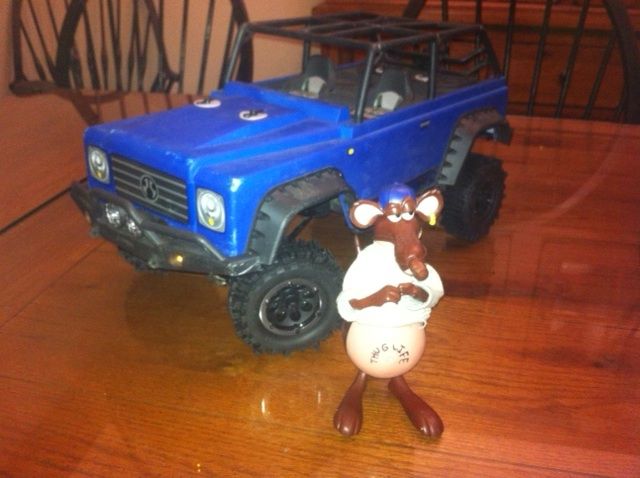 and for the final pics, here are the mudslingers with the axial beadlock wheels. you can see the disk brakes on the pics. let me know what you guys think. 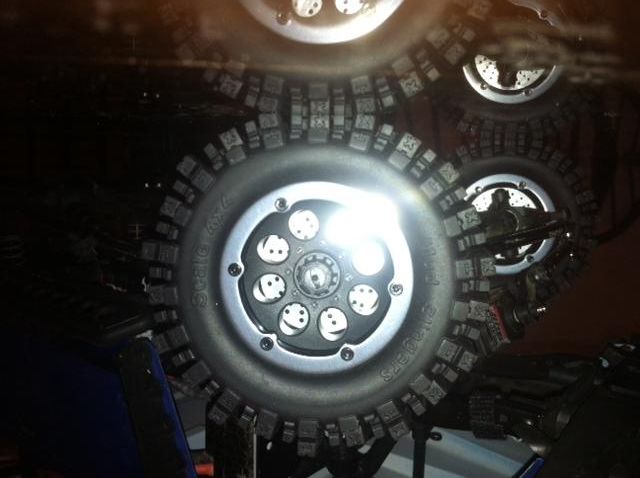 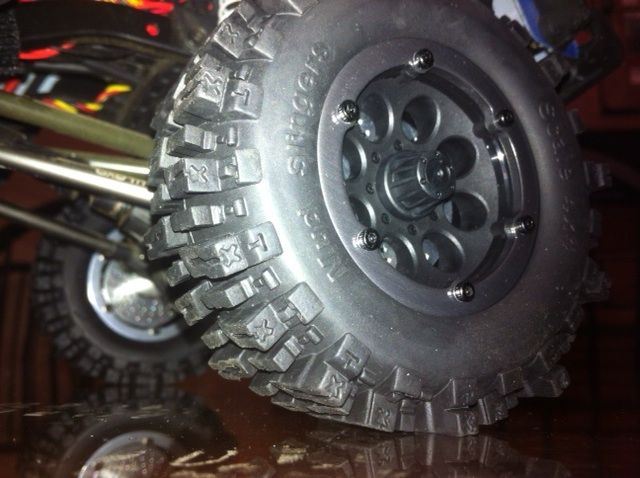 i hope you enjoyed. im going to have fun with the driver and his new ride. |
| |  |
| | #7 |
| Newbie Join Date: Sep 2013 Location: santa fe springs
Posts: 29
|
well its been a while since i have posted any progress on my SCX10 Dingo build, i really have just been having fun with the rig and going trailing. i made a few mods that i have since removed to make room for my addition of the Wraith Interior (part# AXI0402 I previously had the battery strapped with velcro to the front shock towers mounted vertically and that gave me a high center of gravity, so i went ahead and made an aluminum tray to bolt on to the chassis to place the battery flat behind the front tires and in front of the motor and transmission. I also went ahead and did the same for the electronics, they were previously positioned on the back of the rig and i just moved them to the side of the transmission above the rock sliders. 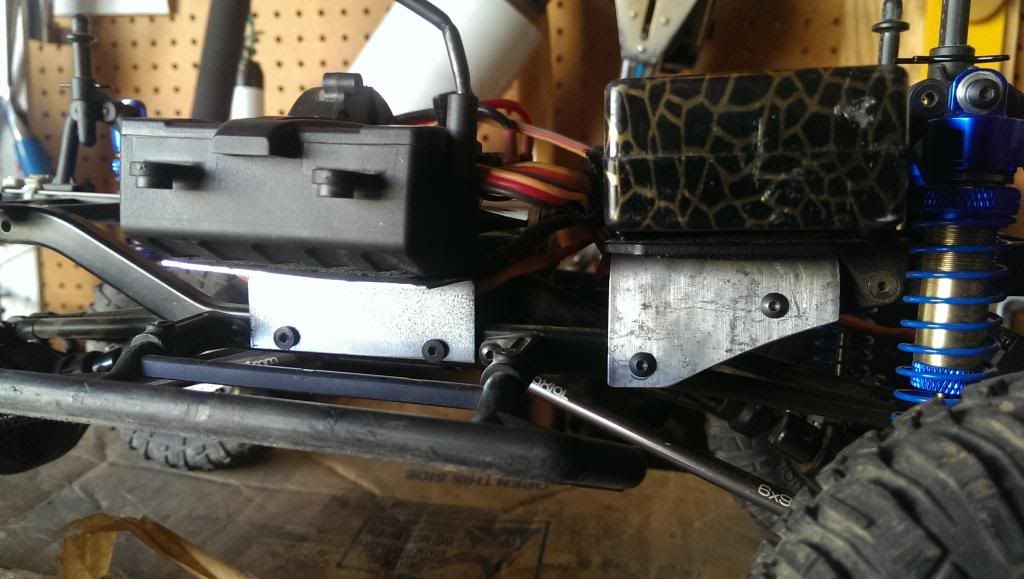 a picture from the bottom. you can see the esc and RX box mounted by the rock sliders. 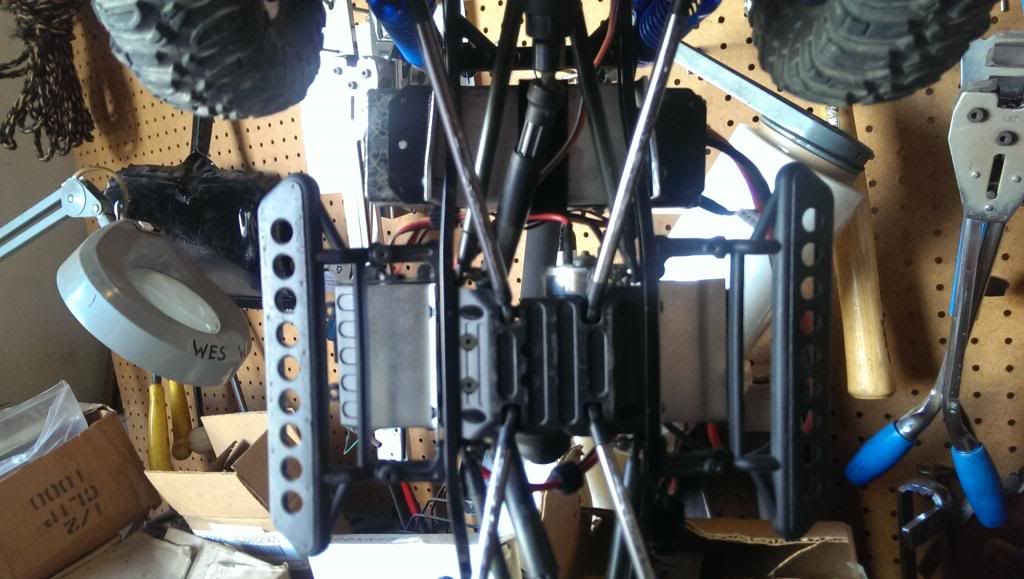 and a view from the top of how everything sits. 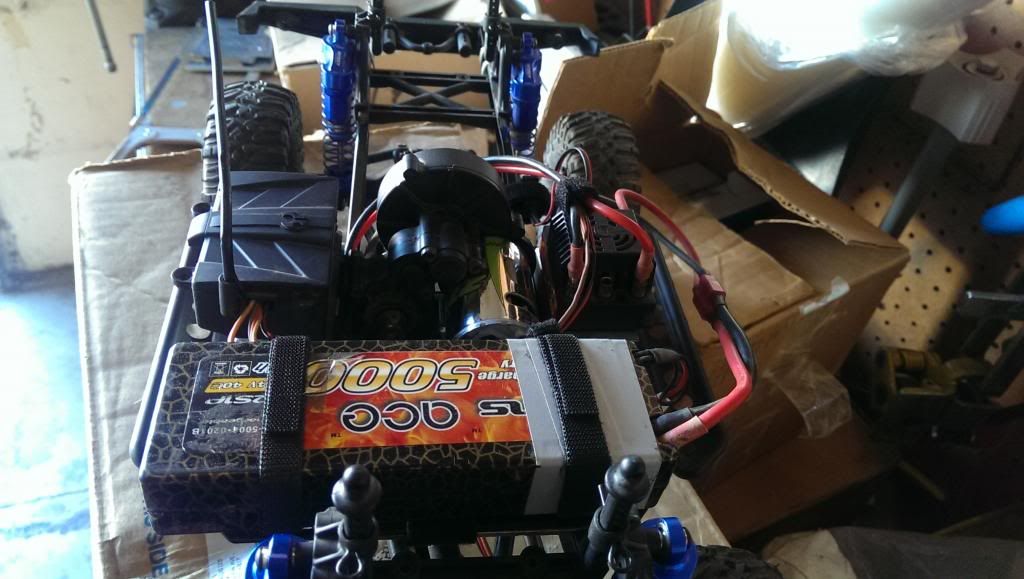 like i said in the first paragraph all of these aluminum trays have been removed to make room for the Axial Wraith Interior. I will post some more pictures of the new position of the electronics and battery and also of the interior and the new team driver. oh also i mirrored the transmission on the rig and i will post pictures of that as well. i hope you like let me know what you guys think. |
| |  |
| | #8 |
| Newbie Join Date: Sep 2013 Location: santa fe springs
Posts: 29
|
ok here is the second set of pictures with the electronics re-positioned and transmission mirrored. here you can see the electronics up front on the rig. i placed them on top a sheet of aluminum. you can also see the transmission has been mirrored and another piece of aluminum i used to guard the spur gear from the body that was rubbing on it. i hope that piece also guards from debris coming in contact with the spur gear.  here you can see how i mounted the aluminum piece to secure the esc and RX box. I used 3mm x 30mm button head hex screws with some nuts as spacers. i needed the spacers because servo that is mounted on the front axle would hit the aluminum piece so i needed some room in order for the front to fully compress. 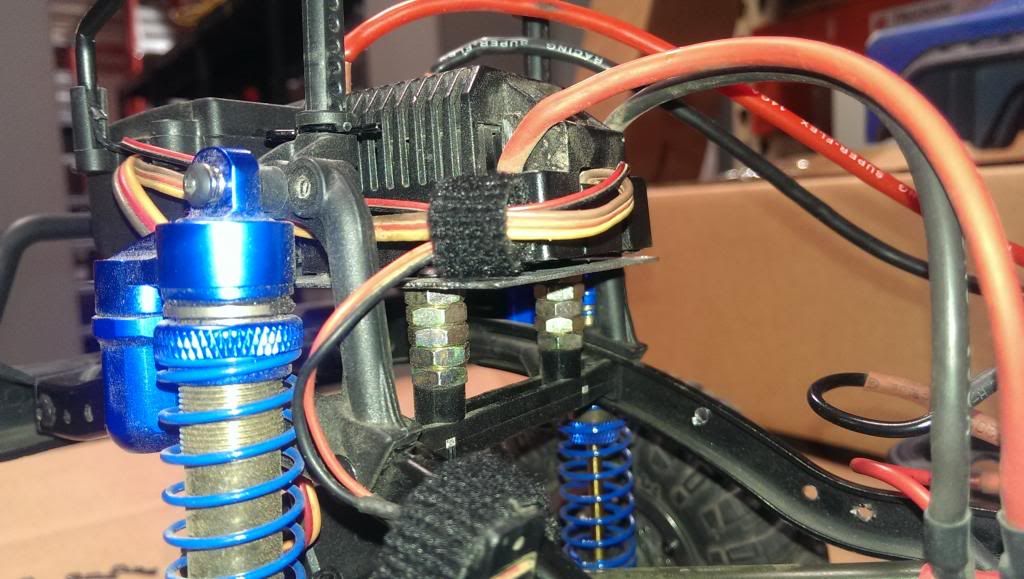 next picture is the detail of the aluminum cover for the spur gear. i used pre-existing holes of the chassis to mount the aluminum piece. 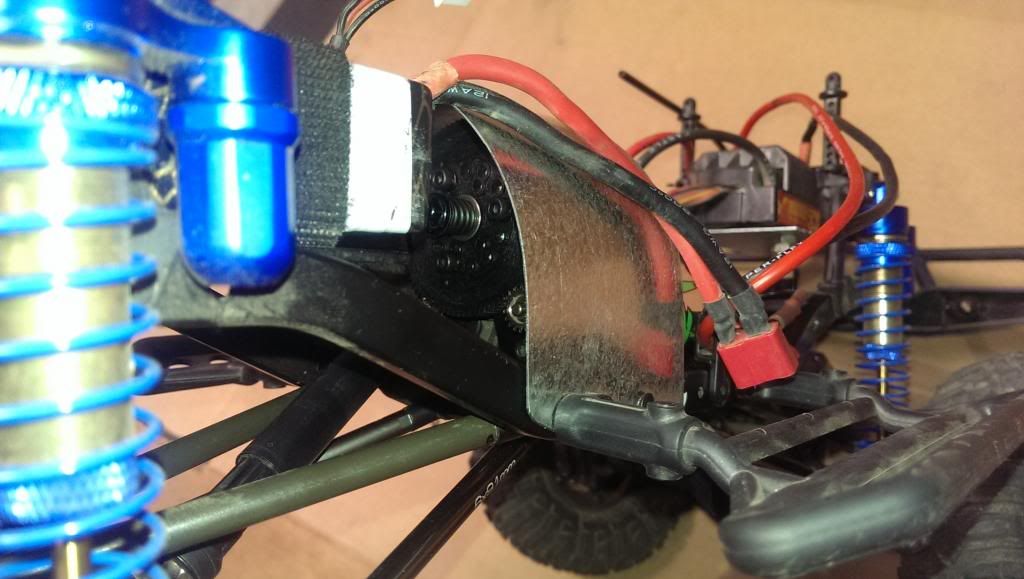 so this is a shot of the Wraith interior and corbeau lg1 seats that i installed on the dingo and this is my team driver "Heavy". He is a character from an online PC game called TeamFortress2. 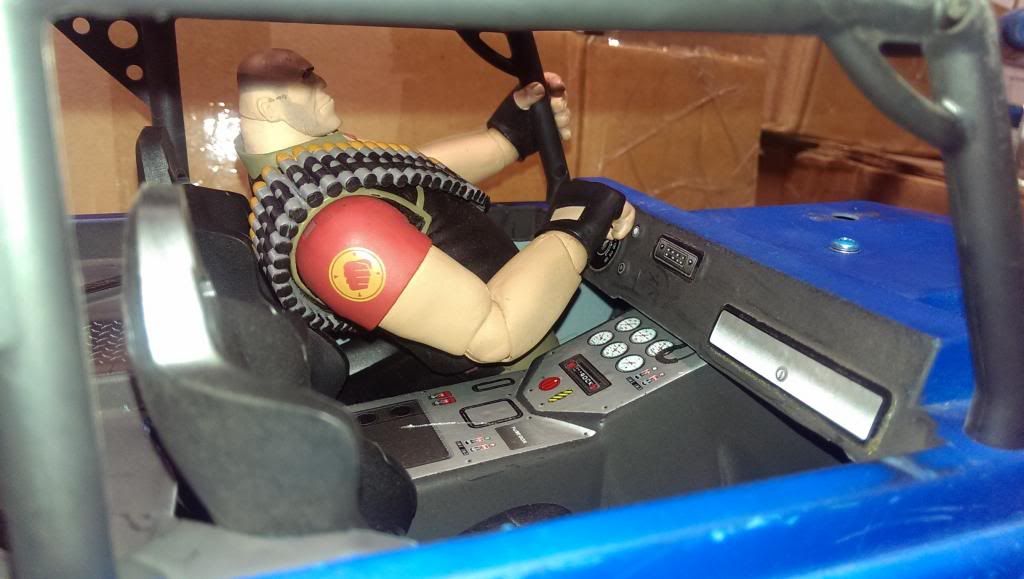 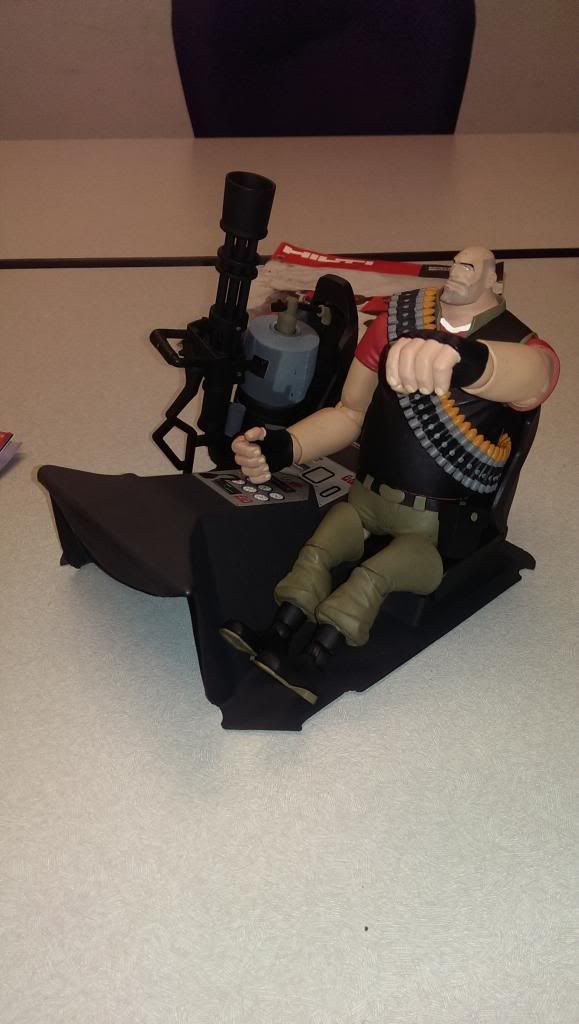 next is a couple of shots of how i mounted the Wraith interior to the Dingo. just used standard sized screws and used a nut on the bottom side. 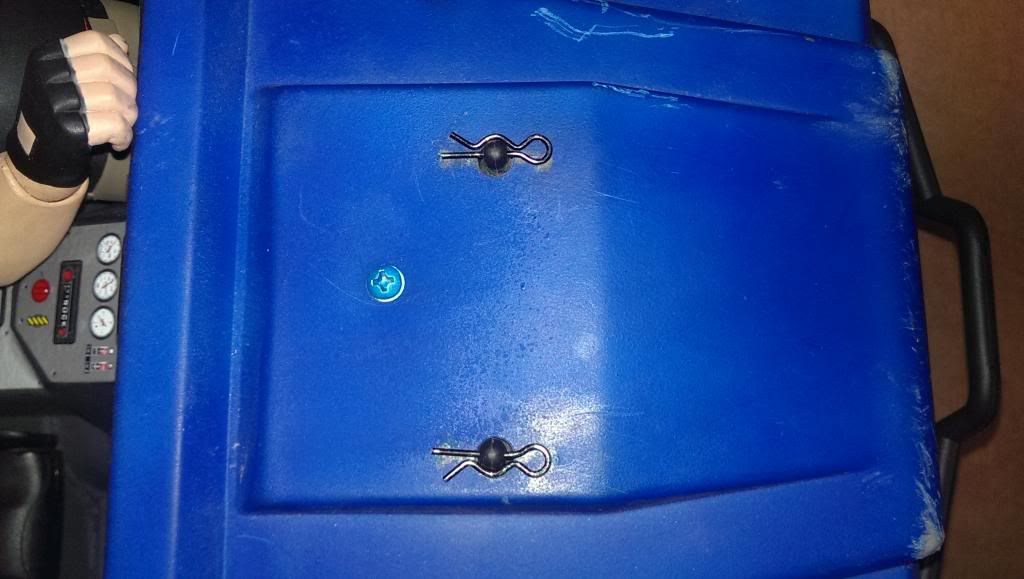 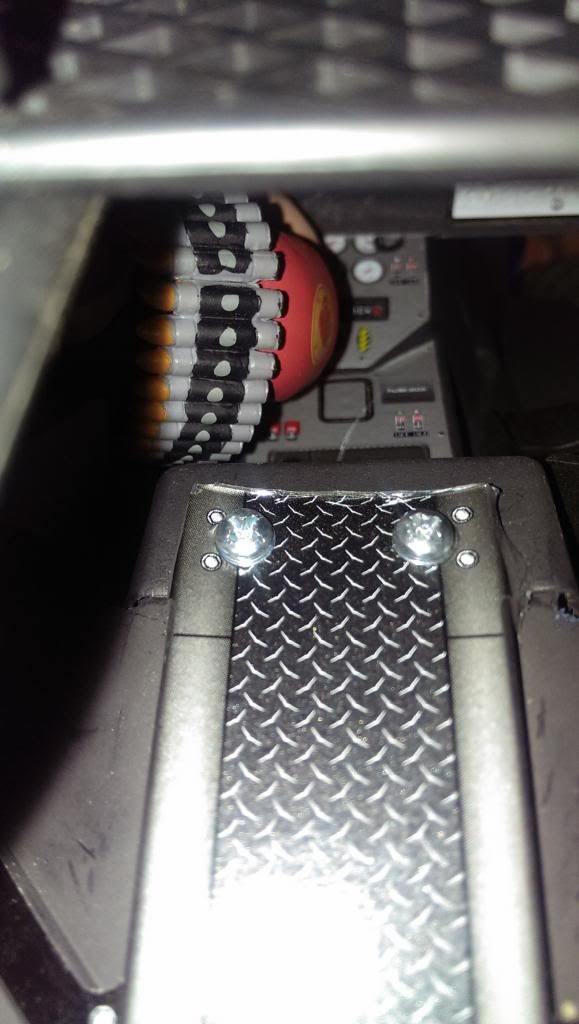 Finally just a shot of the truck as it stands and a shot of my "Truck Nutz." i got the idea from a 1:1 truck that was rolling around town with these giant hex nuts and thought i would do the same to my truck. 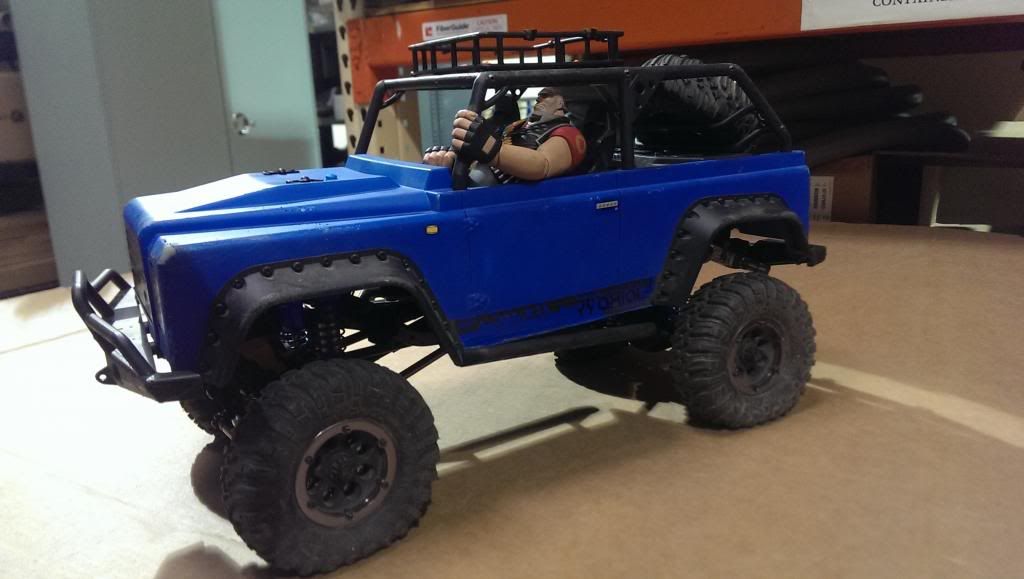 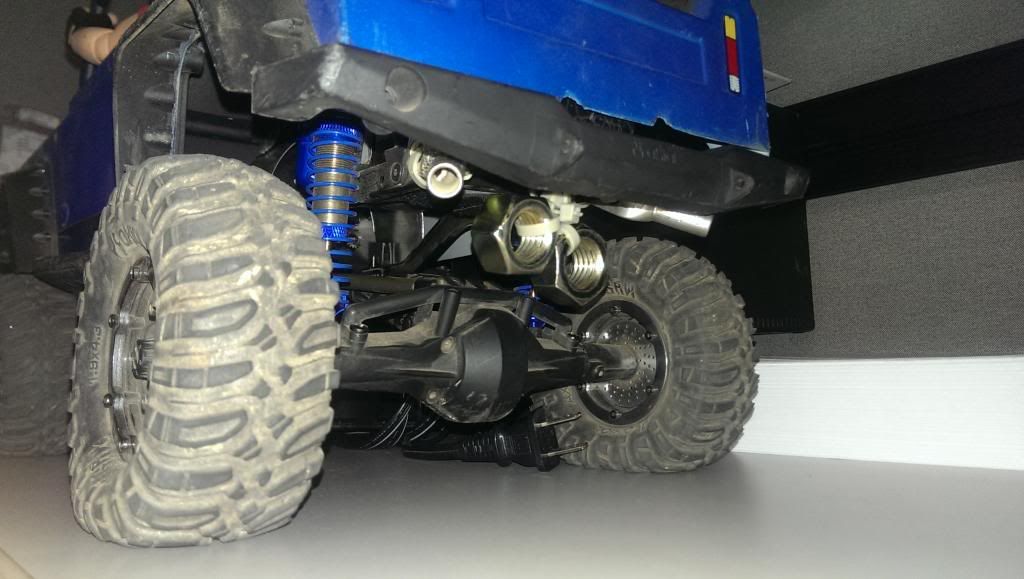 i hope you enjoyed comments welcomed. |
| |  |
| | #9 |
| Newbie Join Date: Sep 2013 Location: santa fe springs
Posts: 29
|
hello once again, this is an update to my thread. so far i have had this rig in my possession for 7 months and boy let me tell you it is so much fun to drive around. the only major upgrade i have to note is the new body and the Poison Spyder rear bumper. the body is the Pro-Line 1973 Ford Bronco, i painted the outside of the body get the matte black finish on the roof and fender flares. i kept my roll cage from the Dingo kit and had to make some minor adjustments so it could fit inside the Bronco body. so far that is all i have done to the SCX-10. i recently took it out for some wheeling/trailing fun, unfortunately my phone was low on charge and i could not take video of it in motion, i did have enough battery to take pictures though. enjoy. the first couple of pictures are of the Bronco posing for some body shots. 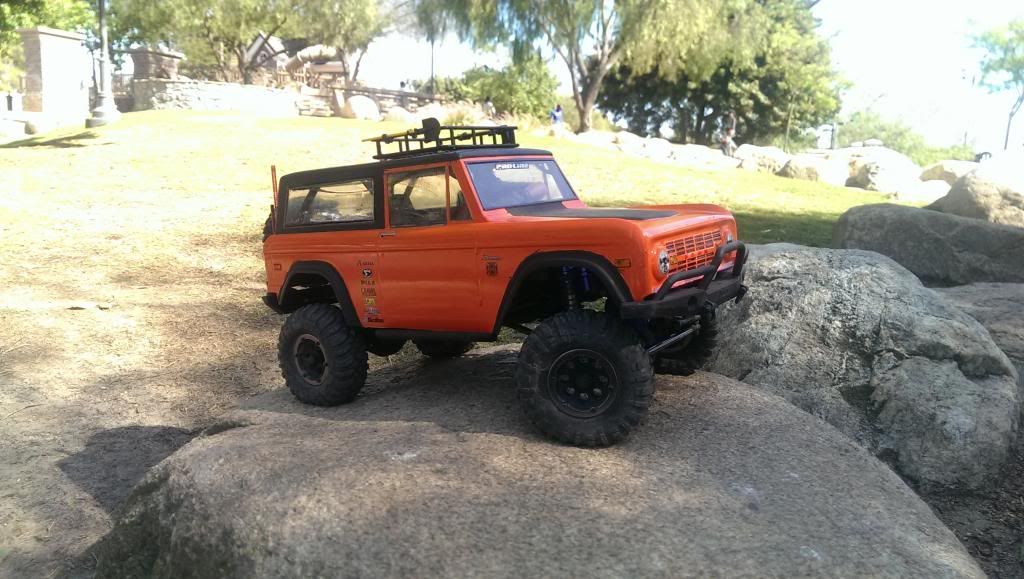 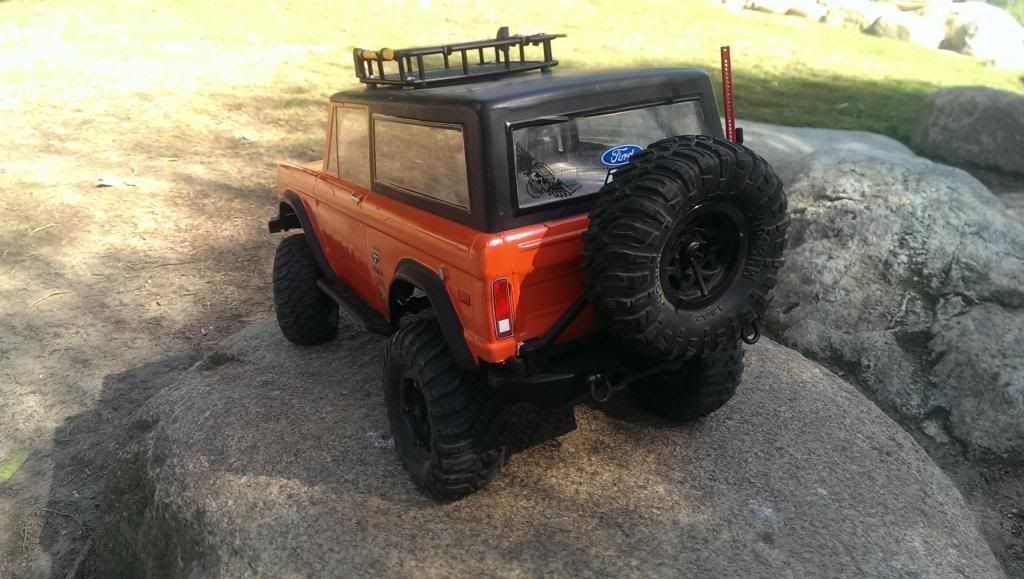 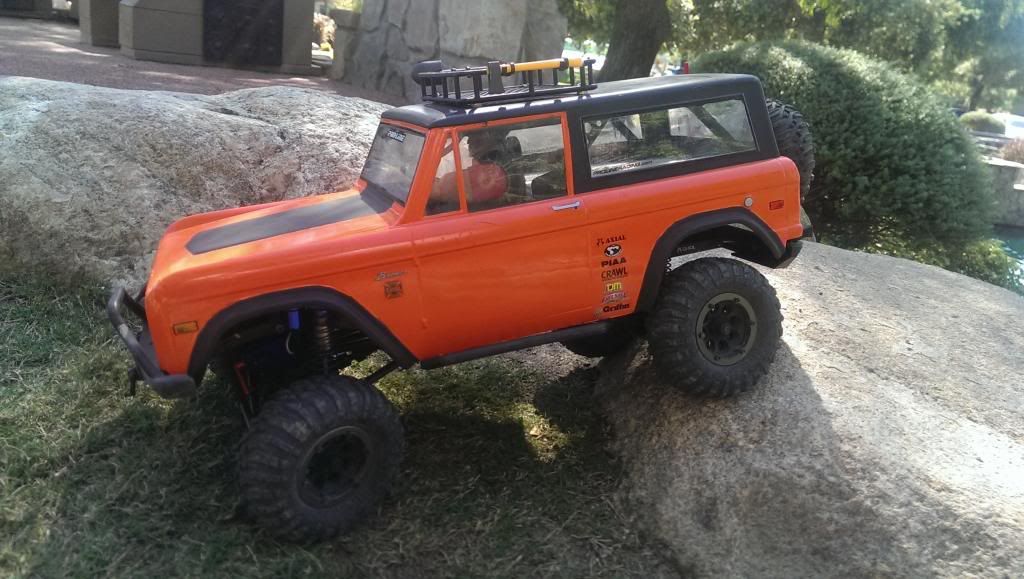 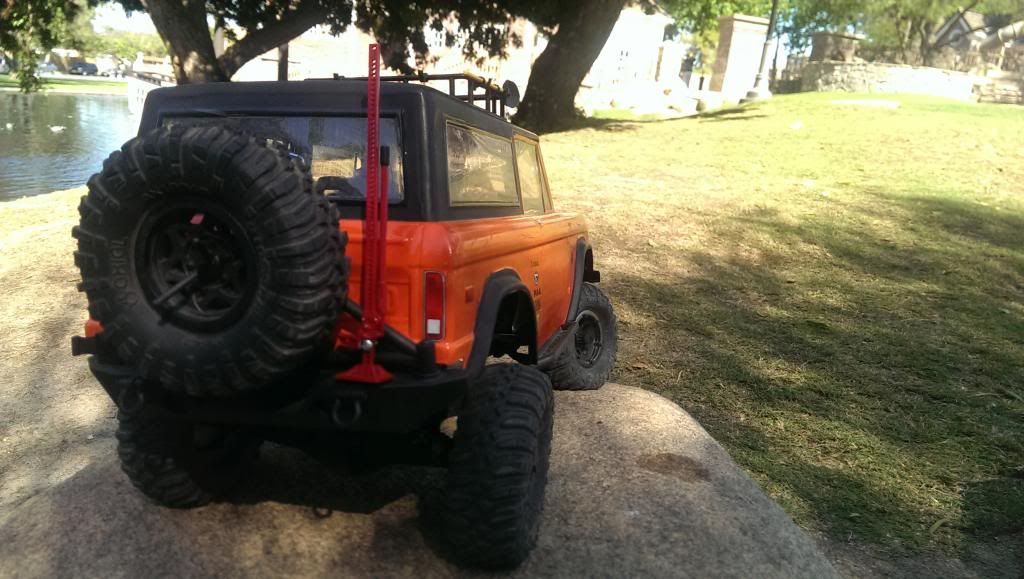 and the following will be of some flex shots. i am running Team Integy 100mm shocks. i must be one of the lucky ones because i have not had trouble with their shocks, either that or i have not beat up on the truck. regardless here are the pics. 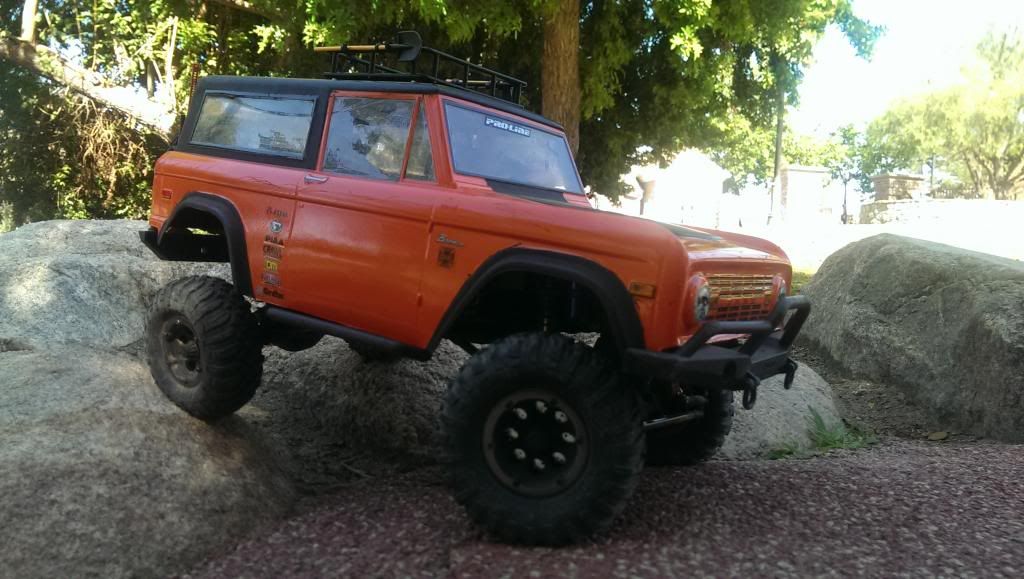 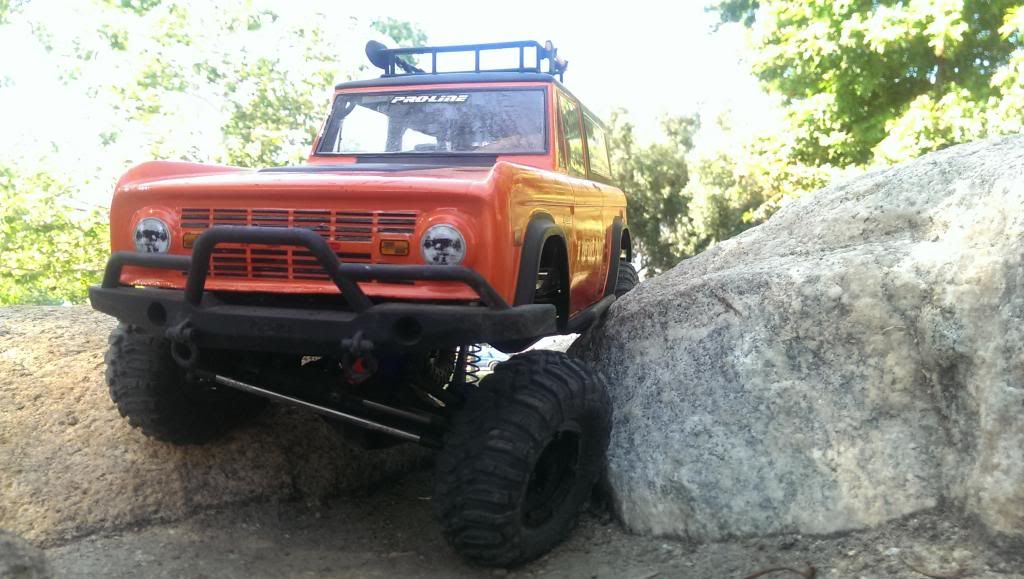 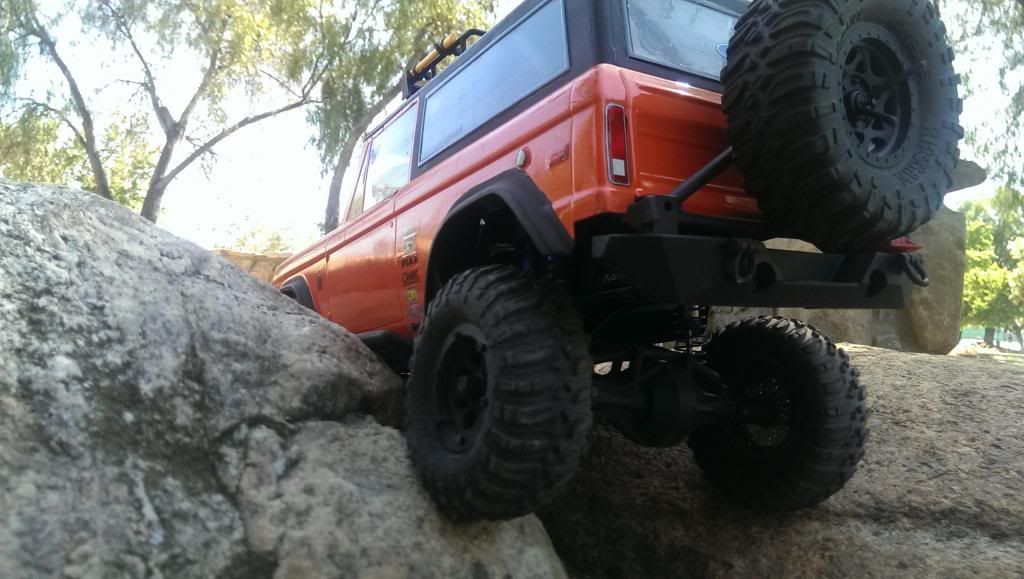 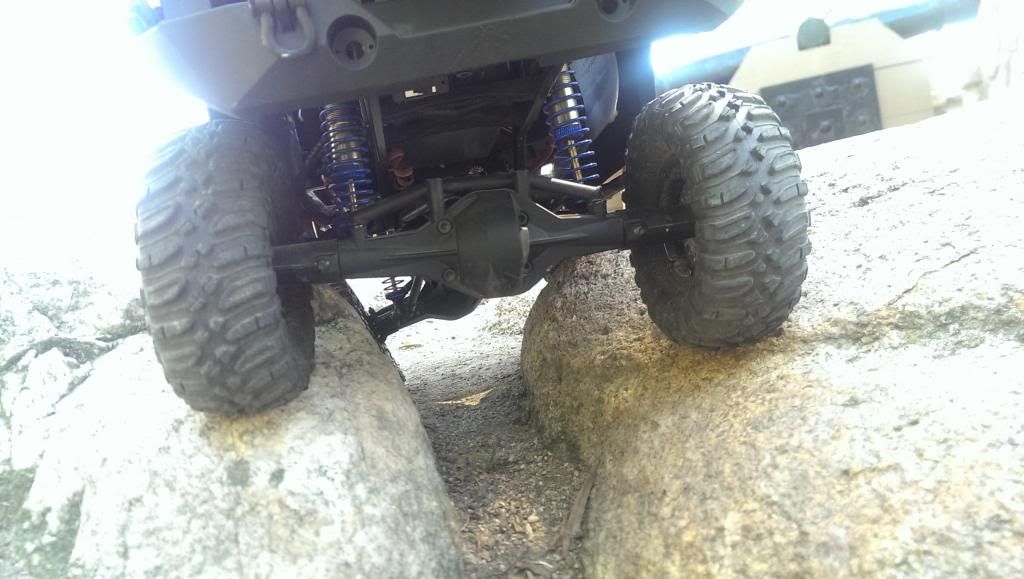 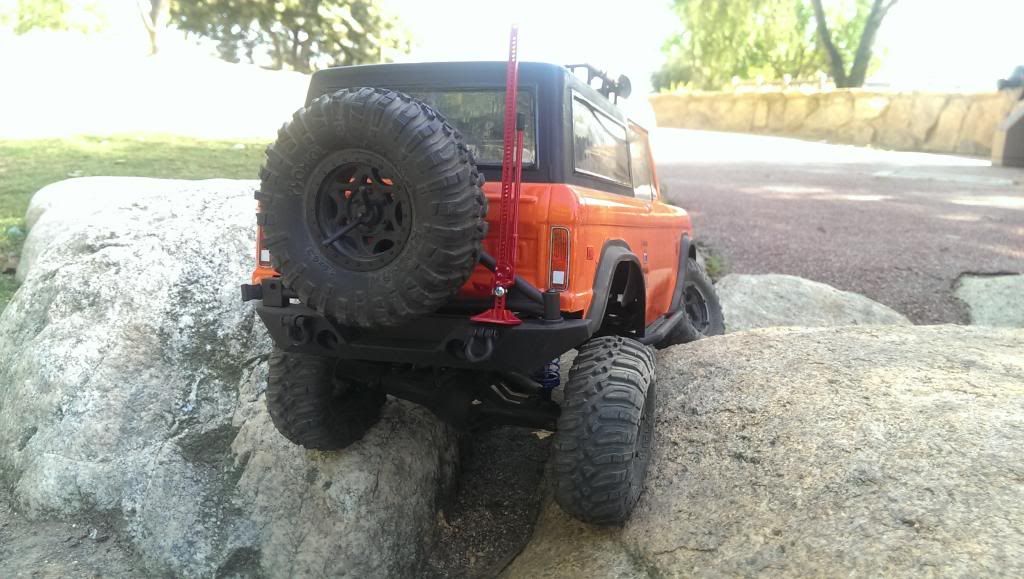 this third set is at a different location flexing on some roots. 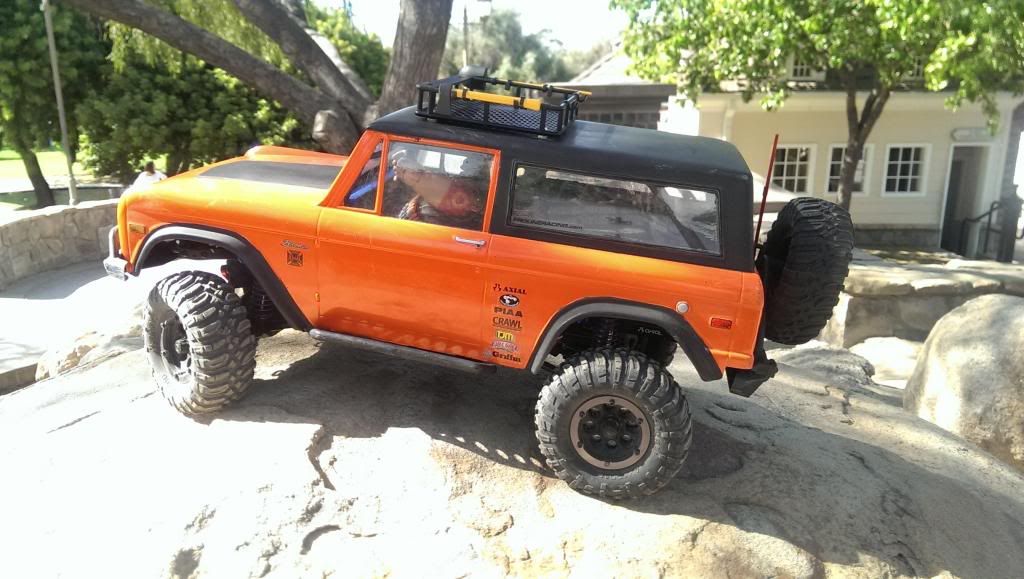 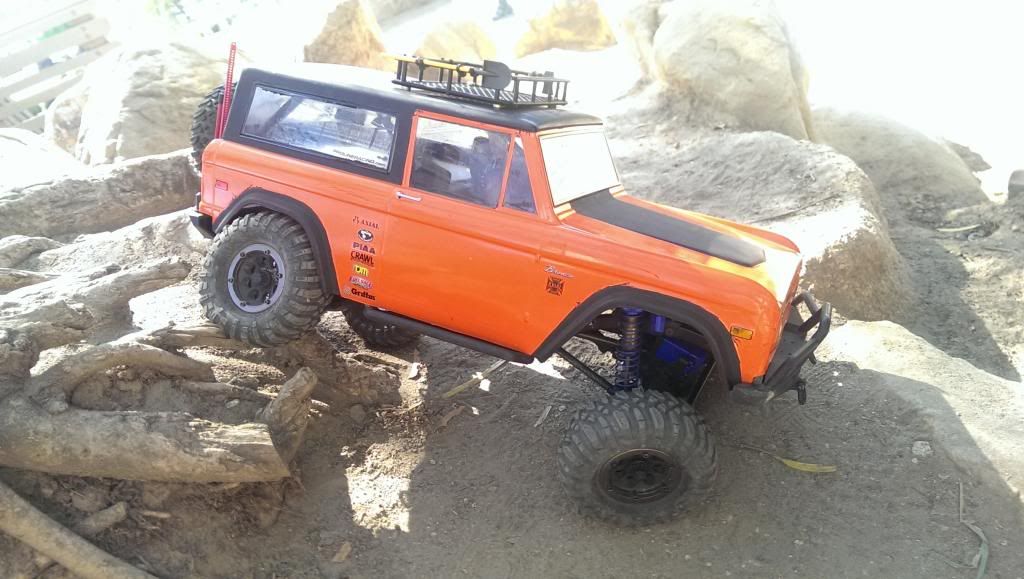 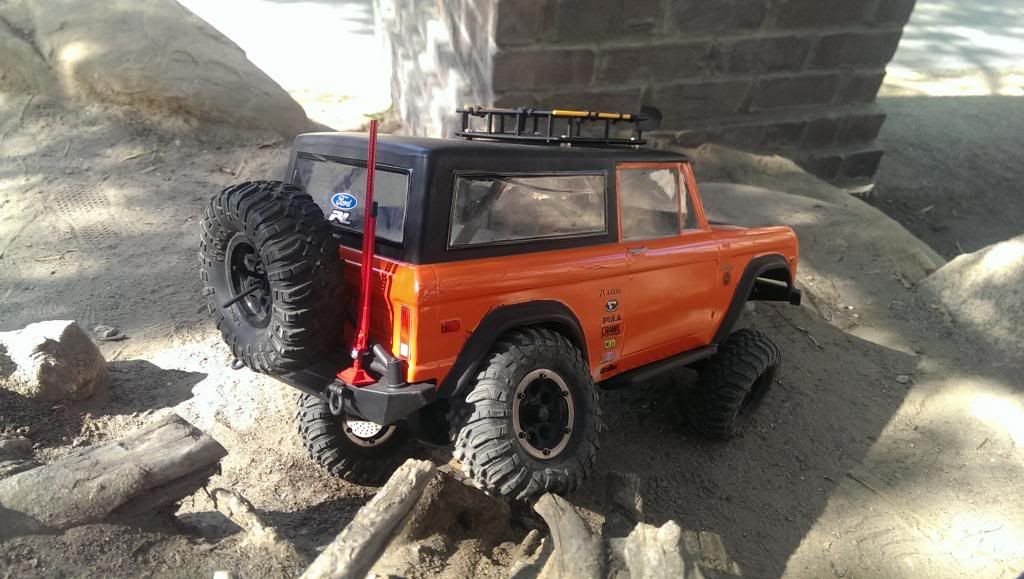 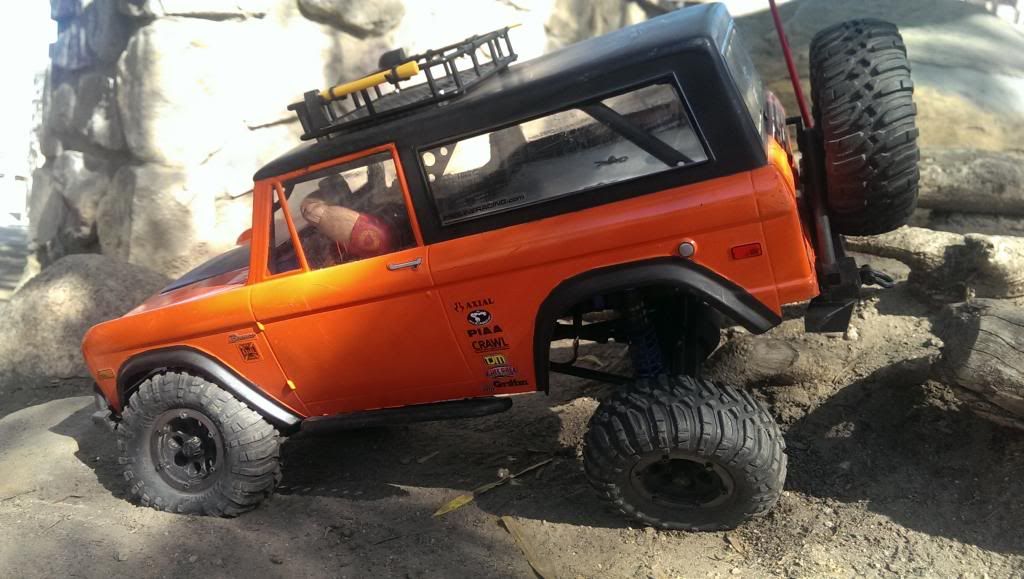 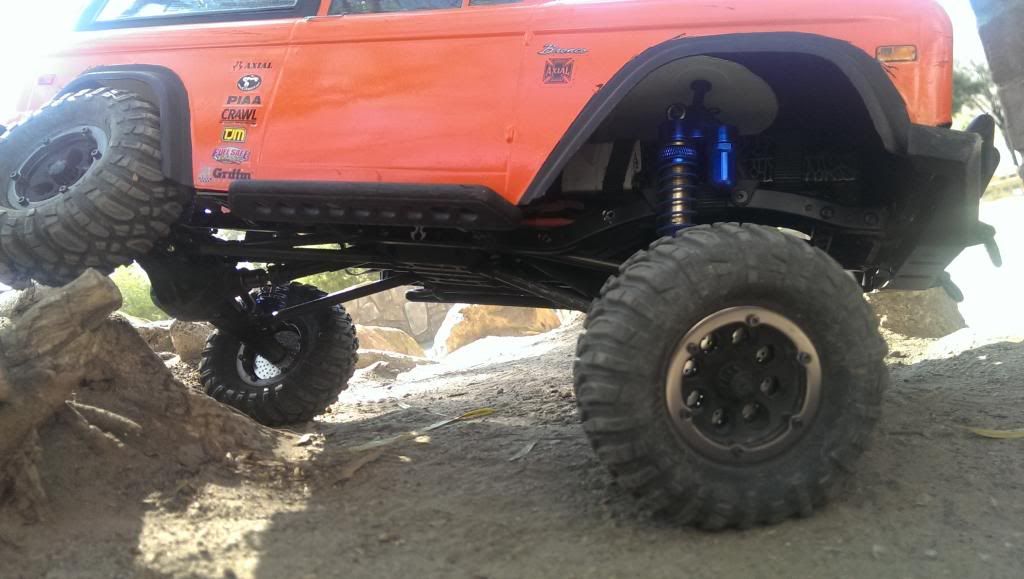 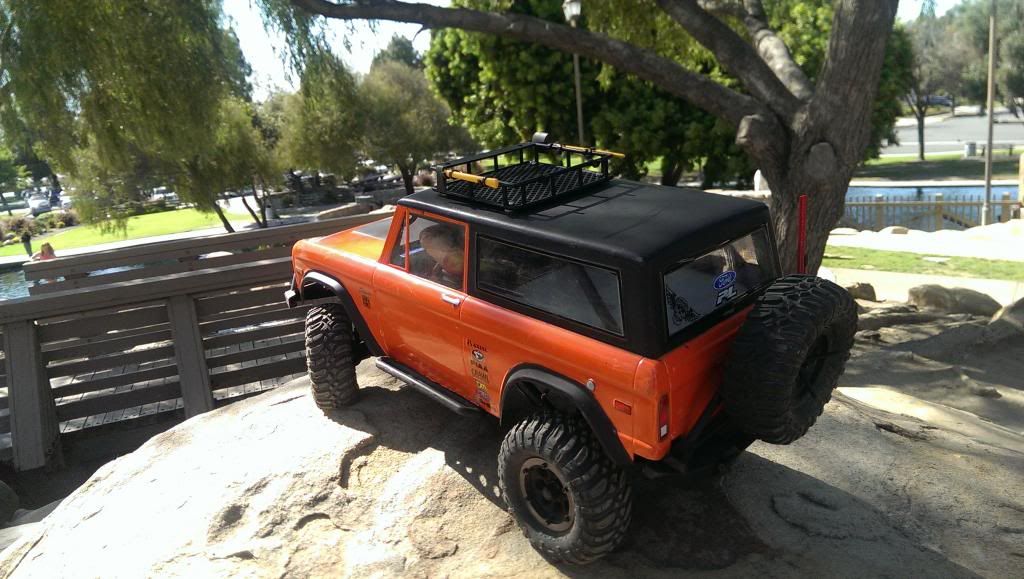 hope you enjoyed and dont forget to comment and ask if you have questions about the rig. |
| |  |
 |
| Tags |
| 4 link, axial, axial scx-10, dingo, kit |
 Axial SCX10 Dingo Kit Newb build. - Similar Threads
 | ||||
| Thread | Thread Starter | Forum | Replies | Last Post |
| Axial SCX10 Dingo Build | DrMend | Axial SCX-10 | 21 | 05-14-2013 11:34 PM |
| Advice on Axial SCX10 4WD Kit w/Dingo Body | xwingman | Newbie General | 10 | 03-26-2013 07:32 PM |
| axial SCX10 dingo kit | RCGecko | General Scale Talk | 5 | 05-23-2012 01:15 PM |
| Newb w/ an SCX10 TR Dingo - questions... | cadillac | Axial SCX-10 | 4 | 02-19-2011 01:34 AM |
| Thread Tools | |
| Display Modes | |
| |