| | #41 |
| RCC Addict Join Date: Dec 2006 Location: Flatwoods
Posts: 1,036
|
Thanks guys. @Woody - I went with the Traxxas box for two reasons. The first is because it is more waterproof by a long shot when compared with the stock Axial box. And secondly because of it's smaller foot print. So I decided to make a top for the Deadbolt. Thought a nice vinyl style soft top would look sweet on it. First thing I did was to make a paper template to see what I had and to see if I would like the look or not. 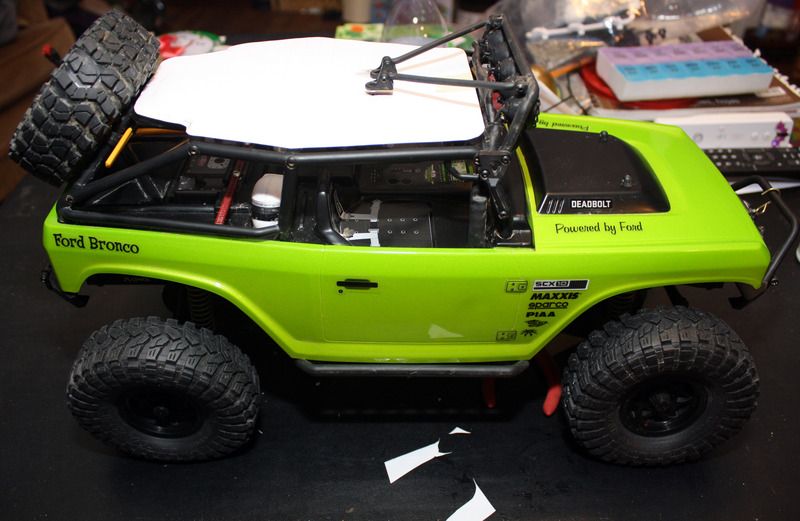 I really liked the way it looked so I was off to find me some material that would work. As luck would have it I had a old Mead Five Star note book with a plastic cover on it. The cover has a textured surface and is made from a light weight, flexible, and tough plastic. 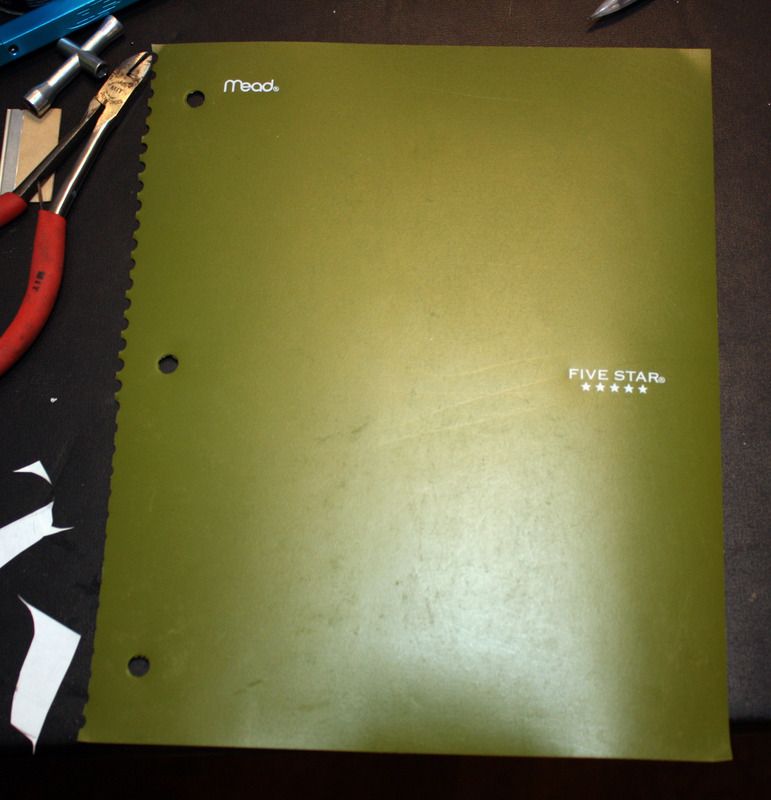 Used the template and cut out the top. Gave it a test fit. 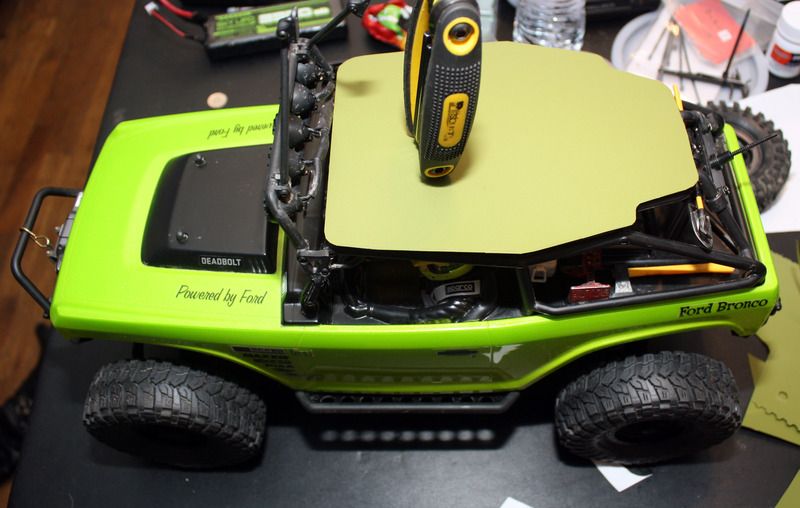 Made my mounting holes and gave it a coat of black engine paint followed up with a coat of semi-gloss black wheel paint. 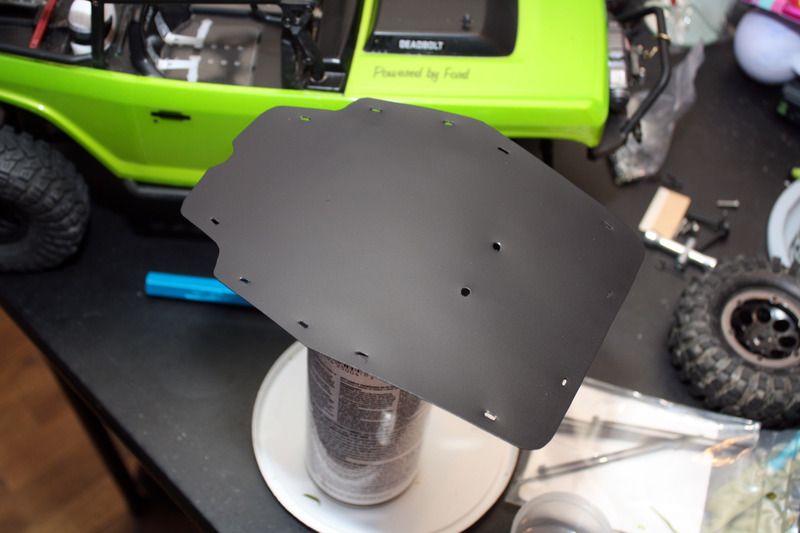 Got it all mounted up. Used zip ties as the top straps. Since the top material is so flexible it gave it the look of stretched vinyl. 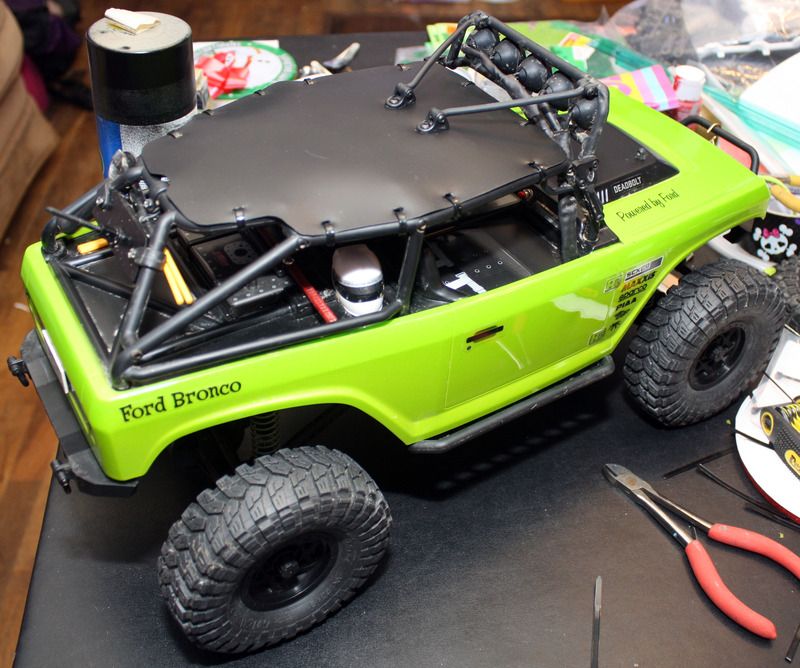 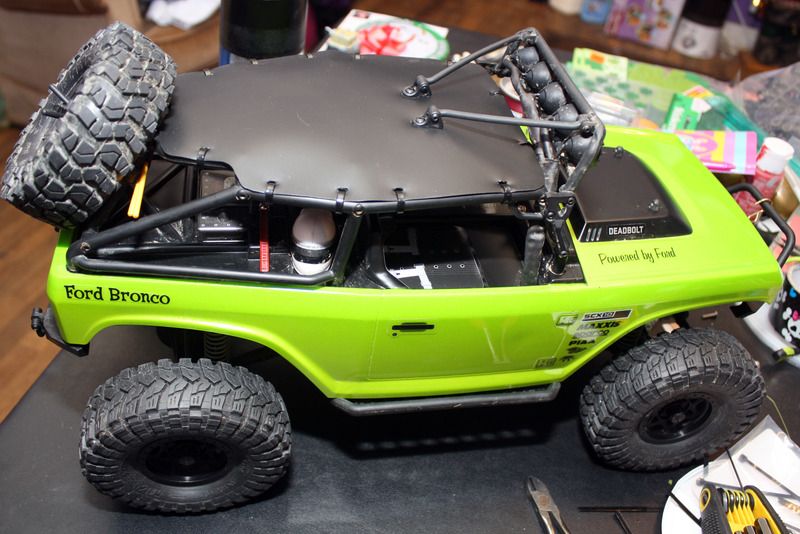 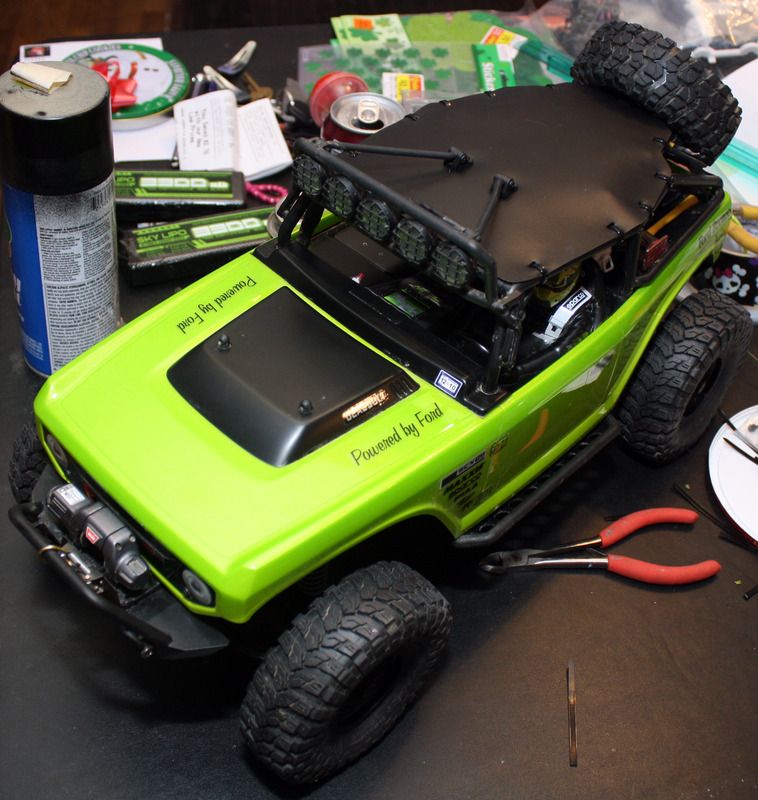 Since I have seen some tops and bed covers with logos made into them I decided to add this Ford oval to the top for a bit of flair. 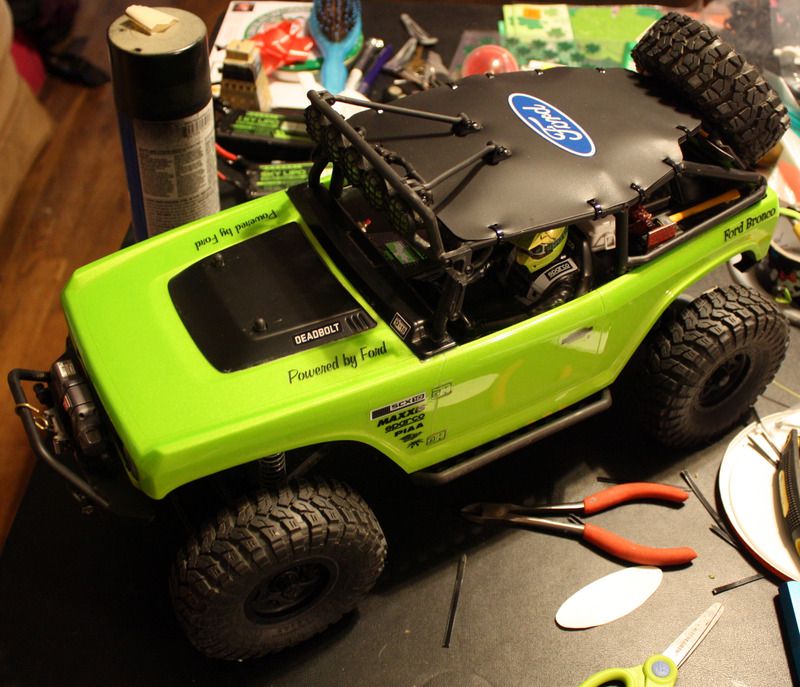 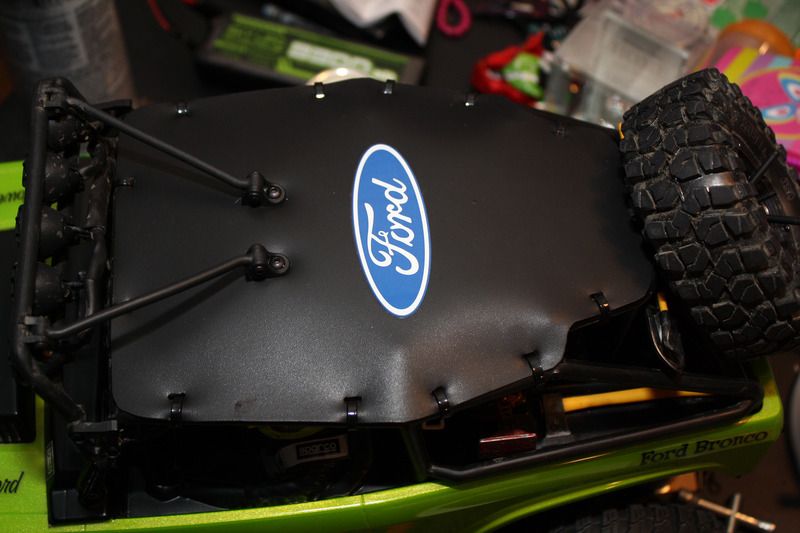 That is it for now. Next up will be a set of bead locks. I found the rest of a set of axial 8 holes from an old project in a spare parts box so I think I will put them on this truck. Thanks for looking. -Prime- . |
| |  |
| Sponsored Links | |
| | #42 |
| RCC Addict Join Date: Dec 2006 Location: Flatwoods
Posts: 1,036
|
Thanks guys, glad you like it. This little truck is proving to be a blast. Probably the best R/C purchase I have ever made. I did make a slight change to the truck. I decided I wanted some fancy wheels and had these left over from an older rig. It is a set of Axial 8 hole bead locks like the one I am using for a spare. 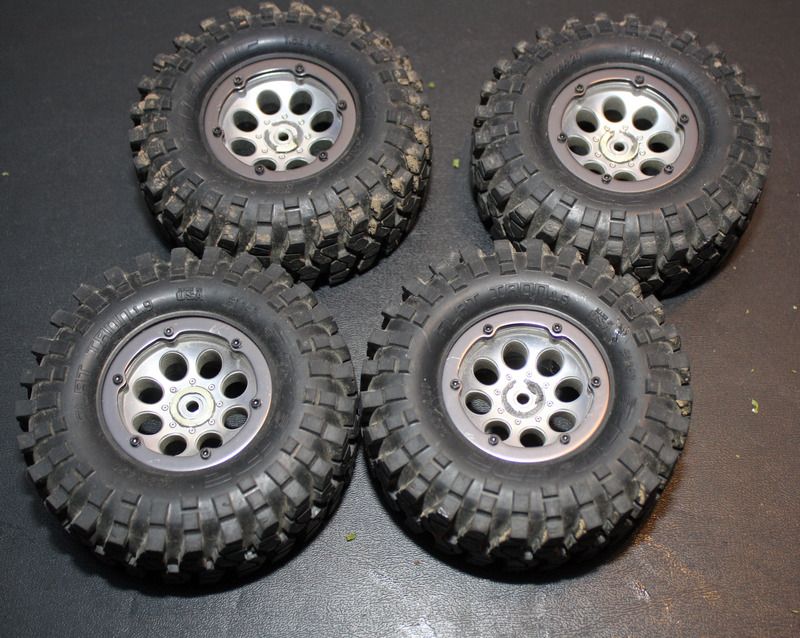 Since these had Flat Irons on them and I am sticking with the stock tires the Flat Irons had to go. 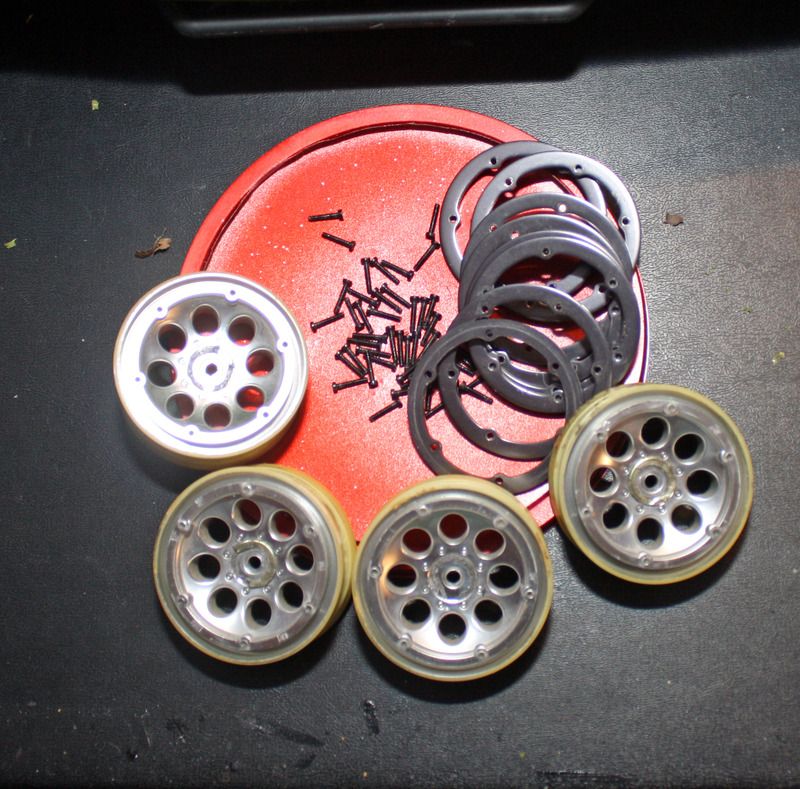 I shot them black so they would match my spare's wheel (and because I think it looks cool). 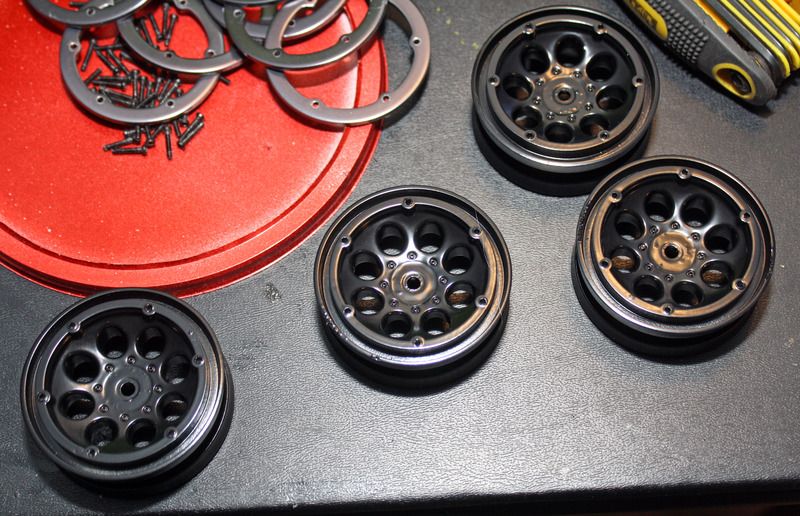 Using Harley's method I got them ready to stick in the old oven to break down the glue. 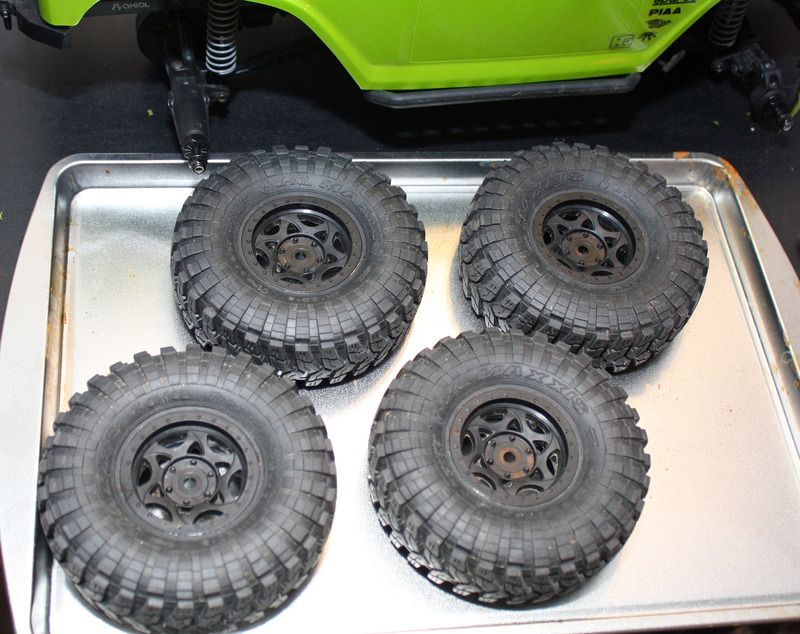 And from the oven, the worse tasting cookies ever! Actually this method worked great, best one I have ever tried for removing glued tires. 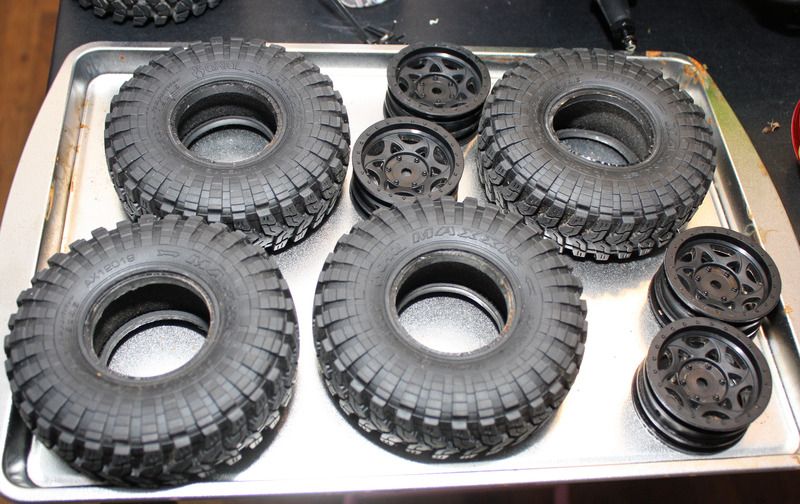 All together. I like the way the black with the gun metal rigs look together. 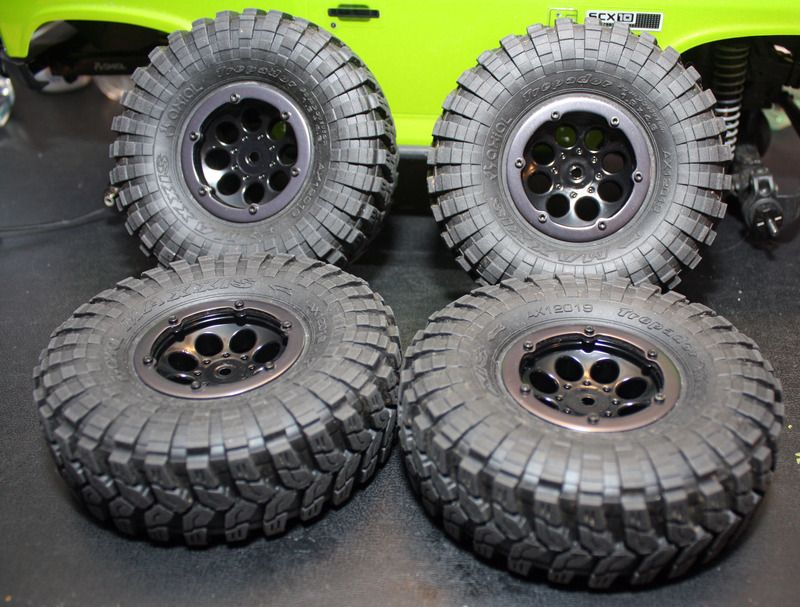 On the truck. I dig the way they look on it. Gives it a nice "macho" look I think. They added a bit more weight down low, I hope it is enough. If not I may add a little more to the front axle. 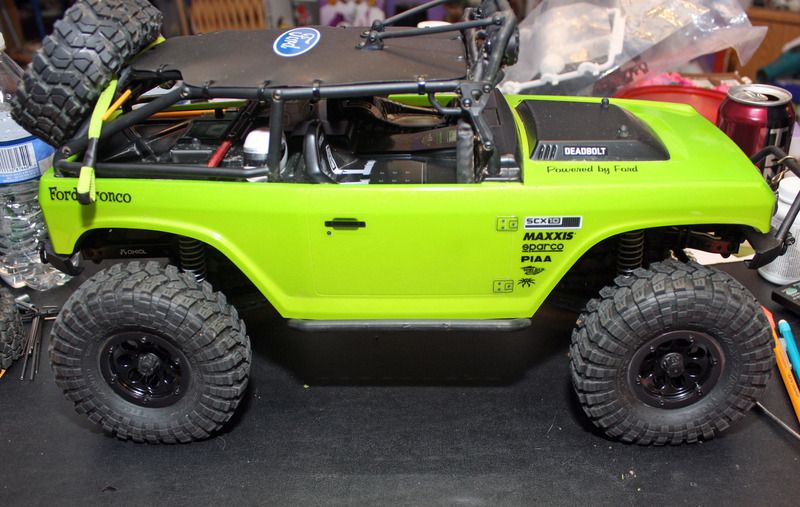 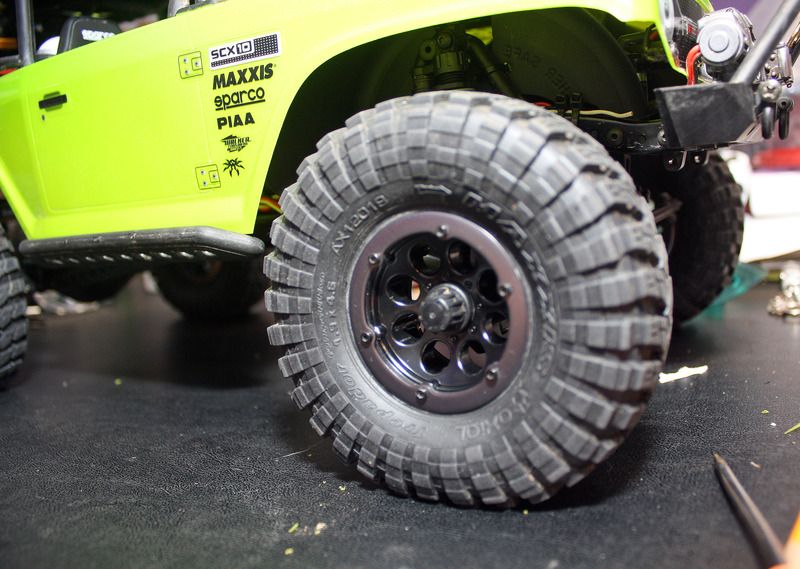 Thanks for looking. I am not sure what will be next. -Prime- . Last edited by Prime; 04-07-2015 at 10:45 PM. |
| |  |
| | #43 |
| RCC Addict  Join Date: Oct 2008 Location: Finland
Posts: 1,265
|
Lots of nice mods going on here. Nice work!  At what temperature and for how long did you keep the tires in the oven? |
| |  |
| | #44 | |
| RCC Addict Join Date: Dec 2006 Location: Flatwoods
Posts: 1,036
| Quote:
I used Harley's method on the rims/tires from his "$50 a week" Deadbolt built thread. Here is his instructions, "325 Degrees for 20 minutes on side 1 Remove bead on side facing UP Flip Tire over and place back in oven for 5 mins Remove from oven and remove wheel from tire." I followed them to the letter and it worked flawlessly. Just make sure you have good gloves and be careful if there is any water in the foams, it gets really hot and makes a lot of steam lol. | |
| |  |
| | #45 |
| Newbie Join Date: Mar 2015 Location: Harrogate
Posts: 38
|
I used his system on removing tires also but I guess my toaster oven sucked it took 8mins on each side at 400 lol but it worked flawlessly
|
| |  |
| | #46 |
| Newbie Join Date: Sep 2012 Location: Sherbrooke, Qc Canada
Posts: 34
|
Did you guys do this in an oven that you use for cooking food or one specifically used for removing tires off of the rim?
|
| |  |
| | #47 |
| Pebble Pounder Join Date: Oct 2007 Location: Ohio
Posts: 166
|
Also real nice job on the top,  might steal that! to match my bass pro cooler and jack! Hey how about painting your rear plastic hub gun metal grey too. might steal that! to match my bass pro cooler and jack! Hey how about painting your rear plastic hub gun metal grey too.
|
| |  |
| | #48 | ||
| RCC Addict Join Date: Dec 2006 Location: Flatwoods
Posts: 1,036
| Quote:
I used my neighbors old kitchen oven that he has for powder coating though to do mine. Quote:
I think I may give the hub trick you messaged me about a try here some time in the future. Thanks for the tip.  | ||
| |  |
| | #49 |
| RCC Addict Join Date: Dec 2006 Location: Flatwoods
Posts: 1,036
|
A small upgrade. I had ordered a metal servo horn off eBay from a China seller. Figured at $5 shipped it was worth a try. I ordered it in gunmetal since I really like that color and my beadlock rings are that color. Granted it took a while to get here but it finally arrived. Out of the package it looks pretty good. 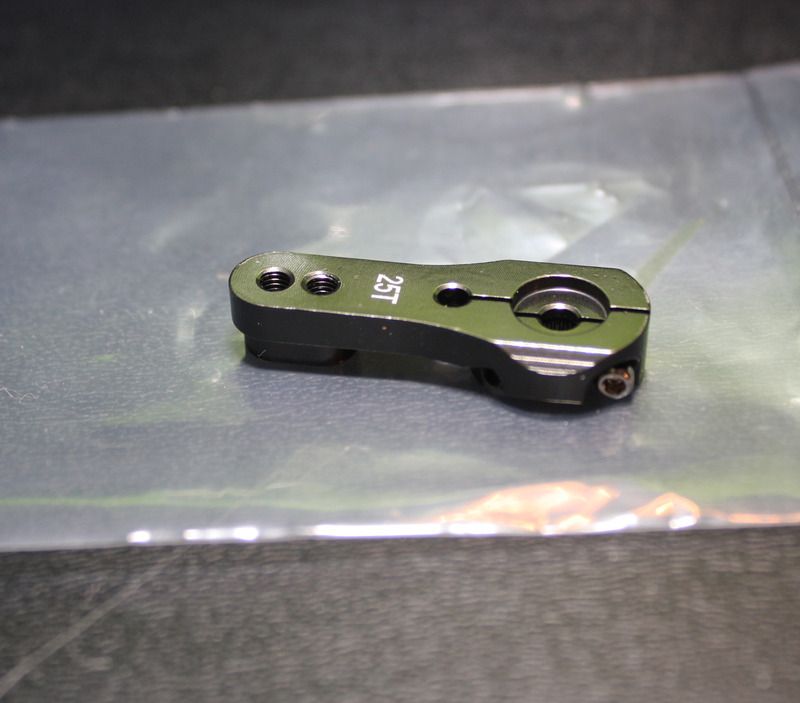 Here it is next to the stock Axial horn. It is a bit longer but will use the top hole since the stock axial length works with my current setup. Once I add more steering I will move it down a hole. 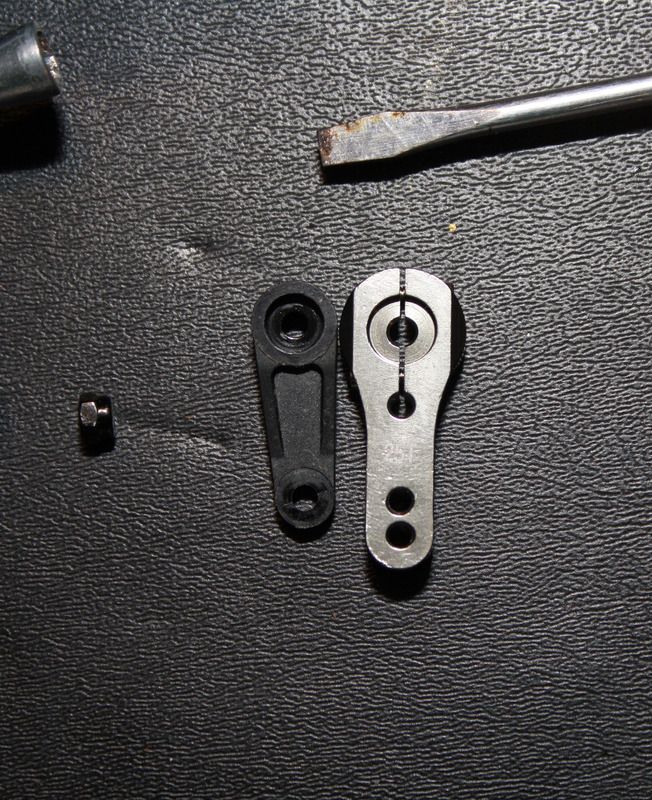 Since I was working on the servo anyways I decided to make it a little more waterproof. I packed the front with grease and coated the servo in liquid electrical tape. Then put the new arm on. It fit perfectly, better than I expected given the price. 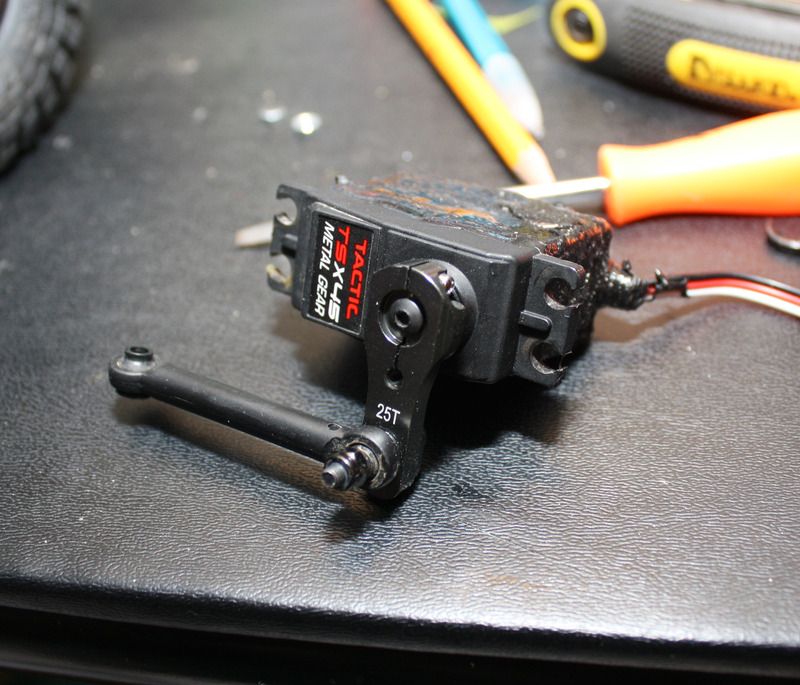 And back in the truck. A little bit of bling added and a small upgrade of a weak part. 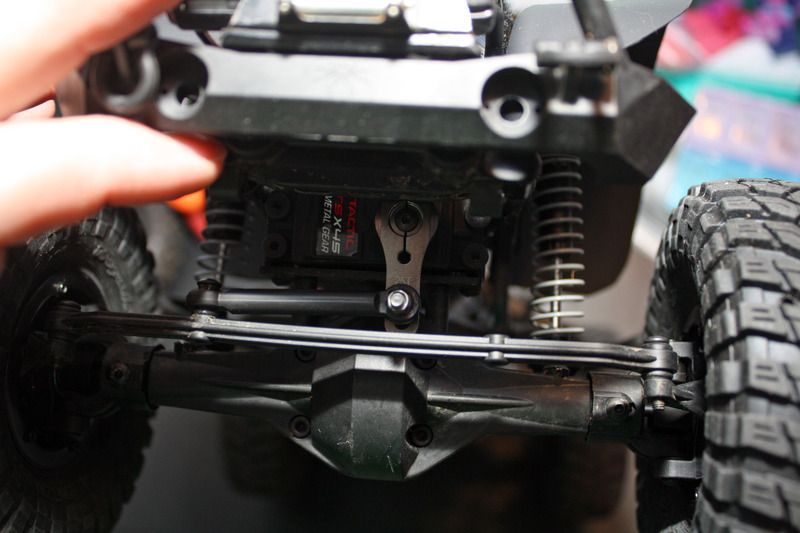 In the future I will replace the steering link with a metal one though I may leave the plastic one from servo to link just to have a soft spot in the steering incase it gets to bound up. Atleast till I get a servo with all metal gears since the x45 the truck comes with has a plastic gear in it that is prone to failure. I figure a servo replacement will be in my future at some point. Next thing I hope to do is a set of metal lower links. I could not find what I wanted in the states for the Deadbolt so I had to go the China route again. If they are the right ones I will add them to the truck once they finally get here. Thanks for looking. -Prime- . |
| |  |
| | #50 |
| Pebble Pounder Join Date: Oct 2007 Location: Ohio
Posts: 166
|
Hey I`m glad your testing this stuff for me  |
| |  |
| | #51 |
| Newbie Join Date: Sep 2014 Location: Perth, Australia
Posts: 30
|
Great write up! Those tyres came off perfectly, will have to try the same with mine.
|
| |  |
| | #52 |
| RCC Addict Join Date: Dec 2006 Location: Flatwoods
Posts: 1,036
|
@simp - That's how I feel bout it, some of it has to be good and considering a lot of parts are made there anyways...... @inertia - I was really surprised at how well it worked but they came off perfectly. So I took the Deadbolt out for the finial run of the season in one of my favorite spots. When the lake is at it's winter pool there are a lot of really nice rocky areas exposed that make for some great rocky trail running. They are starting to hold back water for the summer pool so by this weekend this area will be under water again until next winter. The truck did very very well. The weight of the bead locks made a difference. It still needs a bit more but I am not going to add any until after my links get here and I see how much weight they add. 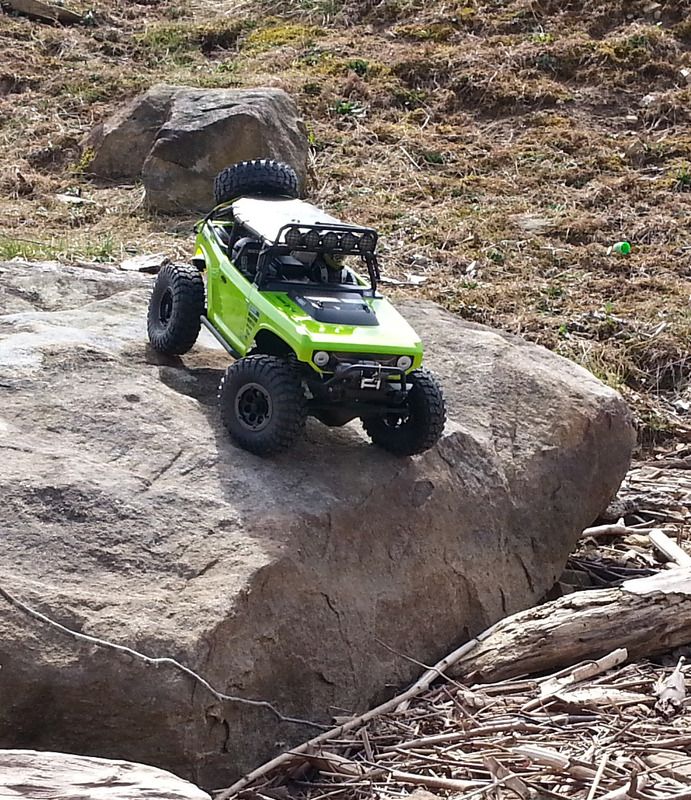 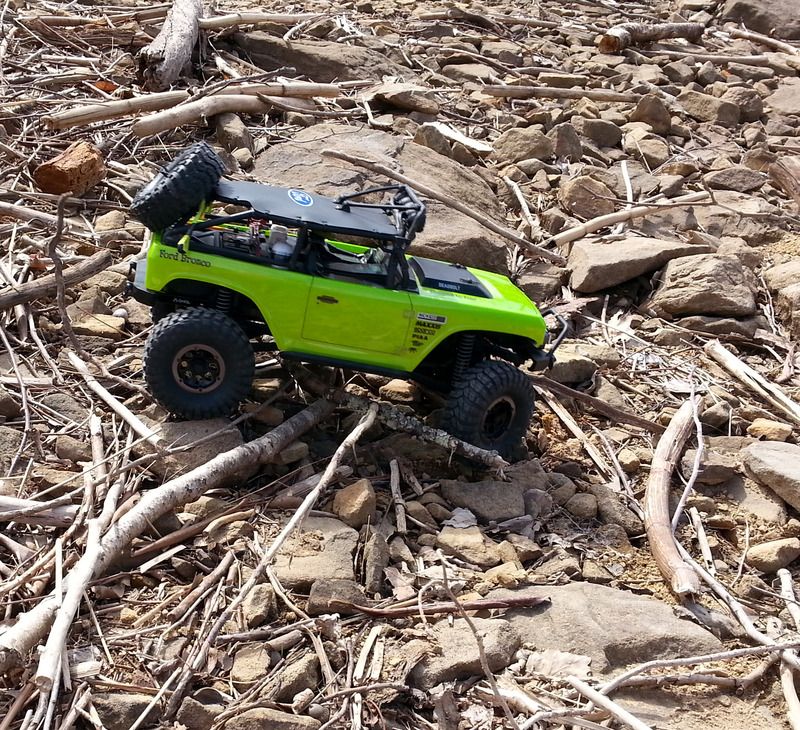 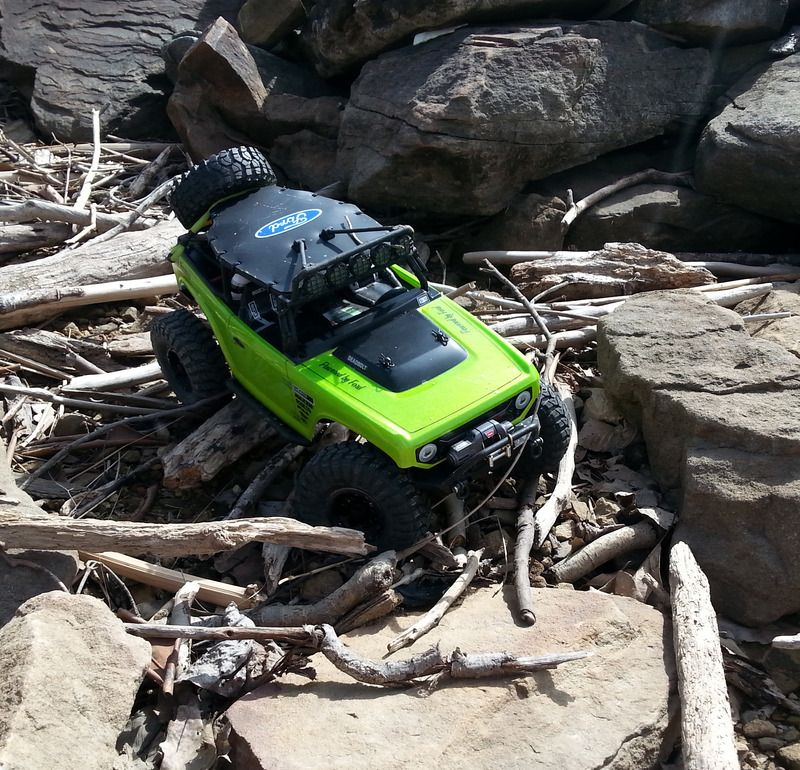 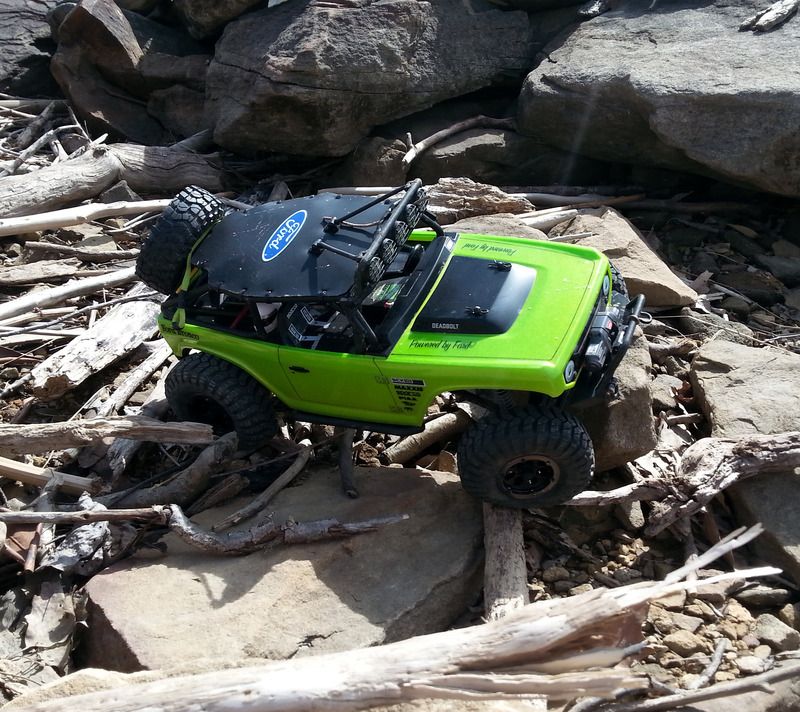  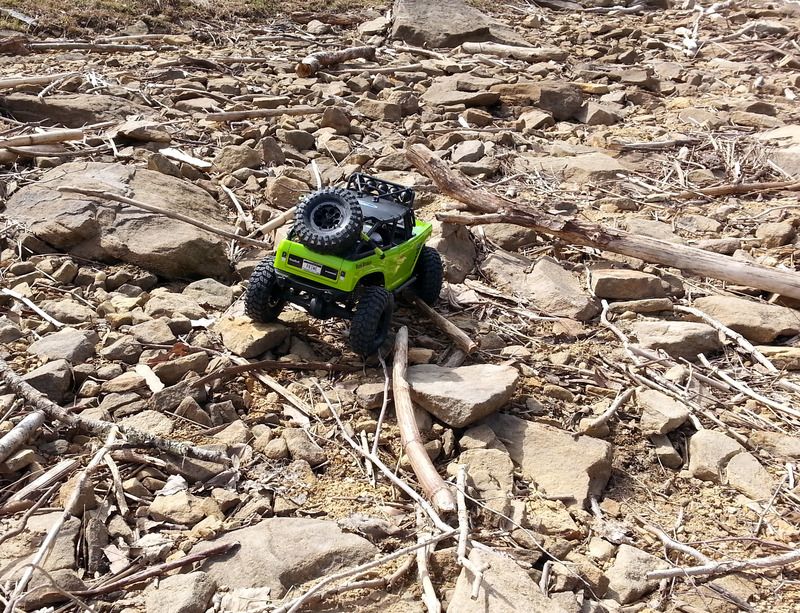 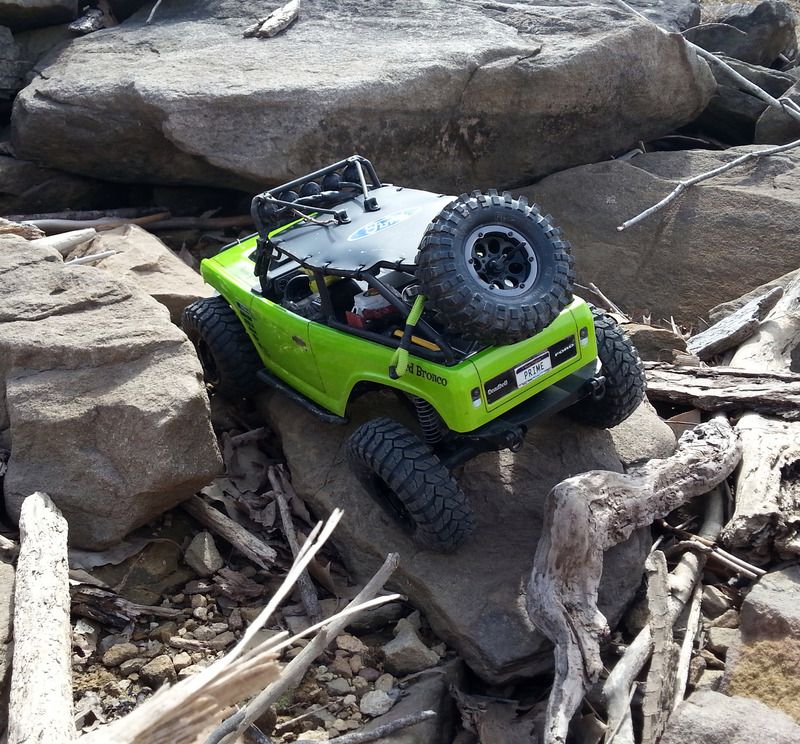 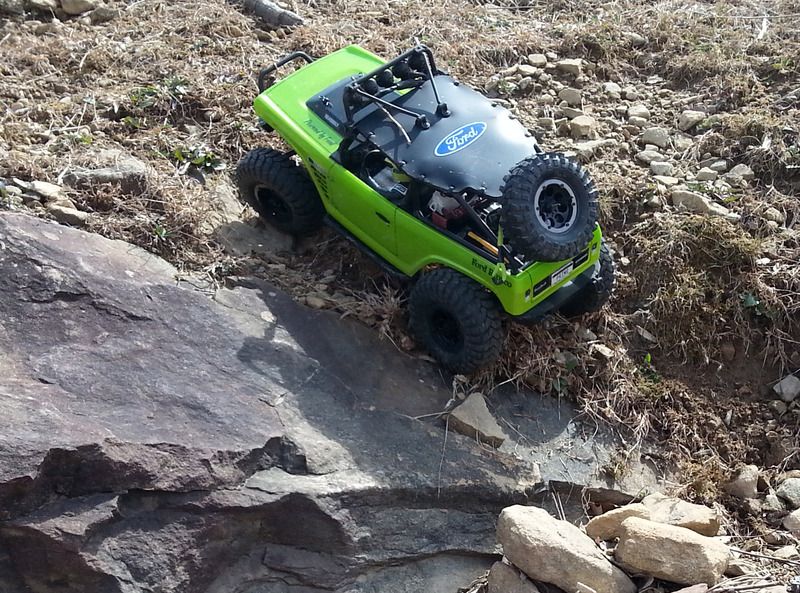 You can't really tell it in the pics but there is a bit of a slant to this area by it being the lake bank. The only damage was some scuffs and scratches and a spot of paint got knocked out of the left front inner fender. A stick got jammed in and busted the paint up in there. But that is a minor thing and easy to repaint. Better a stick jabs it rather than the guts of the truck. Thanks for looking. Hopefully more updates soon. -Prime- . |
| |  |
| | #53 |
| RCC Addict Join Date: Dec 2006 Location: Flatwoods
Posts: 1,036
|
Thanks man. I am really surprised how scale looking this rig has become. A few more tweaks should really get it there. The Deadbolt is an awesome rig, I am beyond happy with it. Last edited by Prime; 04-16-2015 at 10:06 PM. |
| |  |
| | #54 |
| RCC Addict Join Date: Dec 2006 Location: Flatwoods
Posts: 1,036
| |
| |  |
| | #55 |
| Pebble Pounder Join Date: Oct 2007 Location: Ohio
Posts: 166
|
You done yet! |
| |  |
| | #56 |
| RCC Addict Join Date: Dec 2006 Location: Flatwoods
Posts: 1,036
|
Not quite yet, but I do have the truck apart and a cardboard template finished. |
| |  |
| | #57 |
| Pebble Pounder Join Date: Oct 2007 Location: Ohio
Posts: 166
|
Just rassing ya, I`m sure it will be good. I cant find gunmetal gray servo arm on ebay. I guess going with black.
|
| |  |
| | #58 |
| Pebble Pounder Join Date: Jul 2013 Location: Candler
Posts: 145
|
Looking good, I believe I may order a deadbolt now. Some very solid ideas you have had.
|
| |  |
| | #59 |
| RCC Addict Join Date: Dec 2006 Location: Flatwoods
Posts: 1,036
|
@Simp: I got mine from a seller by the name of raidenracing. It wasn't listed by color, just as a servo horn but you picked your color when you ordered. Shipping was average China speed but the seller communicated well. @DTB1: Thank you and I say go for it! This Deadbolt is the most fun I have had in RC for quite sometime. |
| |  |
| | #60 |
| Pebble Pounder Join Date: Oct 2007 Location: Ohio
Posts: 166
|
Hey thanks prime, I entered it all kinds of ways but I figured it was something like that  |
| |  |
 |
| Tags |
| deadbolt, scx10 deadbolt |
 Start of a new Deadbolt project. Lets call it Project: Cheapbolt - Similar Threads
 | ||||
| Thread | Thread Starter | Forum | Replies | Last Post |
| LCG deadbolt crawler project | 1JEEPNICK1 | Axial AX10 2nd-gen | 9 | 02-10-2015 05:18 PM |
| Deadbolt aka project joker | BigCountry11 | Axial SCX-10 | 2 | 11-25-2014 11:48 AM |
| I think I'll call it project aggression... | Blue buggy | Axial Wraith | 6 | 05-08-2014 02:40 PM |
| The i'm not sure what to call it project. | motoxkfx | 2.2 Scale Rigs | 6 | 08-30-2013 07:58 AM |
| Start of my project | bluto | 2.2 Scale Rigs | 2 | 04-02-2008 08:59 PM |
| |