| |
| |||||||
 |
| | LinkBack | Thread Tools | Display Modes |
 03-06-2018, 10:41 AM
| #1 |
| Rock Crawler Join Date: Oct 2009 Location: Danish badlands
Posts: 761
|
So i figure i would make a thread on my SCX 10 II that did not get much wheel time as it was when the kit was put together. First off i painted the jeep with the wrong Tamiya paint = no grip Pretty sad but i never claimed i was a lexan rattle can painter, pretty much all other kinds of painting i have done and master. And after also getting pissed about the 2 speed gearbox, then deciding to break the bank even more and try something else was easy. So right now the 10.2 look like a javelin hit it, and its pretty much just the frame rails with the 2 axles loosely fitted. But let me start off with some of the parts that did find its way to the 10.2 until now. 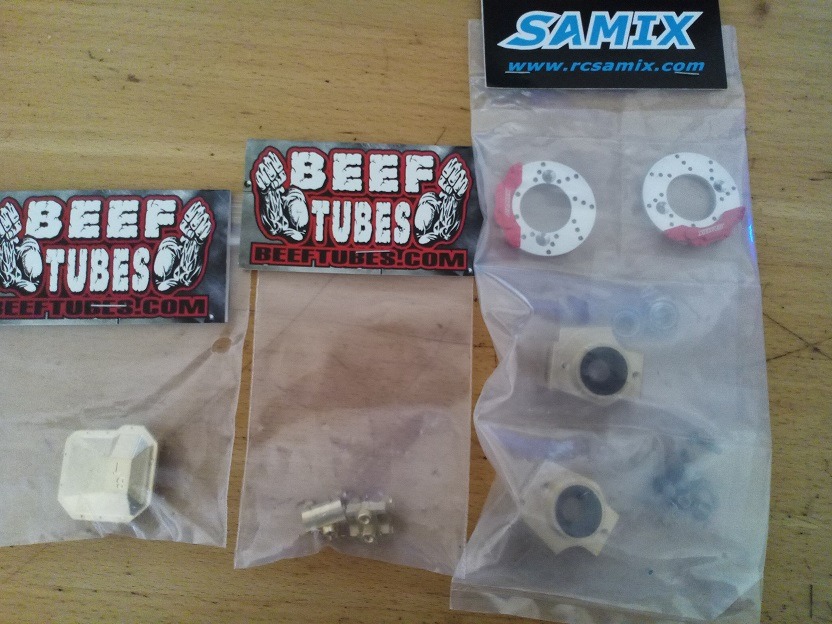 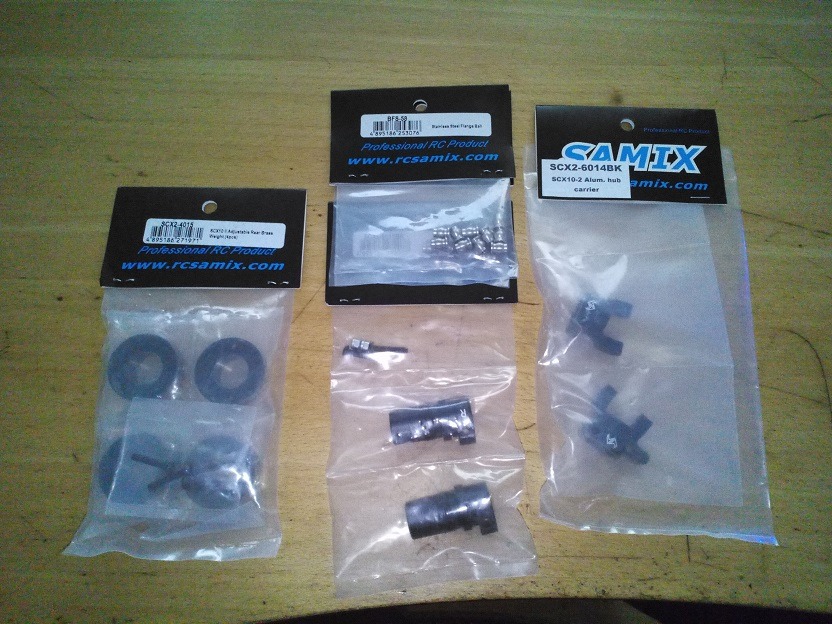  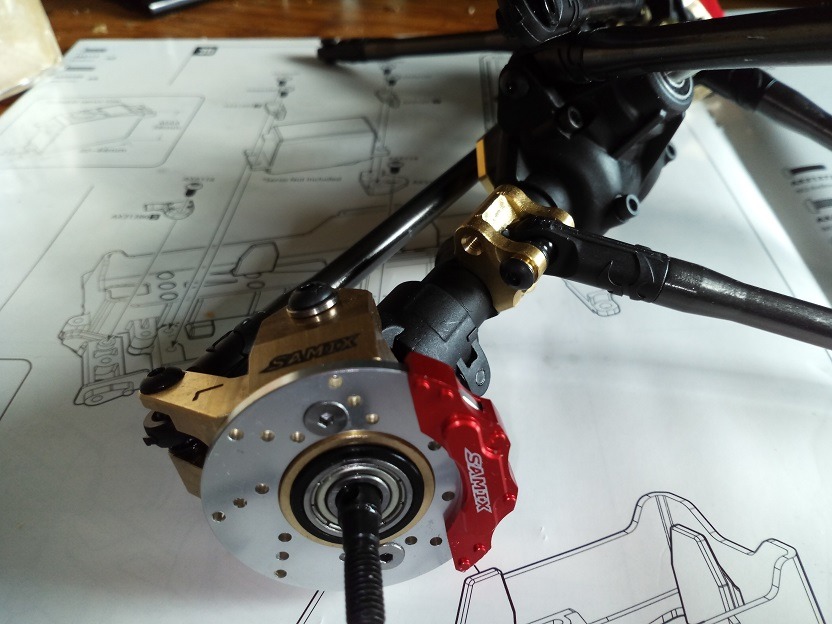 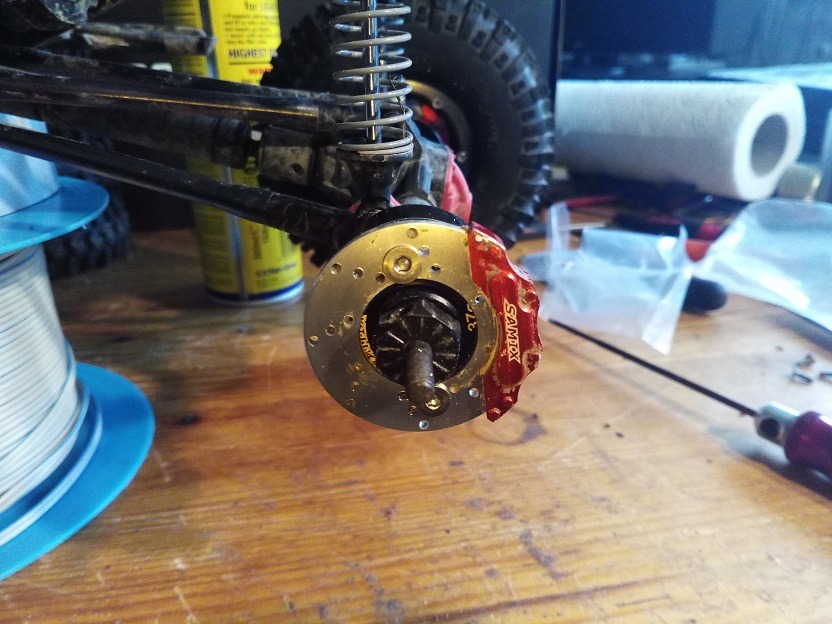 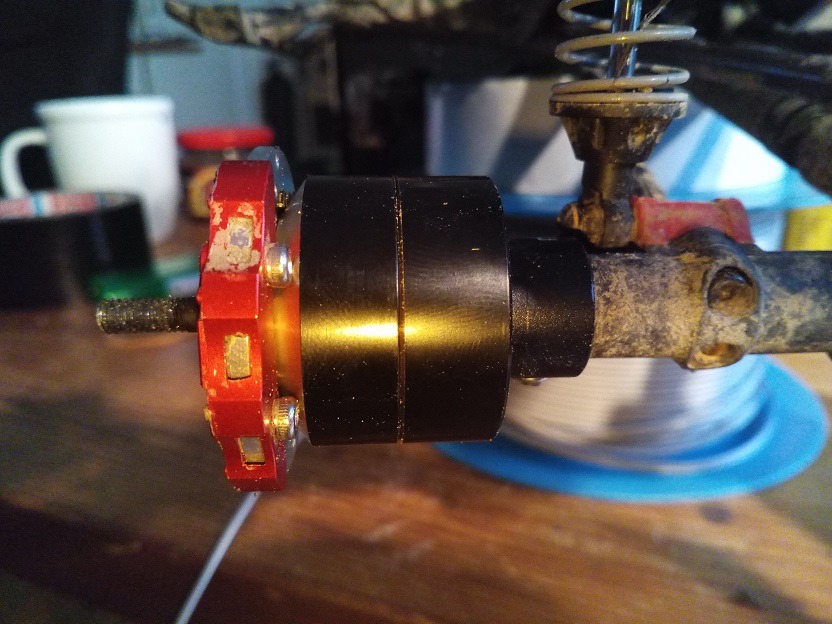 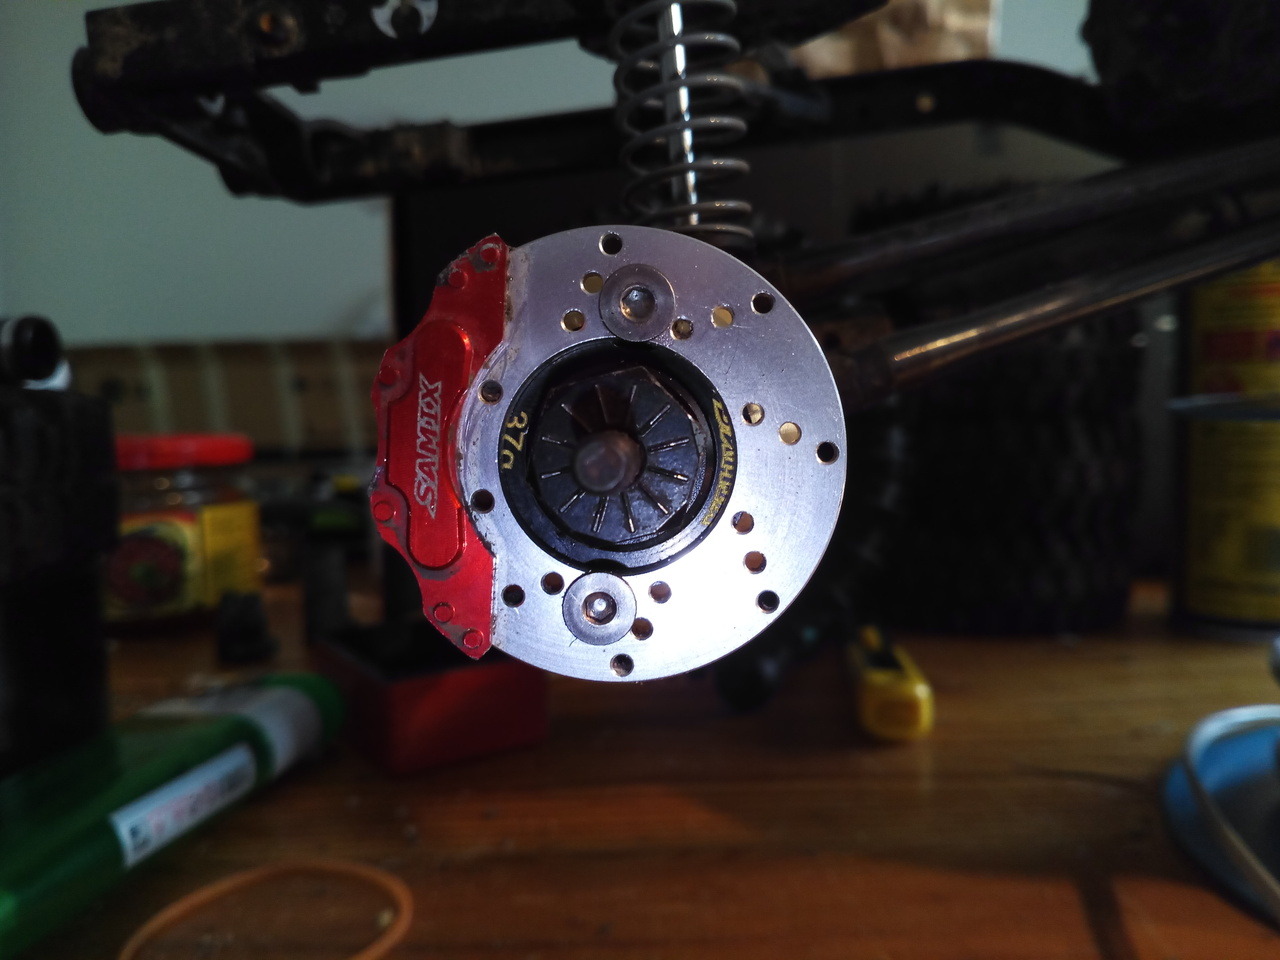 You cant see it on this pic, but the front axle are swapped for a SSD one, i plan to do the same with the rear axle some day. Flipped the steering servo, and used a little TF2 parts to make things line up. 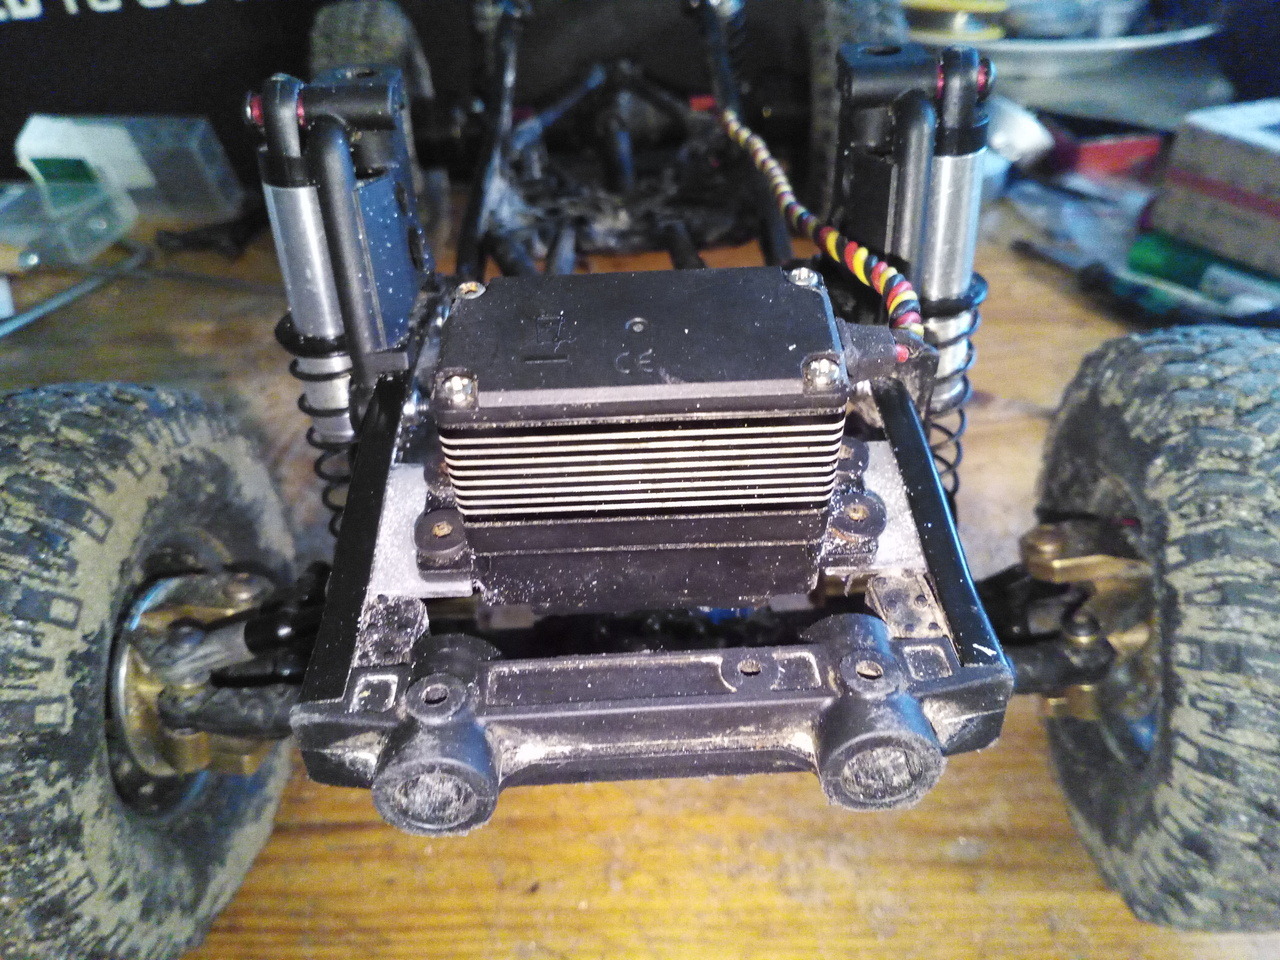 To make things line up better ( Proline power wagon body ) I have had to make a few changes. Moving and inboarding the rear shock towers ( just for testing ) I will fab up new lower towers in ALU as i want the body to sit a bit lower so the C1 wheels dont have such a big gap between the top of the tire and the wheel well. Also i have outboarded the shocks with 4 mm on the axle. 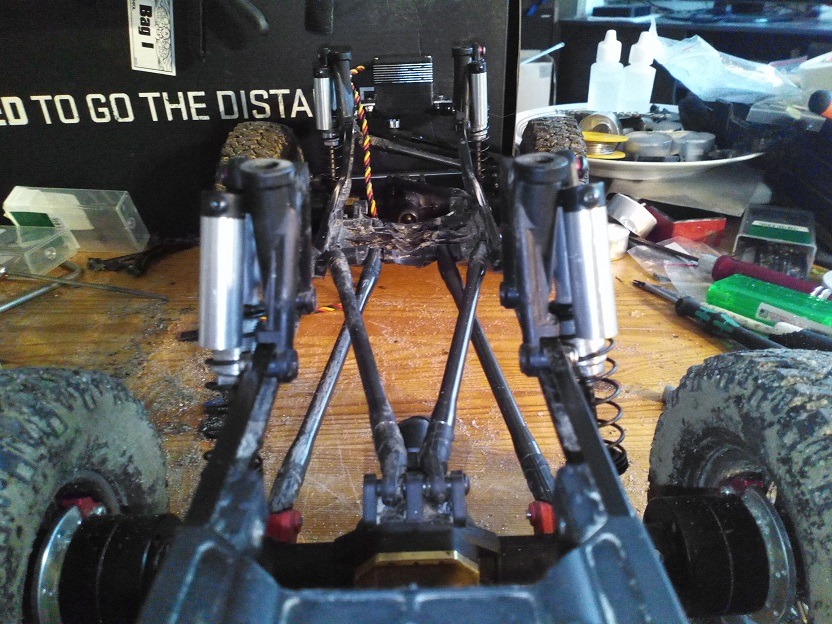 I have also modified my G made shocks, again to make body sit lower / axles ride a bit higher. This mean i will probably have to mechanically do something so the axles dont drop too low going over obstacles. Mod Vs non mod shock. 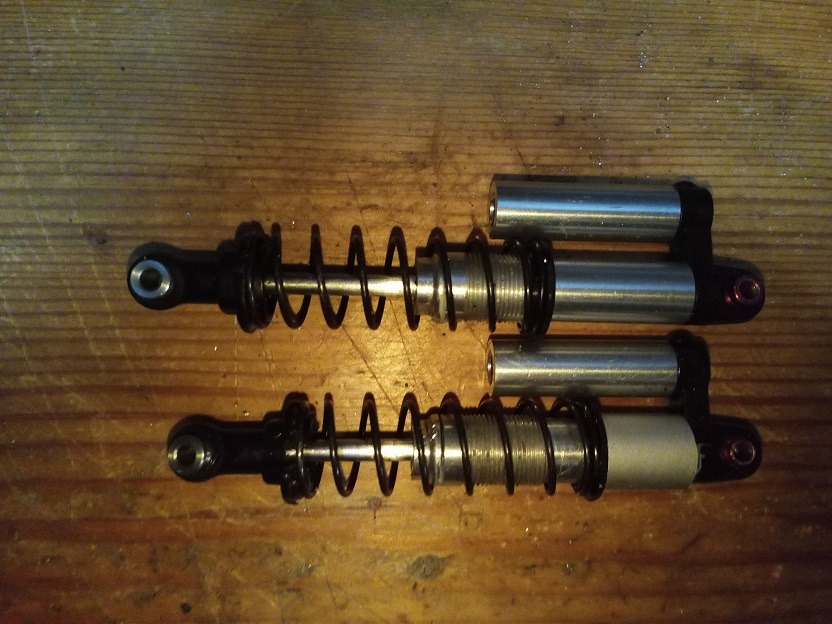 And that's about it for now. I have the SSD transmission in the mail from the other side of the earth. I have parts to start trying to do something to safeguard the Dodge PW running boards, but to work that i will have go to a former place of work to borrow work bench and tools. While i am there i will probably whip up some form of front bumper, the rear bumper i am not set on now, so that will have to wait. Last edited by Peaker; 04-12-2018 at 10:52 AM. |

|  |
| Sponsored Links | |
| | |
|
03-06-2018, 10:50 AM
| #2 |
| RCC Addict Join Date: Jun 2017 Location: Canada
Posts: 1,742
|
If you are pissed about the 2-speed, why not order the AX10 transmission and swap it? Sent from my Nexus 6 using Tapatalk |
|
| |
|
03-06-2018, 11:04 AM
| #3 |
| Rock Crawler Join Date: Oct 2009 Location: Danish badlands
Posts: 761
|
yeah it bother me, the TF2 gearbox i loved though i mostly used the #2 gear. I am going with the SSD ALU transmission to get more weight forward and for the overdrive it have build in. Also to use the regular SCX transmission it sit right in between the cab and bed parts so would have to cut more there. But i do have my old beefed up "bombproof" gearbox from the Honcho in the back hand if need be. The Power Wagon body do narrow things up a little, so where i will put my 3S 3000 MAH batteries are unsure for now, and i will also have to do something for the receiver & BEC to keep them dry, though i plan to do my best to not use this as a 4 wheeled submarine. |
|
| |
|
03-07-2018, 02:58 AM
| #4 |
| Rock Crawler Join Date: Oct 2009 Location: Danish badlands
Posts: 761
|
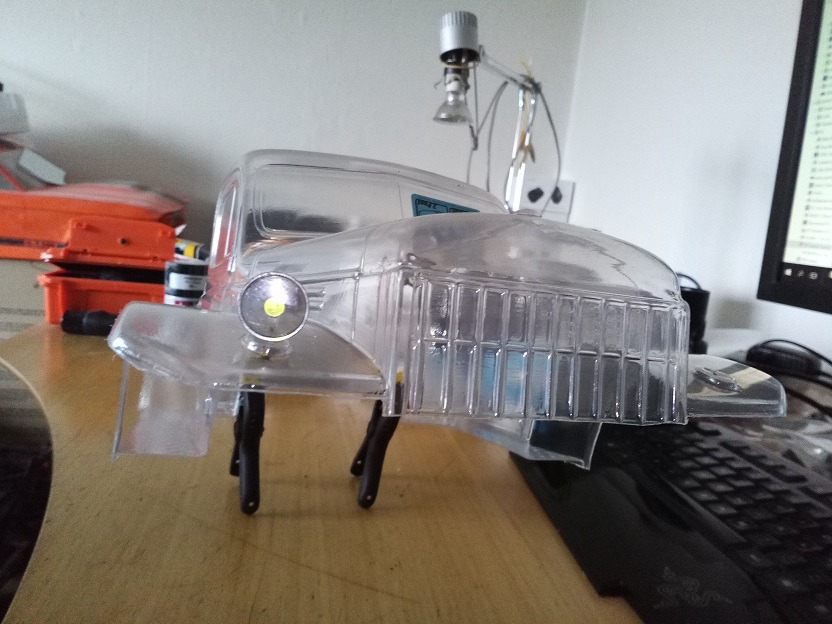
Things are getting closer to where i want them to sit, as you can see thru the clear body the running boards are now lower than the frame rails where they are the lowest. This might change a little but now i have the room for adjustment once more weight start to pile on. Angle of rear shocks do annoy me a little, but either i leave this be at an angle, or i will have to cut two holes on the bed for the shocks to pop out of at a more vertical location. 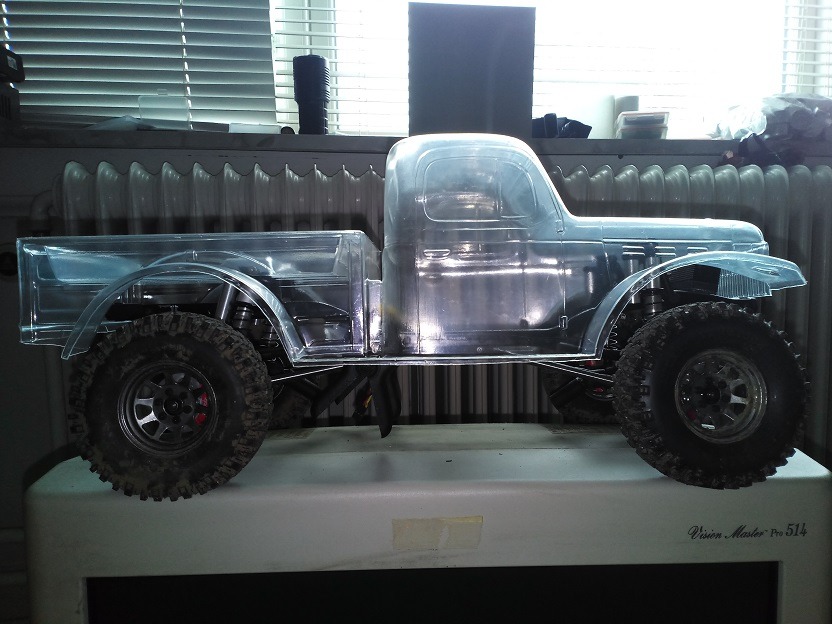 Now being that creative with the shocks and body placement do mean i will have to give up some flex. BUT ! As they say " FLEX ! we dont need that much stinking flex" Mockup shock towers have been cut back, looks like the mounting hole on new towers will be something like 10 - 12 mm lower than the original. The body sit a bit forward on the pic above as the cut down shock towers dont fit well in the dent in the bed, but remember mocking up here. 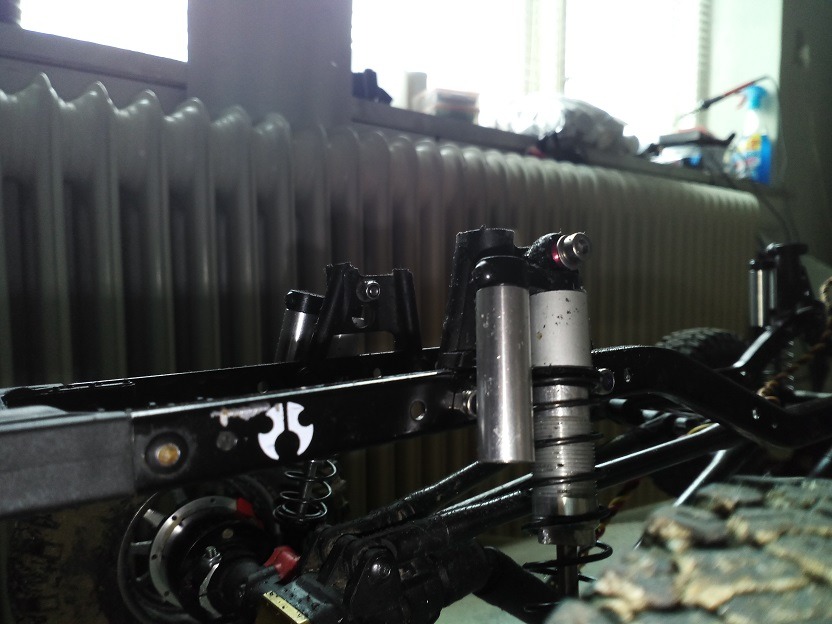 Also went a little wild on the lower part of the shocks.  Cutting outside the lines are always fun. 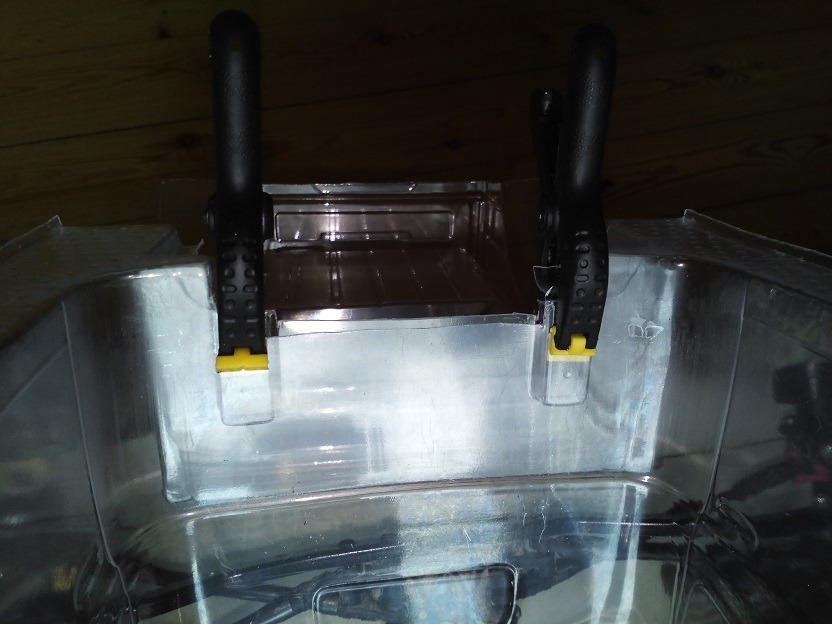 I haven't touched the front suspension yet, i figure i better chill on that until i get the transmission home and thrown in. Last edited by Peaker; 04-12-2018 at 10:38 AM. |
|
| |
|
03-07-2018, 03:38 AM
| #5 |
| Rock Crawler Join Date: Oct 2009 Location: Danish badlands
Posts: 761
|
G made R1 alu light buckets. What do you think ? go or too small ?? When fitted with LED i will of course do something to round the back end of them off, and they will probably also have to be painted black like the fenders will be. Myself i kinda like it better than the larger but plastic buckets. 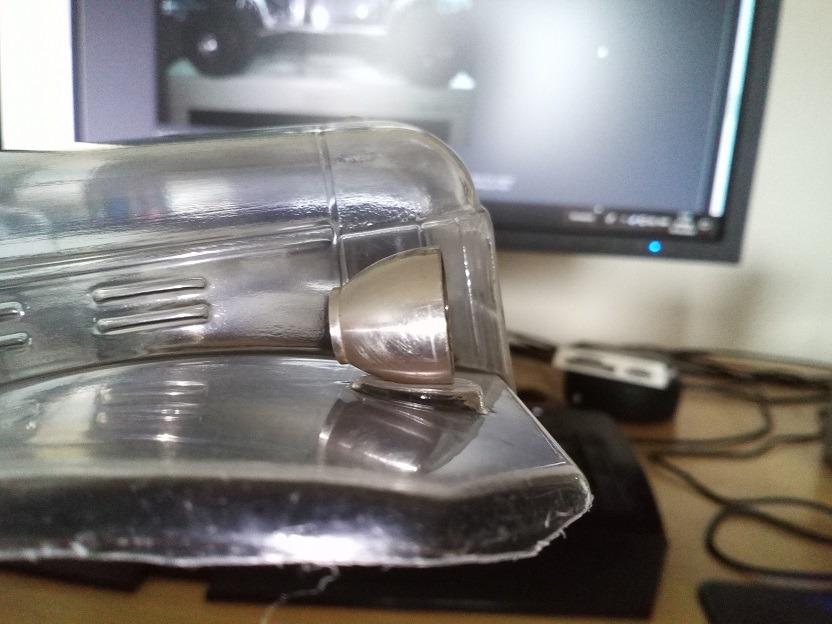 Last edited by Peaker; 04-12-2018 at 10:33 AM. |
|
| |
|
03-07-2018, 03:42 AM
| #6 |
| Rock Crawler Join Date: Oct 2009 Location: Danish badlands
Posts: 761
|  Dunno why was not able to make this pic work in post above. Last edited by Peaker; 04-12-2018 at 10:35 AM. |
|
| |
|
03-07-2018, 04:05 AM
| #7 |
| Rock Crawler Join Date: Oct 2009 Location: Danish badlands
Posts: 761
|
As i am a light whore and thoroughly enjoy wheeling at night in the summer time, my brain just snapped and said " what if you put two of those on each front fender" We use the strongest 5 mm LED's you can buy, those are something like 50 candela each, so 4 X that will provide some light to aid the light bar i do plan on putting on top of the damn thing too  My Honcho packed 10 of those LED's, 6 on the roof in the G made buckets, and 2 in each of the body head lights. That provided plenty of lights to make riding in the forest at night fun, and you dont want too much light either i think, making the mistake of turning the honcho to face yourself in a dark forest totally killed off what ever night sight you had. The rock lights and so on that have become popular,,,, not so much with me,,,, while people do use those IRL to me its just too toy & boy like, and im all man. Last edited by Peaker; 04-12-2018 at 10:31 AM. |
|
| |
|
03-09-2018, 02:30 PM
| #8 |
| Rock Crawler Join Date: Oct 2009 Location: Danish badlands
Posts: 761
|
I just hate when postal Update my parcel Friday evening, cuz there will be no mail delivery in the weekend. But it seem like i will be getting my gearbox on Monday,,, and without paying tax / customs / handling fee that would have made a already expensive gearbox 1/3 more expensive "Terminal Østjylland - TAR, Denmark, The shipment item is under transportation" That normally mean you will get your parcel tomorrow. So now my brain can be elsewhere tomorrow when i help my friend paint the bedroom / living room and kitchen in his new house Thank god a brush and a roller dont require much action in the thinking department. |
|
| |
|
03-12-2018, 07:13 AM
| #9 |
| Rock Crawler Join Date: Oct 2009 Location: Danish badlands
Posts: 761
|
A update. The SSD transmission came in today as expected, looking damn fine and dident make my ability to control my mouth water any easier. Damn fine pice of kit i must say  I got the SCX 10 version so will take a little time with the file to make the surplus 1 mm go away so it fit in. But i just had to do the ground work at once, and snap a couple of pics that's highly motivating. 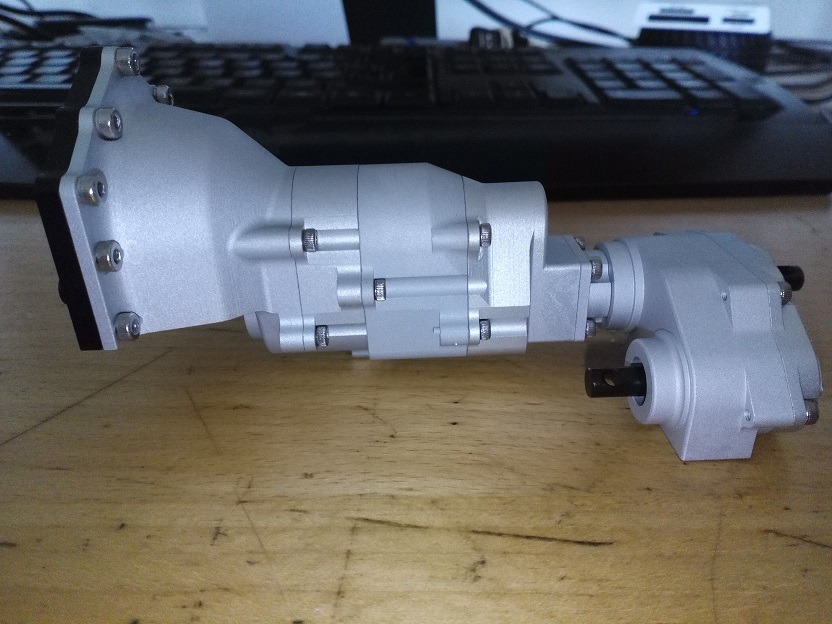 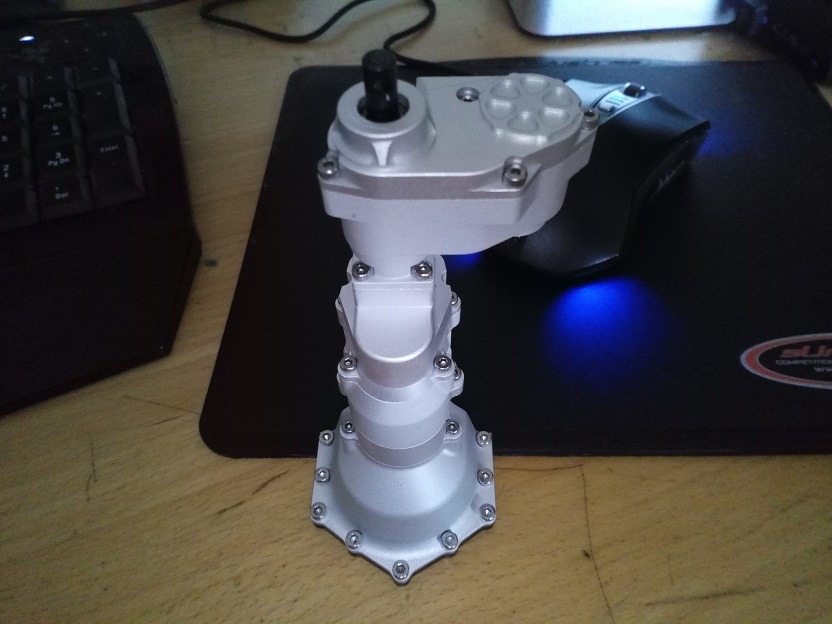 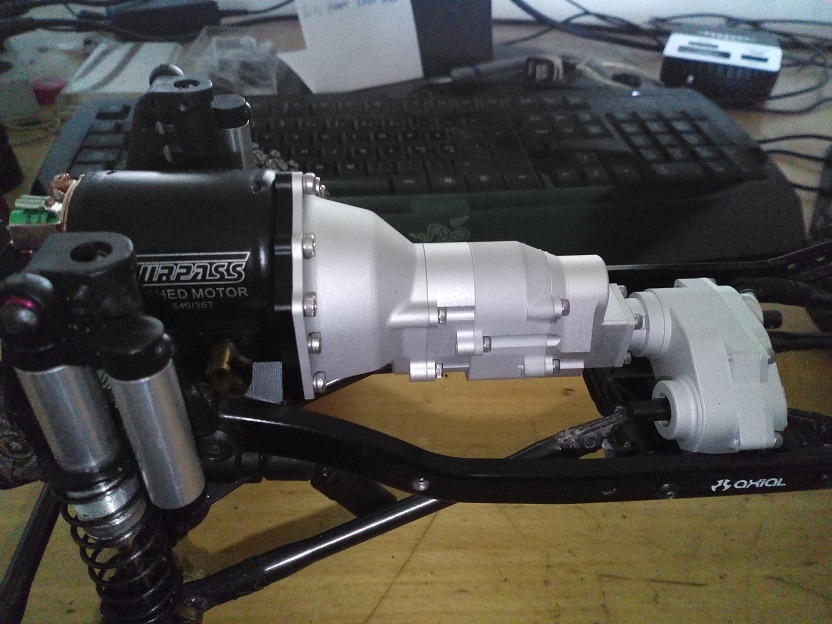 Last edited by Peaker; 04-12-2018 at 10:28 AM. |
|
| |
|
03-12-2018, 10:40 AM
| #10 |
| Rock Crawler Join Date: Oct 2009 Location: Danish badlands
Posts: 761
|
Okay maybe a little more then 1 mm had to come off, but it fit like a glove now Proceeded to do a little test mocking up again with the body and seat / battery, and wouldn't you know it all fit perfect, got a little wiggle room to make something good for keeping the things secure. 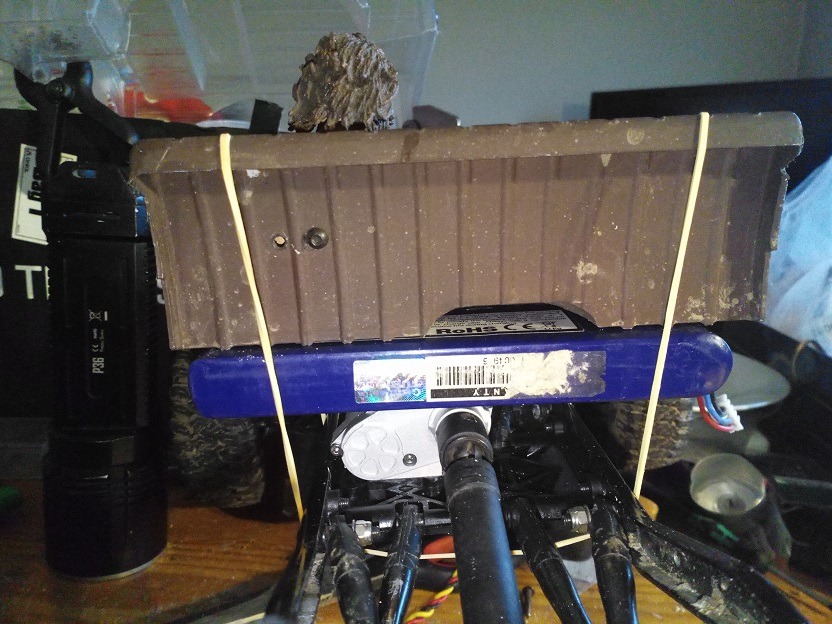 50% Angus Young have to hang in there, but i would like a new driver figure down the road. 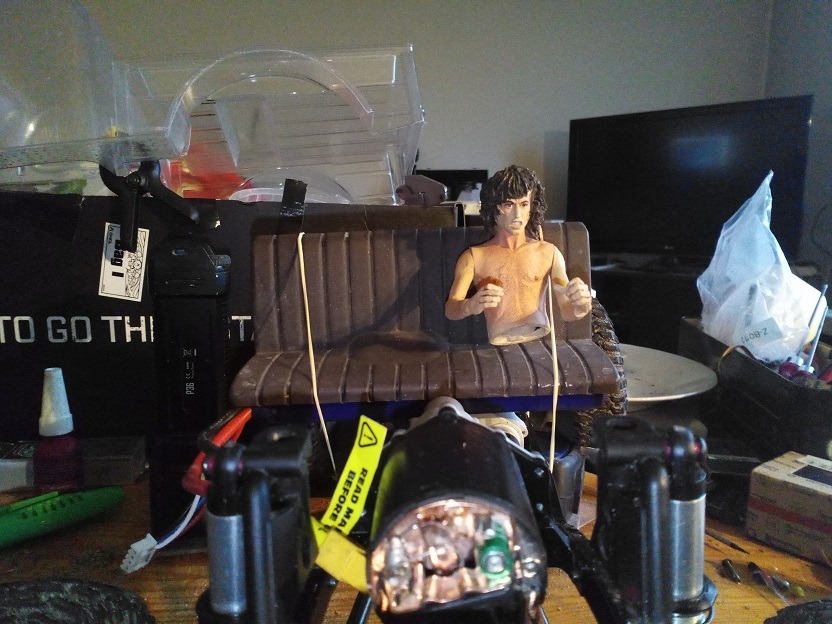 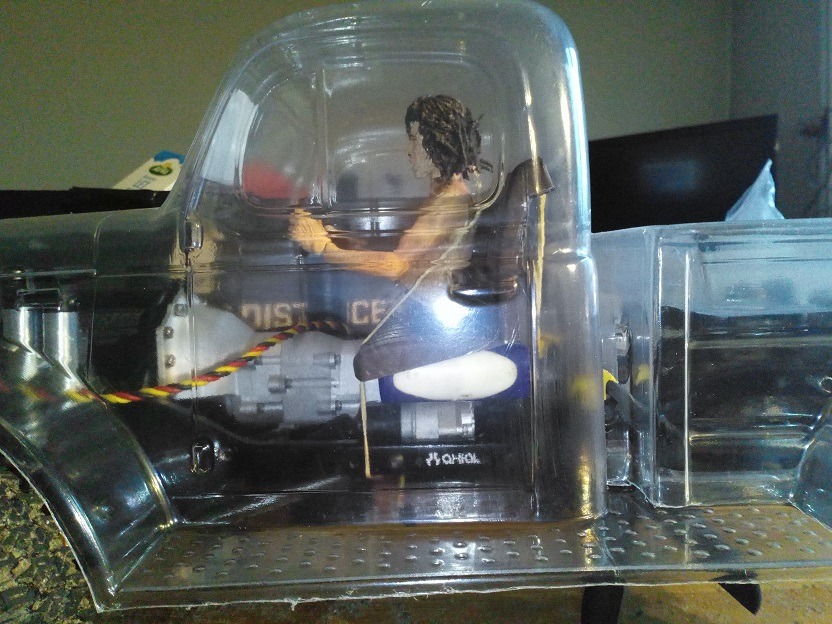 I might relocate the battery to the R side of the transmission, not sure on this yet, better to form final plan when the bottom and inner fenders have gone in. Next up tomorrow are helping my friend, same the day after tomorrow where his 1958 Apache stepside have to be mated with its rear axle again so it can be pulled out of the garage and moved to his new house and shoved in there. Setting up nice shop at M8 new house, should do wonders for my ability to bash something up, got a couple of old mothballed projects. Last edited by Peaker; 04-12-2018 at 10:26 AM. |
|
| |
|
04-11-2018, 12:26 PM
| #11 |
| Rock Crawler Join Date: Oct 2009 Location: Danish badlands
Posts: 761
|
I have made a little progress today, decided to get a hand tool to cut my sheet ALU and keep fabbing on my living room table. I also out-boarded the rear shocks as much as i can on the axle, needed to compensate for the in-boarding i have done in the top with the shock towers. Rear shock towers need a bit more trimming, and i need some cross bracing in the rear too, all little things that can wait to the last day. I will have to glue these thin ALU parts together and to make sure i dont have any sharp edges on the bottom to grip into stuff when i go over it. I might slap on a additional layer of something slick on the parts that will see the most contact with "stuff" 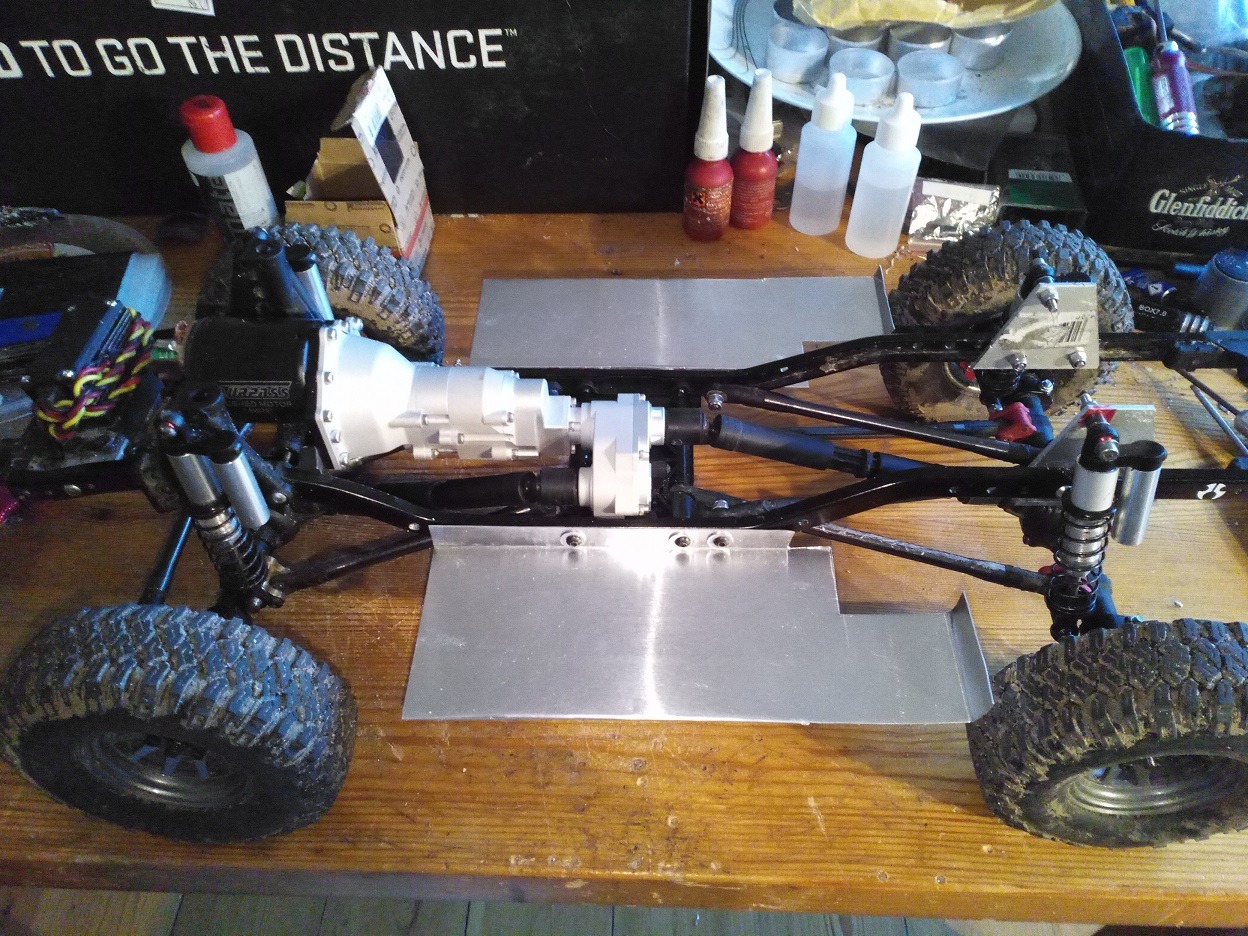 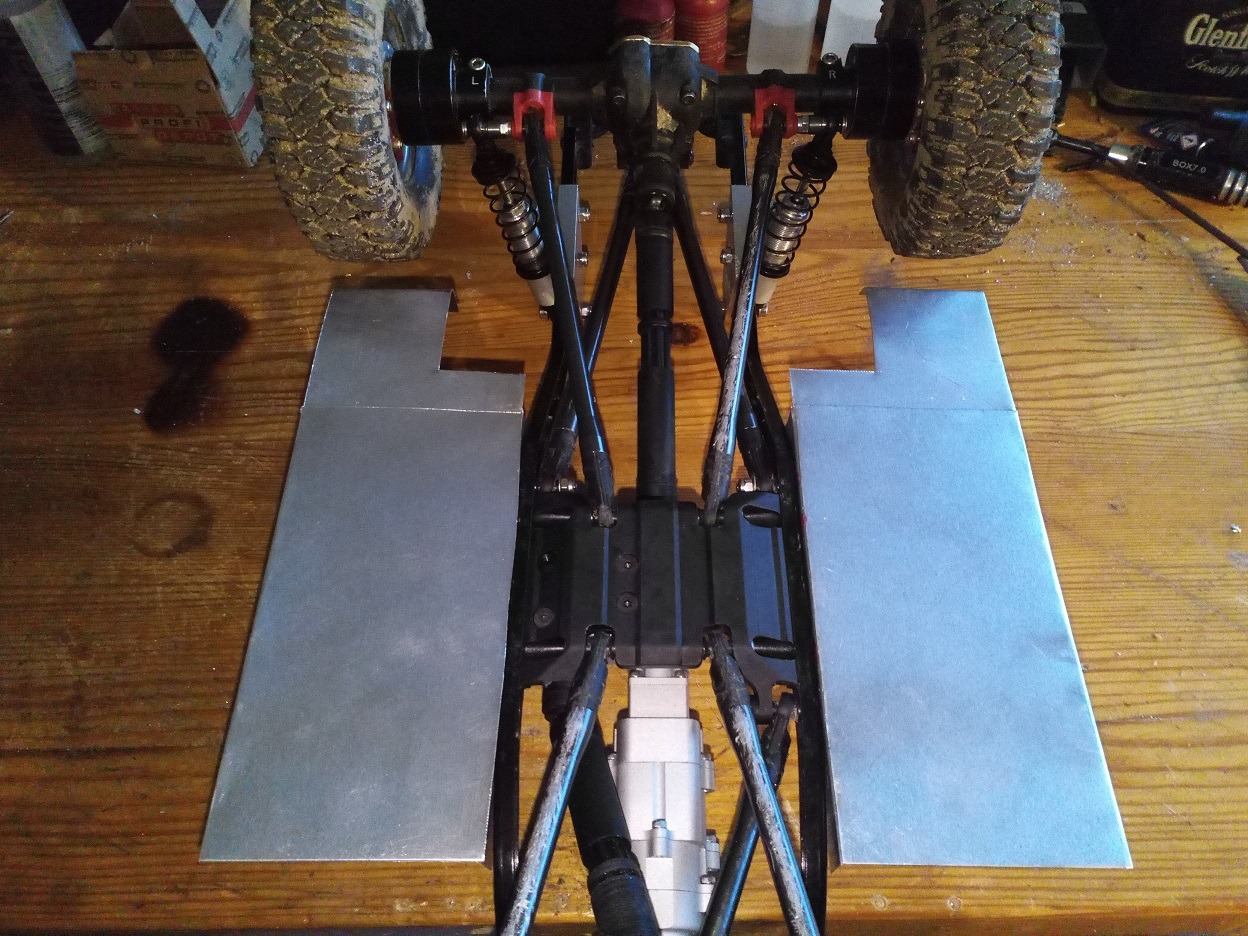 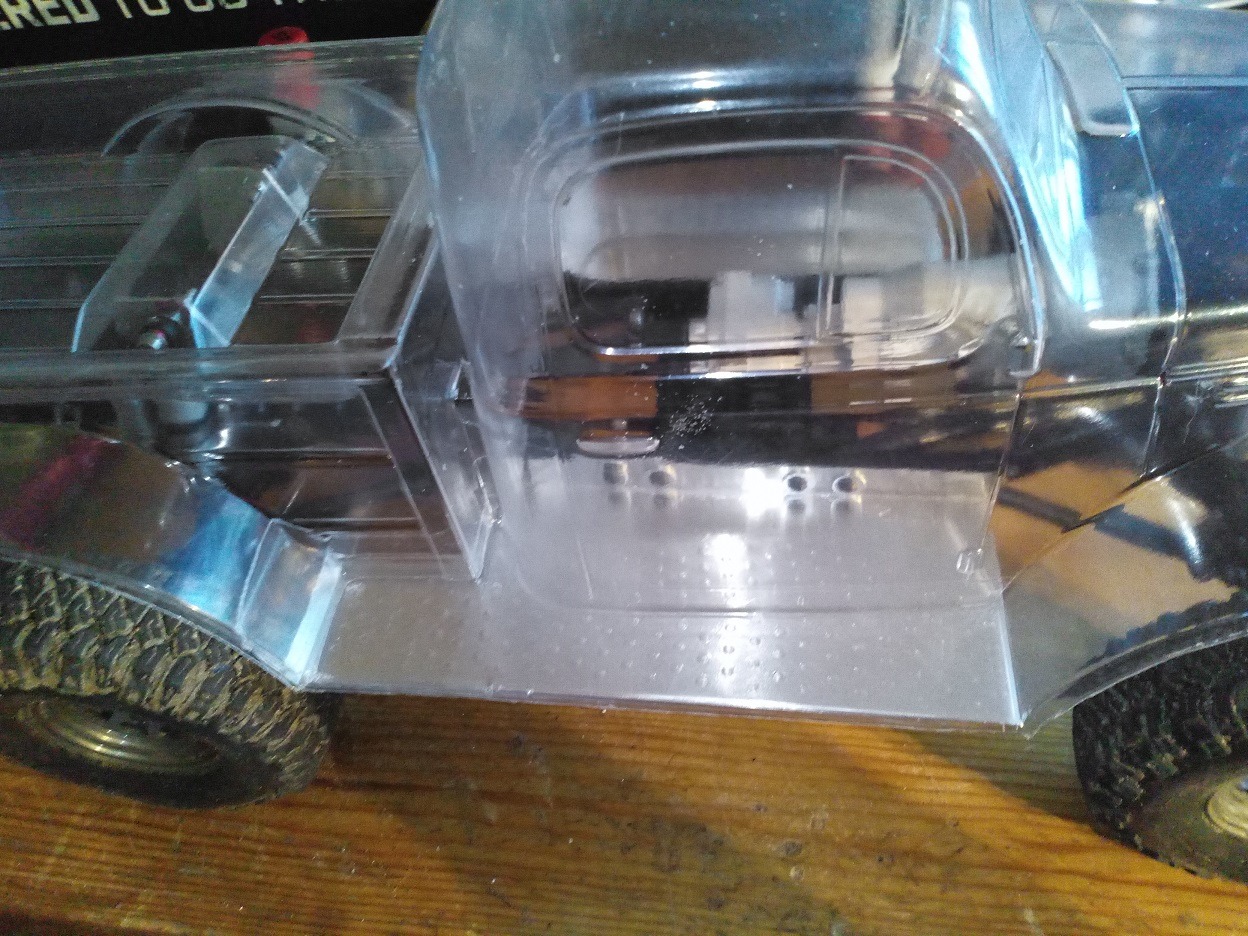 Up next is fabrication of the front wheel well, and i will probably have to make some new shock towers too to match the rear ones. I dont think i will make rear wheel wells, i have decided to put my battery in between the frame rails in the rear, so i will have to make something for it to rest on, and then i will probably dress up the frame rails with a strip of ALU to sort of make a faux inside of a wheel well. Last edited by Peaker; 04-12-2018 at 10:14 AM. |
|
| |
|
04-12-2018, 08:43 AM
| #12 |
| Rock Stacker  Join Date: Oct 2009 Location: mitchill
Posts: 76
|
Hay Peaker, your pic,s are not showing up. You may have lost the links. Looking good keep us posted. |
|
| |
|
04-12-2018, 09:49 AM
| #13 |
| Rock Crawler Join Date: Oct 2009 Location: Danish badlands
Posts: 761
|
Dame i see them fine, its the damn google photos that screw with me in true google fashion. Thx for the heads up i will try something else later. |
|
| |
|
04-12-2018, 10:47 AM
| #14 |
| RCC Addict Join Date: Jun 2017 Location: Canada
Posts: 1,742
|
Use imgur for pictures, it's free and easy to work with Sent from my Nexus 6 using Tapatalk |
|
| |
|
04-12-2018, 10:55 AM
| #15 |
| Rock Crawler Join Date: Oct 2009 Location: Danish badlands
Posts: 761
|
I have just replaced pictures with same one from tumbler, hope this work for you guys too, if not please give a shout out. Not that i am building rockets here, but visual stimuli are always good. Made battery tray today - have inner fender part going minus the inside of it as i have decided to build new shock towers for the front too, but to cut that ALU profile i work with i need to get a bigger hack saw as i only have a mini one. Last edited by Peaker; 04-12-2018 at 11:08 AM. |
|
| |
|
04-12-2018, 11:31 AM
| #16 |
| Rock Stacker Join Date: Oct 2009 Location: mitchill
Posts: 76
|
Peaker Like the aluminum floor pan's. I hope to do the same on a build of mine. I am sure most people would keep there batteries in one-piece for ease of installing and charging, my idea is to split the cells to fit ontop of the floor pan's and cover them so they aren't seen, well that's the plan anyway. Will see how it goes. |
|
| |
|
04-12-2018, 02:09 PM
| #17 |
| Rock Crawler Join Date: Oct 2009 Location: Danish badlands
Posts: 761
|
The thin ALU are flimsy, but not more than the pro line floor pan i ran for a long time on my honcho, and it worked just fine ( no sliders on that car either ) I have it folded over to make up 2 mm thickness, and when i am done i will glue it all together and make it a bit more firm, and if i feel it is needed i will strengthen it from above. But of course i cant go in under the running boards as there are little room. I have no problem with it and i am sure it will work for my need. I was planning to do a scale exhaust system too, but as i am now down low i cant really do that without giving up clearance and add a low thing to get hung up on. And i am not big on adding just a little bit towards the rear, its all or nothing. |
|
| |
|
04-18-2018, 07:39 AM
| #18 |
| Rock Crawler Join Date: Oct 2009 Location: Danish badlands
Posts: 761
|
I think i am ending up with a rig that are not welcome at axial fest as it have too few Axial parts in it. All that's left now are the plastic of the rear axle and what is inside it, in the front its only axial internals in the axle. Then i still have the links + rod ends, the 2 chassis rails and the plastic in the ends of the rails and the center skid plate, everything else is something else. And i still have the original axles coming off my transmission, but i have a sneaky feeling they will be relegated to spares soon 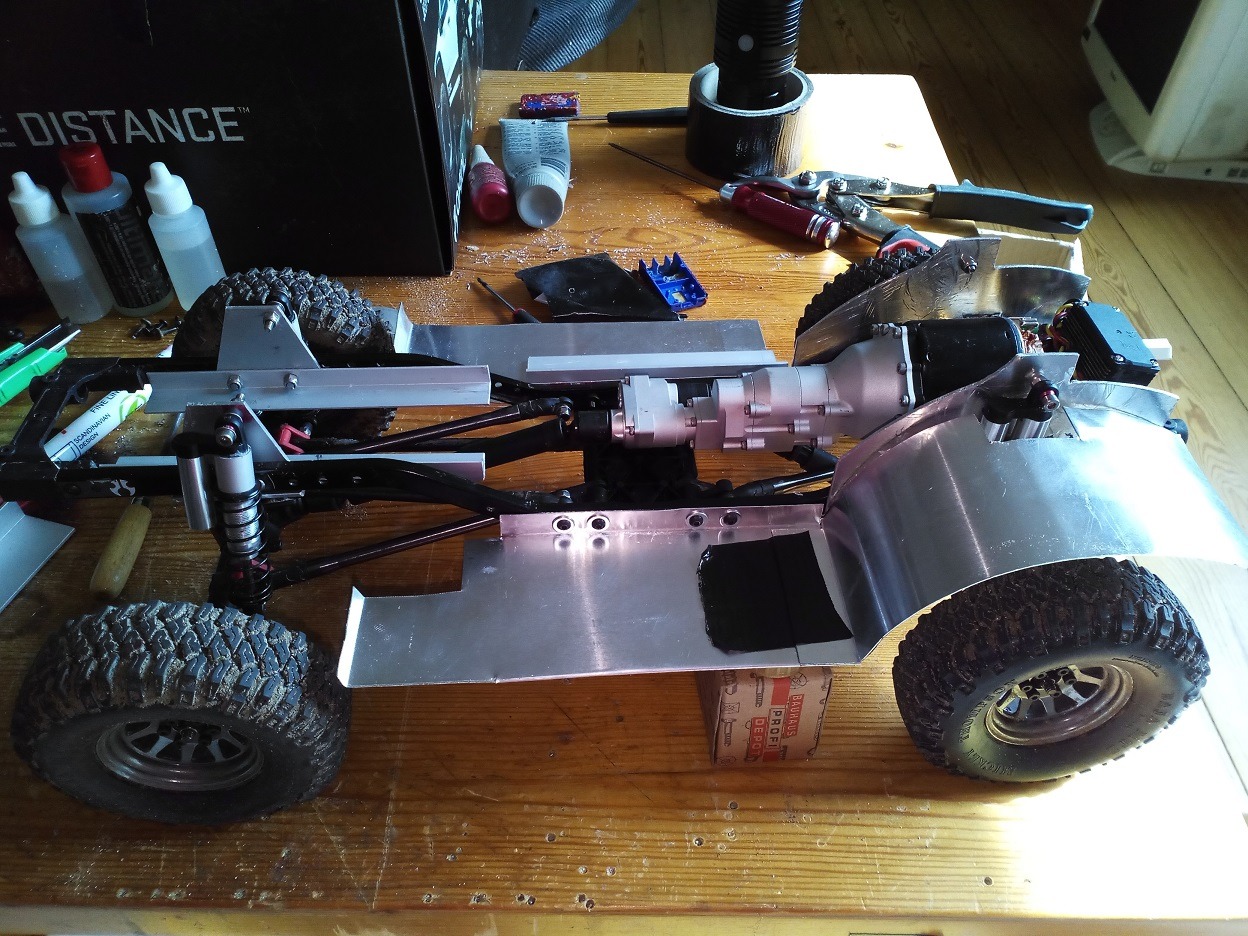 Last edited by Peaker; 04-18-2018 at 07:47 AM. |
|
| |
|
04-20-2018, 04:27 PM
| #19 |
| Rock Crawler Join Date: Oct 2009 Location: Danish badlands
Posts: 761
|
Supports screwed and glued in place, next i will be building up to create a frame for the seat & driver, and i assume a WP box under it to house a little of this and that. 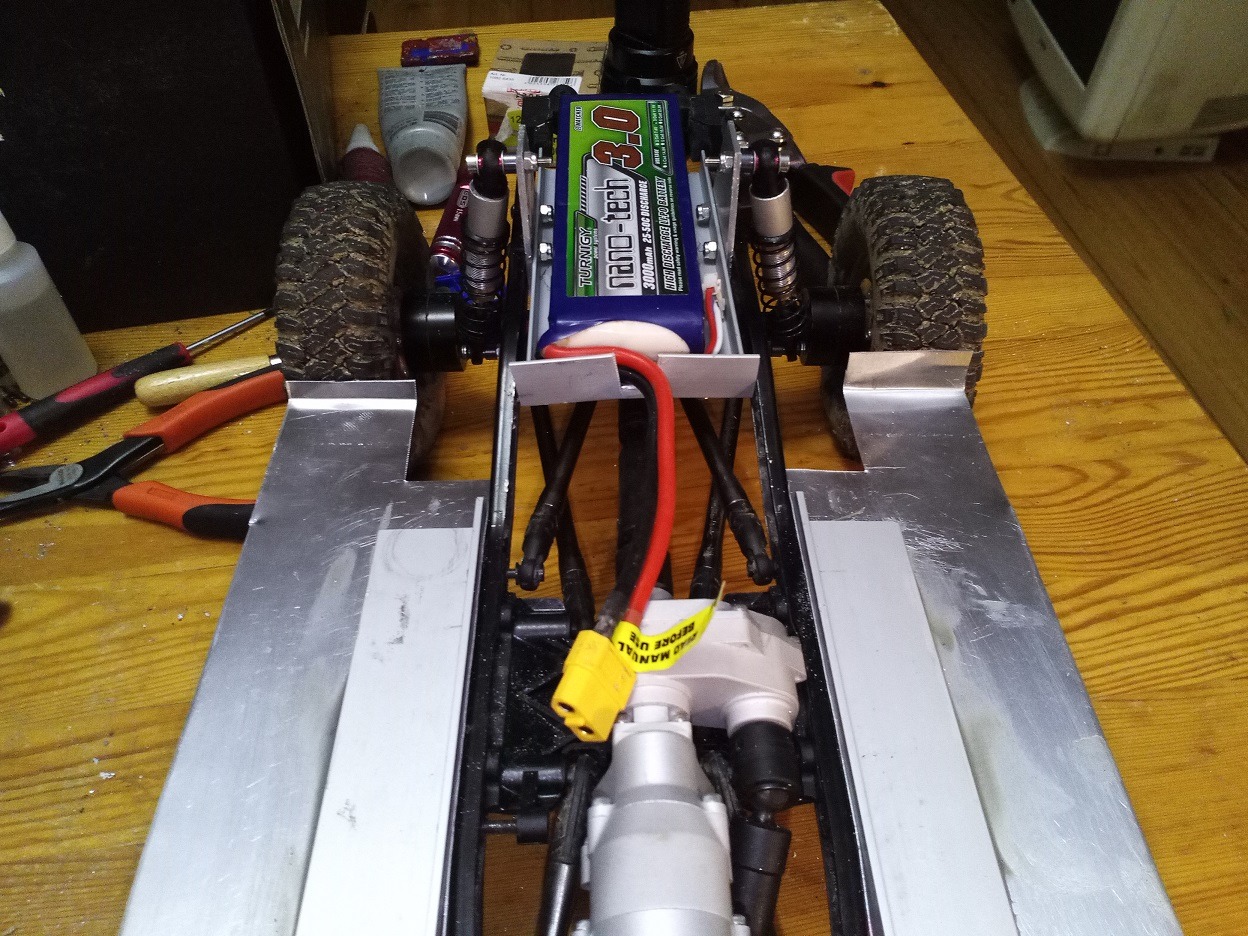 Also got a little cosmetic work to do, and figure out how i will mount those 2 X 2 lights on the front fenders. Last edited by Peaker; 04-20-2018 at 04:31 PM. |
|
| |
|
05-16-2018, 04:12 AM
| #20 |
| Rock Crawler Join Date: Oct 2009 Location: Danish badlands
Posts: 761
|
put on the headlights today, i think 4 small are cooler than 2 bigger buckets. But the G-made R1 ALU lights still need to be modified a little too, need new "glass" for them as those are pretty beat up, and i also have plan on modding the parabola itself, if not change its form a little then at least give it a shine job so it is like a mirror. I might even mod how deep the 5 mm LED sit in those buckets,,, but i will have to experiment with the 1 spare i have. Anyway this is how they sit,,,,, and its on purpose i have then tucked a little in towards the engine cowling, after all i drive like i stole my cars so im afraid i will tear them off. 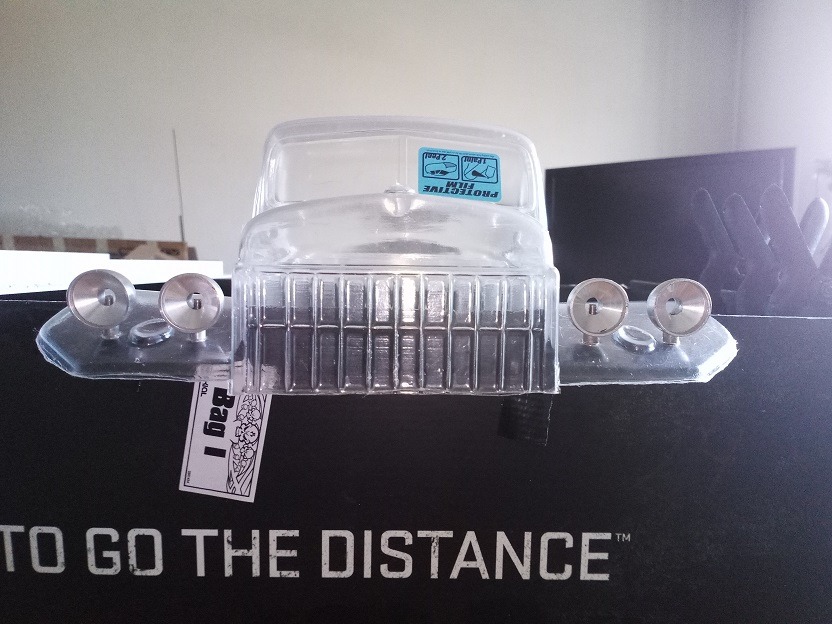 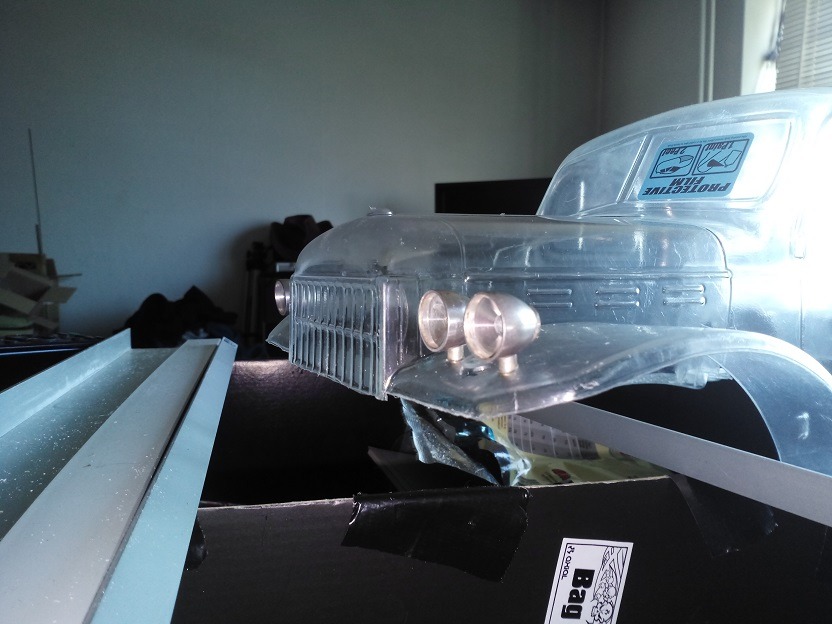 |
|
| |
|
 Peaker putting a SCX 10 II thru the blender. - Similar Threads
 | ||||
| Thread | Thread Starter | Forum | Replies | Last Post |
| Where are you guys putting battery in SCX-10 Rubicon? | big_poppa49 | Axial SCX-10 | 23 | 09-02-2015 03:41 PM |
| Need some help putting my Fj 40 together | Mark11 | Maryland | 4 | 07-22-2010 12:19 AM |
| Top Gear V8 Food Blender (very funny) | TheHeadHunter | Chit Chat | 1 | 01-01-2009 11:27 PM |
| Modified blender | Mechanicalbob | Chit Chat | 10 | 11-23-2006 10:06 PM |
| Thread Tools | |
| Display Modes | |
| |


 Linear Mode


