| |
 06-26-2011, 01:02 AM
| #1 |
| RCC Addict Join Date: Aug 2007 Location: Burbank
Posts: 1,189
|
Let the fabing begin. The first thing to go is the steering, new servo, new drag link and tie rod, turned the tie rod up and made it fit tighter to the diff. 2nd get rid of the stock motor and esc. Took the 18.5 brushless Goat out of my old comp rig and geared it up a tad 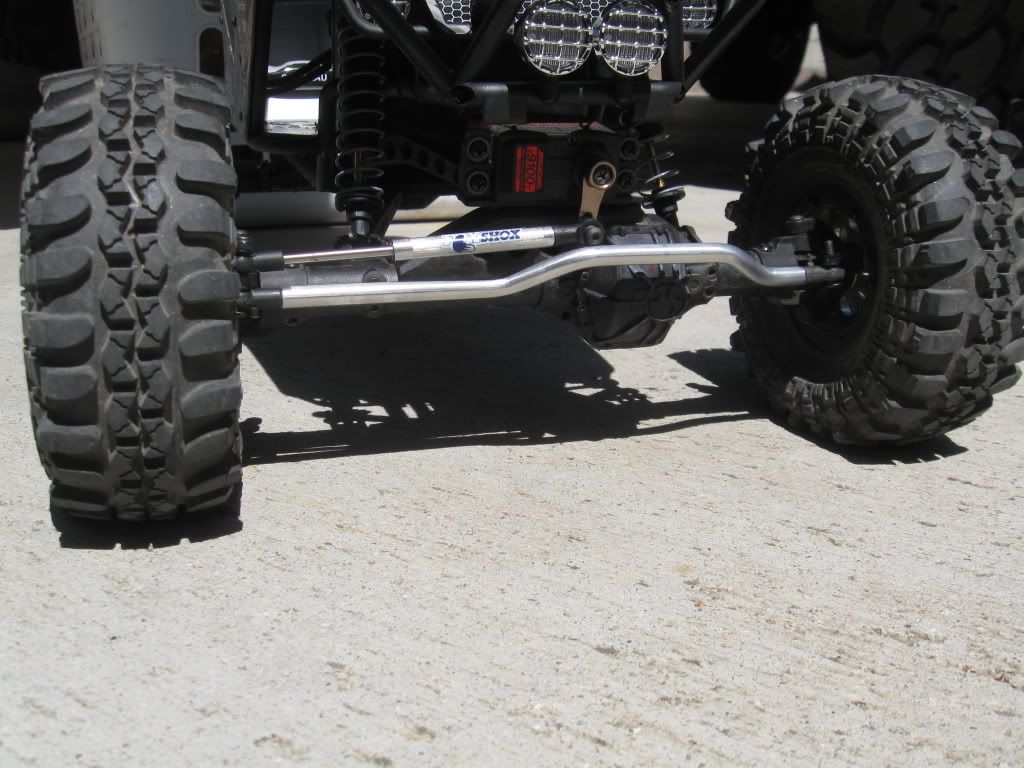 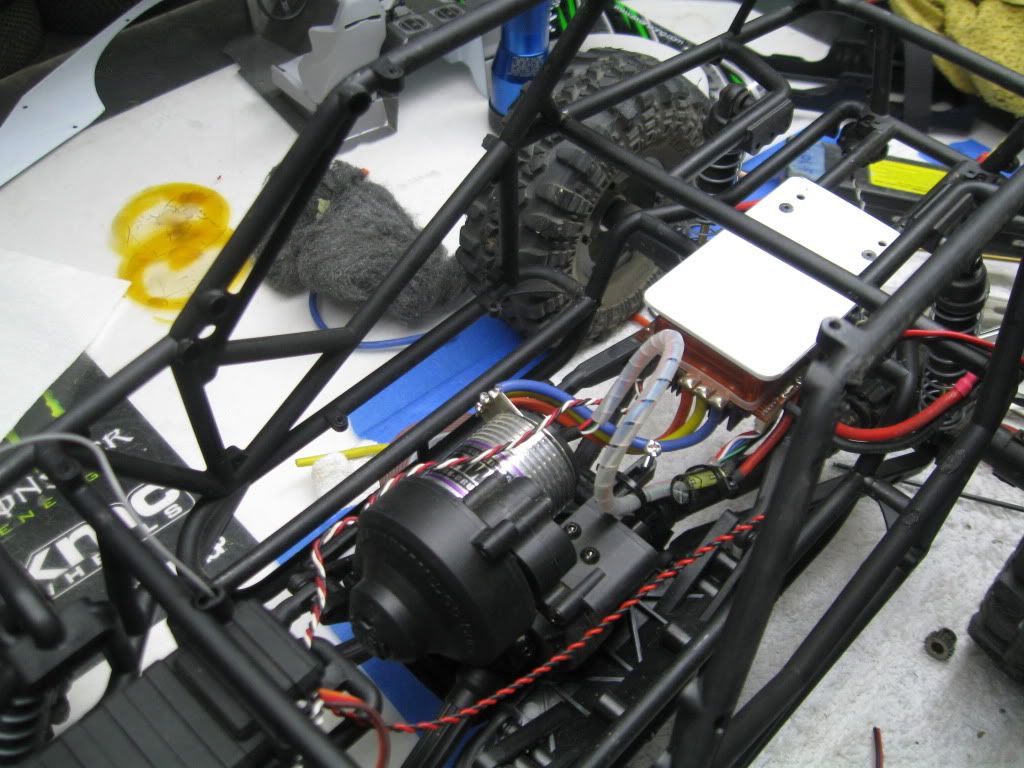 |

|  |
| Sponsored Links | |
| | |
|
06-26-2011, 01:11 AM
| #2 |
| RCC Addict Join Date: Nov 2004 Location: union
Posts: 1,657
|
Steering links look great, nice work  |
|
| |
|
06-26-2011, 01:36 AM
| #3 |
| Pebble Pounder Join Date: Dec 2007 Location: CA
Posts: 191
|
Steering link looks superb! By the way, how long for the drag link from hole-hole of end ball. Thanks.
|
|
| |
|
06-26-2011, 04:50 PM
| #4 | |
| RCC Addict Join Date: Aug 2007 Location: Burbank
Posts: 1,189
| Quote:
| |
|
| |
|
06-27-2011, 03:31 AM
| #5 |
| Newbie Join Date: Dec 2009 Location: Germany
Posts: 20
|
Hi, is the drag link a fake or does it really work as servo saver? Was it made by your own or where can i buy it? Great job? Regards Jokerc72 |
|
| |
|
06-27-2011, 11:54 AM
| #6 |
| Looking for new Trails   Join Date: Dec 2008 Location: GPS locating signal.....
Posts: 558
|
Like the steering links...
|
|
| |
|
06-29-2011, 12:11 AM
| #7 | |
| RCC Addict Join Date: Aug 2007 Location: Burbank
Posts: 1,189
| Quote:
| |
|
| |
|
06-29-2011, 12:22 AM
| #8 |
| RCC Addict Join Date: Aug 2007 Location: Burbank
Posts: 1,189
|
I really liked my Wrecklus till I got the Wraith Now I think I'm going to have more fun with the Wraith One thing I really like is it's about 5 to 6 LBS lighter, but it doesn't have the detail and hr's that it took to build the Wreckluss. 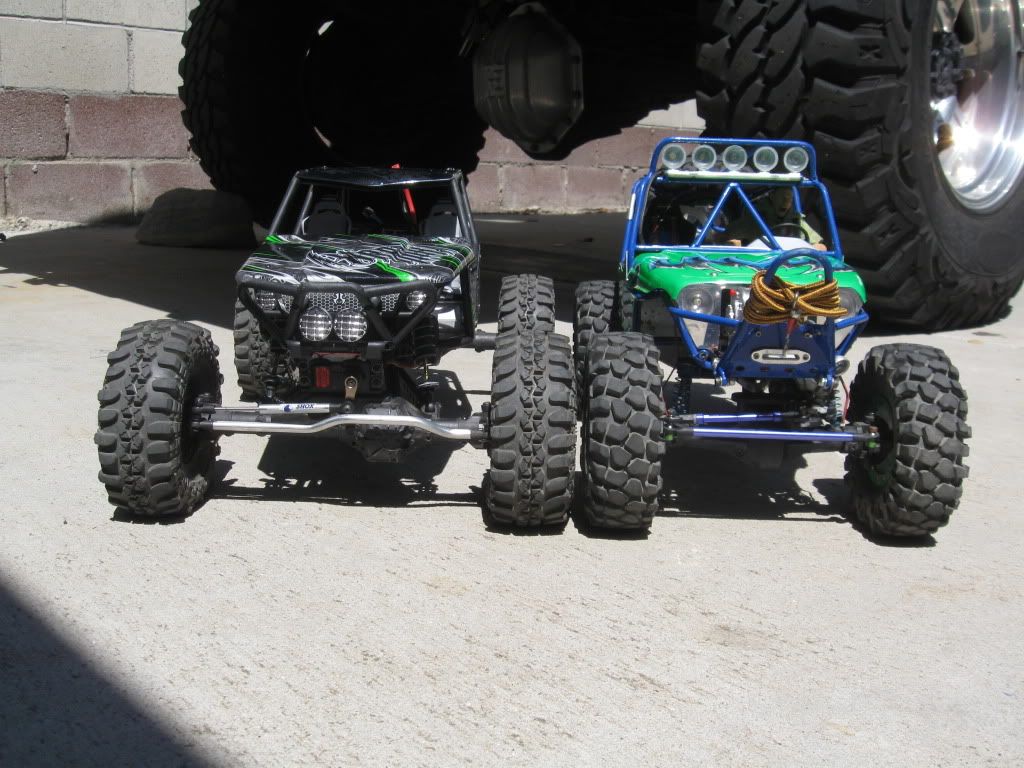 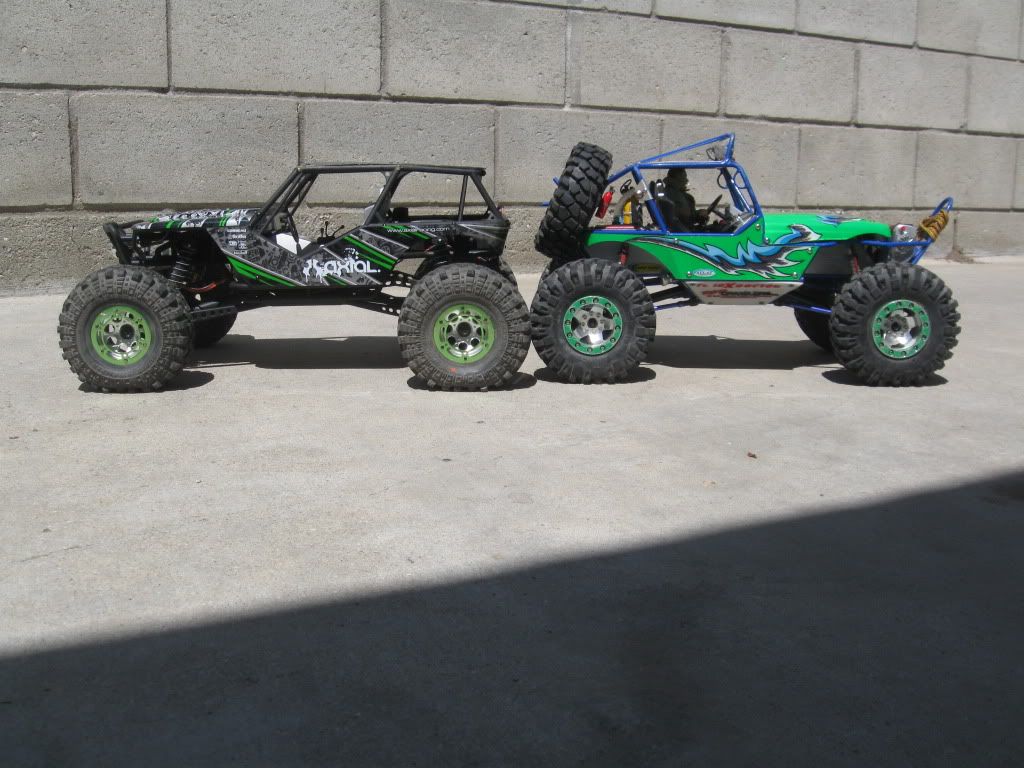 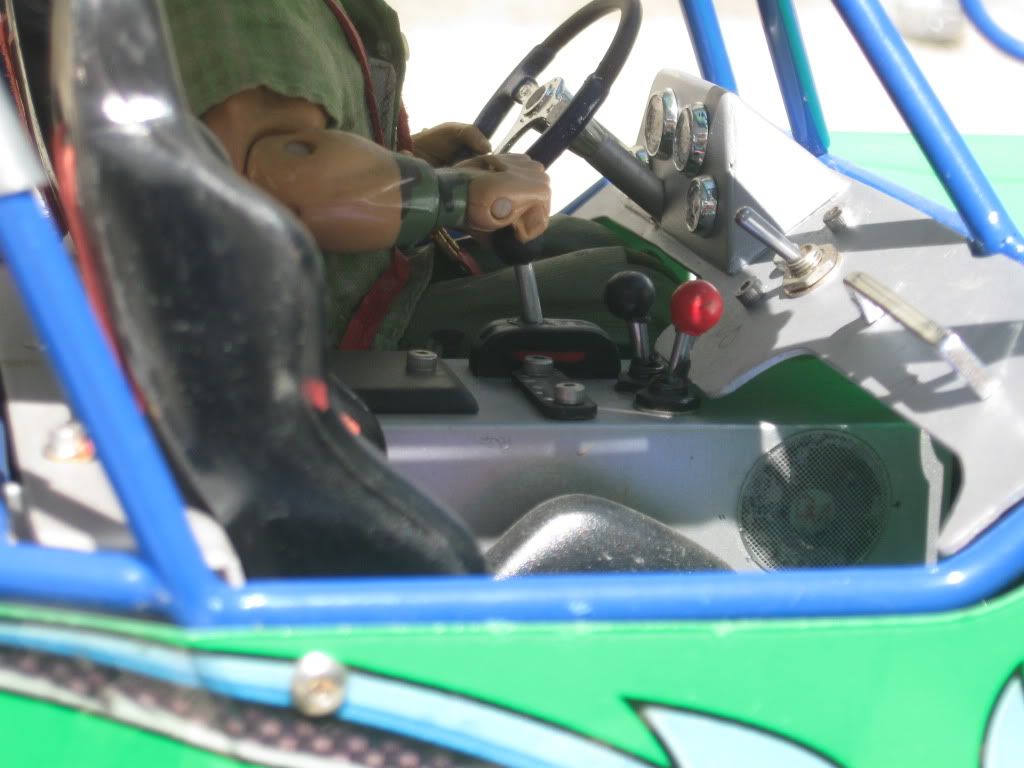  |
|
| |
|
07-04-2011, 04:34 PM
| #9 |
| RCC Addict Join Date: Aug 2007 Location: Burbank
Posts: 1,189
|
Well I decided to chance some stuff around after doing some scaling or should I say not scaling, I couldn't follow my JK and the scaling group because this thing is a tad to big so I just blasted over the obstacles and went on a speed run that was a blast. The lower links didn't hold up to good they started to bend so I made 1/4'' aluminum ones, the uppers are good so far. I'm waiting for my motor from John, Mayhem wheels and my VP stuff to show to put in so to kill time I'm taking a Ofna reciever box and water proofing it for a Tekin RS Pro. (guess its going to see water and mud) I've also seen some putting the tail lights into the rear panel but I think they look too big so I went to my magic box of parts and put in some smaller chrome ones, I think they look better  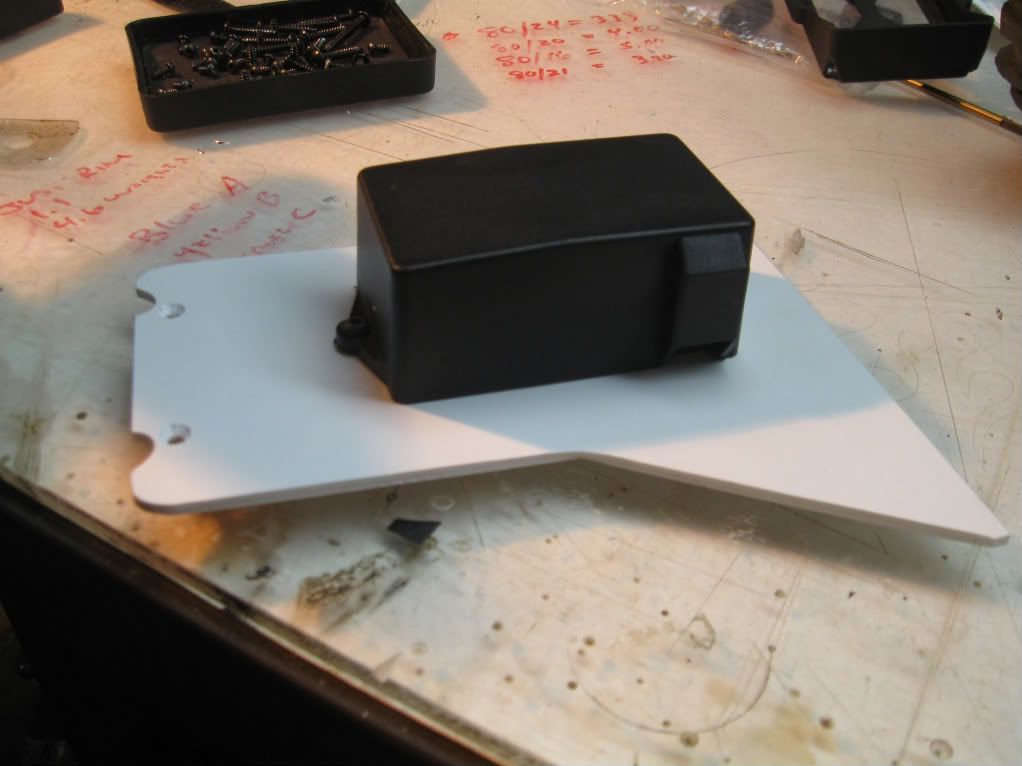 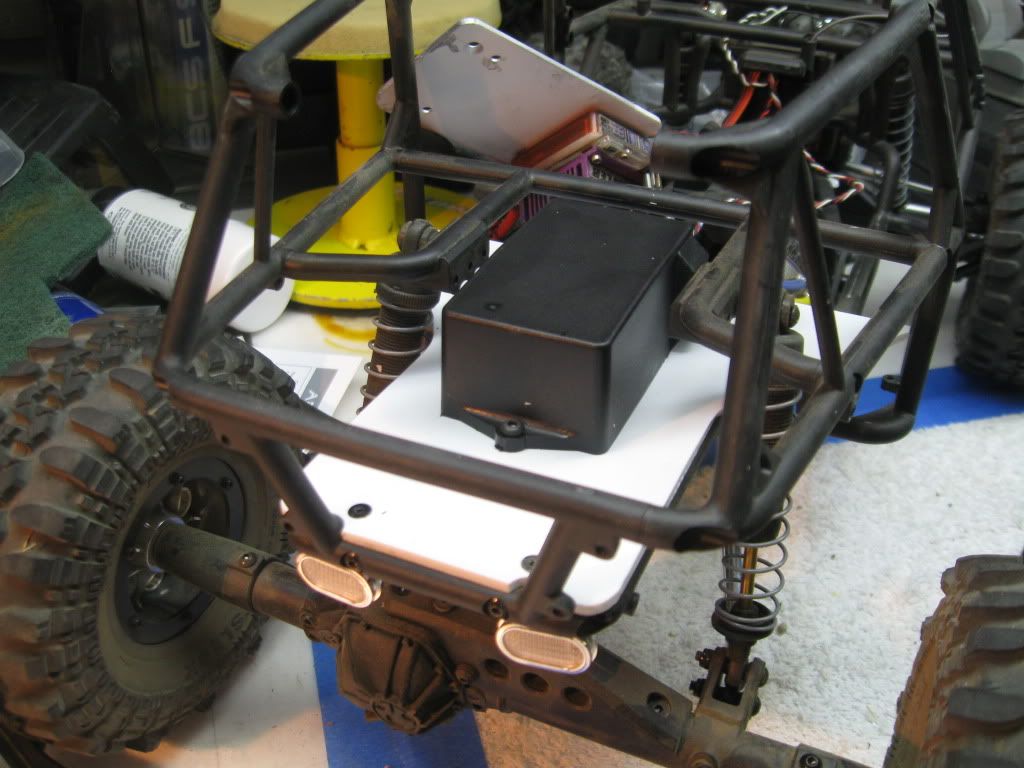  |
|
| |
|
07-04-2011, 04:42 PM
| #10 |
| Rock Crawler Join Date: Jul 2010 Location: youngstown , Hillbilly heaven
Posts: 674
|
Can you show us how to make the drag link?and how long are the lower links?
|
|
| |
|
07-04-2011, 05:59 PM
| #11 | |
| RCC Addict Join Date: Aug 2007 Location: Burbank
Posts: 1,189
| Quote:
I used a 1/4'' piece of solid aluminum (1.900 long) and drilled and taped it to 6/32'' on both ends. 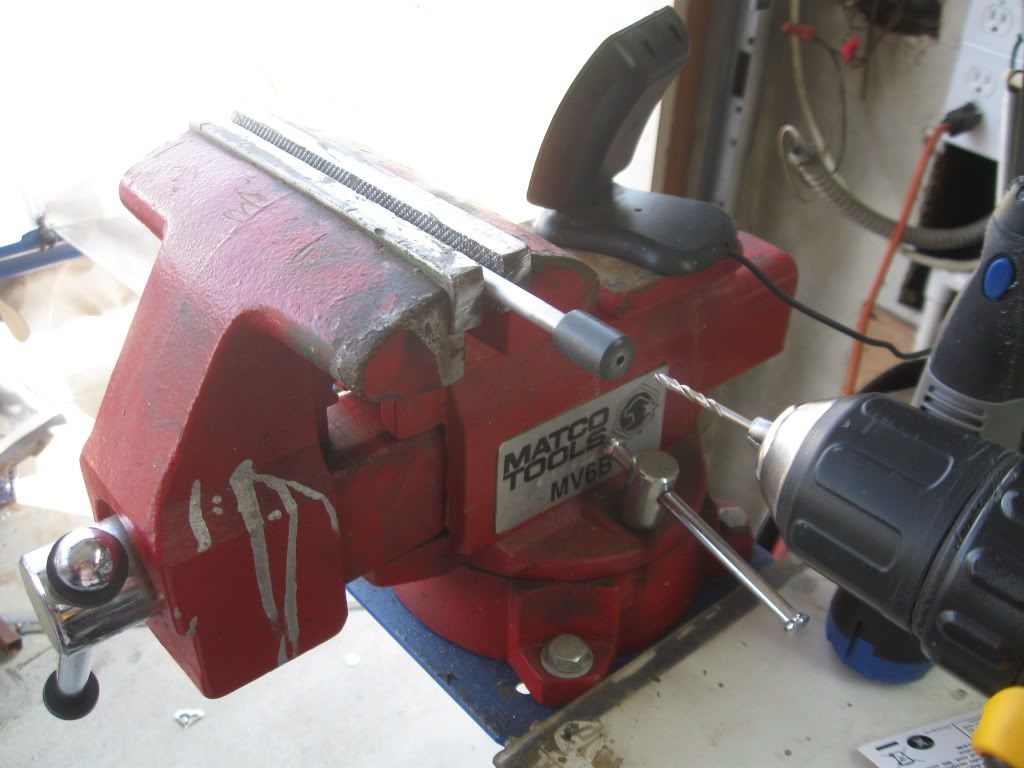 Than I took a solid 1/8'' rod and used a die to make threads (6/32'') about 1/4'' to 3/16'' in on each end. (over all length of the 1/8'' rod is 1.710) 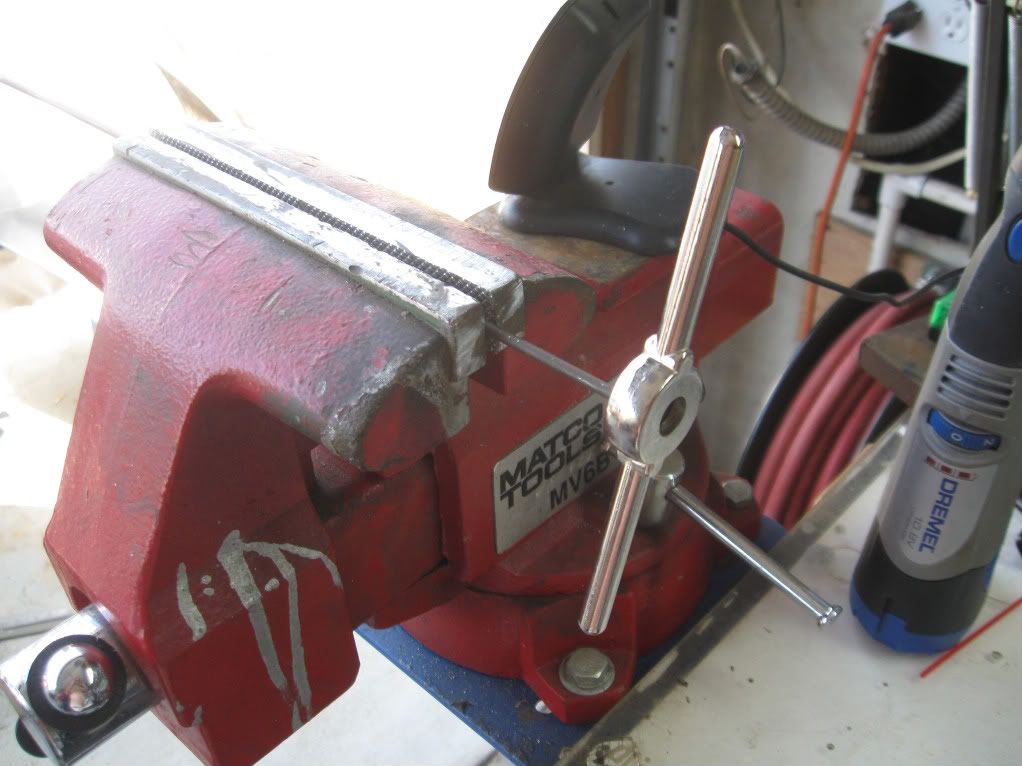 I had a couple of the Axail linkage kits part # 80005 that I used for the lower link ends and the drag link ends. 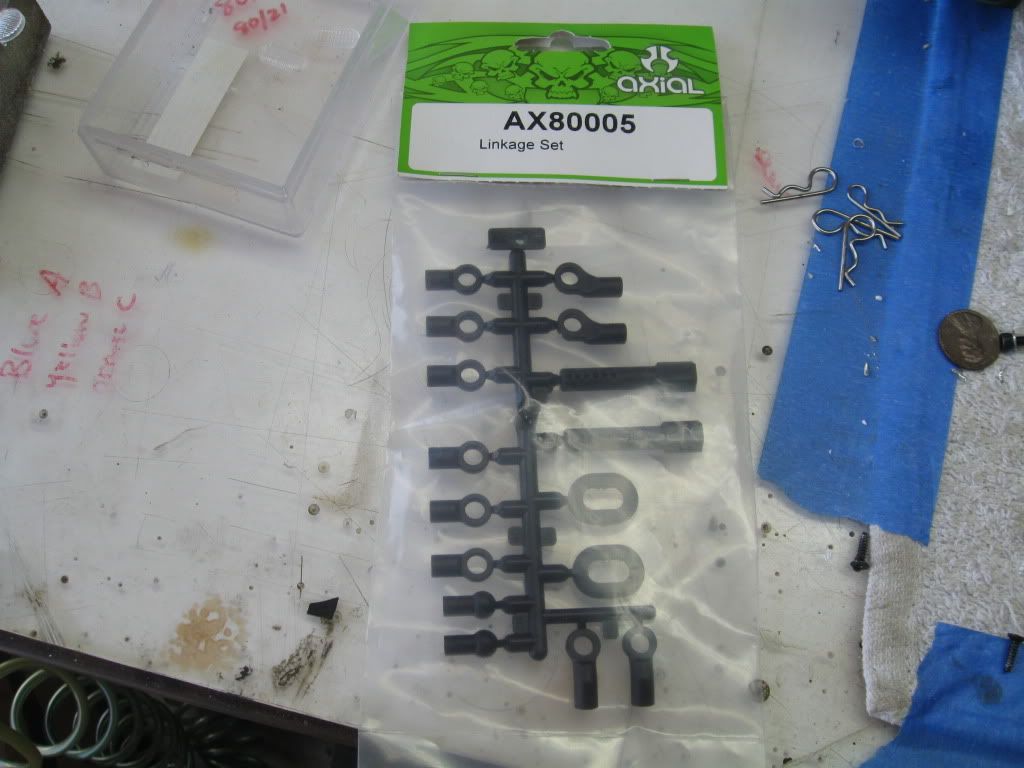 Last edited by The Doc; 07-04-2011 at 06:05 PM. | |
|
| |
|
07-10-2011, 09:57 PM
| #12 |
| RCC Addict Join Date: Aug 2007 Location: Burbank
Posts: 1,189
|
The 100 qt cooler is done with the FXR, RX and the RC-Lights switch inside and installed my Power Tank. 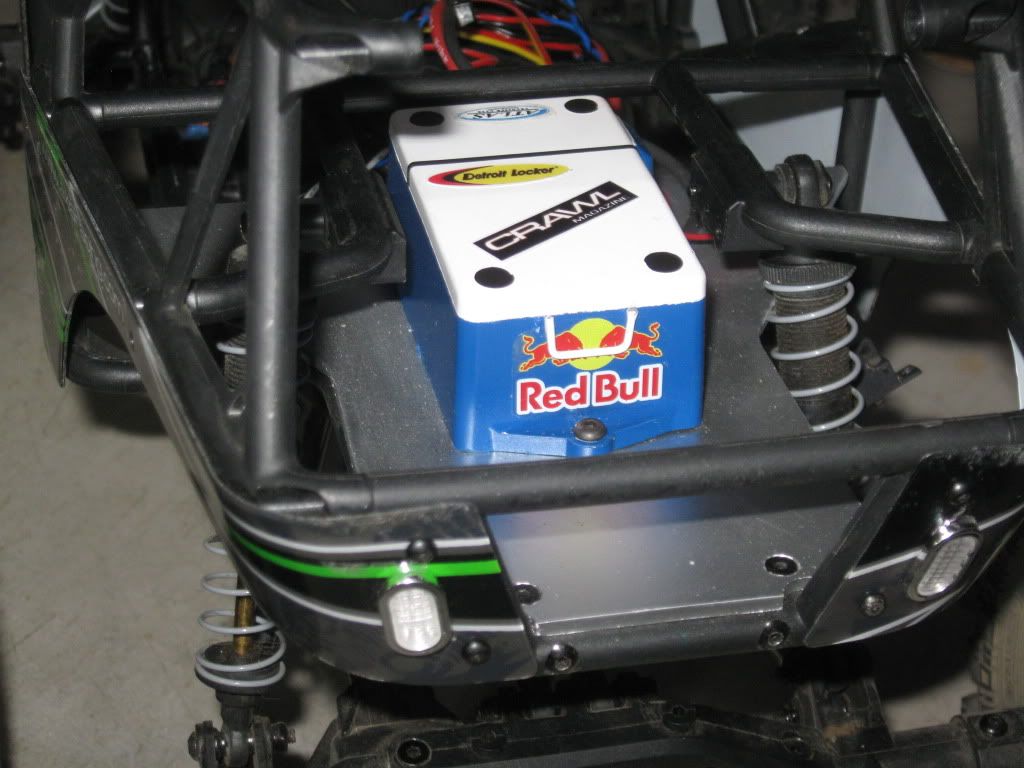 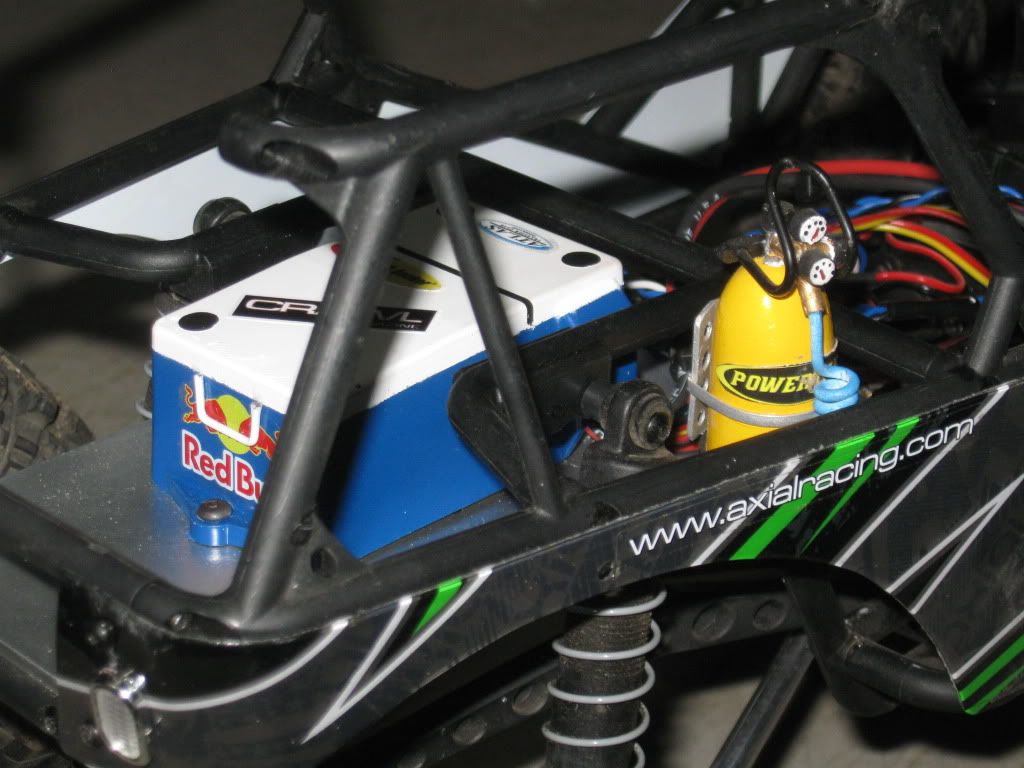 |
|
| |
|
07-10-2011, 10:21 PM
| #13 |
| Rock Crawler Join Date: Jul 2010 Location: youngstown , Hillbilly heaven
Posts: 674
|
Man that cooler looks pretty damn good
|
|
| |
|
07-10-2011, 10:44 PM
| #14 |
| Pebble Pounder Join Date: May 2011 Location: under a bridge
Posts: 190
|
Really good idea there! |
|
| |
|
07-11-2011, 08:33 AM
| #15 |
| Rock Stacker Join Date: Jan 2009 Location: firenze
Posts: 53
|
what about the batteries re-location?
|
|
| |
|
07-17-2011, 10:13 AM
| #16 |
| Rock Crawler Join Date: Jul 2010 Location: youngstown , Hillbilly heaven
Posts: 674
|
How many rod end packs did you need for the lower links?
|
|
| |
|
07-17-2011, 04:47 PM
| #17 | ||
| RCC Addict Join Date: Aug 2007 Location: Burbank
Posts: 1,189
| Quote:
Quote:
| ||
|
| |
|
07-17-2011, 11:29 PM
| #18 |
| RCC Addict Join Date: Aug 2007 Location: Burbank
Posts: 1,189
|
Got a driver for the rig, now I just have to find a long sleeve shirt so I can hook his hand to the steering wheel, put in a servo for the steering wheel. 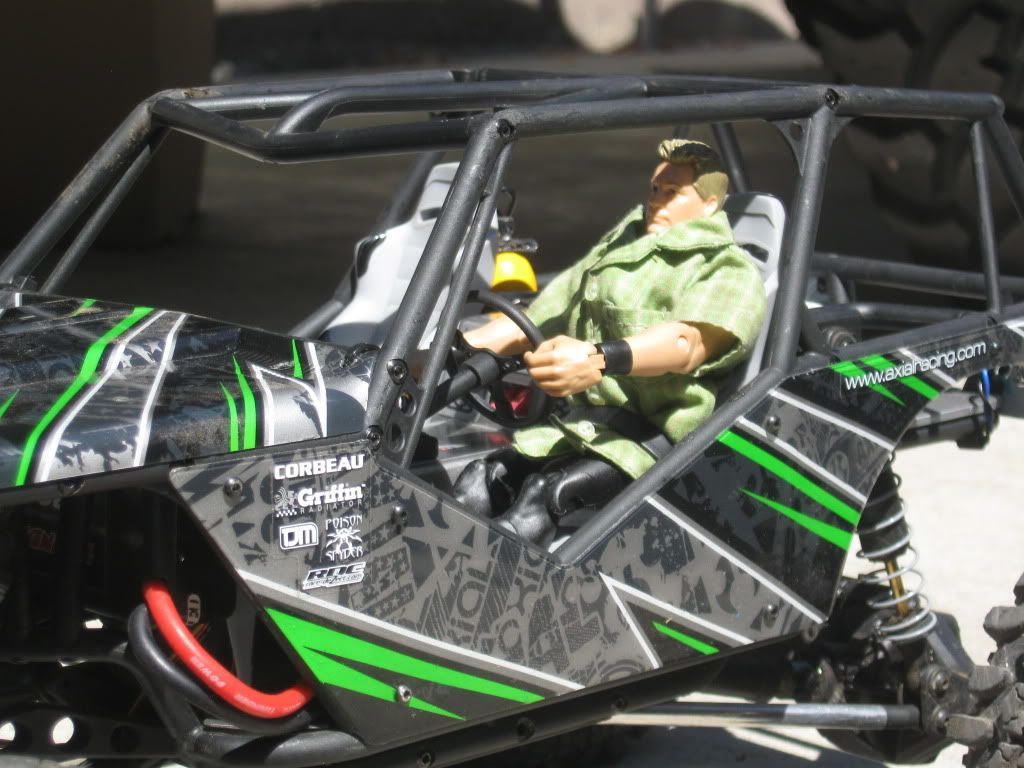 Took out the factory light kit and put in a RC-LIGHTs kit with working brake lights and I'm almost finished with the light bar. 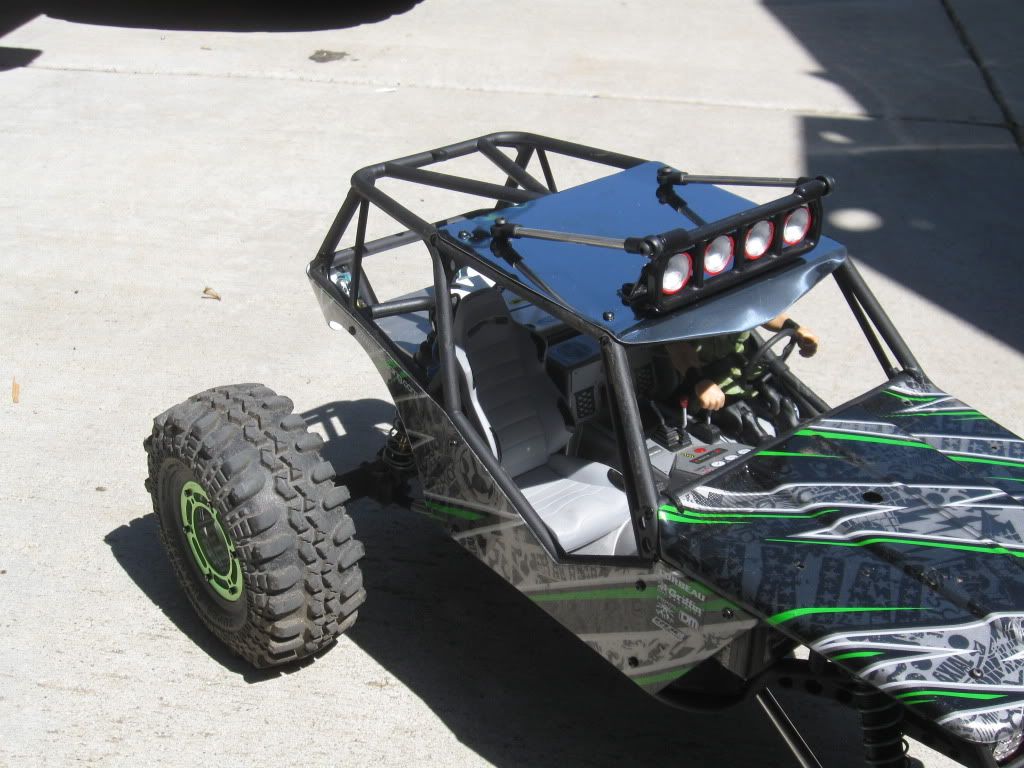 |
|
| |
|
07-18-2011, 12:47 AM
| #19 |
| Pebble Pounder Join Date: Jul 2011 Location: Germany
Posts: 197
|
Well done with the light bar - this looks as if it can take some abuse as rollover-protection! Thumps up! |
|
| |
|
07-18-2011, 08:30 AM
| #20 |
| I wanna be Dave Join Date: Mar 2007 Location: roland,ar
Posts: 5,981
|
very nice job doc! love the cooler! |
|
| |
 |
| |


 Linear Mode


