| |
| |||||||
 |
| | LinkBack | Thread Tools | Display Modes |
 10-06-2011, 11:04 PM
| #1 |
| I wanna be Dave Join Date: Sep 2005 Location: Houston, TX
Posts: 16,952
|
As some of you may or may not know, I won the RCC Win It Before You Can Buy It Wraith Giveaway.  My plan is to build this truck and run it in the Crawler Innovations G6 Scale event this coming weekend. It will be cutting it close, but I think I can do it! Badger shipped out the kit quickly and I got it on Wednesday evening. I immediately tore into the box! 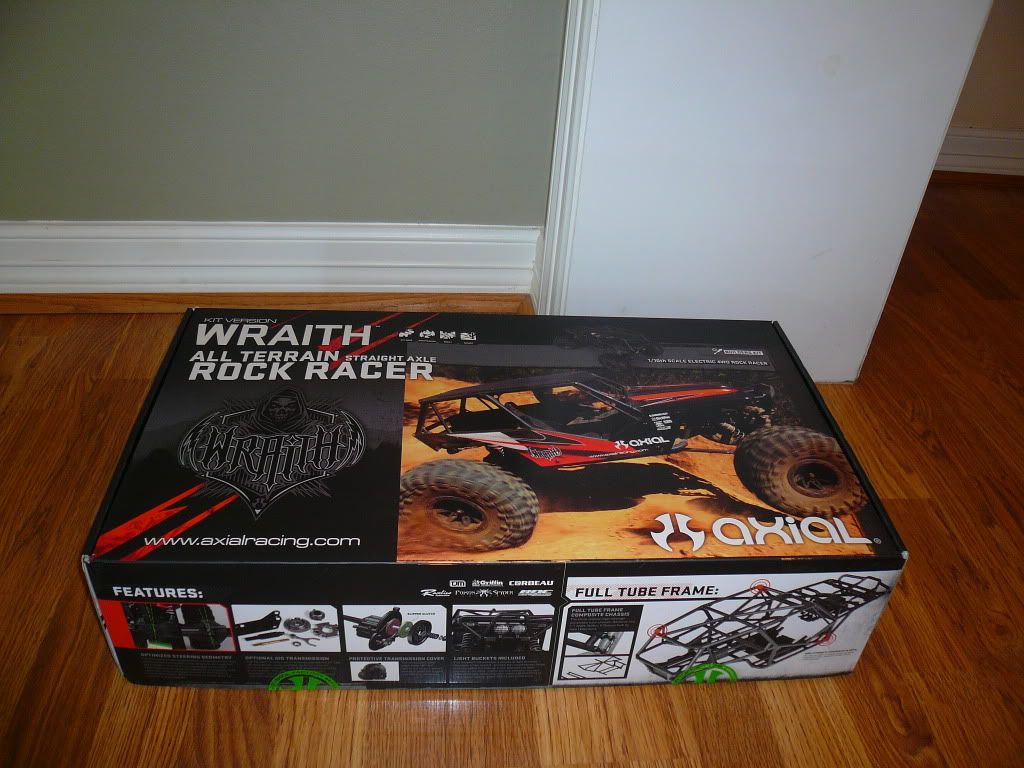 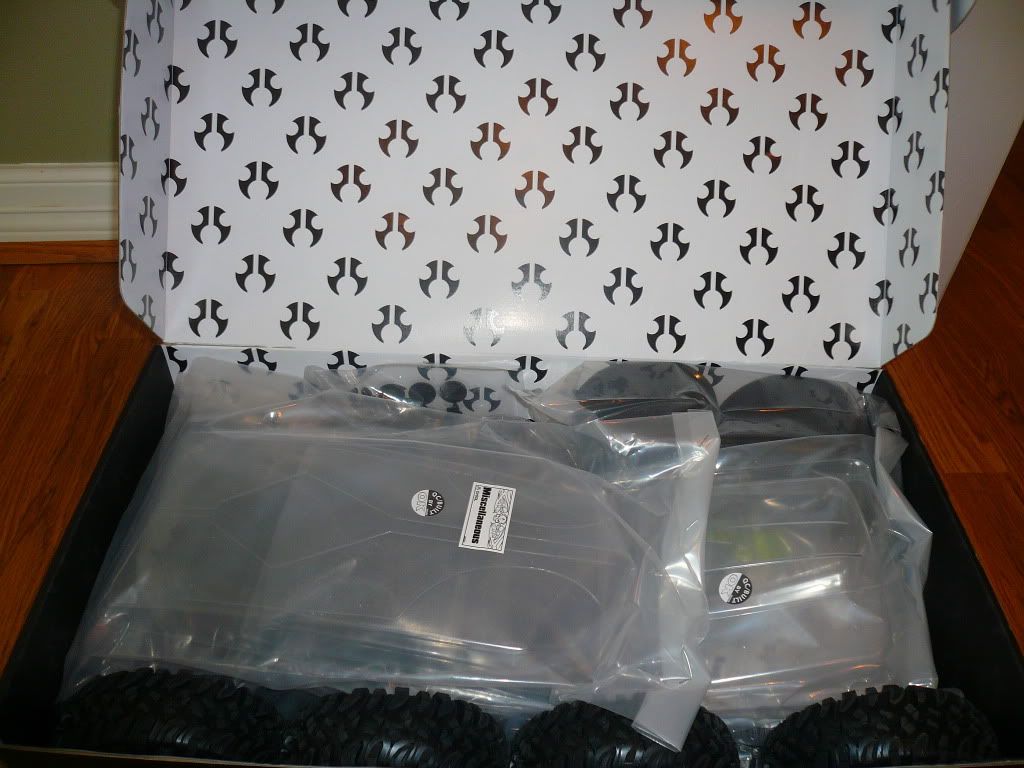 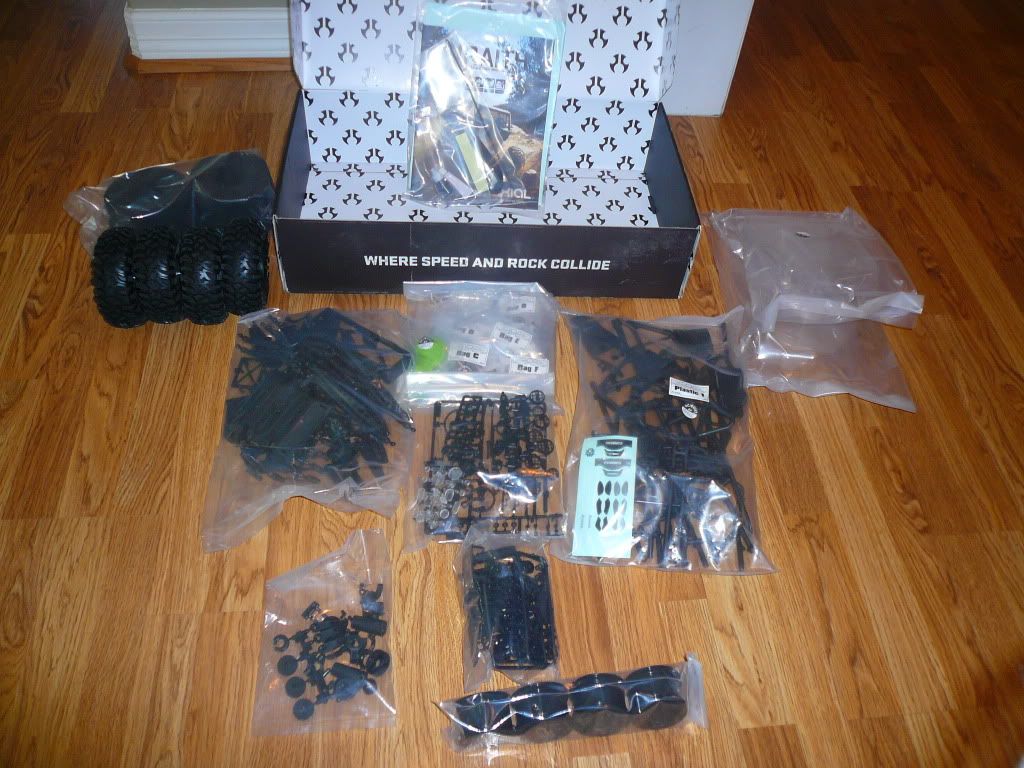 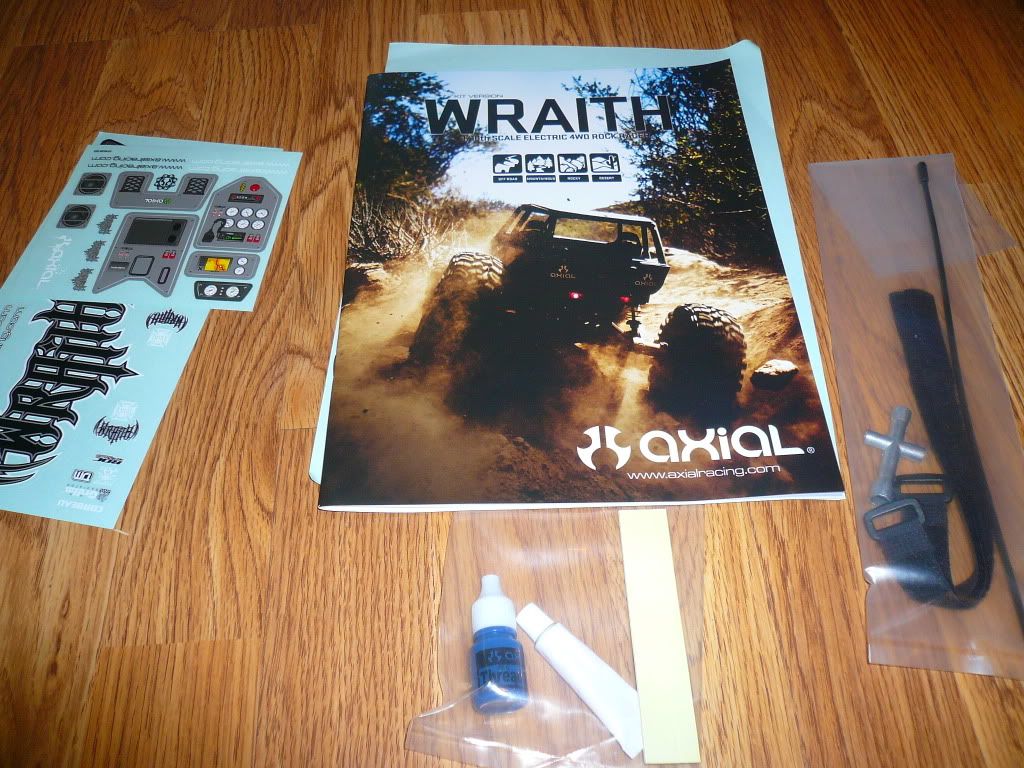 Specs: Wraith Kit Lunsford LCC Lower Links MIP Driveshafts Axial Overdrive/Underdrive gears Losi Xcelorin 17.5T, MMP1C, CCBEC, Futaba 4PL and Rx, Blue Lipo 30C 4000mAh 3S lipos, Futaba BLS152 CAC Slash Beadlocks, R35 Ripsaws, Crawler Innovations two stage foams Very nice tires!  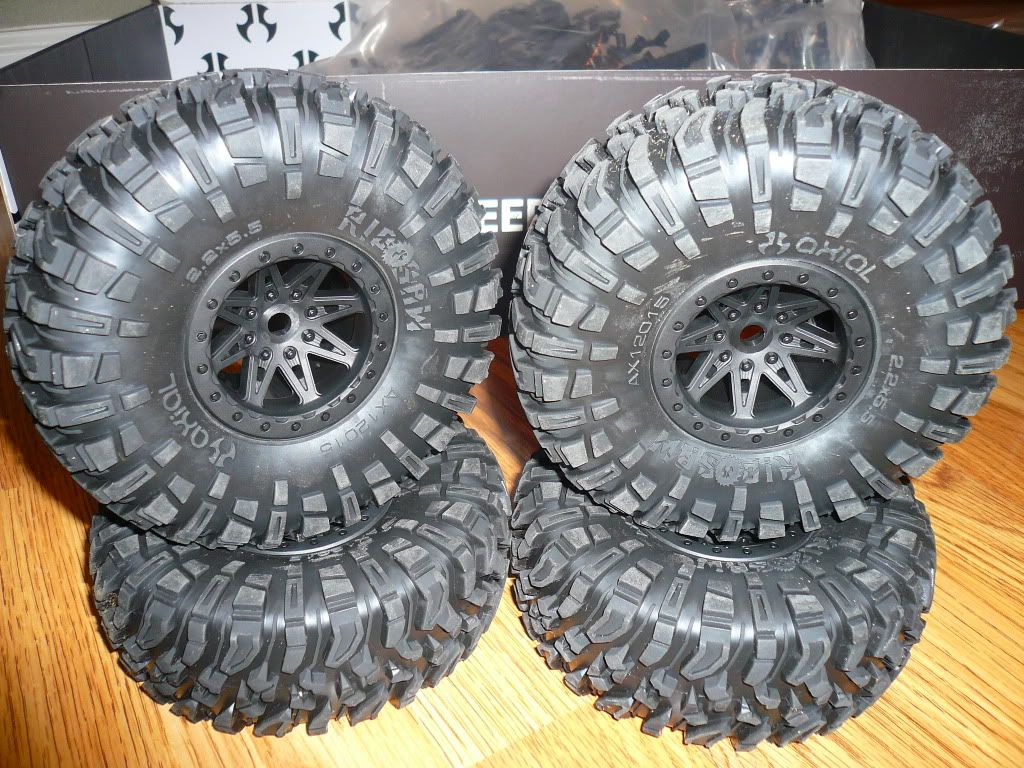 Extra goodies: 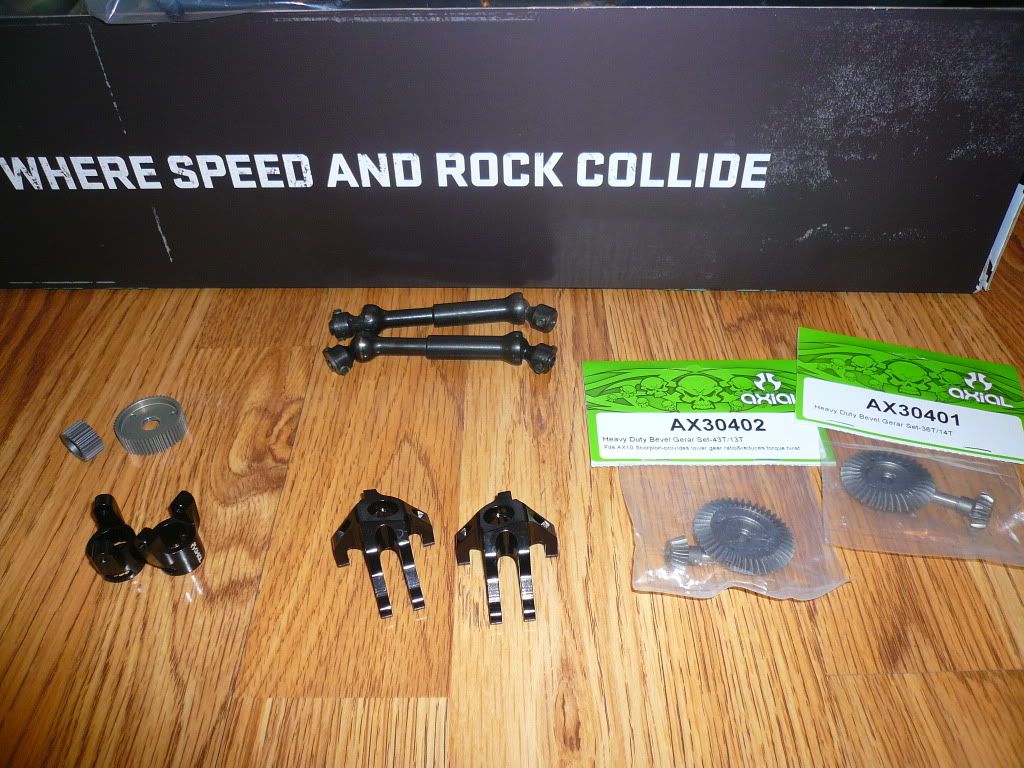 Electronics: 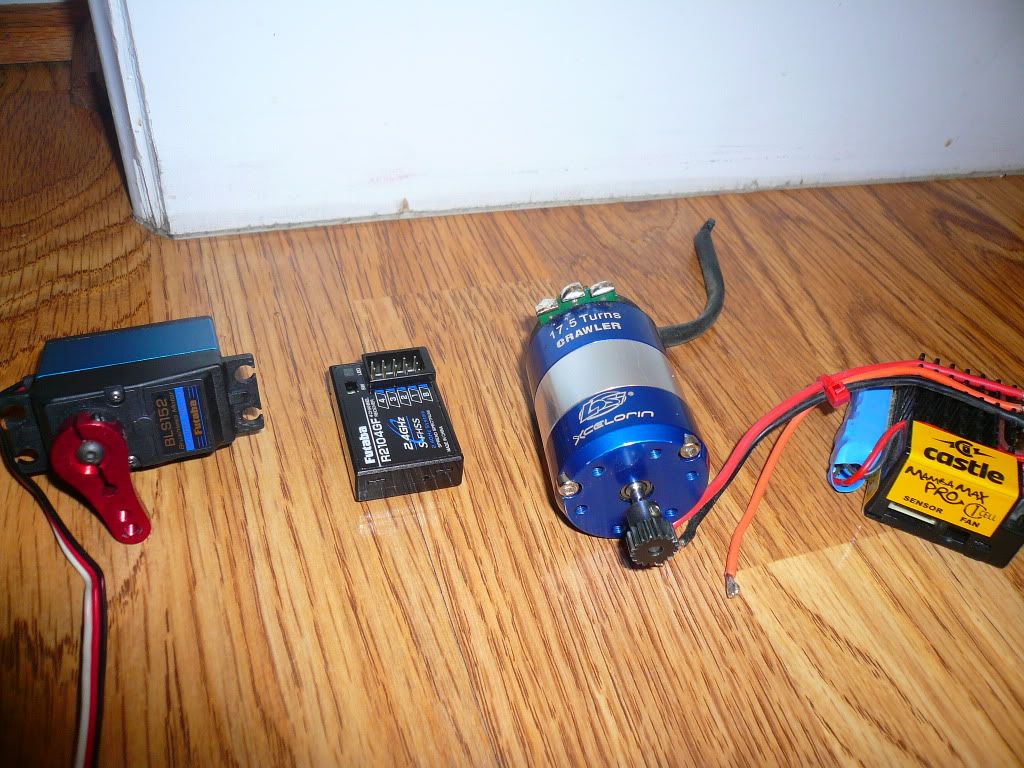 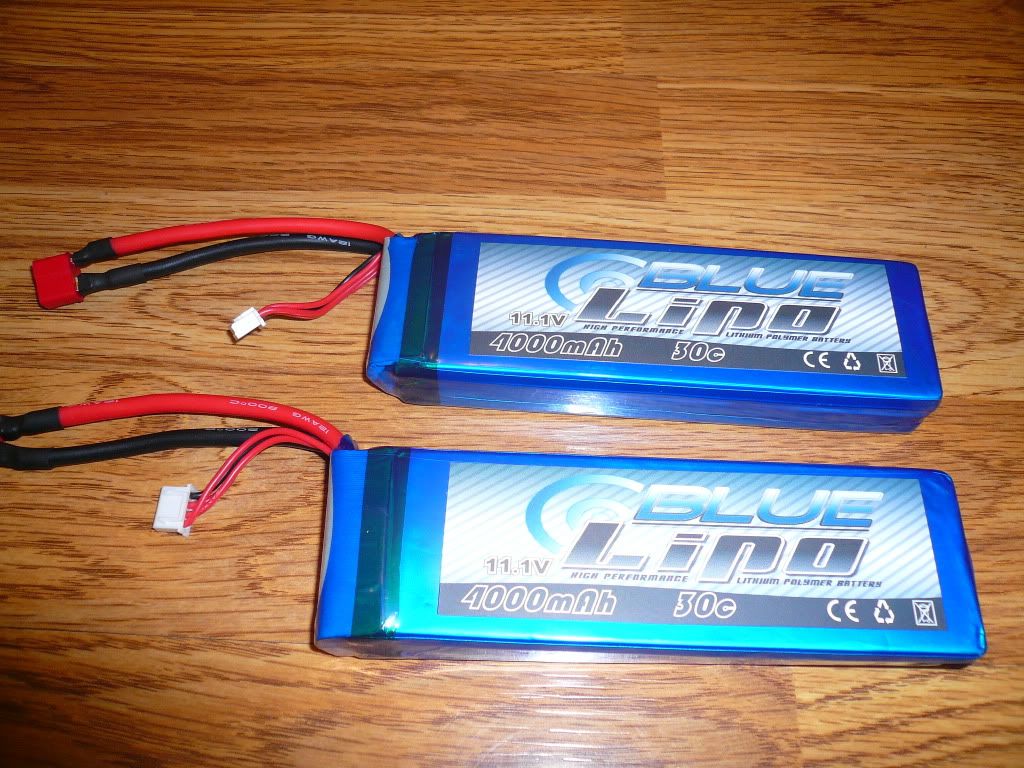 These axles are so cool! They even have bearing caps! 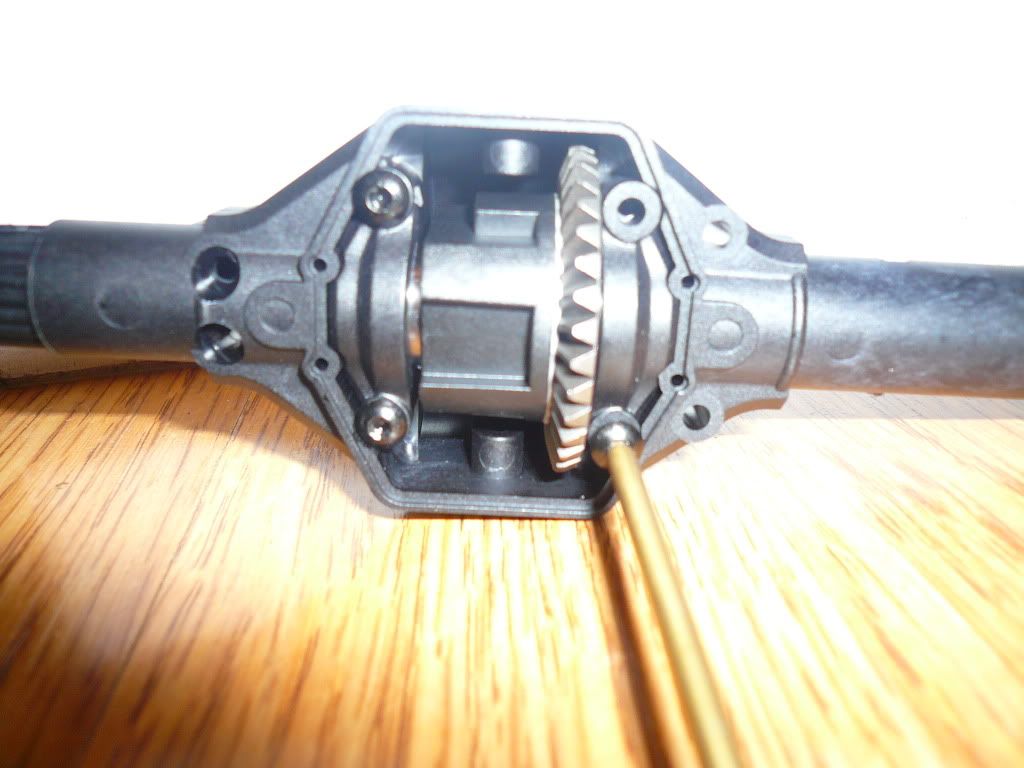 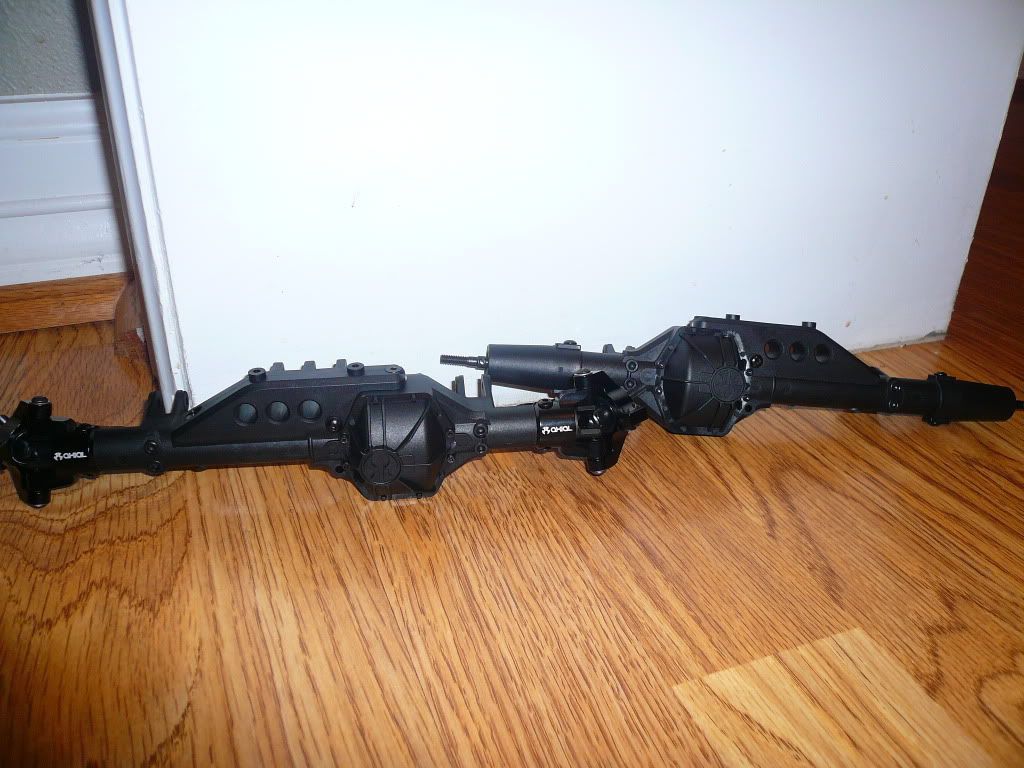  Tranny:  Drivetrain: 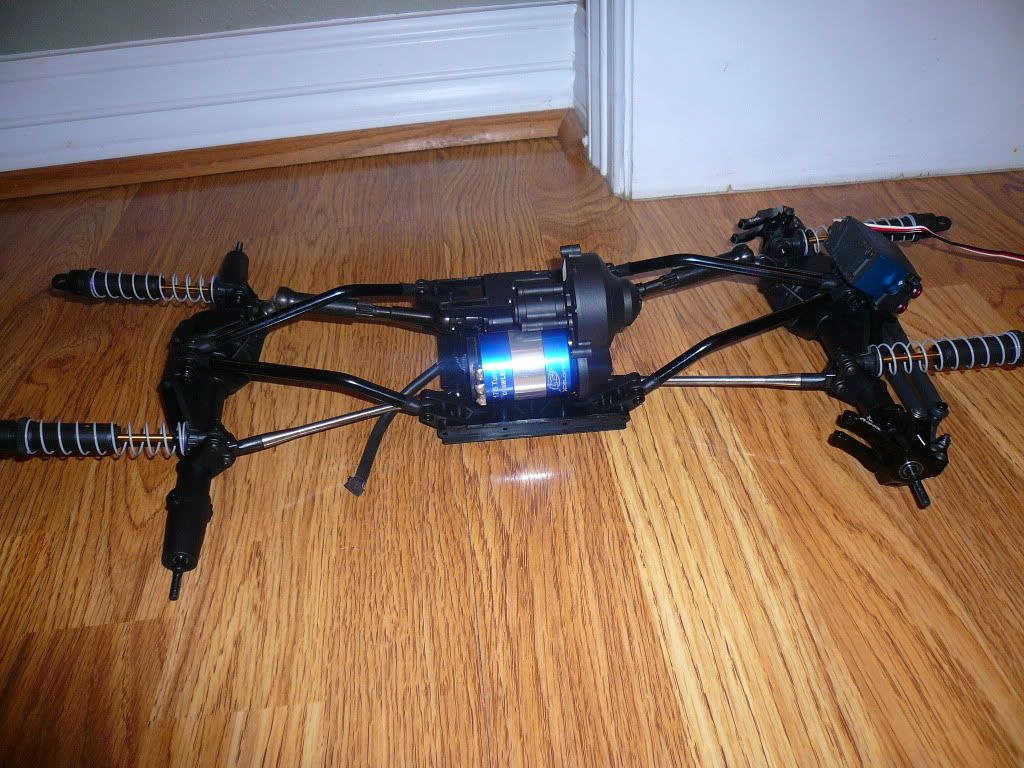 Wheels and tires: I decided to run my CAC Slash Beadlocks. 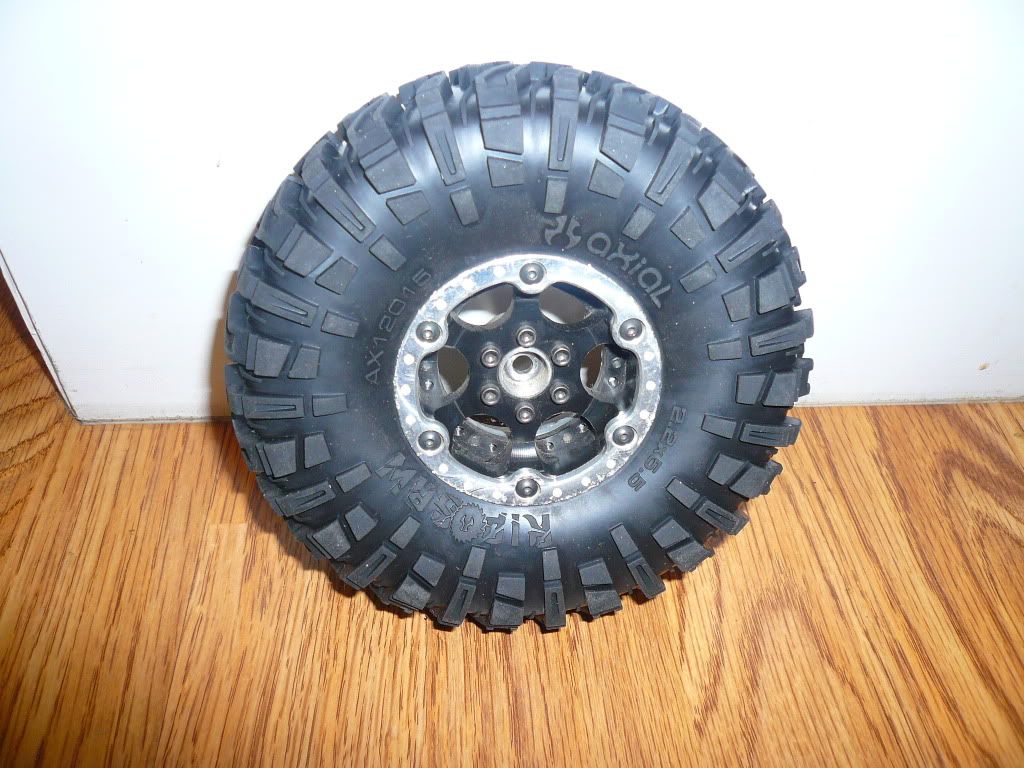 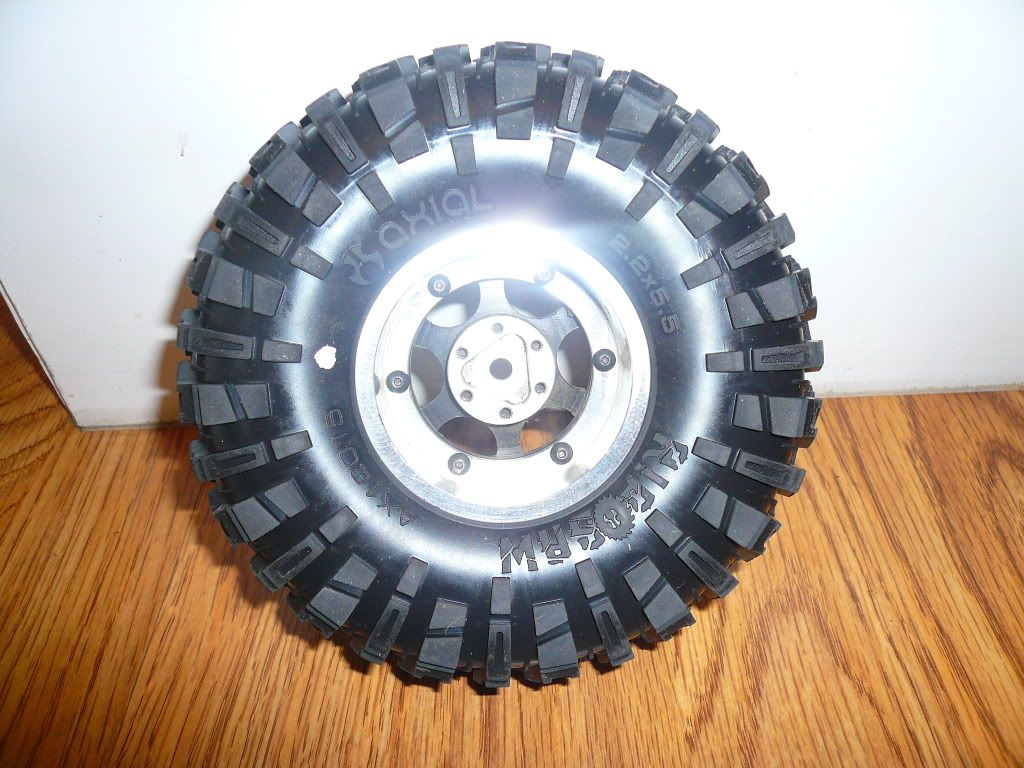 I had to remove the nub on the hex to get my CAC wheels to work: 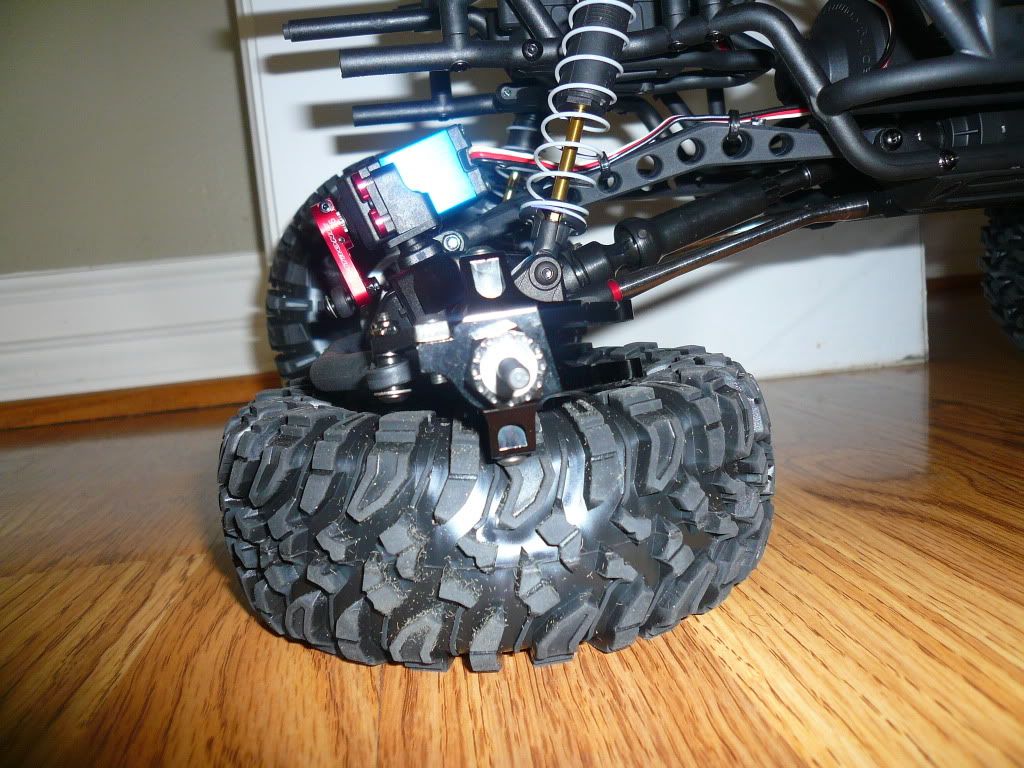 These Ripsaw 35s are very nice...a sticky compound and nice size lugs. They look like they will work very well on this truck. The foams that come with them feel just like the stock Sedona foams and are the perfect size for this tire. 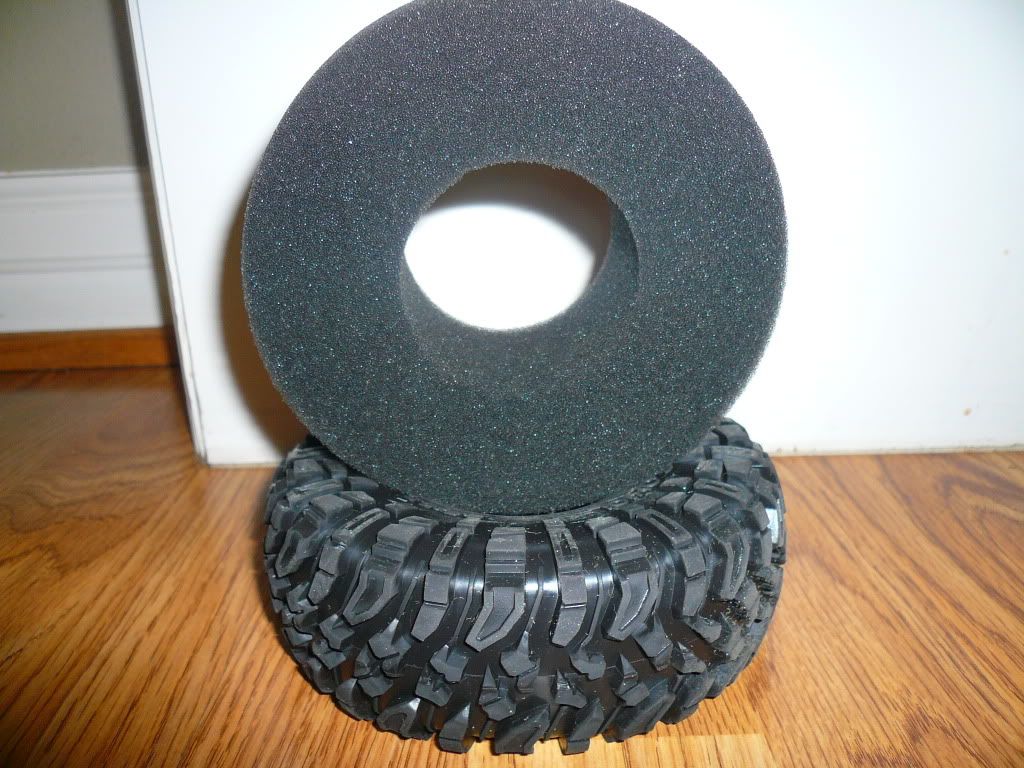 Holy stock steering! 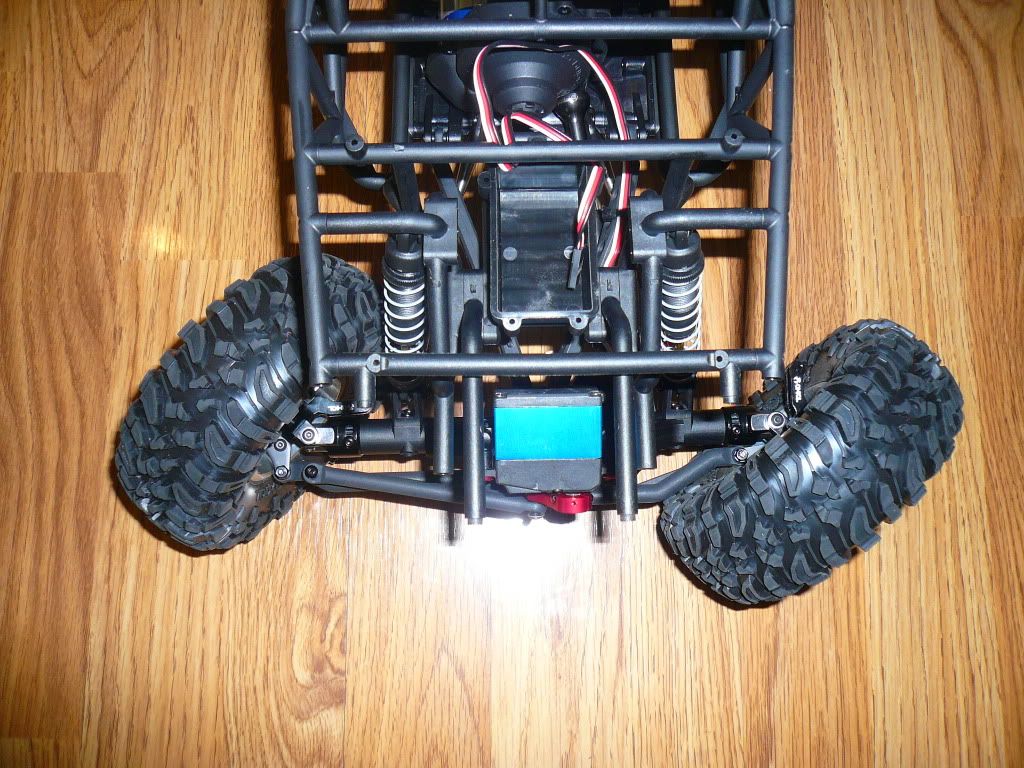 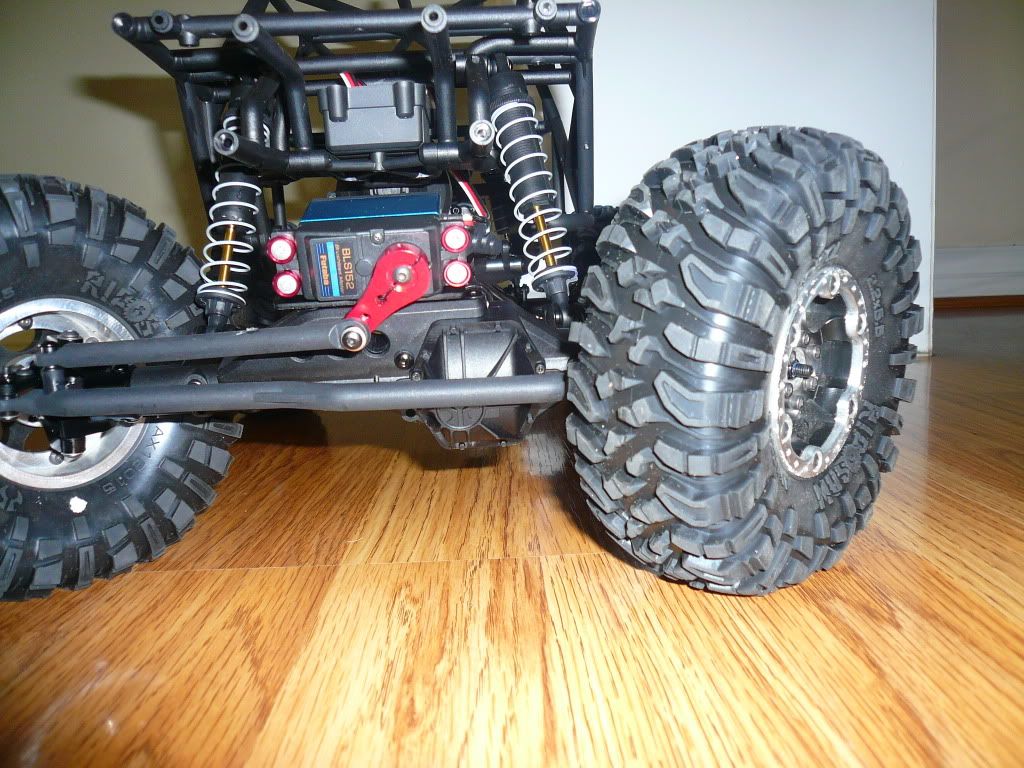 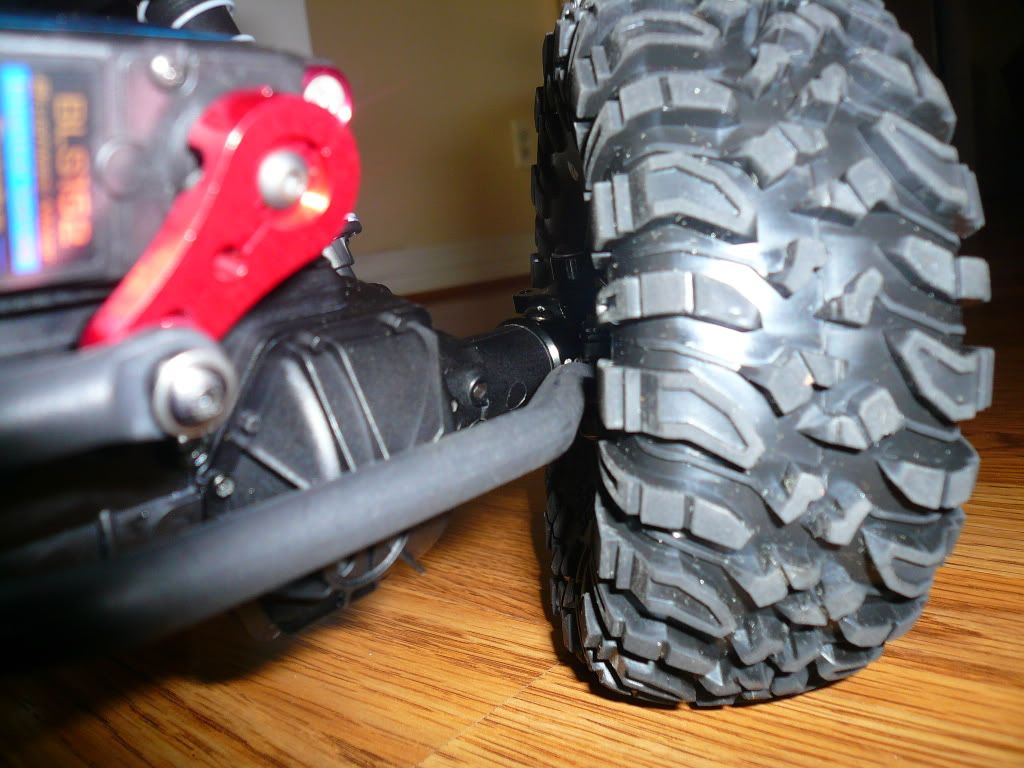 The lunsford links were a bit short, so I used a spacer: 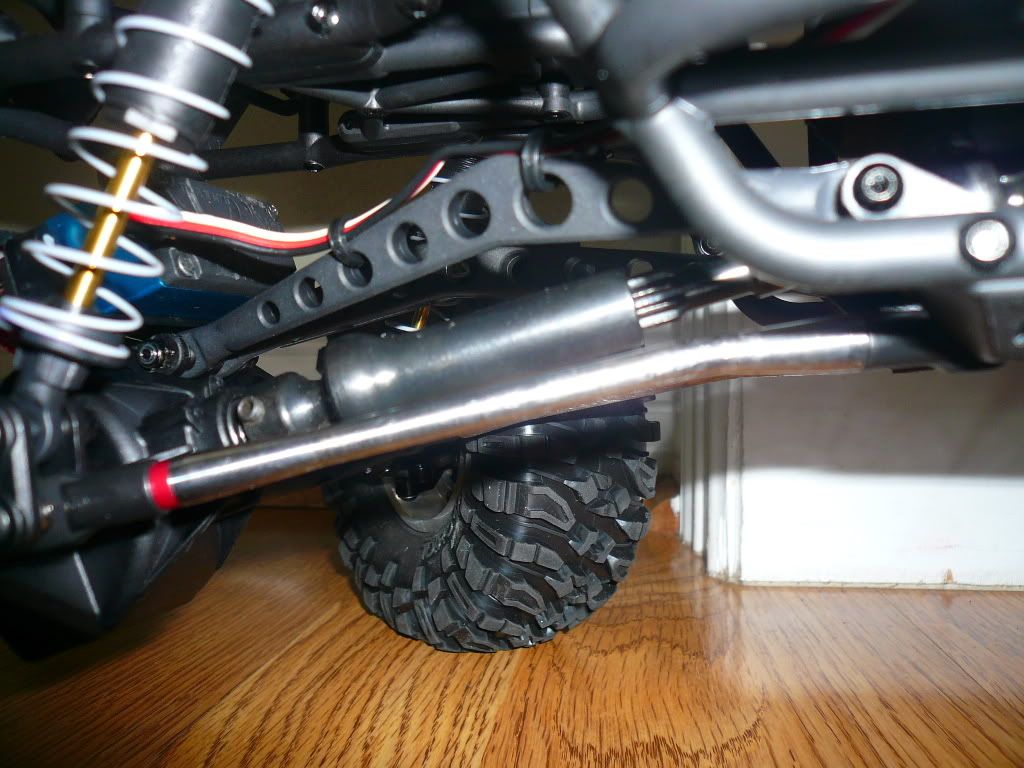 I think I will need to lengthen the fronts a bit more. Roller! 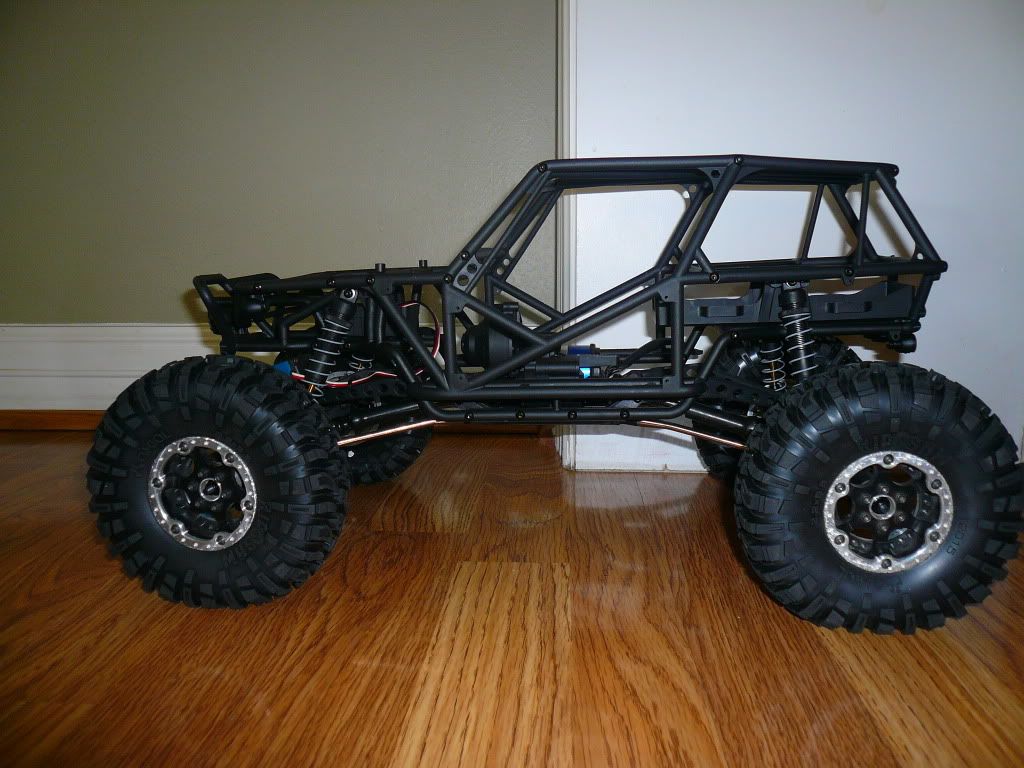 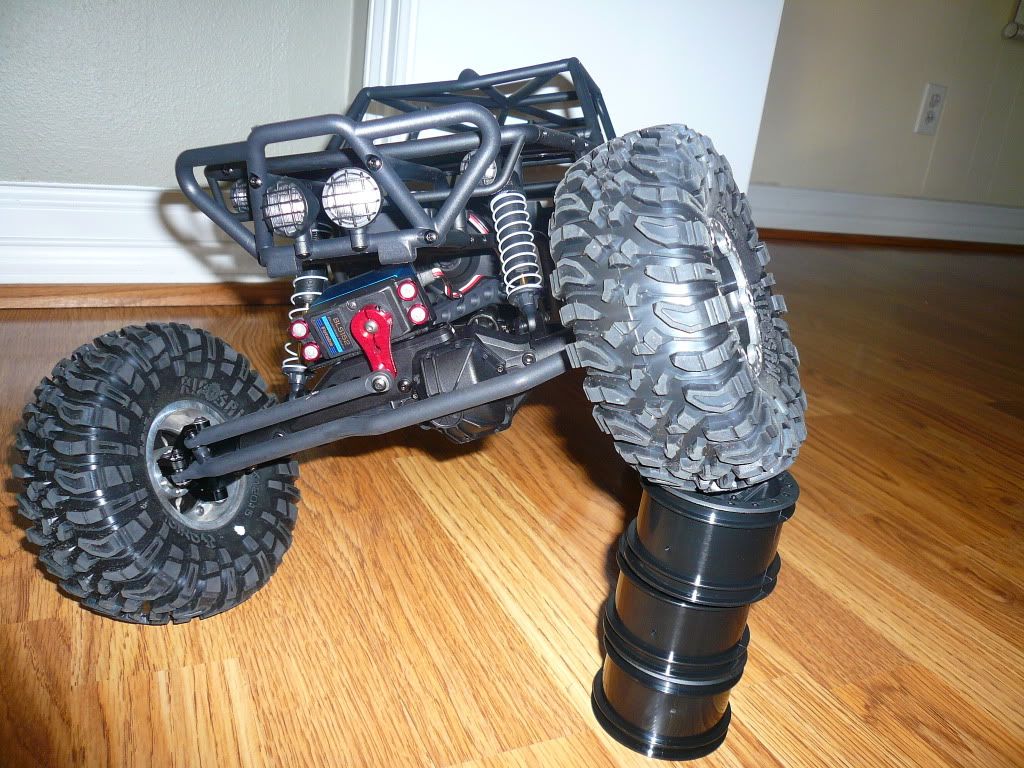 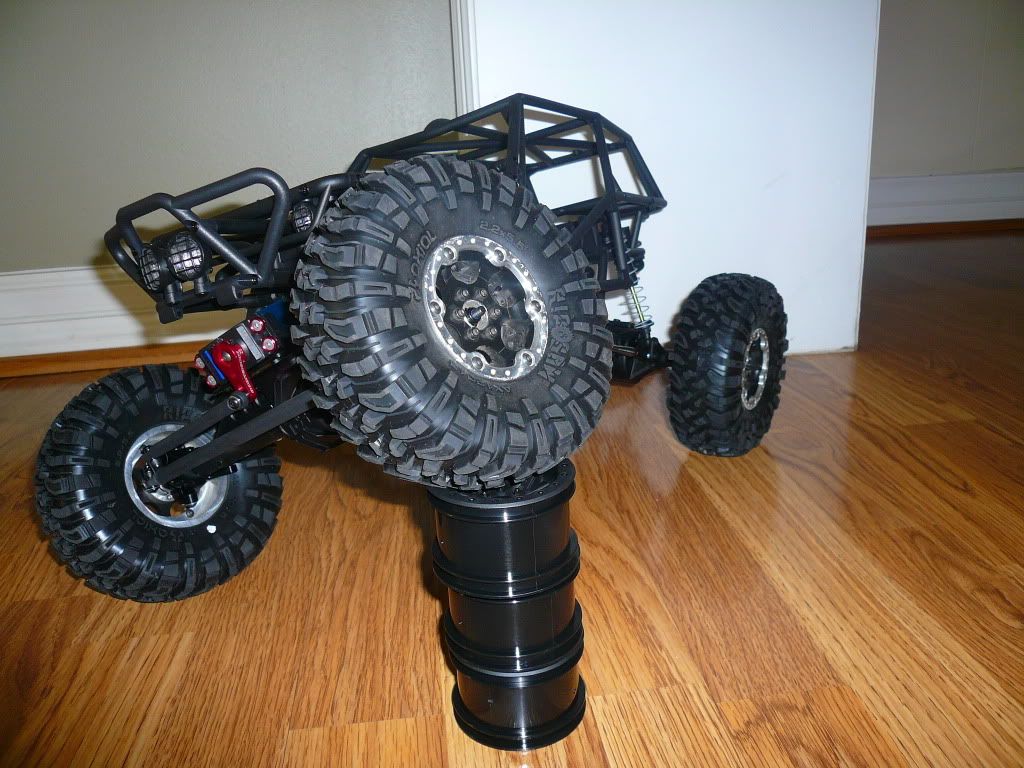 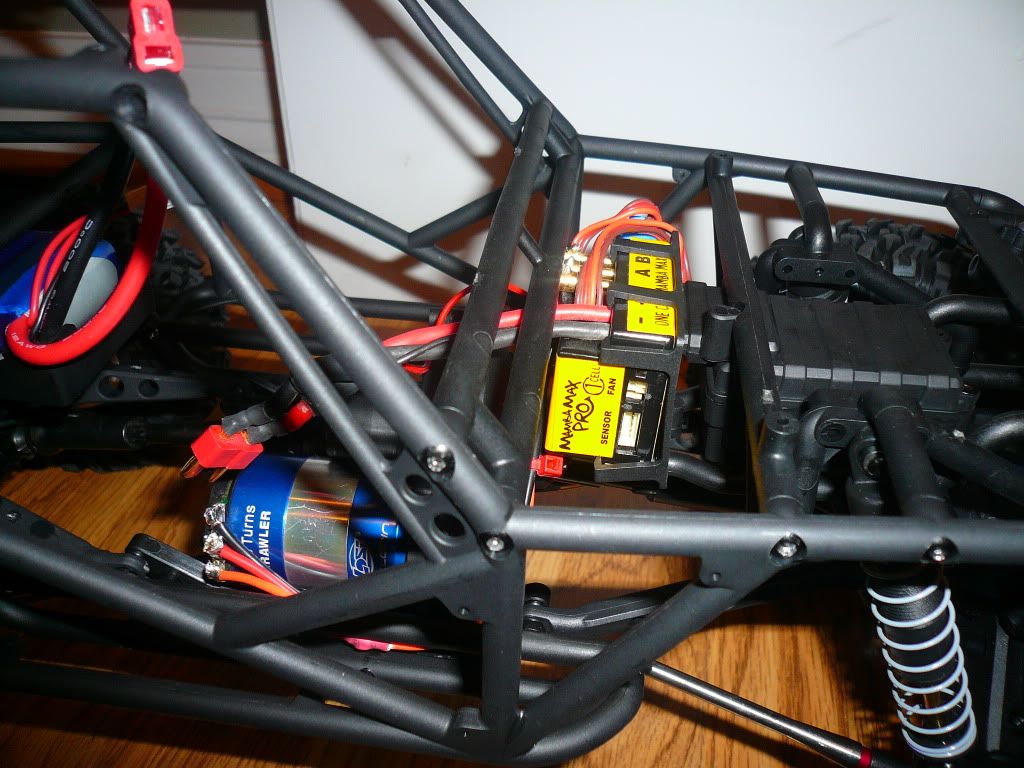 After I took all of those pictures, I realized that I had installed the front diff in the opposite direction. A bit of a note here.....to be sure that the diffs are installed correctly, notice the Axial symbol on the cover...if it is facing upward, then you have them installed incorrectly. I also installed a few o-rings on the rods ends of the tie rod...this really helped eliminate a LOT of the slop in the stock steering setup: 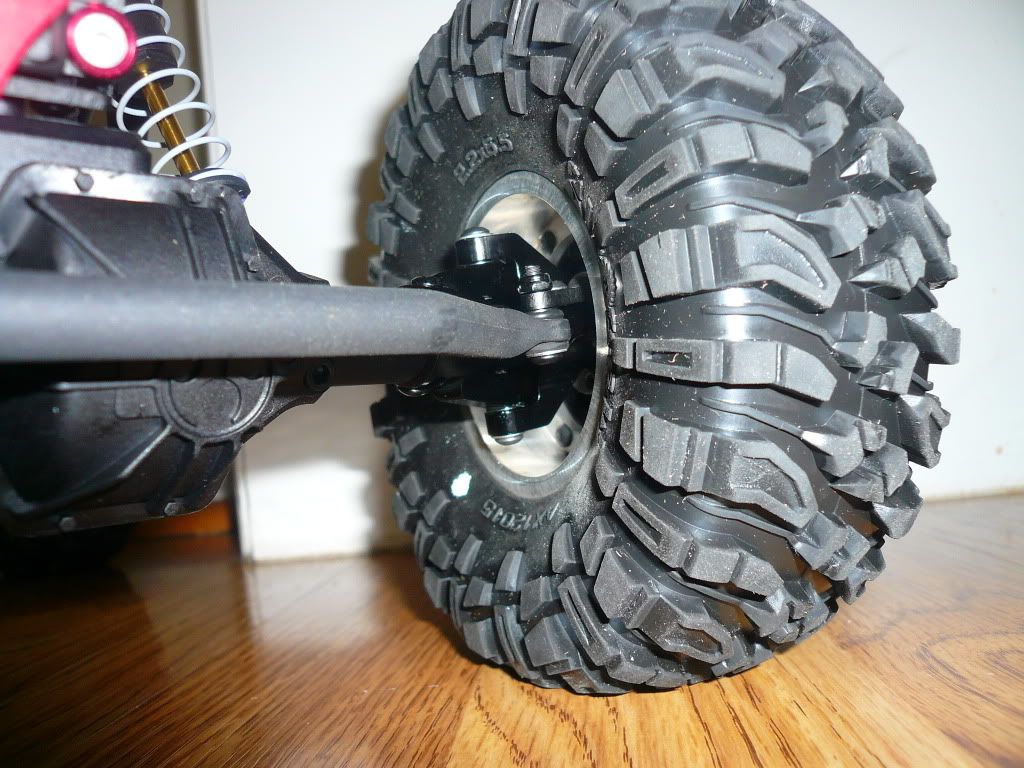 A bit more work, and we are ready for the CI G6 Event this weekend! 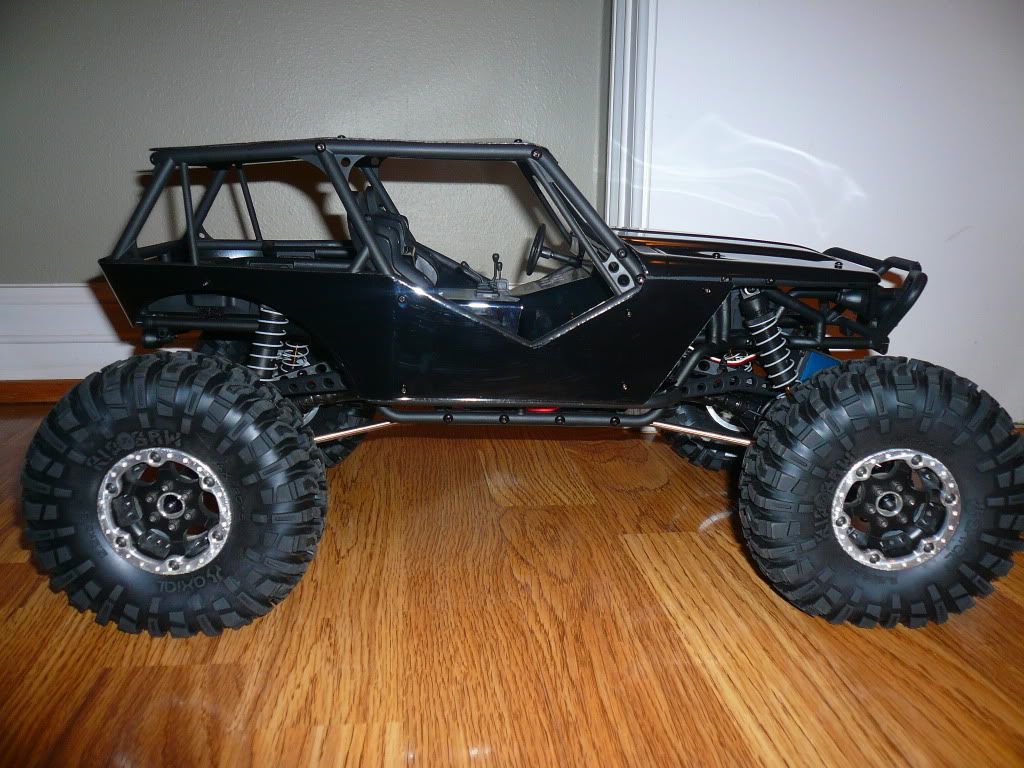 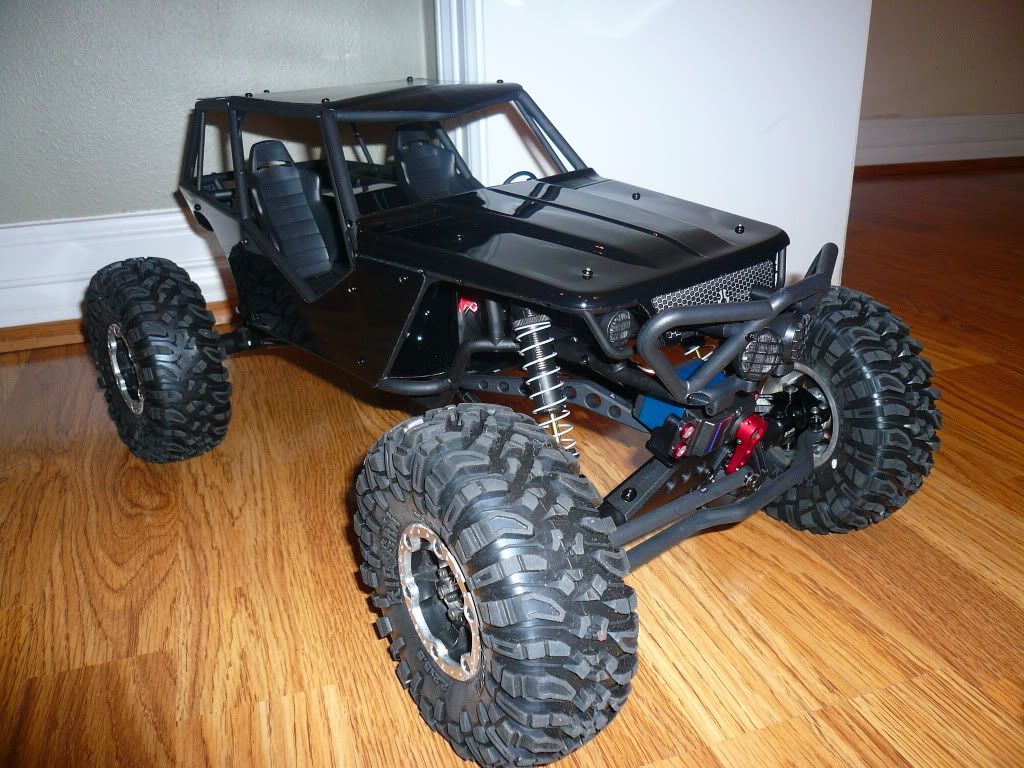 Last edited by JeremyH; 10-14-2011 at 07:13 AM. |

|  |
| Sponsored Links | |
| | |
|
10-06-2011, 11:11 PM
| #2 |
| Rock Crawler Join Date: May 2007 Location: Prescott
Posts: 796
|
Awesome buildup so far Jeremy. Mine should be here tomorrow since I gave the RTR version to my 15 year old for his birthday. These things are too much fun!  |
|
| |
|
10-07-2011, 07:10 AM
| #3 |
| I wanna be Dave Join Date: Mar 2007 Location: roland,ar
Posts: 5,981
|
looking good jeremy! sexy black! |
|
| |
|
10-07-2011, 07:58 AM
| #4 | ||
| I wanna be Dave Join Date: Sep 2005 Location: Houston, TX
Posts: 16,952
| Quote:
Quote:
| ||
|
| |
|
10-09-2011, 07:44 PM
| #5 |
| I wanna be Dave Join Date: Sep 2005 Location: Houston, TX
Posts: 16,952
|
I had a blast with this truck at the Crawler Innovations G6 Cash Comp this past weekend! I stripped the spur pretty quickly, but replaced it with a 32p setup (thanks michael ) and beat on the truck the rest of the weekend with zero breakage!Anyway, onto some pics: 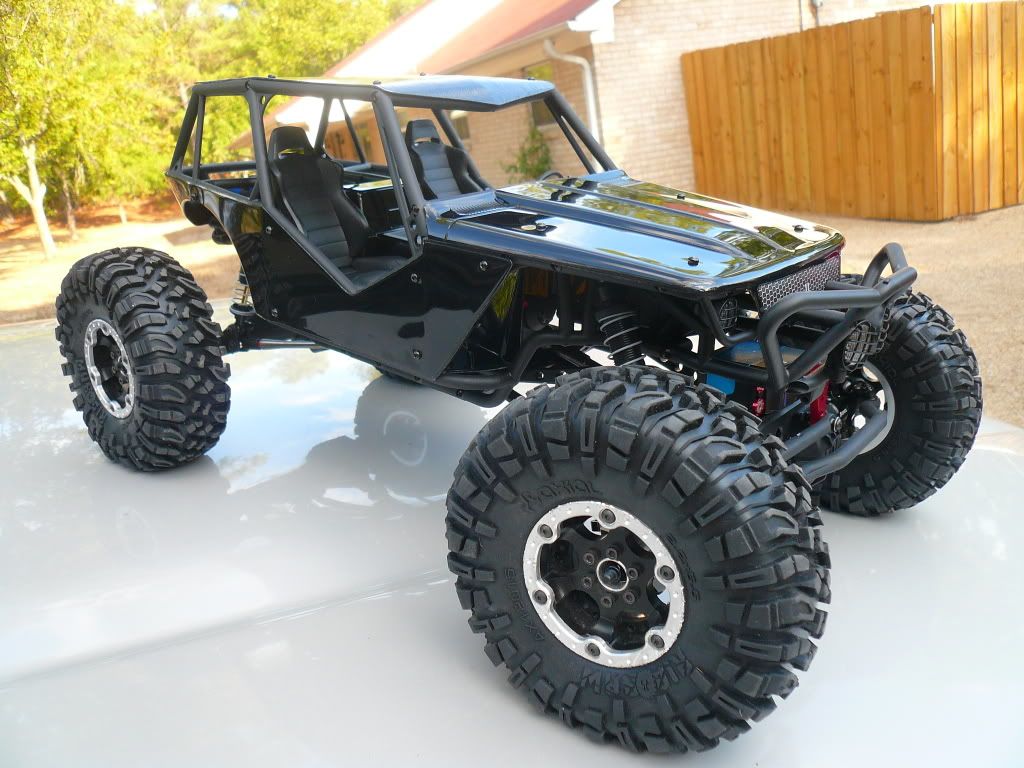 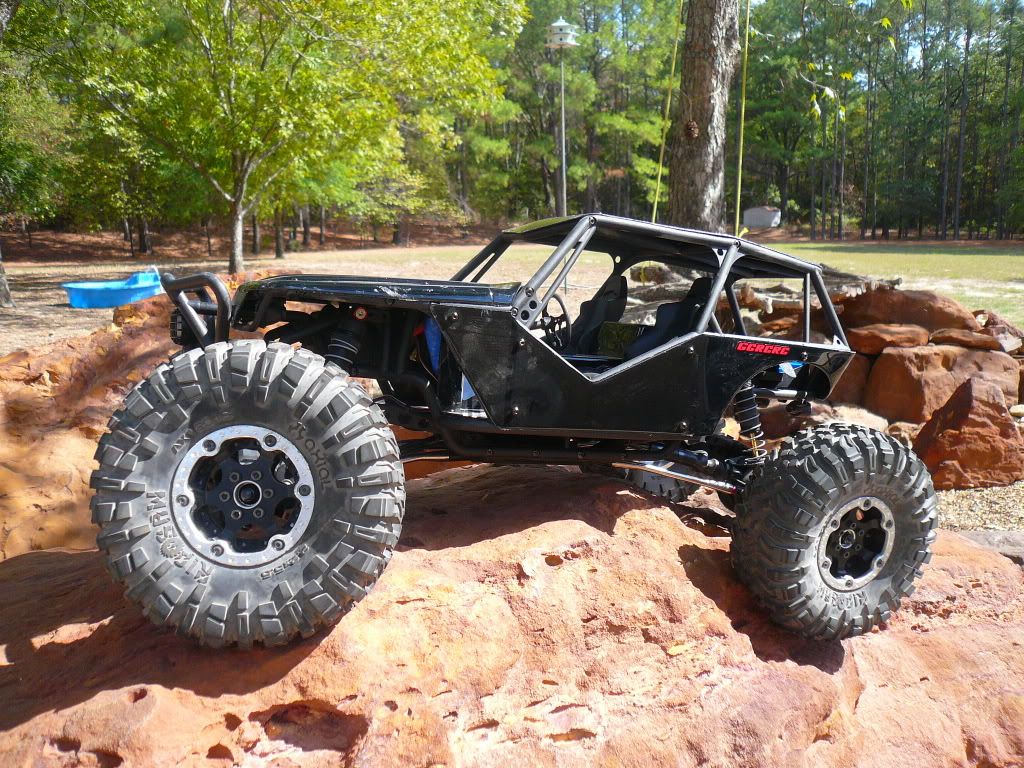 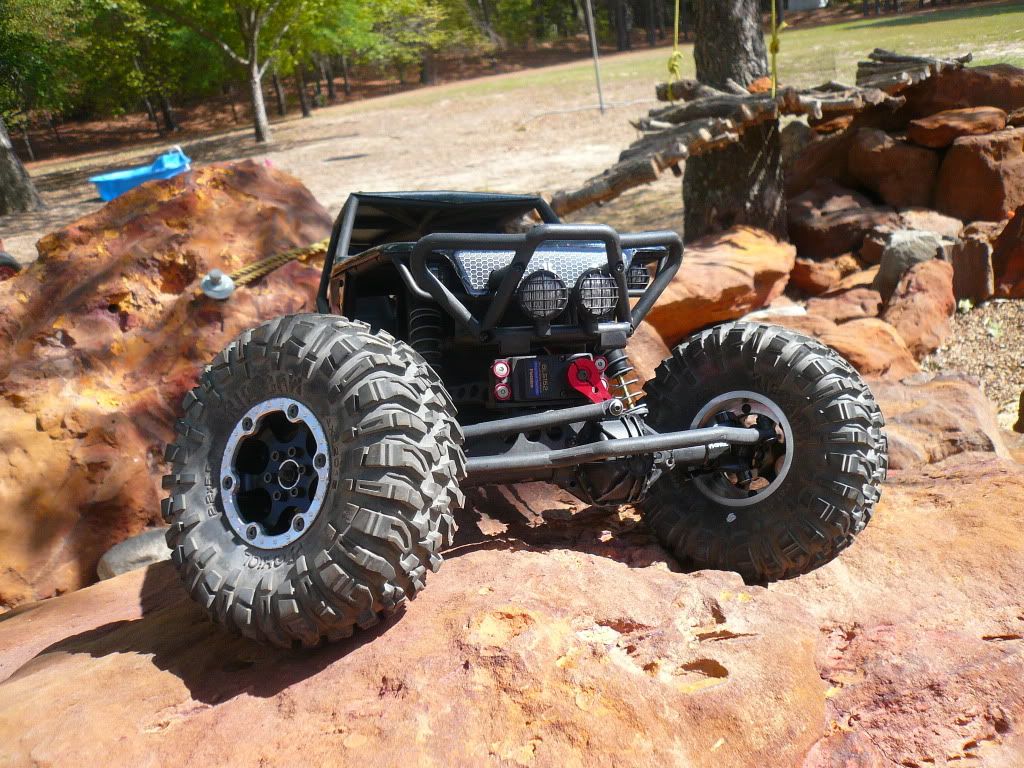 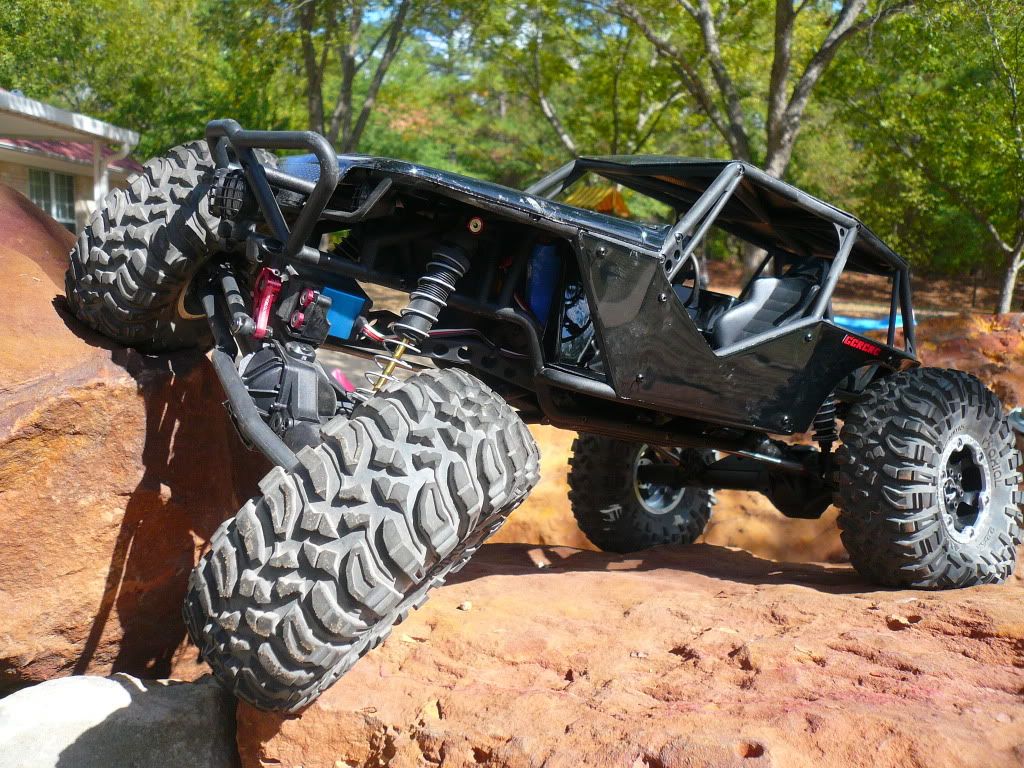 The course: 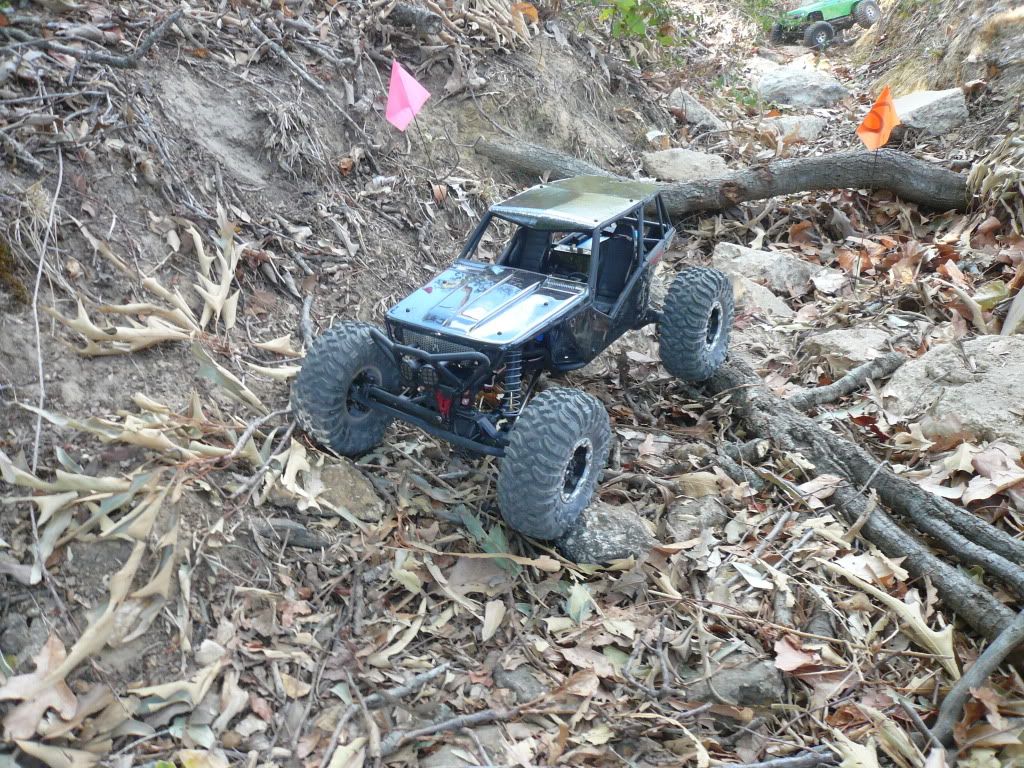 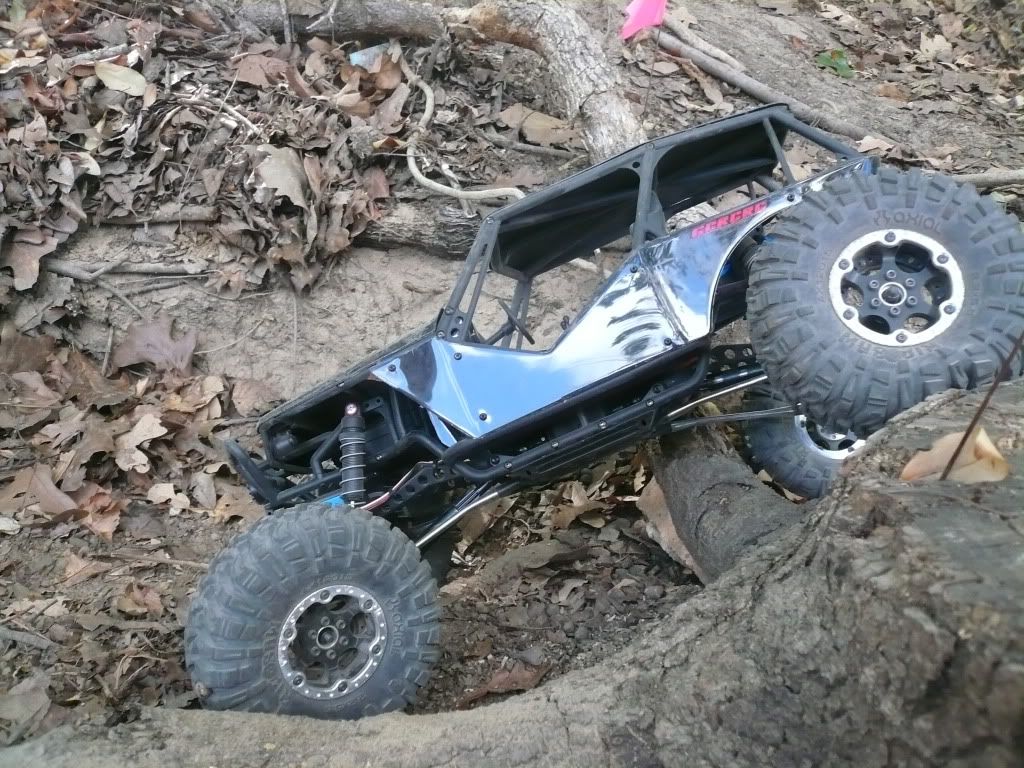 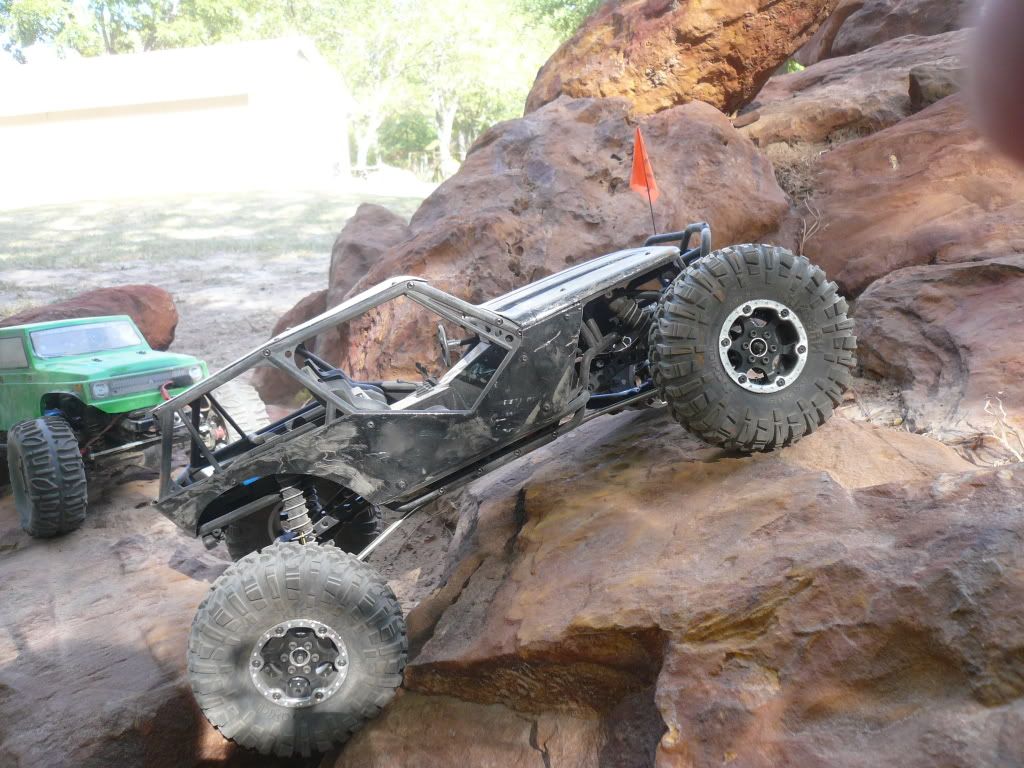 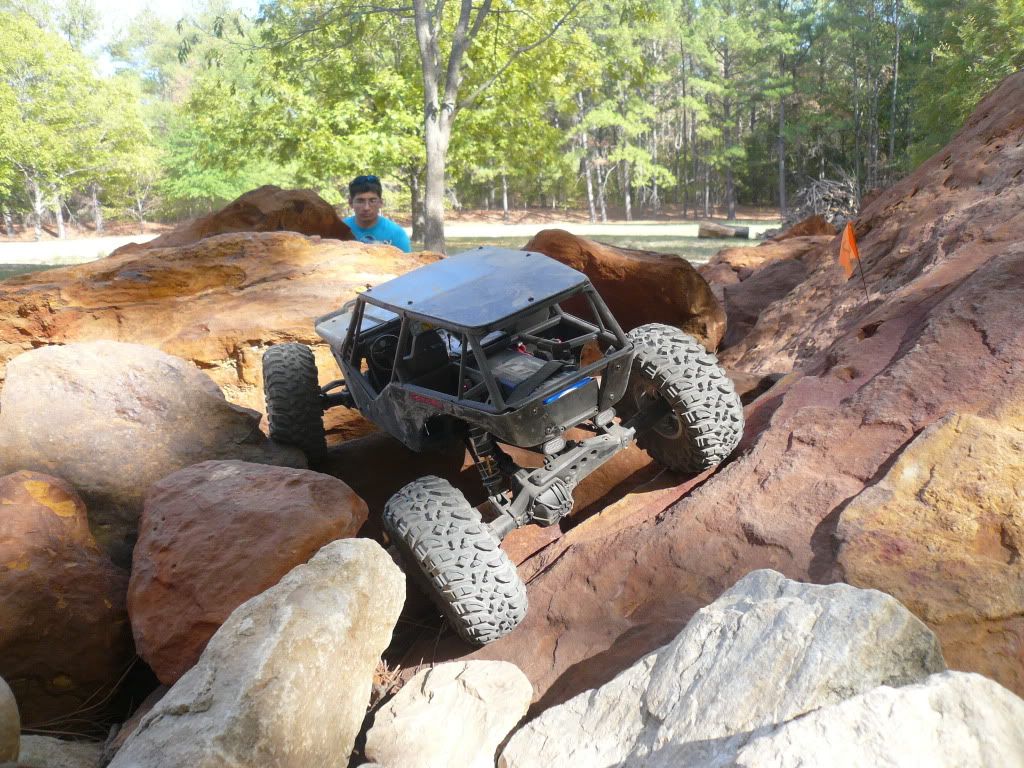 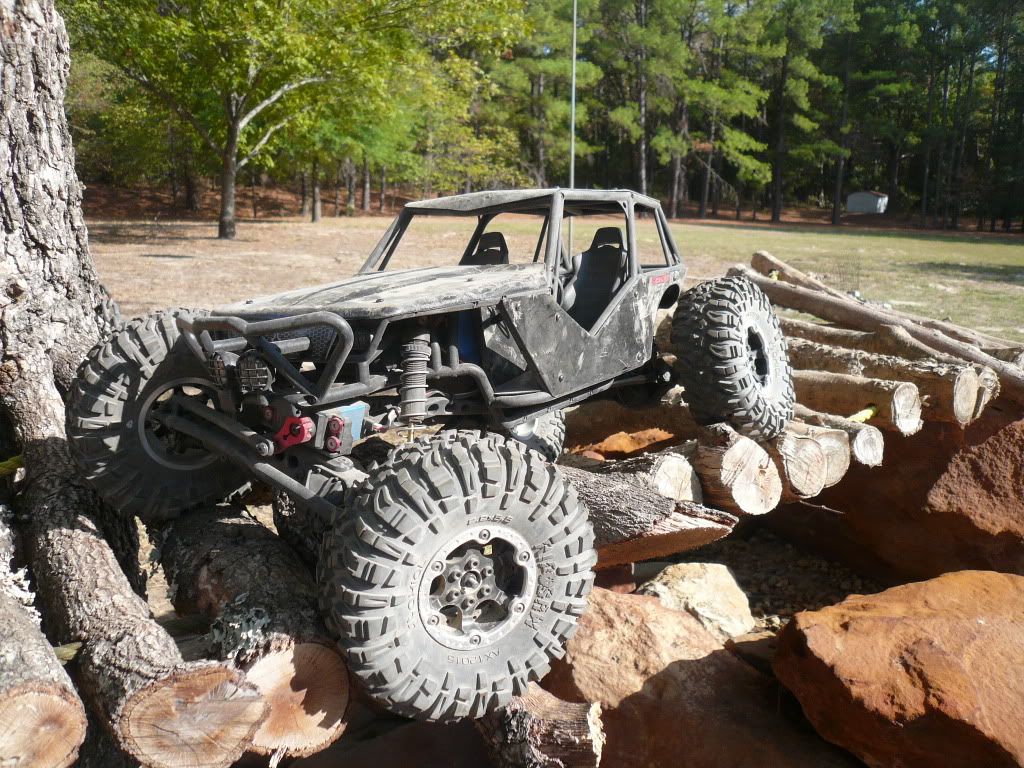 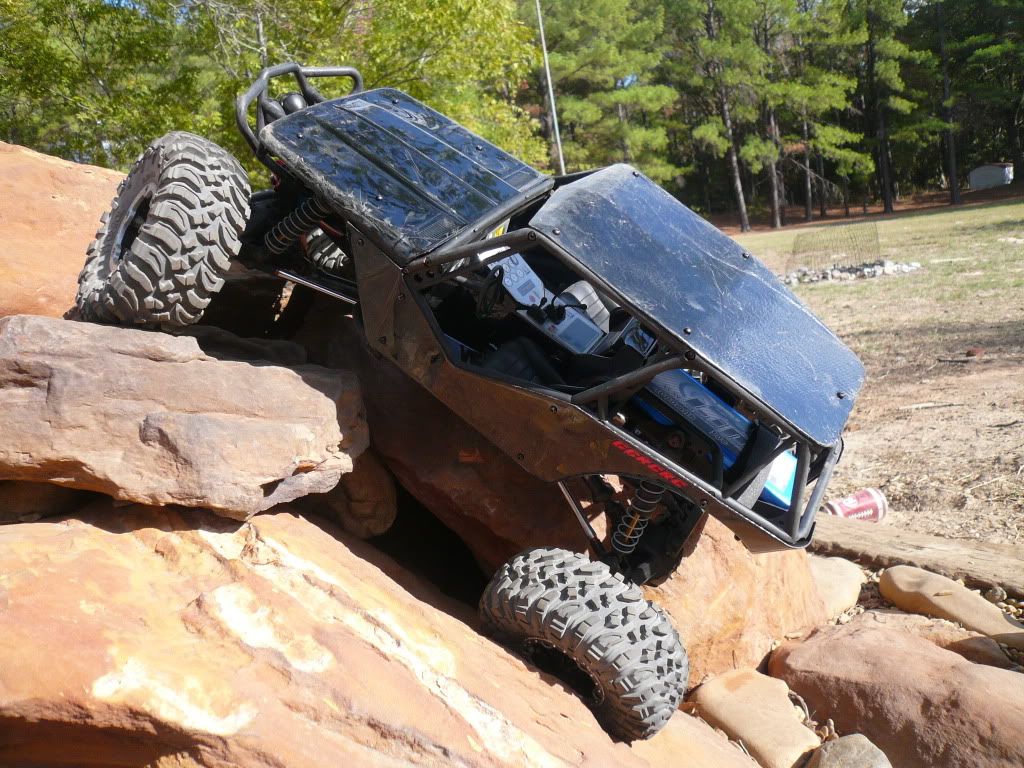 Another run a bit later that night: 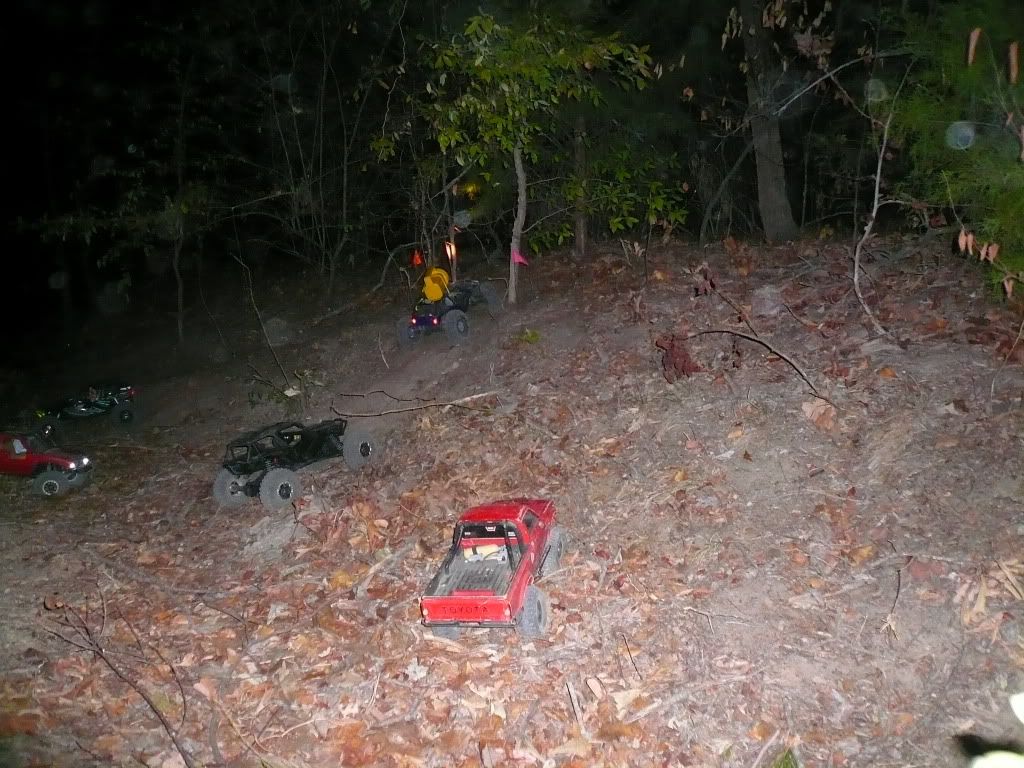 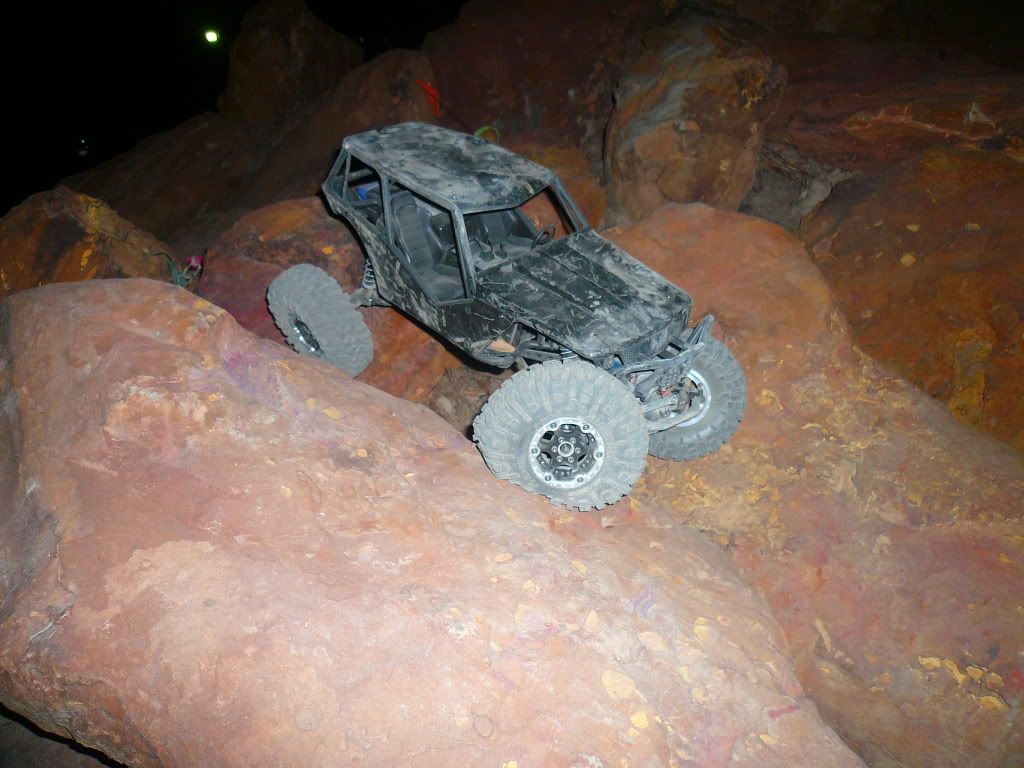 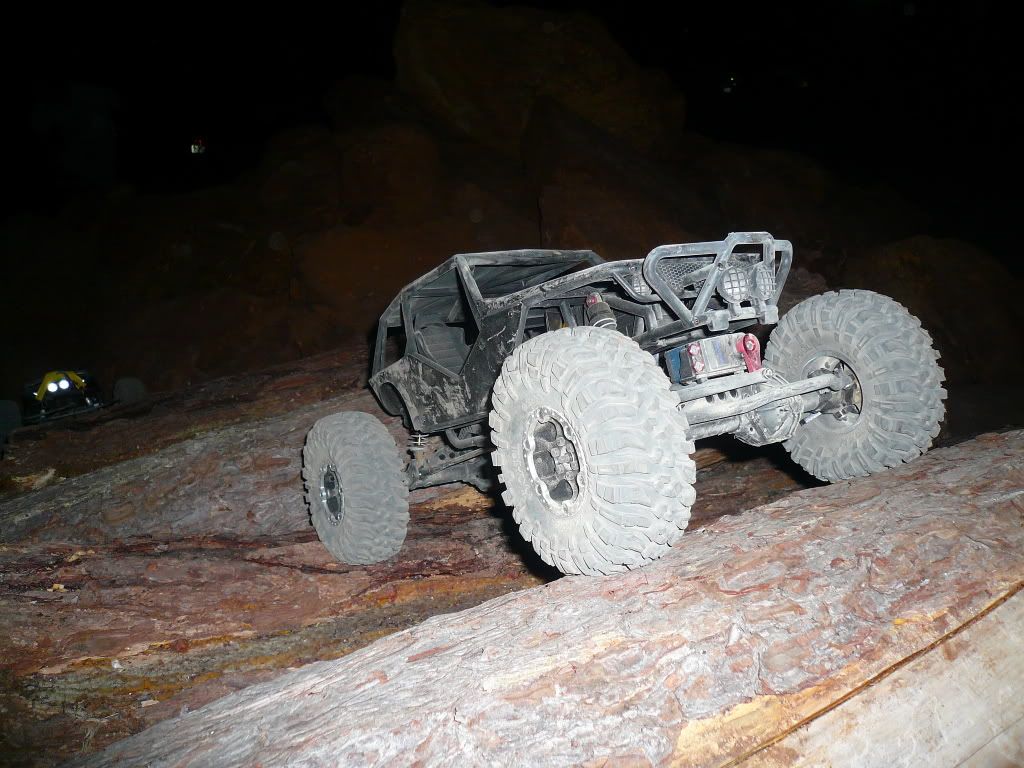 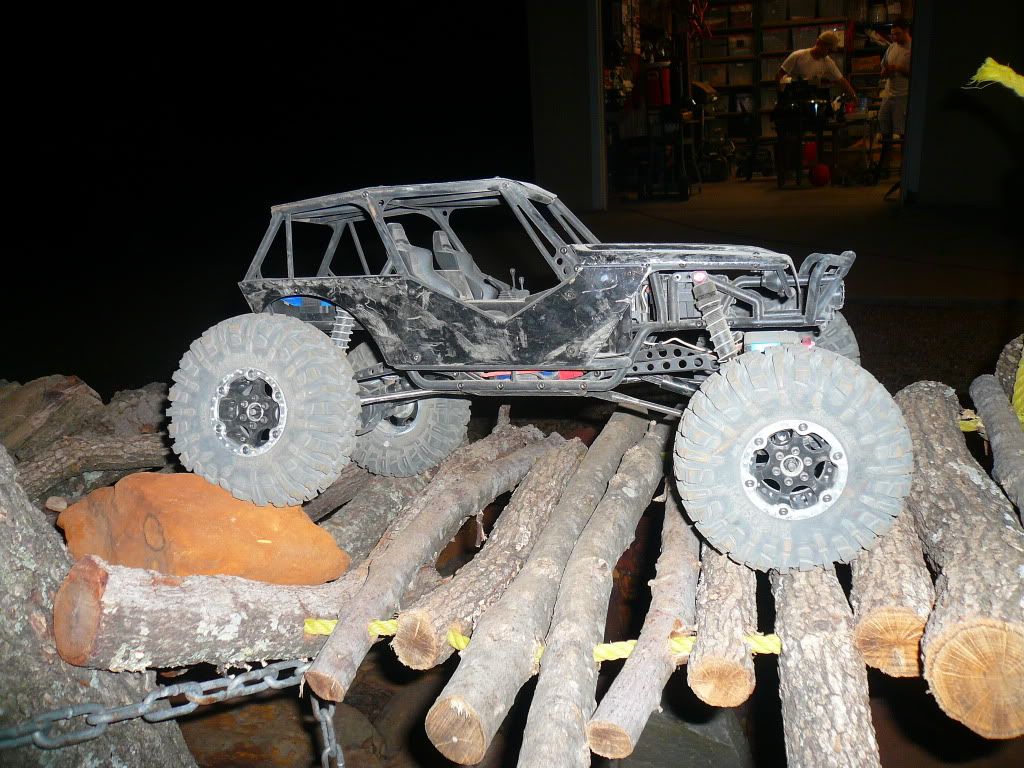 |
|
| |
|
10-09-2011, 07:49 PM
| #6 |
| R.I.P. Chip   Join Date: Jan 2004 Location: The Crawler State
Posts: 13,938
|
Looks great, just needs some RCC stickers!
|
|
| |
|
10-09-2011, 07:51 PM
| #7 |
| I wanna be Dave Join Date: Oct 2007 Location: Castle Rock, WA
Posts: 8,785
|
Cool build Jeremy. Looks like you spared no time beating on this rig!
|
|
| |
|
10-09-2011, 07:53 PM
| #8 | ||
| I wanna be Dave Join Date: Sep 2005 Location: Houston, TX
Posts: 16,952
| Quote:
Quote:
| ||
|
| |
|
10-09-2011, 08:35 PM
| #9 | |
| R.I.P. Chip Join Date: Jan 2004 Location: The Crawler State
Posts: 13,938
| Quote:
| |
|
| |
|
10-09-2011, 10:02 PM
| #10 |
| RCC Addict  Join Date: Jul 2009 Location: AT THE DRAGON'S LAIR
Posts: 1,319
|
Congratulations on the kit's win man! truck is looking great so far. |
|
| |
|
10-10-2011, 06:54 AM
| #11 | ||
| I wanna be Dave Join Date: Sep 2005 Location: Houston, TX
Posts: 16,952
| Quote:
Quote:
| ||
|
| |
|
10-10-2011, 07:02 AM
| #12 |
| Old guy   Join Date: Jan 2007 Location: Northwest Arkie-saw and we got ROCKS!
Posts: 7,548
|
Sweet, I like to hit one of Eddie's comps. |
|
| |
|
10-10-2011, 07:07 AM
| #13 | |
| I wanna be Dave Join Date: Sep 2005 Location: Houston, TX
Posts: 16,952
| Quote:
| |
|
| |
|
10-10-2011, 08:34 AM
| #14 |
| I wanna be Dave  Join Date: Sep 2009 Location: Eastcoast CANADA
Posts: 4,395
|
Looking killer Rob |
|
| |
|
10-10-2011, 08:49 AM
| #15 | |
| I wanna be Dave Join Date: Sep 2005 Location: Houston, TX
Posts: 16,952
| Quote:
| |
|
| |
|
10-10-2011, 09:11 AM
| #16 | |
| I wanna be Dave Join Date: Sep 2009 Location: Eastcoast CANADA
Posts: 4,395
| Quote:
 still need the alum knuckles, C's and universals are a must. The stock dogbones are almost toast...... still need the alum knuckles, C's and universals are a must. The stock dogbones are almost toast......Rob | |
|
| |
|
10-10-2011, 04:17 PM
| #17 |
| I wanna be Dave Join Date: Sep 2005 Location: Houston, TX
Posts: 16,952
|
This weekend, I picked up a set of Crawler Innovations Wraith Hood Pins: Hood Pin Kit - Traxxas Battery Hold Down These will make under the hood access much easier! A few simple tools are needed: Drill 3/32" bit 7/32" bit #5 hex driver 3x16mm button head screws (x2) Drill the screw holes in the chassis out with the 3/32" bit. You'll need to remove the screws in the rear hood mount bar and replace them with shorter screws, I used 16mm button heads. Drill out the hood mount holes with the 7/32" bit (this will give a tight fit around the pins, use one size larger if you want a loose fit). Use the #5 hex driver to install the pins and you are finished. Installed pics: 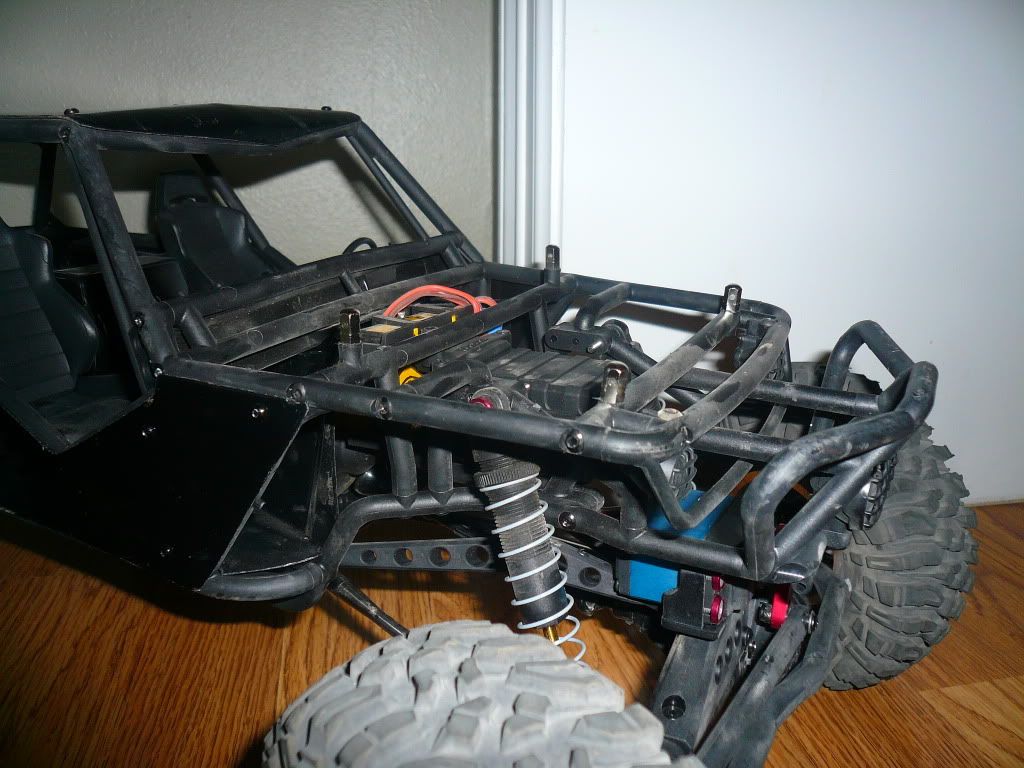 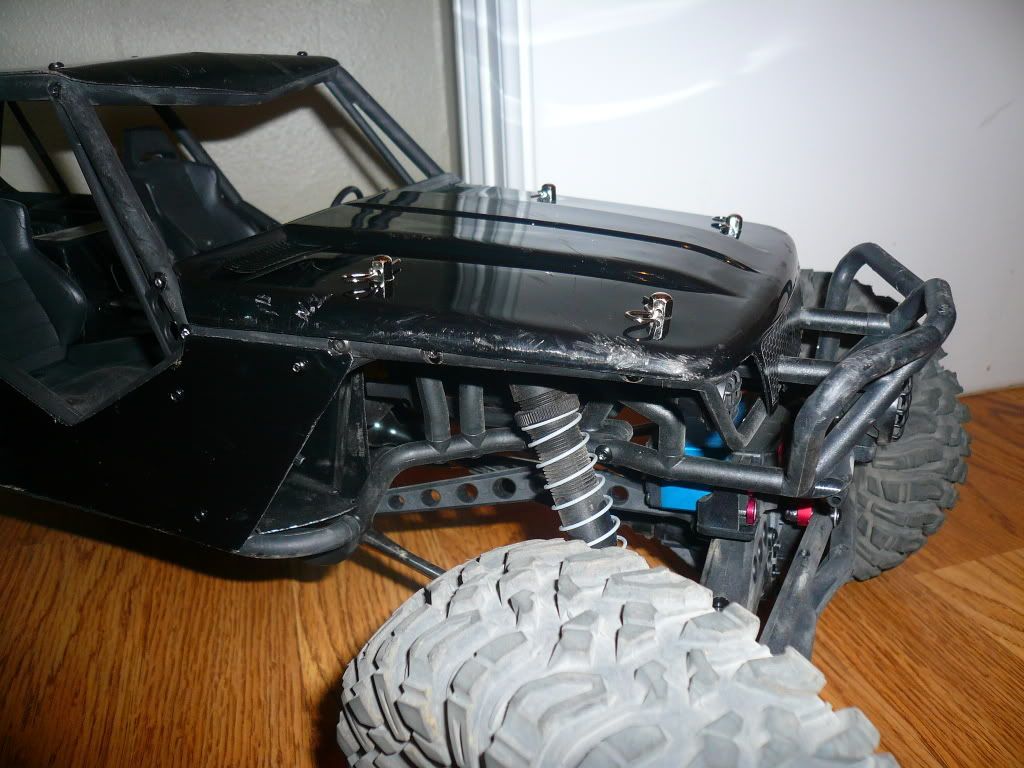 |
|
| |
|
10-10-2011, 04:25 PM
| #18 |
| Moderator Rule Breaker  Join Date: Feb 2004 Location: Austin, Tx
Posts: 5,970
|
The double pin setup looks cool. Hope you get your motor problems solved. |
|
| |
|
10-10-2011, 04:31 PM
| #19 | |
| I wanna be Dave Join Date: Sep 2005 Location: Houston, TX
Posts: 16,952
| Quote:
Edit--Yep, I solder up the motor leads incorrectly. This is my first sensored motor and I wasnt aware that the leads needed to be soldered in any order (they dont for unsensored). I guess I got lucky when I soldered them in my LCC. Oh well, live and learn. Last edited by JeremyH; 10-10-2011 at 04:39 PM. | |
|
| |
|
10-10-2011, 04:49 PM
| #20 | |
| Moderator Rule Breaker Join Date: Feb 2004 Location: Austin, Tx
Posts: 5,970
| Quote:
| |
|
| |
|
| Thread Tools | |
| Display Modes | |
| |


 Linear Mode


