| |
 05-15-2012, 10:34 AM
| #21 | |
| Quarry Creeper Join Date: Nov 2009 Location: Vacaville
Posts: 259
| Quote:
LOL.... I have a WES51 (nobody asked me) and love it! And if you want I can make that tray out of aluminum for you or set you up to do it yourself!  | |

|  |
| Sponsored Links | |
| | |
|
05-15-2012, 04:07 PM
| #22 | |
| Newbie  Join Date: Apr 2012 Location: NorCal
Posts: 42
| Quote:
| |
|
| |
|
05-15-2012, 04:36 PM
| #23 |
| Newbie Join Date: Apr 2012 Location: NorCal
Posts: 42
|
Ok, it's been a while. Had a birthday (Yay!!), had to work the weekend (Boo!!) but finally found some time to build. 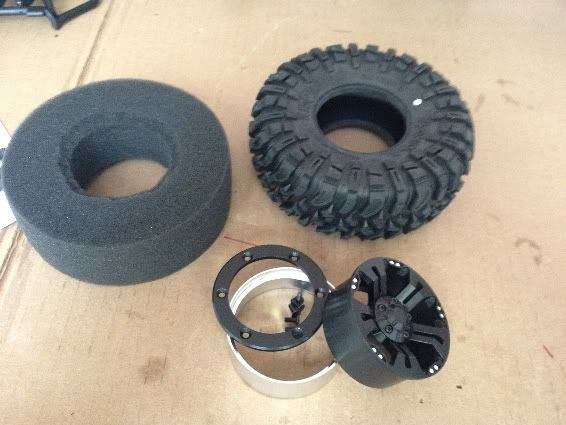 I'll be using the stock tires and foams for now. The wheels are RC4WD 2.2 Resistance internal beadlocks. Unfortunately, with the 5 piece design, they are not vented. I know that I could punch holes in the tires but I think I'll hold off until I need to. As a compromise, when assembling them, I tied a shoelace around the outer diameter of the tire to compress the foams then tightened the beadlock ring down. Once the shoelace was removed, a slight vacuum was created in the tire giving them a more mushy feel. 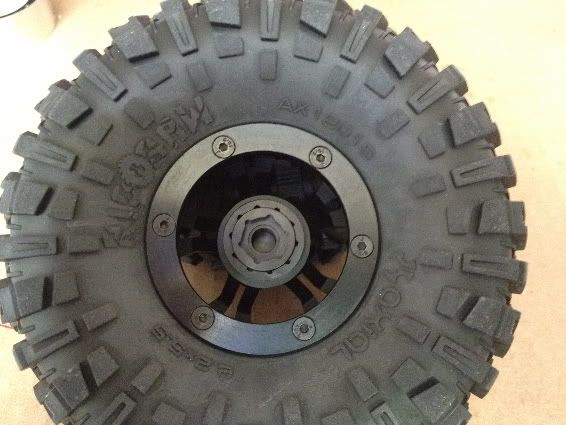 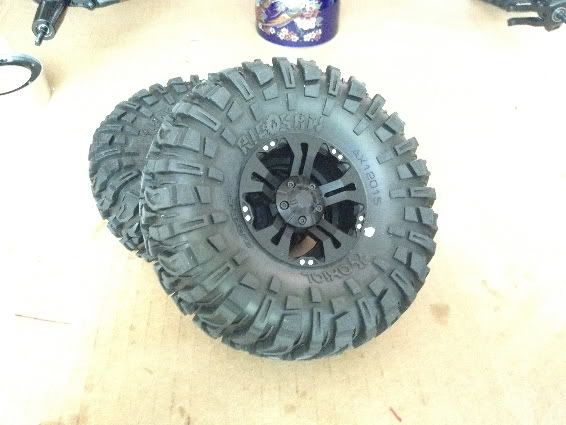 let's try'em on 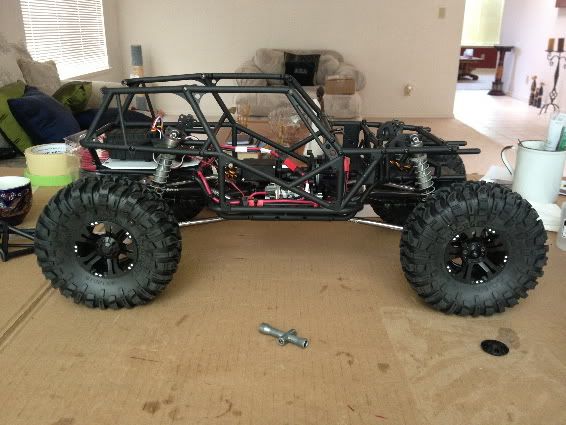 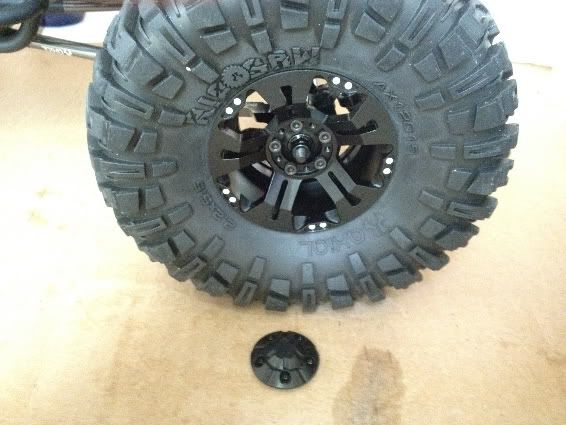 Dammit, the hub covers fit fine on the rear wheels, but the front axle stubs protrude just far enough to prevent the front hub covers from going on. Oh well, I'll add that to the list of improvements. Time to paint. Here are some mock ups of what I have in mind. 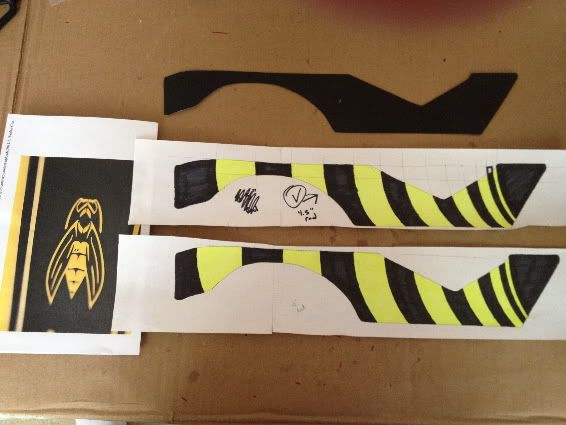 That whole YellowJacket thing is starting to make sense now isn't it? The logo is from the 2012 Dodge Challenger SRT8 392 Yellow Jacket. While the logo inspired the paint job, I don't think I have the skills to incorporate it into the final product. Wish me luck. |
|
| |
|
05-16-2012, 04:09 PM
| #24 |
| Newbie Join Date: Apr 2012 Location: NorCal
Posts: 42
|
So, it seems that there are two schools of thought regarding the order in which lexan bodies are finished. Some say paint, then drill, then cut; while others say to do the opposite. After this build, I think I will change my order to the cut and drill first method. 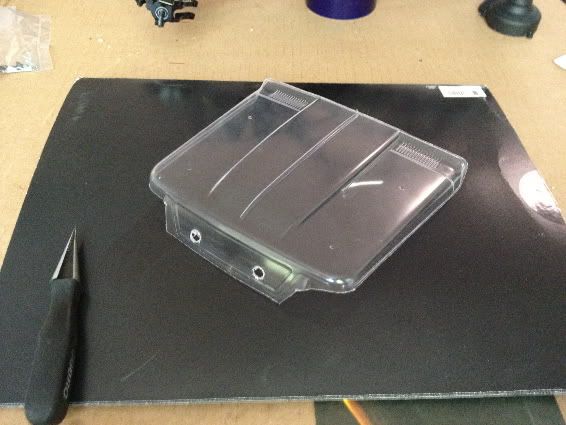 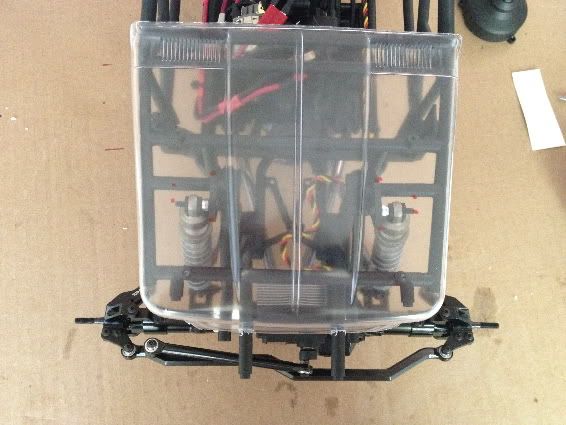 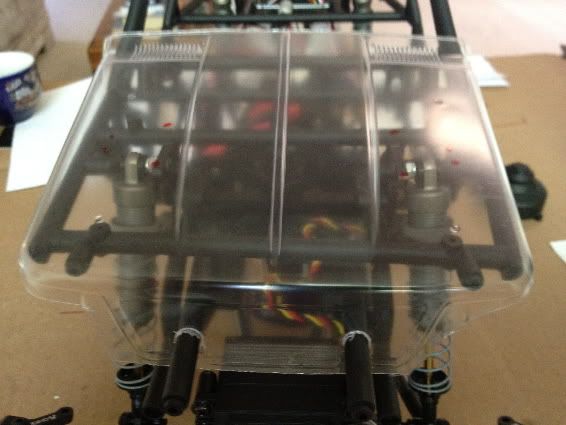 Had to cut the hood out and mark the areas that would be modified. I knew that I left the bumper off for a reason. 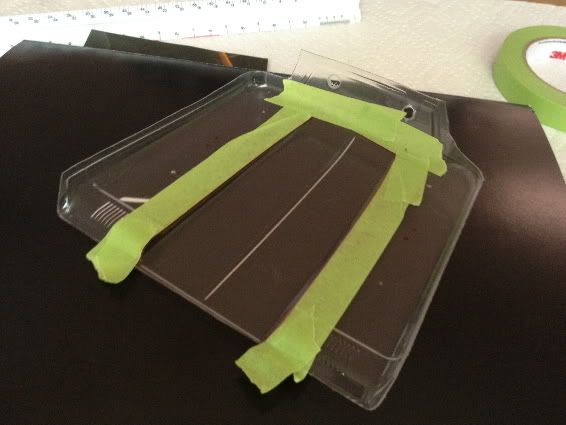 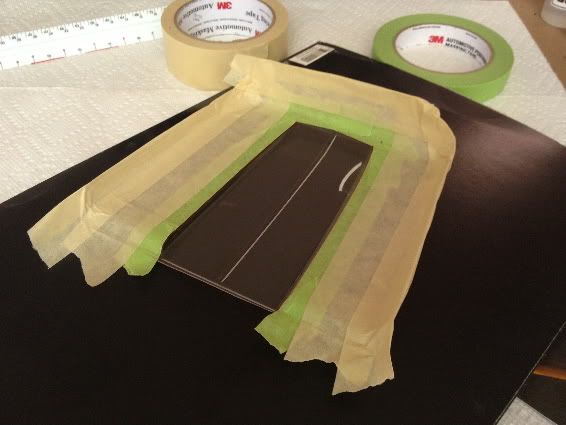 going for a two tone hood, that green 3M tape is excellent, nice crisp lines. 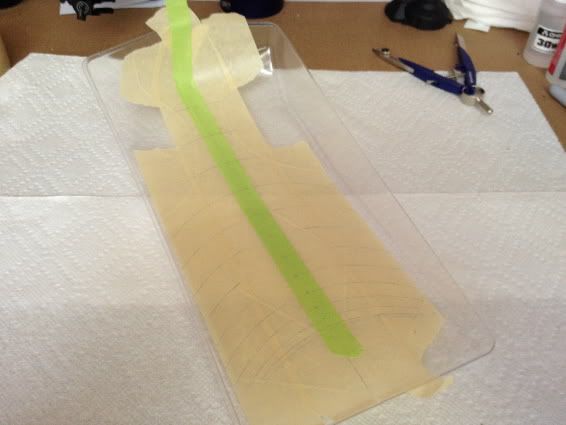 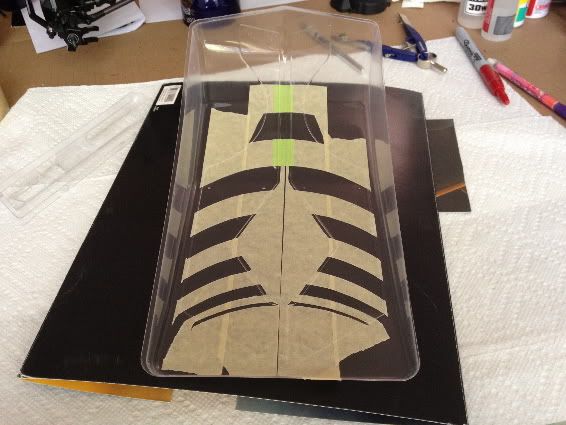 For the body panels, I used a compass set at 4" and made semi-circular marks at increasing 1/8th inch intervals. Then, I X-acto'd out the black parts 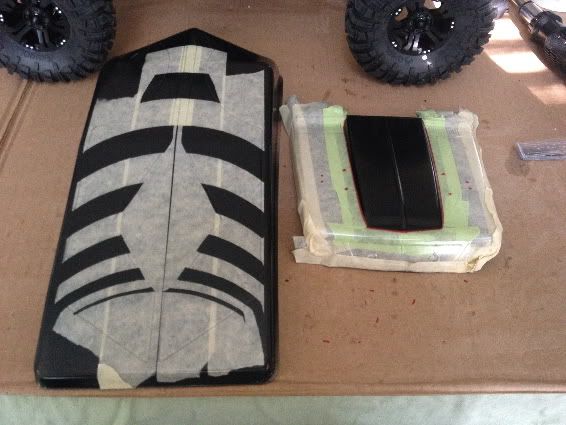 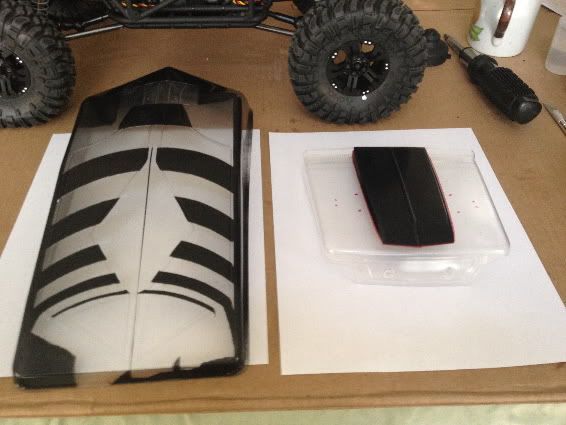 After four extremely light coats of black... 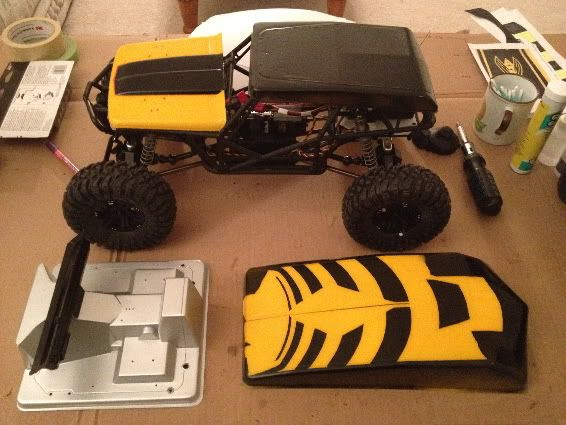 ...then four light coats of yellow, with a finishing coat of white... 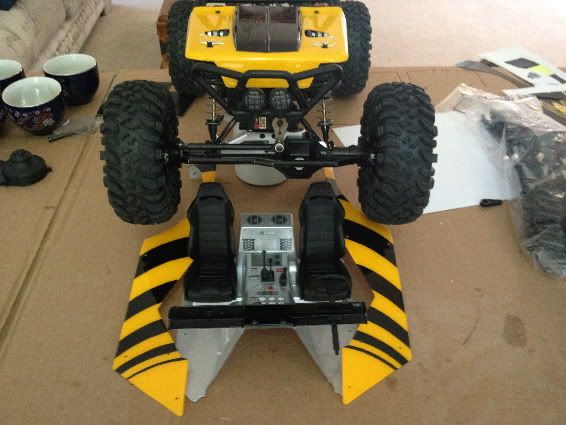 ...a full afternoon of creative cutting... 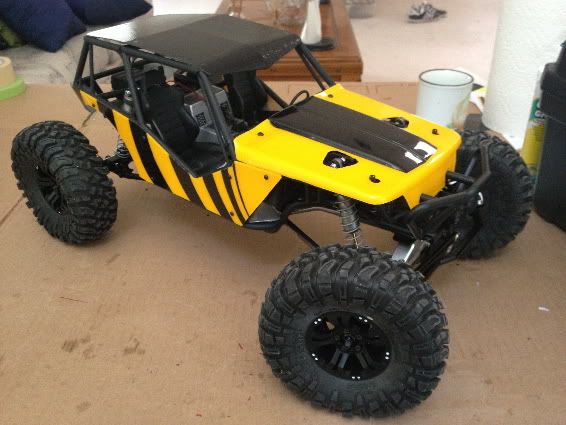 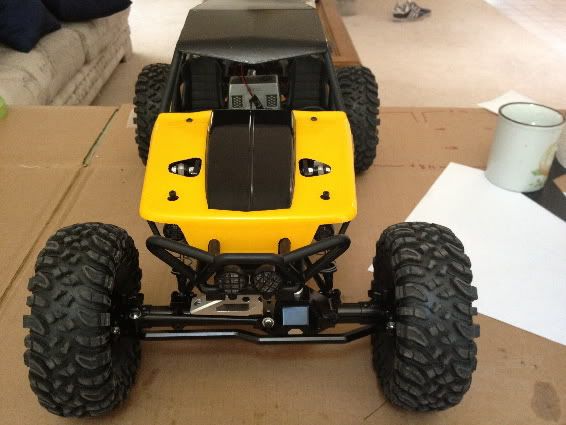 ...Add some decals...and We...ArE... 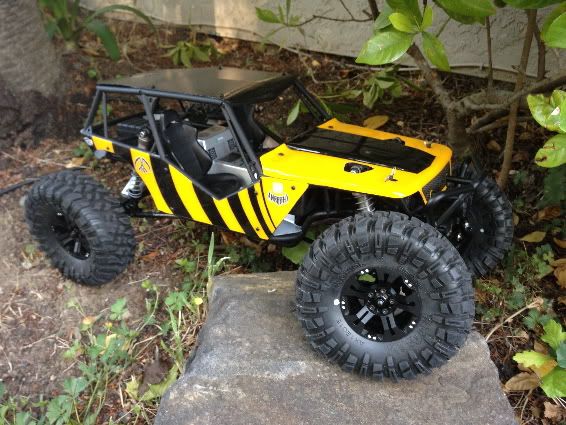 ...DONE!!! BTW, that is the only rock in my entire yard. Yeah, the animal print looks a little 80's hair metal \m/ but, I'm really pleased at how it all came out. |
|
| |
|
05-16-2012, 08:24 PM
| #25 |
| Newbie Join Date: Jan 2012 Location: in the rocks
Posts: 47
|
Man that is a good looking car. What did you use to hold the hood down with? Looks like a body pin in the pictures. Thanks |
|
| |
|
05-16-2012, 09:49 PM
| #26 | |
| Newbie Join Date: Apr 2012 Location: NorCal
Posts: 42
| Quote:
If there's one thing I'm not 100% happy with, it's that hood. I thought I did my best to mark out my holes, but once I attached the hinge bolts the pins did not line up. I then used a body reamer to enlarge the holes; no dice, just made a bigger mess. I think the problem lies in the hinges themselves, they are just little wire clamps, I'll try screwing with them to see if I can get a better result. I'll snap some close ups when I get a chance. | |
|
| |
|
05-19-2012, 08:44 PM
| #27 |
| Quarry Creeper Join Date: Nov 2009 Location: Vacaville
Posts: 259
|
I had a chance to play with Yellow Jacket today.... nice rig! Here are a couple action shots....   And a couple poser shots with creeper rubber.....   |
|
| |
|
05-19-2012, 11:54 PM
| #28 |
| Quarry Creeper Join Date: Sep 2010 Location: t(._.t)
Posts: 465
|
this truck is great looking itself, but i think it would look the best if you did the rear cage mod to it. |
|
| |
|
05-20-2012, 06:07 PM
| #29 | |
| Newbie Join Date: Jan 2012 Location: in the rocks
Posts: 47
| Quote:
| |
|
| |
|
05-20-2012, 10:54 PM
| #30 | |
| Rock Crawler Join Date: Jul 2009 Location: greeley
Posts: 545
| Quote:
To complete the Muscle car them Vintage LJN 8" WWF Macho Man Randy Savage Action Figure WWE Wrestling | eBay and use somel model paint for jeans and a concert shirt. | |
|
| |
|
05-20-2012, 11:15 PM
| #31 |
| I wanna be Dave Join Date: Aug 2011 Location: Burque
Posts: 3,805
|
Usually not a fan of yellow but that is one sick paint job. Very nice |
|
| |
|
05-21-2012, 06:22 AM
| #32 | |
| Newbie Join Date: Apr 2012 Location: NorCal
Posts: 42
| Quote:
| |
|
| |
|
05-21-2012, 08:18 AM
| #33 | |
| Newbie Join Date: Apr 2012 Location: NorCal
Posts: 42
| Quote:
| |
|
| |
|
05-21-2012, 08:40 AM
| #34 |
| Pebble Pounder Join Date: Mar 2012 Location: Visalia
Posts: 149
|
Sweet lord, that's one nice wraith. Inspirational work indeed.
|
|
| |
|
05-26-2012, 04:41 PM
| #35 |
| Newbie Join Date: Apr 2012 Location: NorCal
Posts: 42
|
Thanks again for the great comments. Finally had some quality time off and found an interesting rock pile nearby using Google Maps. 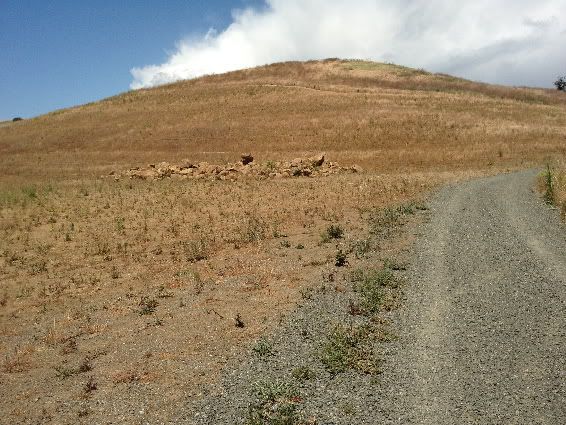  The pile was right off the road, next to a residential area, no fence and no keep-out signs. Upon closer examination, this location might be a little too technical for a 1/10th scale rig (Hell, I had a hard time on foot, there's some real ankle snappers in that pile). But there were a few nice rocks with a couple of cool sections. Let's see if the YellowJacket can crawl... 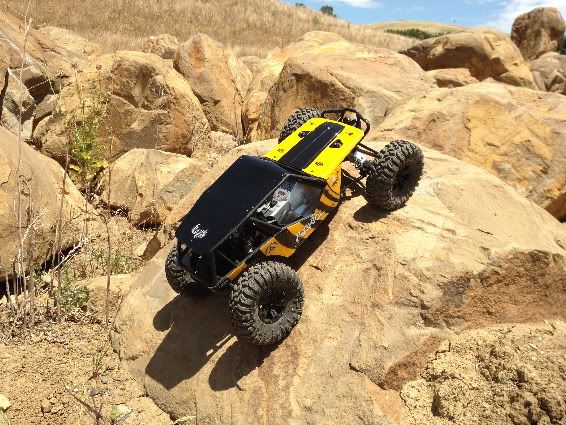 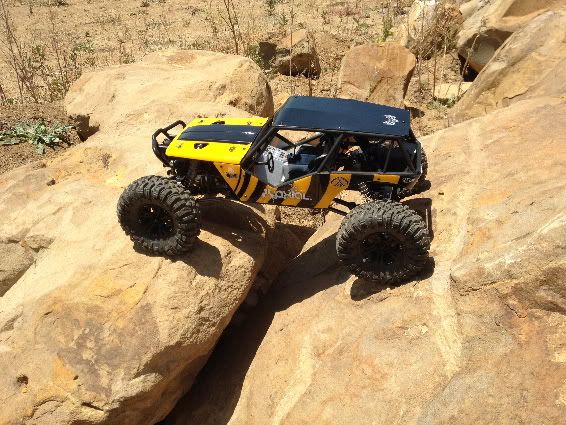 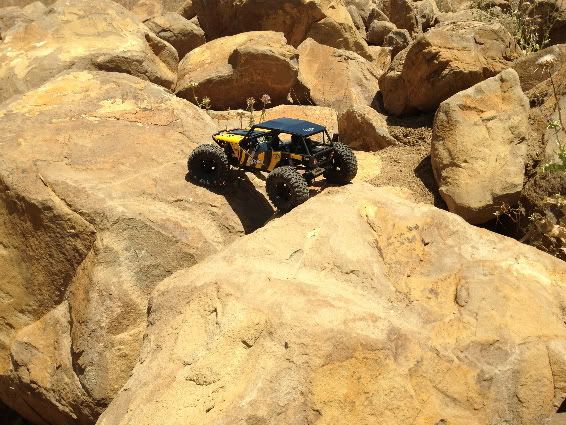 Yep! 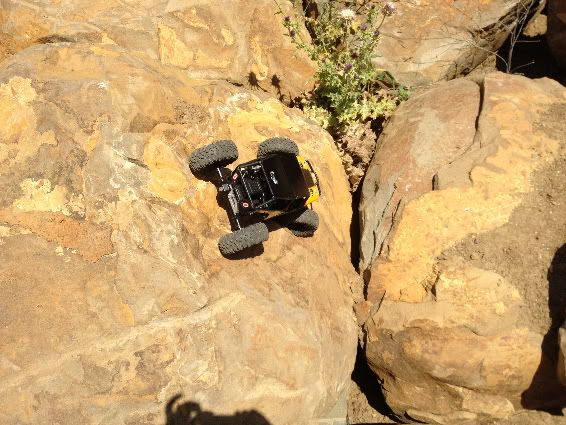 Drag brake works too 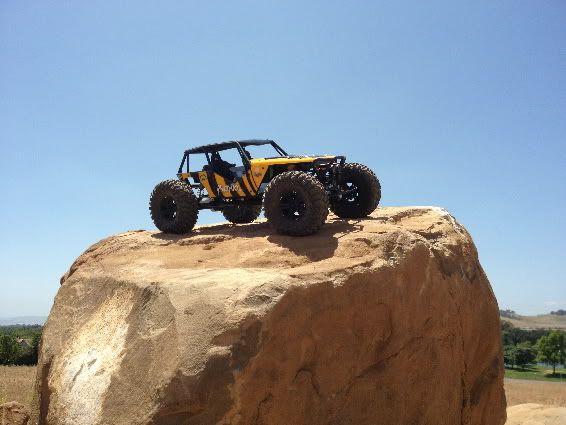 One final poser shot to finish out the day. All in all, it was a pretty nice test of all of my hard work. I need to tighten the slipper clutch a little bit, swap out the 9t pinion for a 12t, maybe throw some weights in the front wheels and I think my ride height may be a little too low (constantly snagging on the skid plate) I may have to flip the lower link mounts on the axles back around to gain back some clearance. |
|
| |
|
05-26-2012, 04:53 PM
| #36 |
| Quarry Creeper Join Date: Nov 2009 Location: Vacaville
Posts: 259
|
OK I give up.... where did you find that pile? Pena Adobe? Last edited by HRDROKN; 05-26-2012 at 04:56 PM. |
|
| |
|
05-26-2012, 05:01 PM
| #37 |
| Newbie Join Date: Apr 2012 Location: NorCal
Posts: 42
| |
|
| |
|
08-03-2013, 08:44 AM
| #38 |
| Pebble Pounder Join Date: Jun 2013 Location: Greenbrier
Posts: 166
|
Killer paint job. Do you have any updates on this rig? How do you like the 35t motor?
|
|
| |
|
08-03-2013, 09:11 AM
| #39 |
| Quarry Creeper Join Date: Aug 2012 Location: Melbourne
Posts: 236
|
Great thread mate and love the finished product! How are you liking your wheels? |
|
| |
 |
| Tags |
| axial, build, kit, wraith, yellowjacket |
 Project: YellowJacket - Similar Threads
 | ||||
| Thread | Thread Starter | Forum | Replies | Last Post |
| new project | BlazinKreeper | Arizona | 13 | 04-10-2008 11:14 PM |
| my next project | to-fast-4-u | Chit Chat | 10 | 10-24-2005 07:15 PM |
| |


 Linear Mode


