| |
| |||||||
 |
| | LinkBack | Thread Tools | Display Modes |
 04-06-2014, 03:27 PM
| #1 |
| Newbie Join Date: Feb 2014 Location: Greenville
Posts: 25
|
This isn't quite a build thread, because its an RTR. However, I am posting various mods I am doing to it. I bought the Poison Spyder Wraith for two reasons: 1, I like the way it looks and 2, I wanted to drive sooner rather than later. I own a 1:1 Jeep TJ on 33's, and don't get to go wheeling as often as I want, so the RC is a good substitute. Some photos in stock form. 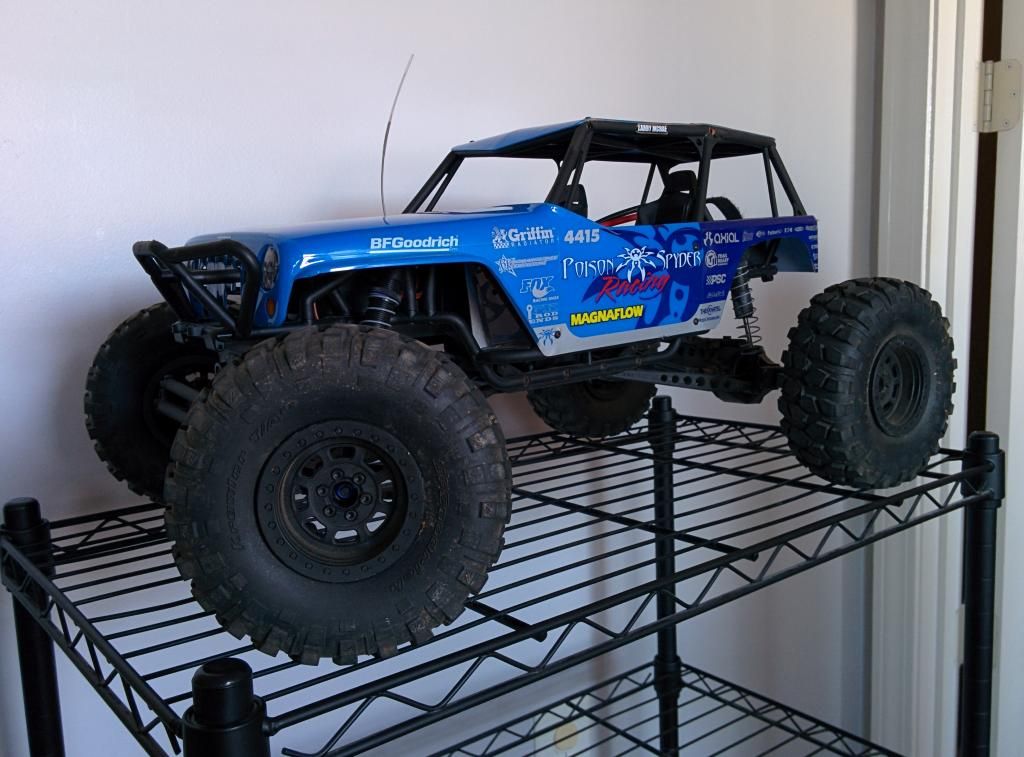 I added a Black Series Sandtrooper as a driver. 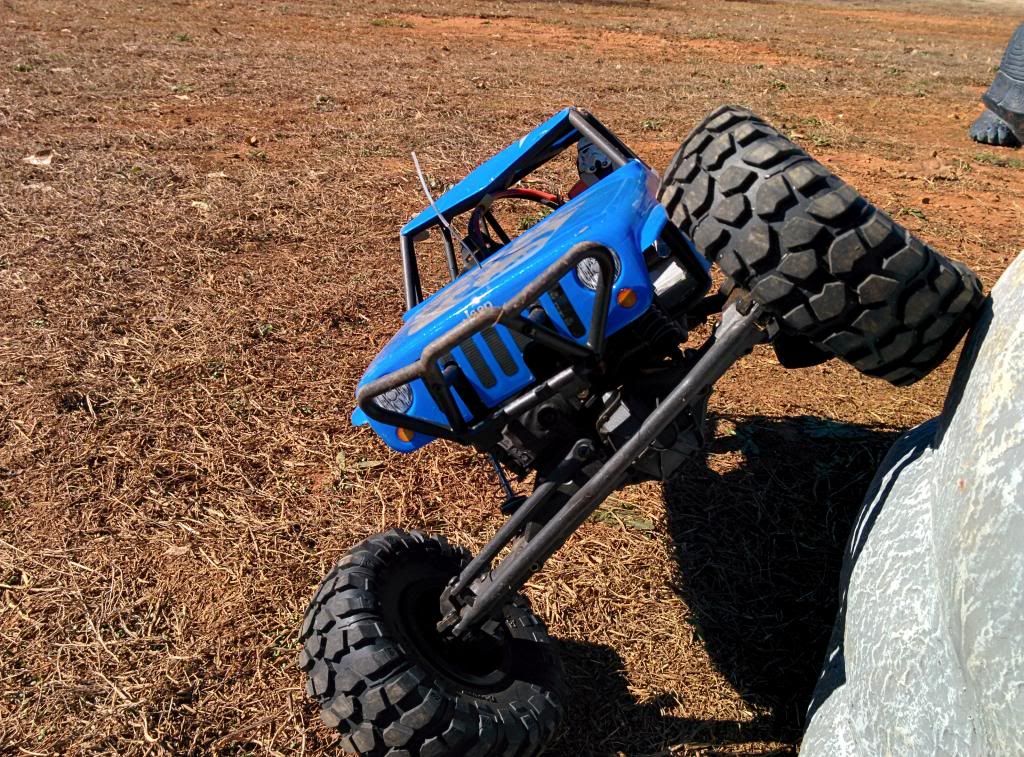 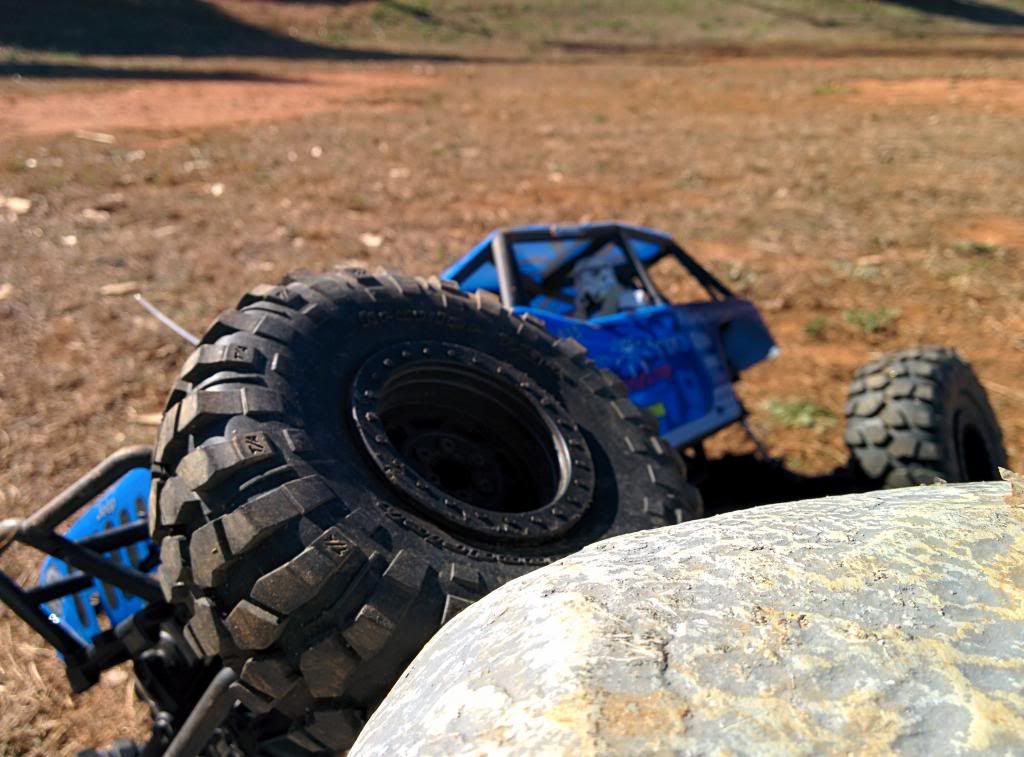 I will be updating the parts list as I add parts. I will list part numbers for the parts to help others hopefully find them easier. Parts list: Misc:
Battery Relocation/ESC in box: Hood Hinge Mod:
I broke the stock hubs after a few weeks of driving, so upgraded to the Axial hex and Vanquish SLW 475 Hubs. I also stripped the stock servo arm, so upgraded to the Robitronic arm. I installed the Axial Universal Front Shafts as recomended by Harley in his Poison Spyder video series. Last edited by fsSnowboard; 04-13-2014 at 03:29 PM. |

|  |
| Sponsored Links | |
| | |
|
04-06-2014, 03:28 PM
| #2 |
| Newbie Join Date: Feb 2014 Location: Greenville
Posts: 25
| Battery Relocation Mod I just finished relocating my battery to the front of my wraith. I used a Radio Shack 4x2x1 Project Enclosure to house the ESC and in the future a BEC. I cut a hole in the end of the project box to mount a cut down 3/4" sprinkler connector from the hardware store. 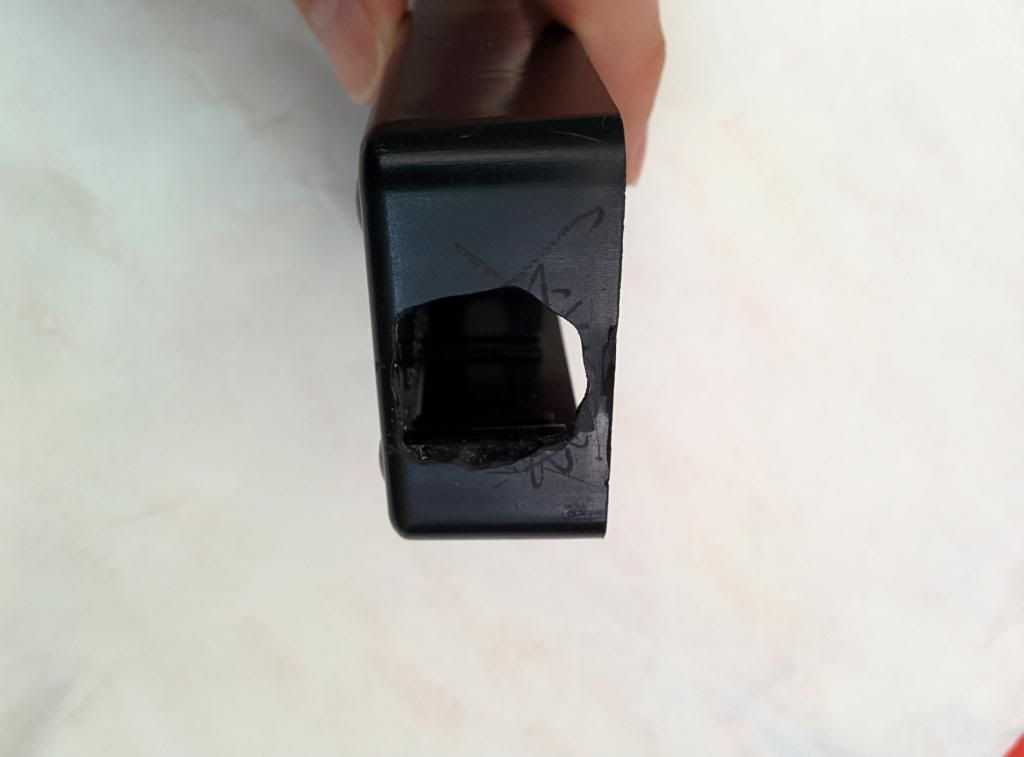 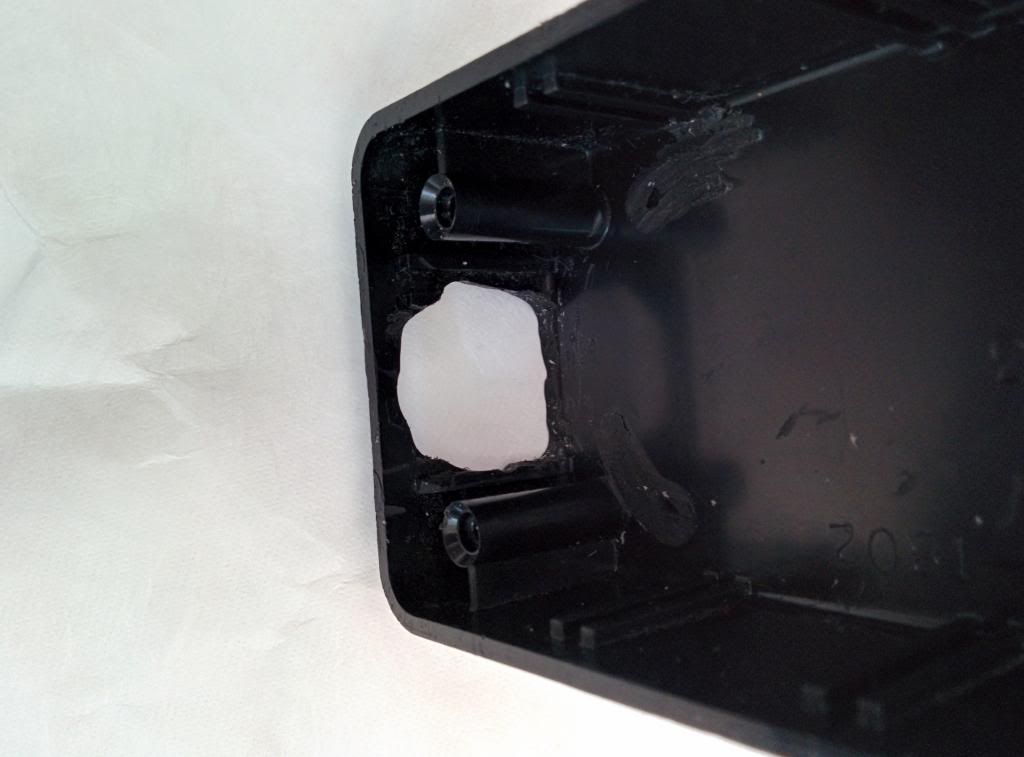 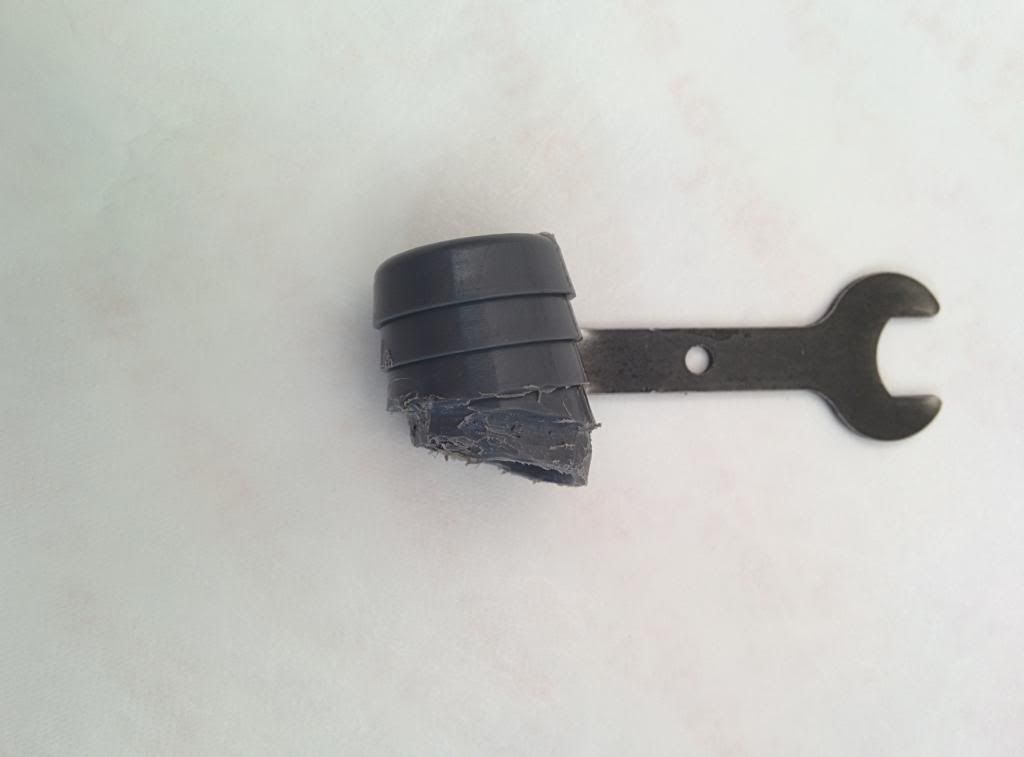 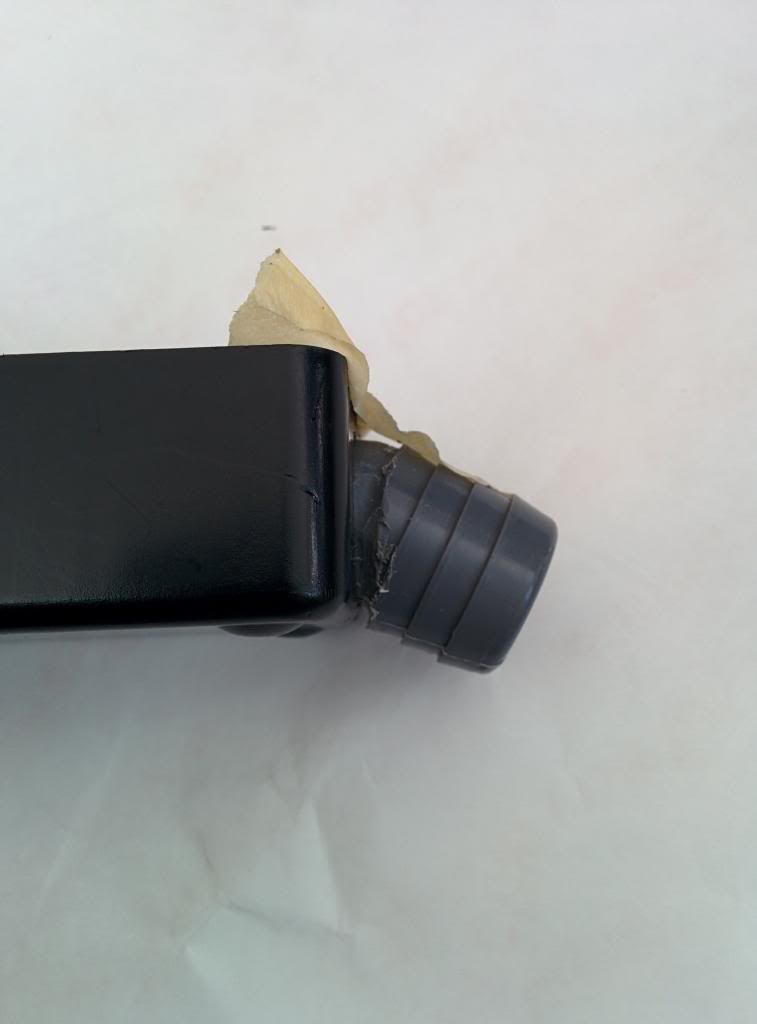 I then used some 5 minute two part epoxy to attach the connector to the box. I used masking tape to hold the connector in position, and to keep the epoxy where I wanted it, then just filled it in and let it cure. [i forgot to take a picture here]. I cut and tilted the connector down so that I can shove the project box all the way against the plastic of the wraith interior. This picture is after I sanded it down with a Dremel.  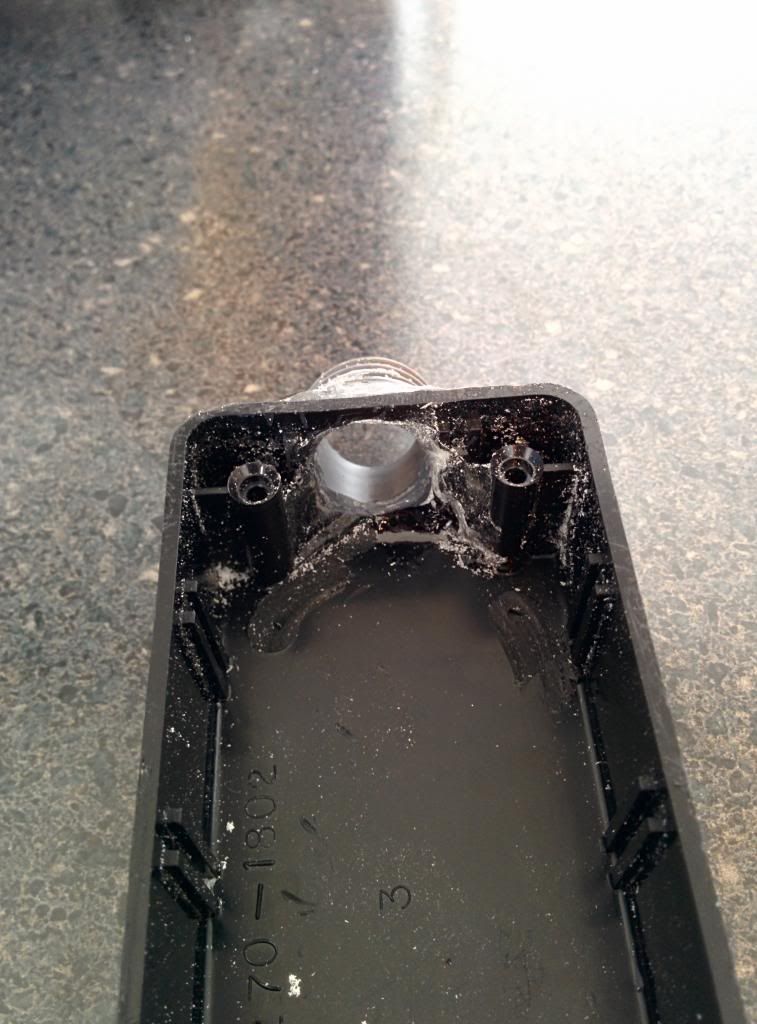 I then shot it black with some plastic spray paint I had. 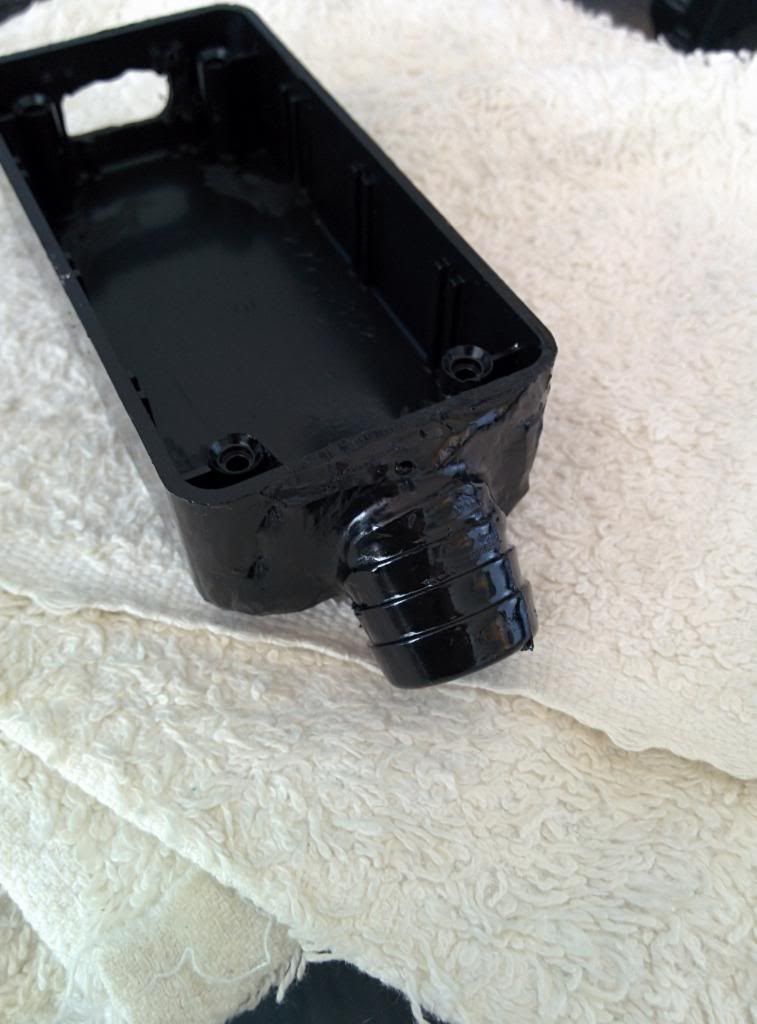 With the box installed. [I forgot to take a picture of the inside.] I used some Silicon Grease from the hardware store along the edge and screws to hopefully keep water out. I'm not going for complete water proof, because I don't plan on driving in really wet areas, but wanted to protected better than in the open. 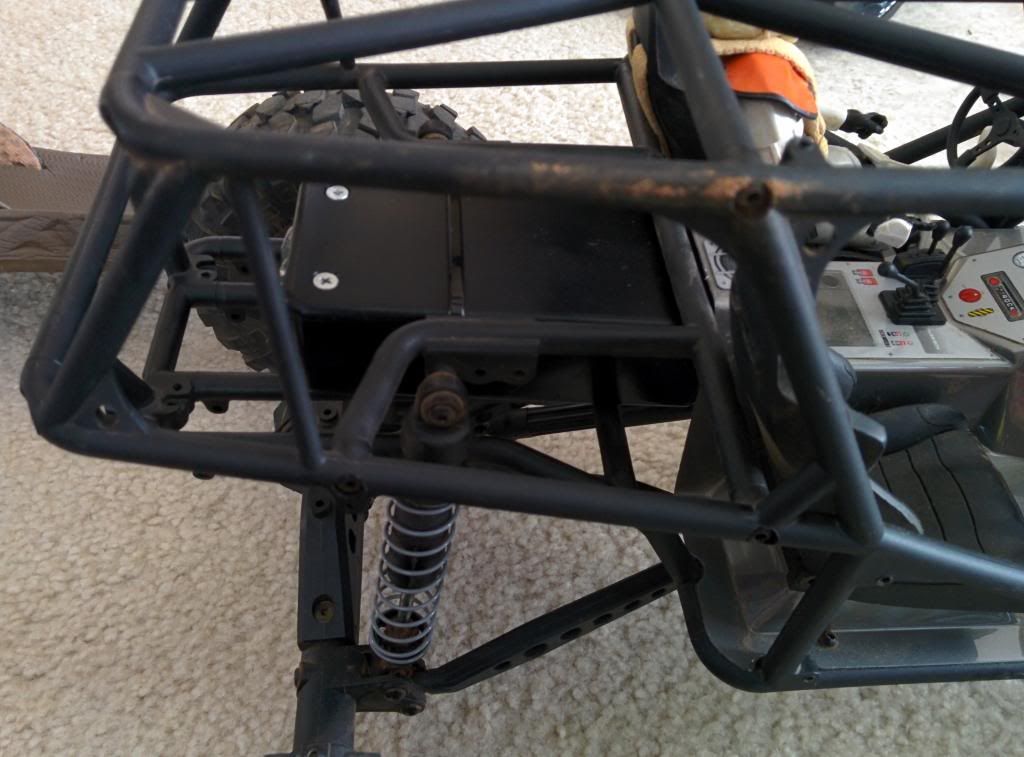 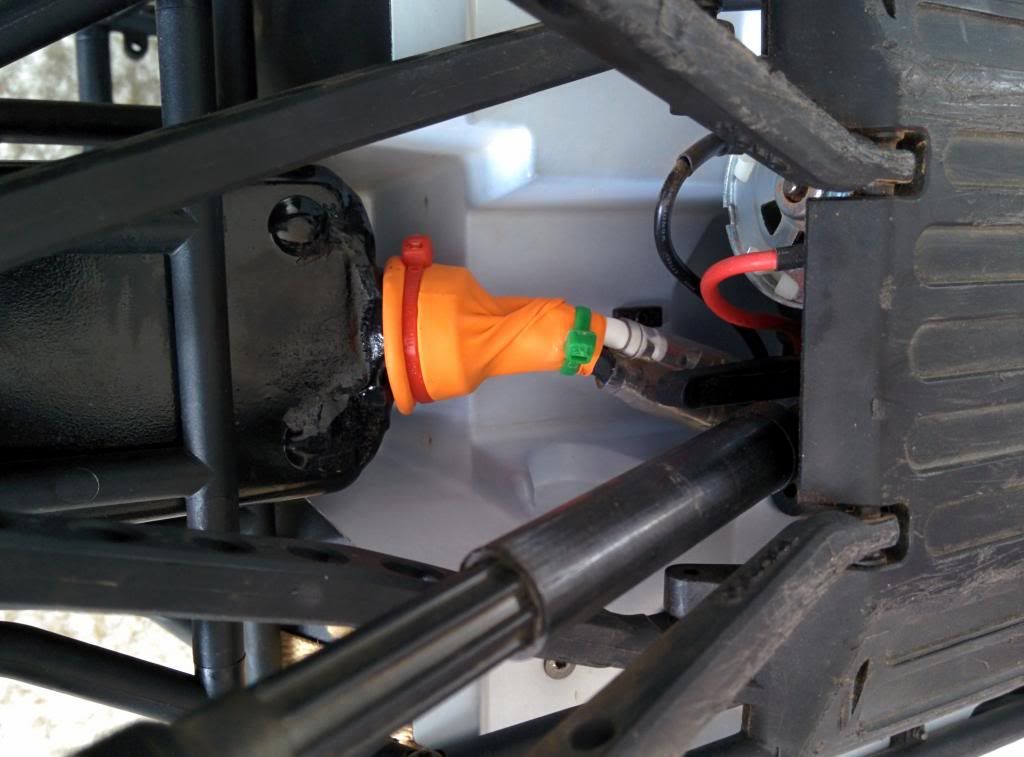 I then used the stock battery straps to mount the battery in the front. I ran all the wires up under the trans tunnel. 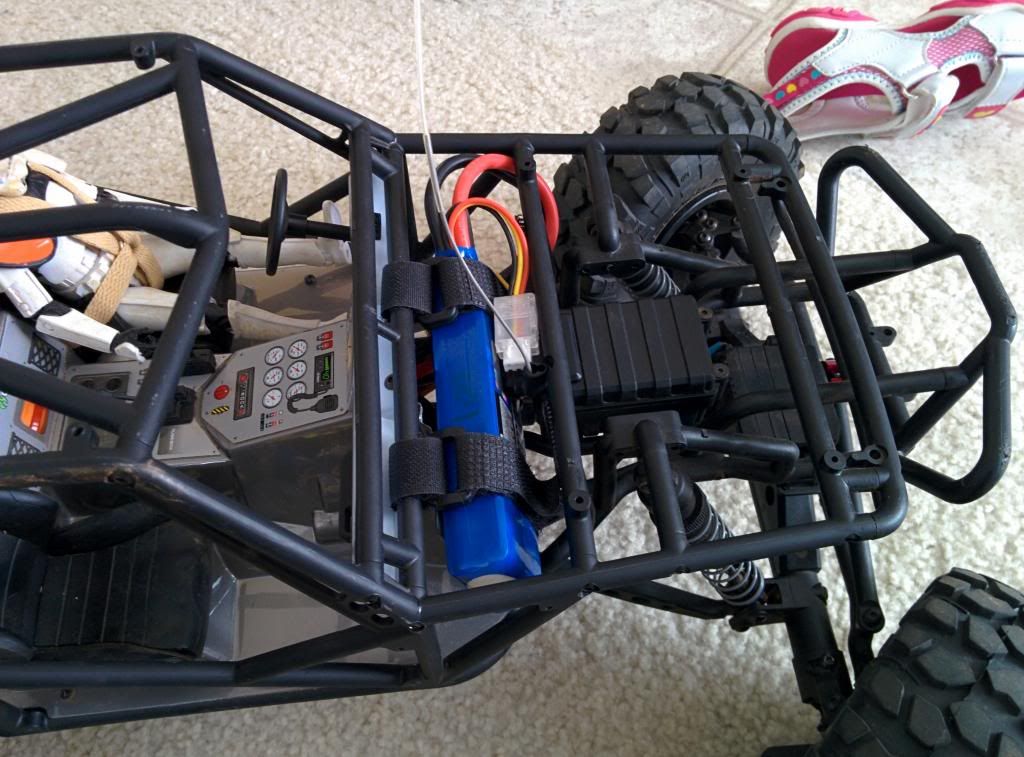 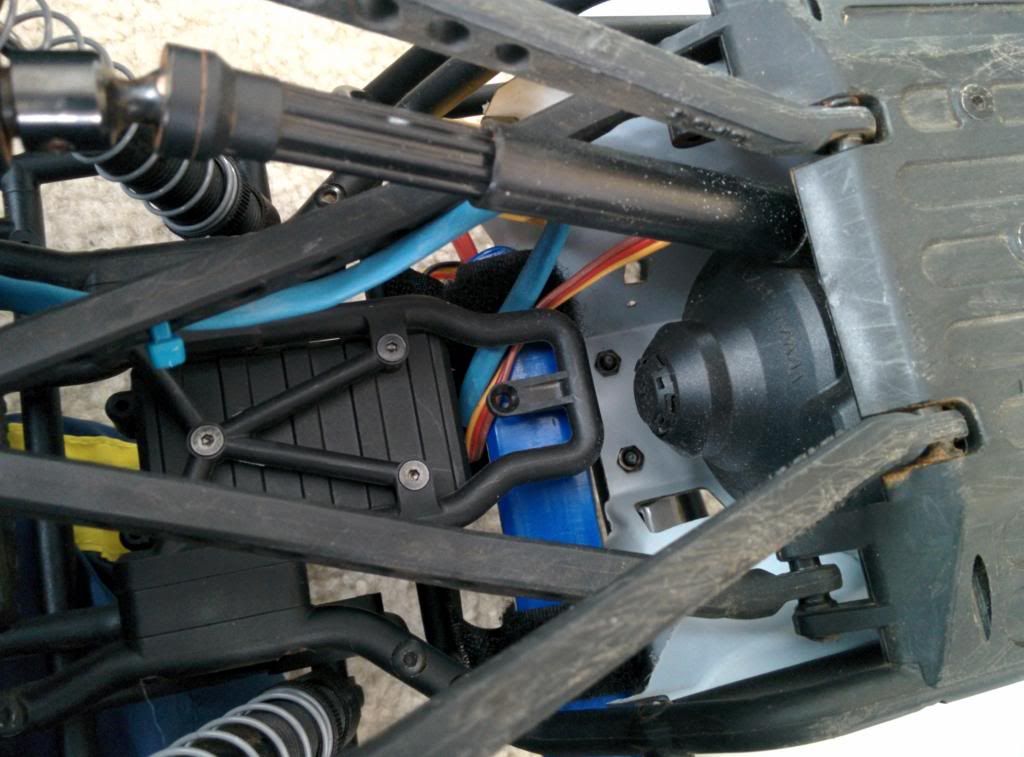 Now I need to cut the body/hood to get easier access at the battery. I am planning on some sort of hood pins. I haven't decided if I want to do 4 hood pins, or the hinge and hood pin mod. Last edited by fsSnowboard; 04-06-2014 at 03:52 PM. |
|
| |
|
04-07-2014, 02:55 PM
| #3 |
| Newbie Join Date: Nov 2008 Location: Post Falls
Posts: 23
|
Since I put my battery in the same spot, I got the hood hinge kit from CKRC, but in stead of using the posts with body pins I used some small circular Velcro pieces that had double sided sticky on the bottom of the hood and the flattest spot on the cage, toward the front. Just an idea for ya.
|
|
| |
|
04-07-2014, 09:36 PM
| #4 |
| Newbie Join Date: Feb 2014 Location: Greenville
Posts: 25
|
Thanks, I decided to get 2 hood pins and make some hinges from cable clamps. I got the wrong size cable clamps today so need to go back for slightly larger size. I also need to buy more body screws since the Poison Spyder only uses 3 screws on each side, but it looks like the normal wraith has alot more. This will prevent my body from flapping around in the front when I cut the hood off.
|
|
| |
|
04-12-2014, 07:05 AM
| #5 | |
| Newbie Join Date: Jun 2013 Location: Taylors
Posts: 28
| Quote:
| |
|
| |
|
04-13-2014, 03:25 PM
| #6 |
| Newbie Join Date: Feb 2014 Location: Greenville
Posts: 25
|
Thanks. I cut along the Poison Spyder hood body line and have spot for a couple screws using the normal Wraith locations. I noticed my body on one side is slightly lower than the other, so I'll fix that soon. I used 7/64 drill bit to drill out holes for the hood pins of the Traxxas 3727a Battery Hold Down Kit. I then used a 5mm socket to screw it in. 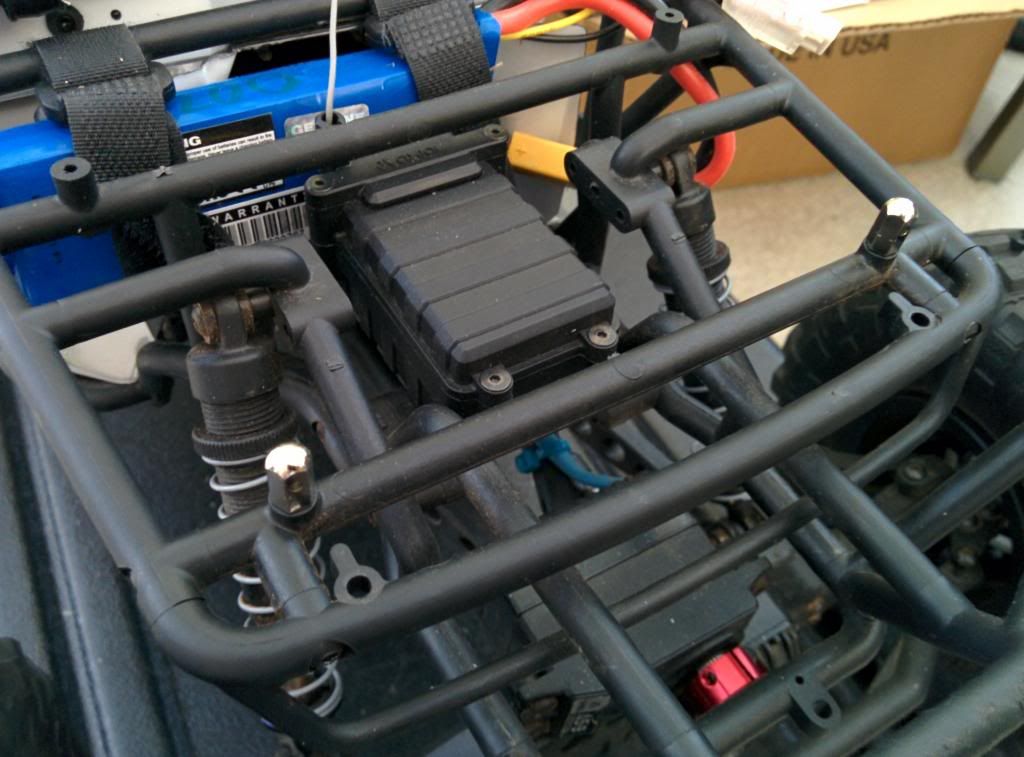 For the hinge, I used some 3/8" cable clamps that I drilled out a little bit to fit the M5-.8x10mm socket cap screws I used. I used an M5 washer on top of the body, and a M5 hex nut underneath to secure it. I probably could have used M4 hardware to prevent drilling out the cable clamps. I tried some 1/4" cable clamps, but they didn't fit quite right. 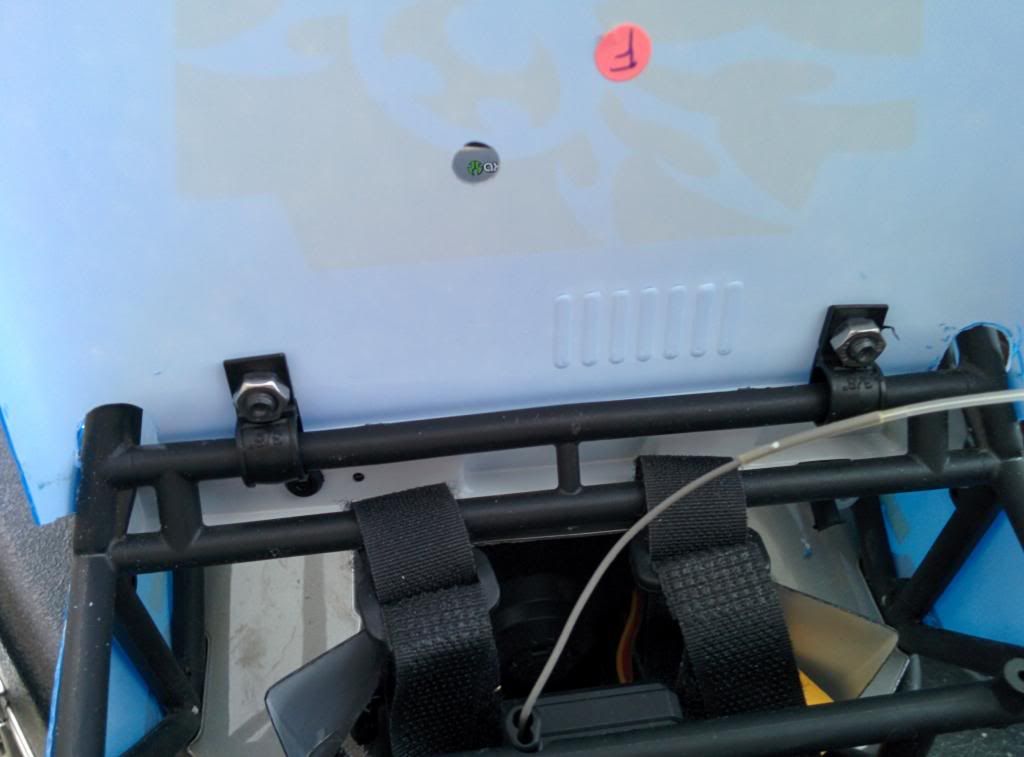 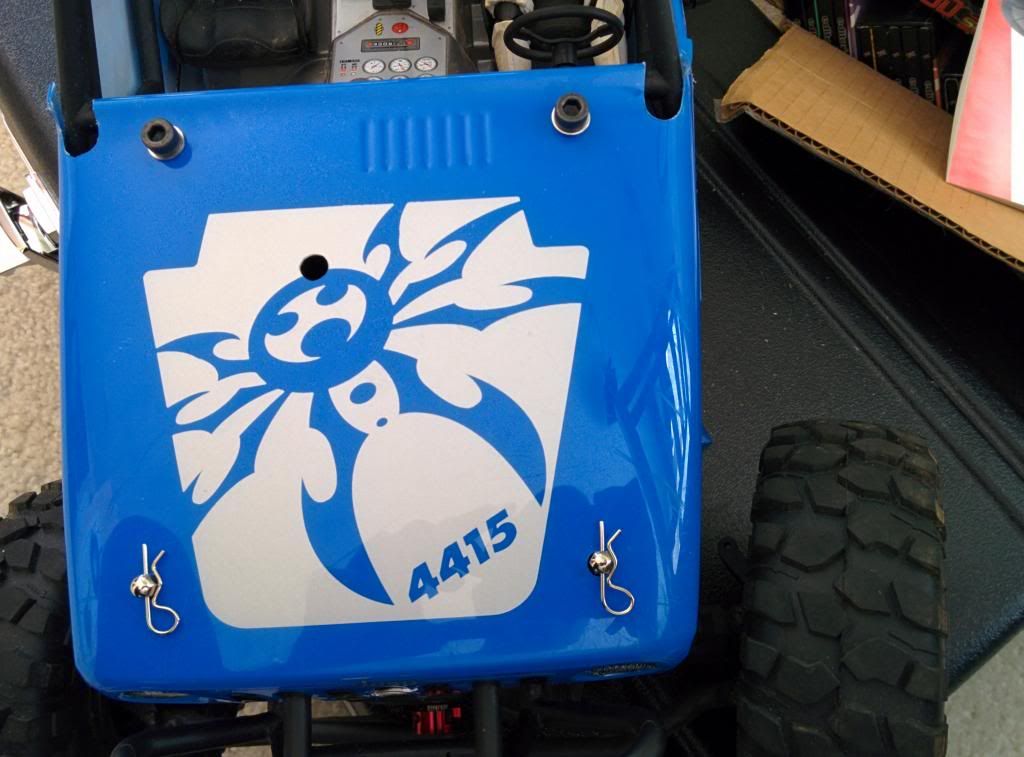 |
|
| |
|
06-19-2014, 07:25 AM
| #7 |
| Newbie Join Date: Feb 2014 Location: Greenville
Posts: 25
|
I went 1:1 offroading over the weekend at Uwharrie National Forest. One of the trails called Kodak Rock has been closed permanently. However, we walked to it, and I crawled it with my wraith. 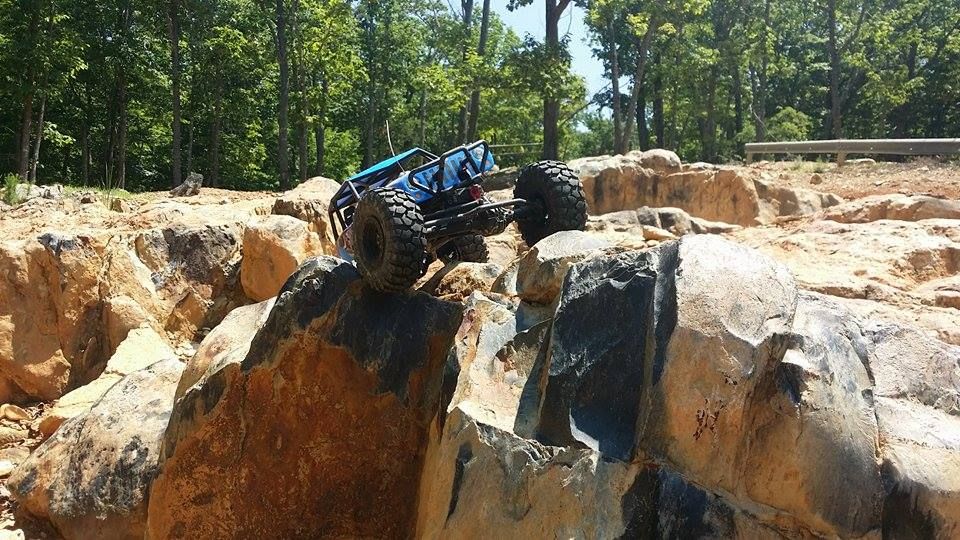 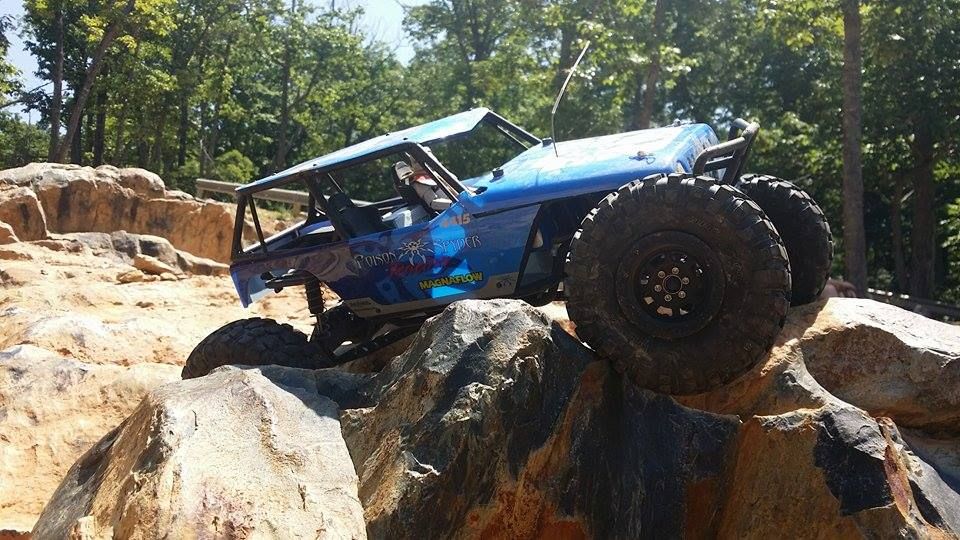 |
|
| |
|
06-19-2014, 03:16 PM
| #8 |
| Rock Crawler Join Date: May 2014 Location: Cluj-Napoca,Romania
Posts: 650
|
looking good,it will lok sweet with some more softer tyres
|
|
| |
|
08-09-2014, 12:43 AM
| #9 |
| Newbie Join Date: Jul 2014 Location: Calgary
Posts: 13
|
Yes! I'm in the same boat. I have a 1:1 crawler, and I don't usually wheel here I go down to moab or California. So I utilize my home time to crawl around with my wraith now! Poison spider looks good. I want that body
|
|
| |
|
08-09-2014, 08:55 PM
| #10 |
| Newbie  Join Date: Jun 2014 Location: Carleton
Posts: 34
|
Same here. I have a PS wraith. My 1/1 does not see the trails like I would want. So I use the RC.
|
|
| |
|
 fsSnowboard's Poison Spyder Wraith Mods - Similar Threads
 | ||||
| Thread | Thread Starter | Forum | Replies | Last Post |
| Poison Spyder Wraith | godofcable | Axial Wraith | 4 | 12-10-2013 01:41 PM |
| poison spyder wraith | Frakke | Videos! | 7 | 09-22-2013 07:56 AM |
| new poison spyder wraith | tnt-salvage | Axial Wraith | 20 | 07-07-2013 11:36 AM |
| |


 Linear Mode


