| | #1 |
| Newbie Join Date: Jul 2014 Location: Australia
Posts: 37
|
Recently sold the slash to a forum member because i really liked the sound of Axials new machine because the sound of a basher/rock racer struck a chord with me. Below is the story of the last 2 days (got it friday): First random suspension notes: The front has very little movement compared to the rear, and both front and rear shocks sound/feel as though they are not full of fluid, as you can hear the emulsion after the first pump of the suspension. The front is also heaps stiffer than the rear, but thats more than likely due to the lack of travel in the front. To me i dont understand how it all will work, but it does! 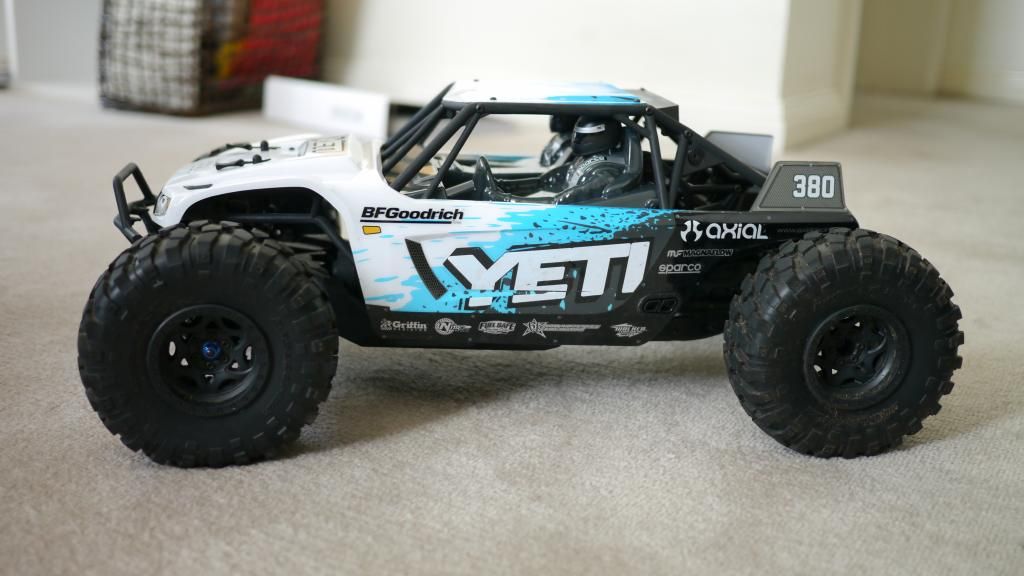 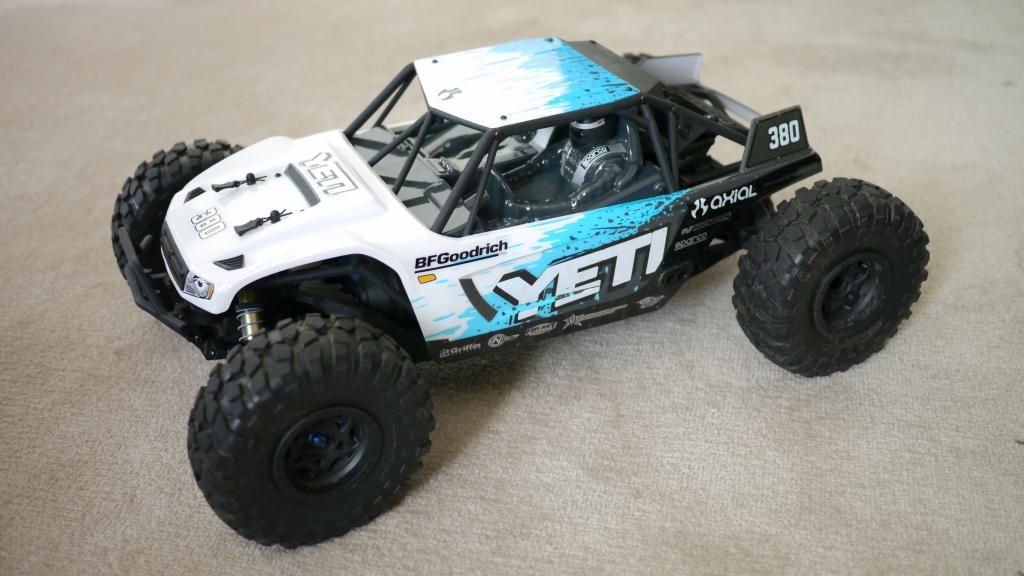 First up was swapping out the the deans for an XT60 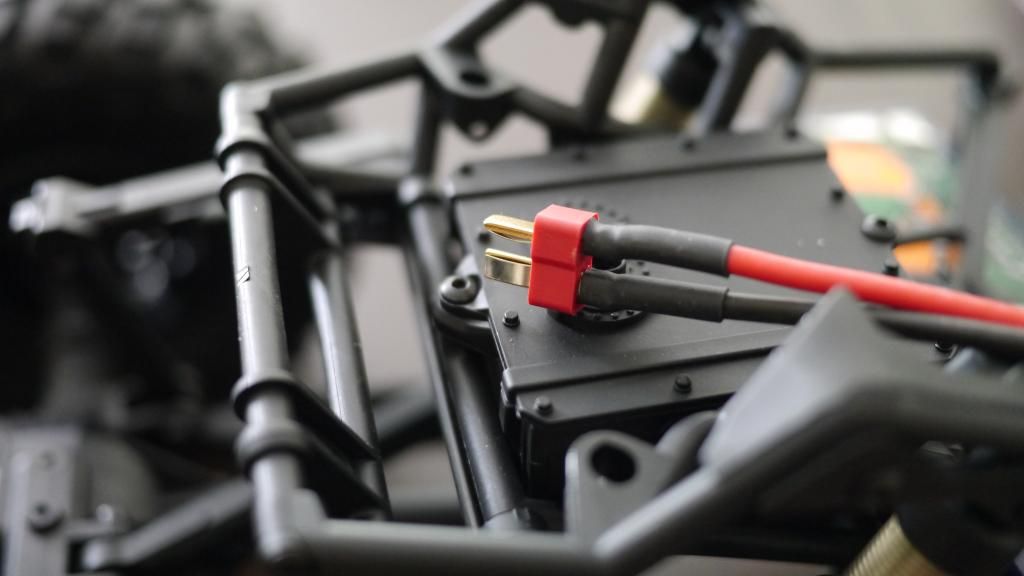 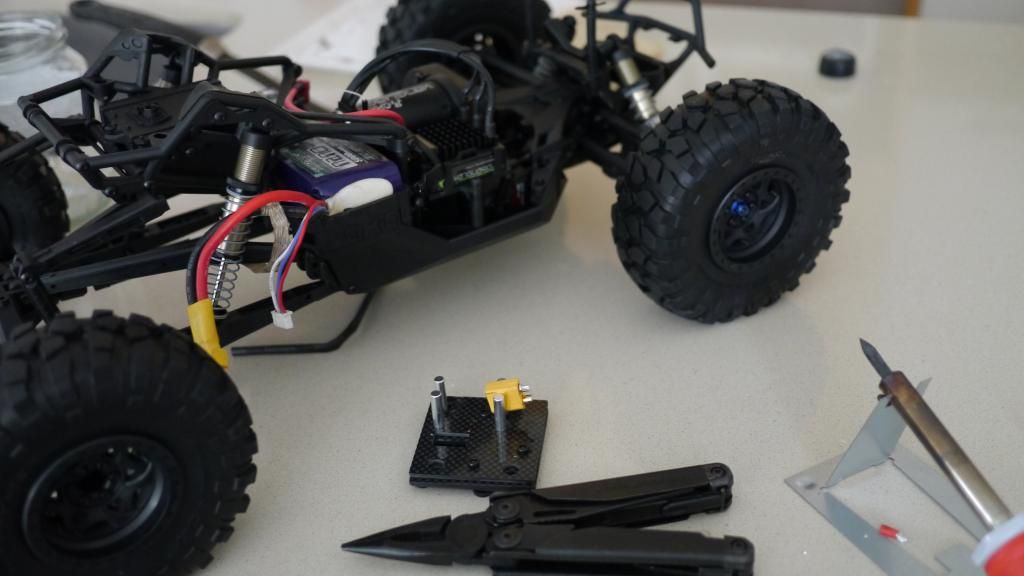 Next was the pre run check as advised by Axial 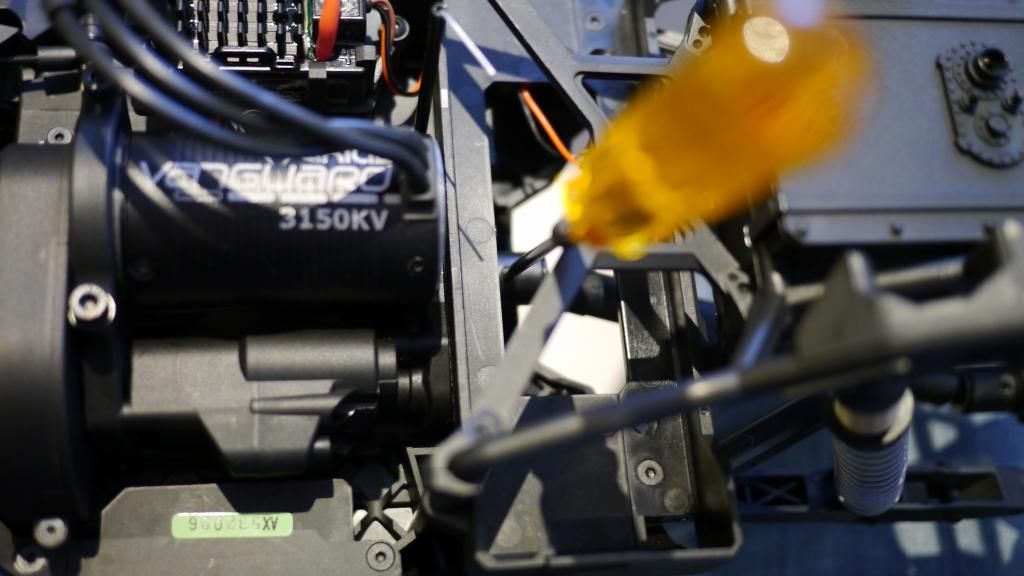 Stuffing around, i noticed that this buggy wasnt completely thought through when it was designed. Take for example the Exo front end - When fully compressed against the bump-stops, the front of the buggy is miles off the ground, and the rear is also a fair way off, but not as bad as the front For jumping and handling this is most certainly not ideal, with the buggy bottoming out if pushed, through flexing of the arms and tyres. When fitted with short course truck wheels, the car JUST bottoms-out.  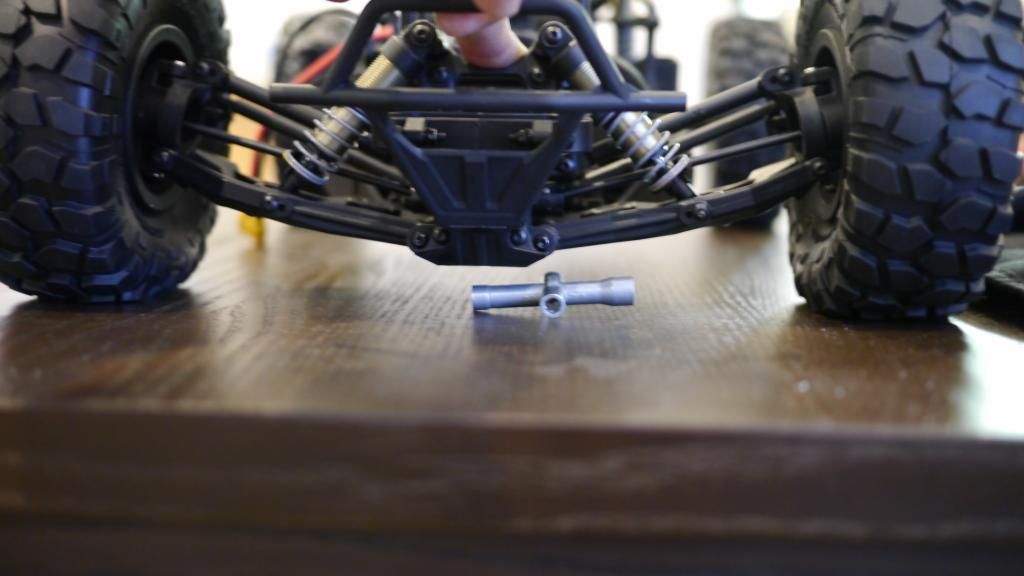 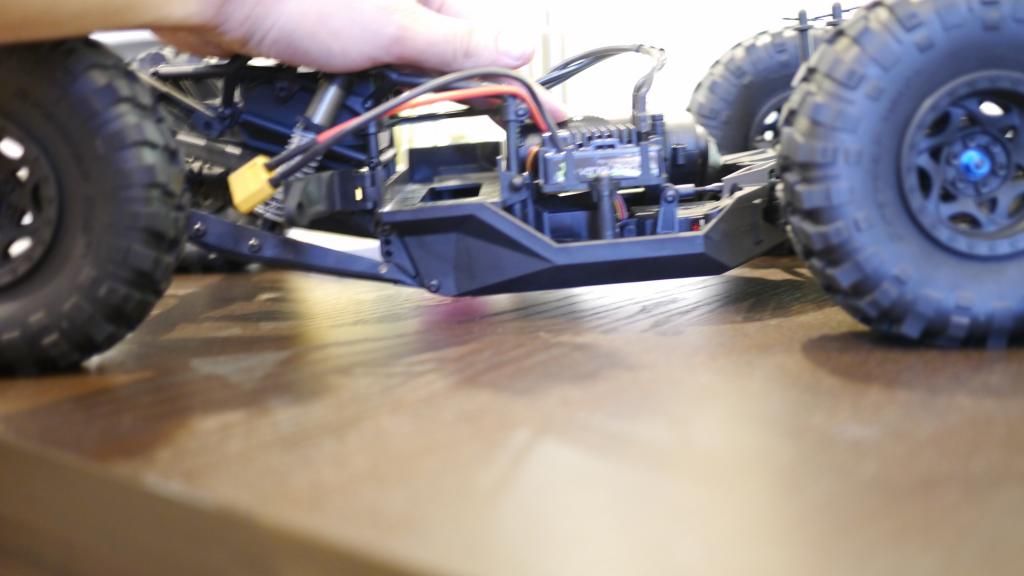 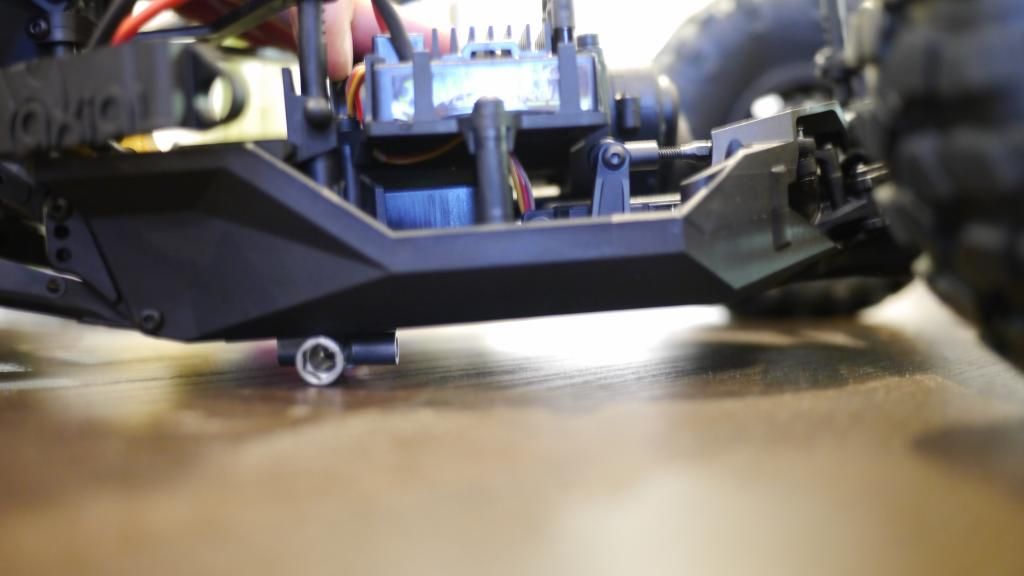 Some photos showing how the rear of the cage attaches and is allowed to pivot: 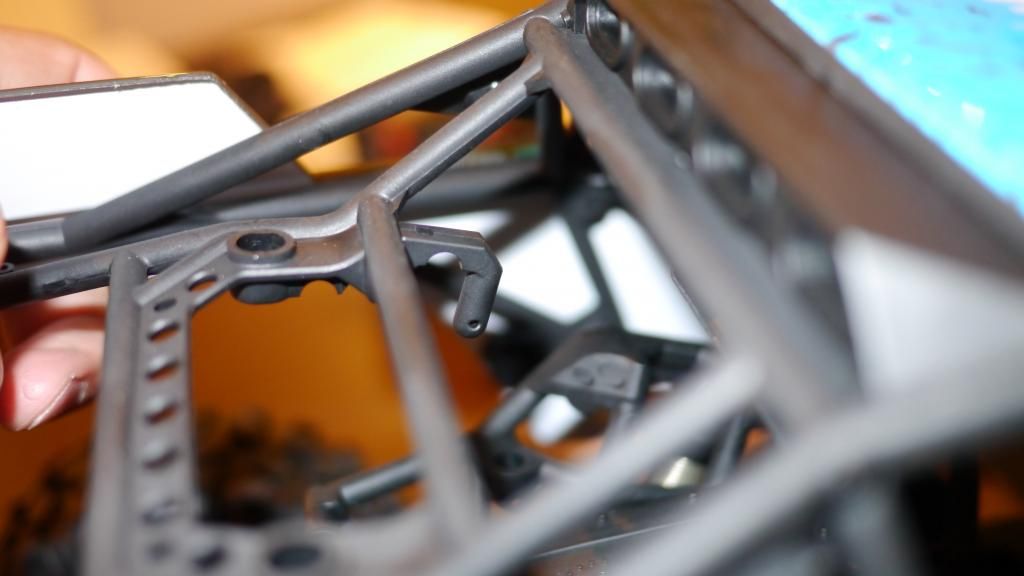 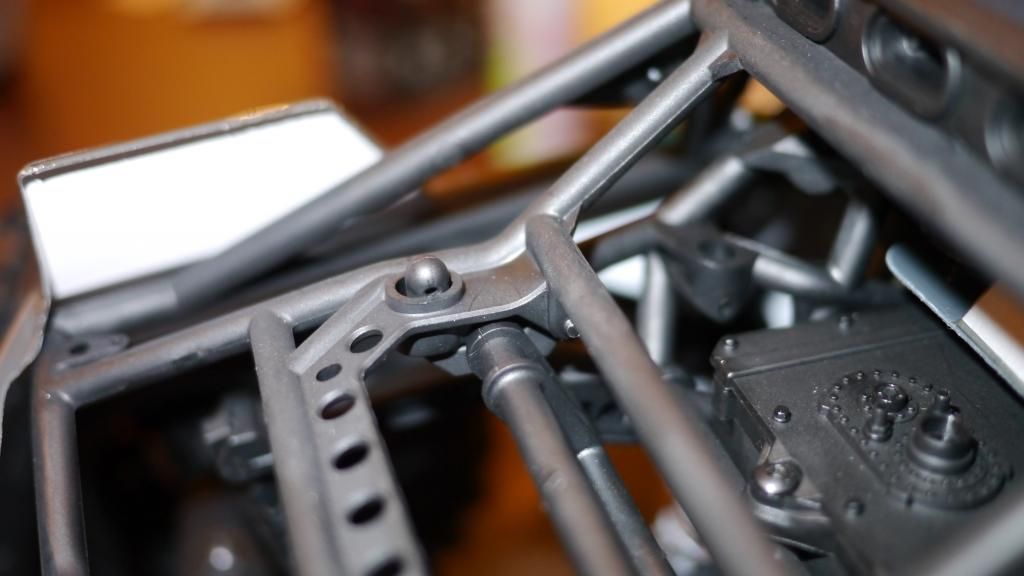 These pins held the cage in place, but they are the only 2 pins on the body with tabs, so i thought it smarter to leave them on the front instead of the rear, as the rears will stay put most of the time. 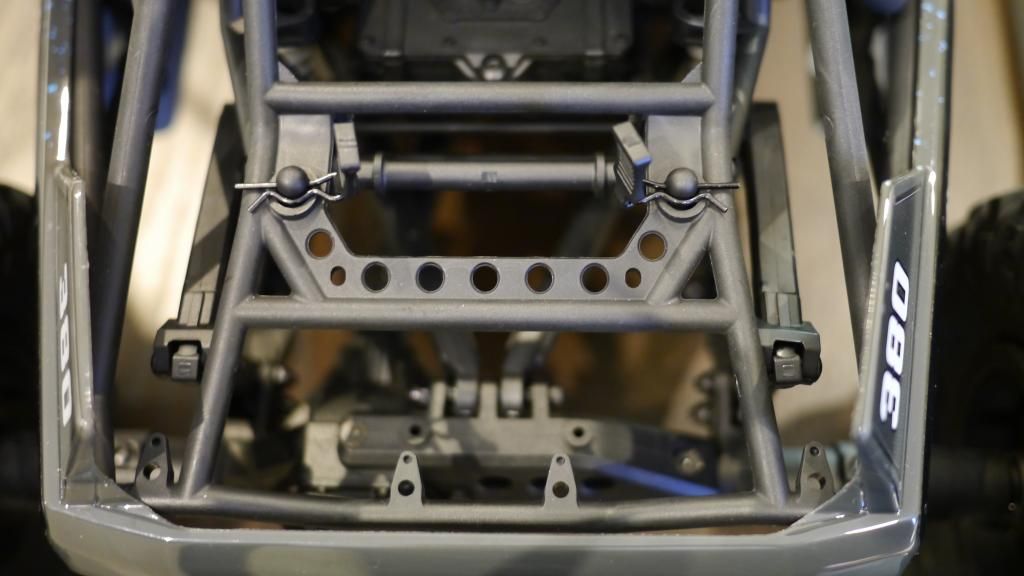 I noticed something a little annoying on the Yeti. The cage fouls the swaybar arms on both sides, and not even at full travel, the one at the LHS was the same: When i chucked the first battery into the car, i ran it off the ground first and noticed each wheel was wobbling a completely different way! I also noted how much flex the entire steering system has, and how weak the servo saver is - which cannot be adjusted. Also note just how ****ED the wheel alignment was out of the box! it was so far to the right that i ran out of trim trying to point the wheels straight! Its cool to see that for the bead lock wheels, Axial use steep-thread hex-cap head screws making them quick to remove. 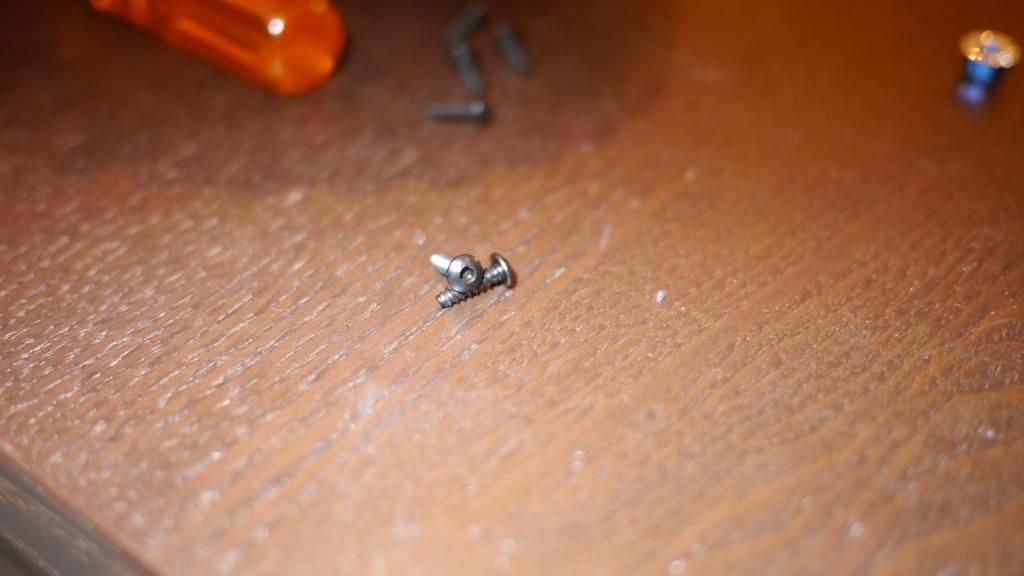 I pulled the wheels apart after the shit job the factory did, and reinstalled them with a much better and balanced result. 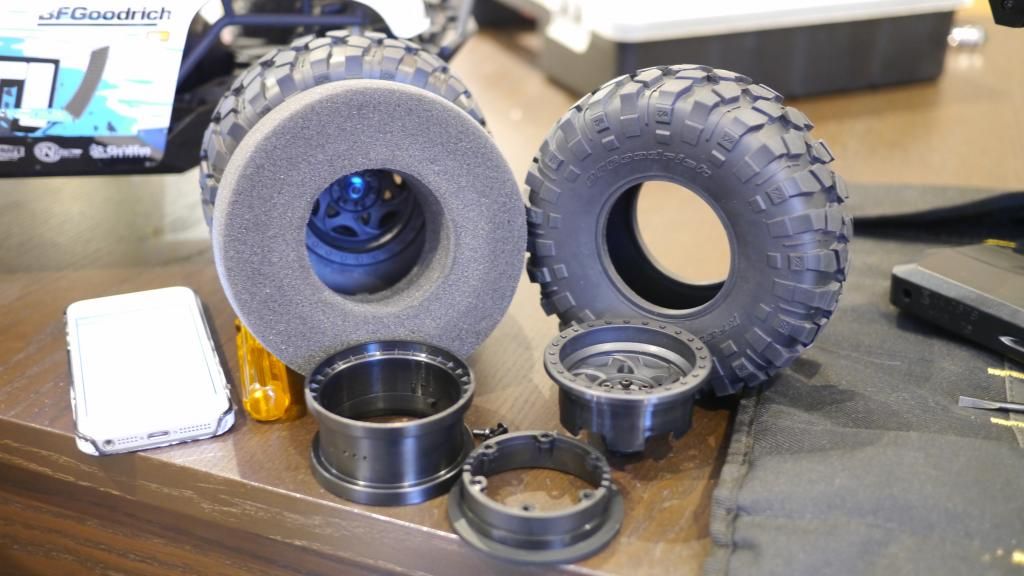 One thing i noted with the wheels, (and subsequently the rest of the car) is that the screws don't give you much indication on tightness. So you must be careful when you tighten screws on a Yeti not to over-tighten them when working on any part of the car!! 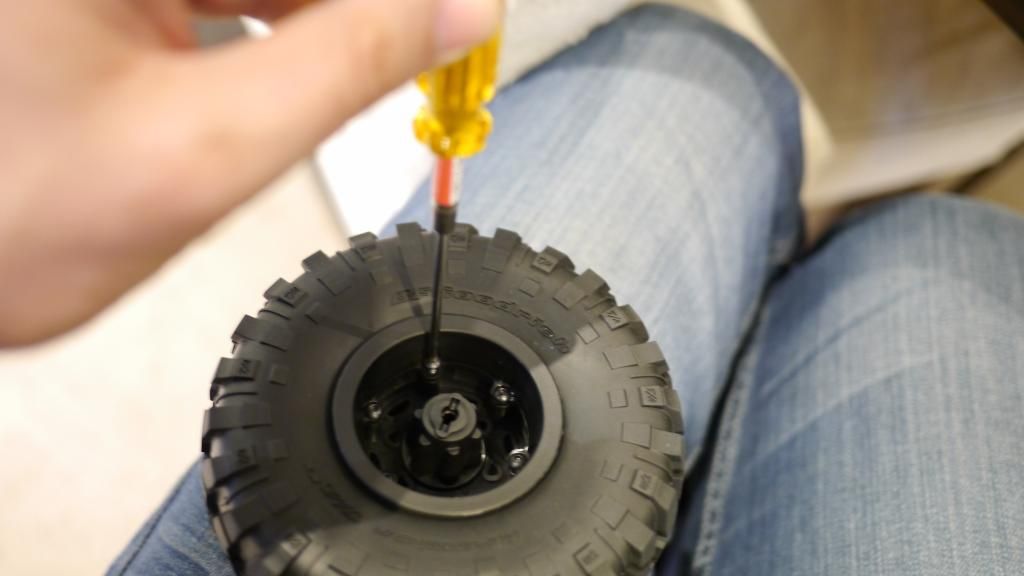 Just a look at the rear axle with wheel removed. Random useless note: the pin is 1mm shorter than a HPI Blitz pin. 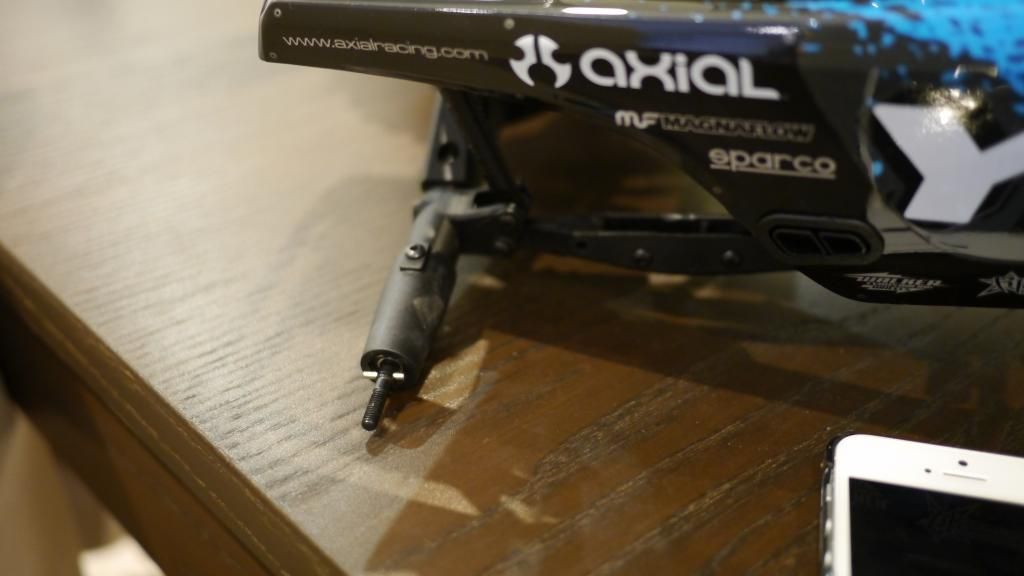 I had a waterproof Savox servo i purchased ages ago but was too big to install in my Blitz, so i thought id remove the factory Yeti servo and see if it'd fit. Bloody easy things to work on!! 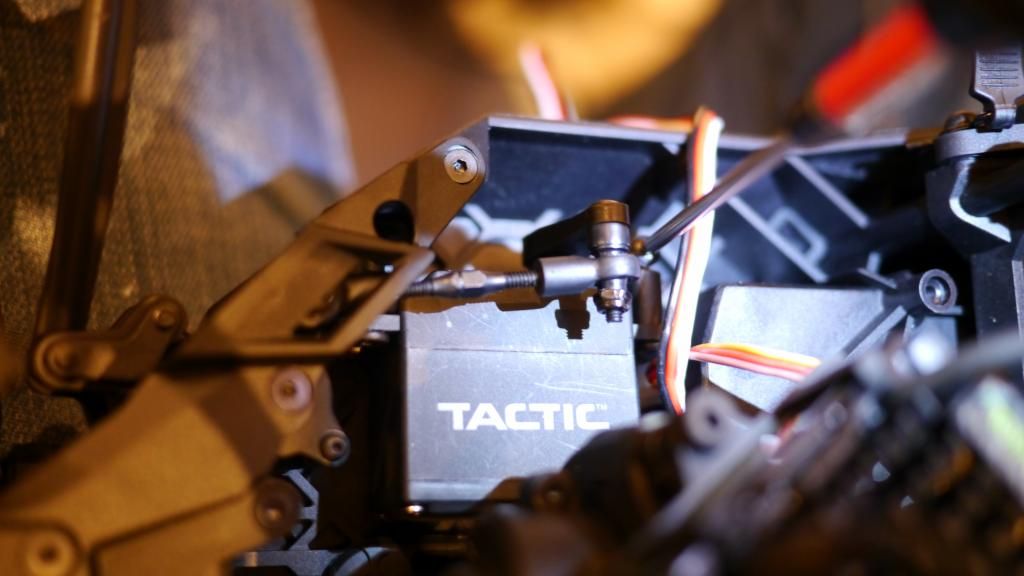 The Savox fitted like a glove, taking allllllll the servo space available in the yeti, to the mm. 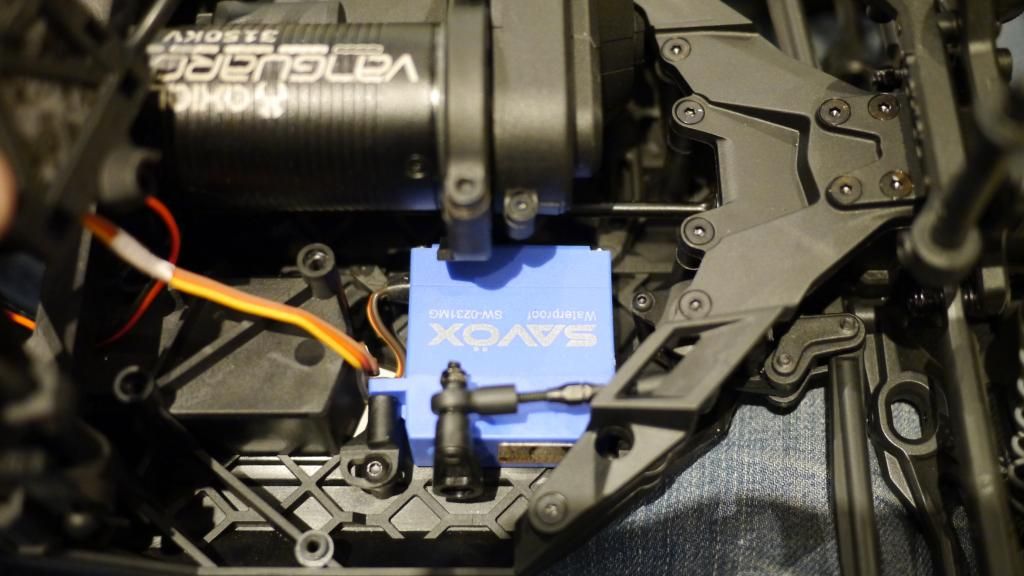 One of two issues i had was that a linkage nut was fouling against the servo tab by a few mm, so i filed it down a bit as you can see in the first pic and it was sweeeettt.  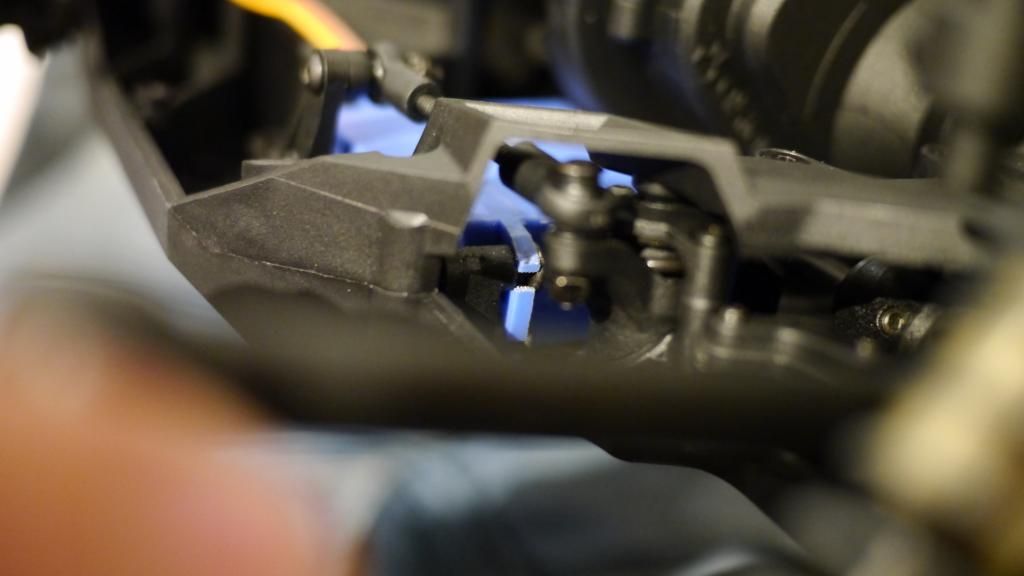 The Savox had WAAAAY more throw than the factory unit, so to prevent the Savox smashing the Yeti steering rack to pieces i had to remove a Futaba receiver from one of my other cars so i could have end point adjustment. I also took this opportunity to re-align the front wheels because the out of the box setup was so out of whack, i ran out of trim adjustment! 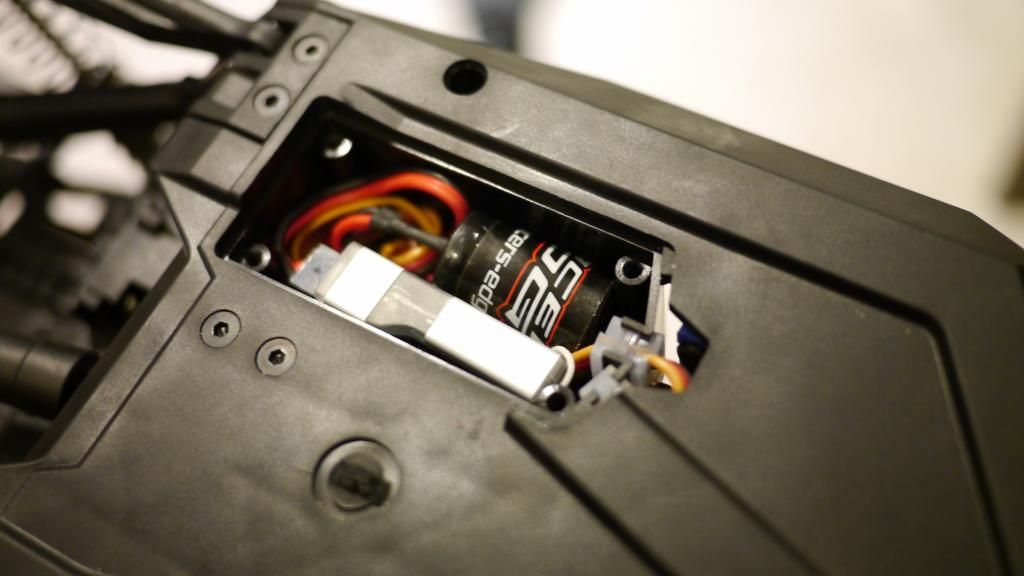 After all the above, i aligned the car and had it spot-on so 0 subtrim or trim was used and i took it out for a drift in the carpark. The first thing i noticed was it had the worst steering you have ever seen! I kept using it until the battery went flat. So i pulled the servo saver off and replaced it with a couple of bearings to lock it out. This proved to be a little annoying as it still allowed some play, so went the hybrid approach and used one bearing and the original spring. Worked perfect, but there is still weakness and flexing everywhere else in the steering rack setup. 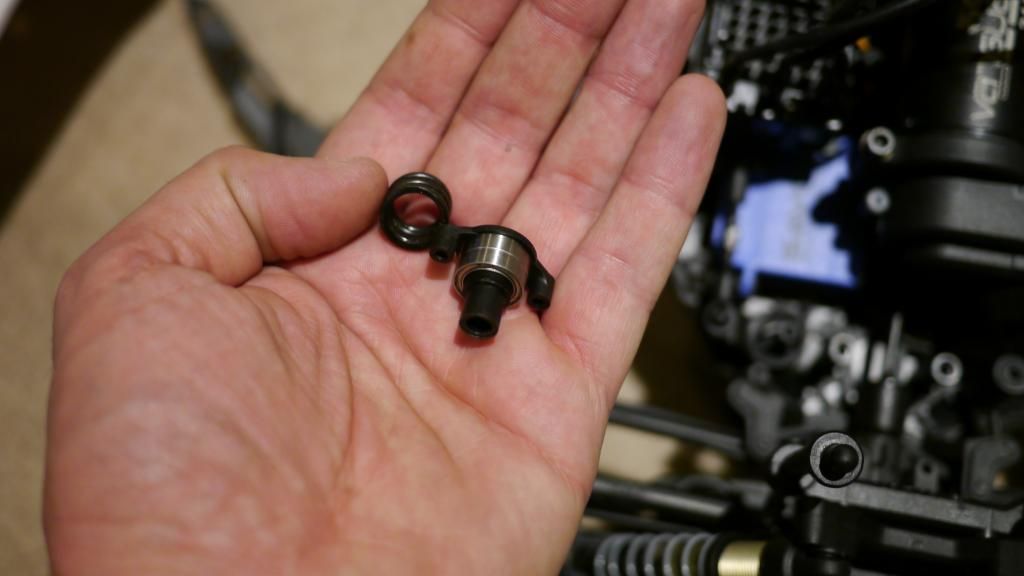 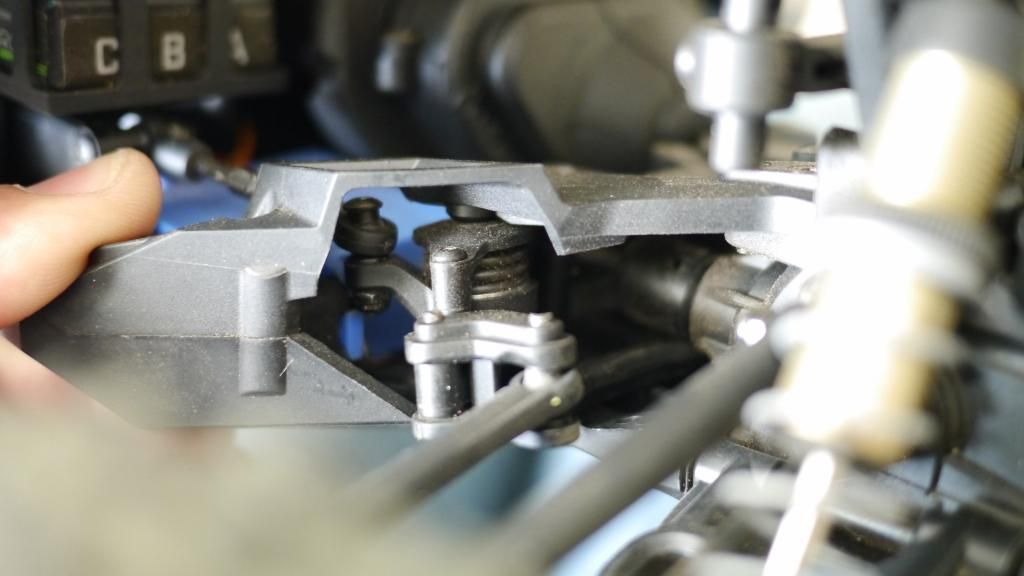 I took the car out a second time and all was well with no issues, except on grass and asphalt the car traction rolls and endo's flat out! the stock tyres are fine for these surfaces and i didnt pop a tyre from a bead, but i can see for really loose stuff and crawling these tyres wouldn't be great. I ended up with a run time of a good 20min+ out of a 5,000mah pack, so its a pretty efficient setup. But crawling over some minor obstacle made the system cog pretty bad. If someone says the Yeti doesn't cog, they aren't loading it up enough at low speed. And i lie. There was an issue - the rear wheel hubs were chewed out after the 2nd pack. Remembering that the first run was pretty friction free in the polished concrete carpark. This is pretty shitty for a top dollar RTR (ready to replace?). 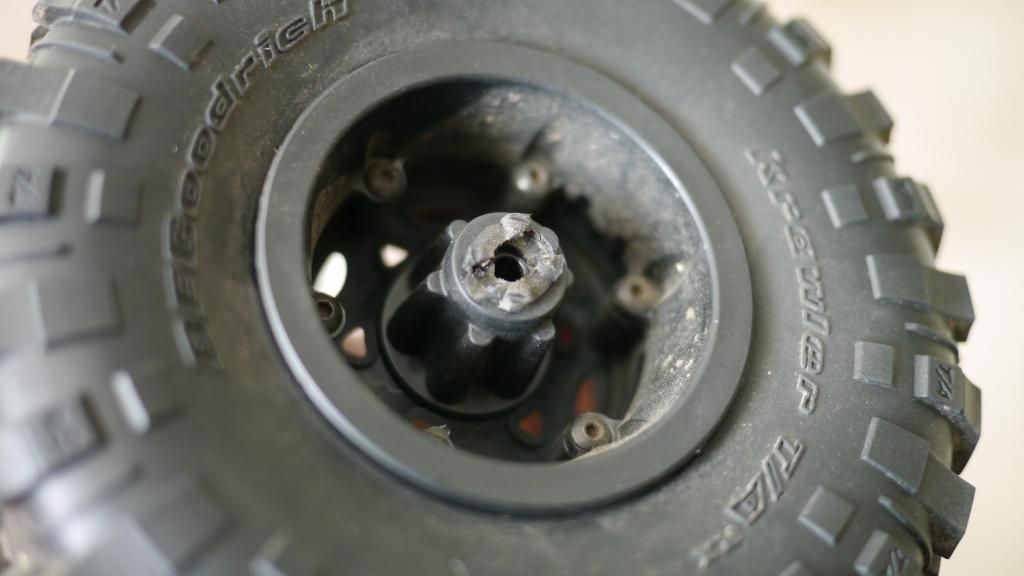 Fronts: (fine) 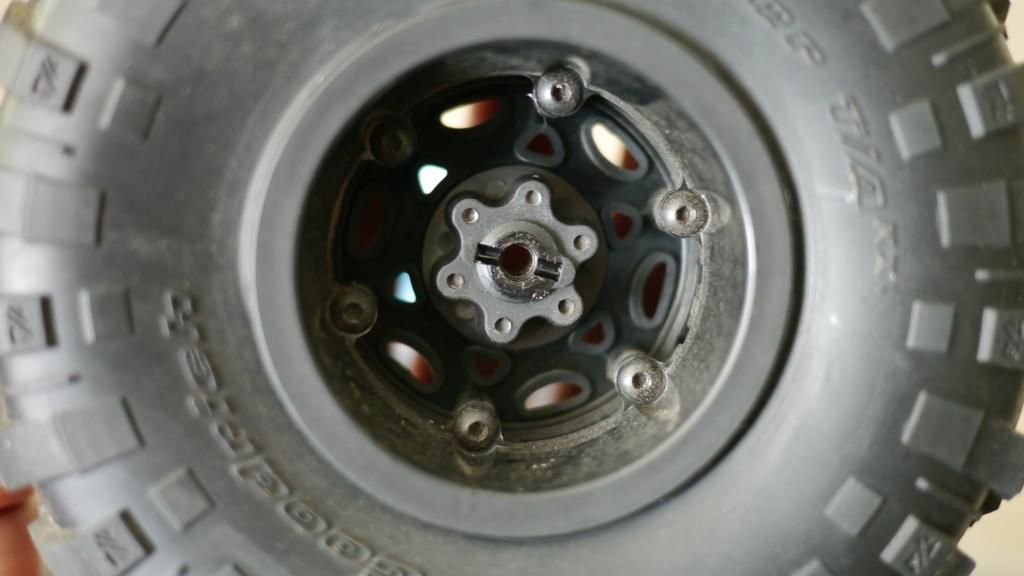 The opposite wheel, you can see the pin poking through as its chewing out the hub. 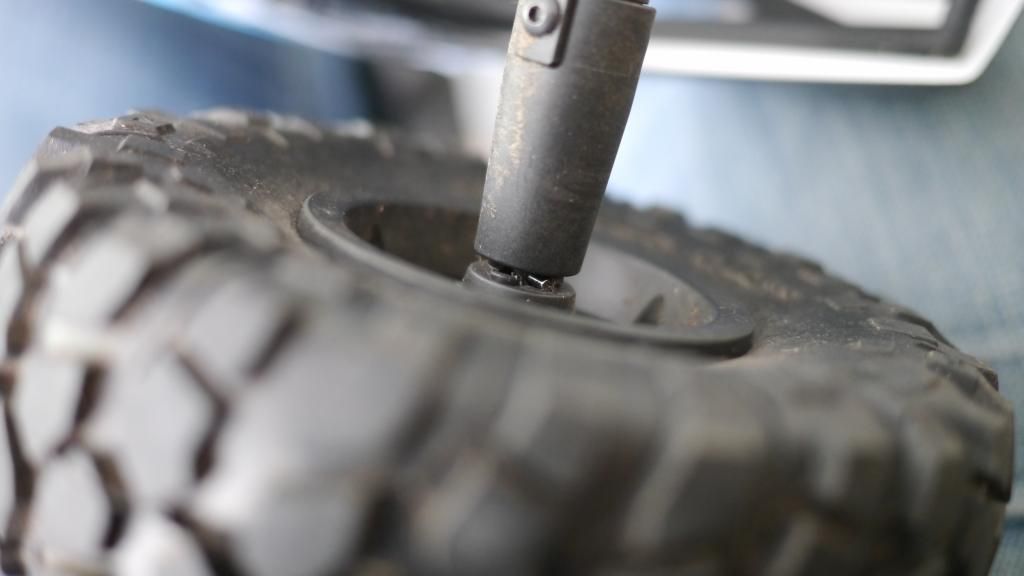 Last edited by BCK; 09-22-2014 at 01:33 AM. |
| |  |
| Sponsored Links | |
| | #2 |
| Newbie Join Date: Jul 2014 Location: Australia
Posts: 37
|
So i got bored, and tried fitting every style if tyre i could, just for fun! First up, Savage XS/Firestorm 2.2 wheels! Using Savage XS plastic hubs with a small amount of plastic removed from the back of the hex to fit better. I ended up leaving these wheels on until the new hubs arrive) 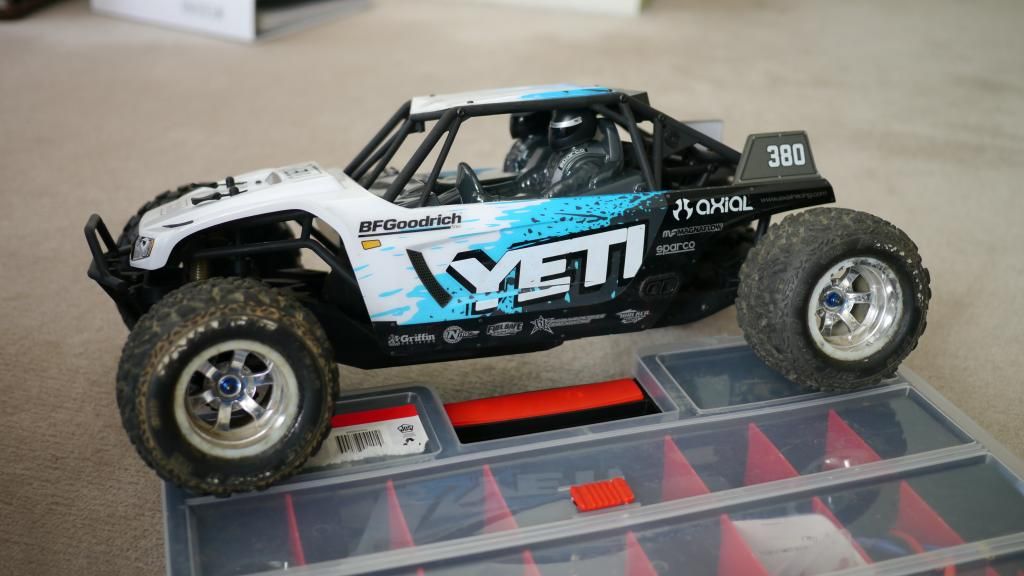 Note the rear offset lol 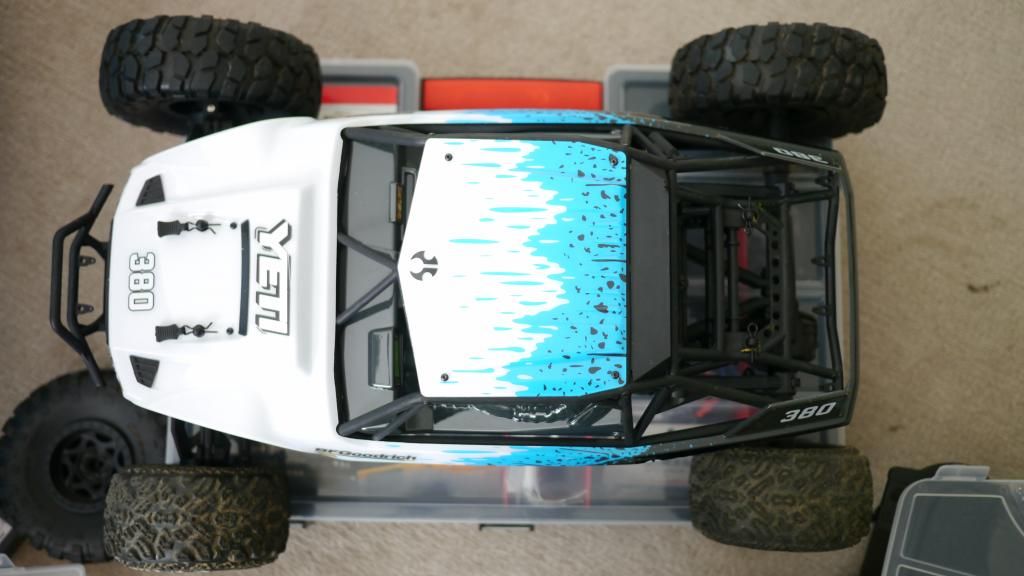  Clearance - no problem. 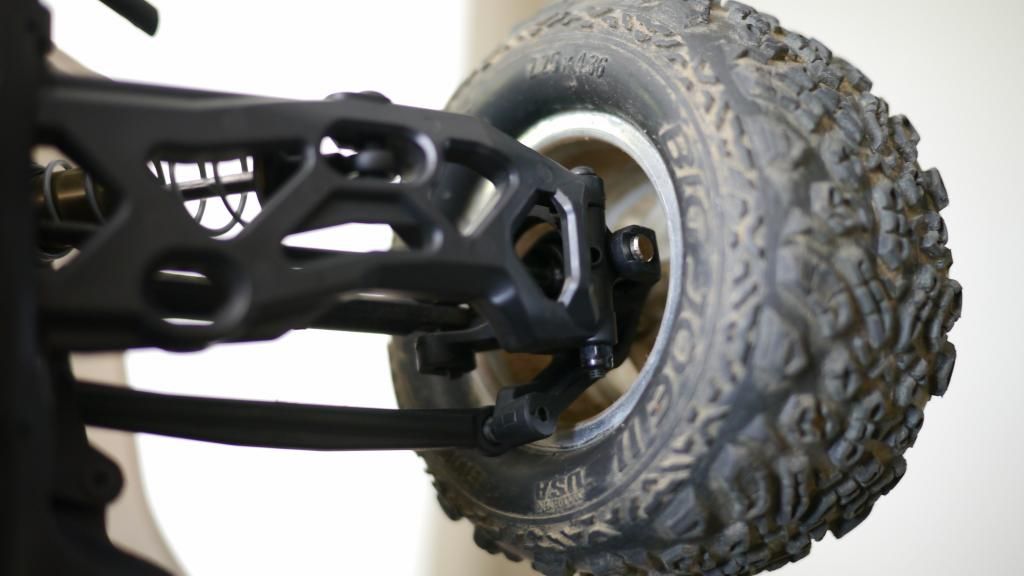 1/8 on road wheels with HPI Blitz 1/8 adapters - fit perfect, but again crap offset due to the wraith rear axle. 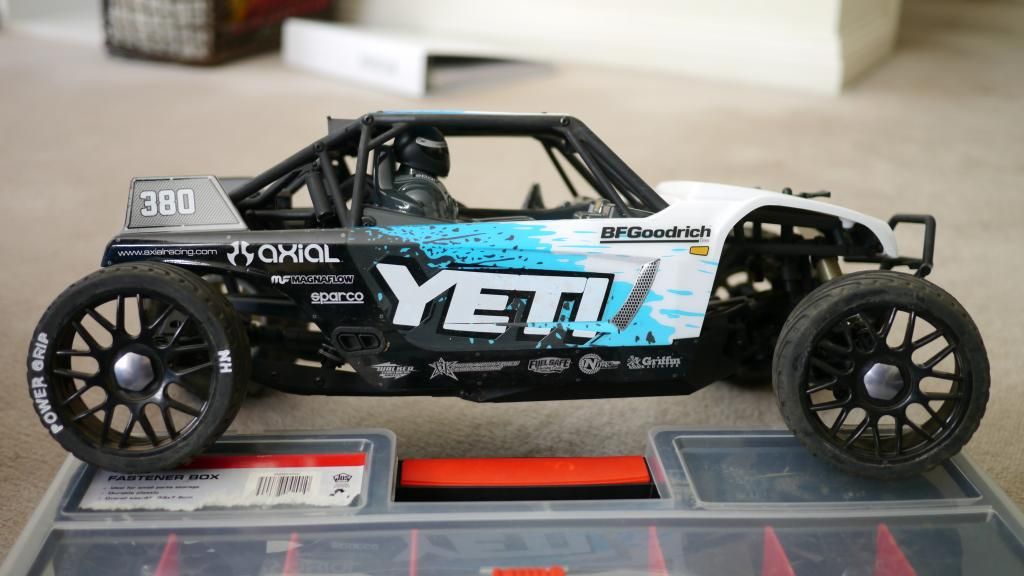 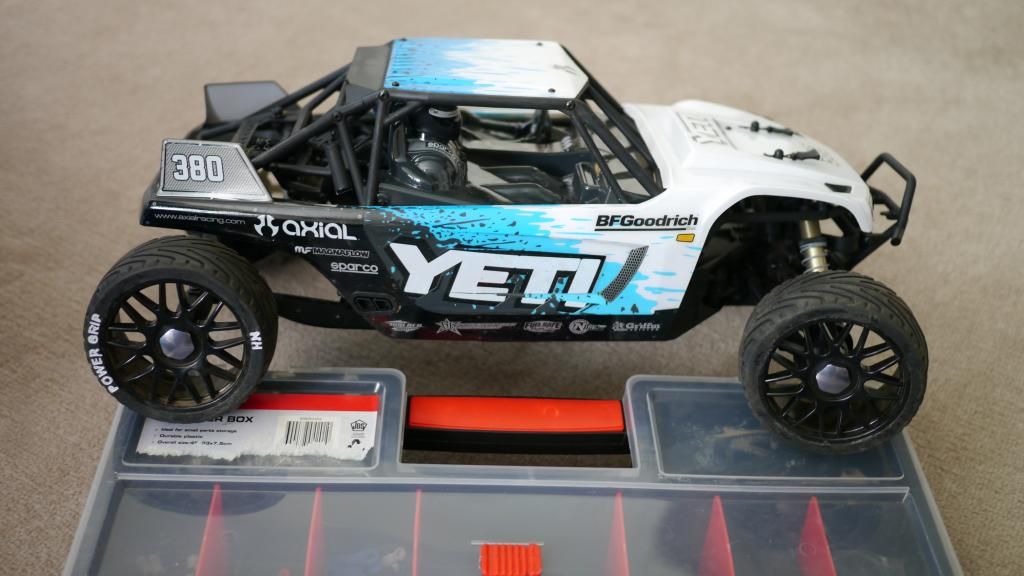 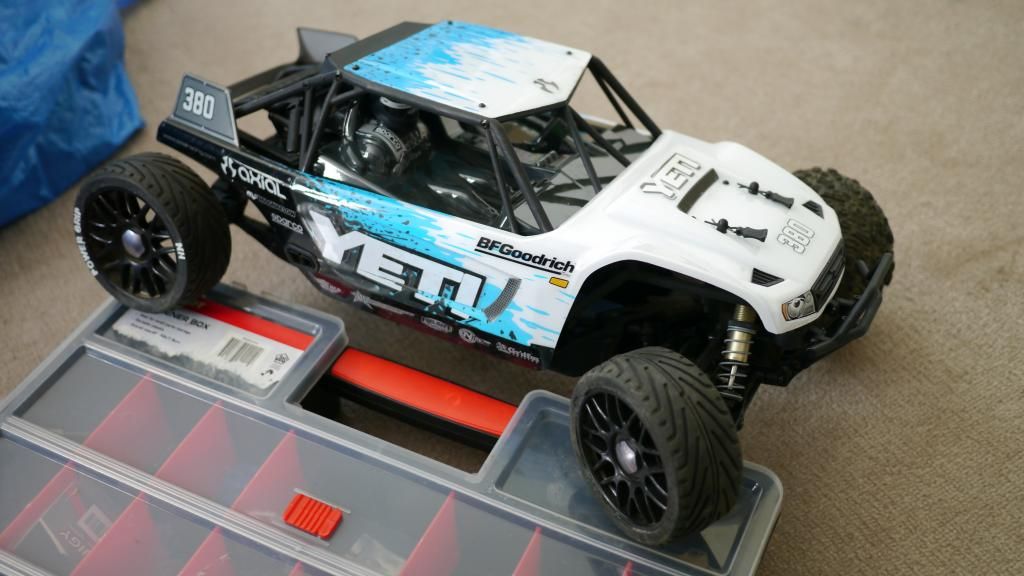 Next are 1/8 truggy tyres. They are a couple of mm larger than the stock wheels, but again, shit offset. 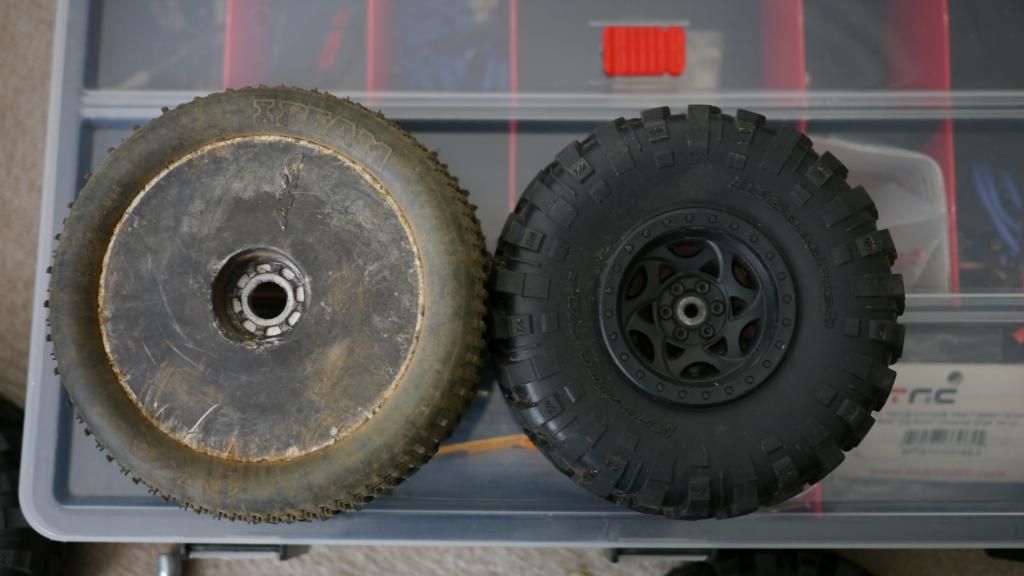 Rear wheels rub against the body 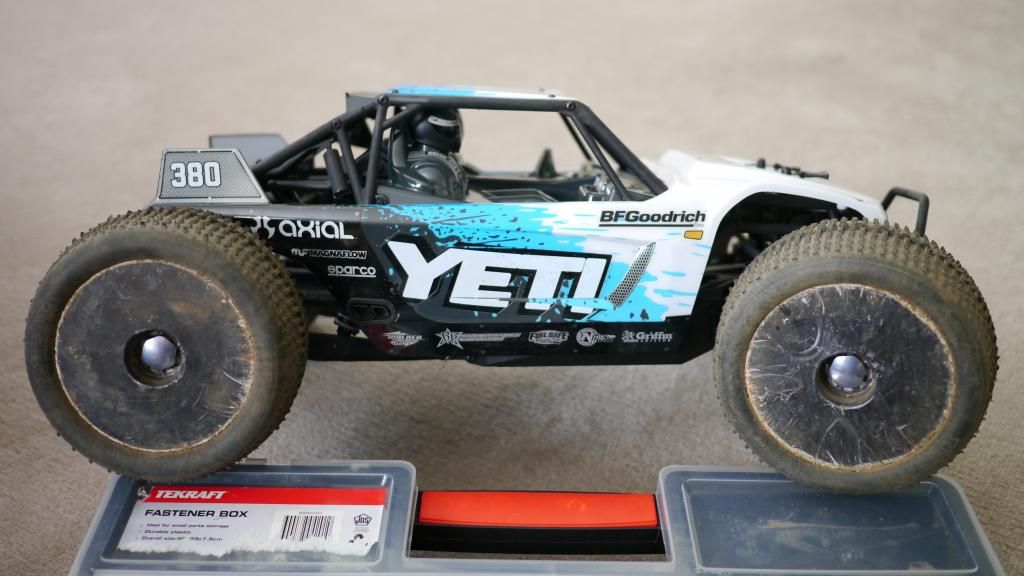 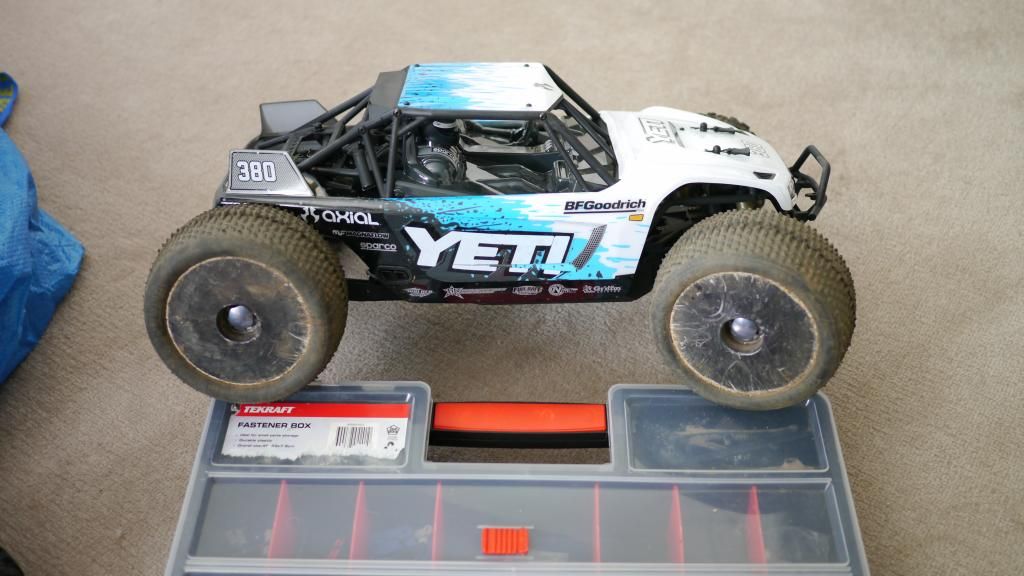 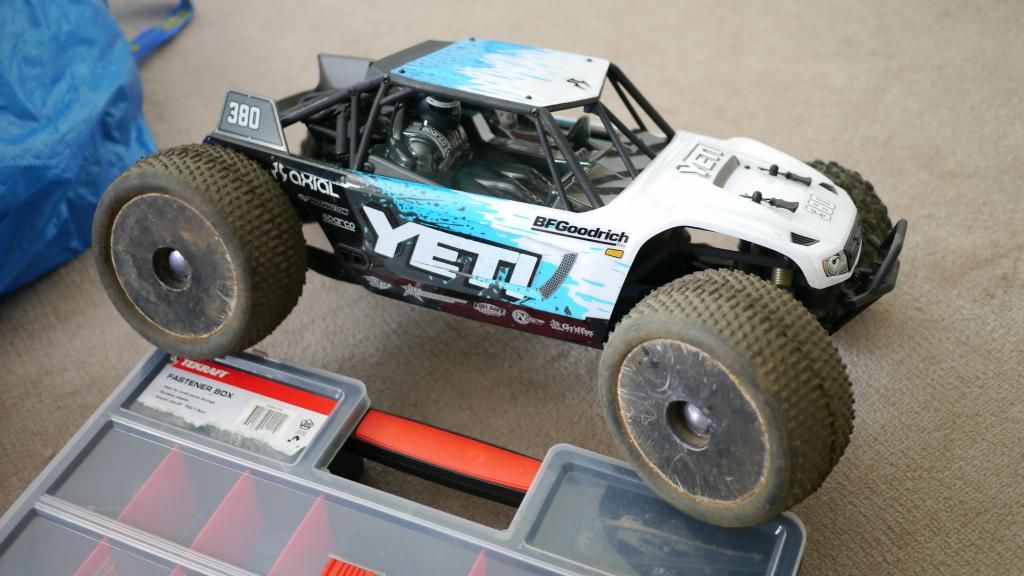 Short course wheels using HPI Blitz hexes (fit straight on when using the blitz pins) 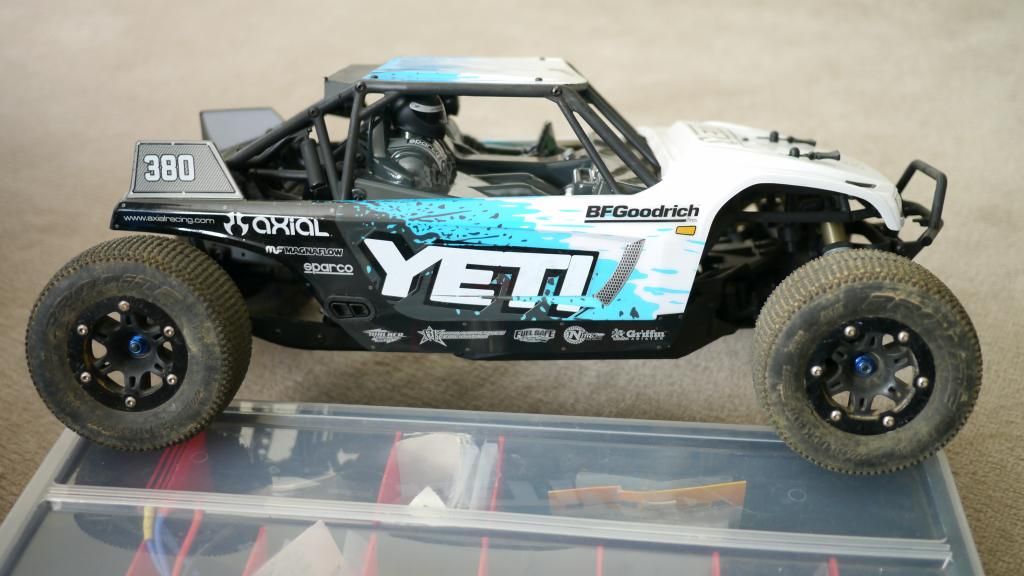 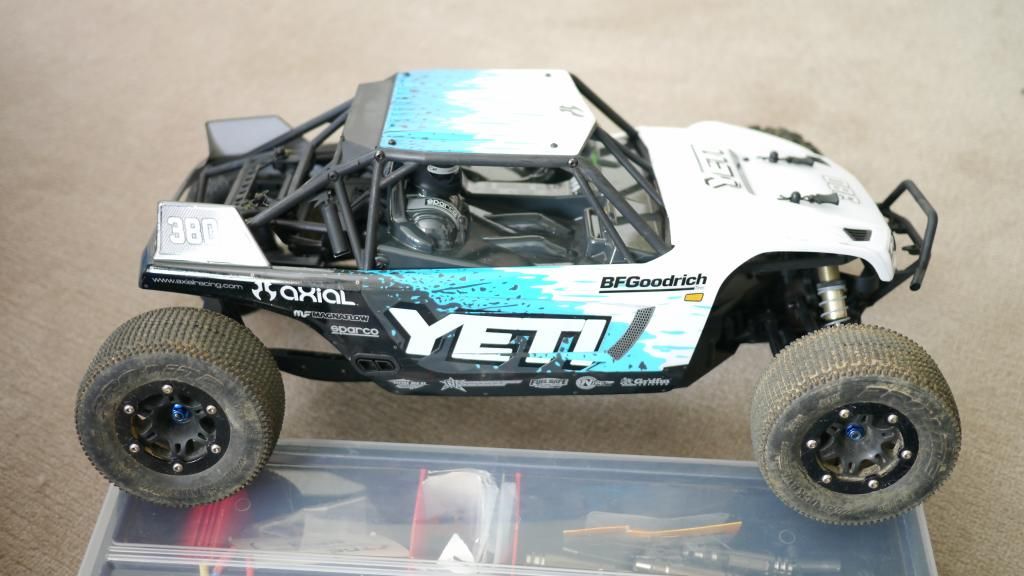 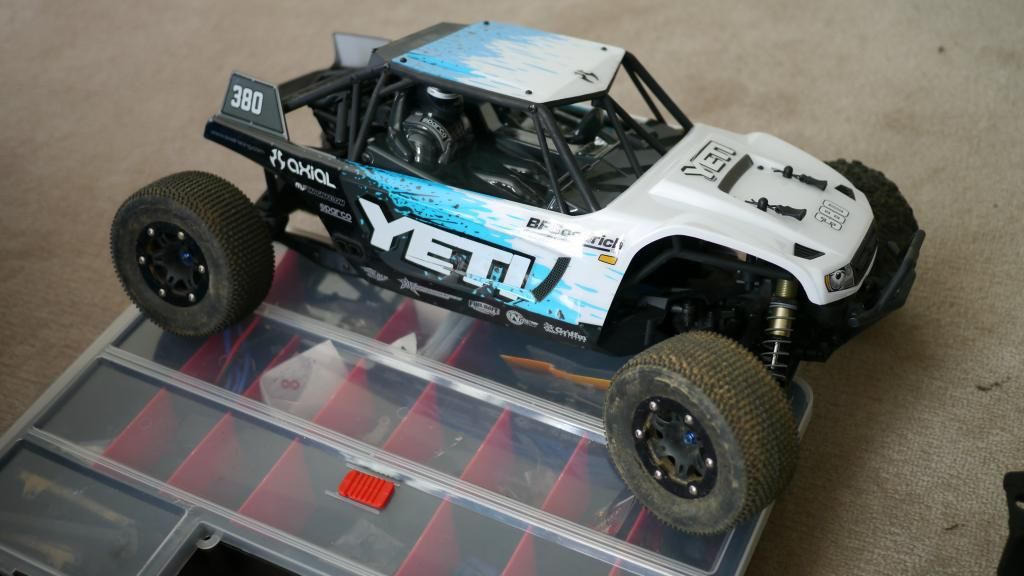 Last edited by BCK; 09-22-2014 at 01:29 AM. |
| |  |
| | #3 |
| Pebble Pounder Join Date: Jul 2011 Location: Germany
Posts: 197
|
Nixe writeup so far. Looking for your expirience out on the tracks.
|
| |  |
| | #4 |
| Newbie Join Date: Jul 2014 Location: Australia
Posts: 37
| |
| |  |
| | #5 |
| Newbie Join Date: Jul 2014 Location: Australia
Posts: 37
|
New parts have arrived, let the repair/upgrade continue: Pulling apart the front in prep for the parts install 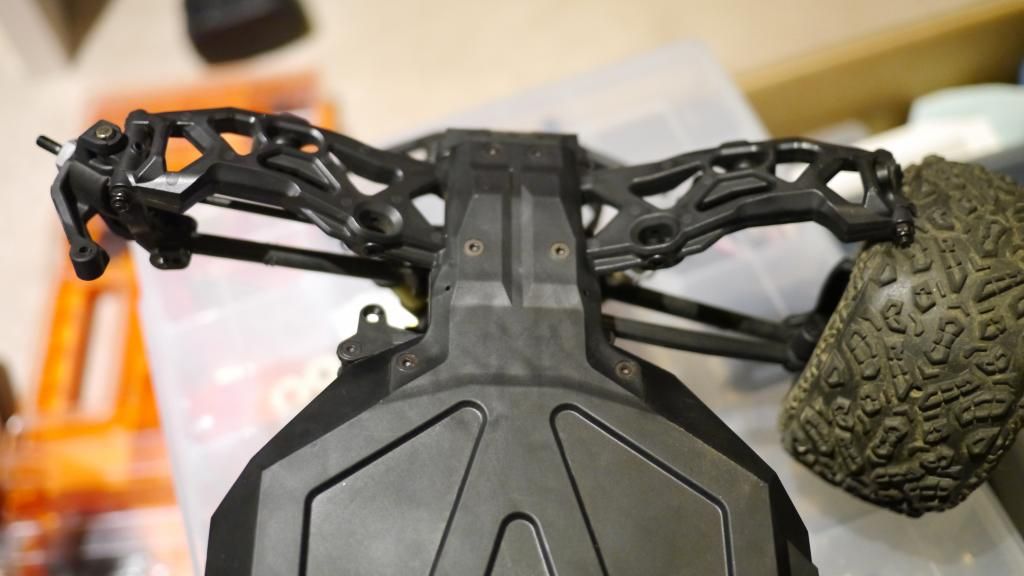 First up was replacing the links with traxxas turnbuckles, but i ran into a bit of an issue when i noticed that i couldnt use the traxxas ball ends as they were too big, but the stock plastic units pressed in perfectly and seeing as they're still new, im sure they'll last a bit. I ensured the correct lengths by using bolts through the eye of the ball ends of both the stock and traxxas links, and adjusted them both until the bolts were both aligned and pointing straight up. 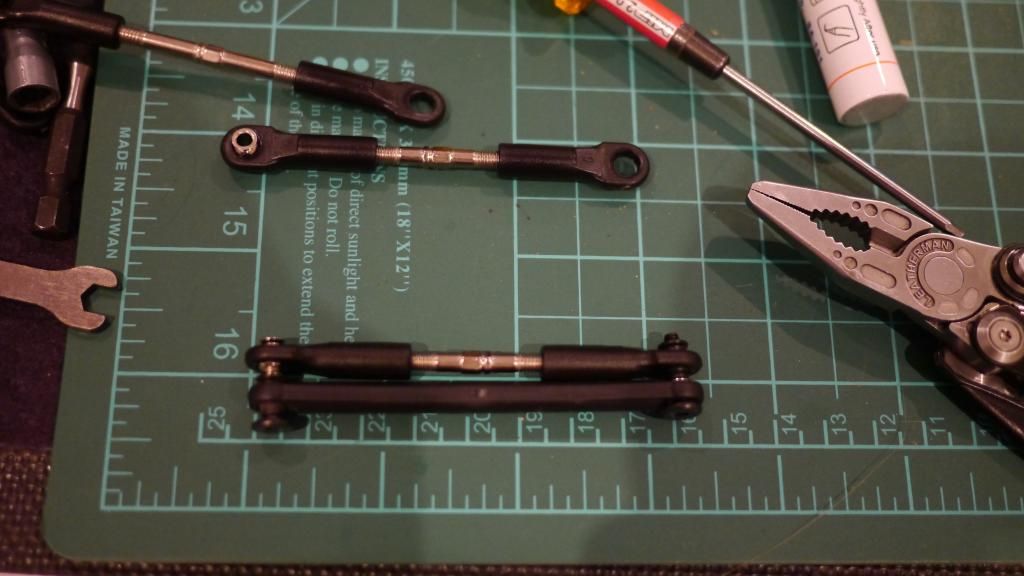 Correctly adjusted and fitted with the Axial ball ends 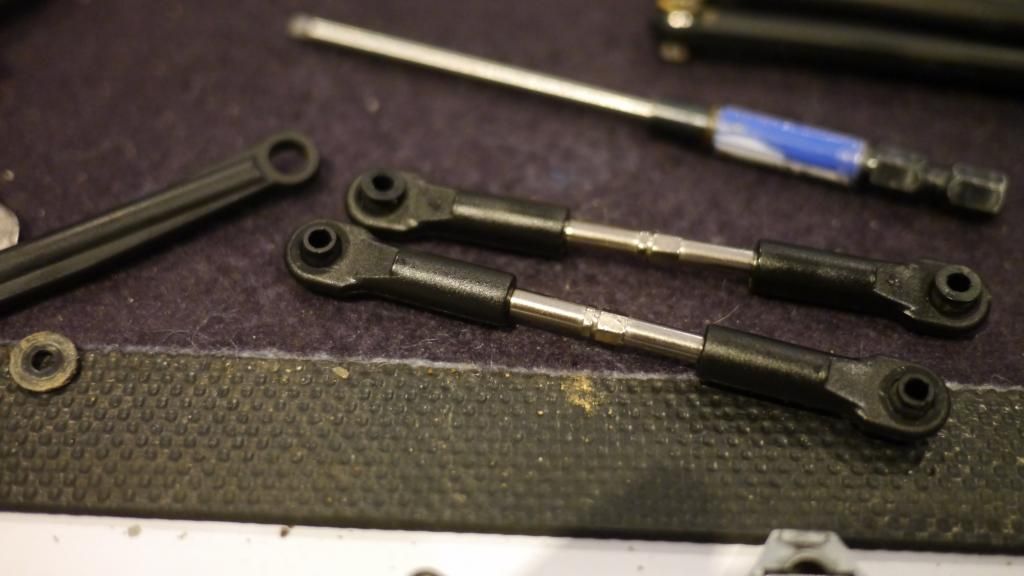 I went onto installing the Vanquish front bearing carriers and Axial CVD's, and the first thing i noticed on BOTH sides were the inner bearings that sit around the axle cup had lost ALL grease and felt HORRIBLE. The leaking bearing grease can be seen around the axle cup where the bearing sits. This is after only 3 VERY soft packs, with the car still looking brand new. Pretty disappointed that these bearings are already buggered!!! 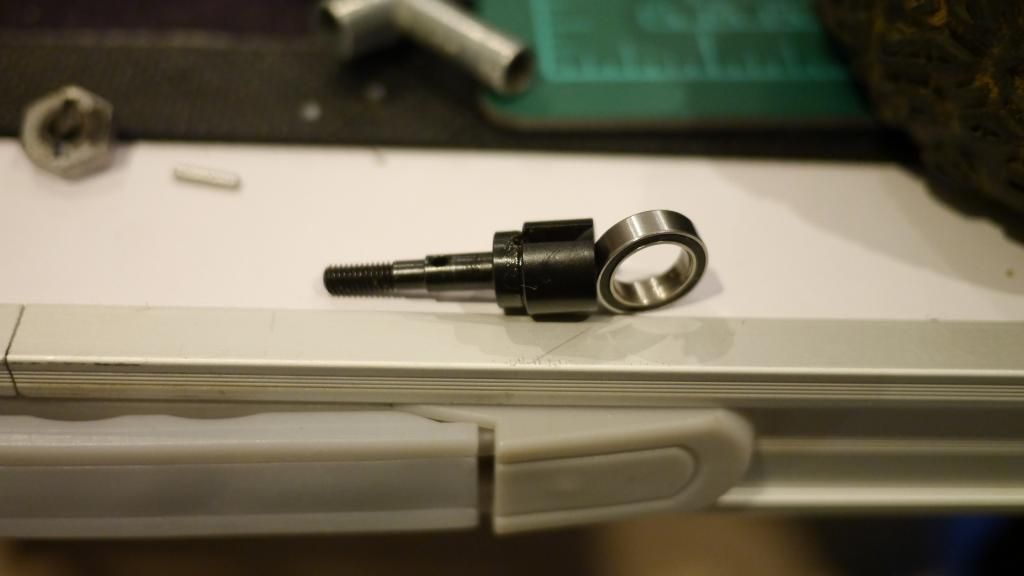 Ive gotta say, im really impressed with the design and the finish of these Vanquish products. They really are well machined gear. 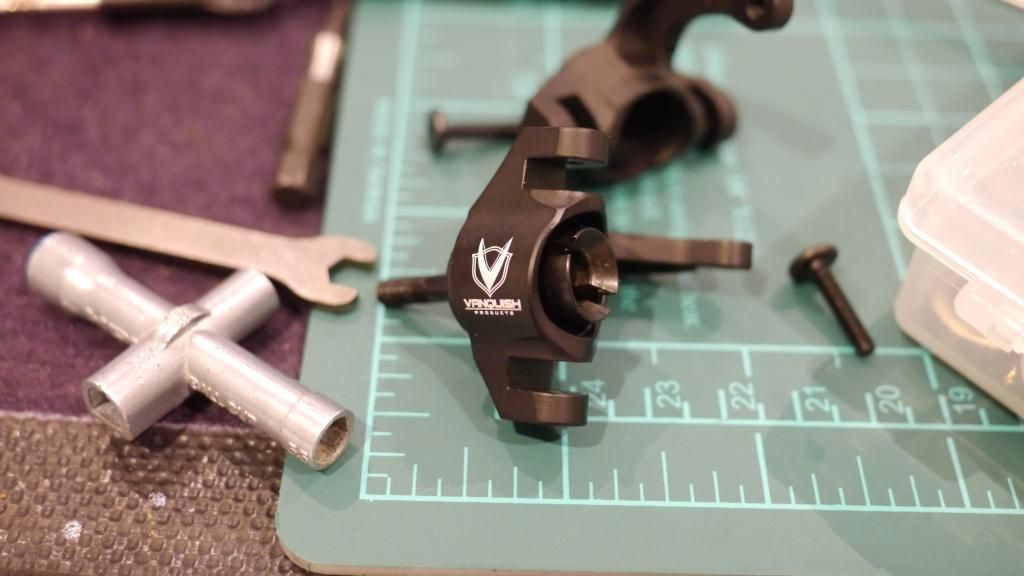 I started to pull apart the suspension tower, only to find i couldn't use the Exo alloy front tower as it did'nt have any holes for the Yeti body mounts! Same same but different! So ive ordered the Axial alloy Yeti tower and will swap it in when is received. 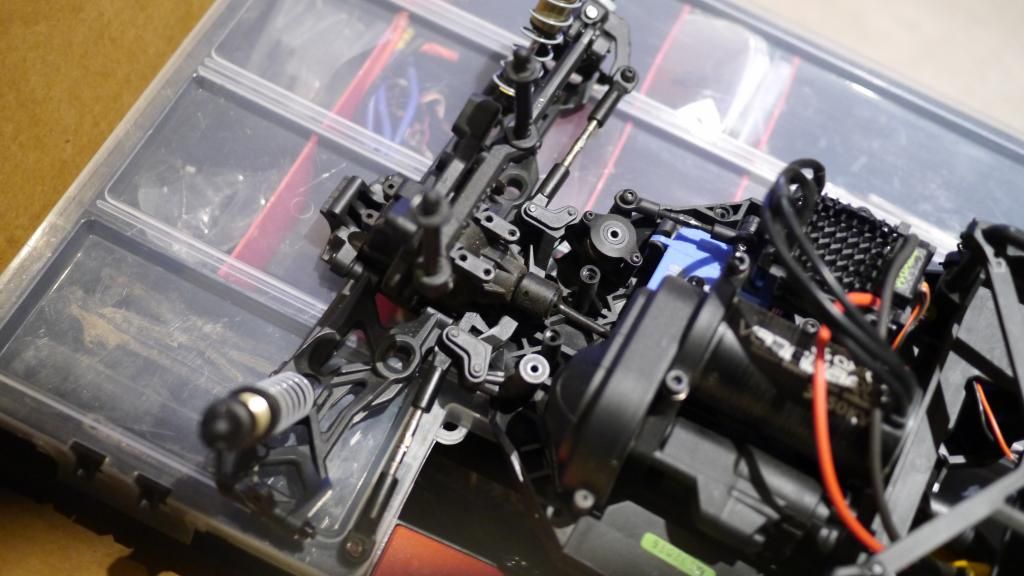 I bought some Hot Racing c-hubs, only to find they didnt fit the Vanquish bearing carriers! they were a tight fit, and for the life of me i couldn't find where i should be removing material to make them fit! So after a while with the dremel, i gave up and went back to the spare plastic one that i ordered at the same time - lucky! 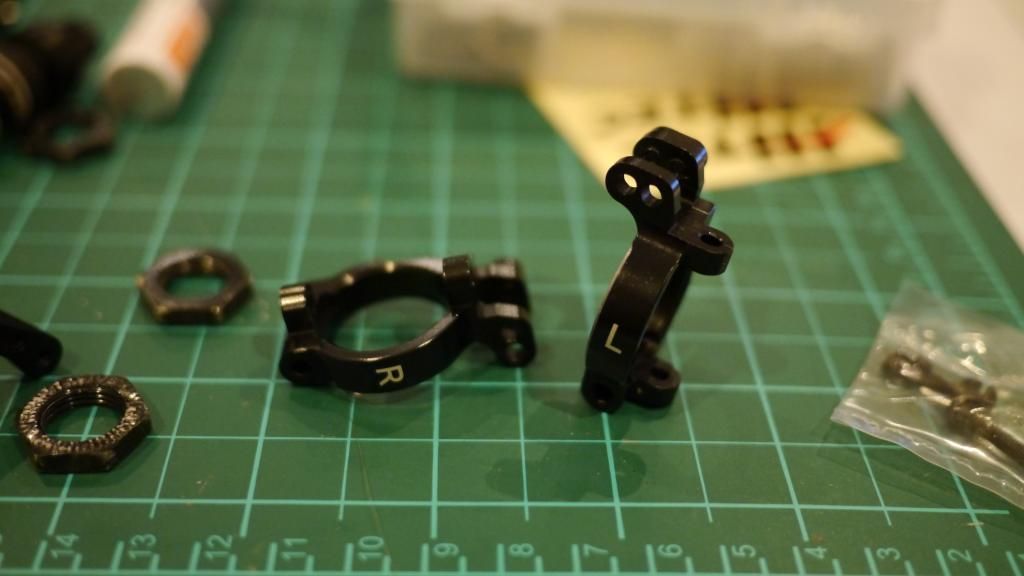 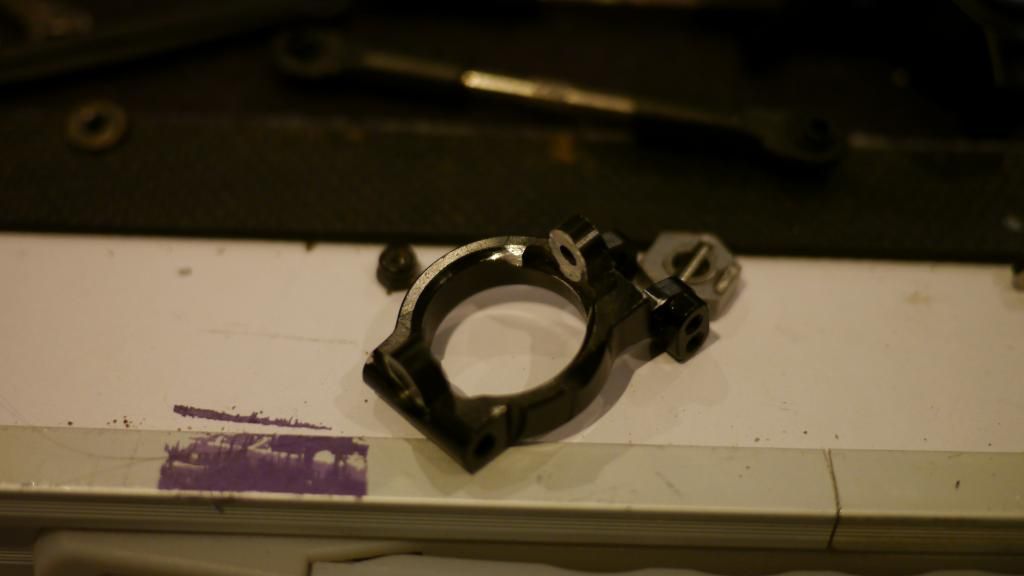 Next were the Axial 94mm CVD's. These were a bit of an experience. I noticed after installing them that the suspension was stiffer in the front, and i knew it was somehow the CVD's fault. When i had a closer look i noticed that the shock bump stops that Axial use in the diff cups for the stock dogbone setup, were WAY too thick for the CVD length, and in turn caused the suspension to bind. You can see the first pic showing the difference in CVD dogbone location with the bump stop removed from the right side. There's a lot less pressure on the CVD shaft. i used a Blitz o-ring instead, and this gave the perfect amount of cushioning for the dogbone end of the shaft. 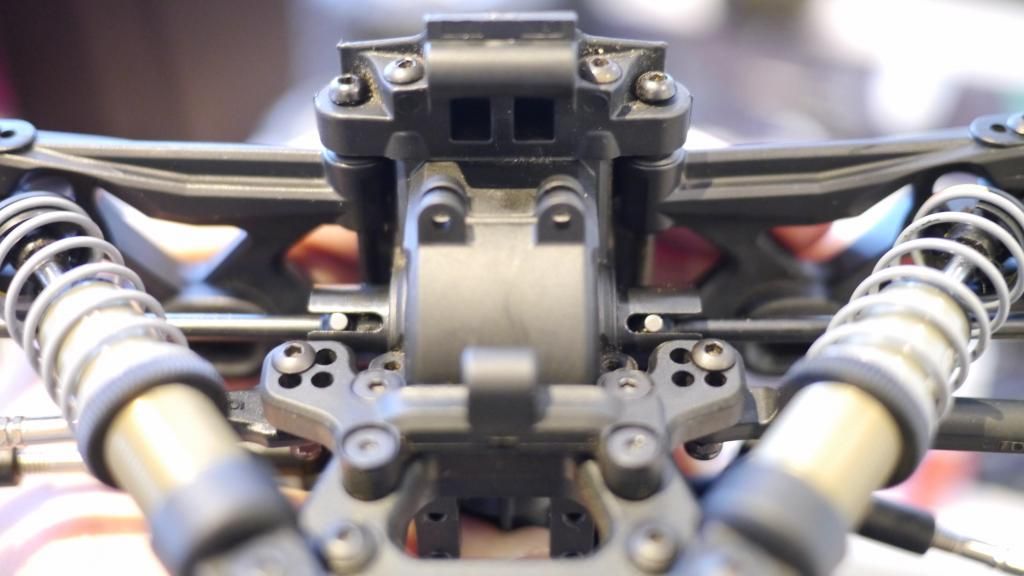 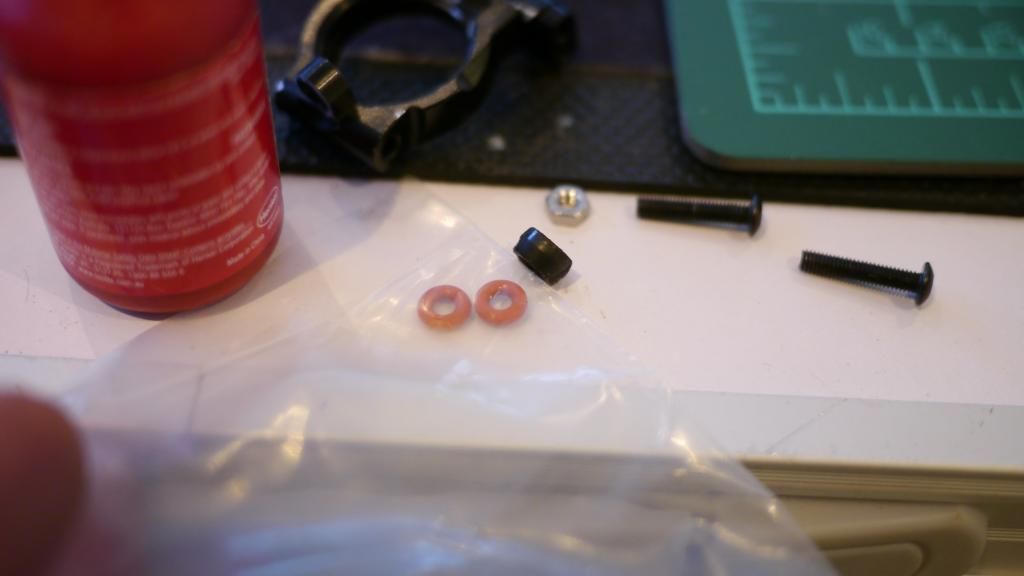 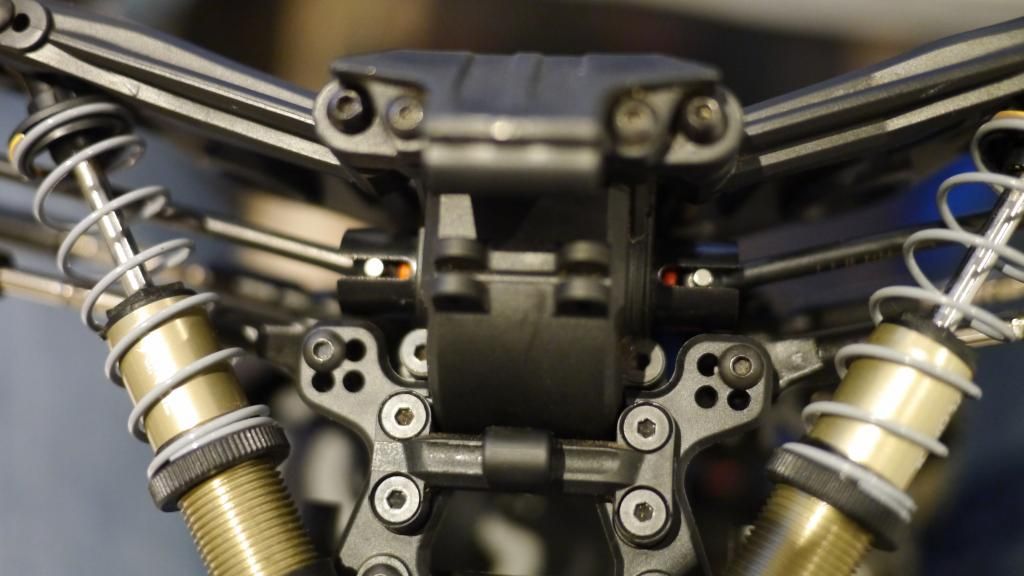 Test fitted, and then with the Ti-Ni coated pins. 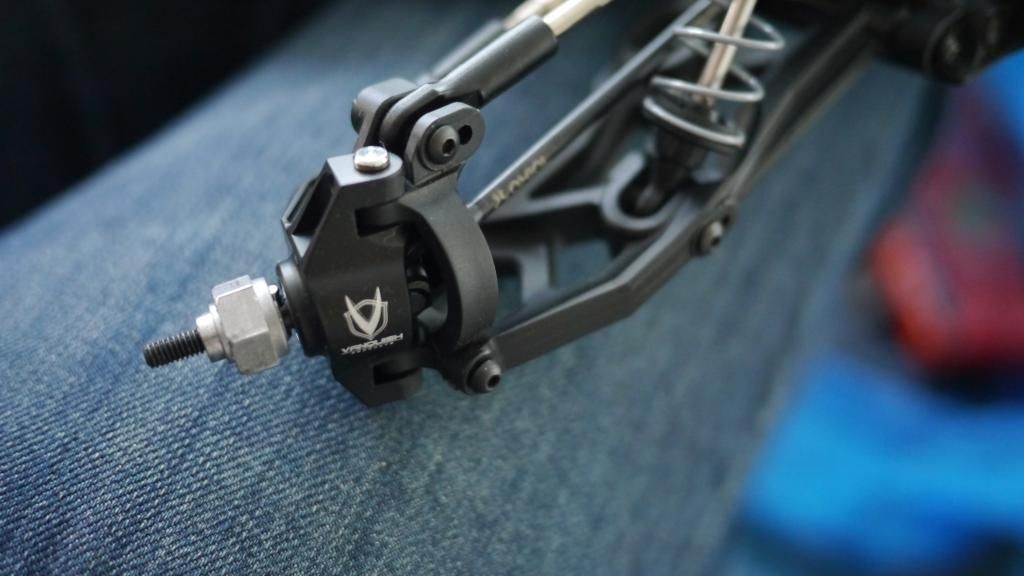  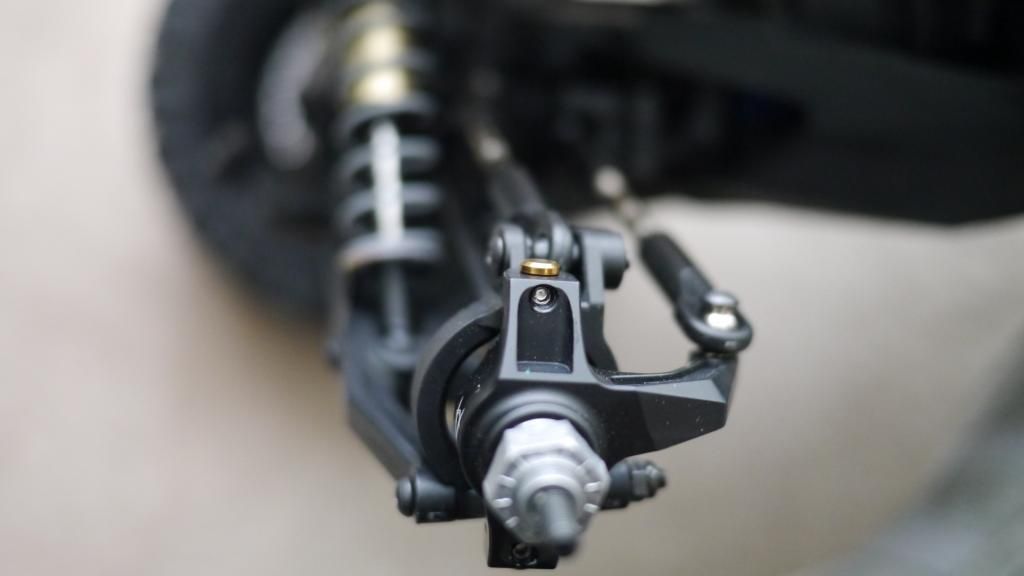 Next, is to fit these bad boys!!! * Pitt Bull Rock Beast II's * Crawler Innovations tall closed cell foams. * Gear Head delrin rims with alloy beadlocks 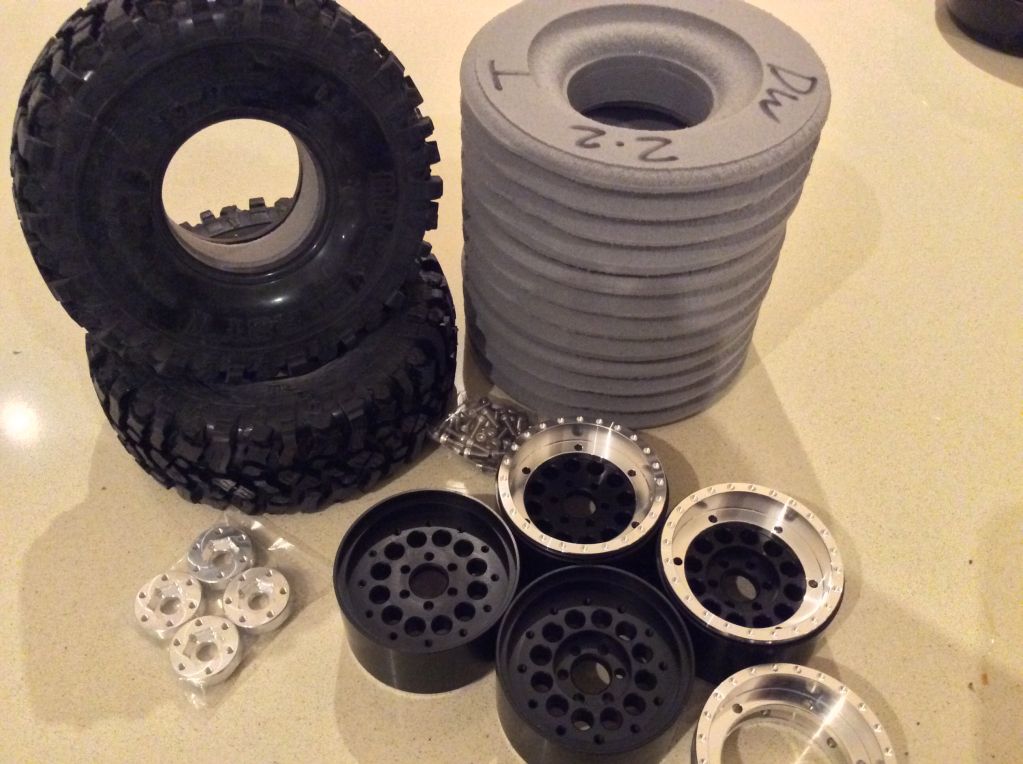 Last edited by BCK; 10-19-2014 at 06:15 AM. |
| |  |
| | #6 |
| Rock Crawler Join Date: Jan 2005 Location: The Hills
Posts: 630
|
Did you get the +.500 hubs for the rear with the new gear head wheels ?
|
| |  |
| | #7 |
| Newbie Join Date: Jul 2014 Location: Australia
Posts: 37
|
I didn't realise until later that the vanquish hubs wouldn't fit. So I've grabbed the .600 as recommended on their site. |
| |  |
| | #8 |
| Newbie Join Date: Jul 2014 Location: Australia
Posts: 37
|
NEW RIMS, SON! And I have to say, my inspiration for these rims were thanks to a certain Marty McFly... 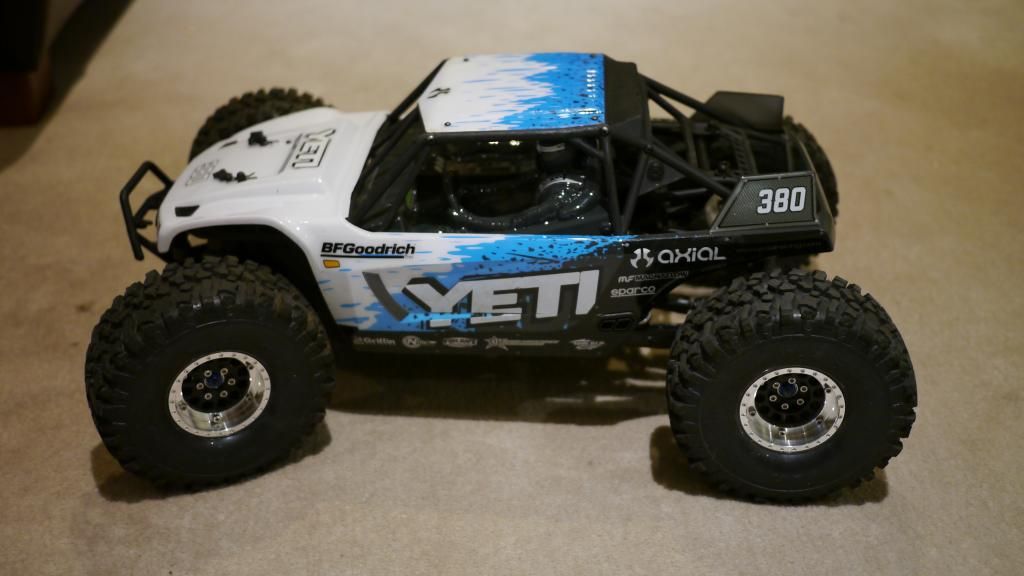 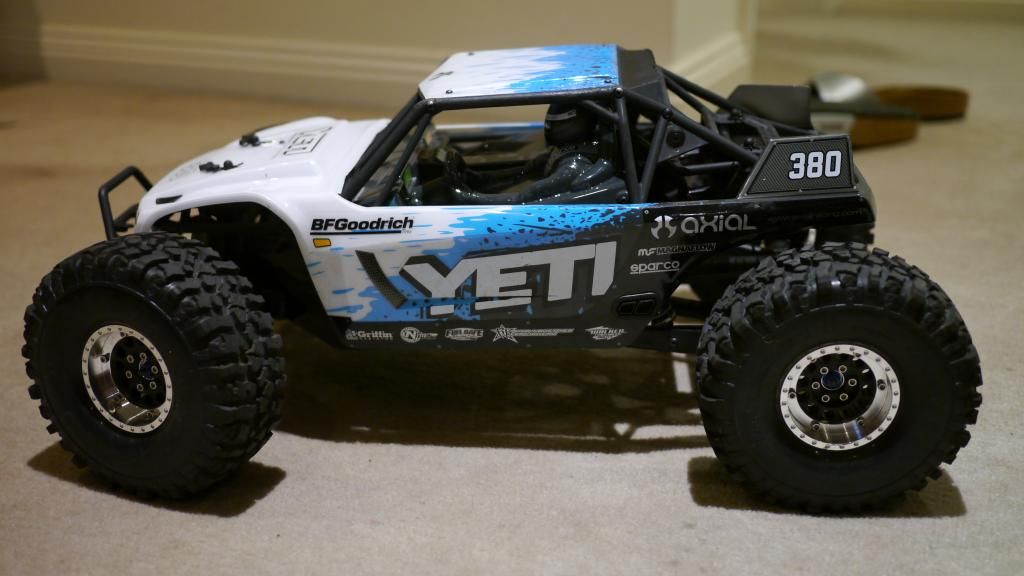 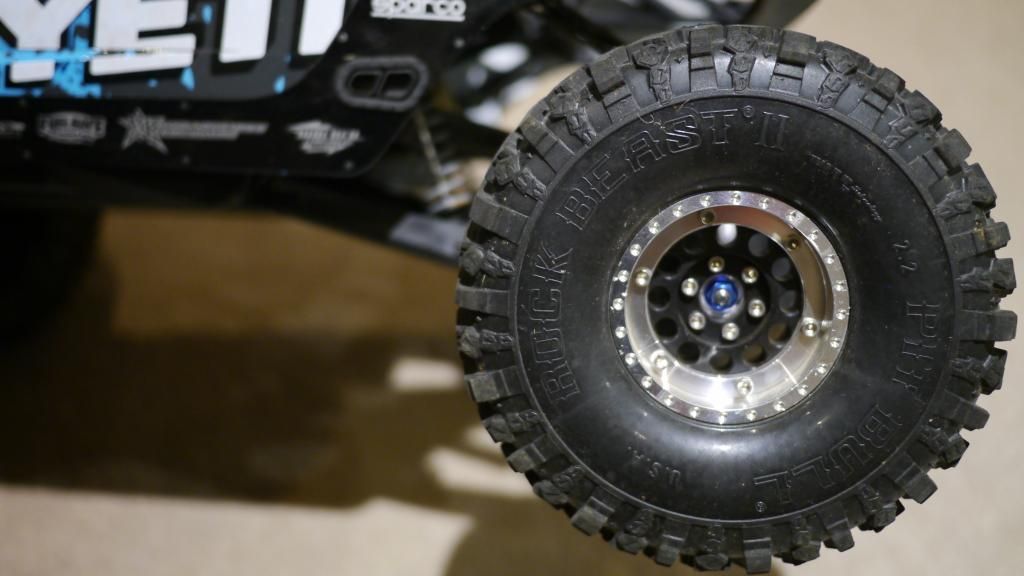 New rims/tyres on, and this happens with 55% throttle and handed over to my kids to use on a gravel driveway. I replaced the WB shaft, went for a bit of zero-grip polished concrete drifting, and it happened AGAIN. Pretty piss-poor, Axial. 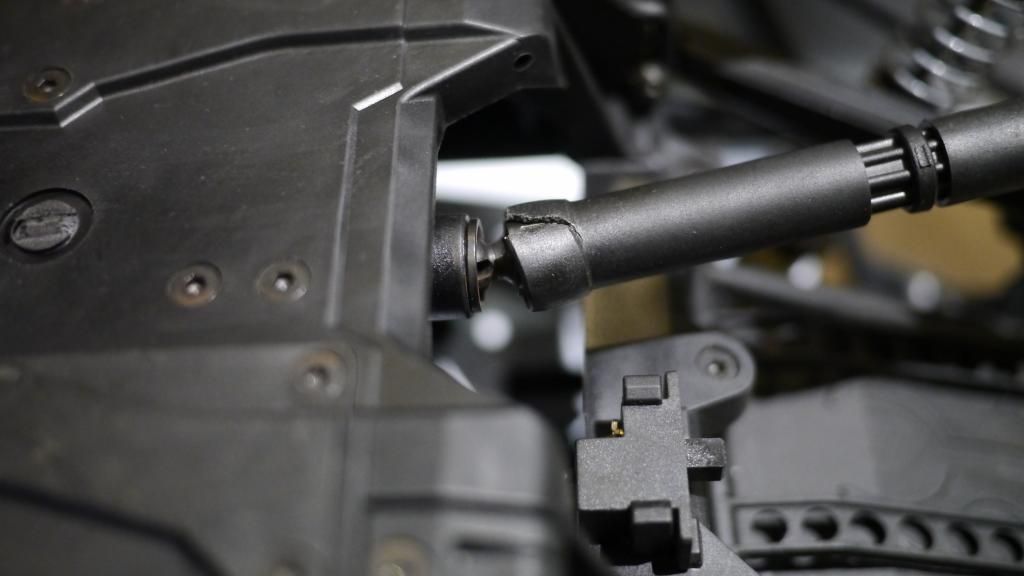 New parts arrived, and first up were the Vanquish hubs. 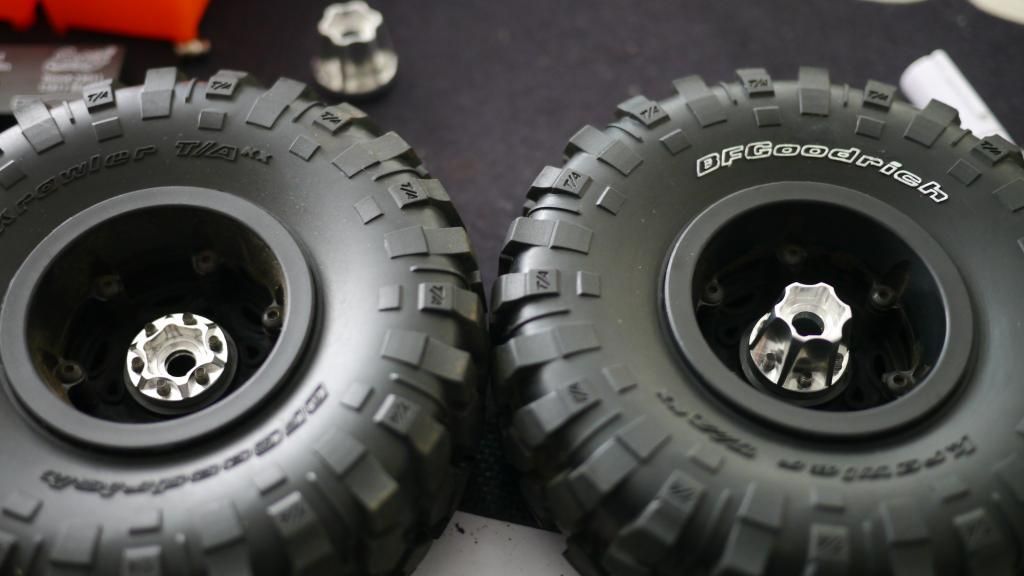 And then on went the Gear Head .500 hubs, and a side by side with the stock rims. 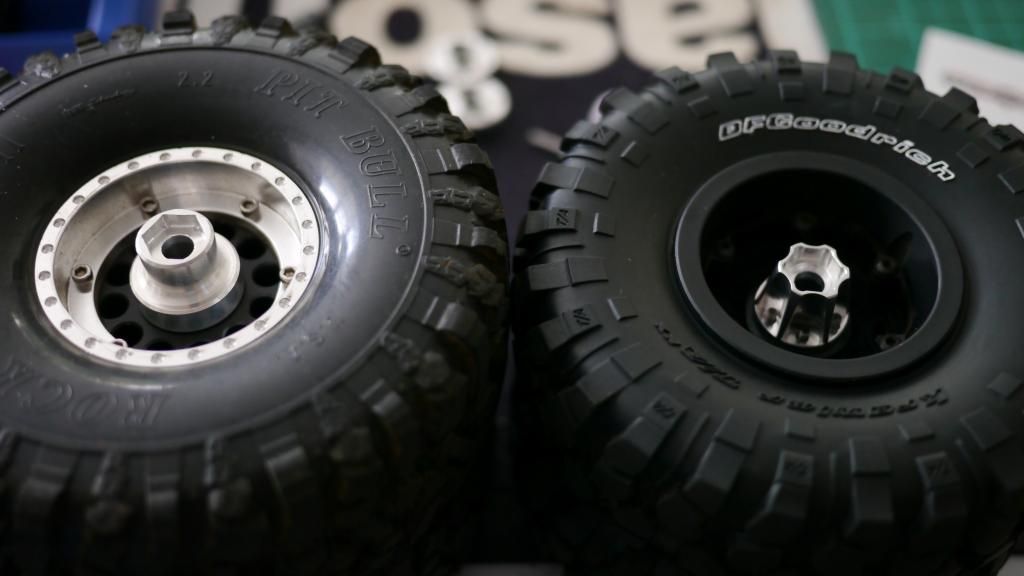 With a spare set of wheels i tried out fitting the rear wheel by using some cap-head bolts and nylock nuts underneath. I did notice the weight of the tyre held the car noticeably lower in the rear, but im hoping the trade off will be that the wheel will protect the roof and rear light bar. Ill keep the wheel mounted and instead stiffen up the rear shocks with heavier fluid and springs. 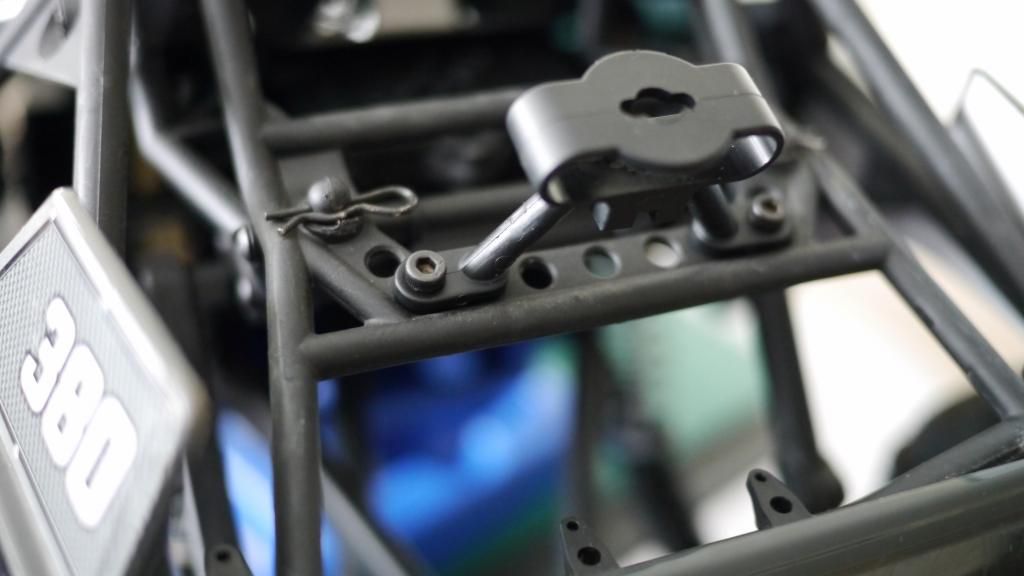 To make this work you must first remove the hub from your spare wheel. 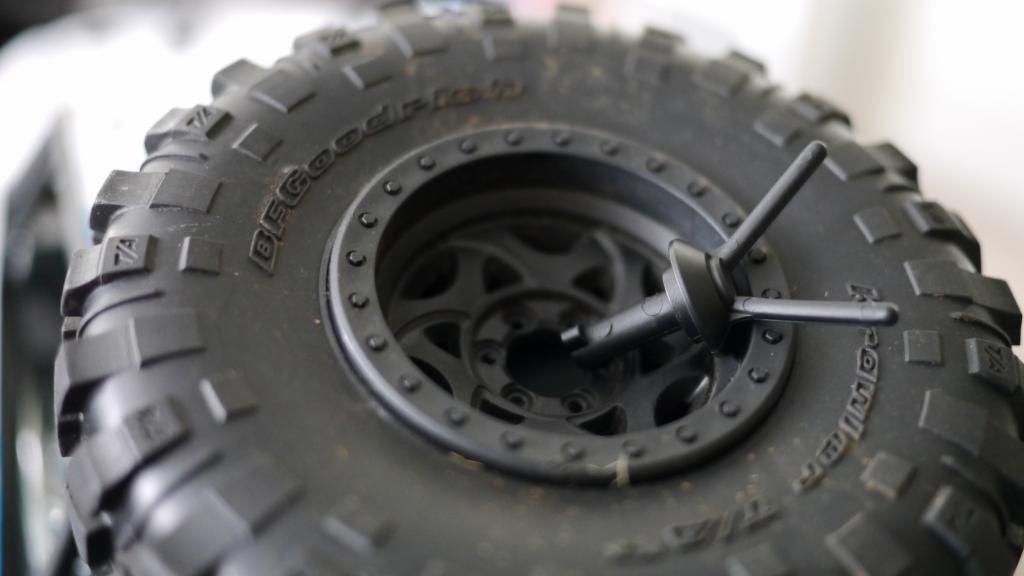 All fitted up. 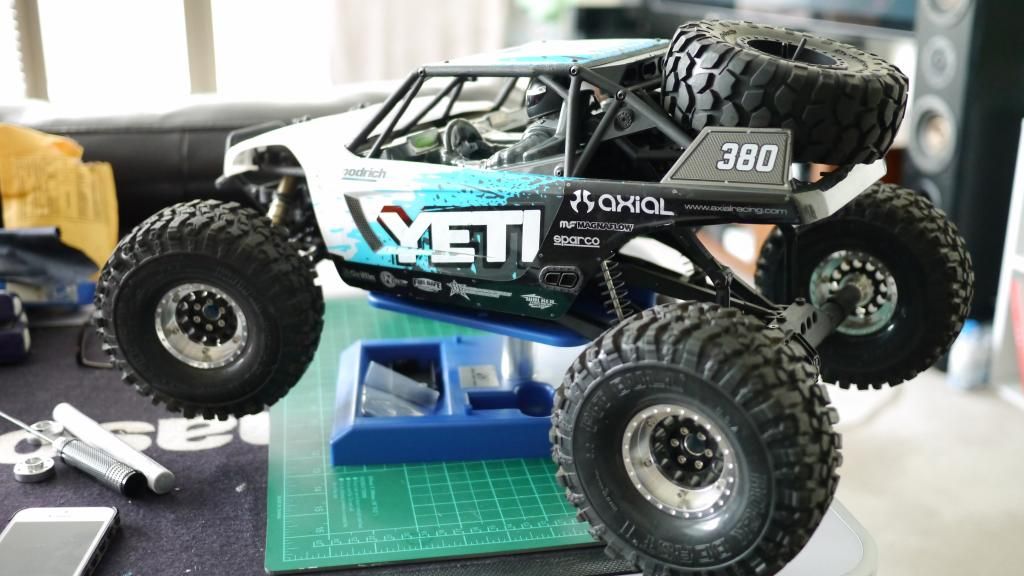 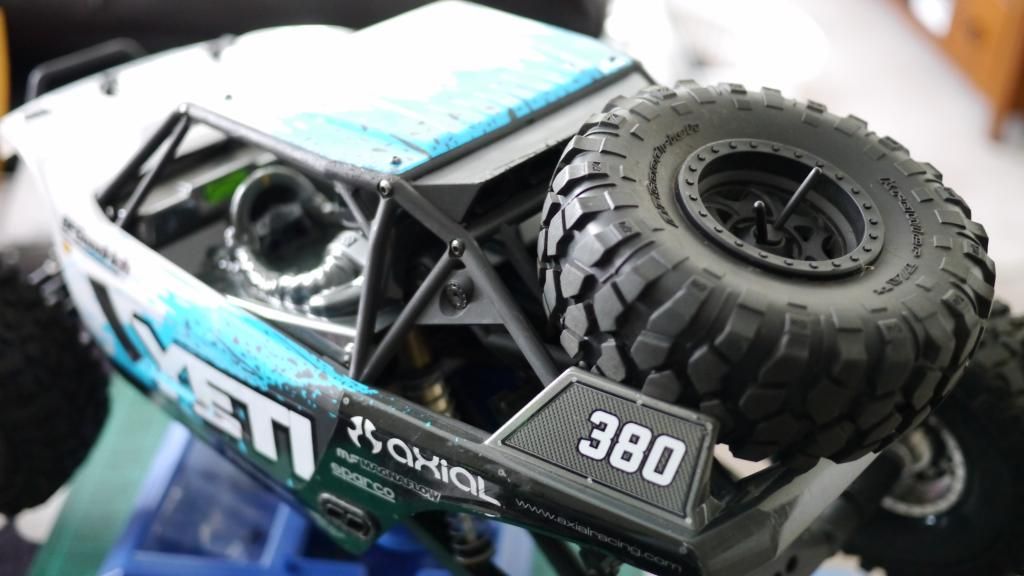 Along with the hubs, the first lot of upgrades arrived. I'll wait for the new motor mount and spur before adding the alloy slipper plates. 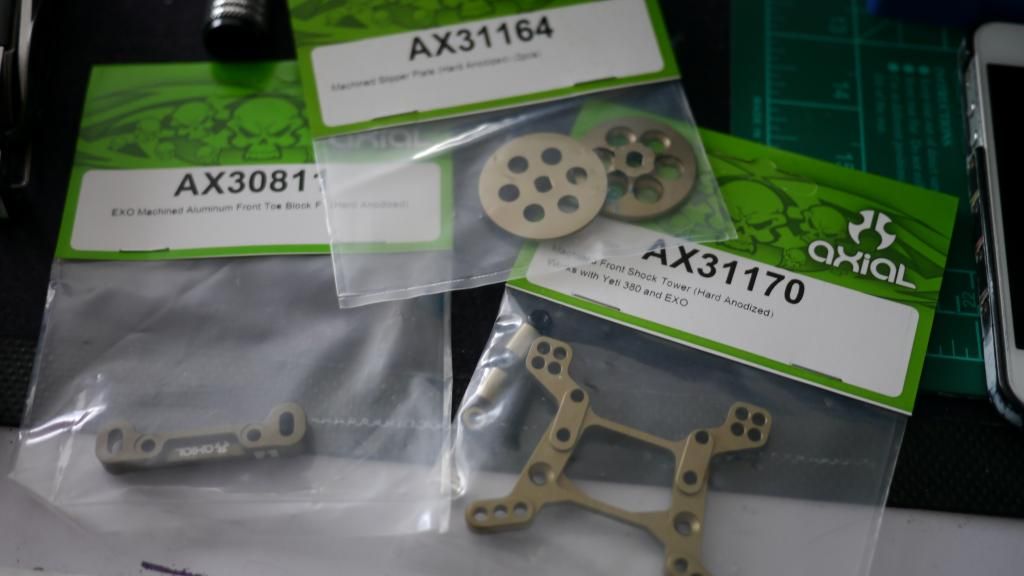 First up was the Exo F1 castor block. To swap this part out you will require a few parts from the various spares Axial has given with the Yeti (as shown). Installation was straightforward, and i chose to use inserts that will raise the castor/kick up to see what effect this may have to handling. The good thing about the inserts are that you are given 2x of each, as this is an Exo tree where it would require inserts for both front and rear castor blocks. 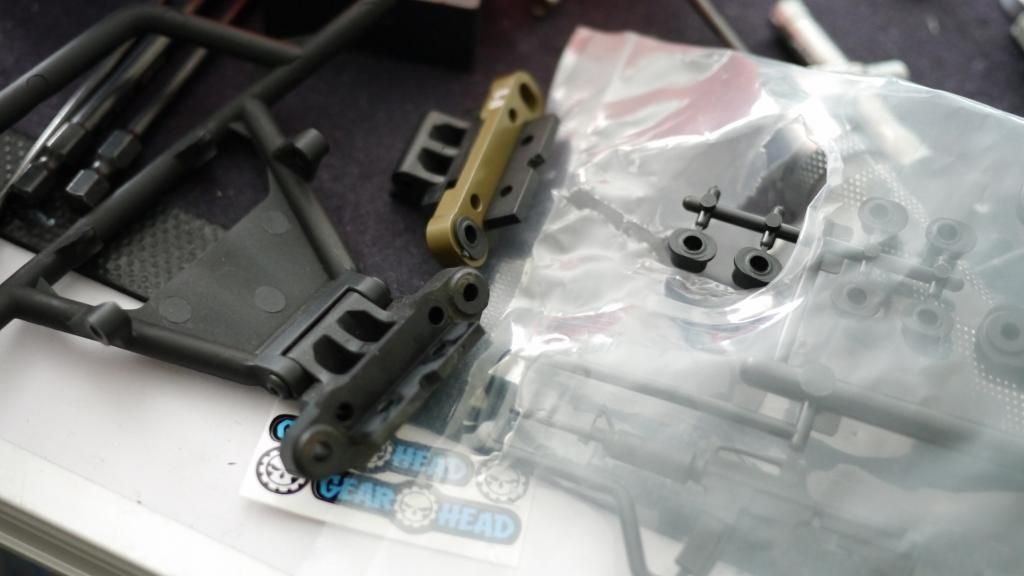 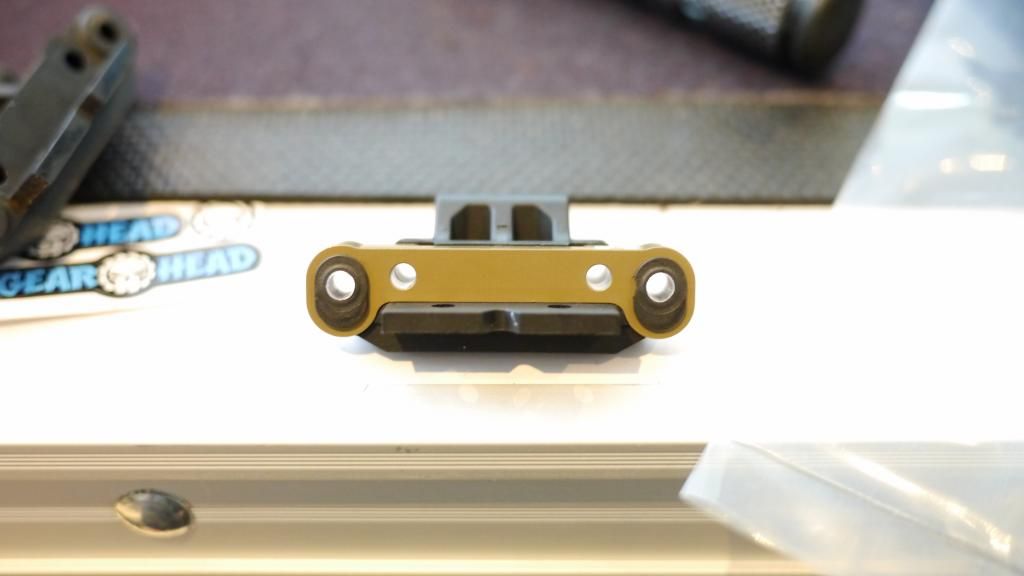 When working on the Yeti suspension tower, i noticed i couldn't use the stock cap-head bolts as the alloy Yeti tower is counter sunk for flat head bolts and unfortunately none were supplied! But i made do with spares i have laying around. I chose to use the smaller spacers on the rear to better align the body posts with the factory holes. 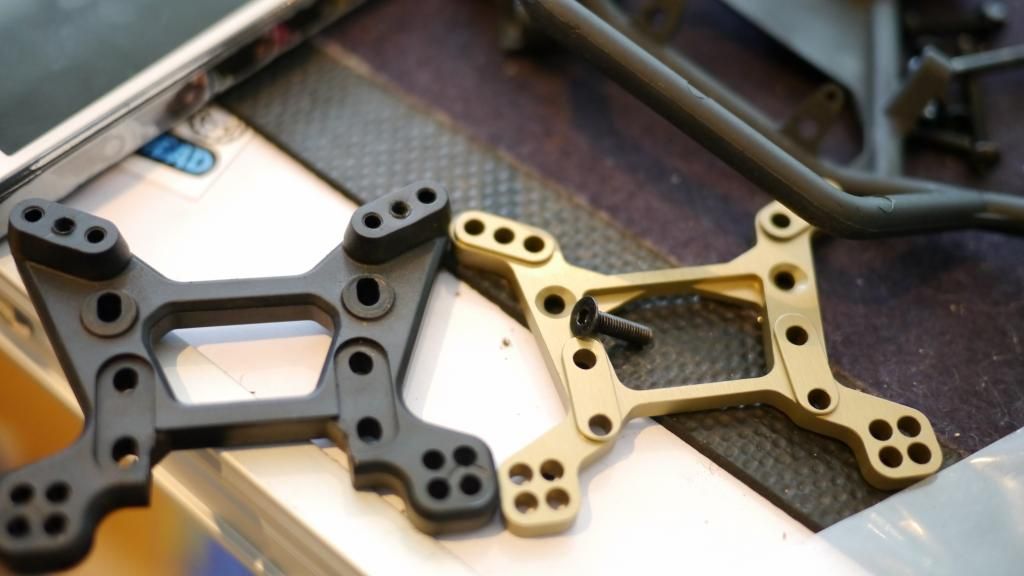 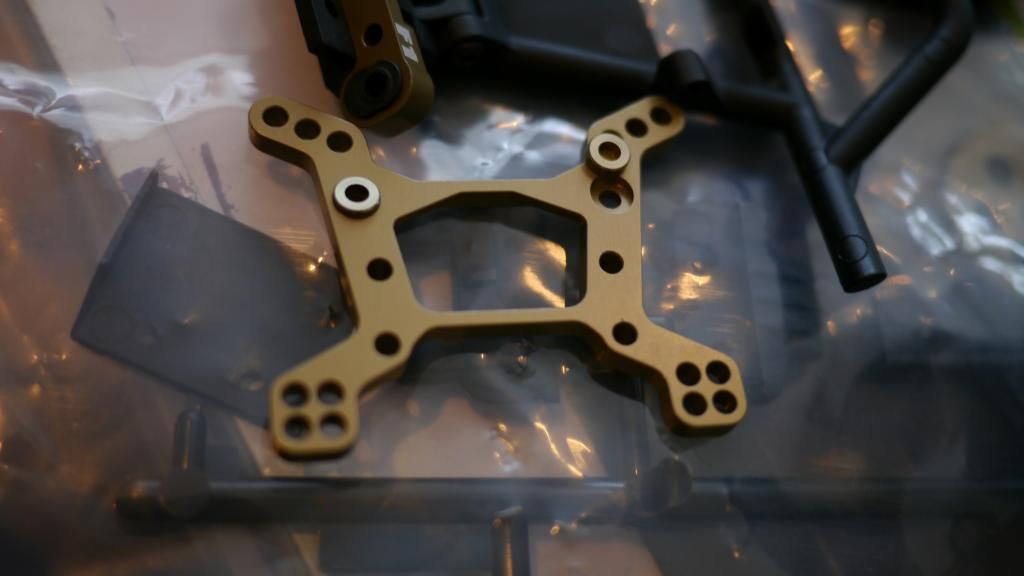 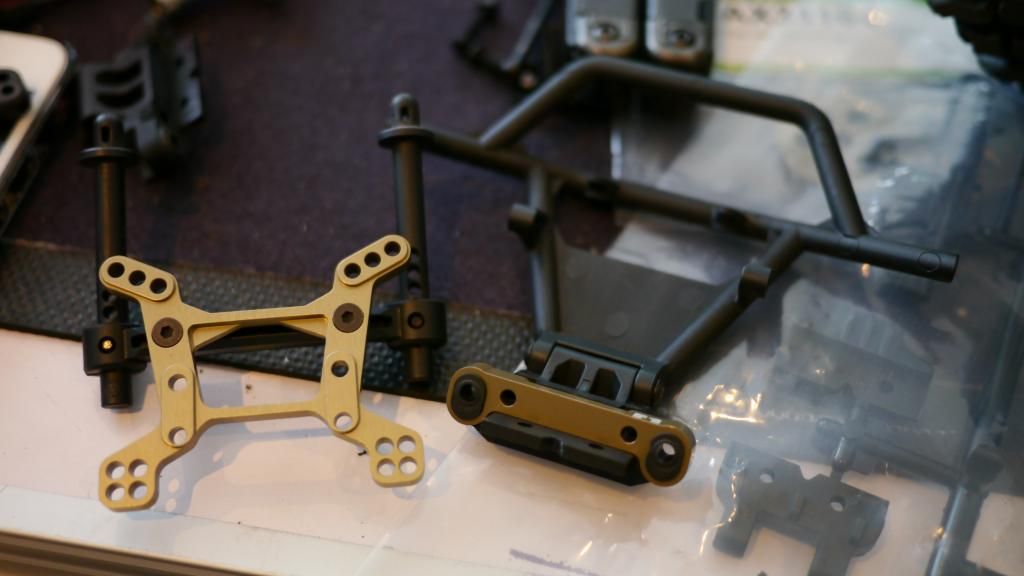 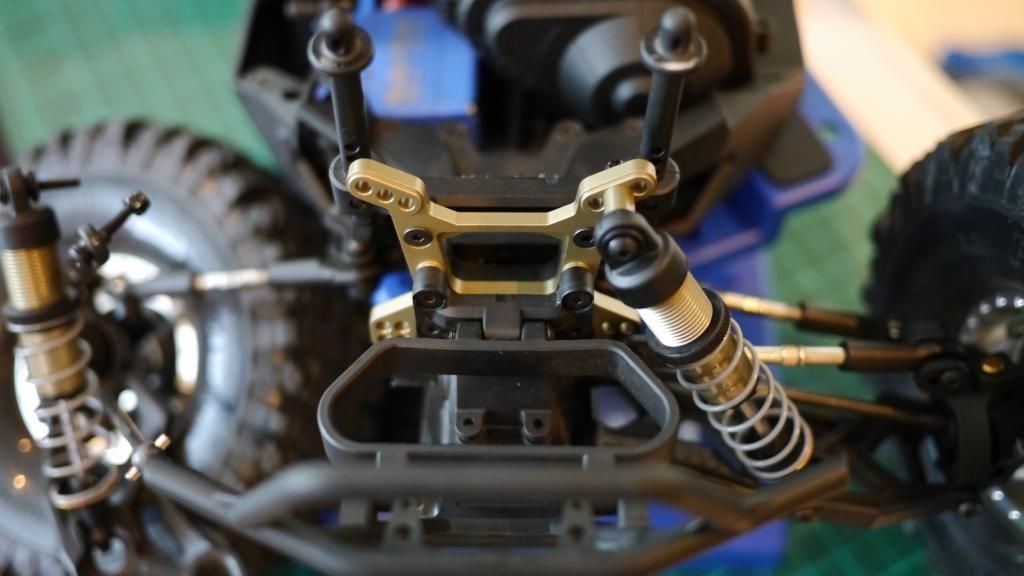 Now that the front end is pretty much complete other than installing HPI diff gears, i went onto installing the Exo swaybars in a hope the car may be less inclined to traction roll. I used the servo rod ends as again supplied in one of the spare parts bag by Axial. I chose to fit the softest sway bar as i dont want a dramatic effect on the front end, as it needs to not bee too stiff, otherwise the locked rear diff will cause more understeer than the car already has. 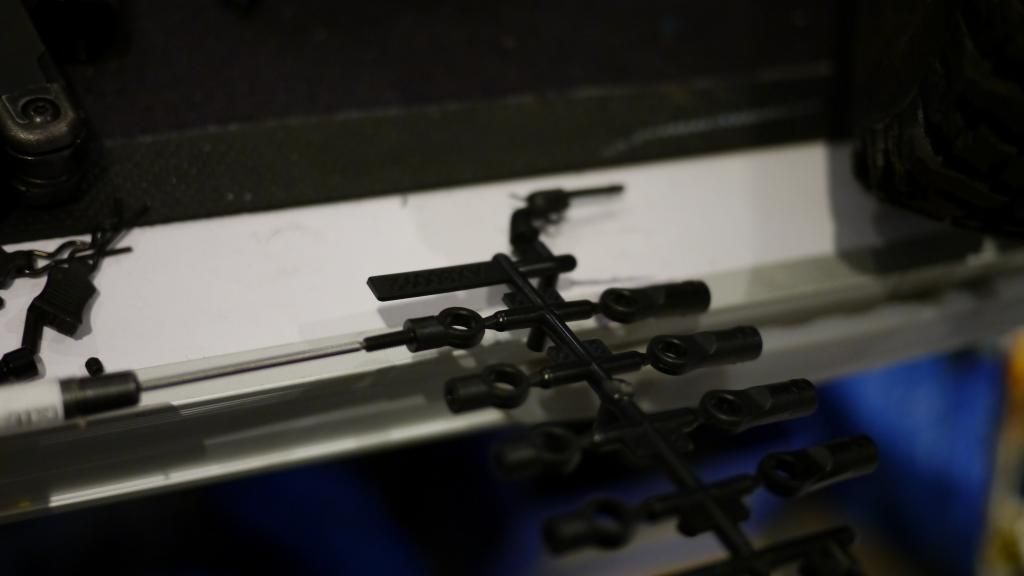 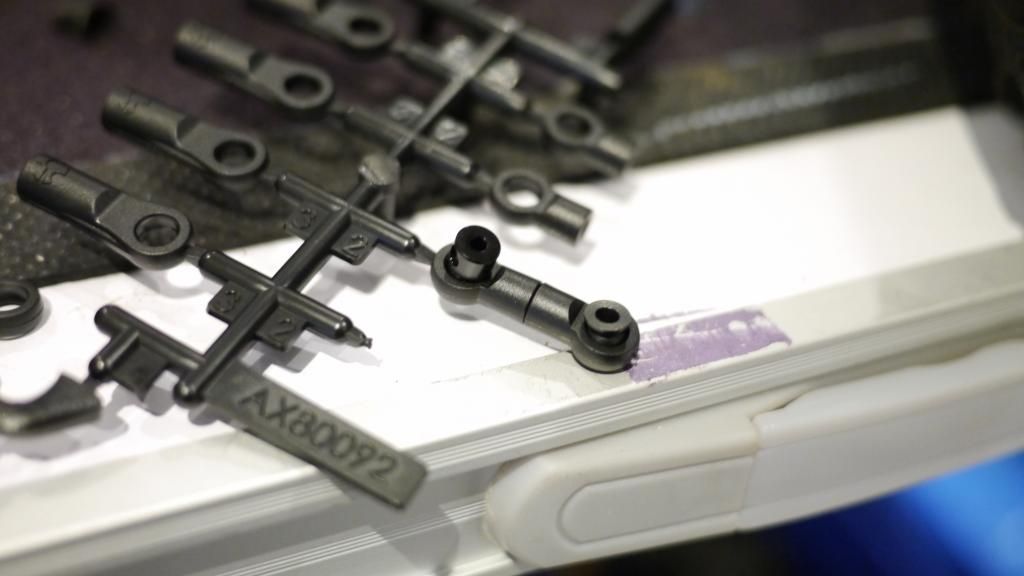 Once installed, you can see the swaybar hits against the Traxxas turnbuckles. This does seem to have a minor effect at full up travel, where the swaybar mound will "click" and be pushed out a tad. 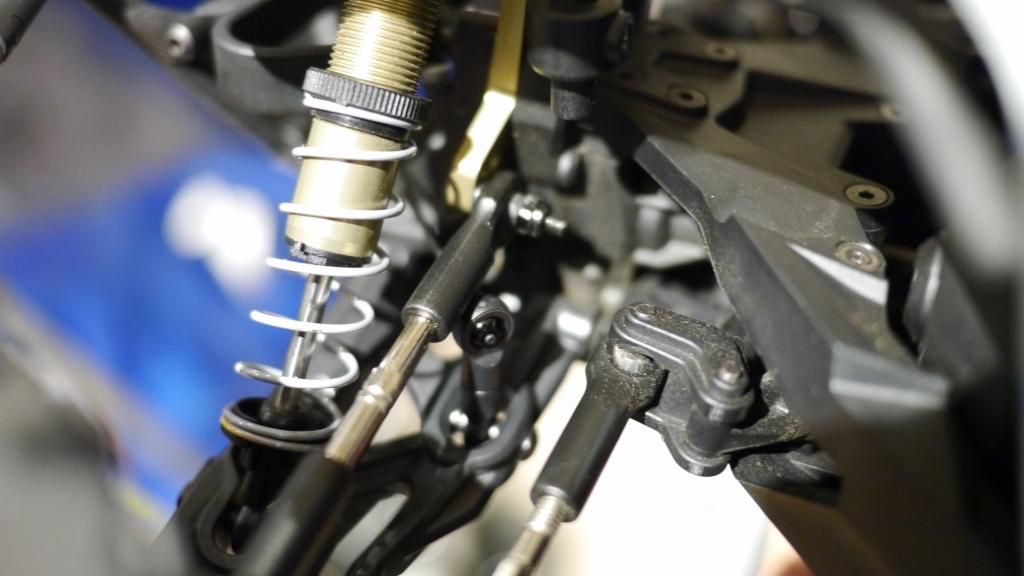 |
| |  |
| | #9 |
| Newbie Join Date: Jul 2014 Location: Australia
Posts: 37
|
As always, its been a while between updates! I forgot to post the MIP tailshaft install as i was too excited and only realised AFTERWARDS that i hadn't photographed it! Hopefully this will be the last tailshaft i will ever need, but it may pay to buy a rebuild kit for it! So, here’s the splined part of the shaft :P  New parts! First up, the Pro-Line Pro-Spec shock upgrade that Pro-Line posted on their blog recently, mostly because after watching the build vid i learnt they have the easiest bleeding setup ive seen for a proven aftermarket set of shocks - interestingly they run an emulsion setup instead of using a bladder, such as their Power Stroke shock do. Still very smooth in operation, though. I also grabbed the purple springs needed for the Yeti, and the next stiffness in between - just in case, as i have installed the Exo swaybars, and don't want the car to have too much roll stiffness. 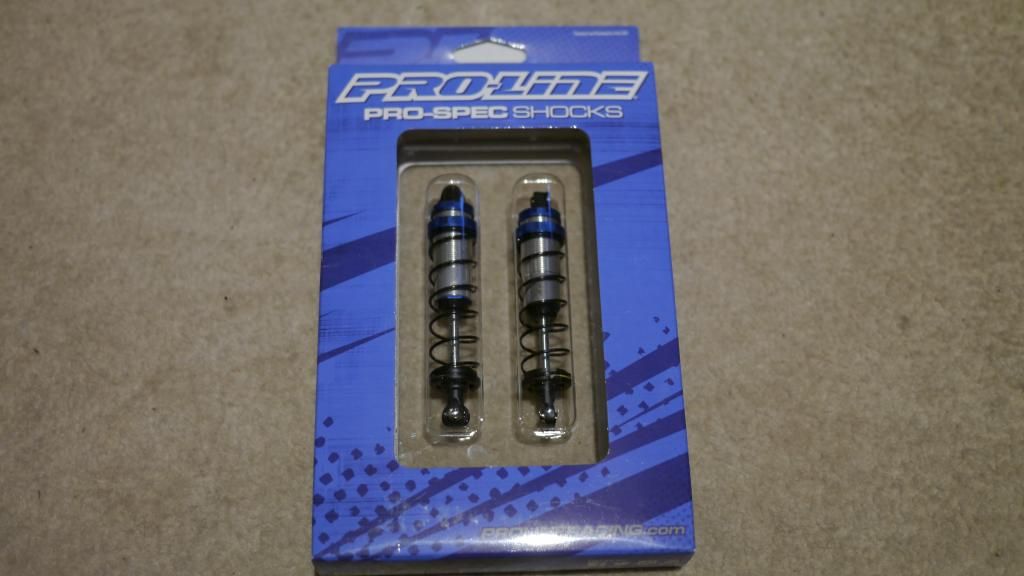 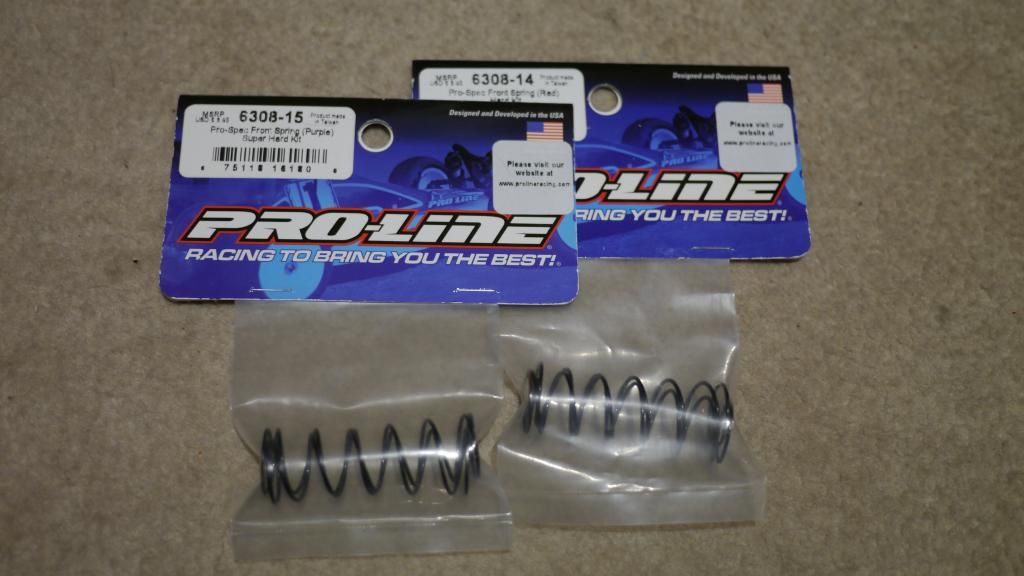 Also grabbed alloy caps for the stock rears, as they have a bleeder hole it them. Its made it a lot easier to get a consistent bleed between the pair of rear shocks when filling them, which i then held in with the alloy option suspension bracket, as it uses screws instead of the plastic pins of the stock plastic bracket (see the two compared below). 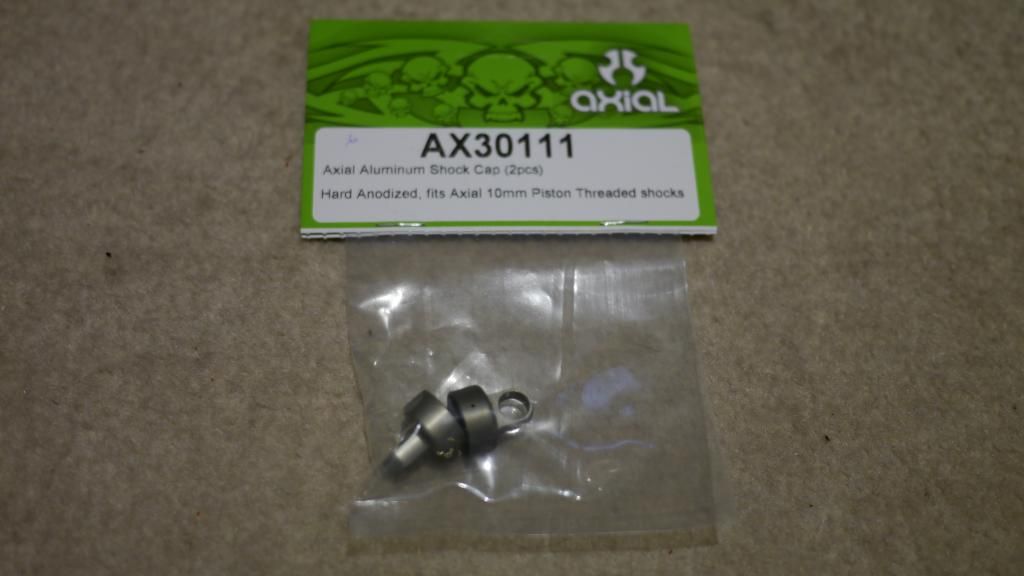 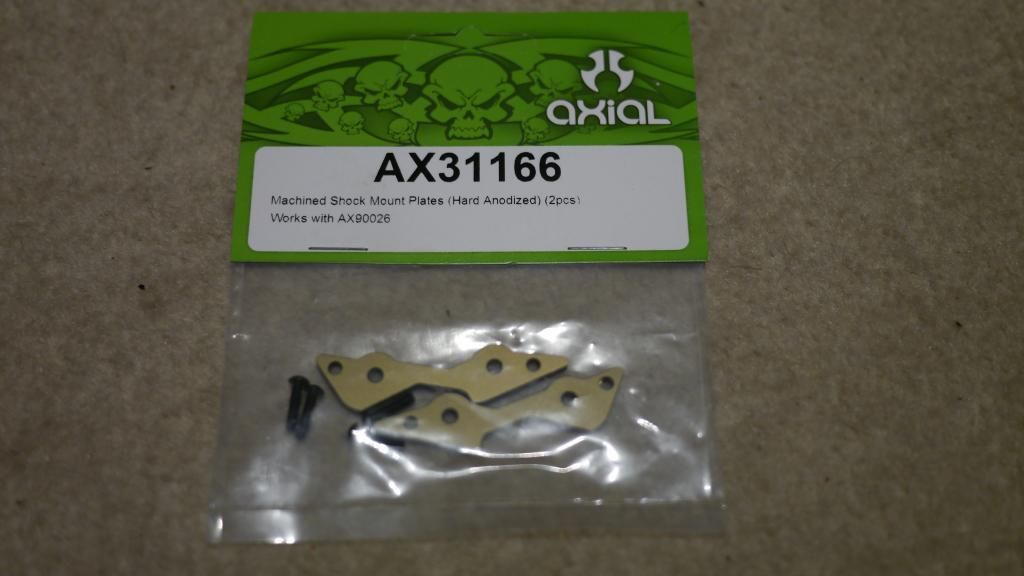  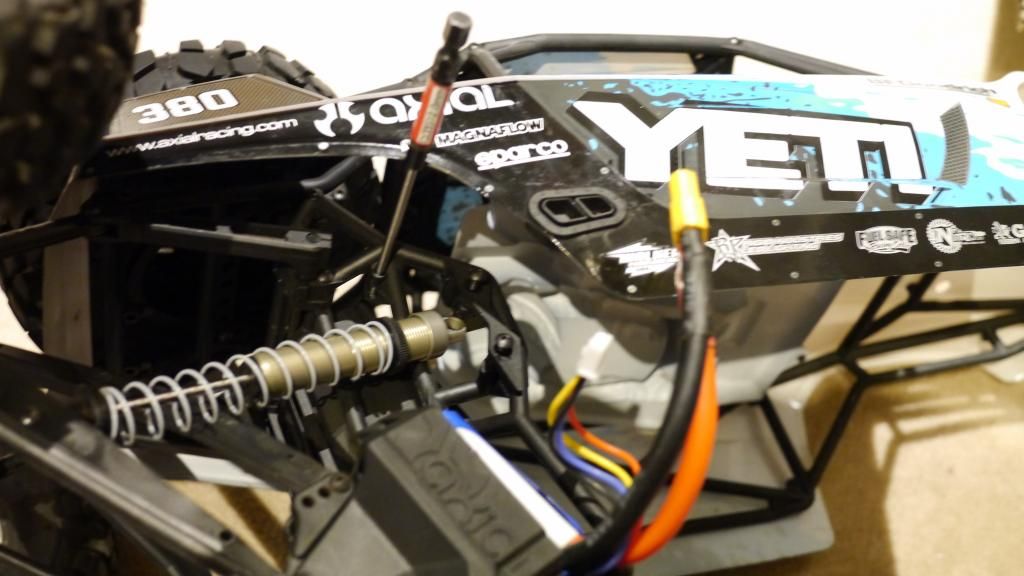 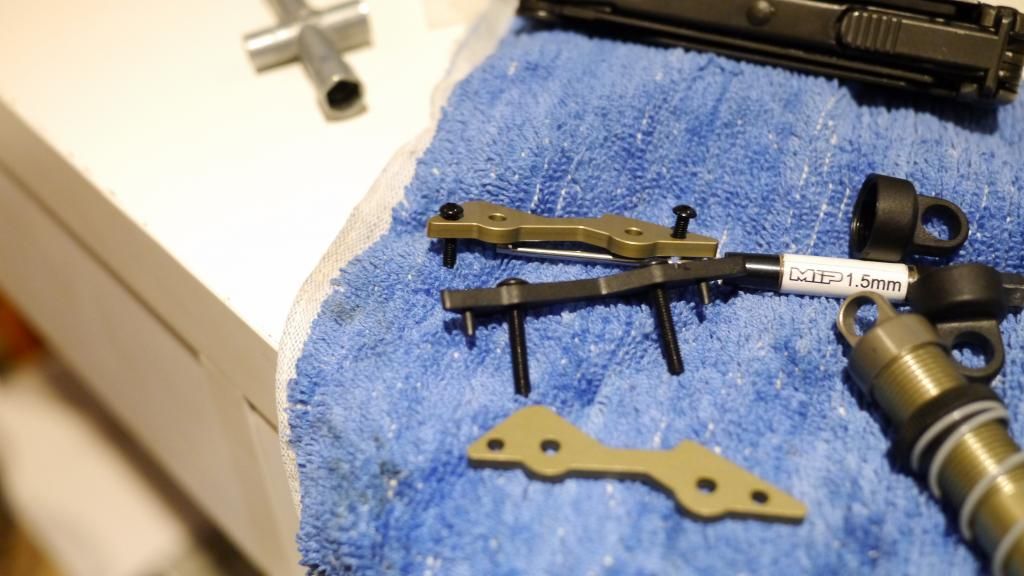  While i was at it, even though i cant fit them, I decided the fill the Pro-Spec’s and swap out the stock springs for the recommended purples so they are ready to go, as i am still waiting on the longer rod ends to arrive so i can make them a straight swap with the stock shocks. 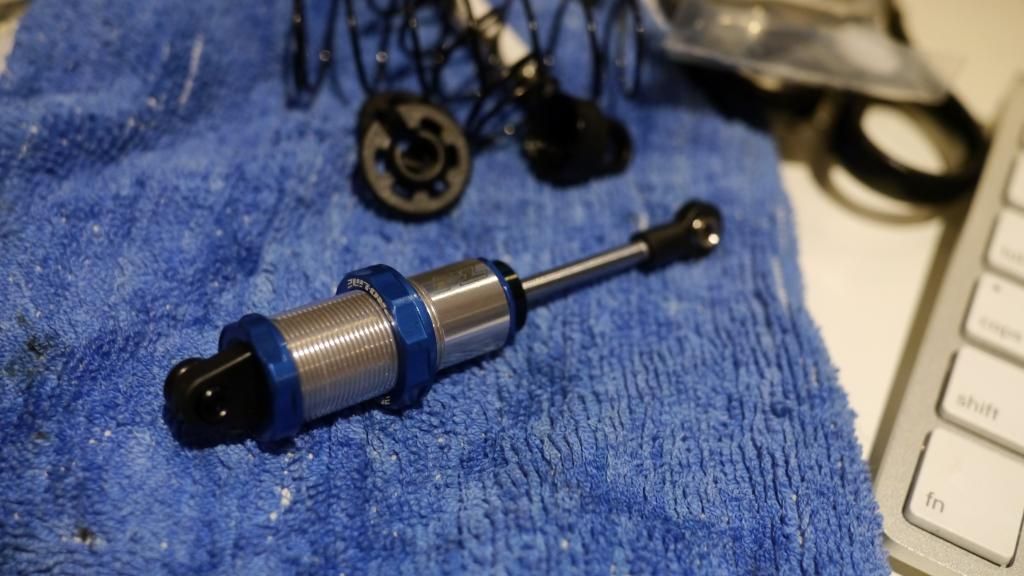 Robinson racing pinions and Axial steel spurs - to handle to power of the upgraded motor, and also another higher ratio of gears if i decide to take it crawling! 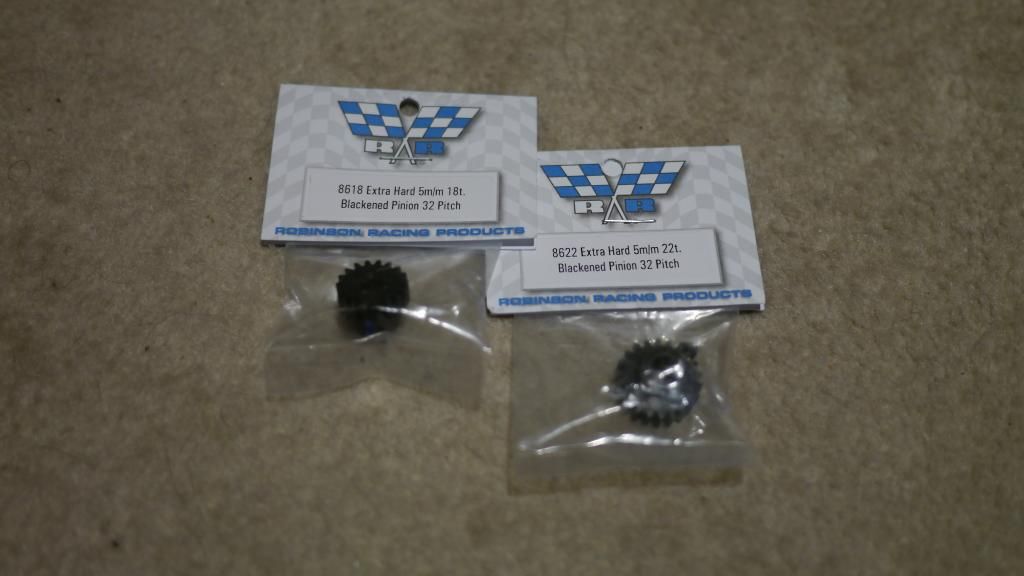 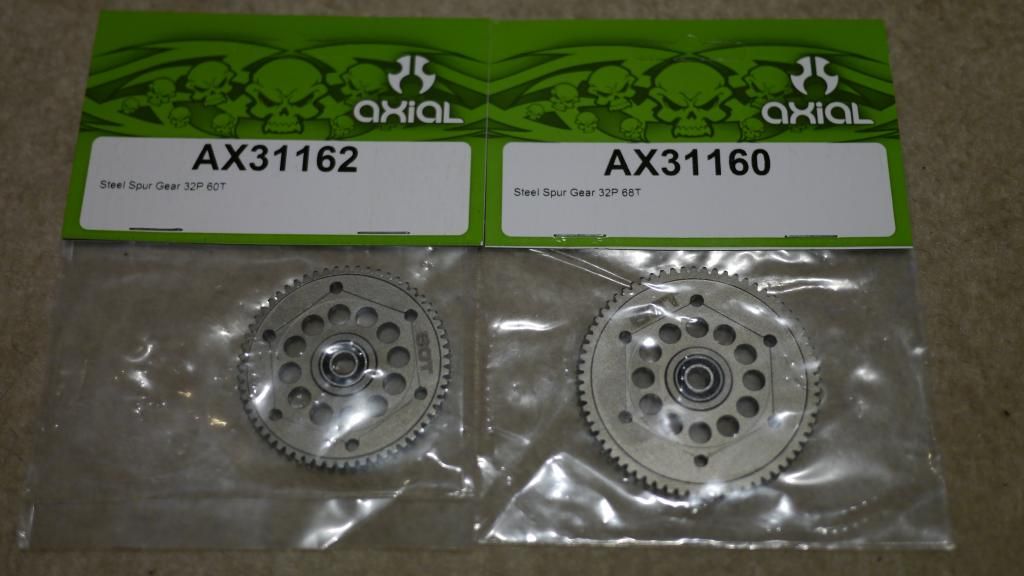 I grabbed some inner suspension pins, as these have a tendency to back themselves out, and if they do so during use they will bend - as i have found. They aren't very stiff, so i was able to bend mine perfectly straight again, but i dont expect it to last. If you own a Yeti, keep an eye on them as mine were backing out after the very first pack. 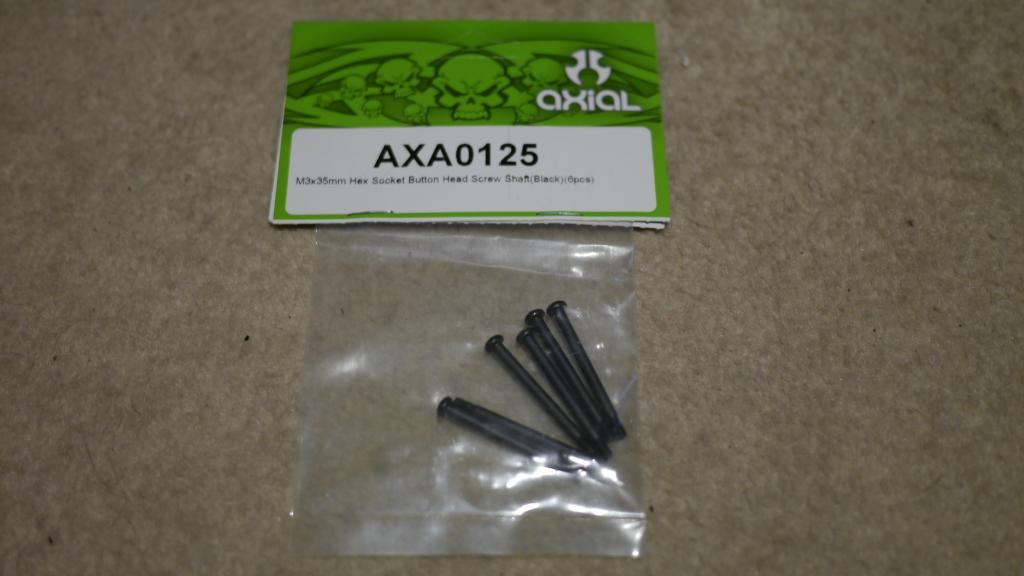 Axial service kit - I contacted the Australian Axial distributor after Axial posted the service kit was available and to contact your local delaers, but the Aussie dealer didnt know what i was talking about. So i spoke with Axial and they responded quickly asking for me to send a photo of my serial no, and address. I was really happy with them being positive and no questions asked said they were happy to help. A couple of weeks later, i get this in the mail! Its 2x lots of redesigned plastic hubs, and more importantly, alloy hexes! Even better that they’re free! 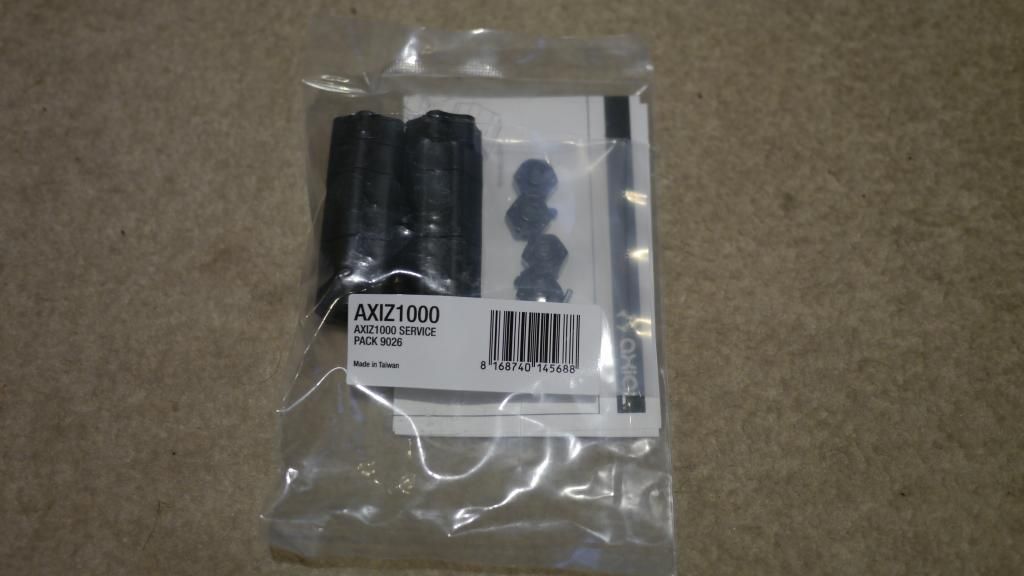 And lastly, some stiffer rear springs, motor mount, lightweight slipper plates, and Exo RPM arms which i’ll wait to install, as i can't see the stock ones being too troublesome. 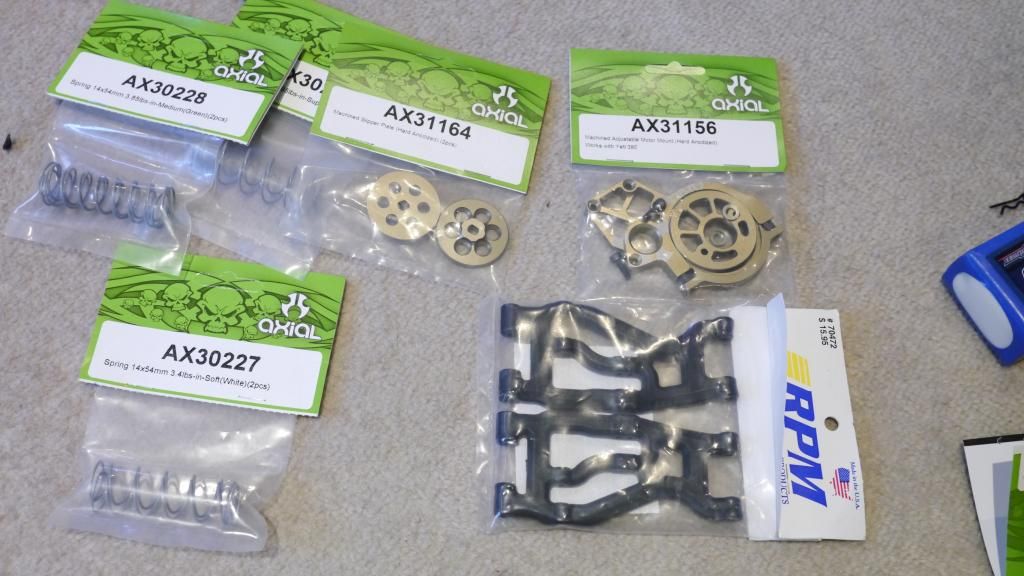 As i started on installing the above, i noticed that my newly added spare wheel was actually limiting about 10mm of UP travel in the rear suspension, as the swaybar arms are hitting the tyre! check out the following images from underneath and on top, squeezing the suspension into the tyre to achieve full travel. Ive now removed the spare rear tyre. 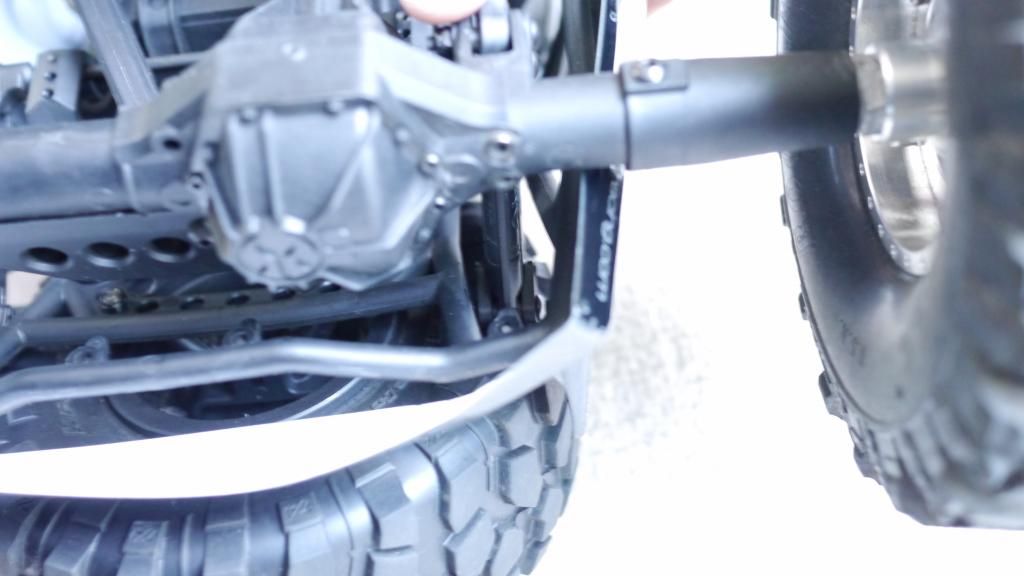 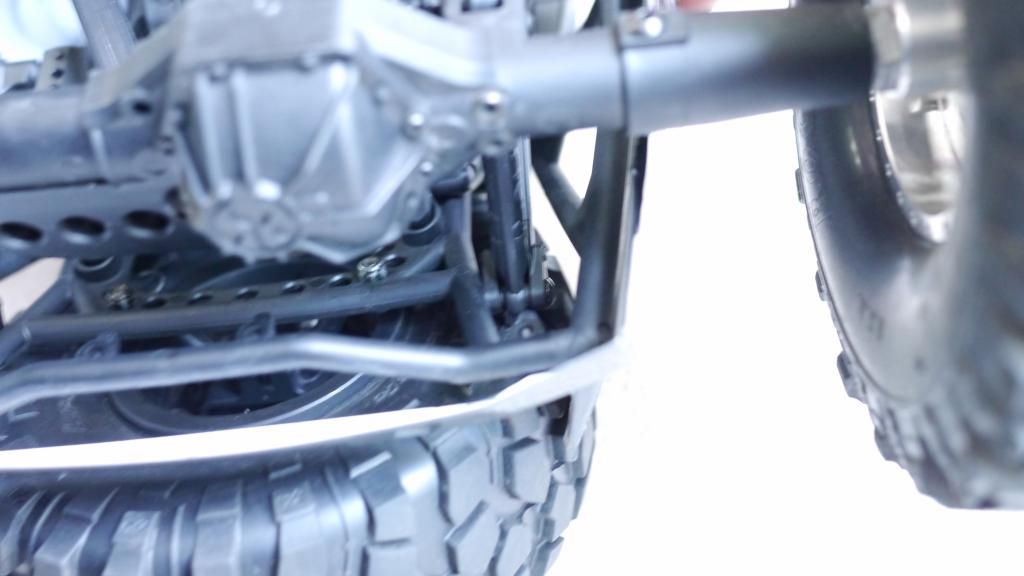 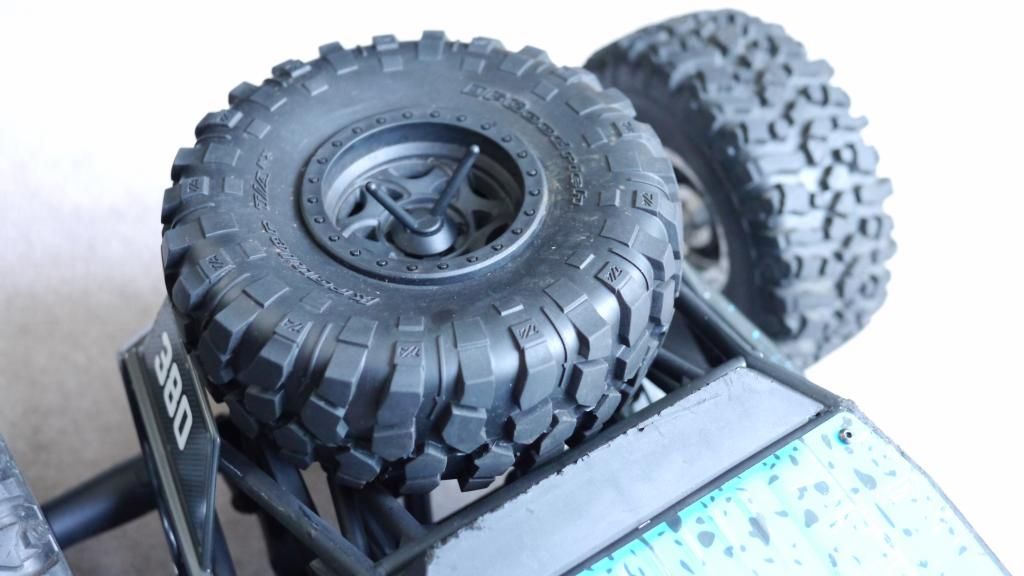 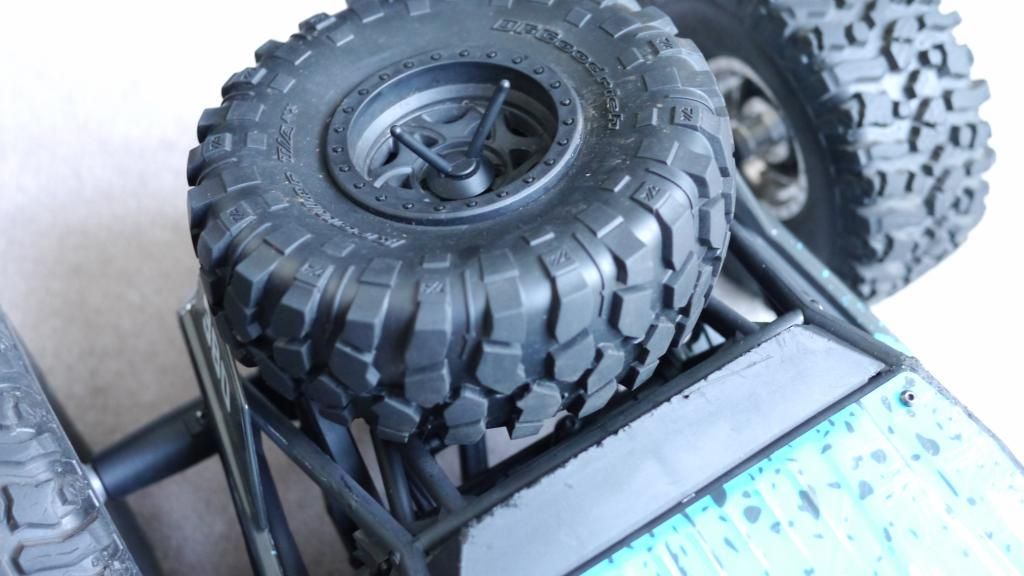 The next round of mods after the rear suspension was upgraded, is the motor and all around it. 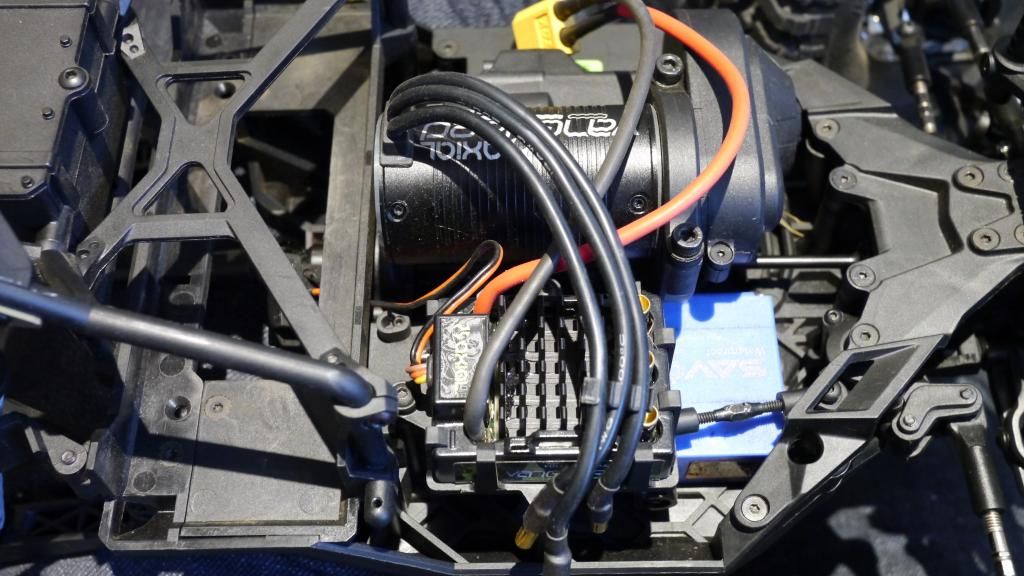 I was a bit surprised to find the pinion loose as a $2 hooker. This car just keeps on giving in regards to build quility. 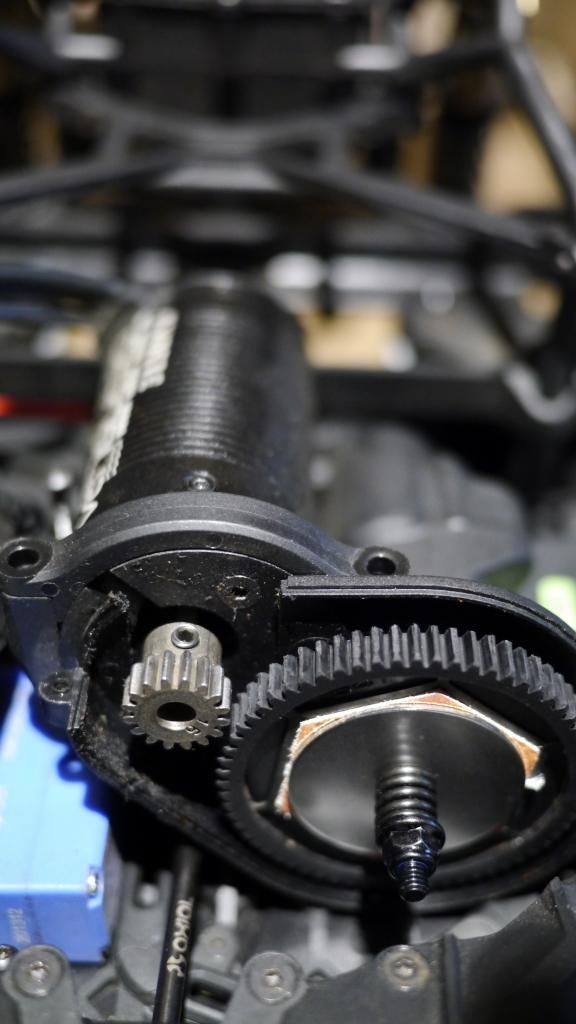 I chose this combo of taller gearing as the new motor isn't as high a KV as the factory setup (which will be recycled into another project on the way!). 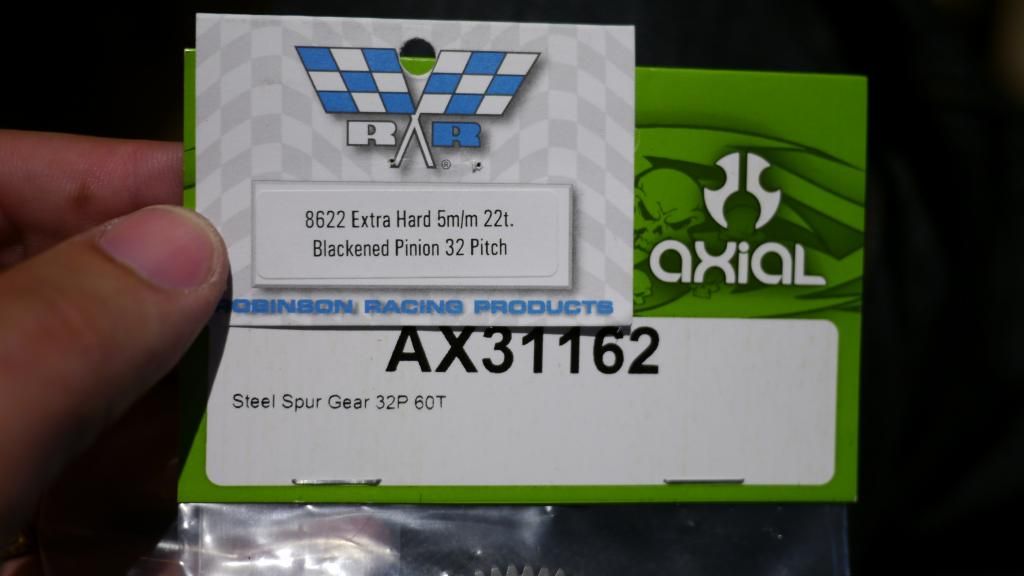 Interestingly, the spur is flanked on either side by a round piece of steel which rests against the slipper pads, but then at the back there is a cast version of the alloy upgrade. Ok, theres only one, but im sure anyone upgrading these would be happy to give them away, so theres my tip for a cheap lightweight slipper setup - throw away the steel plates, and run two of the cast plates by themselves after sourcing a spare from a mate! 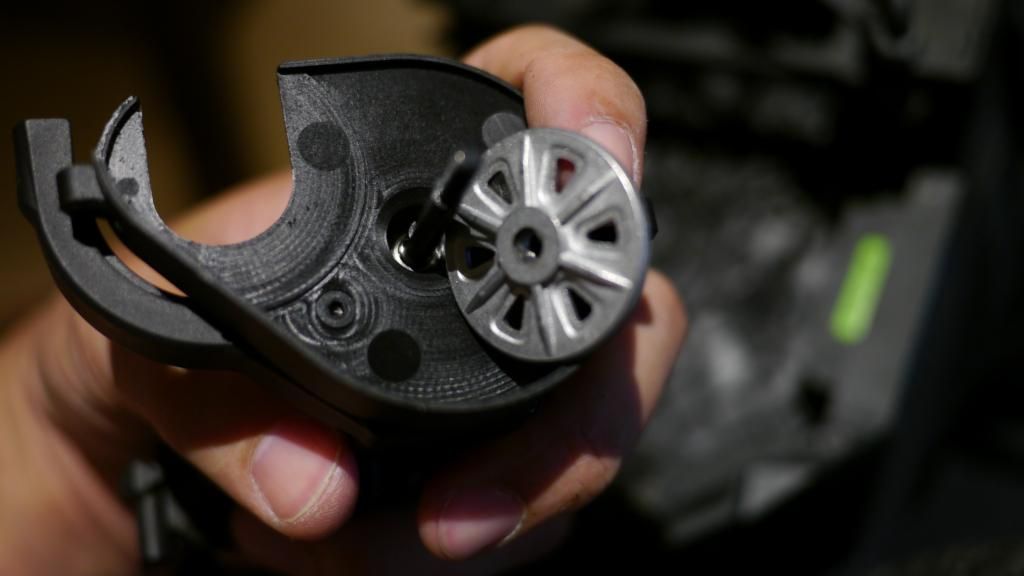 On goes the new alloy motor mount - primarily got this to ensure little to no flex from the motor. Sexy thing that it is! 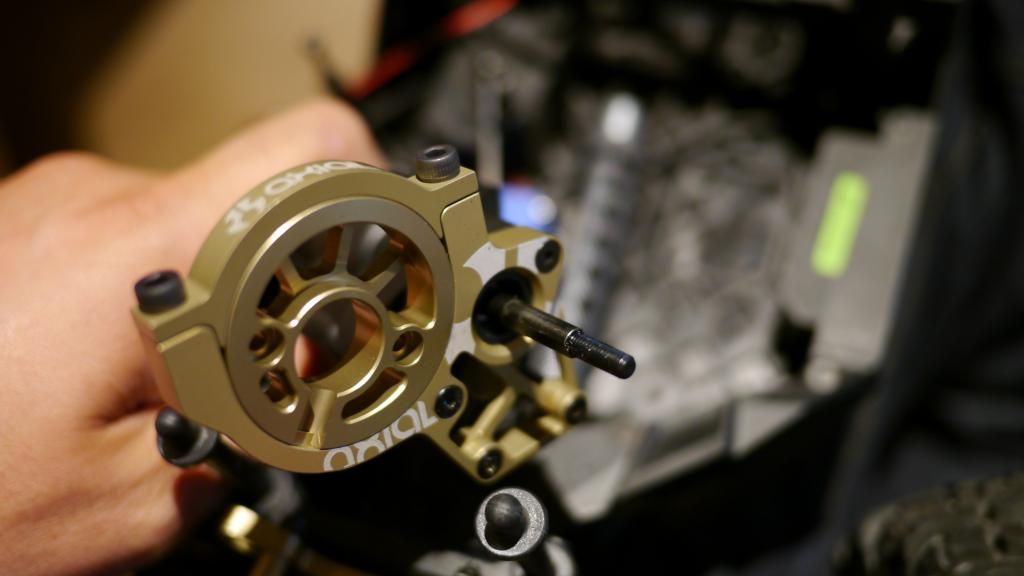 Found the slipper pads have an adhesive backing, stuck to finger. Pretty neat, but not conducive to removal and reapplication!!! 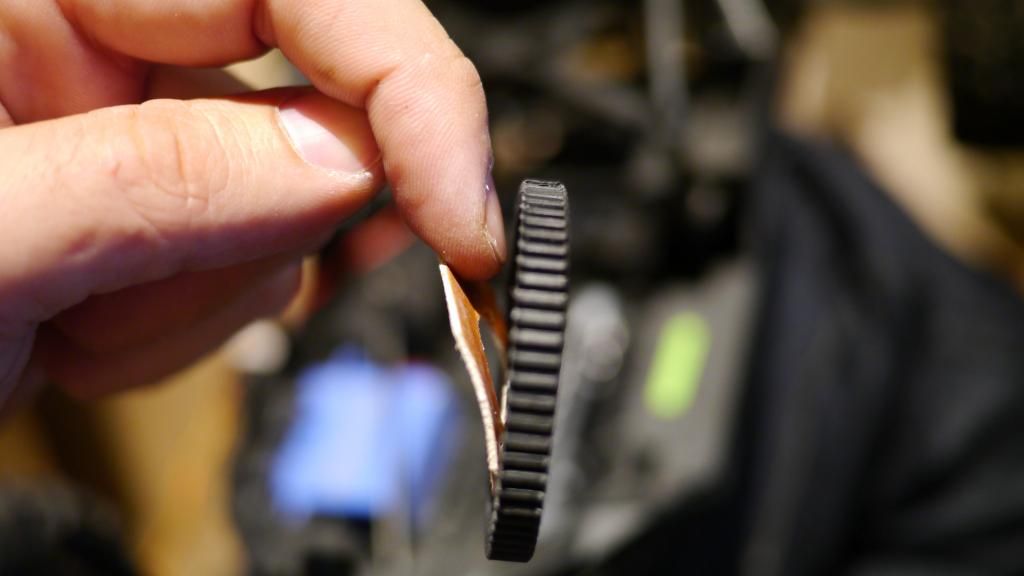 The end result! Well, it would have been if this numpty didnt forget to screw the dust cover on behind the spur first… 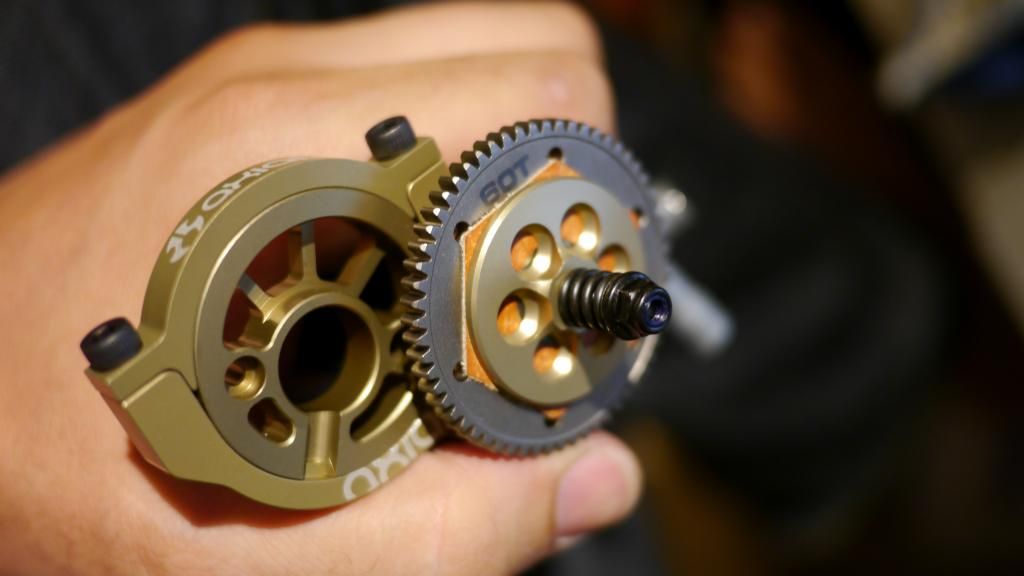 Next was the install of the motor - A new Tekin PRO-4 HD, 3,000kv 550-sized unit. My most powerful 1/10 motor in the fleet! so that meant removing the ESC from the Truggy to be installed in this. The first couple of photos showed the two ways you can mount the motor as its circular, so i chose the lower position so it was lower in the car and had less room to flex (if it even can). To mount it this way i had to remove the motor and unscrew the face of the motor to twist the solder tabs into a more favourable position. Easy enough job. 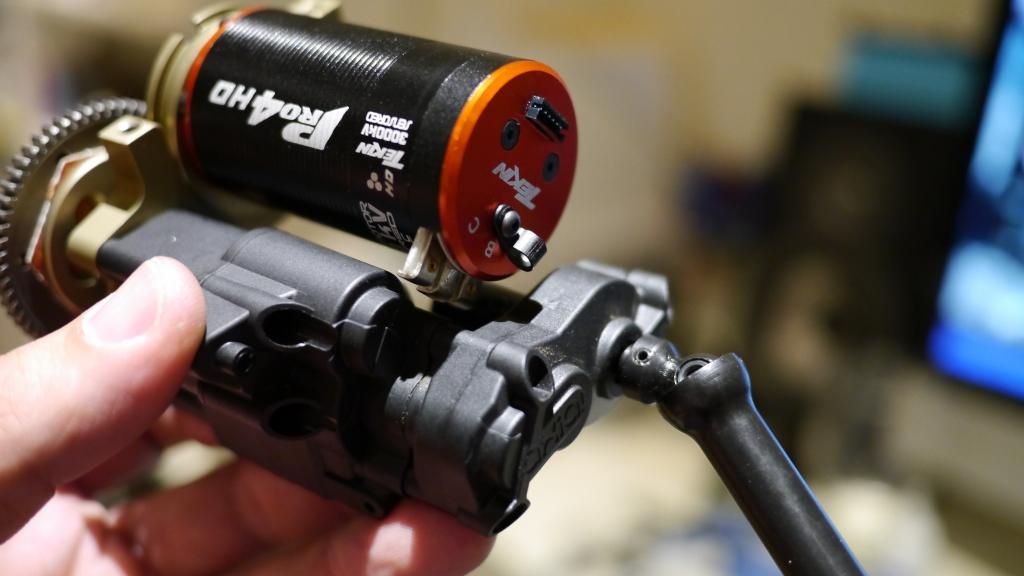 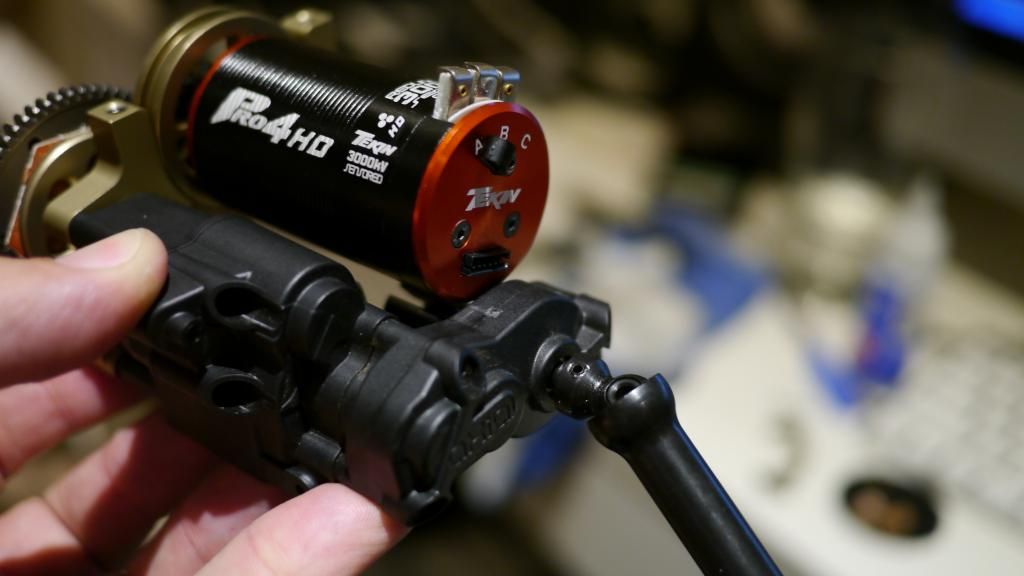 Here’s thinking: They’ve added a relief in the alloy so you can fit your wrench in there - which was great because i needed it!  All setup and meshed to my liking, but i did have to dremel out some of the battery tray to give a bit of space for the sensor wire that was hard against the tray. 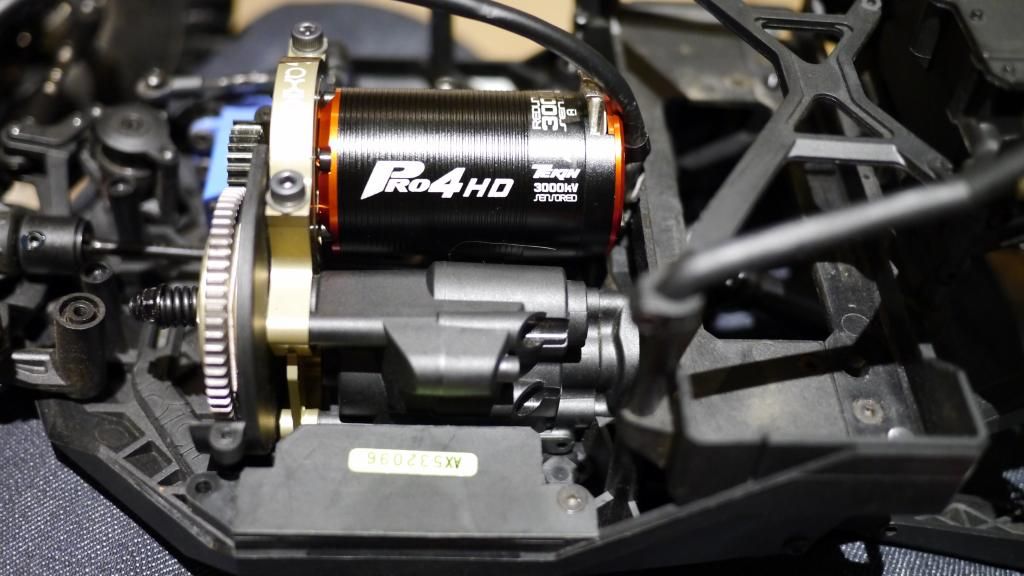 Last edited by BCK; 11-20-2014 at 05:36 AM. |
| |  |
| | #10 |
| Newbie Join Date: Jul 2014 Location: Australia
Posts: 37
|
Next up was installing some of the components of the service kit. As i was an early adopter i had already purchased Vanquish hubs so i didn't need those, but i did give the Blitz its hexes back and chucked on the Axial alloy hexs, while also adding new bearings to the axel. Its beyond me why Axial use such small bearings in these axles. These bearings have only had a couple of packs and have already shit themselves, much like the fronts.  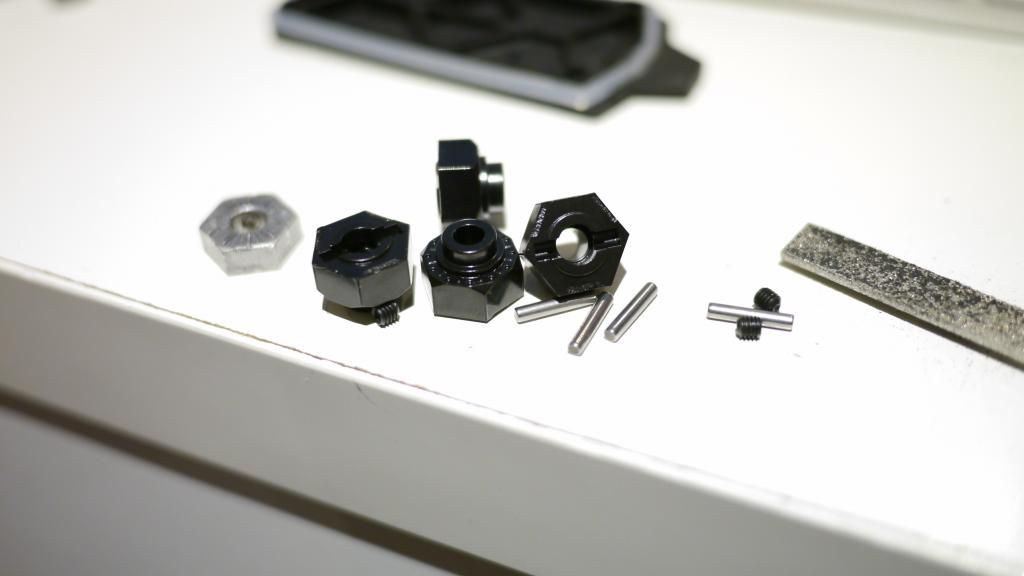 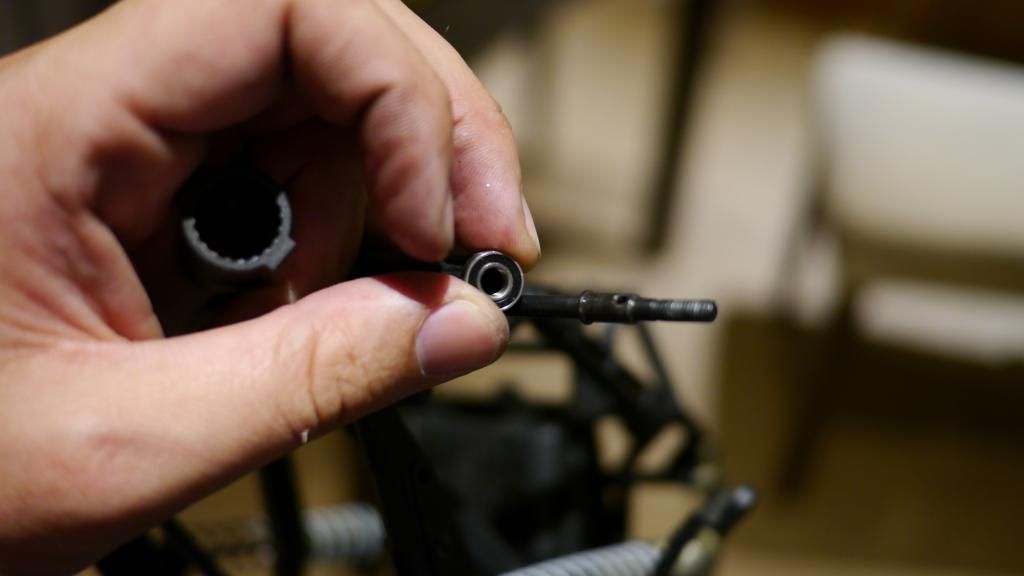 Assembled and ready for the electrics to be soldered up. I found a spare Castle fan that fitted perfectly, so hooked that up while i was at it! 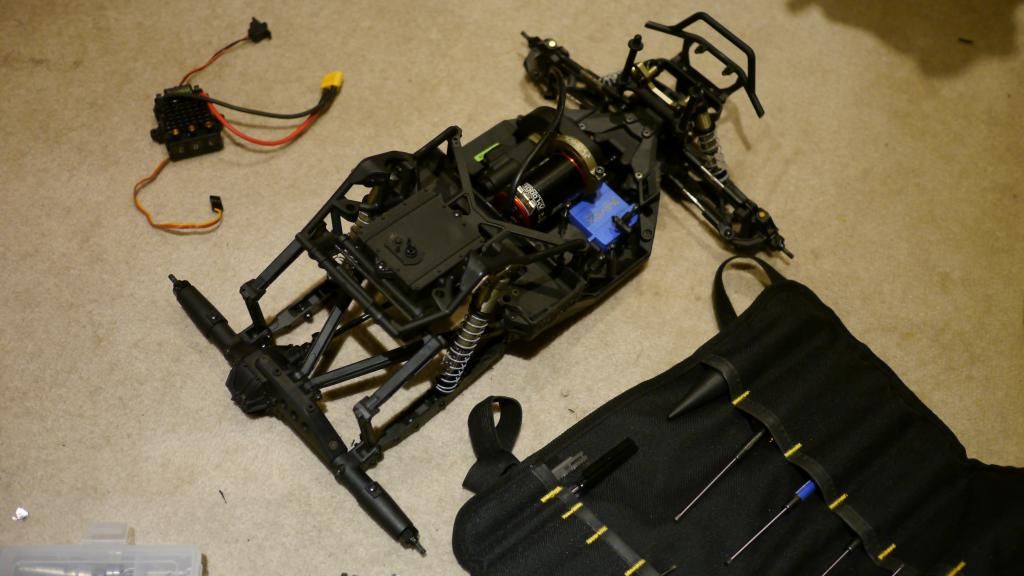 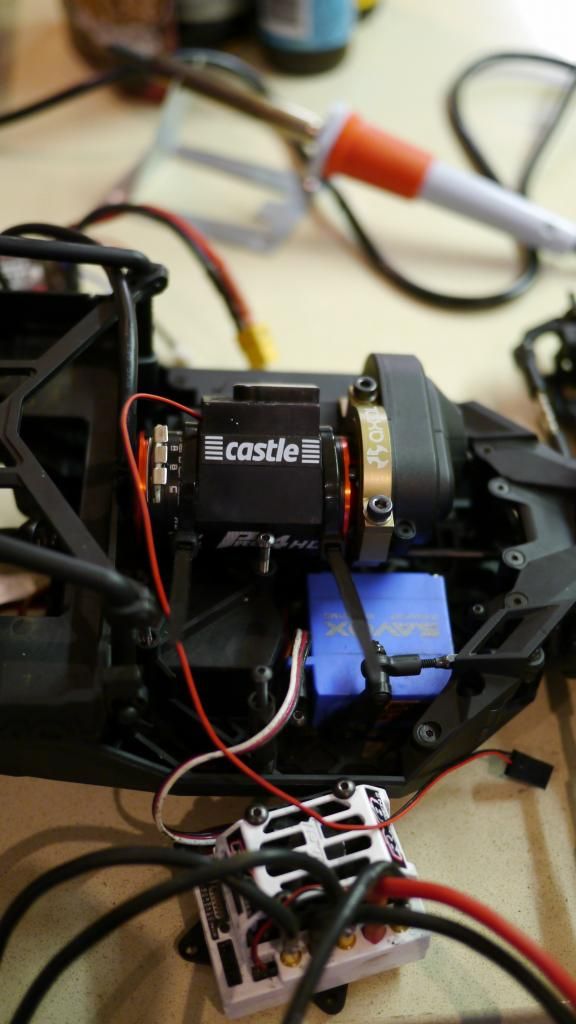  Now heres where i ran into an issue. The RX8 II ESC in sensored mode would cog at a million miles an hour but not go anywhere. It cogged so fast that it sounded exactly the same as the clutch on a drill. I tried removing the sensor wire from the motor, and it then ran fine - albeit with typical sensorless behavior. The esc was doing this in the truggy as well and at the time i just thought that the sensor port in the truggy motor just shit itself, but later when i found the motor was spinning backwards in the Yeti, i swapped the outside 2 wires for aesthetic reasons and bingo, it works perfectly with the sensor plugged in! So to anyone who runs into this same issue, swap the OUTSIDE two wires (A+C), and if the motor is spinning backwards then simply change it in the ESC’s settings by using a Tekin usb “hotwire”. 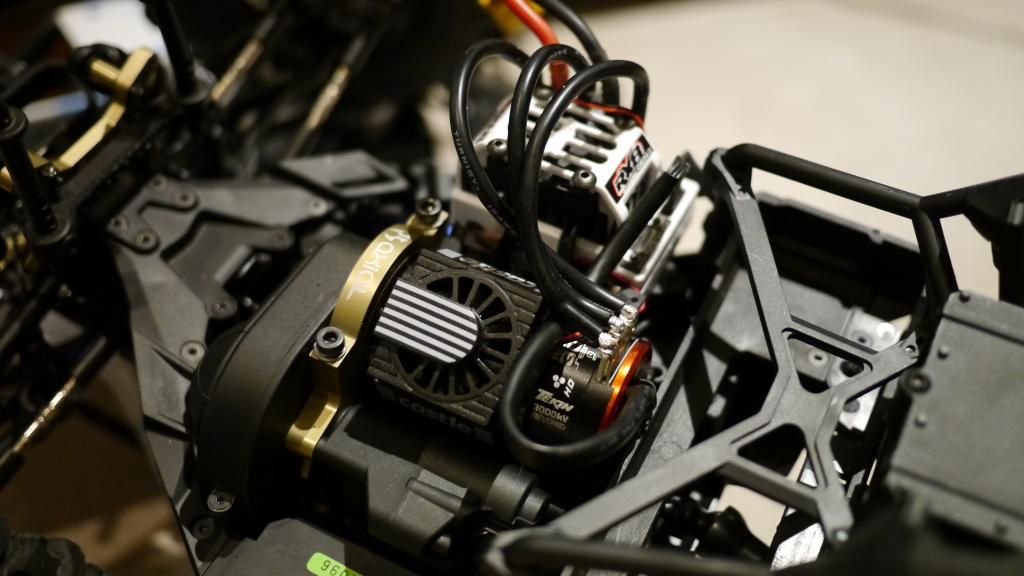 Now to take it for a run!!! |
| |  |
| | #11 |
| Pebble Pounder Join Date: Mar 2008 Location: sherbrooke
Posts: 99
|
hope it will hold up this time
|
| |  |
| | #12 |
| Rock Crawler  Join Date: Apr 2010 Location: Eastridge Tn.
Posts: 724
|
Good work on the upgrades. Takes quite a bit of coin to get it where it needs to be, but it's an awesome rig otherwise..
|
| |  |
| | #13 |
| Quarry Creeper Join Date: Sep 2014 Location: UK
Posts: 256
|
Great build thread mate, probably one of the most informative i've seen for the Yeti on here. Plus it's good to hear some familar phrases like "Numpty", lol - didn't realise you boys used that too. Good man, keep this thread going. |
| |  |
| | #14 |
| Newbie Join Date: Jul 2014 Location: Australia
Posts: 37
|
Took the Yeti out for a spin in a dusty gravel area after putting back together, and man does it haul! Its now got a pretty good top speed on asphalt, and was rocketing across the grass at a good rate of knots, also. I’m impressed with the 3,000kv decision for the motor, as i feel with the gearing and voltage as it is, it felt like a well ballanced setup. Im no crawler guy, but even when trying to crawl up some steep dirt mounds with this taller gearing, this setup allowed allowed me to go as slow as i want as well as being very easy to control - with the exception of getting stuck because the front was losing drive to one side due to the open diff which is to be expected But i was very impressed with fine control none the less, especially how it never felt like it was going to overshoot any of my crawling maneuvers from too much throttle. I also noted the steering felt a lot better even though the ESC’s BEC was set to its lowest voltage of 6v (i think it is?) setting, not 7v. Im putting down the performance increase to possibly higher current draw allowed from the RX8, but without knowing the stock castle ESC’s voltage/current outputs this is just a guess! Now the bad: The car lasted less than half a pack before i started hearing the dreaded notching noise and instantly knew the rear diff was pooping itself. Being the kind of guy i am, i kept it pinned, and pinned, and pinned, and pinned some more. Viola! It was FWD again! So back home again to pull the rear apart to investigate.  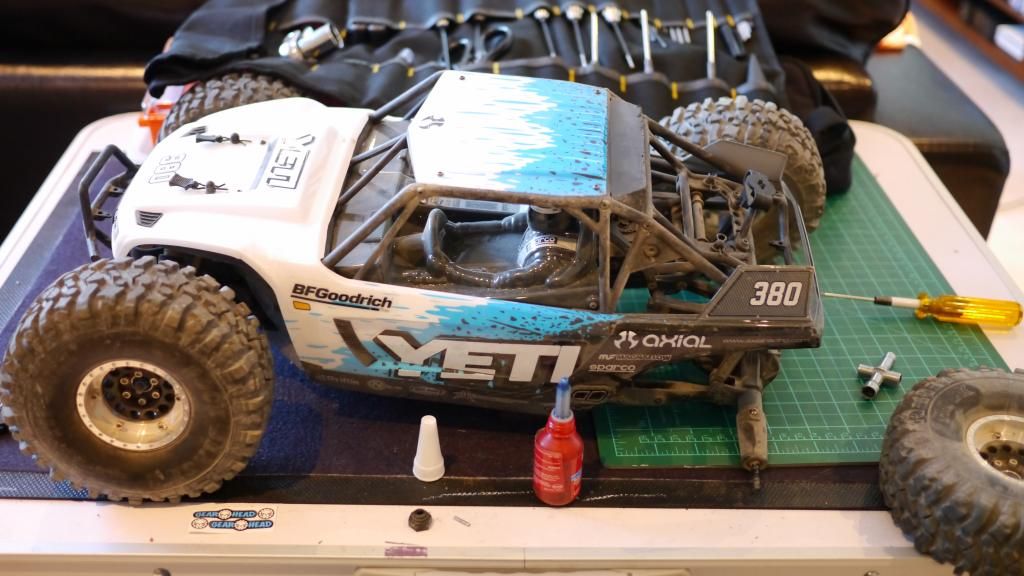 Im impressed how easy these are to pull apart, but i can't help note for what they are these rear ends are a lot of unsprung weight! 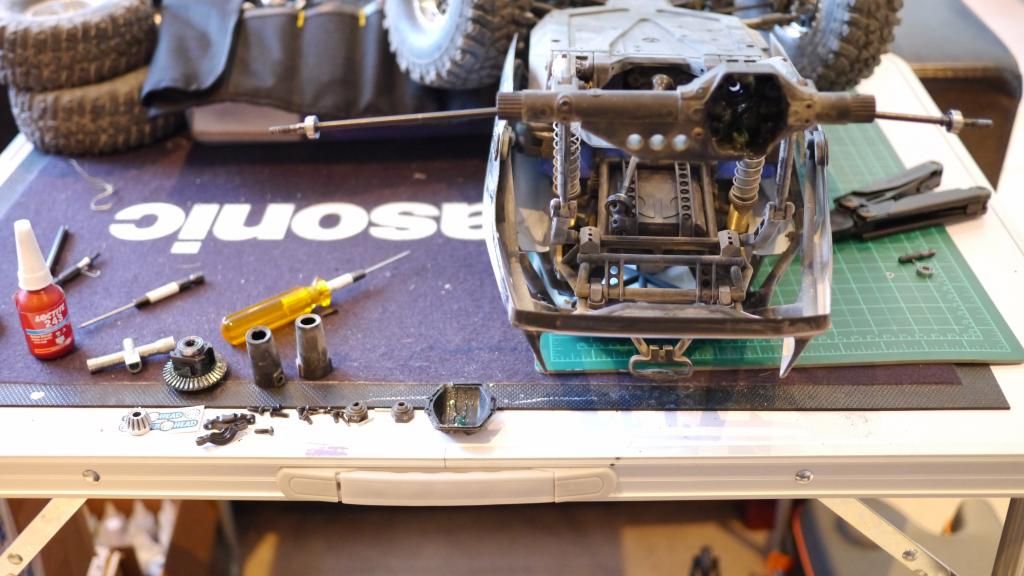 The culprit. Its a shame that possibly shimming the diff pinion may have prevented this, but reading elsewhere that the diff is an issue i had already pre-ordered HPI spider gears for the front (and the rear if i decide to unlock it down the track), as well as Axial HD crown wheel and pinions at the same ratio as stock, but these were only sent from tower a few days ago. So it’ll be next week until i can reassemble. 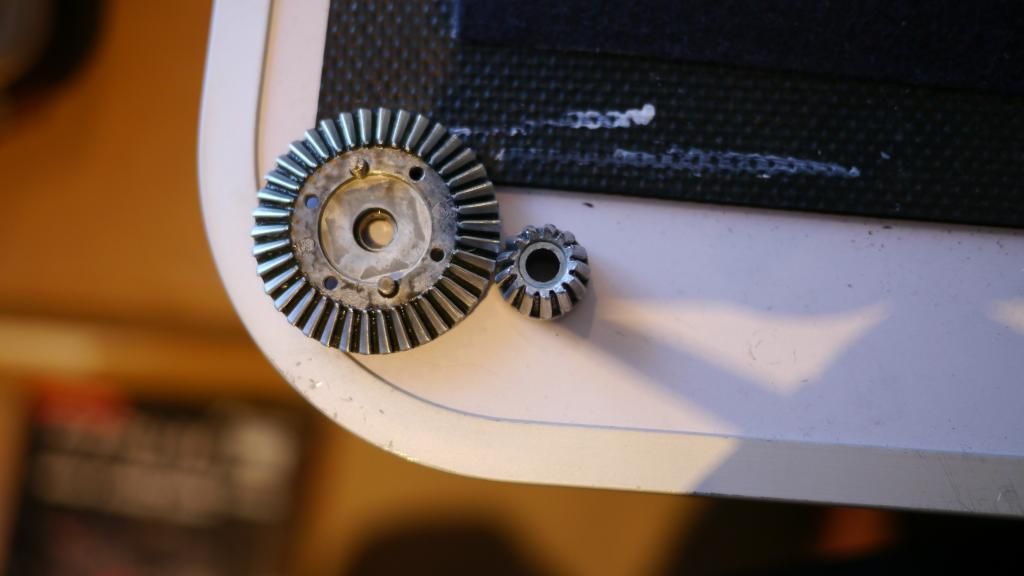 I then went on to inspect the rear shocks to see how the caps held up and i was happy to see that there was just some residual oil from the last fill, unlike the bloody fronts that just decided to dump all their oil. Grrr 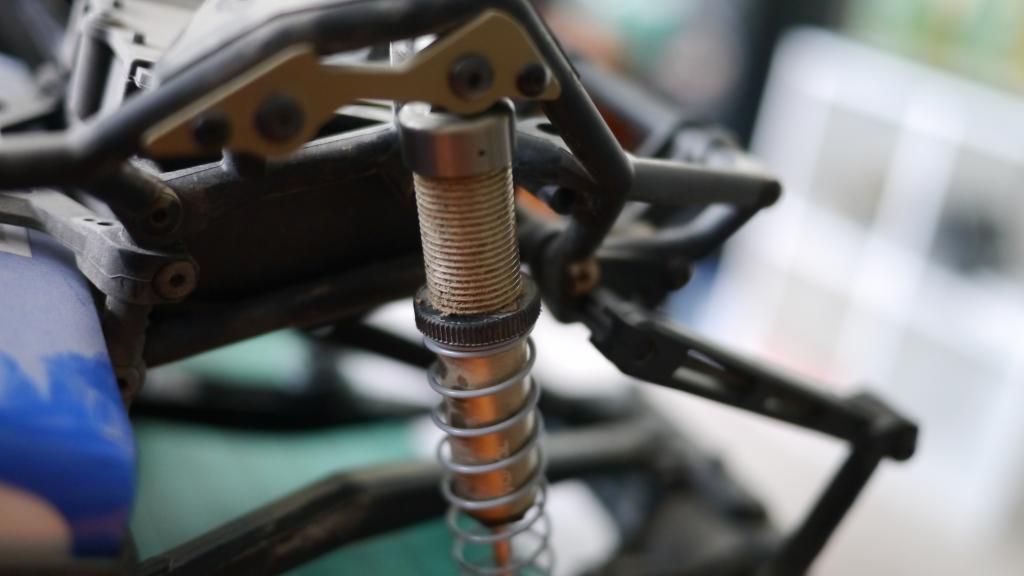 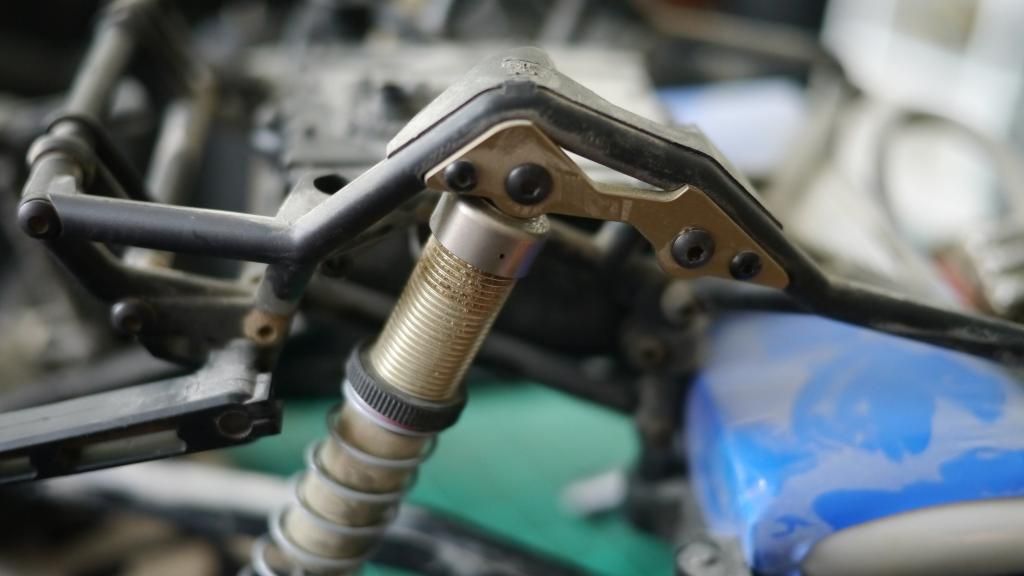 Because ‘m a bit of a fiddler, i sat down again and swapped the rear shock positions to make the rear a tad stiffer as even with the stiffer rear springs wound all the way out on the collar i wasnt happy with the lack of static droop from the rear being unable to hold up the car. Mind you the stiffer rear did make a difference to the handling, making the car more prone to oversteer now, instead of understeer as before. Note that changing the rear mounting position will lower the car in the rear as well as stiffen the rear end, much the same as adding slightly stiffer springs. 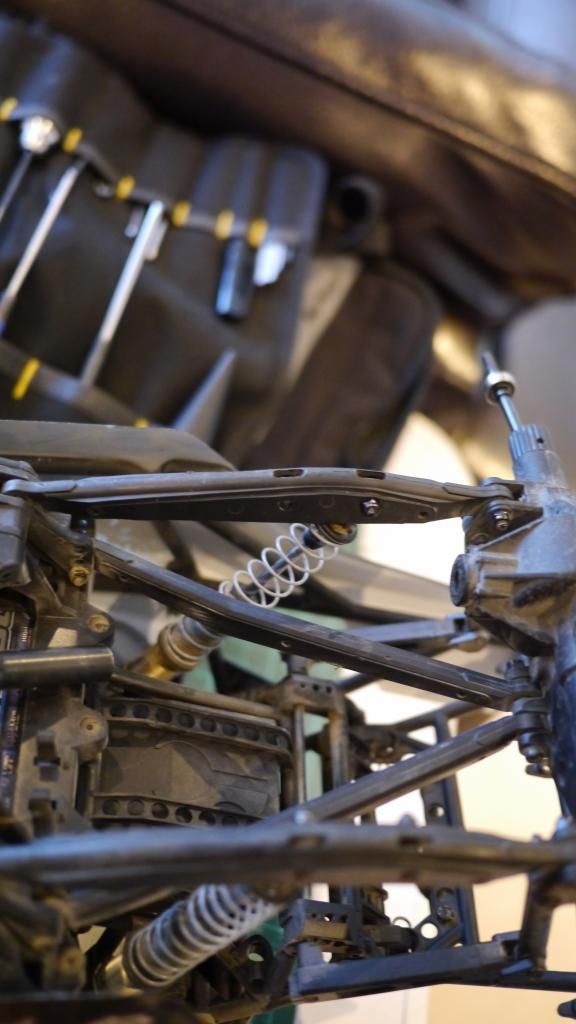 Also i had noticed when switching the rear shock positions that the bloody lower arms had already started to bend! i hadn't done anything CLOSE to jumping this thing yet!!!!! >:( so much for it be a good jumper, aye Axial? So im just wating on Mr Carter to post me my parts (going on a few weeks now, Mr Carter…) so i can get started on the steering rack, lower arms and links, as these are really the last things that i feel need to be upgraded to top this car off. I just want to get through a whole pack, please! Lastly, all 4 of my bloody wheels were loose. The nylock nuts refuse to stay on and im 100% sure its because the alloy hubs have no squish in them to push back on the nut and hold it in place.. Ive tried blue loctite twice but it doesnt seem to be a viable option. Can anyone suggest another route to take? Ive been thinking of trying red Loctite, but im unsure sure if i’ll be able to undo them! Cheers! Last edited by BCK; 11-21-2014 at 04:37 AM. |
| |  |
| | #15 | ||
| Quarry Creeper Join Date: Sep 2014 Location: UK
Posts: 256
| Quote:
Quote:
1. I found the nyloc nuts that came with the yeti were crap and backed out often. When i changed them to fresh nuts it was much better, but the rear still had a tendancy to back out now and then. 2. Have 2 nuts on each wheel - this is quite a common practice amongst my mates and apparently works really well. 3. Carter does some nuts and washers that are backing out resistant. The nuts have little lips on them which i presuming are gripping the thread. Whatever it is, it works a treat. Carter Fab & Machine » Wheel Nut Lock Kit In all cases, I just ensure i have my 7mm nut driver in my pocket and check the wheels invariably during my runs and tighten when required. Job done. | ||
| |  |
| | #16 |
| Rock Crawler  Join Date: Apr 2010 Location: Eastridge Tn.
Posts: 724
|
I like the spoke'd buggy wheels.. all blalck body with those would be a sweet street machine
|
| |  |
| | #17 |
| Quarry Creeper  Join Date: Oct 2014 Location: Barre
Posts: 309
|
Great thread. Very detailed on the pros/cons of the available upgrades. Thanks! |
| |  |
| | #18 |
| Newbie Join Date: Jul 2014 Location: Australia
Posts: 37
|
Thanks again for the kind words! Zombie: love the idea of the washers, as I was thinking the same thing. I'll grab some spring washers and see if I can make it work, otherwise, blue loctite on two sets of nylocks!! |
| |  |
| | #19 |
| Rock Crawler Join Date: Mar 2014 Location: Yorkville
Posts: 745
|
so im not the only one who thinks the yeti was a complete POS outta the box, it had alot of problems.
|
| |  |
| | #20 |
| Quarry Creeper Join Date: Sep 2014 Location: UK
Posts: 256
|
For me, the main issue was the rear hubs stripping out - that ruined at least 3 runs. Axial have sorted that out now with their service pack upgrade, but that didn't exist in early September ;(
|
| |  |
 |
 Another. Damn. Yeti. - Similar Threads
 | ||||
| Thread | Thread Starter | Forum | Replies | Last Post |
| Yeti, Set, GO!!! FastEddy Bearings for the Axial Yeti | FastEddy | Axial Yeti | 13 | 04-21-2015 07:33 AM |
| water yeti.. calling all yeti owners | going2fast | Axial Yeti | 11 | 11-02-2014 05:43 PM |
| Too damn quite around here | Docwolf | Kansas | 7 | 10-27-2012 10:42 PM |
| |