| |
 08-23-2019, 10:01 AM
| #281 |
| Rock Stacker Join Date: Aug 2019 Location: Arlington
Posts: 79
|
Well the RR versions electronics had me getting crafty in an unexpected manner that might be handy for others down the road. When I got my hands on it, despite being new old stock, the posts that hold down the Rx/ESC and mount the servo were cracked. No shocker it only got worse. I tired some basic gluing, but that gave up easily. In a moment of random thought, I recalled binding as a way to affix/reenforce things. I busted into my wifes thread stash and wound in tightly around each leg and then soaked the thread in CA glue and allowed it to cure. Holding up well so far. I've got a ESC/Rx mount for the new version on the way. Hopefully that's not the same brittle plastic is was used for the RR version. Even if it is, it's $7 vs 5x that to replace for the older all-in-one set up. Also beefing up the whole driveline to metal. Soon the only plastic will be the front diff. |

|  |
| Sponsored Links | |
| | |
|
09-13-2019, 06:26 AM
| #282 |
| Rock Stacker Join Date: Aug 2019 Location: Arlington
Posts: 79
|
And update to the driveline stuff... The GPM main dive shaft I got was too long. It was a couple mm longer than the OE, which resulted in the slot on the spur never being able to properly capture the pin. OF course all this is discovered after installing the GPM unit and getting a huge amount of noise, and no go, for the first test drive. So pulled it all apart and laid up the shafts side by side... and stuff didn't match up. Oh well. On the up side, I'm making a lighting suite for the JR. I randomly found this site: https://www.modeltrainsoftware.com/c...ons/hobby-leds Which sells tiny LEDs that are perfectly sized for a 1:18. Once I get a little more progress into the prep of the bare parts, I'll post up photos. But so far, seems like it should work out really well and look cool on the little RR. |
|
| |
|
09-13-2019, 06:33 AM
| #283 |
| Quarry Creeper Join Date: Nov 2015 Location: US
Posts: 456
|
I put a new motor in mine and its back to cruising. I wish the score truck was still available
|
|
| |
|
09-13-2019, 07:08 AM
| #284 |
| Rock Stacker Join Date: Aug 2019 Location: Arlington
Posts: 79
|
Cruise eBay. You can find New old stock for the RR or TT versions from time to time.
|
|
| |
|
09-13-2019, 08:36 AM
| #285 |
| RCC Addict Join Date: Jun 2016 Location: Germany
Posts: 1,364
|
Saw them still available at RCmart Gesendet von meinem Pixel 2 XL mit Tapatalk |
|
| |
|
09-19-2019, 06:05 AM
| #286 |
| Rock Stacker Join Date: Aug 2019 Location: Arlington
Posts: 79
|
Finally got the light project done. Fussier than I'd thought at the outset... so many tiny tiny wires. A couple mis-steps during routing/securing things. On the bench, I didn't realize how close the shock towers sat to the cage. So I'd run the wires down the cage tubes and secured/hid them with some shrink tube. Looked great, nice and hidden... totally didn't clear the shock towers. So I had to cut that all clear and refactor. Stripping the tiny wires was a hassle... The red would strip, the black tended to just pull a bit of the wire off when I tired. So there I ended up just burning off the insulation with the soldering iron for each black lead. Wired it all up to a JST lead so I can power it off the battery, and I'll make a 9v adaptor for unlimited power (!) later. I used a suite of 6-12v Square LEDs from here: https://www.modeltrainsoftware.com/p...mm-square-leds 5x White 2x Red 2x Yellow 1x Flashing Yellow Bunch of shrink tubes and Zap Goo. The 6-12v ones come with a voltage reducer wired into each that made them a touch more bulky. Nothing epic, but if you really wanted super clean wiring, you'd buy the 3v ones and just do a single step down, or even just use a coin cell to supply the power. But I was going for easier as a first time doing a project like this. Photos from the project https://photos.app.goo.gl/6144jaFvGMraFGyQ8 Finished Product:  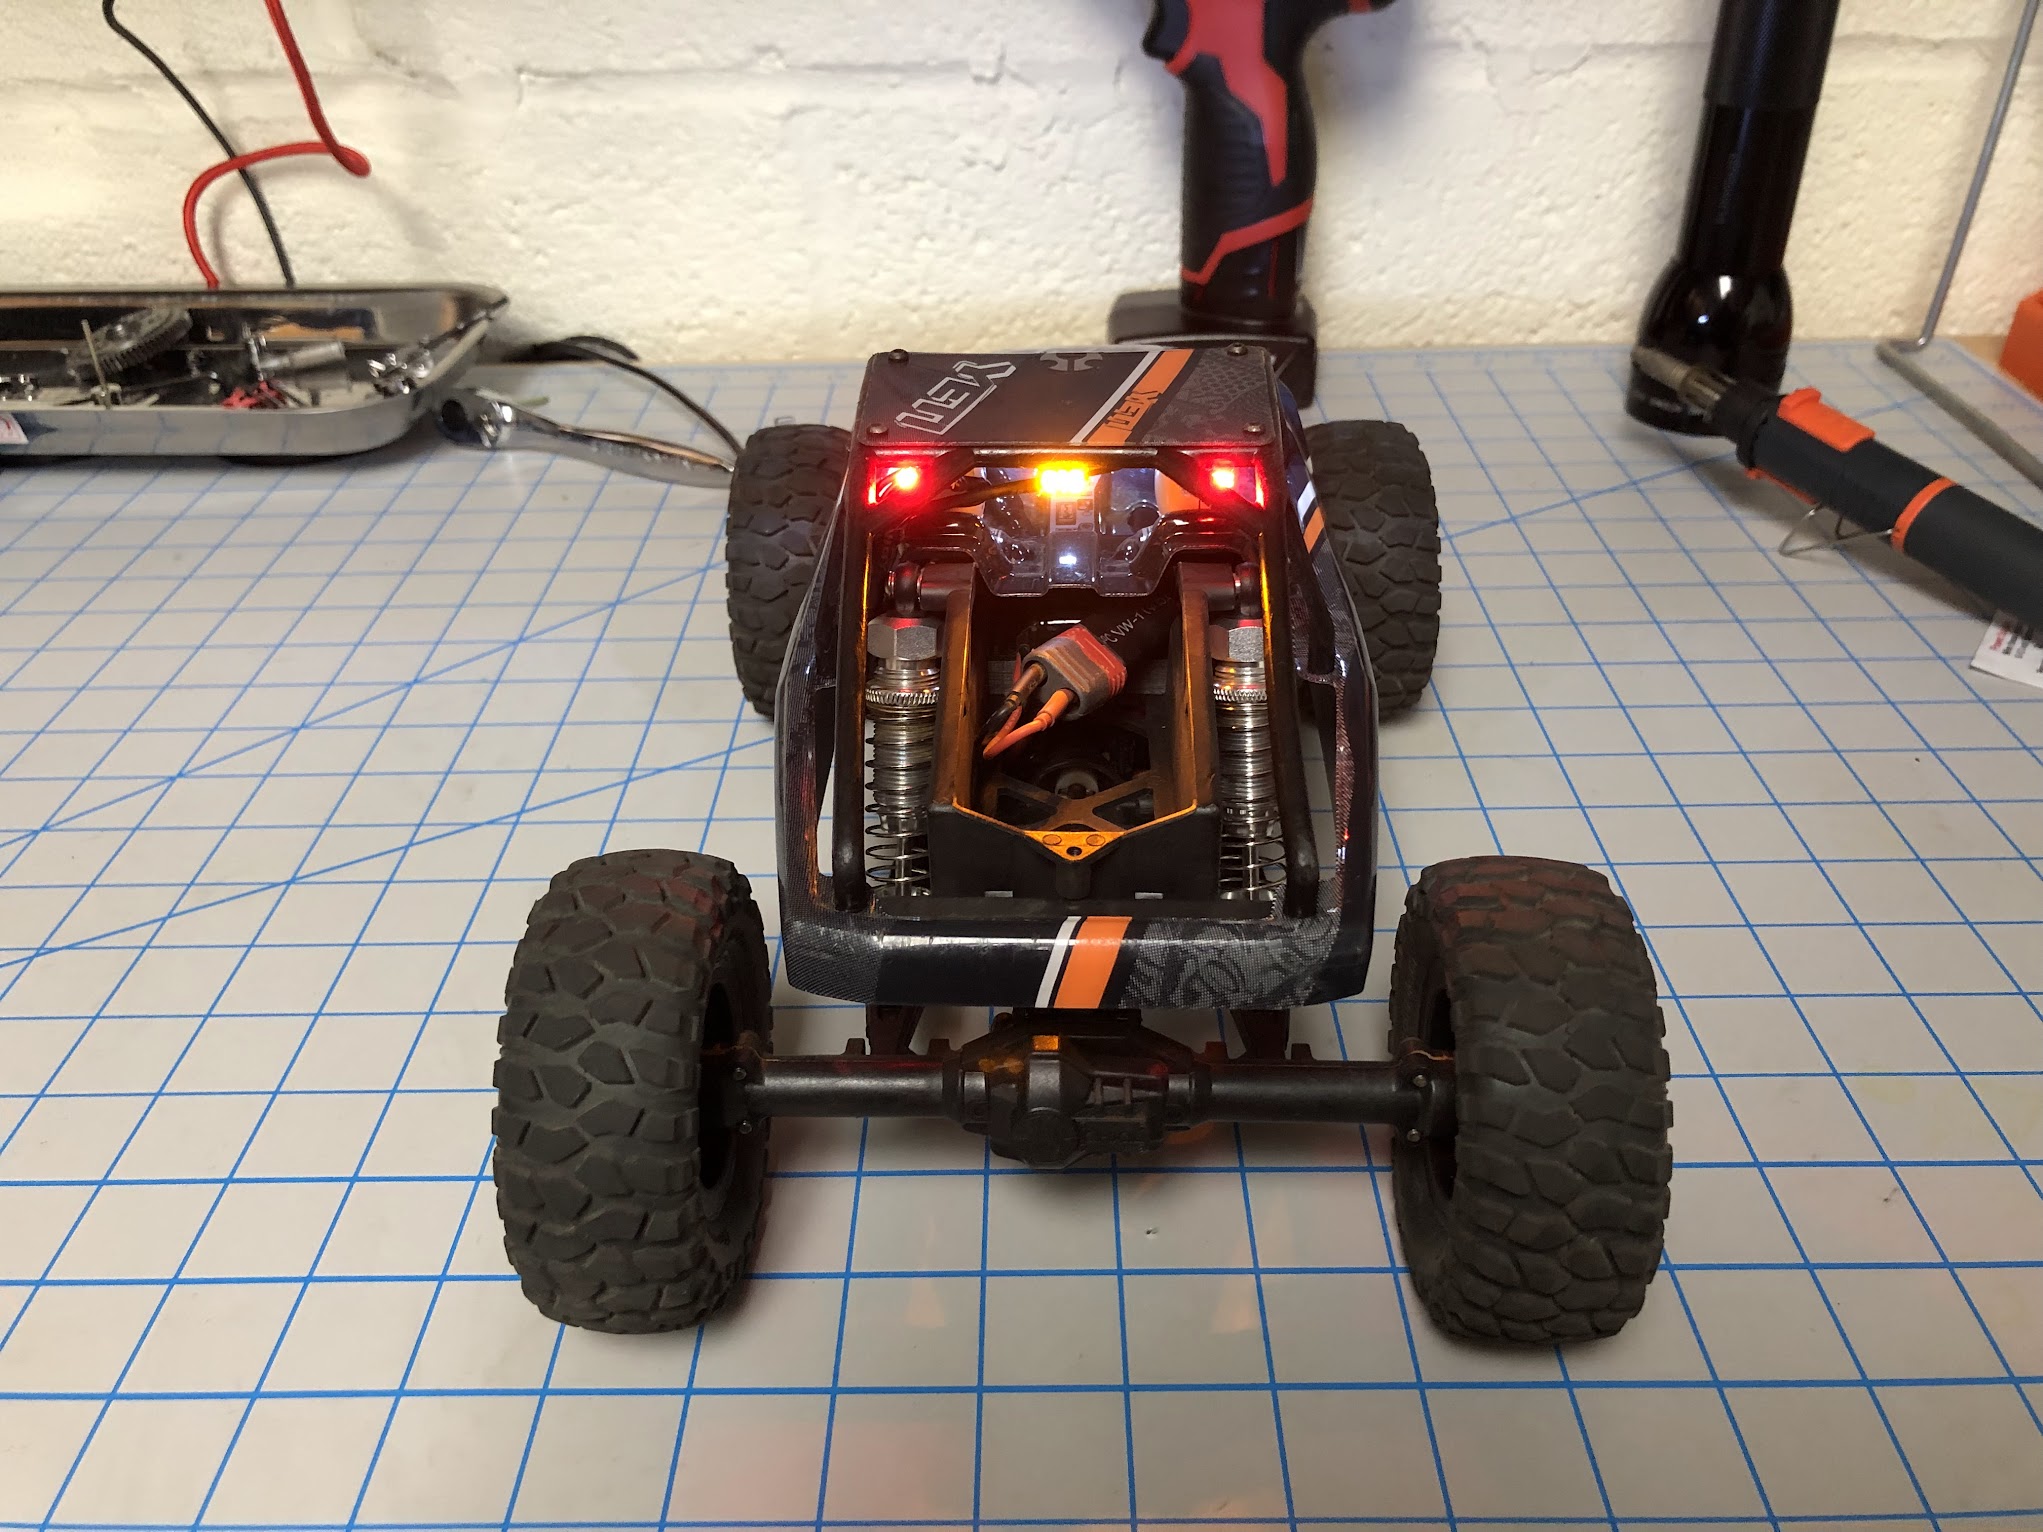 |
|
| |
|
09-19-2019, 05:57 PM
| #287 |
| Rock Stacker Join Date: Jan 2019 Location: Pollock pines
Posts: 91
|
Quick poll, does anyone want a shorter wheelbase? I may have made some things
|
|
| |
|
09-19-2019, 05:58 PM
| #288 | |
| Rock Stacker Join Date: Jan 2019 Location: Pollock pines
Posts: 91
| Quote:
| |
|
| |
|
10-20-2019, 02:08 PM
| #289 |
| Newbie Join Date: Jul 2019 Location: UK
Posts: 16
|
Already have a RR for my son but wanted the TT for me. Being me Ive decided to go brushless. For those like me outside of the US and not having access to a 3D printer I have had to compromise and be a little creative during install. Ive kept the battery in its existing tray but kept the size and weight down, 1200mah 2s and 92g to be exact. To install the electronics I messed around with sheets of plastic trying to build a shelf above the upgraded servo and brushless motor. I wasnt happy with any of the solutions I came up with. In a moment of inspiration I turned to another kind of ABS plastic I am very familiar with and am delighted with the simplicity and fit of the install Ive come up with and it cost virtually nothing. I give you the Lego-wing brushless yeti TT.    The Lego is Kraggled together and is held on by 2 small cable ties so should be dead easy to remove if necessary. I honestly dont think the weight distribution is too bad at all. I do need a smaller motor pinion, with 4500kv it absolutely flies, stupid fast. |
|
| |
|
10-21-2019, 05:04 PM
| #290 | |
| Rock Stacker Join Date: Jan 2019 Location: Pollock pines
Posts: 91
| Quote:
| |
|
| |
|
10-28-2019, 08:57 AM
| #291 |
| Rock Stacker Join Date: Sep 2019 Location: Long Beach
Posts: 70
|
How many of you guys are running your upgraded digital metal gear servos off of a BEC rather than the receiver? Also where are you finding the right pinions to gear down your crazy high 7000kv motors? |
|
| |
|
10-28-2019, 10:36 AM
| #292 |
| RCC Addict Join Date: Jun 2017 Location: Canada
Posts: 1,742
|
Im running a full size low profile servo off the hobbywing 1060 ESC. It's so much better than the micro servos.  Sent from my Pixel 2 XL using Tapatalk |
|
| |
|
10-28-2019, 12:23 PM
| #293 |
| Quarry Creeper Join Date: Nov 2015 Location: US
Posts: 456
|
The Hitec i run is a micro with nice power and no BEC requirement.
|
|
| |
|
10-28-2019, 05:30 PM
| #294 |
| Rock Stacker Join Date: Sep 2019 Location: Long Beach
Posts: 70
|
I think I might run mine off a BEC just in case. My ESC BEC is only 1A rated. Hey I notice you've got the GPM shocks. I got them too. But I found the springs to be way too soft. No binding issues and when I swap back in the stock springs, its fine. Are you having the same problem? |
|
| |
|
10-28-2019, 05:39 PM
| #295 | |
| RCC Addict Join Date: Jun 2017 Location: Canada
Posts: 1,742
| Quote:
Much better for crawling and lower stance for fast speed. The GPM were starting to get stuck and leaked Sent from my Pixel 2 XL using Tapatalk | |
|
| |
|
10-28-2019, 09:13 PM
| #296 |
| Rock Stacker Join Date: Sep 2019 Location: Long Beach
Posts: 70
|
Yea I'm about to do the same thing. That really sucks those shocks weren't cheap lol.
|
|
| |
|
10-29-2019, 10:55 AM
| #297 |
| Rock Stacker Join Date: Sep 2019 Location: Long Beach
Posts: 70
|
Just tried replacing the oil in the GPM front and rear shocks. Still awful. Again, there are no binding issues. It's just the springs are so weak. And it's impossible finding replacement 14mm diameter springs with the right lengths. SUCH A WASTE OF MONEY!!! Now I'm worried that the rest of these GPM parts have the same shoddy quality and focused just on looks and will break in a few months. |
|
| |
|
10-29-2019, 11:07 AM
| #298 | |
| RCC Addict Join Date: Jun 2017 Location: Canada
Posts: 1,742
| Quote:
I did switch to the hot racing rear links and trailing arms for the full 4link action. Sent from my Pixel 2 XL using Tapatalk | |
|
| |
|
10-31-2019, 10:31 AM
| #299 |
| Rock Stacker Join Date: Sep 2019 Location: Long Beach
Posts: 70
|
Thats reassuring! I went back to the stock shocks. But I also picked up some 14mm shocks from Tower Hobby which may actually fit the GPM shocks. I'm really hoping I can salvage those shocks. What weight of shock oil are you using? I replaced my oil with Trinity 20 weight and I'm finding it way too bouncy. |
|
| |
|
10-31-2019, 11:00 AM
| #300 | |
| RCC Addict Join Date: Jun 2017 Location: Canada
Posts: 1,742
| Quote:
It's pretty soft still Sent from my Pixel 2 XL using Tapatalk | |
|
| |
 |
 Yeti Jr. upgrades - Similar Threads
 | ||||
| Thread | Thread Starter | Forum | Replies | Last Post |
| Yeti upgrades | emerstride | Axial Yeti | 2 | 07-29-2015 10:12 AM |
| |


 Linear Mode


