| |
| |||||||
 |
| | LinkBack | Thread Tools | Display Modes |
 02-22-2010, 06:25 PM
| #1 |
| Quarry Creeper Join Date: Oct 2005 Location: Chattanooga
Posts: 226
|
I figured a few people might be interested in this conversion. I had a Futaba 7C lying around that I picked up for cheap($50) at the LHS a while back. I originally wanted to use this in my MOA Bully but its an air combo and I didn't want to risk causing any interference with the plane guys. I have been using a DX5 for a while, but wanted to play with some mixing and decided I would convert my 7C using the Corona 2.4ghz DIY kit from HobbyKing. So instead of buying the 7C Fasst, I decided to do it the fun way. Enjoy, Lex Pros: -Cheap Kit ($28.95) -Cheap receivers (4ch $18.91, 6ch $20.99 , 8ch $23.10) -Receivers are small -You get to say you did it  -2.4ghz for cheap -It works Cons(to be decided): -Quality control? -How long will it last? Here is the kit: http://hobbyking.com/hobbyking/store...RX_%28DSSS%29_ Prep work: -Open the box...Just kidding 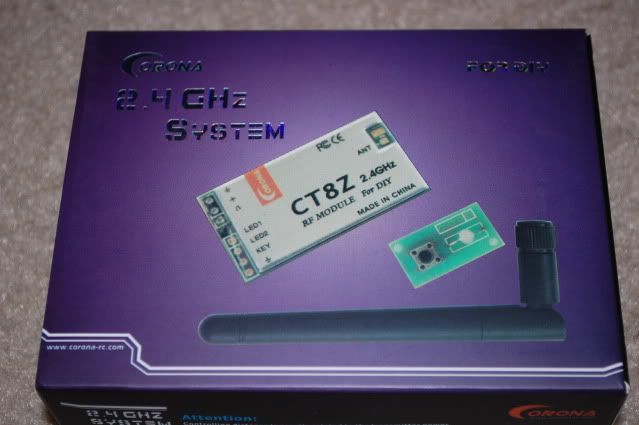 -Fire up the soldering iron! For this kit you need to solder the antenna onto the board. It is a small area so be careful. The wire end needs to be soldered to the spot marked ANT. The sheath for the coax antenna needs to be soldered to the larger unlabeled spot. Here is a before pic: 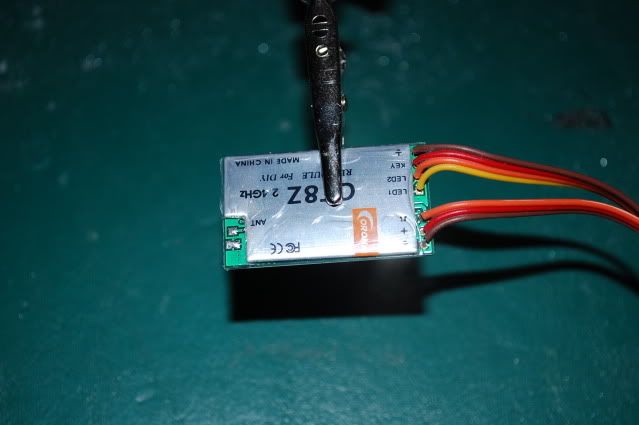 Here are two after pics (Not the best solder job, but it works): 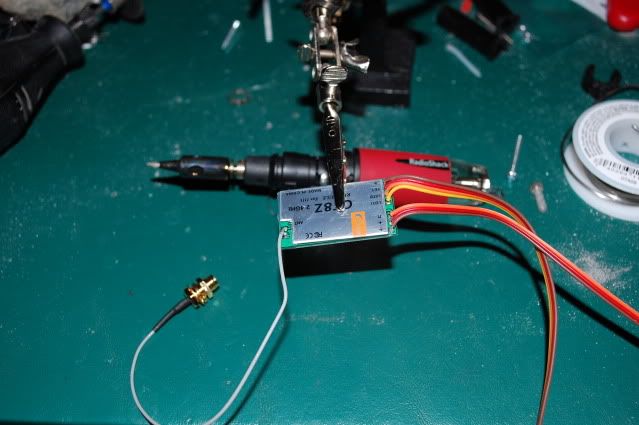 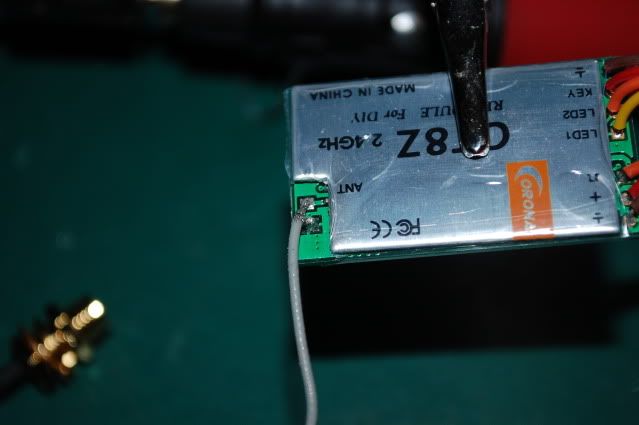 Now we are ready to open up the transmitter. Installation: -First remove your transmitter battery and unscrew the case. Don't forget to remove the crystal before you start prying it apart because it will hold the case shut. The inside should look like this, pretty scary 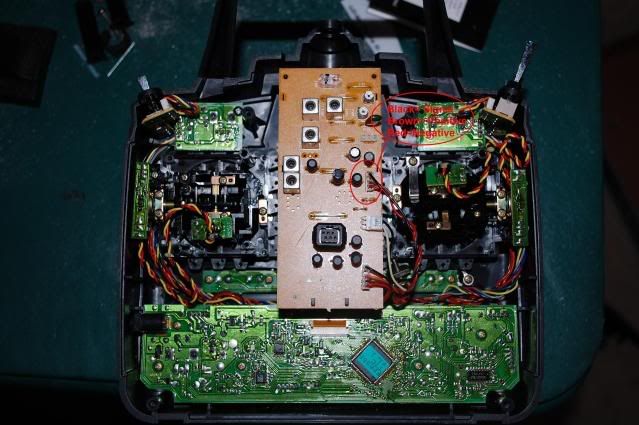 A closer look: 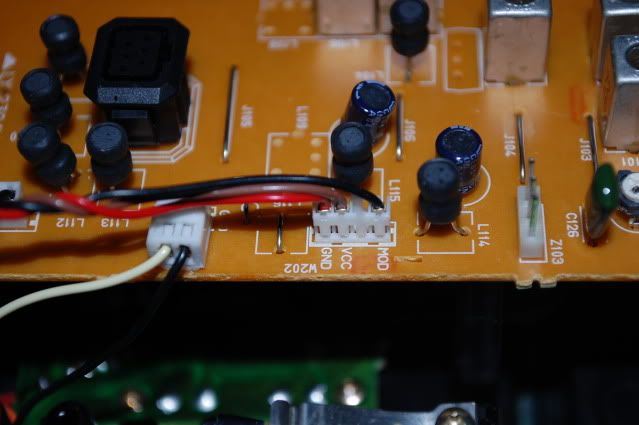 -On this Futaba radio the colors for the FM are a bit tricky. On the Corona unit orange is the signal wire, red is the positive wire, and brown is the negative/ground. In this transmitter the red is the negative wire, the black is the signal wire, and brown is the positive wire. I would check online to find out where and what wire colors represent for your radio if you try this swap. Solder accordingly -Next I secured to new Corona board inside the transmitter. -This kit provides you with an adhesive template for mounting the secondary board that contains the bind button and status light. Easy Peesy. It actually looks pretty clean:  Pics of the transmitter: 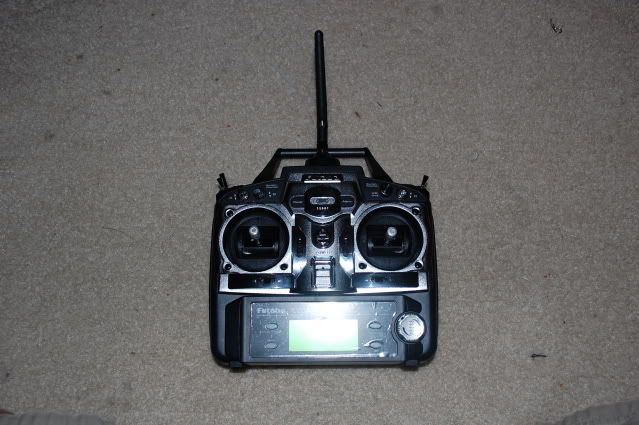  Binding: -I followed the directions that came with the kit and binding was a simple task. Tested all the channels and it works great! -I have not range tested it aside from one side of the apartment to the other. No glitches! Here are a few pics comparing the size of the 4ch receiver to some other common receivers: 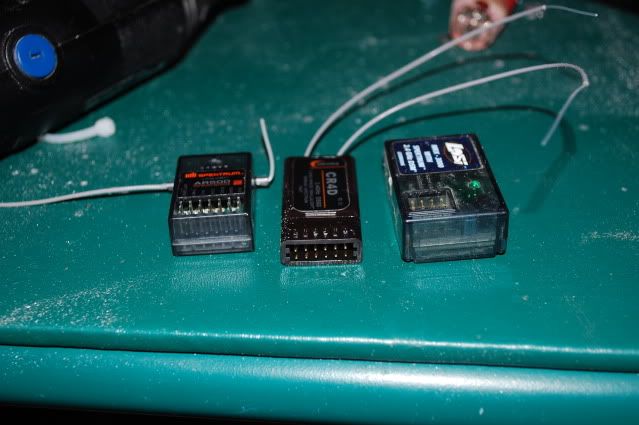 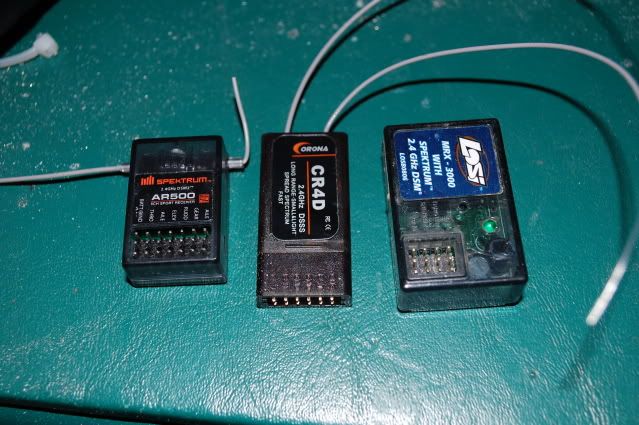 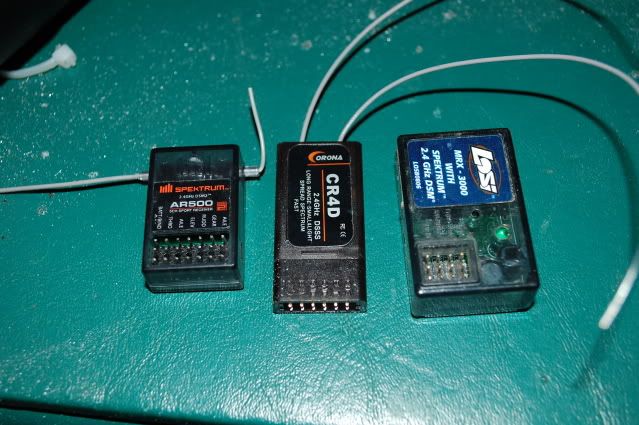 Last edited by Lextronix; 02-22-2010 at 08:58 PM. |

|  |
| Sponsored Links | |
| | |
|
02-22-2010, 08:13 PM
| #2 |
| Rock Crawler Join Date: Feb 2010 Location: costa rica
Posts: 705
|
Well this is one of the most usefull threads I have read. I didn't know the fact that this modules existed. I have a 9Cap that I was thinking to upgrade and I was held back for the hi cost of it but now it is all a different issue. I found the module for mine and receivers for a very low price.... thanks....
|
|
| |
|
02-23-2010, 06:47 PM
| #3 |
| Quarry Creeper Join Date: Oct 2005 Location: Chattanooga
Posts: 226
|
I did a range test today with my room mate. He drove the crawler in his car to the otherside of the apartment complex. We were on the phone and He put his phone up to the crawler. When I flicked the sticks the sound of motors/servo sounded responsive(a little but of phone delay). I know its not the best test but with no line of sight on the crawler, I was very satisfied with the results. I look forward to continued testing. I'll try and get a video if I can get hold of a capable camera. I think this kit will be great for the guys using old radios and looking for a cheap upgrade. -Lex |
|
| |
|
12-08-2011, 11:23 AM
| #4 |
| Newbie Join Date: Oct 2011 Location: tomball,
Posts: 1
|
Does the circuit board on the radio has to be removed from the transmiter and solder the new module to the orange,red,black wires and eliminate the 72mhz board from the radio. I have installed the new cornoa module but I don't know if I have to remove the circuit board(eliminate). When the binding from the radio to the reciver is done the LED on the extended board should go from red to green or should stay RED. Thanks. |
|
| |
|
| Thread Tools | |
| Display Modes | |
| |


 Linear Mode


