| |
 07-07-2019, 07:26 PM
| #41 | |
| Go Buckeyes!   Join Date: Jun 2017 Location: Mid-Ohio
Posts: 4,135
| Quote:
 I am more than happy to accept the challenge. I wish there was more I could do for him. I can't imagine what he is going through. I'm hoping many of us here will take the challenge also. | |

|  |
| Sponsored Links | |
| | |
|
07-08-2019, 06:17 AM
| #42 | |
| Go Buckeyes! Join Date: Jun 2017 Location: Mid-Ohio
Posts: 4,135
| Quote:
| |
|
| |
|
07-08-2019, 12:07 PM
| #43 |
| Newbie  Join Date: Apr 2019 Location: edinburgh
Posts: 40
|
I'm loving this build. I've got the TF2 Mojave.....I've really got to stop straying to these other threads. My wallet can't take it!!
|
|
| |
|
07-10-2019, 09:25 AM
| #44 | |
| Go Buckeyes! Join Date: Jun 2017 Location: Mid-Ohio
Posts: 4,135
| Quote:
I have a TF2 Marlin Crawler. It is a fun rig to drive. Good luck on not straying! That is nearly impossible to do especially with all these new rigs coming out. I know what you mean about your wallet, my wallet hates me!  | |
|
| |
|
07-15-2019, 08:07 PM
| #45 |
| Go Buckeyes! Join Date: Jun 2017 Location: Mid-Ohio
Posts: 4,135
|
Small update. Mailman brought me these today.  I decided to put both of these in the rear and keep the stock plastic upfront for now.  Stopped by the LHS today and picked up some paint. After staring at the paint rack for what seemed like an eternity, I finally chose these colors. Im not a big fan of yellow, but thought it may make the body look a little retro. Im going attempt to do a 2-tone with the yellow/copper and top it with the flat clear.  Hoping to get it out of the body shop by this weekend! Sent from my iPad using Tapatalk |
|
| |
|
07-15-2019, 10:33 PM
| #46 |
| I wanna be Dave  Join Date: Dec 2005 Location: Happiness is a warm AK.
Posts: 12,563
|
Looking killer B! My kit will finally get opened tomorrow and the build process will begin in earnest. Going to be a blast! Build thread to follow! 👍🏼 |
|
| |
|
07-16-2019, 09:25 AM
| #47 | |
| I wanna be Dave   Join Date: Apr 2010 Location: Oakridge
Posts: 3,305
| Quote:
Take your time and enjoy the journey. It is a great kit to assemble! Ernie | |
|
| |
|
07-16-2019, 10:17 AM
| #48 | |
| Gold Star Baby! 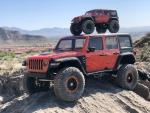 Join Date: Dec 2017 Location: Las Vegas
Posts: 2,554
| Quote:
Ive always been curious about how a matte copper would look. Interesting paint scheme B and looking forward to seeing it all done up. I like what youve done with the braces, might have to do something similar. | |
|
| |
|
07-16-2019, 10:29 AM
| #49 | |
| I wanna be Dave Join Date: Jun 2016 Location: Deep in the Everglades
Posts: 5,818
| Quote:
I can spray, but not pick well, result is extra paint i might not buy, but it gets used. I tried matte (PS55)over copper, looked like mud, what I would do next time is decant some PS55, mix silver pearlex in and get the pop without shine. Hard color to play with Hang up and Drive | |
|
| |
|
07-16-2019, 03:39 PM
| #50 |
| I wanna be Dave Join Date: Dec 2016 Location: san diego
Posts: 2,723
|
from those colors i get a real GMC Jimmy Desert Fox edition vibe... 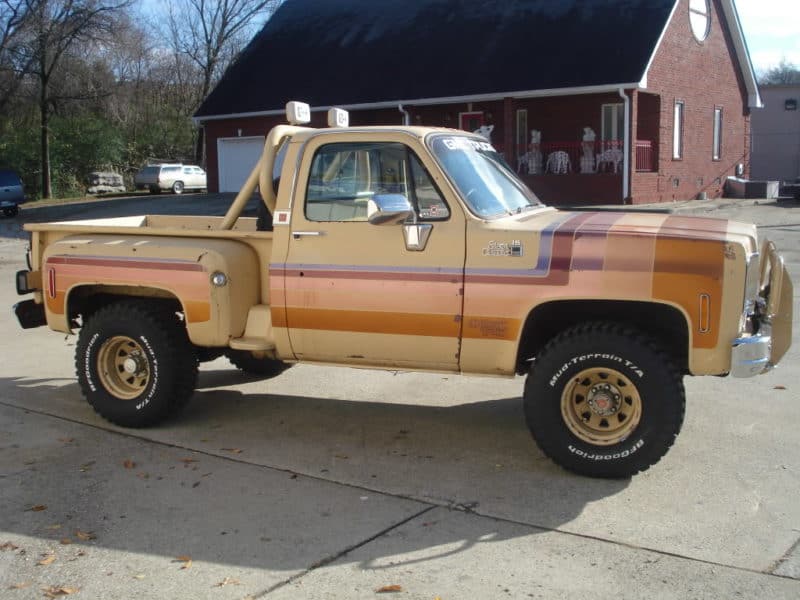 OOOH!!!! or, ORRR!!!! this came up as related form the above image... the Dodge TOP HAND!!!! 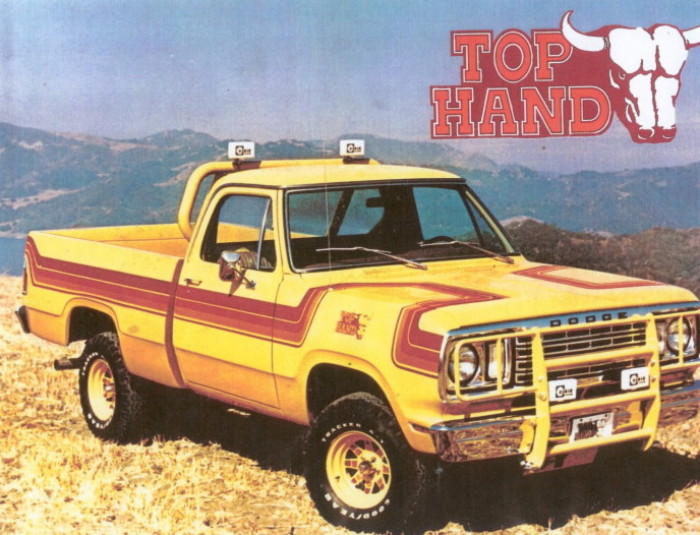 also you just got me really excited again about getting some inner fenders... and i use the same exact bedliner for my tiny trucks haha i gave my RTR bumpers a good heavy coat and they look MUCH better!!! i might take a trip to my LHS and see what they have, maybe take my first go at painting the outside of my RTR body? anyway... cant wait to see what you come up with! thanks for reminding me about those inner fenders! |
|
| |
|
07-16-2019, 04:03 PM
| #51 | |
| RCC Addict Join Date: Jan 2012 Location: Vancouver
Posts: 1,921
| Quote:
| |
|
| |
|
07-16-2019, 06:42 PM
| #52 | |||
| Go Buckeyes! Join Date: Jun 2017 Location: Mid-Ohio
Posts: 4,135
| Quote:
Looking forward to watching your build!Quote:
I've never attempted matte copper, so this will be all new to me. I was looking for brown paint and all my LHS had was copper. On the braces, I figured since the front had the servo mount brace and battery tray brace that the front would be stiff enough for now. It seemed to me that the rear end needed a little more bracing. After seeing a few VS4-10's with bent chassis rails in the rear it seemed like it would be a good idea to add some there. Quote:
Um, I'm not sure if I had planned on painting mud! I didn't think about what matte finish would do to copper. I was kinda hoping it make it more of a brown color. I guess I will paint some test strips first and see if I create mud, baby poop or a wonderful brilliant color that makes me happy! | |||
|
| |
|
07-16-2019, 06:54 PM
| #53 | |
| Go Buckeyes! Join Date: Jun 2017 Location: Mid-Ohio
Posts: 4,135
| Quote:
Man, the Top Hand, that's a classic! That would be another cool paint scheme. I may have to pick up a clear Enduro body for that one. Yeah, these inner fenders are nice. They fit really well and easily bolt right in. The only thing that I see that needs done is the bed/cab area rest right on the rear inner fender. I am going to trim the body on the inside just a tad so that there is room for the body to sit without riding on the inner fender. I run inner fenders on all of my rigs. They keep out most of the mud and dirt and debris from entering inside. Makes clean up a whole lot easier. It's funny, when I first saw inner fenders on a rig I thought they looked out place and kinda of dorky! Now I won't go without them! | |
|
| |
|
08-05-2019, 06:31 AM
| #54 |
| Go Buckeyes! Join Date: Jun 2017 Location: Mid-Ohio
Posts: 4,135
|
Mailman left me a package from Element on Friday. I bought the 6mm steel hexes and some shock parts. Someone either here on RCC or on FB recommend these shock caps with bleeder screw and the aluminum shock bushings that go with these caps. So I figured I would give them a try. I'm going to wait on replacing the caps and bushings until after I get some runtime on the Enduro to see how well I like the stock shock oil. 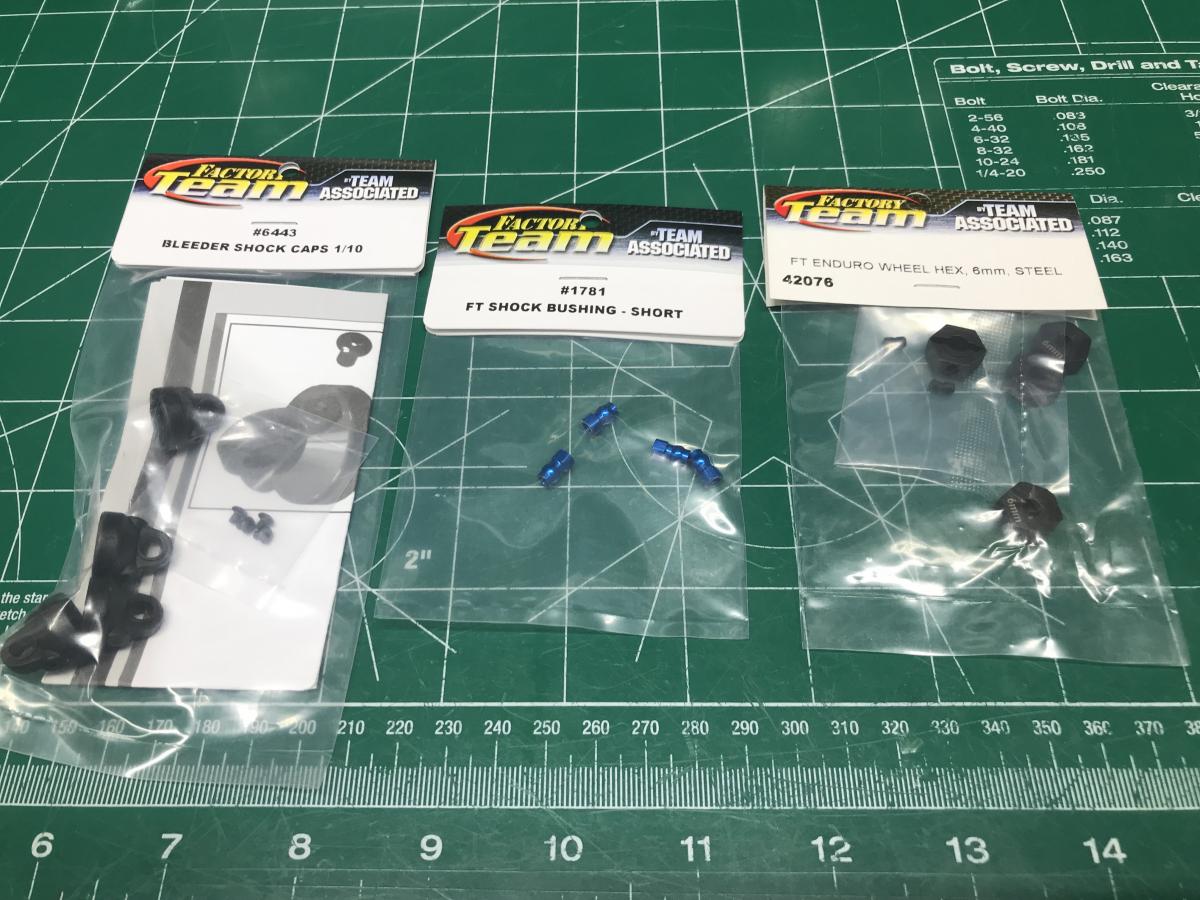 Here is the 6mm hex installed. It fits nicely on to the axle and has a set screw to lock it down. It will be a huge improvement over the stock plastic hex. 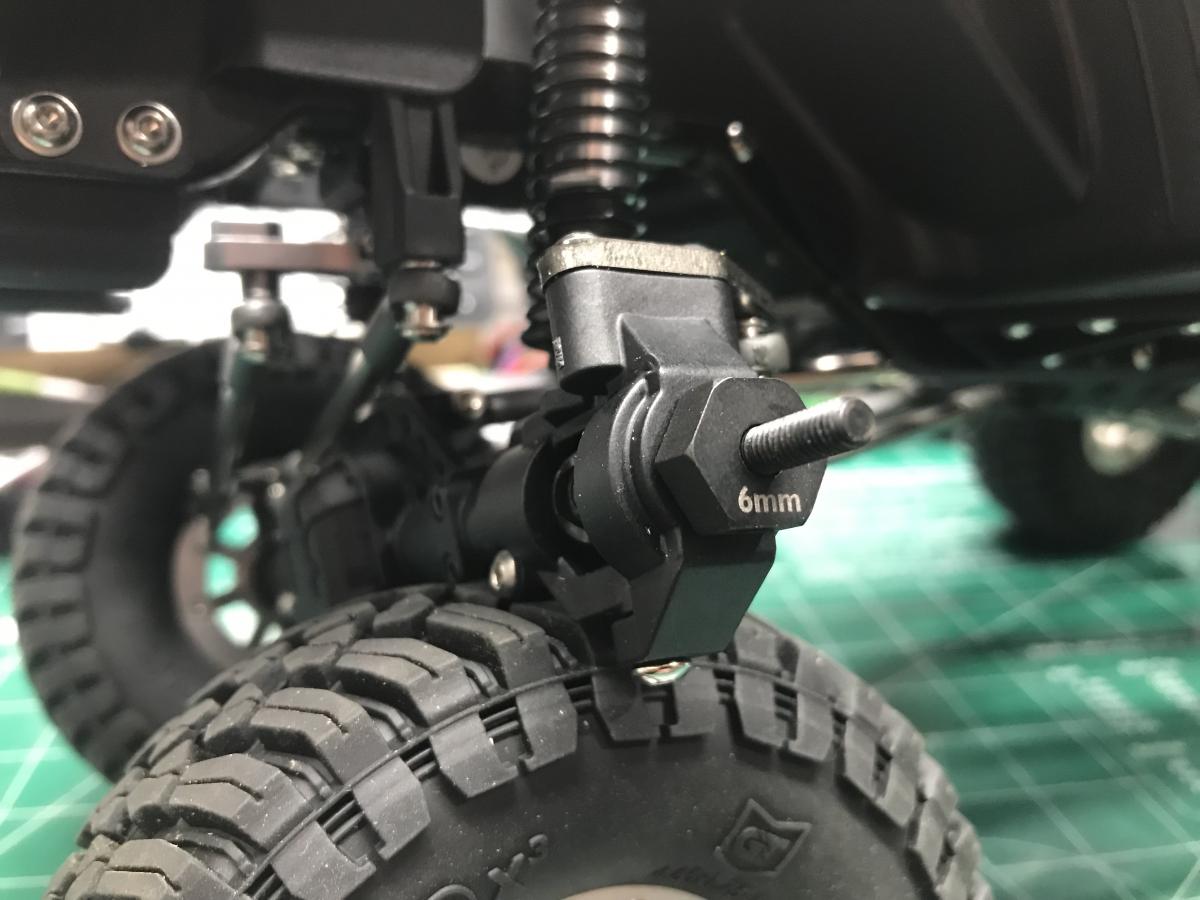 As I was replacing the rear hexes, I noticed that the axle bearings that are held in with screws were starting to slip out past the screws. It may be that the SS screw heads are slightly smaller in diameter than the stock screws, so I put a washer on each screw to hold the bearing in. The bearing will not slide out now! 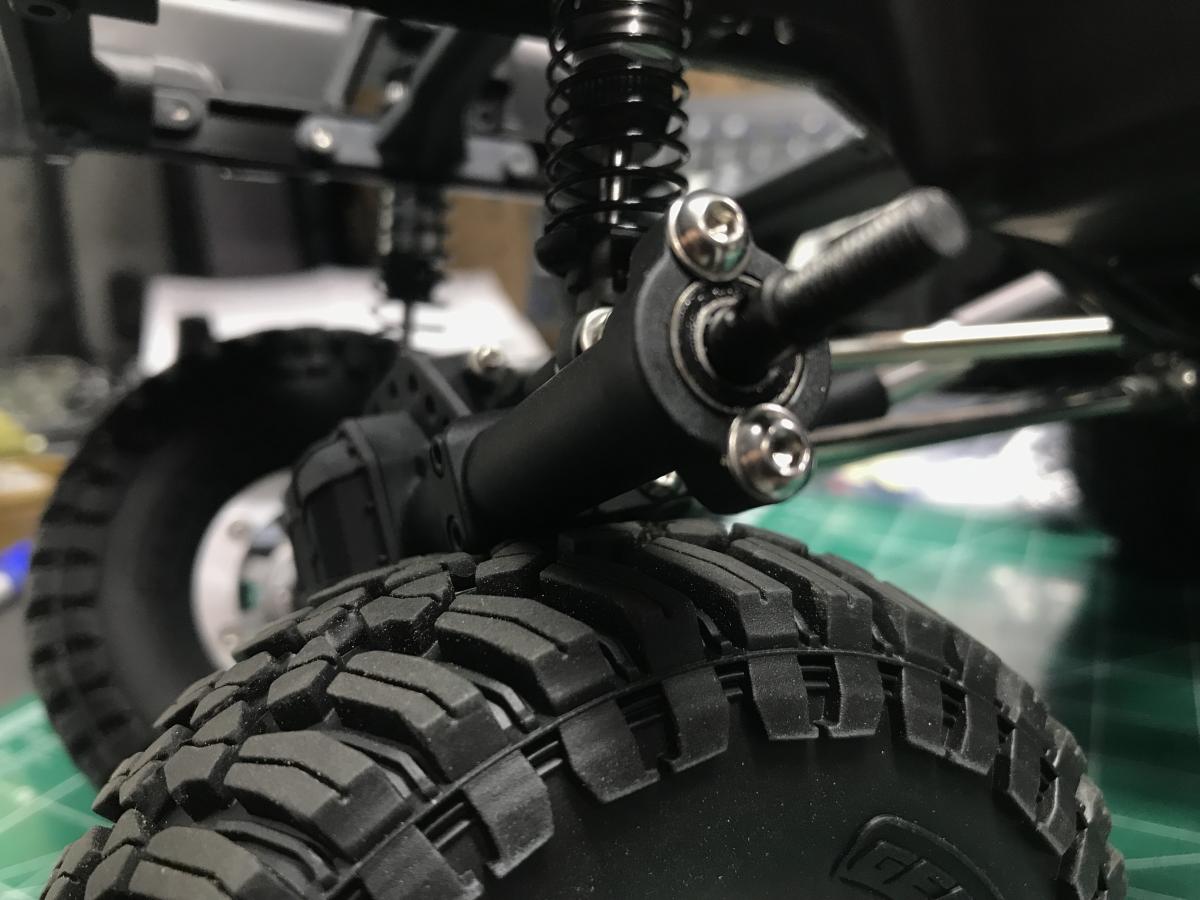 I also got the body painted up this weekend. I'll be posting pics of it soon! |
|
| |
|
08-05-2019, 09:34 AM
| #55 |
| Go Buckeyes! Join Date: Jun 2017 Location: Mid-Ohio
Posts: 4,135
|
Finally got the body painted after two weeks of misery. Wow, what an emotional rollercoaster that was. First off, this is the first time that I had attempted to spray a lexan body on the outside. I mean, I have sprayed small sections of the outside body like fender flares and roof tops with black and flat clear before, but this was the first attempt at spraying the entire outside body a color other than black. I started off wanting to paint this a two-tone with Tamiya Camel Yellow and Copper. I started off with spraying the Camel yellow. At that time the weather here in Ohio was HOT & HUMID! The heat index was at 107 degrees. I quickly learned that paint does not spray very well in them conditions. So I put a layer of the yellow on and immediately realized this was not the color I was wanting. I have seen this color sprayed on the inside and I think it looks great with a glossy finish. The paint did lay fairly well despite the horrible weather conditions, but I was not liking the looks. 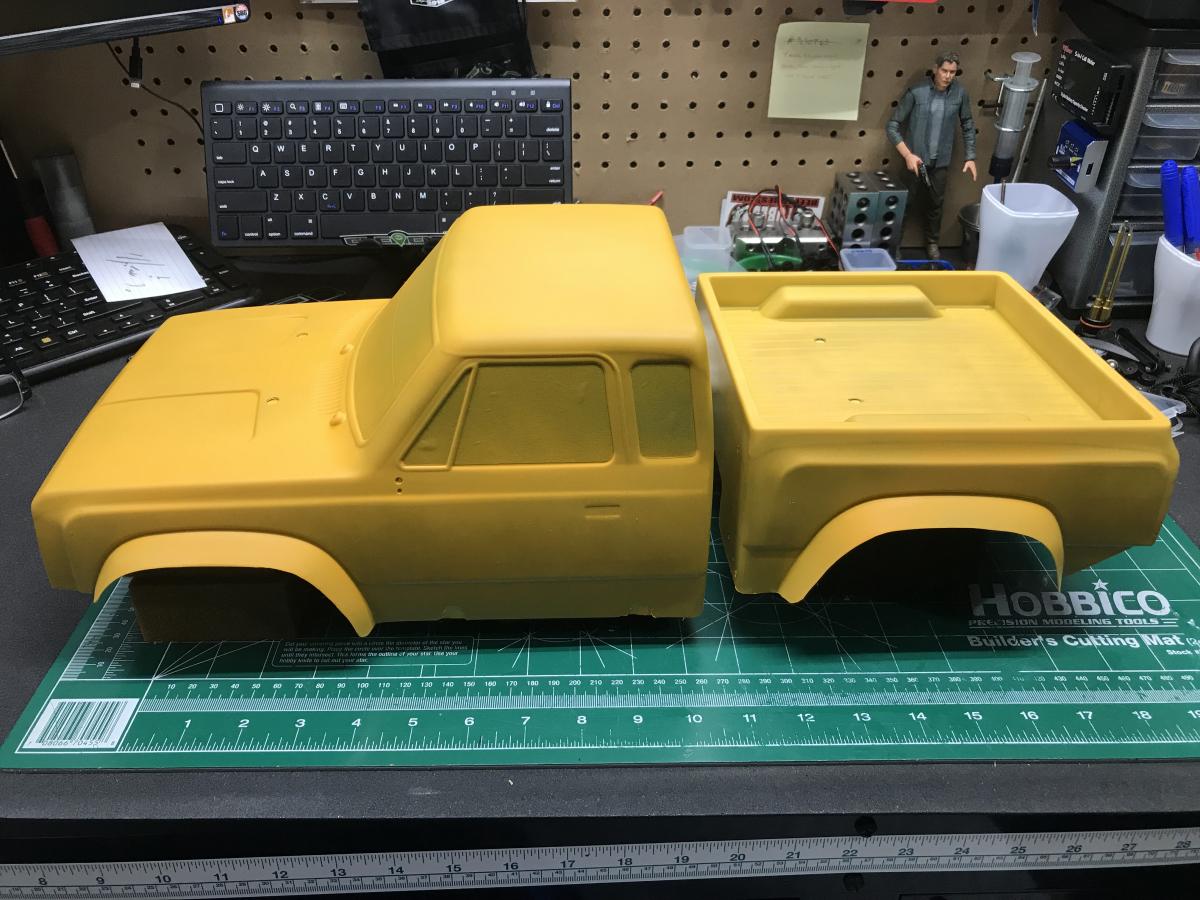 So I decided to change up the color and go with something that was somewhat Dodge retro. I found some pics on the web of the old lime green muscle cars of back in the day. I found two pics that I really liked and thought I could create something like them. I ended up going to Walmart to look for the paint. The closest green color I found was a fluorescent green marker paint. Bad idea! Went home and put a layer of paint on the body. Between the humidity and I guess this type of paint, the paint did not want to lay down and left a powdery mess. Then the can stopped spraying evenly and started squirting. At this point I was disgusted and sick and ready to throw the damn body in the garbage. I gave up and threw the body on the shelf and had decided that I was going to just buy a new clear Enduro body. After letting the body sit for about a week, I decided to give it one more try. I went to my LHS and picked up a couple cans of Tamiya Fluorescent Green paint to see if i could cover up the mess that I created. I first wiped off all of the powder that had collected all over the body and then sprayed a layer of the Tamiya paint. The weather at this point was just right for painting outdoors. The first layer didn't look too bad, so I put on a couple more light coats. I let that dry over night and then taped off the body except for the areas that I wanted to paint black. I shot the black and backed it with the Tamiya Flat Clear. I sprayed the inside of the bed with Rustoleum flat black. I let that dry and then removed all the tape and masking. I started to feel pretty good about how it was turning out. I put the grill, wipers and mirrors back on and add a few decals. I thought to myself that it didn't turn out too bad considering, so I decided that to use this as my test body and see how the paint holds up. Here are the final results (Note: The color is not as bright as it looks in the pics. Camera and lighting makes it looks like it is glowing! 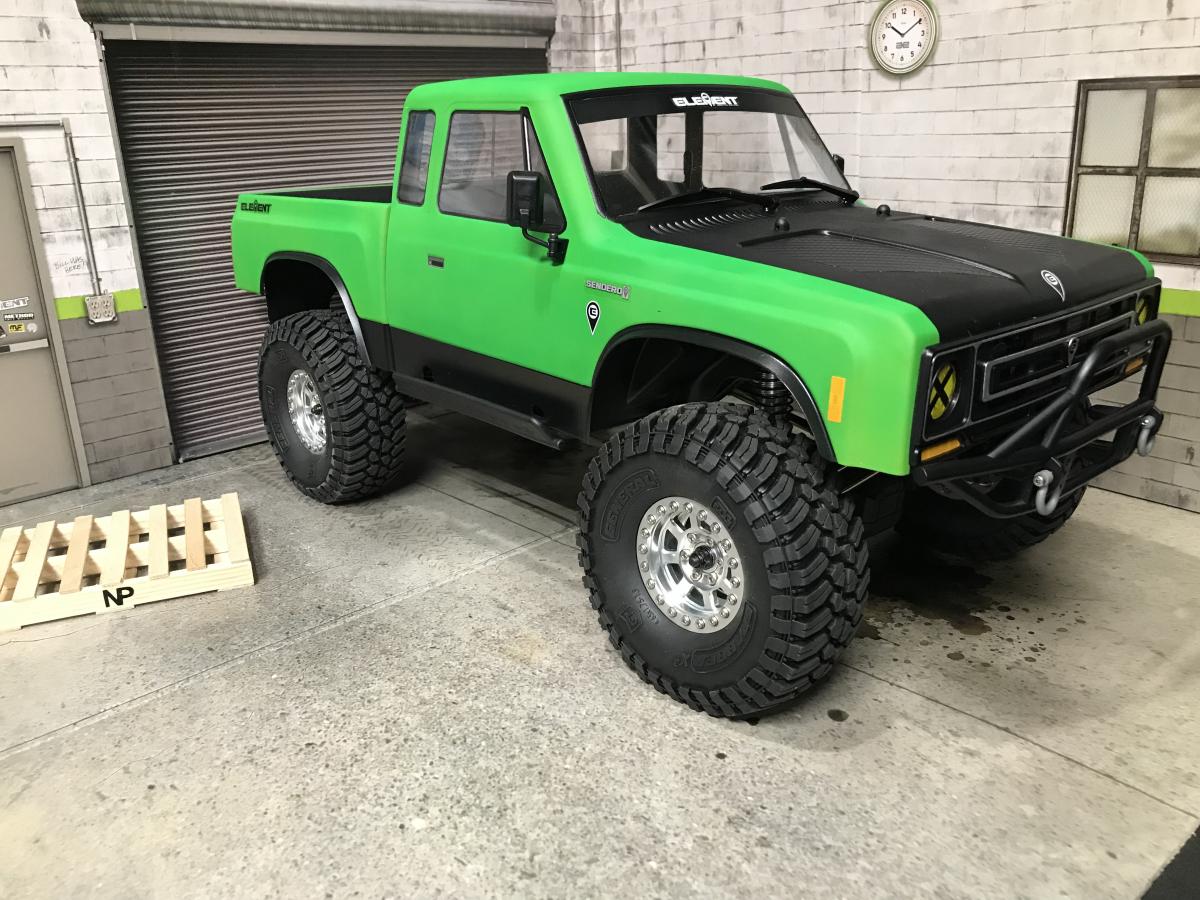   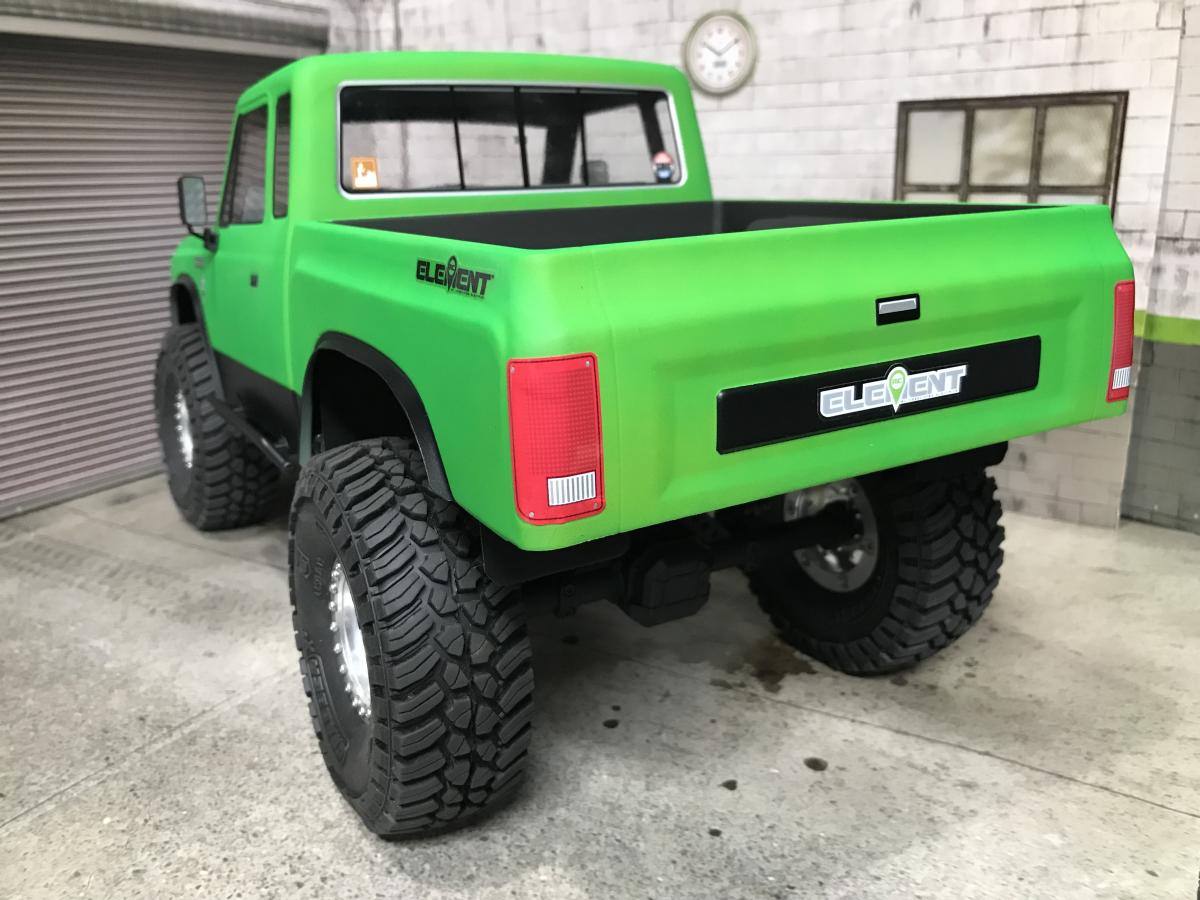 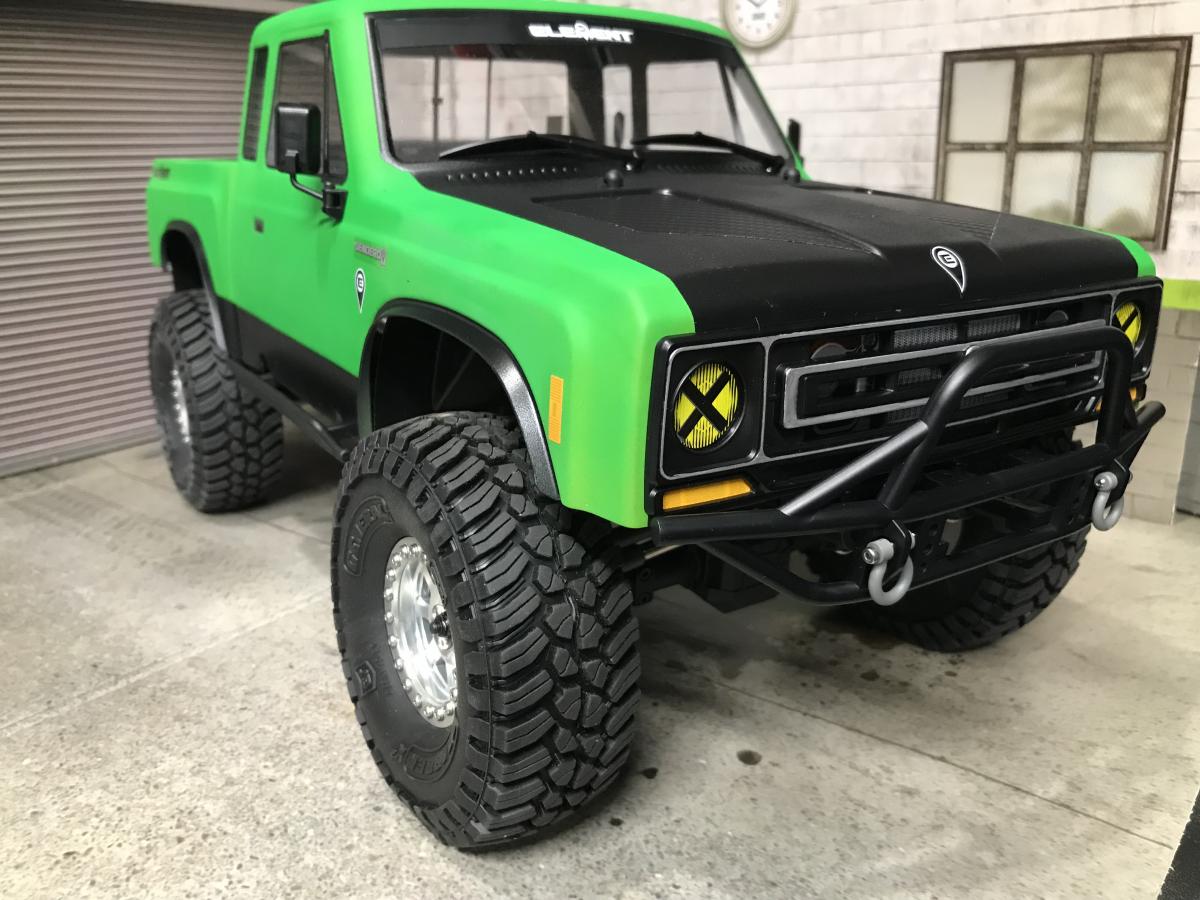 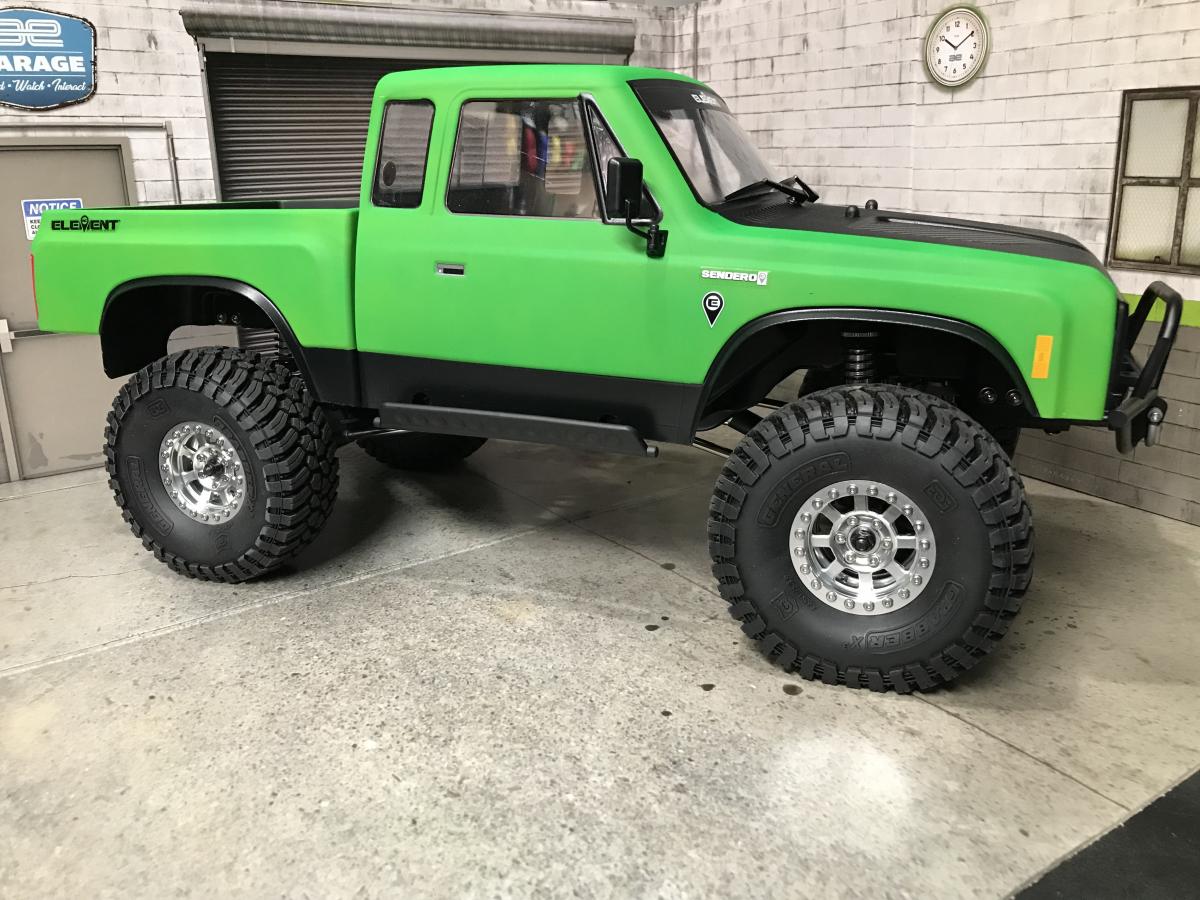 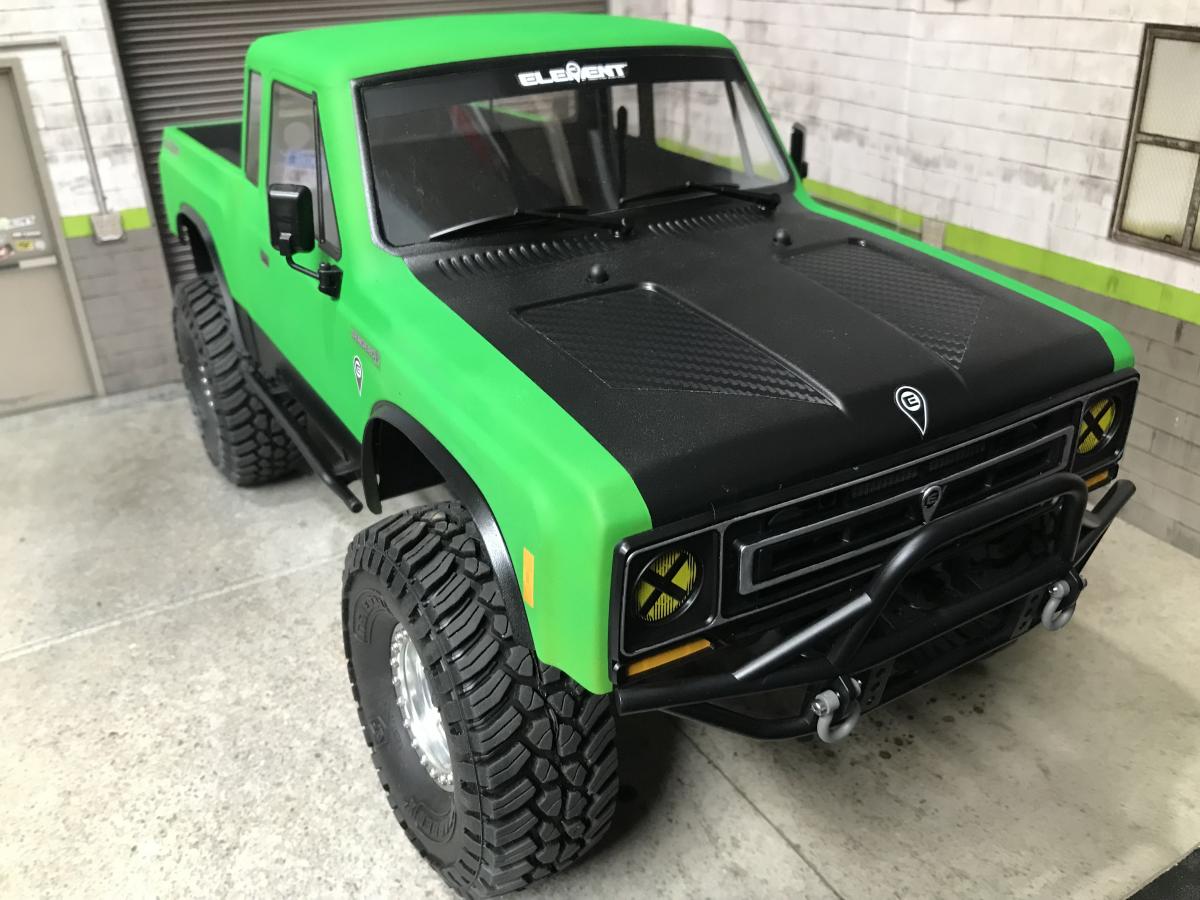  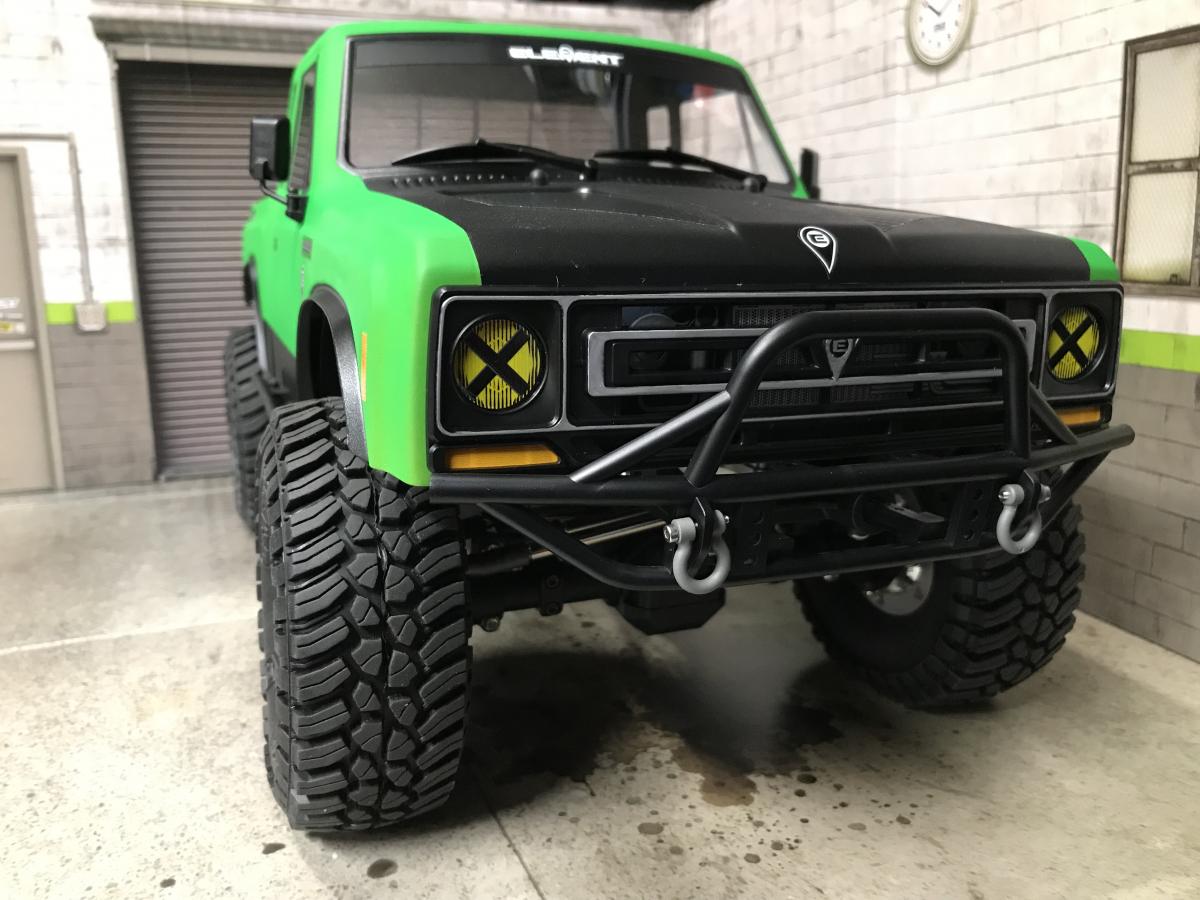  Thanks for looking! Hoping to get it out on the rocks for it's first official run soon! |
|
| |
|
08-05-2019, 10:32 AM
| #56 |
| RCC Addict Join Date: Jan 2012 Location: Vancouver
Posts: 1,921
|
Looks great reminds me of this macho power wagon  |
|
| |
|
08-05-2019, 11:03 AM
| #57 |
| I wanna be Dave Join Date: Dec 2005 Location: Happiness is a warm AK.
Posts: 12,563
|
I think it turned out great! Love the black and green combination.👍🏼 |
|
| |
|
08-05-2019, 11:05 AM
| #58 |
| I wanna be Dave Join Date: Jun 2016 Location: Austin
Posts: 6,011
|
That looks incredibly good. Perfect fender trim job, and great decal choices. What bumper are you using? Edit.... D'oh! GS01, got it. I am using the GS02, but I think I like yours better! Last edited by durok; 08-05-2019 at 11:20 AM. |
|
| |
|
08-05-2019, 11:50 AM
| #59 |
| Pebble Pounder Join Date: May 2016 Location: East Indiana
Posts: 137
|
Looks great!! I have the same problems with paint too, picking color and weather!! the schemes look great in my head and then turn out maaa. Great job brian!! brian |
|
| |
|
08-05-2019, 02:55 PM
| #60 |
| I wanna be Dave Join Date: Jun 2016 Location: Deep in the Everglades
Posts: 5,818
|
I still like it! What I will say about painting lexan on the outside is simple! Wash it!!! Tape off what is clear. Scuff lightly, steel wool or 3m pad Clean it again( squeaky?) Now use Tamiya PS color, or PS55 if using other paint. Let a MIST coat dry ( sheen is flat then) Mist 2 more color coats on. Let dry. If not shooting Tamiya let cure for 24 hours, now tape and shoot. If you want it shiny, Tamiya TS13 clear will work. When I shoot the outside of lexan, its usually a beater or wreck. You can easily shoot any of the Tamiya TS lacquer paints, AFTER a PS base coat. Sent from my iPhone using Tapatalk |
|
| |
 |
 B-MOW's Enduro Journey! - Similar Threads
 | ||||
| Thread | Thread Starter | Forum | Replies | Last Post |
| Journey of SMP | TAT76 | Axial SCX10 II | 57 | 03-08-2021 06:08 AM |
| My trx-4 journey | dittohead | Traxxas TRX-4 | 6 | 08-05-2017 10:42 PM |
| Mammoth's journey to the berg | mammoth | EnRoute Berg | 42 | 04-23-2015 07:51 AM |
| I seen Journey last night... | Kamikaze | Chit Chat | 8 | 08-09-2008 01:47 AM |
| |


 Linear Mode


