| |
| |||||||
 |
| | LinkBack | Thread Tools | Display Modes |
 01-17-2014, 05:12 PM
| #1 |
| Pebble Pounder Join Date: Jan 2013 Location: DENVER
Posts: 164
| Axial didnt do it, but I sure wish they would one up me...! Ive been having some fun messing around with my micros lately, not really into the comp crawlers anymore, more into scale crawling. So I decided to build a few scalers up, you may have seen this rig, used this as my donor 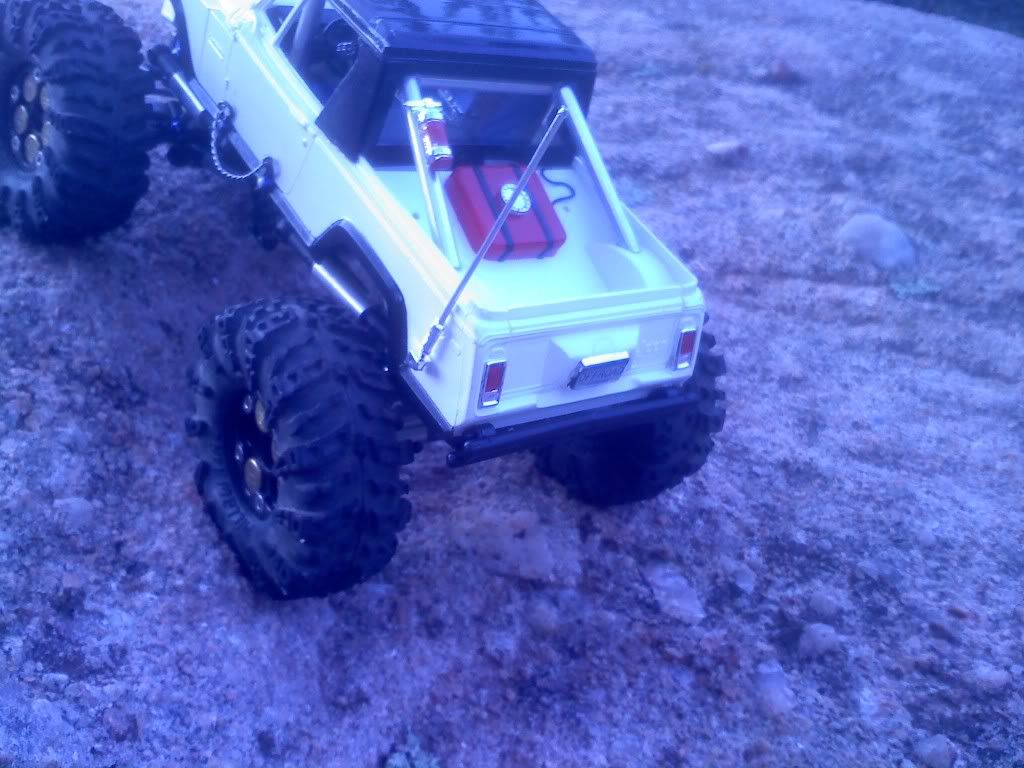 This little thing was just way out of scale! and I had a stock trekker laying around (Only pic left of it, bronco is for my next micro project...!) that I used the frame and body off of. 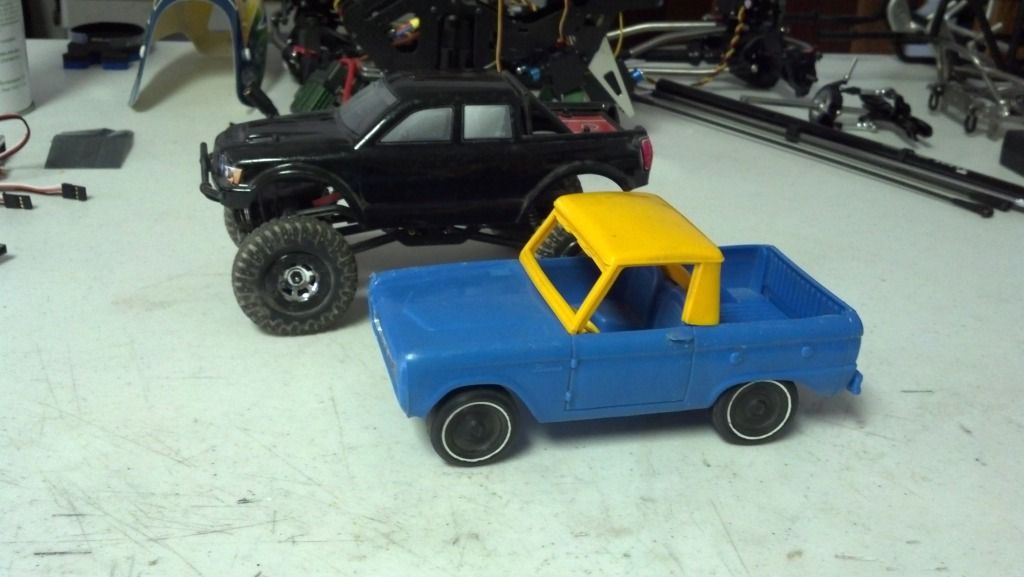 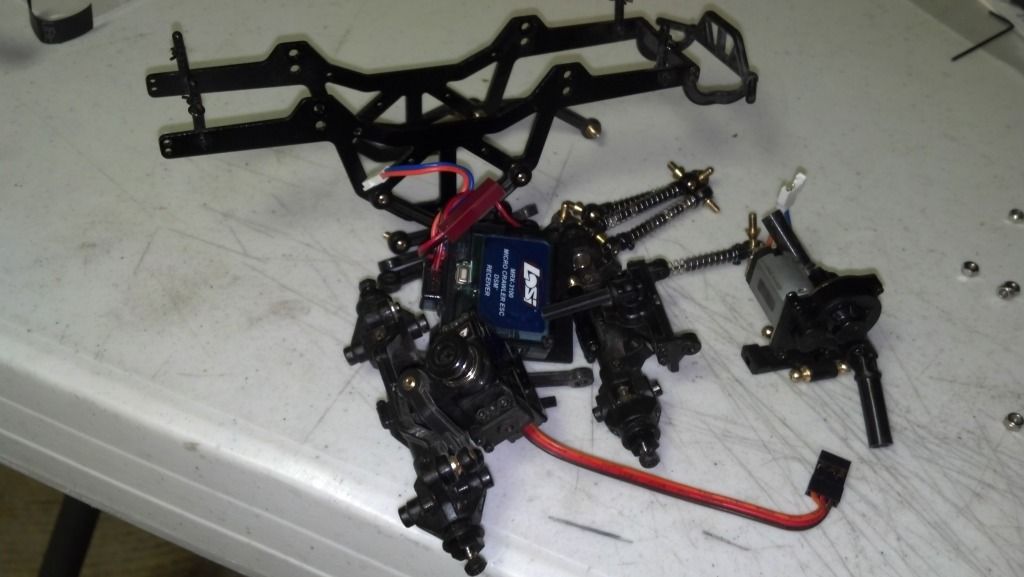 scraped all the trekker parts and throwing my modded axles from my donor in. Micro Beef... 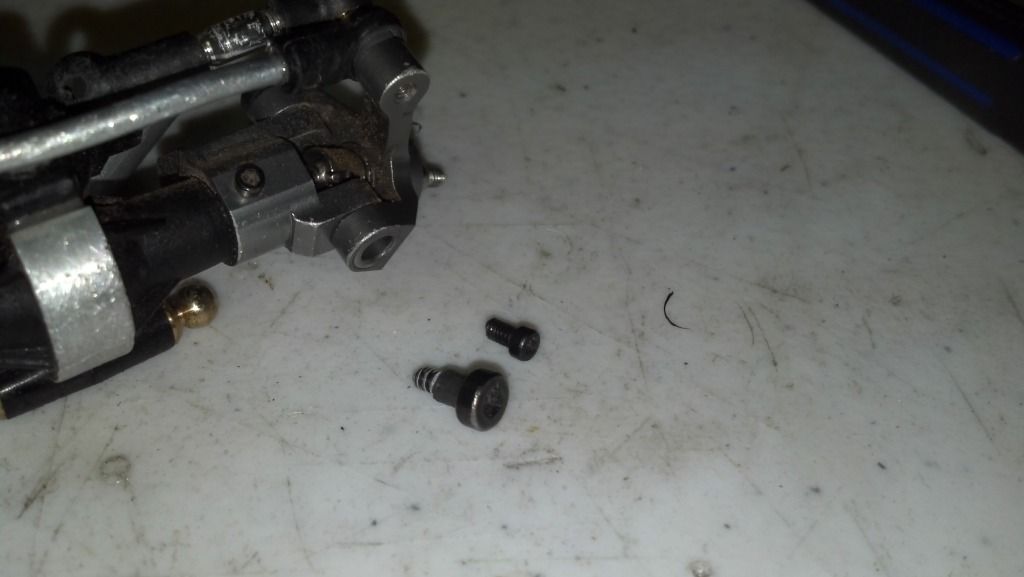 Im not a big fan of the sholder bolts, so I used a cut down stock servo mount bolt, its the same size as the shoulder/same thread and it holds the knuckle in place flawlessly and frees up a couple mm of ground clearance.  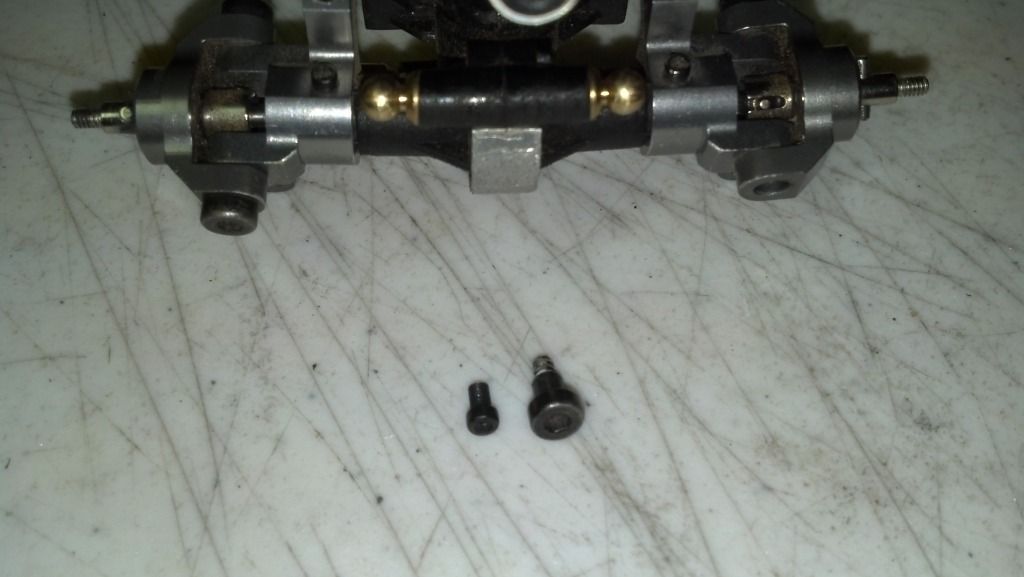 the steering is made up of 3/32 aluminum tube, rc18t2 ballcup drilled out to 3/32 and pressed and Ca'd together and a miniqlo link end(not ballcup) drilled out and ca'd too, then use the stock long steering ball end and an alum. spacer so then you can pop and a drag link made with cut down rc18t2 cups, ingnore the 3/32 alum drag link(kept pulling out), I ended up going with a micro t turnbuckle with the same ends. 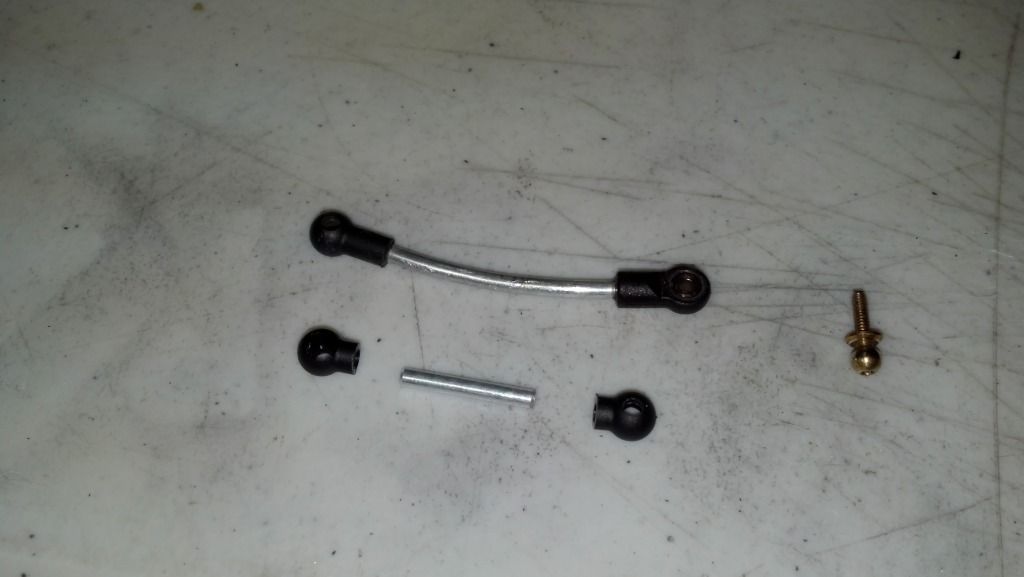 stole this horn off my heli, Tarot hitec horn 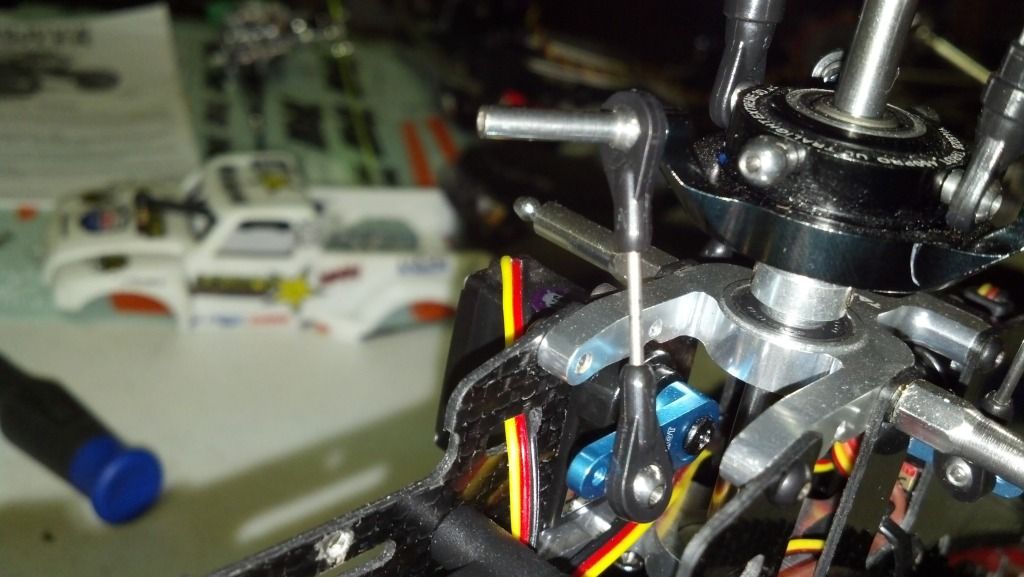 cut it down, threaded a ball onto it and polished all the blue anodize off 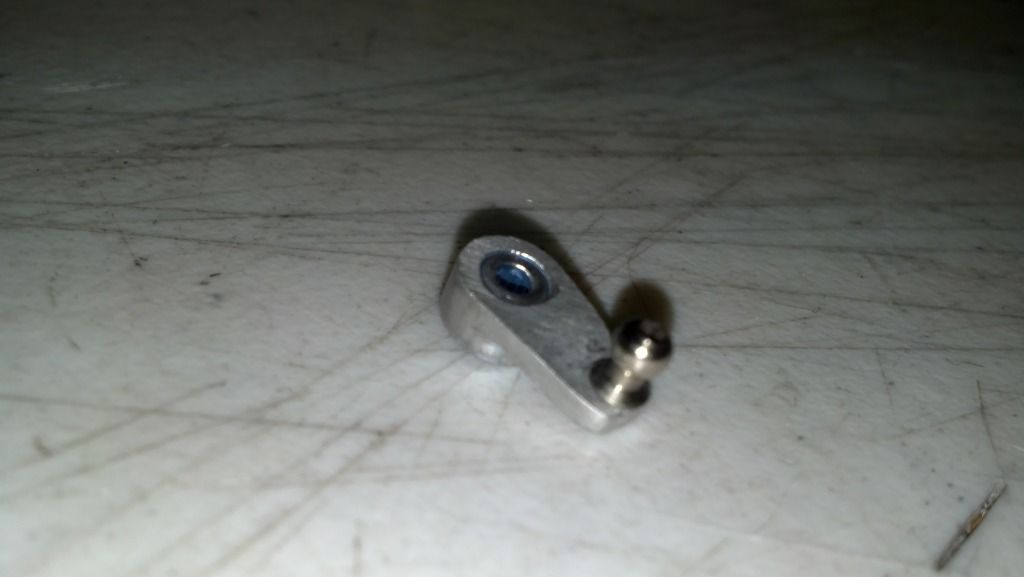 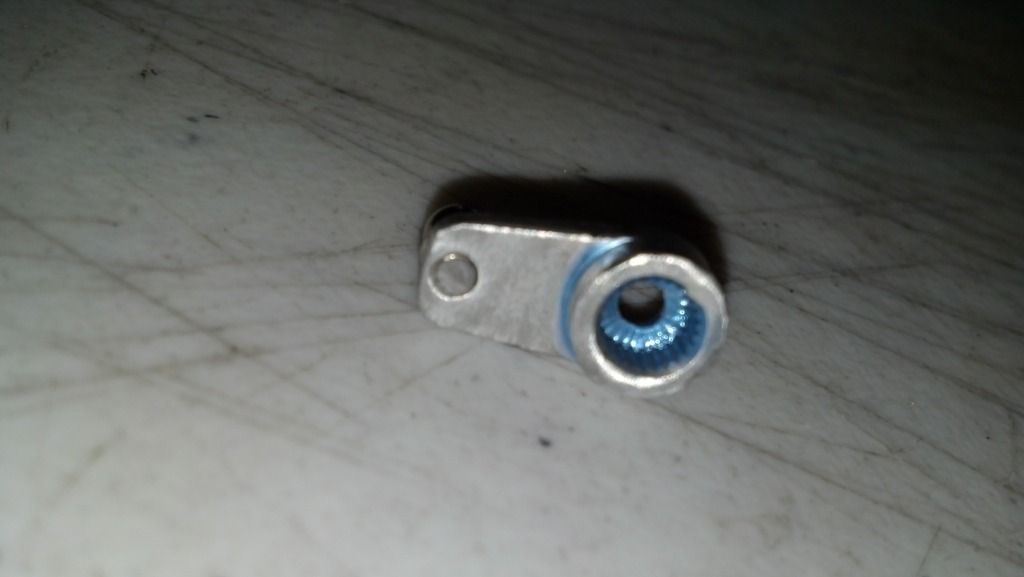 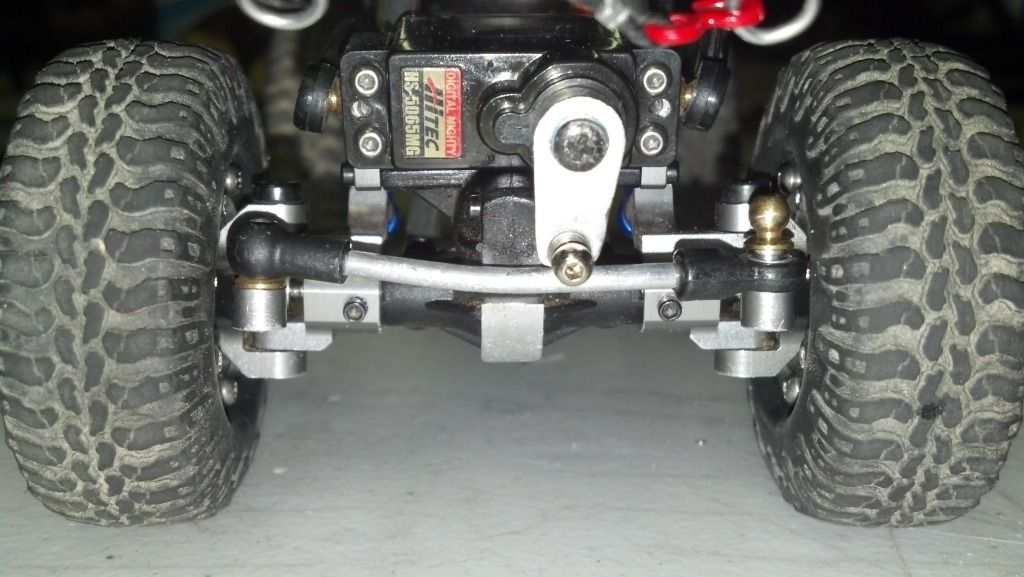 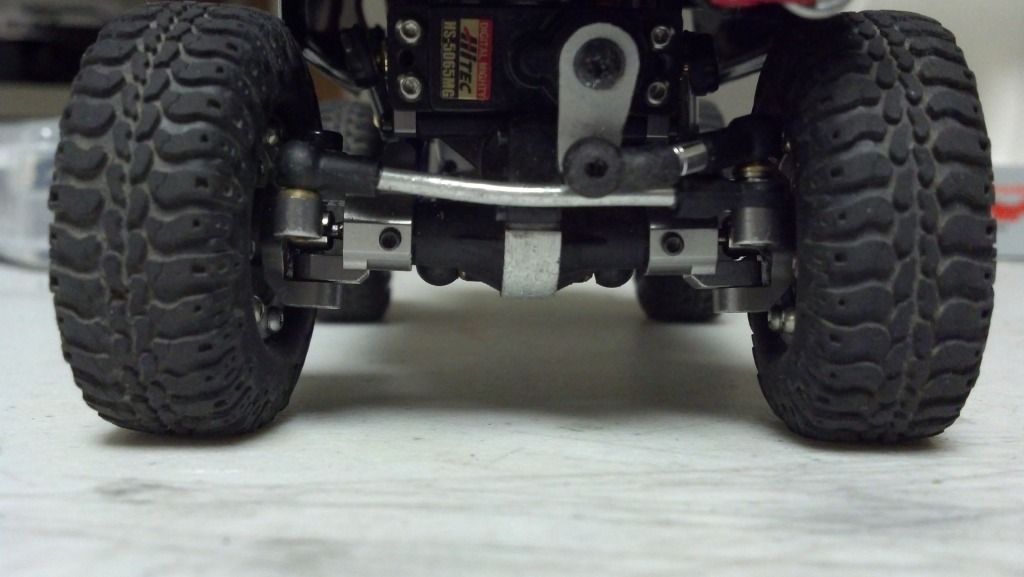 I also shaved the diffs down(eliminated the screws), and jb welded thin alum. strips to them, did the old cut and stretch the drive shafts with 9/32 alum. tube Ca'd together. The rear is really pure lazyness and the fact that the lockouts I have wont match the knuckes and everything else on these axles, servo mounts and link mounts knucks chubs ect... so I just put button heads on the rear axles so it wont hang up on those long socket heads. 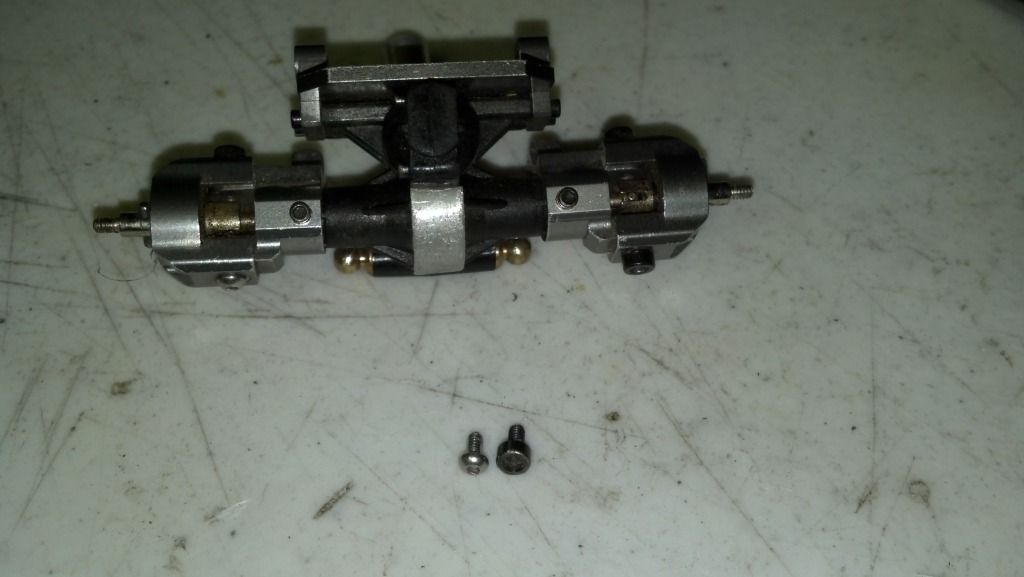 Had to throw in an alum. trans and had to run the 59T micro t spur, those of you that dont know how to do it here it is, pretty much all stock parts: you use the shims to align the spur inbetween the notch on the shaft and use the top slipper plate as the bottom slipper to center the spur and use another top slipper as before like stock with the orings. 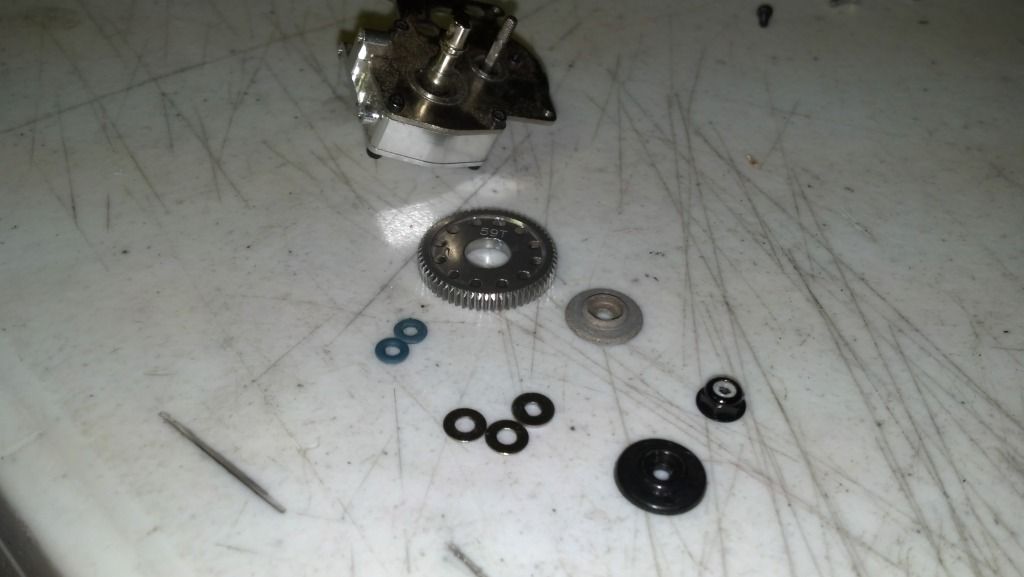 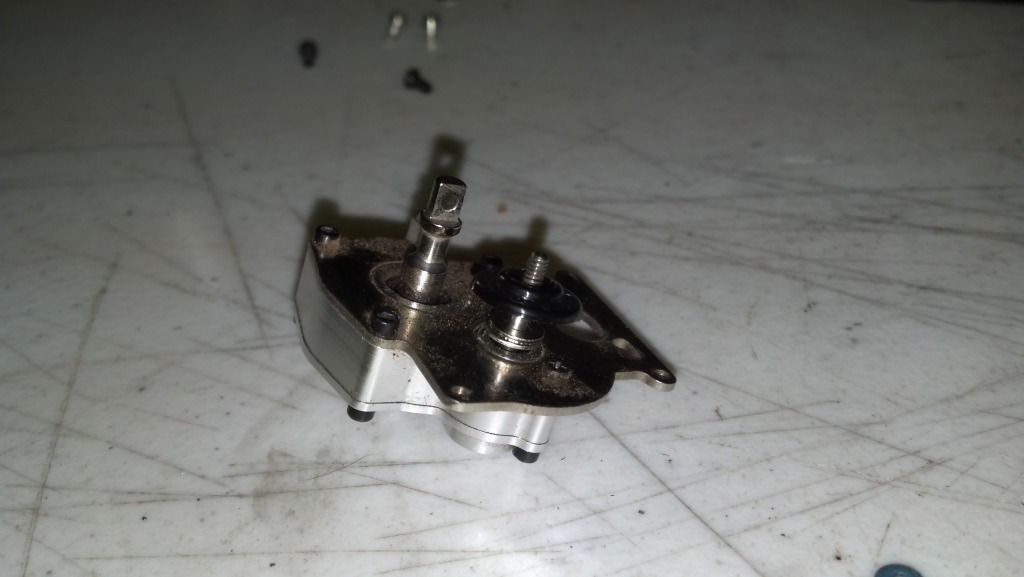 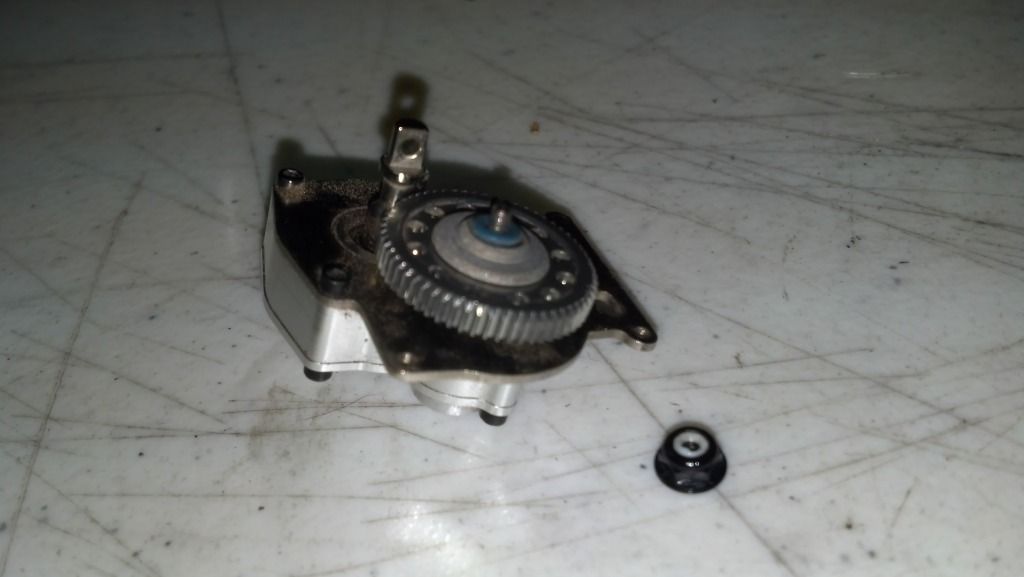 Made up some lower links out of drilled out rc18t2 ballcups and miniqlo links  Cant just bolt up a stock motor to this drivetrain, and ive been meanig to do this for a while, hand wound my own atomic bb2 motor: 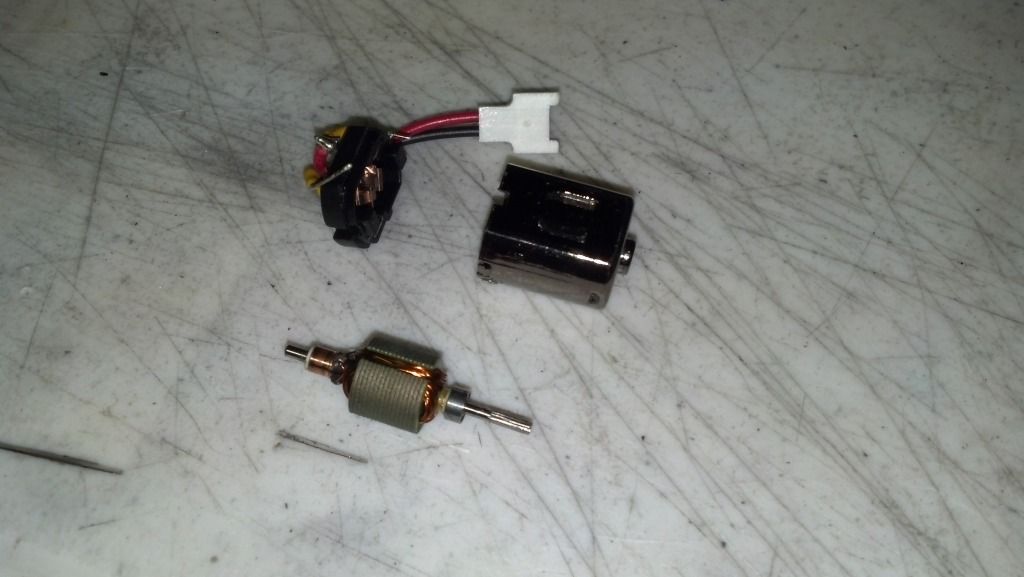 stripped it down, stock was 35 or 34 winds 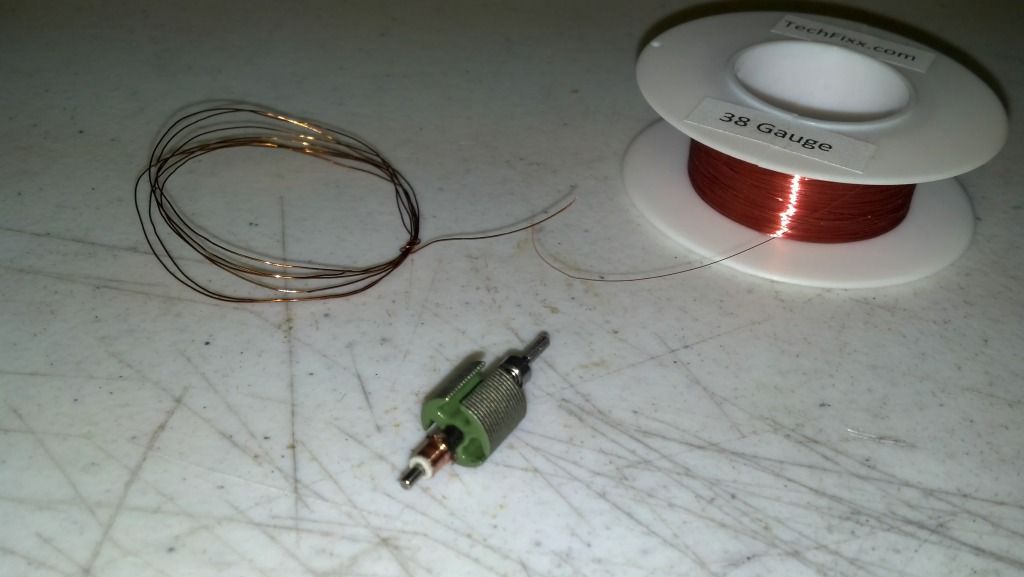 tried the 38 guage, could have winded 200 winds, went with 30 guage(similar to stock, but bigger) had a hard time winding each over the stock 35 winds before it was too full. 38 guage 90 winds, I was affraid this would catch fire. 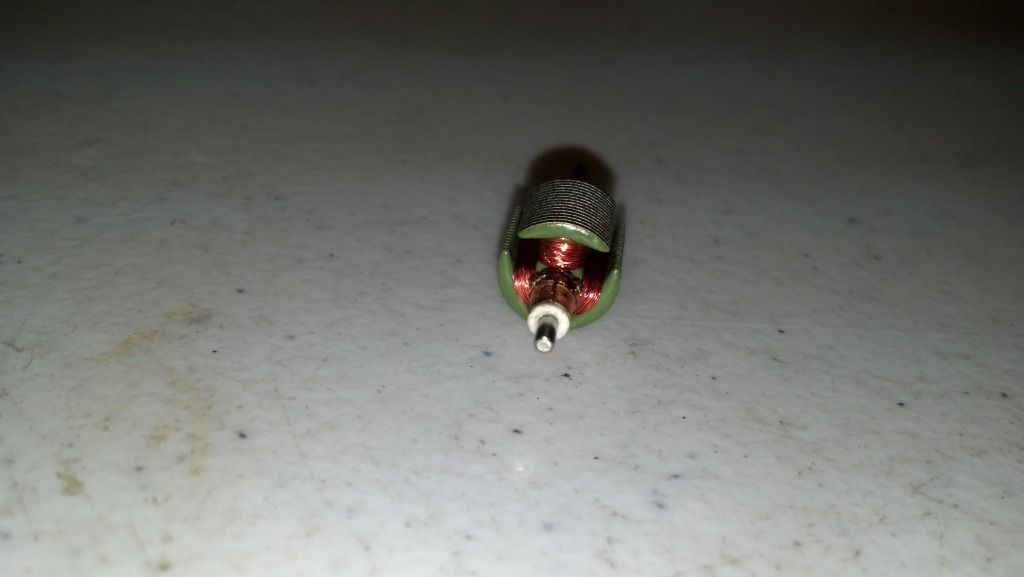 30 guage 35 winds, super smooth! 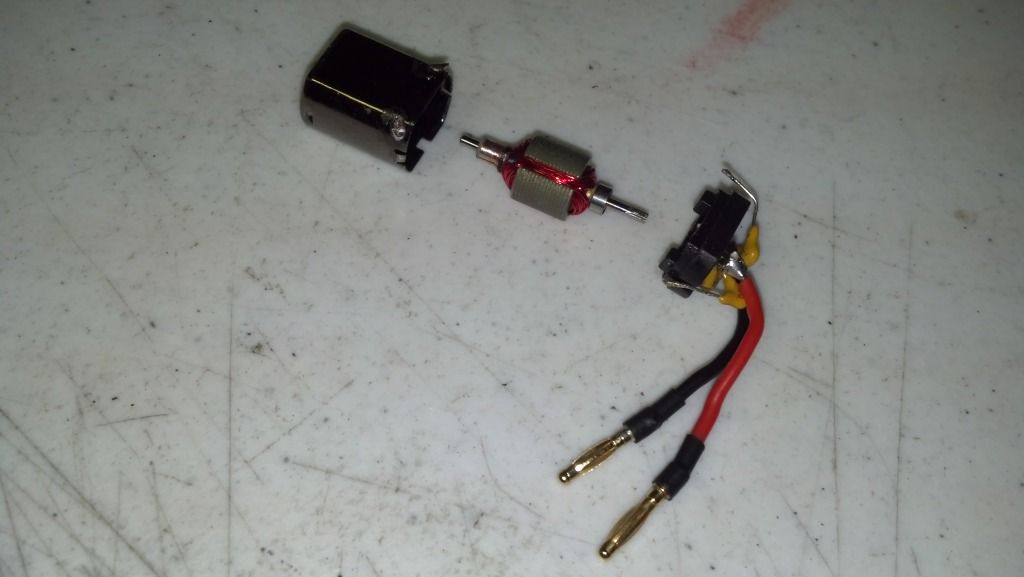 Fitted it with some 2mm bullets, 22 awg noodle wire and a fancy wrap. 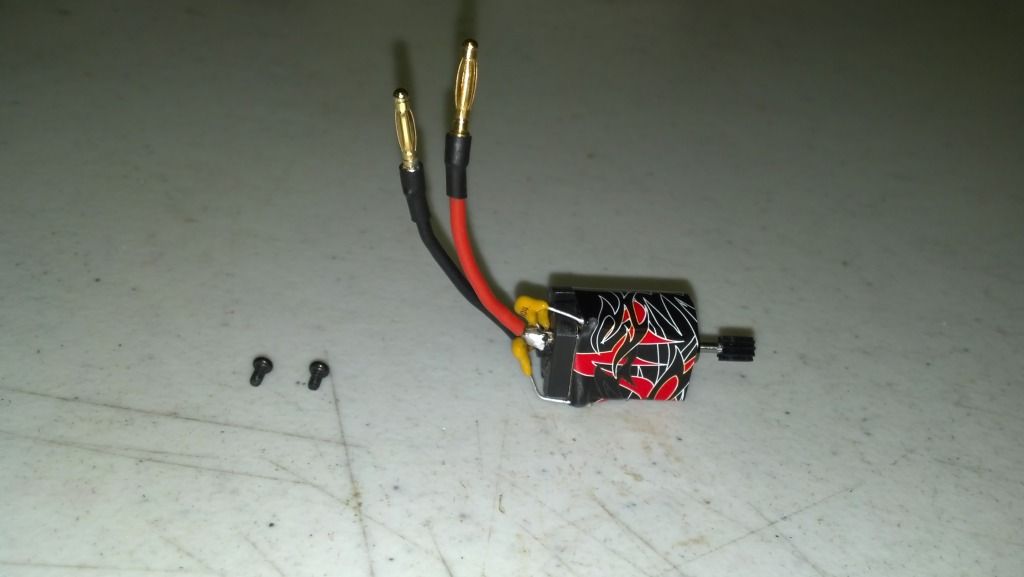 To be continued... |

|  |
| Sponsored Links | |
| | |
|
01-17-2014, 05:12 PM
| #2 |
| Pebble Pounder Join Date: Jan 2013 Location: DENVER
Posts: 164
| Ok back too it... 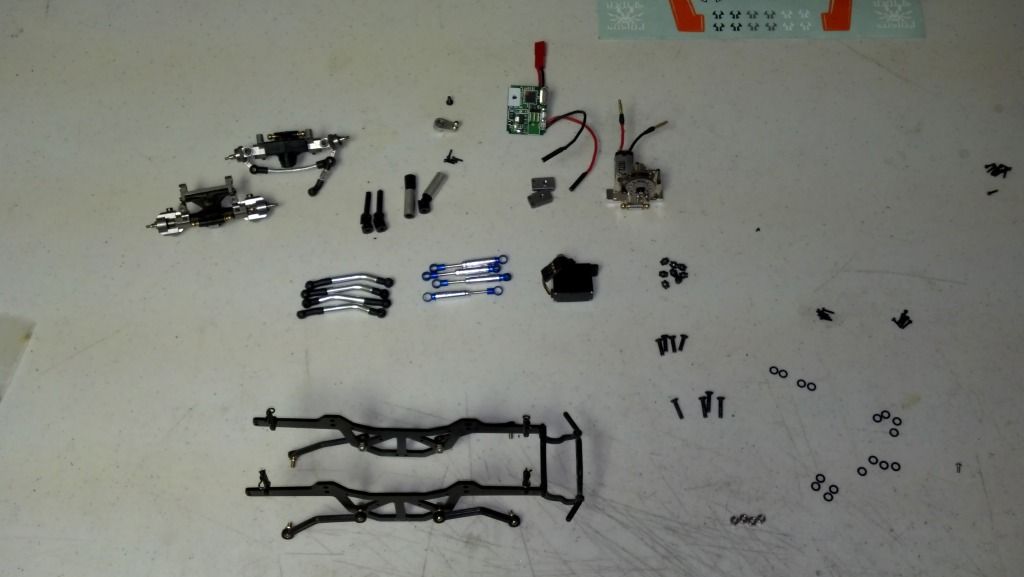 fitted everything to my chassis, stock upper links trekker wheel base, but micro crawler width, flipped the trans. 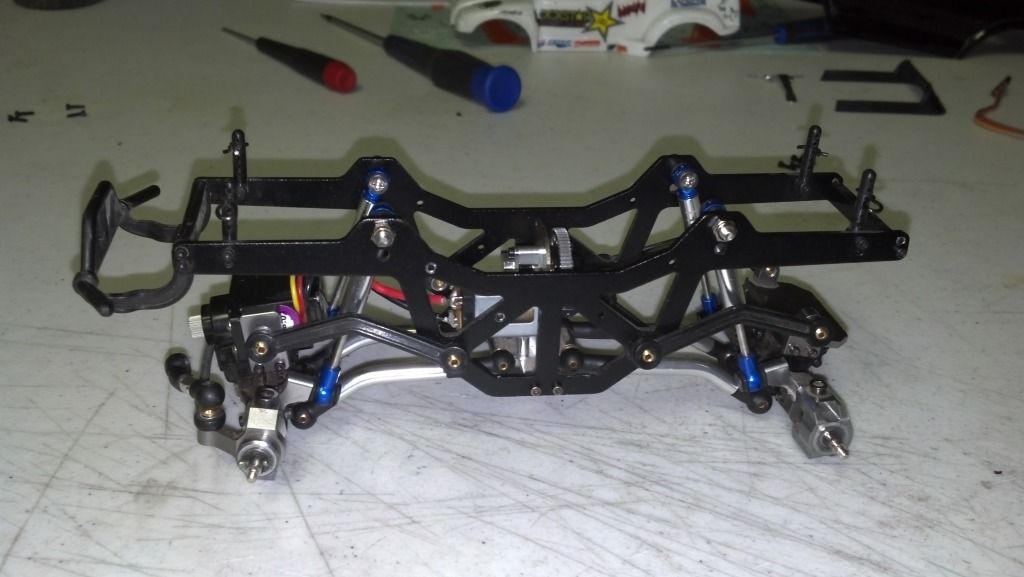 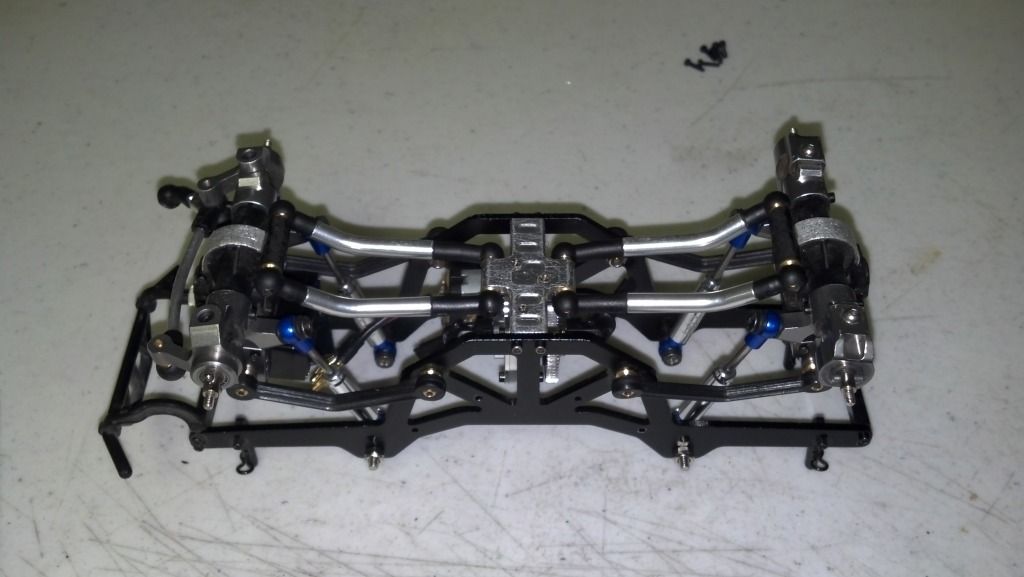 Hot racing air shocks with soft springs, made spacers, and used rubber o-ring to dampen the shock mounts 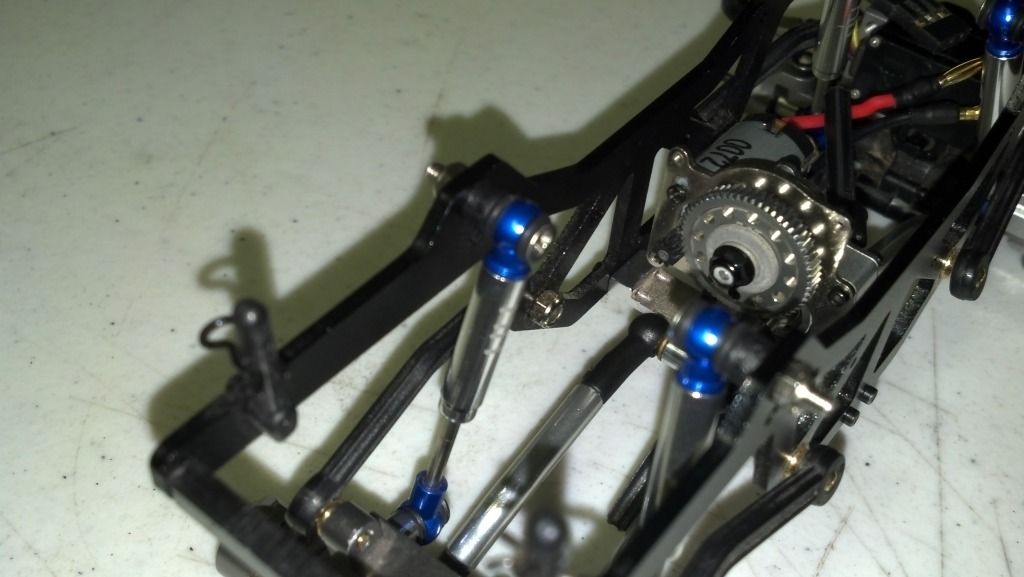 stripped the stock ESC down, resoldered everything in silicone noodle wire, soldered on 2mm bullet connectors for the motor leads, hard wired my on/off switch (soldered red and black together) and used the on/off switch to control the running lights that I soldered direct to the battery leads but i can also disconnect them, I soldered 1mm bullet connectors on the light leads so I can unplug them and still remove the body and shrink wraped everything up. 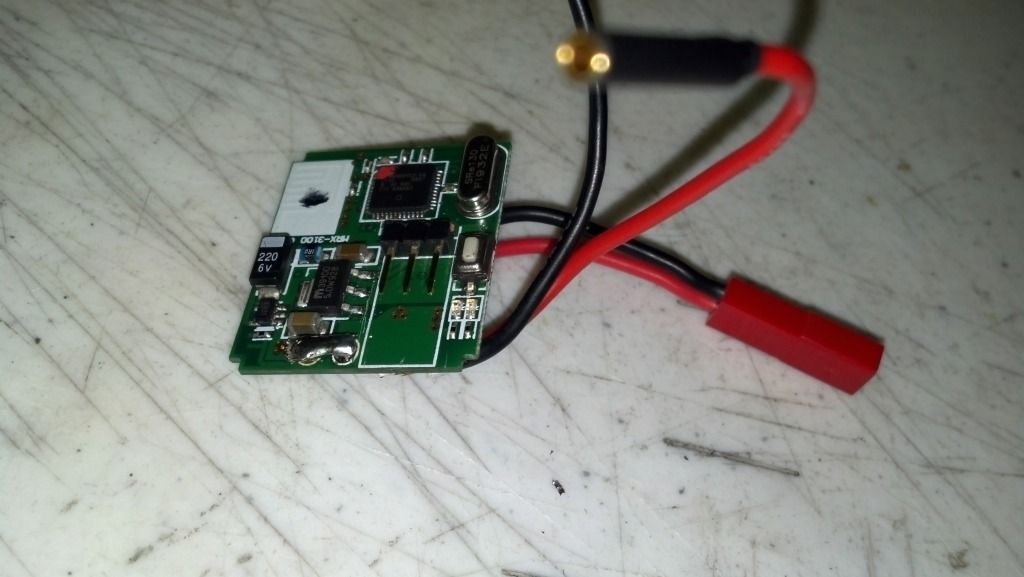 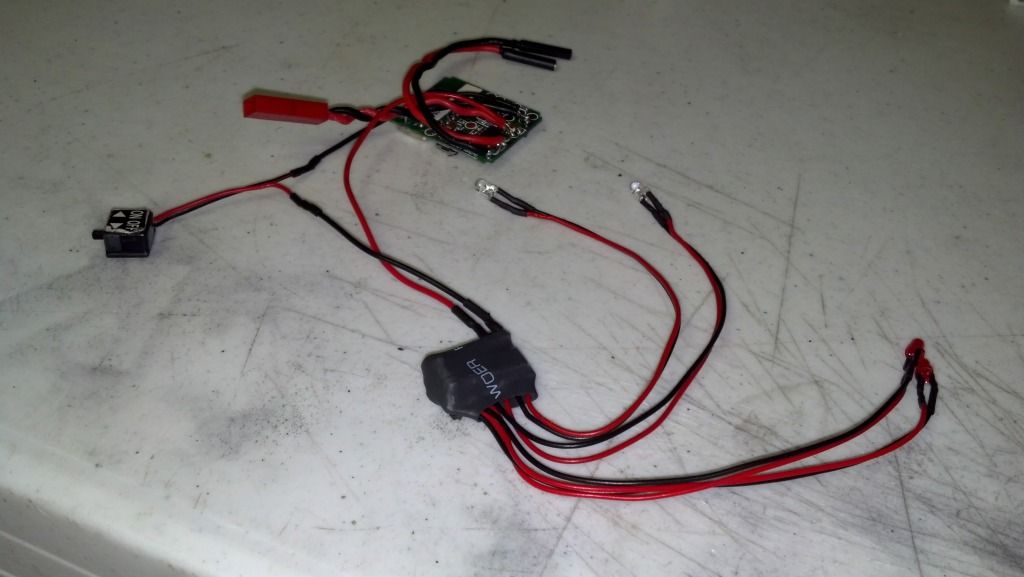 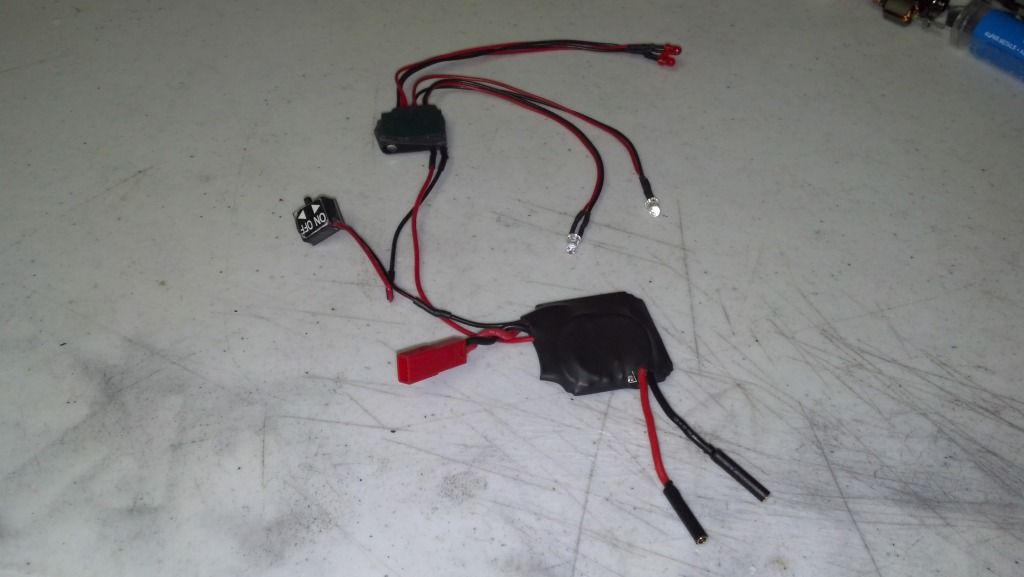 I used shrink wrap around the leds kinda like light buckets to block the lights from shinning under the chassis 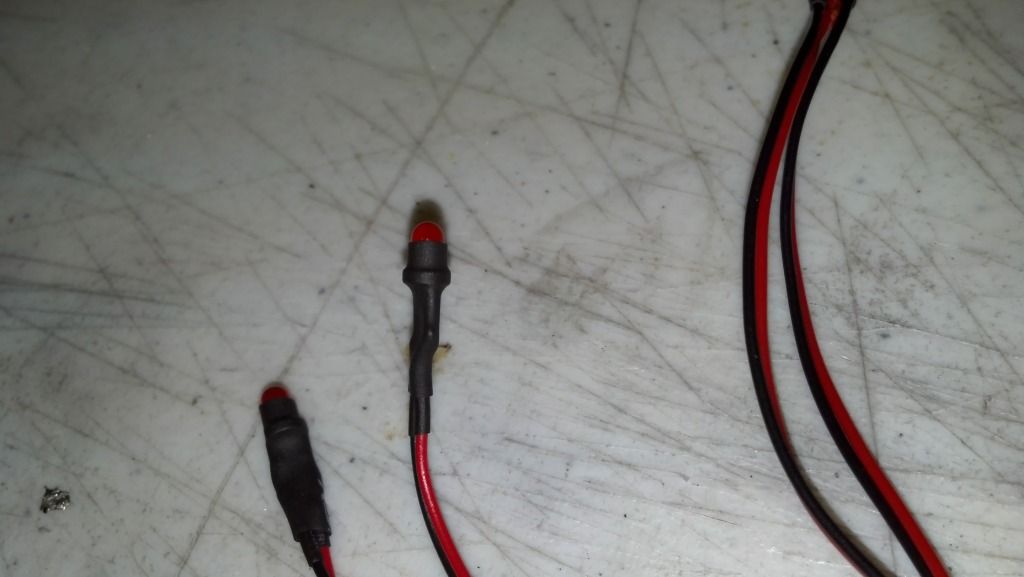 I had a couple sets of these Rc4wd beadlocks laying around, decided to sand the center/inside part 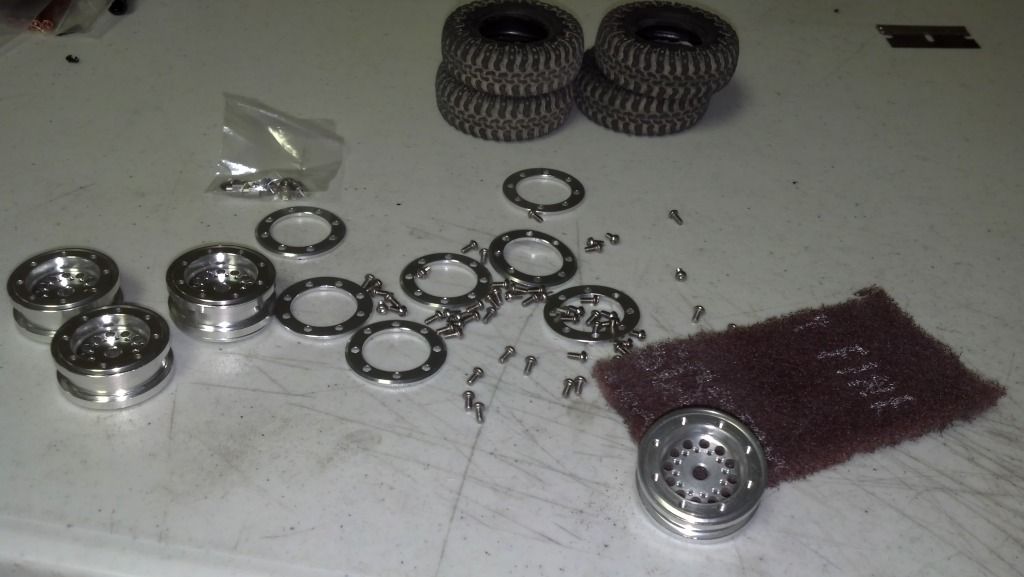 and mask 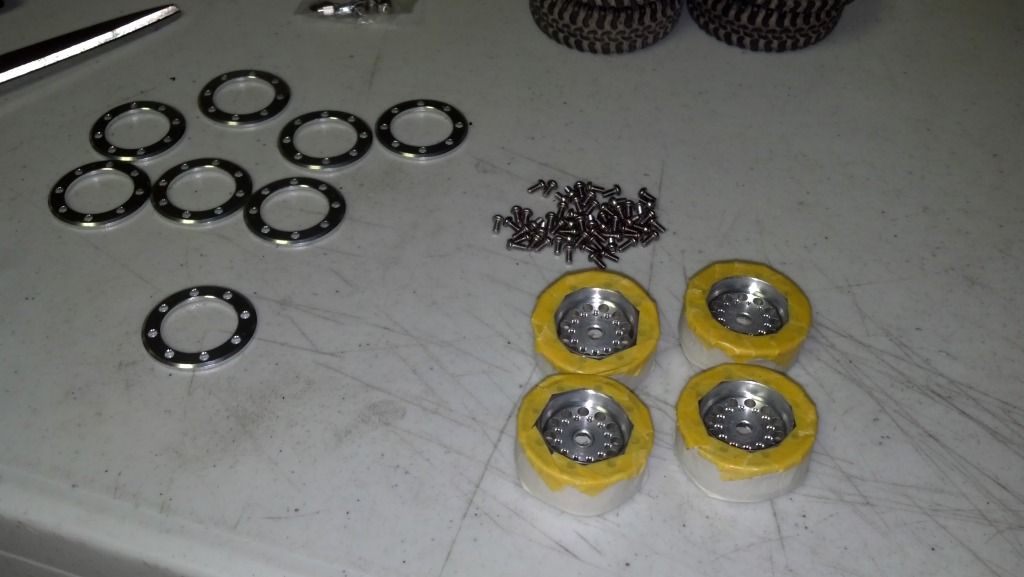 and shoot them black semi gloss...! 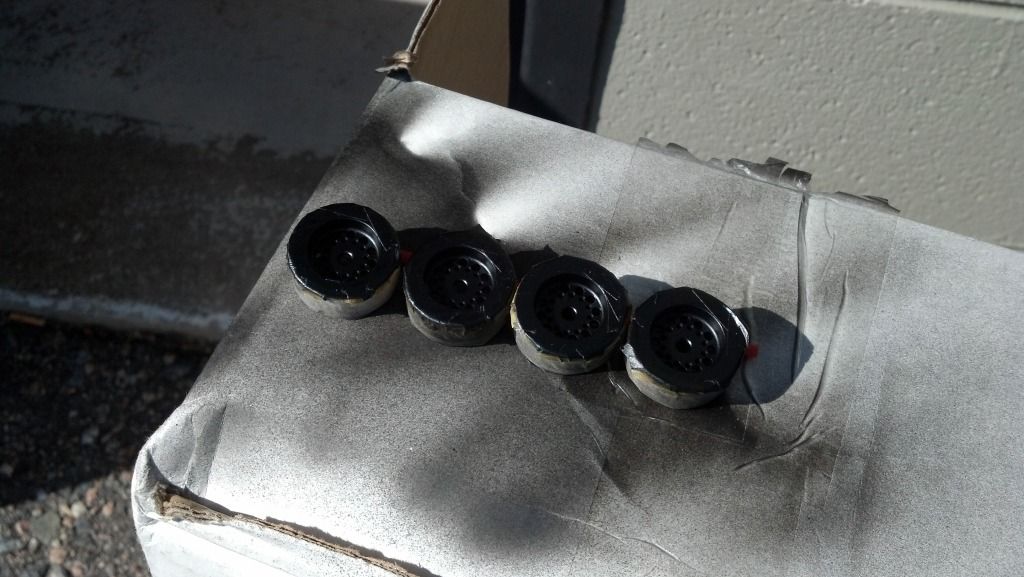 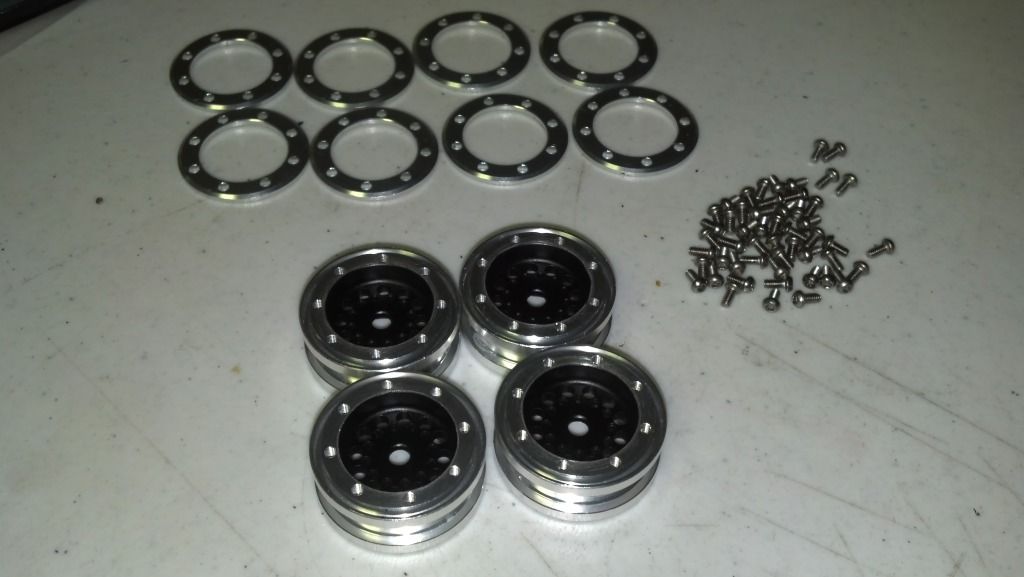 Tune your foams?  I think so... used the stock tires, I really just liked the tread pattern/size, I have all kinds of others but oh well for now... roller status 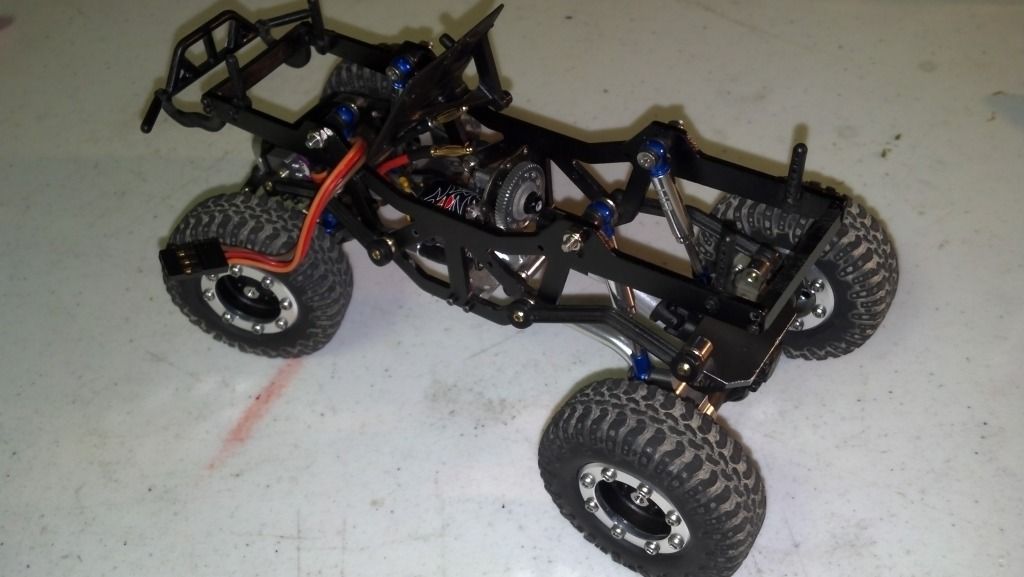 installed the electronics ran the wires under the electronics plate, put in a Hitec hs5065mg servo, had to extend the leads 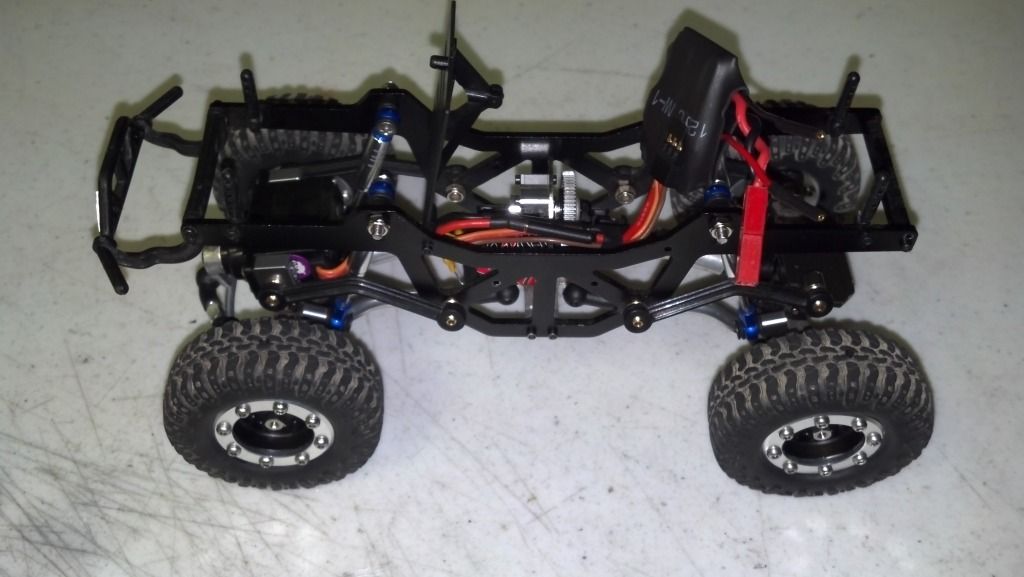 couldnt really find anywhere else to put a lipo and I wanted long run times so I installed a 2s 600mah and put the esc ontop 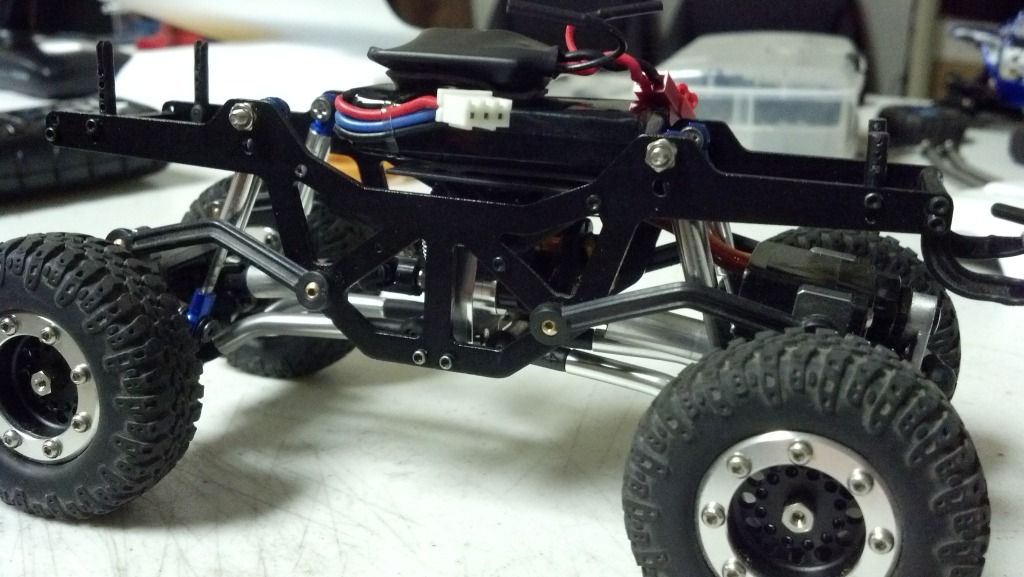 [IMG]http://i1234.photobucket.com/albums/ff414/Aaron_Madama/2012-10-04_18-21-34_352.jpg[/IMG] |
|
| |
|
01-17-2014, 05:13 PM
| #3 |
| Pebble Pounder Join Date: Jan 2013 Location: DENVER
Posts: 164
| So I chopped this rear cage up pretty good, had to modify it to fit my lights and to fit down low inbetween the frame/shocks so I could slam the body all the way down and trimmed slots in the front of the body for the bumper mounts to slide into 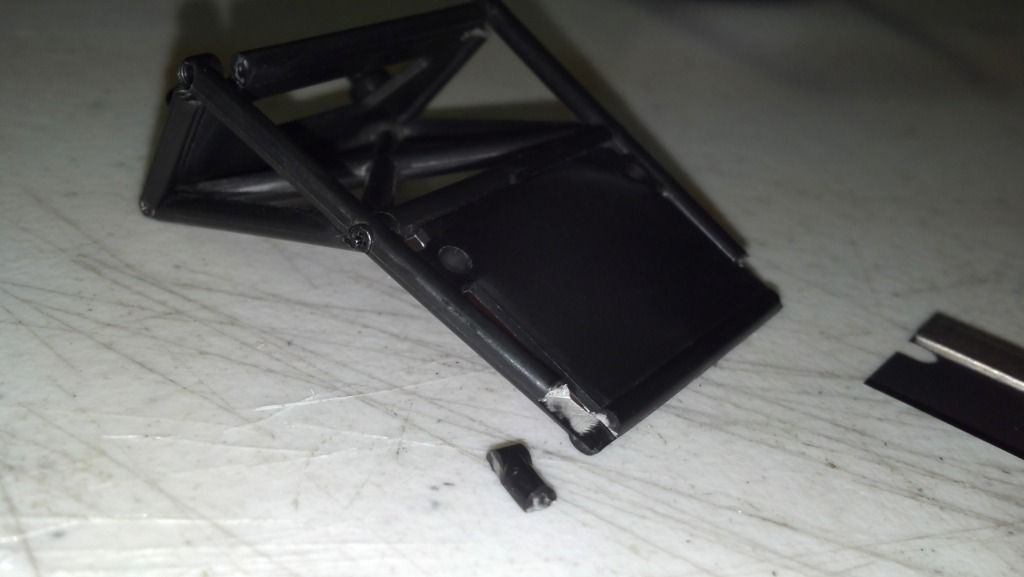 also chopped the body up pretty good 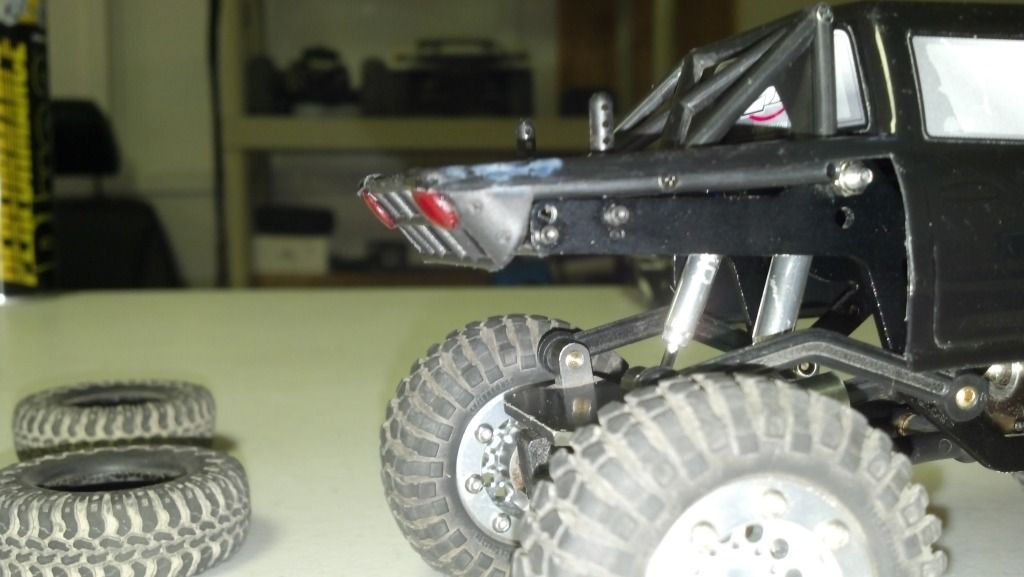 then used this rear bed section out of a toy sct truck(you can see it above in the background of the heli pic) to dove tail the bed section, Ca'd it to the lexan bed strips and also ca'd on red lens for the tail lights 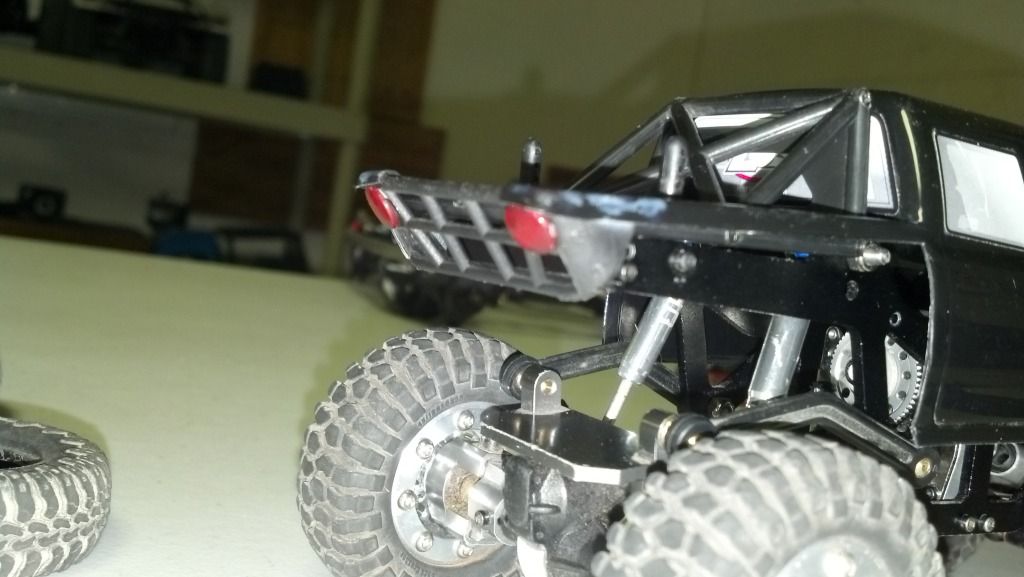 then made up these aluminum panels that bolt on, and hides my light wires nicely. 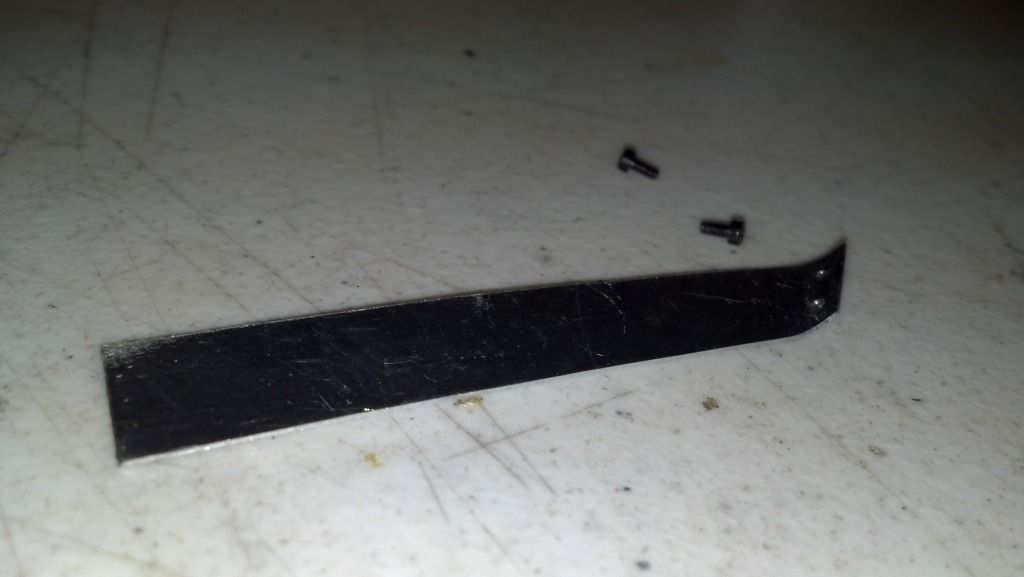 masked the bed off, left the window stickers on as window masks, masked the headlights, masked the hood scoop vent, left the grill sticker as a mask, masked the inside off, sanded the body with scotchbrite, shot it with parma lexan paint 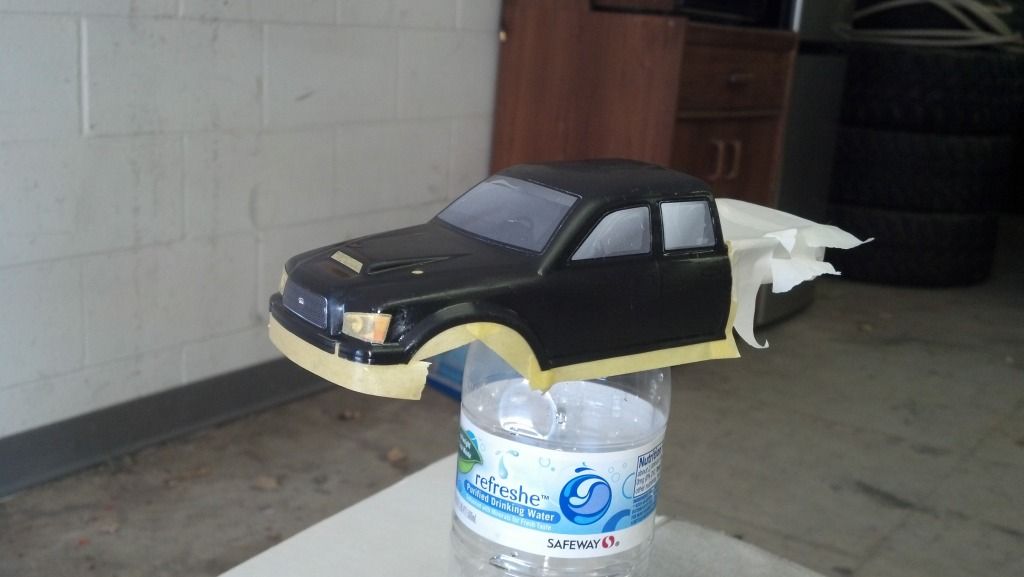 wired the lights into the body, used a body reamer to cut a perfect tight fit hole in the center of the headlight decal for the white leds and double sided tapped the rear into the red lens and ran the wires in the slots I channel'd out(a lot more than I pictured above to), mounted my lights switch 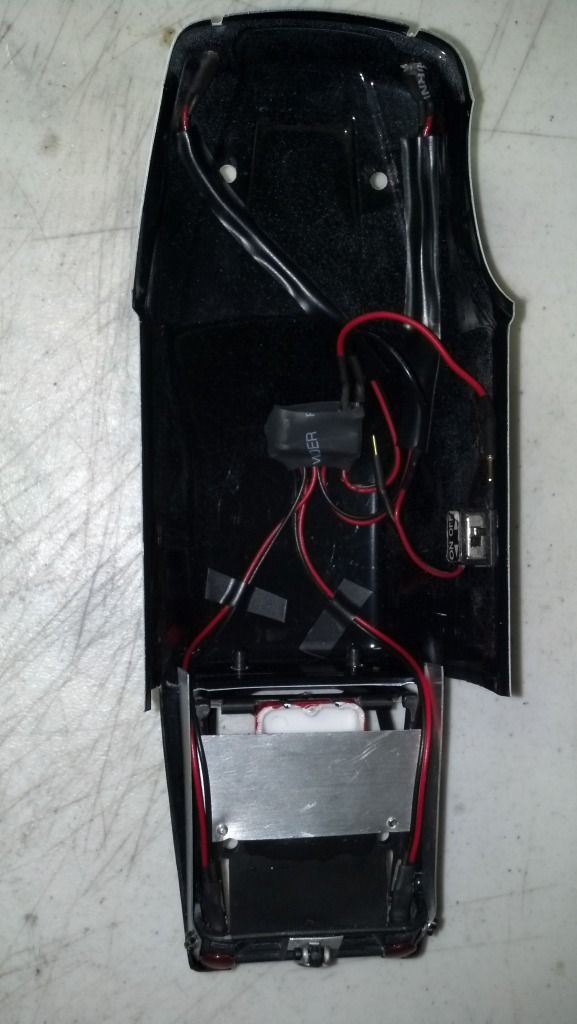 made a few scale accessories, powertank, hijack lift, d-rings, cb antenna whip, bed roll, gas can and finished out the rear bead section with thin aluminum, added a fuel cell, cut the rear body post to hold my hijack lift 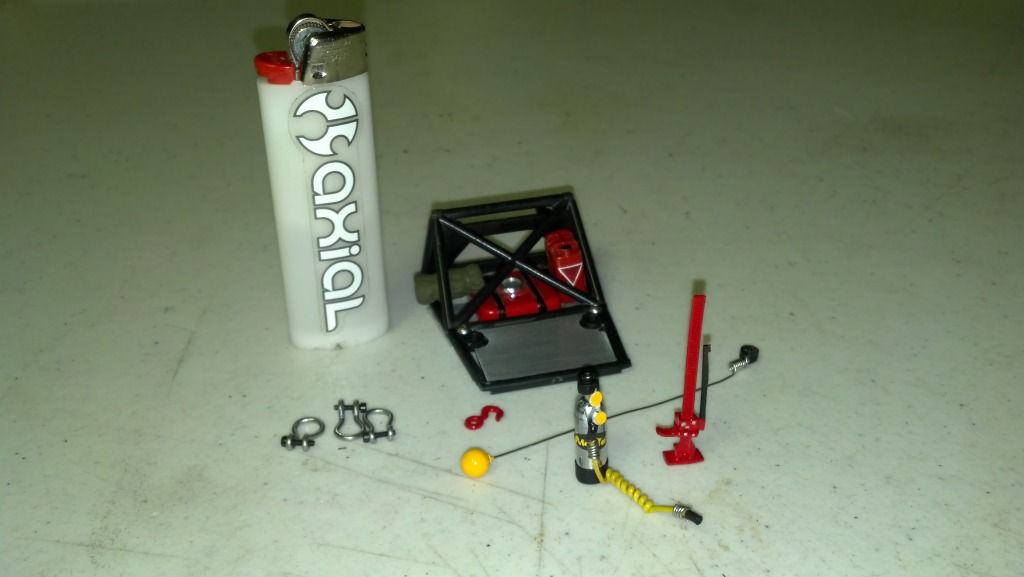 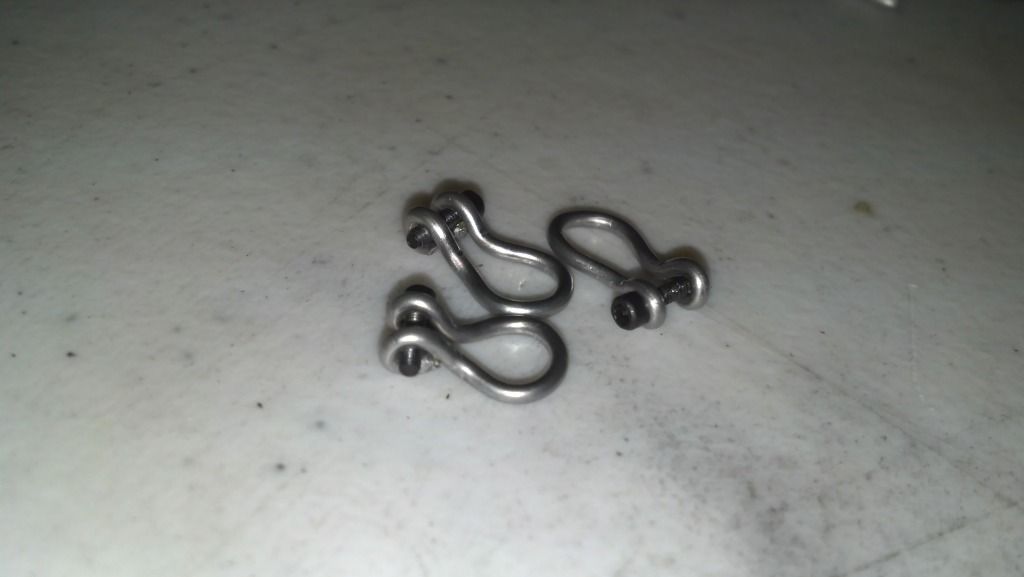 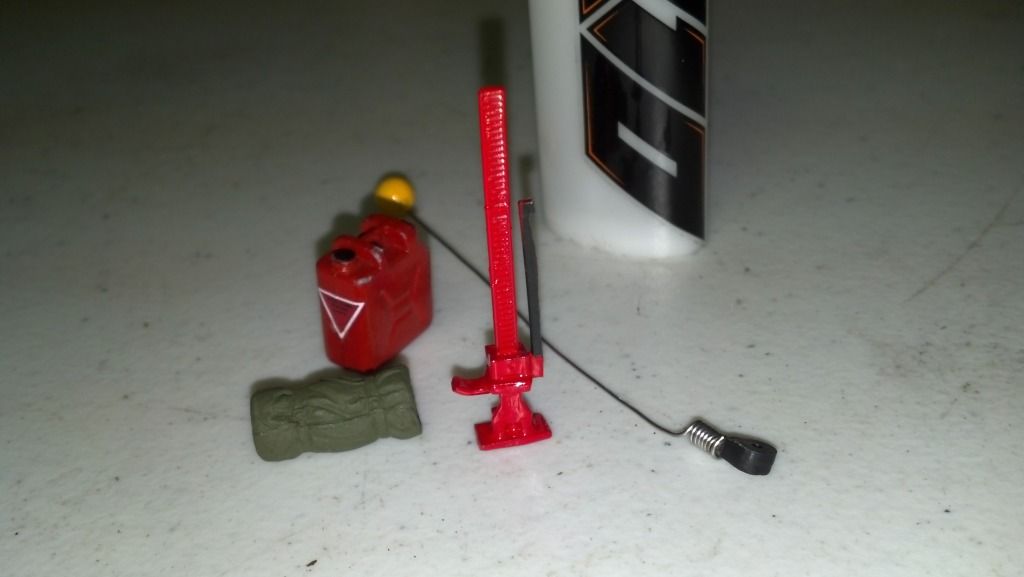 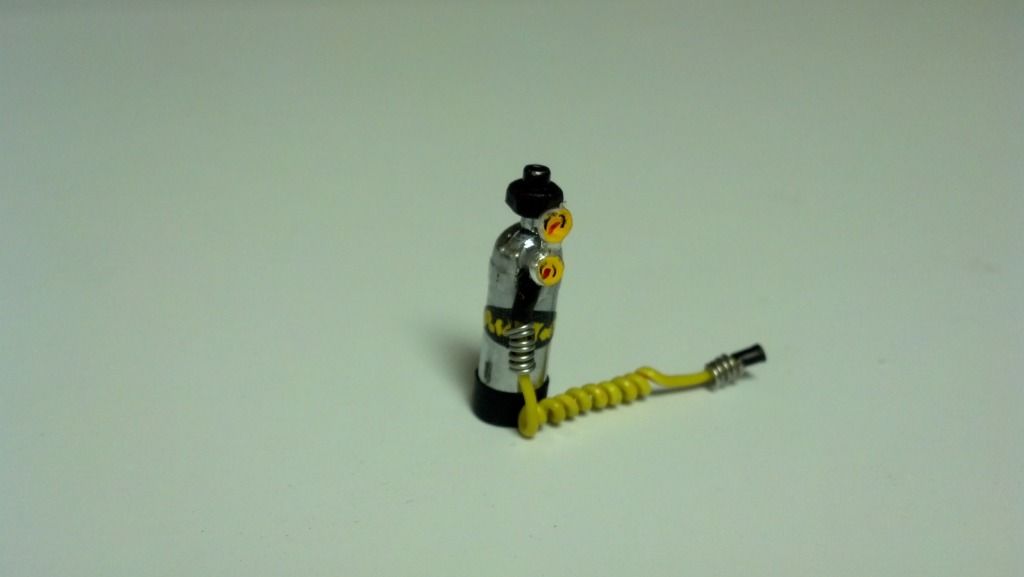 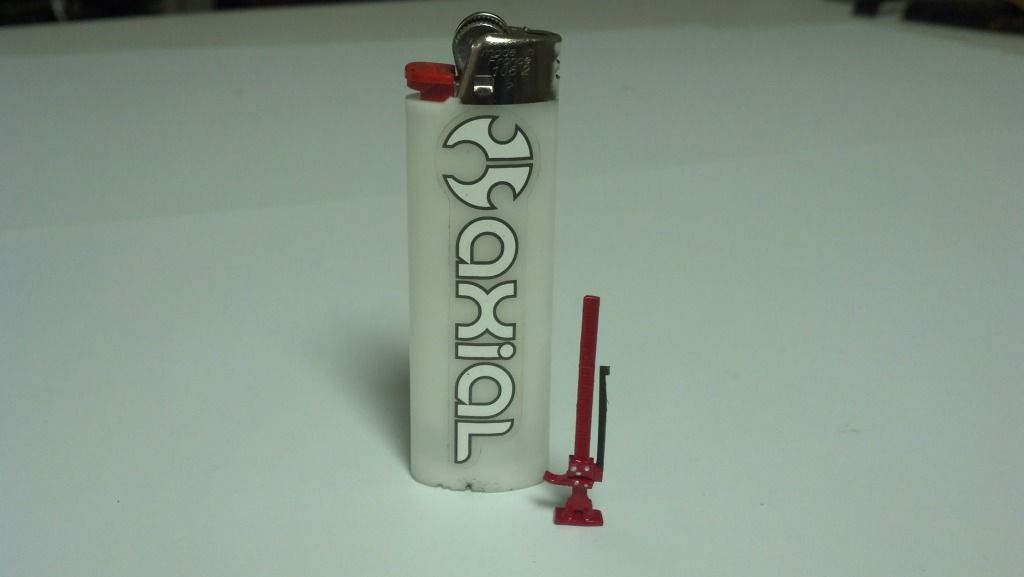 made a fairlead and a dummy hook and line, d-ring mounts, Honcho style bumper, grill stickers, scale hood pins 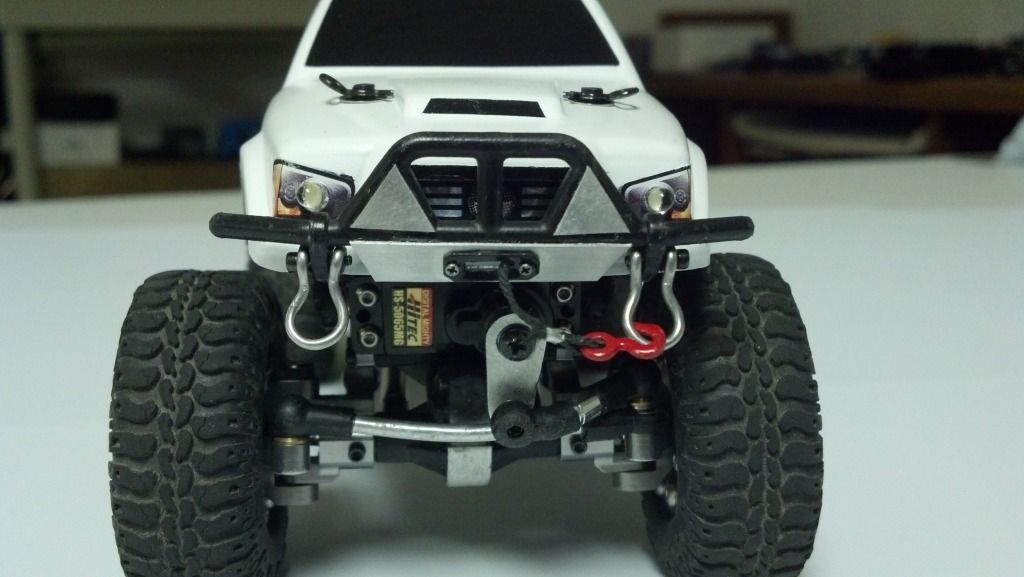 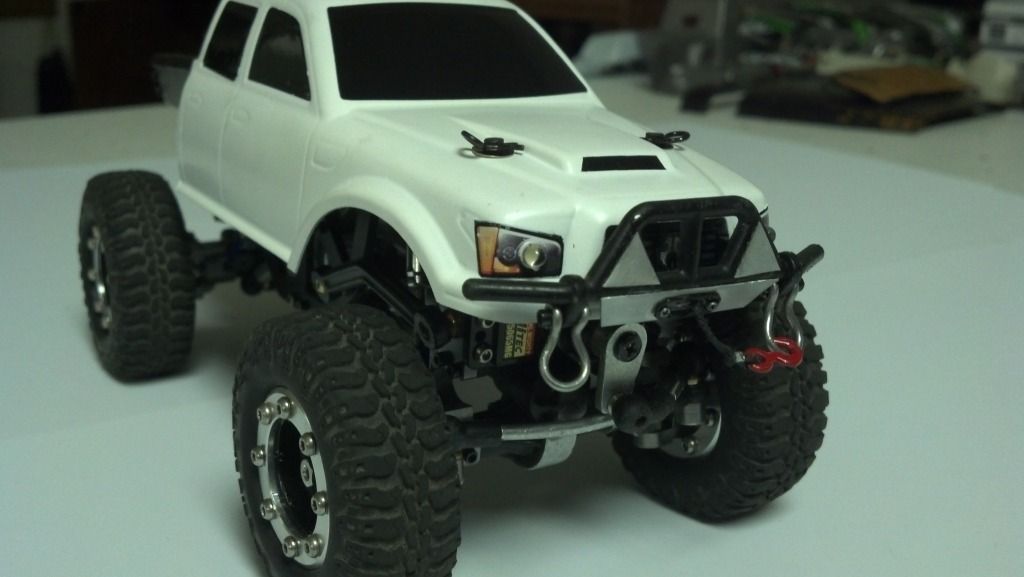 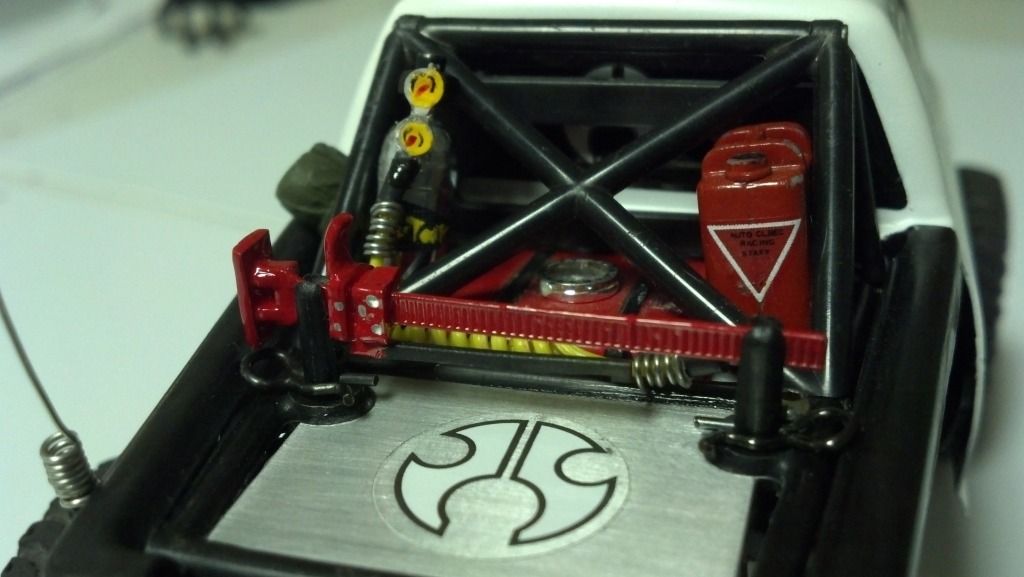 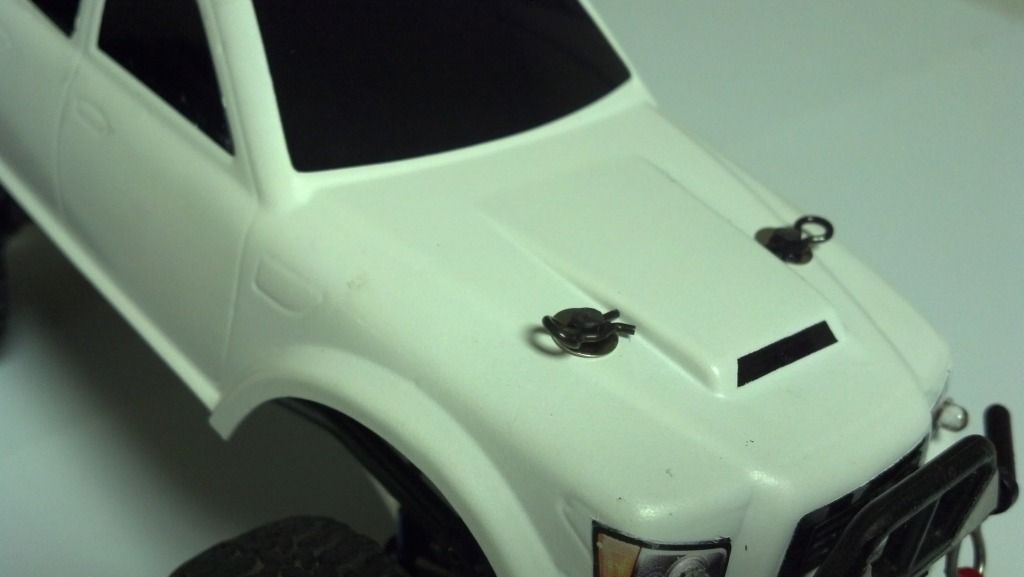 doved... 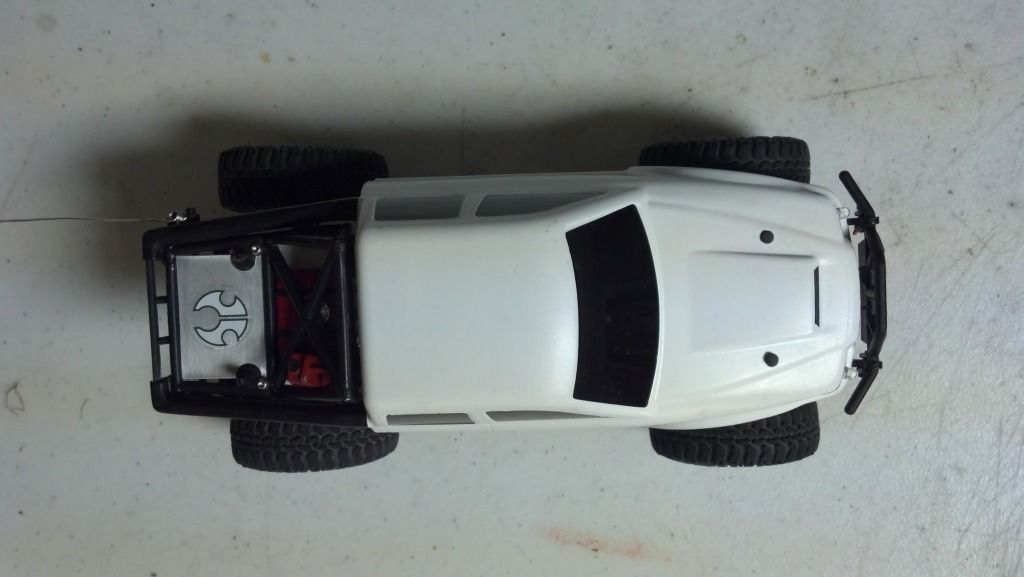 made a rear d-ring mount, added a few more details to the accessories and truck... 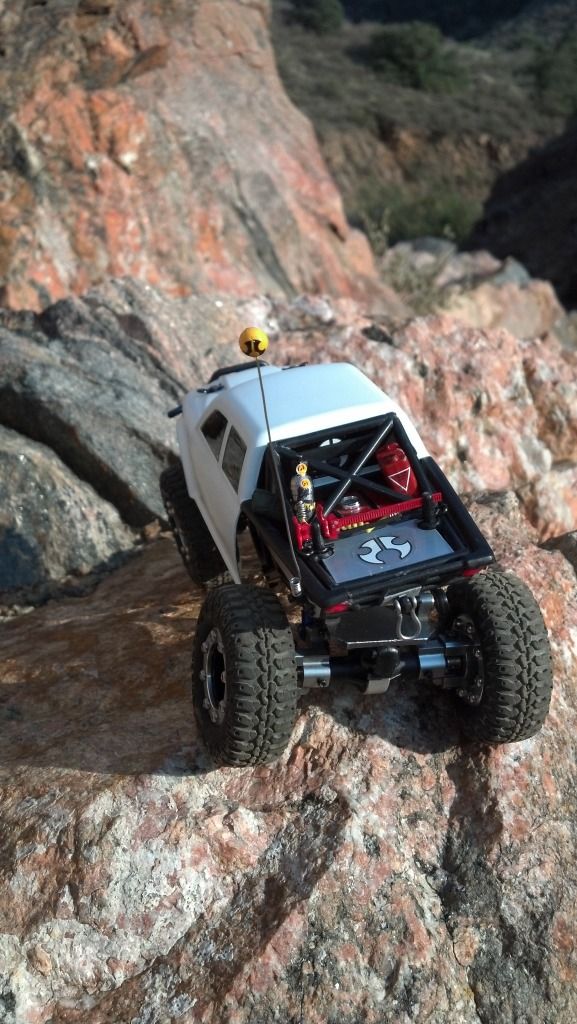 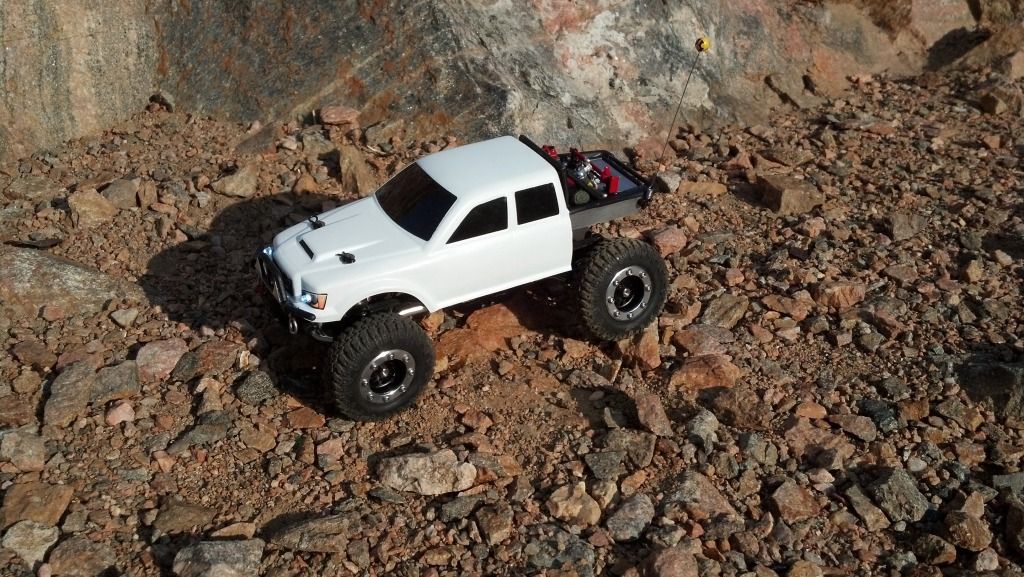 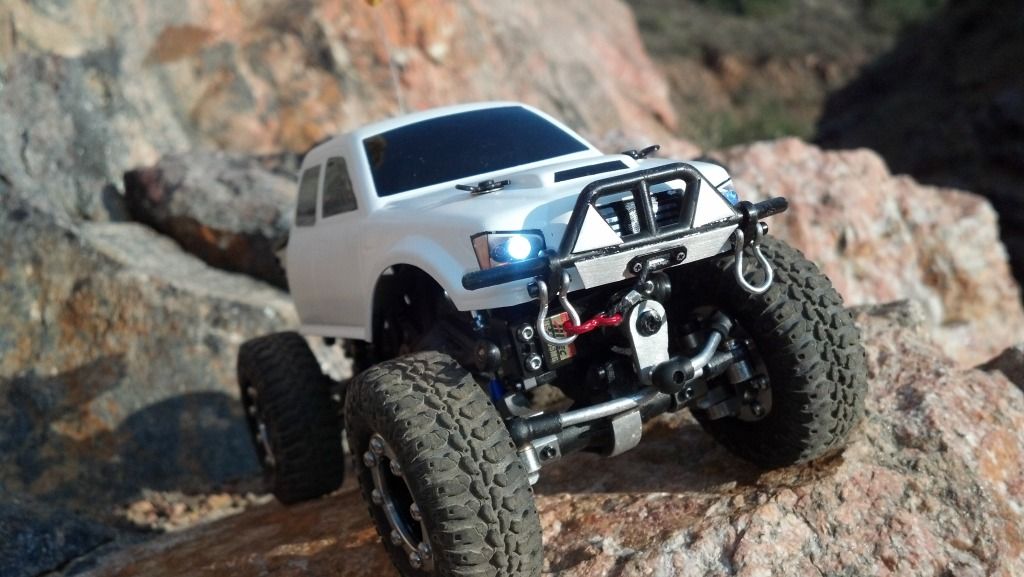 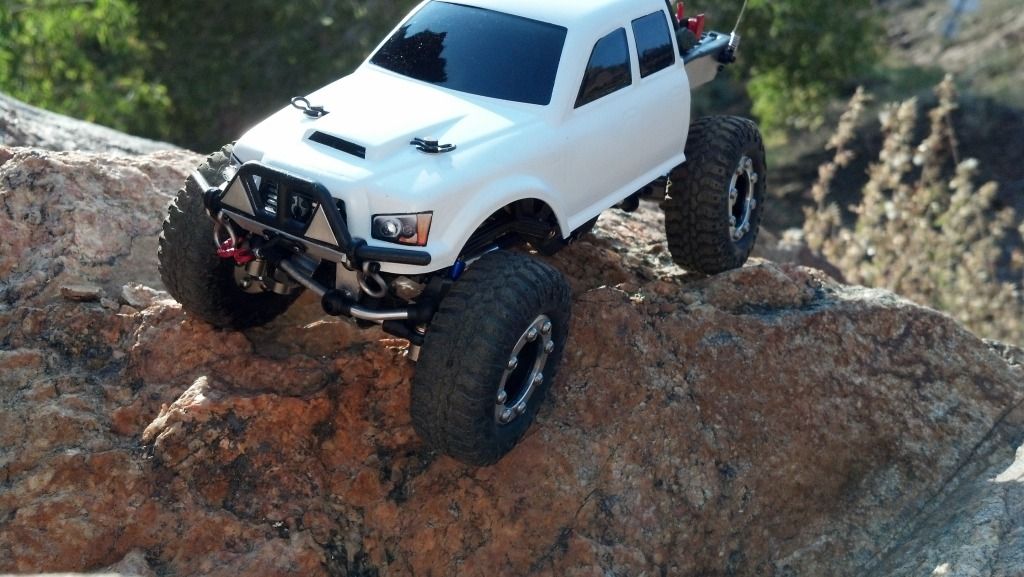 Last edited by WAFFLE; 01-17-2014 at 05:23 PM. |
|
| |
|
01-17-2014, 06:06 PM
| #4 |
| Quarry Creeper Join Date: Apr 2013 Location: Upstate
Posts: 335
|
Dude, this is one trick setup. I really like what you have done with the trekker body!
|
|
| |
|
01-24-2014, 04:42 PM
| #5 |
| Pebble Pounder Join Date: Jan 2013 Location: DENVER
Posts: 164
|
Posted this little guy up in the for sale section.
|
|
| |
|
 Axial SCX24 Trail Honcho - Similar Threads
 | ||||
| Thread | Thread Starter | Forum | Replies | Last Post |
| Slow motion River splash! Axial Wraith RC4WD Trail finder 2 hilux Axial Honcho - Mudd | boolean21 | Scale Videos! | 2 | 10-22-2013 05:54 PM |
| Axial Trail Honcho? | berwicknitro | Newbie General | 3 | 04-28-2013 06:49 PM |
| Getting A New Axial SCX10 Trail Honcho | Motocrosser724 | Newbie General | 2 | 05-24-2011 05:09 AM |
| |


 Linear Mode


