| |
| |||||||
 |
| | LinkBack | Thread Tools | Display Modes |
 01-26-2009, 11:57 PM
| #1 |
| RCC Addict Join Date: Jan 2009 Location: Crawlifornia
Posts: 1,941
|
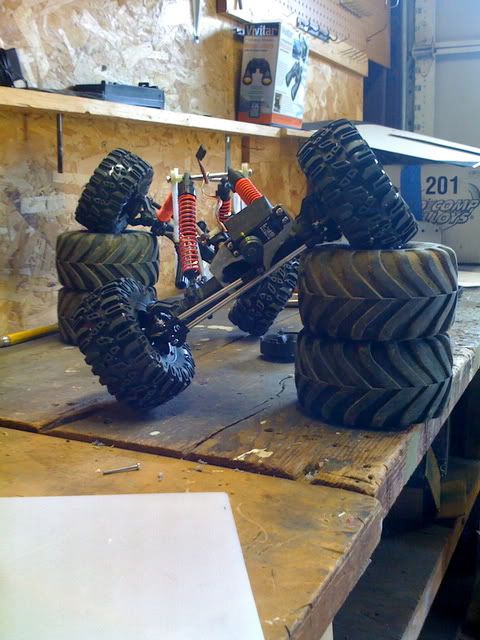
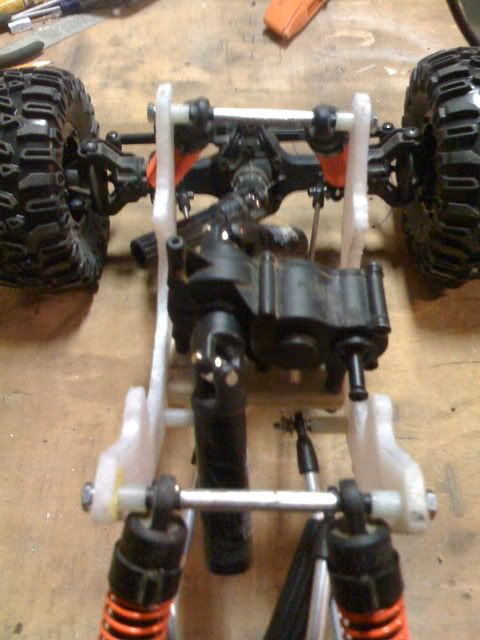
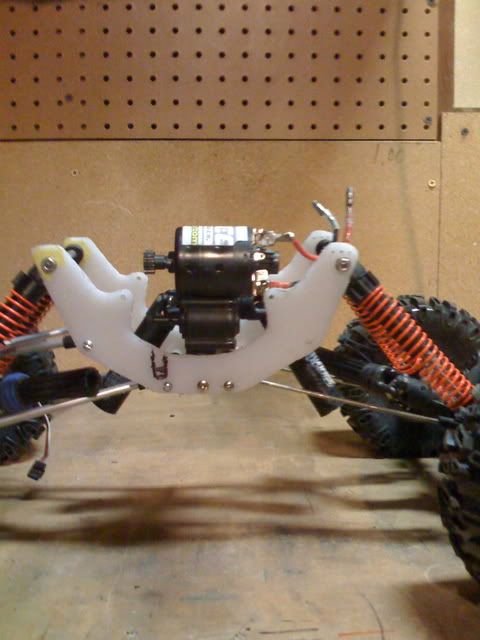
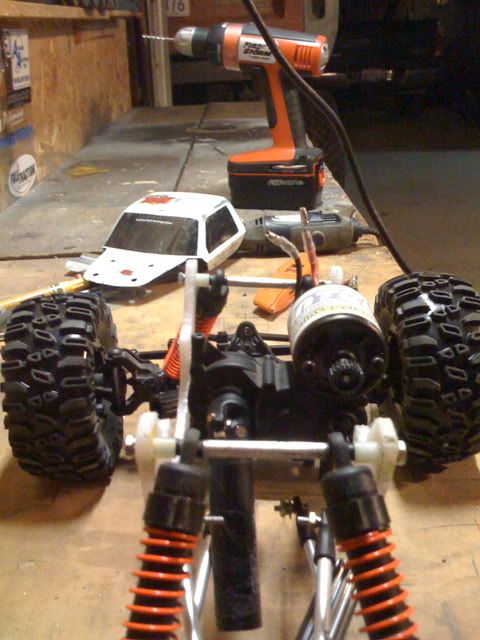
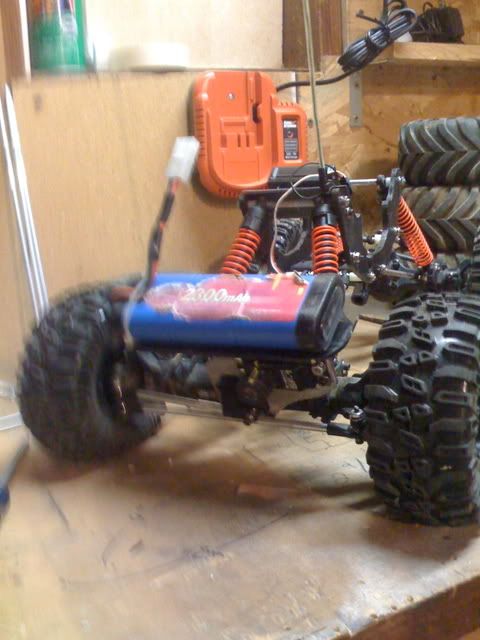
So i talked my wife into buying me a wheelyking for my birthday almost a year ago. Didnt play with it much. Finally when she said "what a waist of money" I decided it was time to make this a little more than a kids toy. First mod wasnt much, Just moved the battery to a stupid spot and trimmed the body: 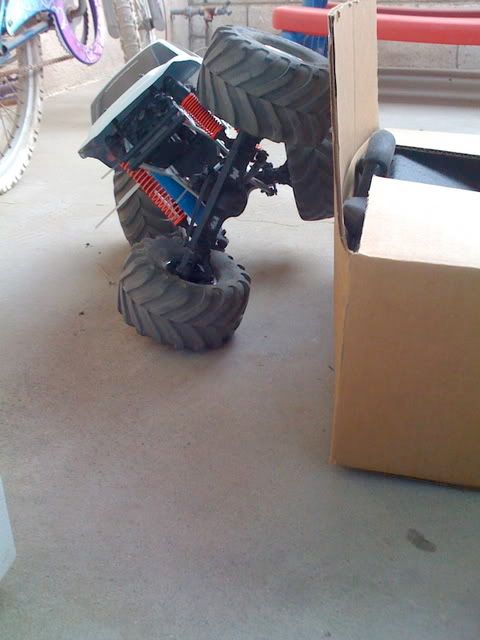 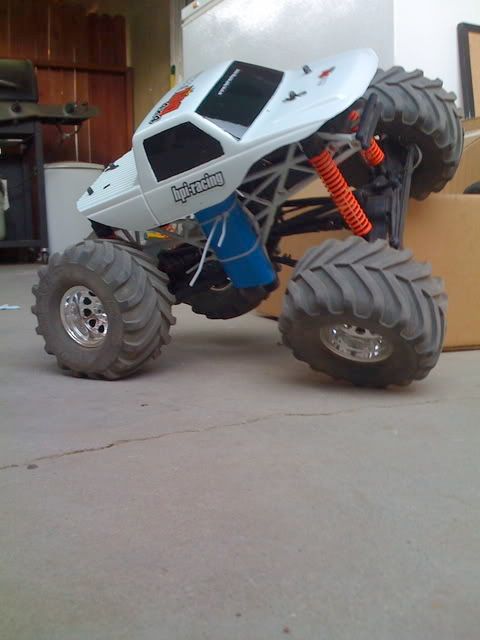 After a million roll overs I decided to get more in depth and that i did. Second mod was to extend the wheel base to a extreme 14 1/4 inches, roll the shocks forward, trim all unused chassis and body parts to clear tires, relocate battery and moved steering to front axle: 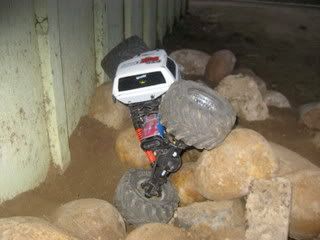  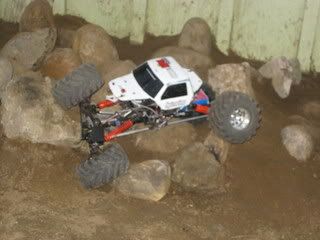 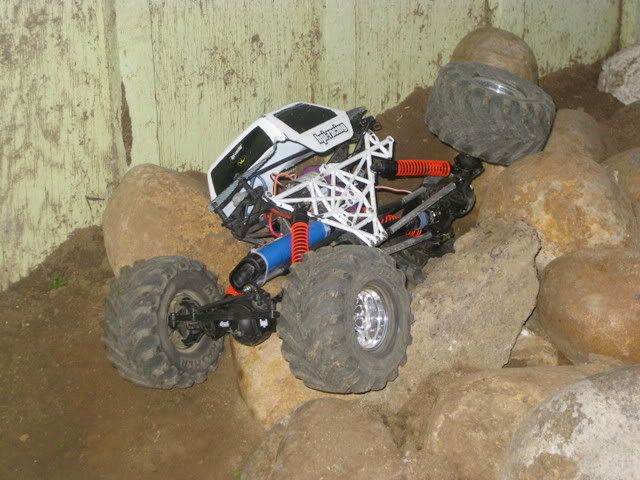 It flexed like crazy, just was to long and got high centered alot. Which brings us to this step in my build. Mod # 3: Decided to go with a custom axial ax-10 based chassis made from teflon, 8-32 allthread links with revo ends and steel tube to bring the wheelbase to just a hair under 12 1/2", 75t integy motor, stock WK trans locked, stock WK axles locked, revo drive shafts, Stock WK electronics (for Now) Also got some proline M3 hammers and axial rockster beadlocks. Here are some pics so far of this upgrade:  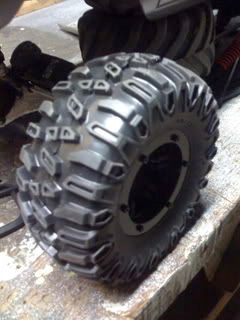 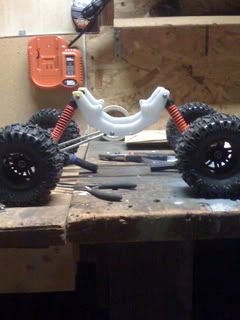 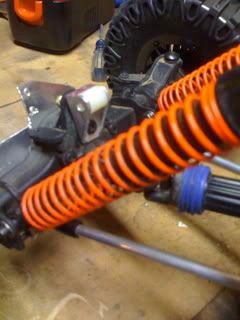 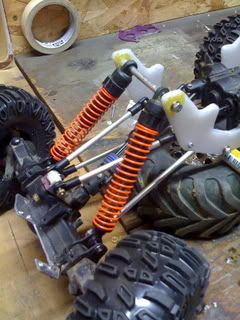 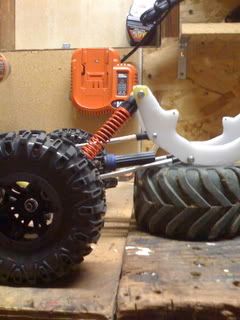 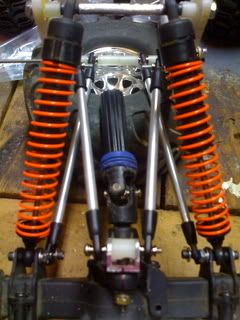  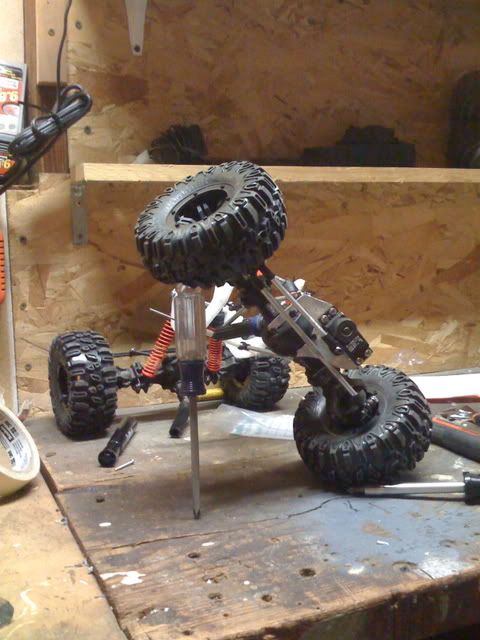 Let me know what you think. I'll post more as the build goes on.  |

|  |
| Sponsored Links | |
| | |
|
01-27-2009, 07:14 AM
| #2 |
| Quarry Creeper Join Date: Mar 2008 Location: N. Ridgeville , Ohio
Posts: 461
| Awesome progress caliking , rig looks good , if you're gonna start compin with it look into the threads about homemade driveshaft dig or buy an r2 trans , dig is almost a must have also look into narrowing up your track width a bit with wk offset wheels. |
|
| |
|
02-01-2009, 09:35 PM
| #3 |
| RCC Addict Join Date: Jan 2009 Location: Crawlifornia
Posts: 1,941
|     Still waiting on my clocking plate from clod mod  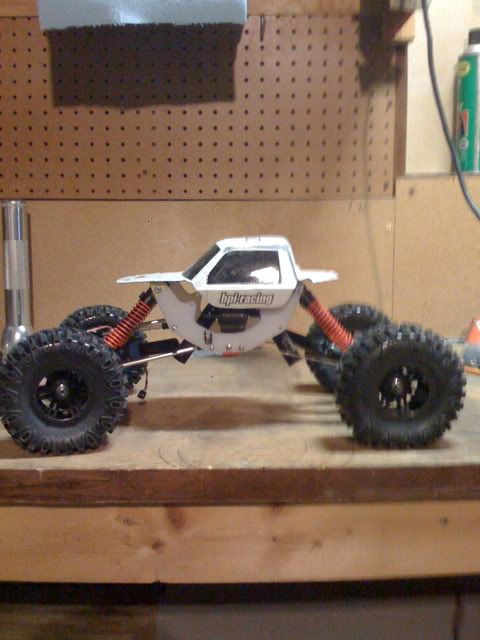 |
|
| |
|
02-01-2009, 10:09 PM
| #4 |
| Quarry Creeper Join Date: Jan 2008 Location: Cyprus
Posts: 321
|
You got some lexan shavings on your crawler in the last pic Nice work, a lot of potential, a few comments.. Your link mounting screws seem to be crooked or sloppy. Try getting either some long screws or some all thread all the way from one side of the chassis to the other to make sure they stay put and aligned, like you did in the 3rd from last picture in your previous post. That looks like fuel tubing used as a spacer, try using something more substantial, like leftover steel tubing. Also, is that skid plate made of wood? If that catches, you're stuck. You made the chassis plates out of slippery teflon, why not the skid plate? I don't know if that's enough triangulation on the links, if you get axle steer/sway when you drive it try mounting the lower links further inboard on the chassis side, or the top links to the outside of the chassis plates. Also, after driving it, you might find that you have too much flex for the harder climbs. That sure looks like a lot, if the weight of the main chassis shifts away from the centerline then your whole rig is bound to go after it. Where are you mounting your battery? If you feel that 6cells will be enough, I'd recommend a 2/3a pack in a 2x3 configuration on the other side of the axle. It will fit, I used to run a 10cell saddle hump pack on my front axle with the servo in the middle. It will cause the axle to be off-balance, but it's better than mounting it on top of the tranny. A lot of potential in this, just need to tidy it up a little |
|
| |
|
02-01-2009, 11:30 PM
| #5 |
| RCC Addict Join Date: Jan 2009 Location: Crawlifornia
Posts: 1,941
|
Hey thanks for the tips. Just a few things, so you don't think I'm a dumb ass. The bolts that look crooked or sloppy actually just aren't tight. I did and probably will have again a allthread thru there and a spacer. The fuel line looking spacer is actually teflon tube spacer. I was thinkin of using a split 6 cell battery, but would it work to mount 3 on the front axle and 3 on the rear?Also I'm not sure how to reduce the articulation. And ya the skid is wood for now. I couldn't find any thick teflon. Just to mock if up. I plan on fixin that soon. I'm just glad to hear it has potential, it is my first build.
|
|
| |
|
02-02-2009, 04:53 AM
| #6 | |
| Just jump it!   Join Date: Aug 2008 Location: Cedar City, Utah
Posts: 1,947
| Quote:
 | |
|
| |
|
02-03-2009, 09:39 AM
| #7 |
| Pebble Pounder Join Date: Oct 2008 Location: Rohnert Park
Posts: 178
|
You might consider running a 1/18th scale battery pack. I have a wheely king and run the smaller battery pack (out of my 18R) and it has plenty of juice - I can usually get :35 of run time out of it. The lighter pack helps to keep the CG low becuase the weights on my rims make them heavier. In any event you want your rig to stand on its rims when you put it on it's side - that is a good test for the CG.
|
|
| |
|
02-10-2009, 12:10 AM
| #8 |
| RCC Addict Join Date: Jan 2009 Location: Crawlifornia
Posts: 1,941
|
I have made some progress with my crawler. I'll post some pics tomorrow. Took it apart for paint, but got the tranny in and made mounting bracket for receiver and esc. Starting to look like it may run again!!!!
|
|
| |
|
02-11-2009, 12:06 AM
| #9 |
| RCC Addict Join Date: Jan 2009 Location: Crawlifornia
Posts: 1,941
|
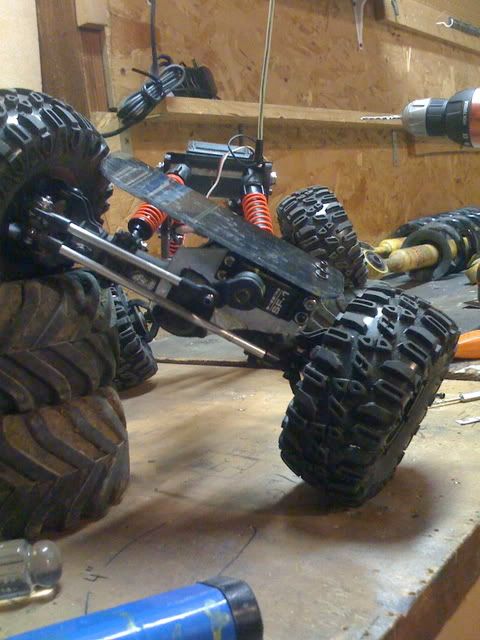
Here are a few pictures of my receiver plate and my esc plate. 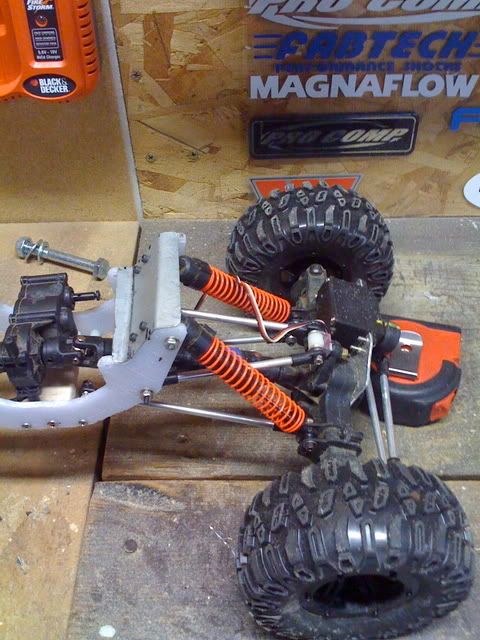 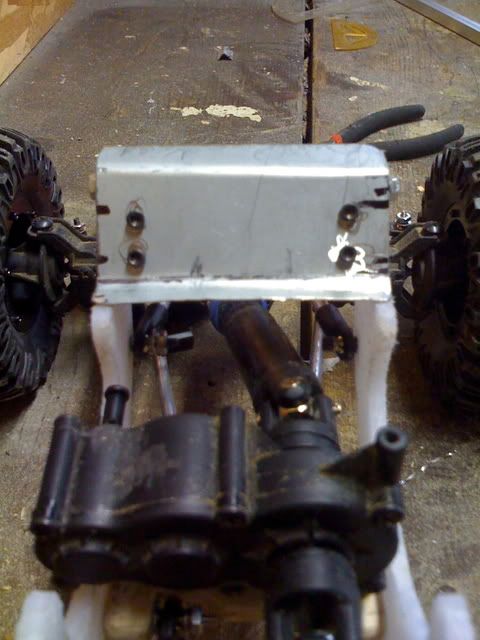 The small white square plate is the esc plate. It is fastened to one of the unused original trans mounts. 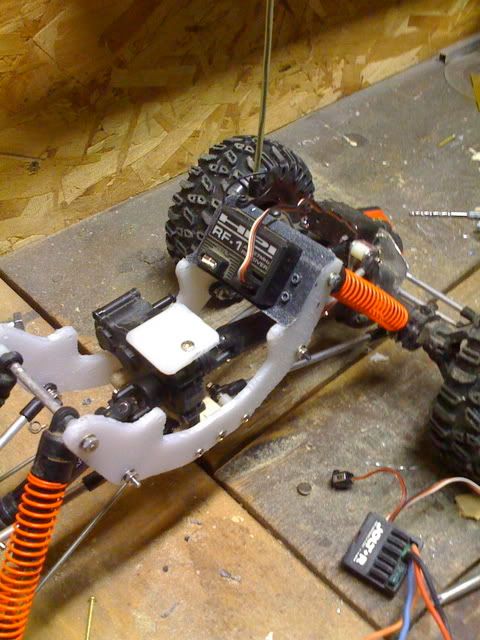 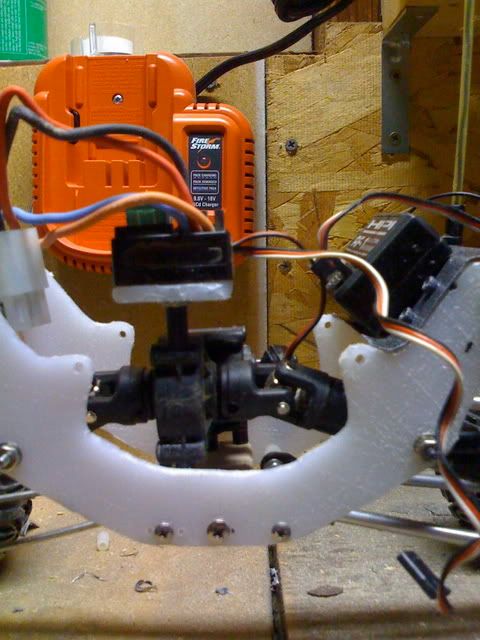 Then I took it apart and rebuilt after some paint. 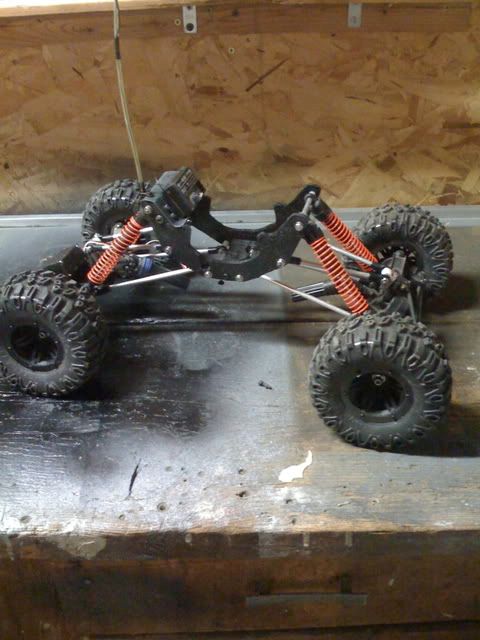 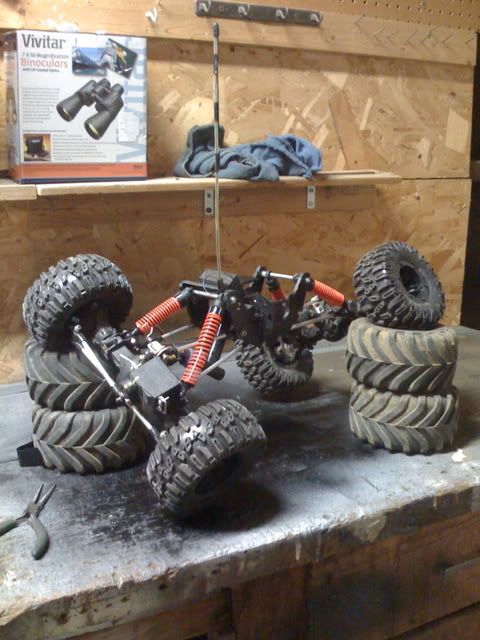 |
|
| |
|
02-11-2009, 05:40 AM
| #10 |
| RCC Addict Join Date: Apr 2008 Location: Georgia
Posts: 1,590
|
looks good but you need to limit the flex badly
|
|
| |
|
02-17-2009, 01:27 AM
| #11 |
| RCC Addict Join Date: Jan 2009 Location: Crawlifornia
Posts: 1,941
|
More updates to be posted tomorrow. Built a front axle battery mount and built a stronger rear axle lockout setup using a tie rod and draglink in case I opt to go with rear steer later. One day this thing will crawl again..... I SWEAR!! Talked my boss into getting an axial artr. Now I have something to compare mine to. Hopefully "Mixed Emotions" will still be king of my backyard coarse when its drivable again. |
|
| |
|
02-22-2009, 09:27 AM
| #12 |
| RCC Addict Join Date: Jan 2009 Location: Crawlifornia
Posts: 1,941
|
The "mixed Emotions" crawler king is DONE!!!! Just need to clean up wiring and find a body! Took it for its break in crawl last night. works great!!!!!!!! I'll post pics tonight! Also ordered a novak rooster crawler. will swap out when i receive it. |
|
| |
|
02-22-2009, 08:07 PM
| #13 |
| RCC Addict Join Date: Jan 2009 Location: Crawlifornia
Posts: 1,941
|   I just got the king crawler "Mixed Emotions" done. 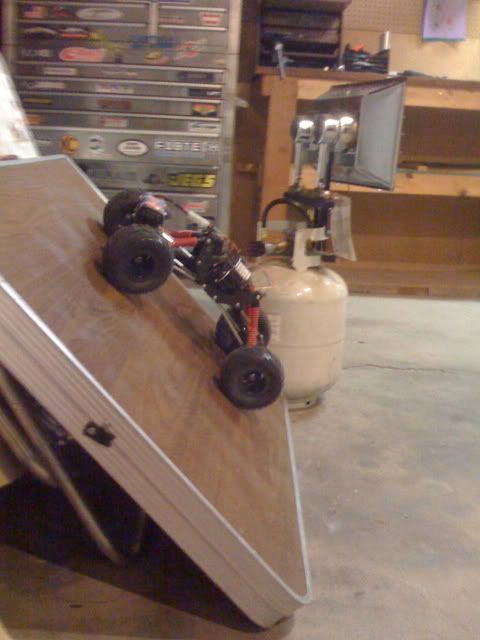 Was waiting on my motor clocking plate: 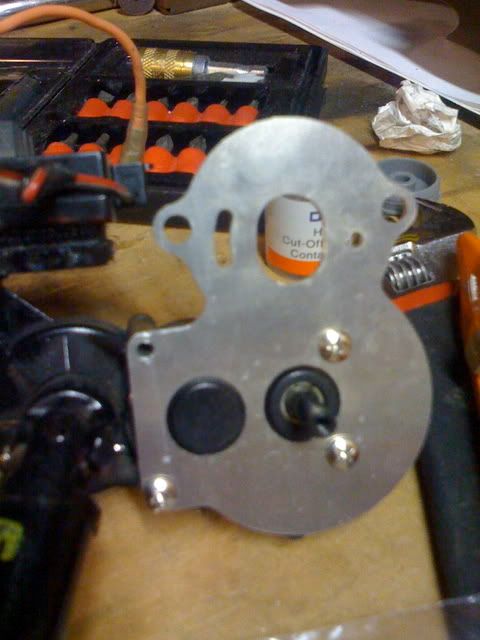 Have some minor things to work out. Sagging a little on the motor side. Need to upgrade shocks. 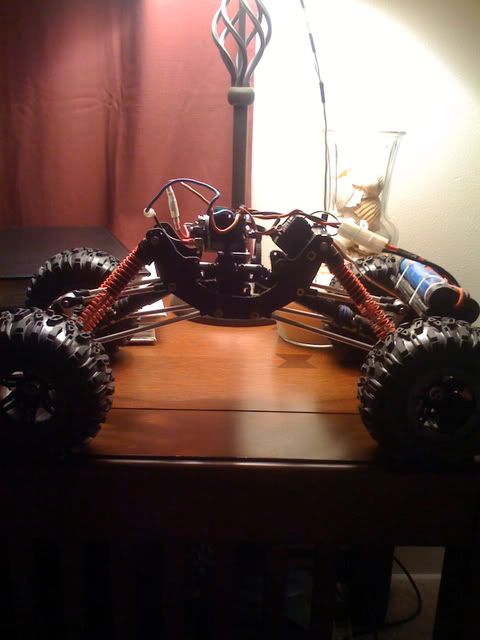 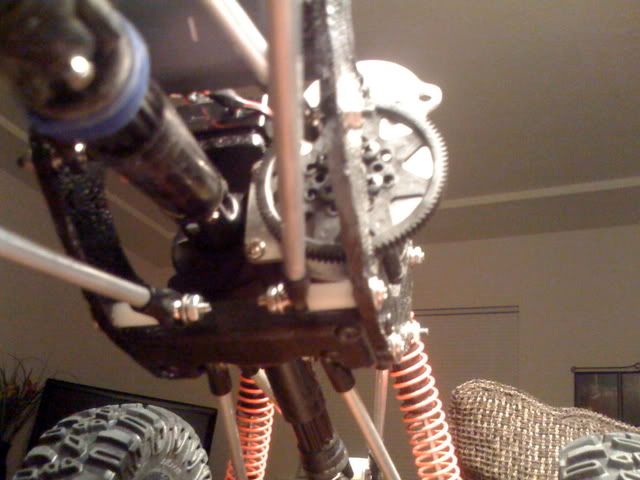 Just need to Clean up the wires. But I HAD to drive it, it has been months.!.!.! Tell me what you think!!!!! |
|
| |
|
02-23-2009, 02:58 AM
| #14 |
| Just jump it! Join Date: Aug 2008 Location: Cedar City, Utah
Posts: 1,947
|
Looking good man. You could lower your ride height a little like this.  I put this spacer inside my shocks and it helped me get a 3 degree steeper crawling angle on the test board.  I am running axial firm springs in the rear and the stock WK in the front and it does suprisingly well. I also triangulated the links cause i was still getting some torque twist and with the rear four linked it is all gone now. Made this skid and it along with other hop ups,crawls awesome.  Cany wait to see what body you put on it! |
|
| |
|
02-23-2009, 01:46 PM
| #15 |
| Newbie Join Date: Feb 2009 Location: North Port
Posts: 48
|
Cool! Love the chassis and the tip about the spacers!
|
|
| |
|
02-24-2009, 09:16 PM
| #16 |
| RCC Addict Join Date: Jan 2009 Location: Crawlifornia
Posts: 1,941
|
Found a few kinks in my design. First off the upper links hit the shock at full flex. Not to badly, but enough to cause concern. I dont want to break a shock in half. Second, tho the lower links clear almost everything I need to bend them for clearance of the hairy stuff. also I noticed that I already bent a lower link a tiny bit. WTF.. any tips for stronger links? I am running sleeved 8-32 allthread now. And third: my steering was hitting rocks I need to figure something out for high steer. I did this for now: 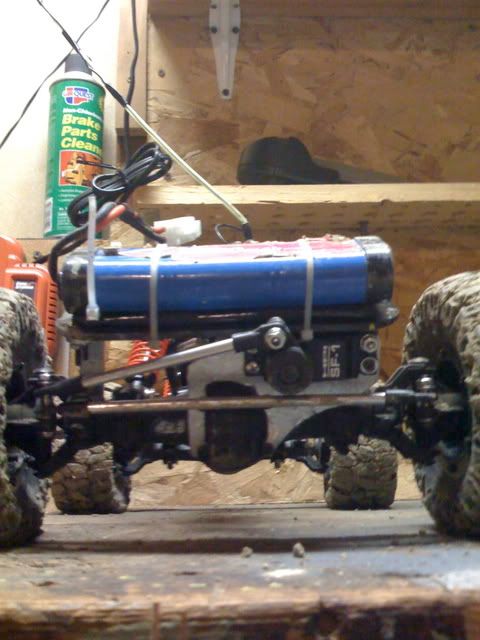 It will work, But would like to do something like BTA (behind the axle) steering. Any tips on that? |
|
| |
|
03-14-2009, 01:23 AM
| #17 |
| RCC Addict Join Date: Jan 2009 Location: Crawlifornia
Posts: 1,941
|
My teflon chassis busted during a down hill rollover!! But luckily I found this sweet new TAG chassis. Gunna be some work, I am gunna have to get creative with the upper links. Here is where I got today:  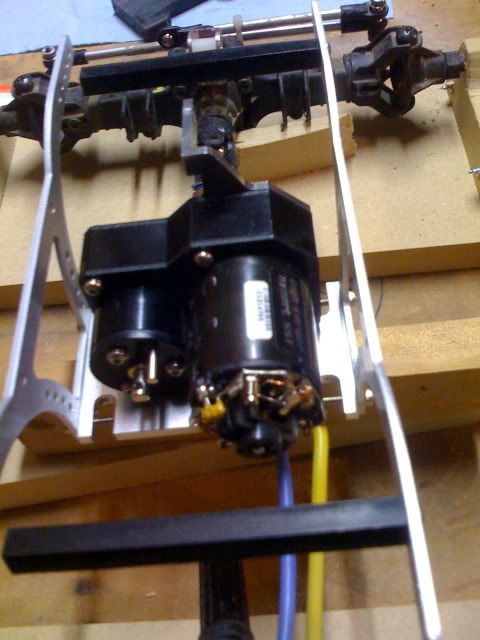 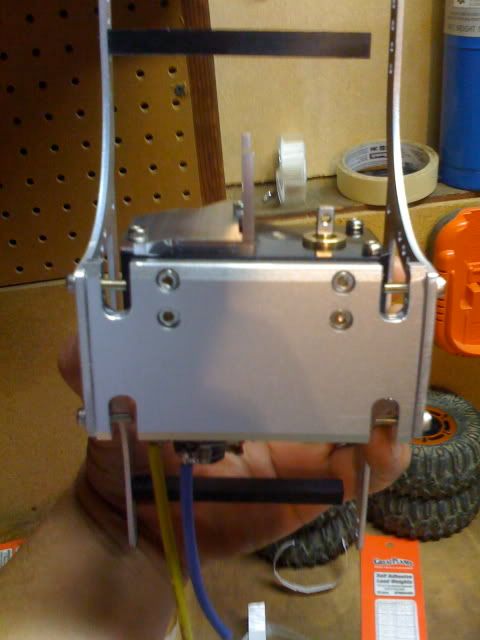 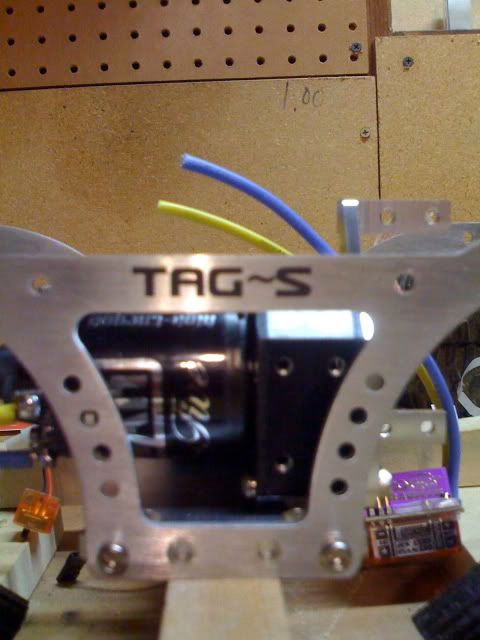 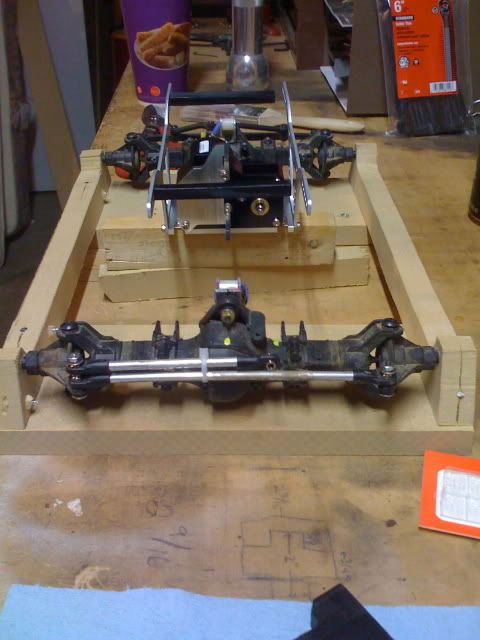 It is going to work great, low C.O.G. R2D II tranny with DIG!! 55t Novak w/ Rooster crawler. Wheely King axles. Upgraded to a metal gear JR servo. What do you think? |
|
| |
|
03-14-2009, 06:54 AM
| #18 | |
| Just jump it! Join Date: Aug 2008 Location: Cedar City, Utah
Posts: 1,947
| Quote:
Fron the way that chassis looks they will probably just be a hair shorter than you lower depending which hole you put them in. | |
|
| |
|
| Thread Tools | |
| Display Modes | |
| |


 Linear Mode


