| |
 02-09-2013, 07:50 AM
| #81 | |
| I wanna be Dave  Join Date: Oct 2006 Location: Martinsburg WV
Posts: 2,781
|
The chassis is looking stout! Nice work  I think Gunny is going to be stoked I think Gunny is going to be stokedQuote:
| |

|  |
| Sponsored Links | |
| | |
|
02-09-2013, 11:46 AM
| #82 |
| RCC Addict Join Date: Jan 2007 Location: caldwell,idaho
Posts: 1,309
|
what ^^^^^^^^^^^^^^^^^^said needs to be clean metal for it to stick.
|
|
| |
|
02-10-2013, 02:55 PM
| #83 |
| Quarry Creeper Join Date: Sep 2010 Location: where ever I layed my hat.
Posts: 225
|
How does that saying go? Cleanliness is next to godliness? Well indeed I was not cleaning the surface enough. The steel wool as suggested worked much better then the heavy grit emery cloth. After half a day of working in some triangulation. 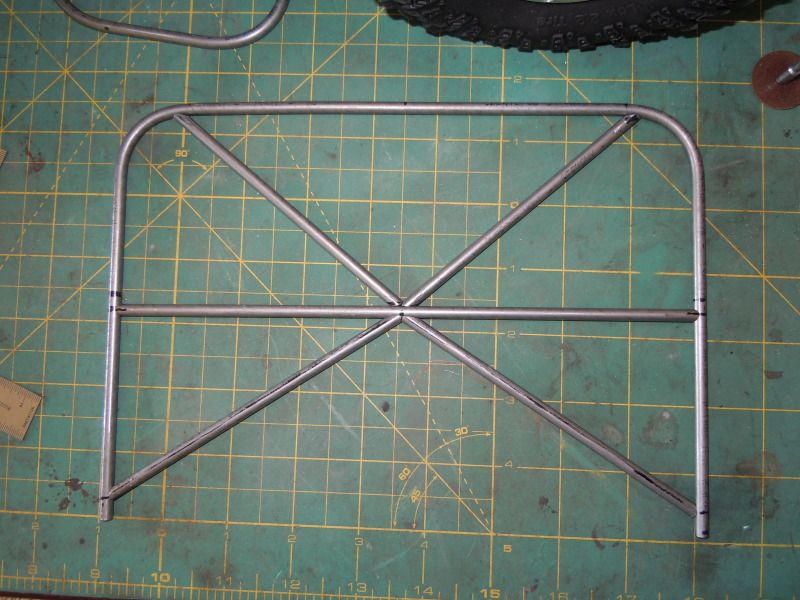 I finally did a test braze with the new way of cleaning and the stars finally aligned. 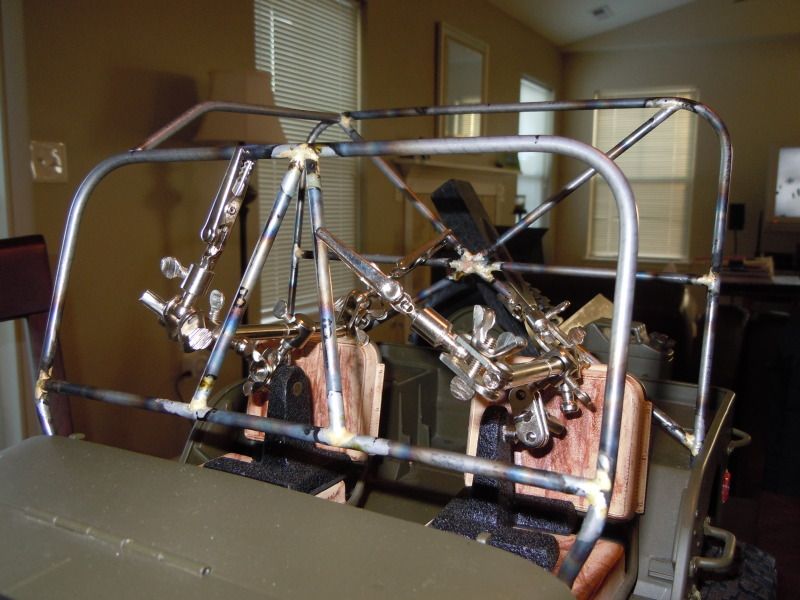 |
|
| |
|
02-10-2013, 05:12 PM
| #84 | |
| I wanna be Dave Join Date: Oct 2006 Location: Martinsburg WV
Posts: 2,781
| Quote:
Now you've got it!Nice looking joints dude... | |
|
| |
|
02-10-2013, 07:07 PM
| #85 |
| Rock Crawler  Join Date: Jan 2011 Location: Hartford City, Indiana
Posts: 531
|
Nice Job on the brazing Man!!!! Looks like you got the touch now |
|
| |
|
02-10-2013, 09:30 PM
| #86 | ||
| Quarry Creeper Join Date: Sep 2010 Location: where ever I layed my hat.
Posts: 225
| Quote:
Quote:
| ||
|
| |
|
02-11-2013, 05:44 AM
| #87 | |
| I wanna be Dave Join Date: Oct 2006 Location: Martinsburg WV
Posts: 2,781
| Quote:
| |
|
| |
|
02-15-2013, 11:32 AM
| #88 |
| Quarry Creeper Join Date: Sep 2010 Location: where ever I layed my hat.
Posts: 225
|
I have really been dragging this build out. Considering this is my first scale build I am proud to say that I went through (2) msc 6'-7' sticks + 13" of tubing with no waste other then my 45 & 90 degree practice bends and the small amount used for practice brazing. 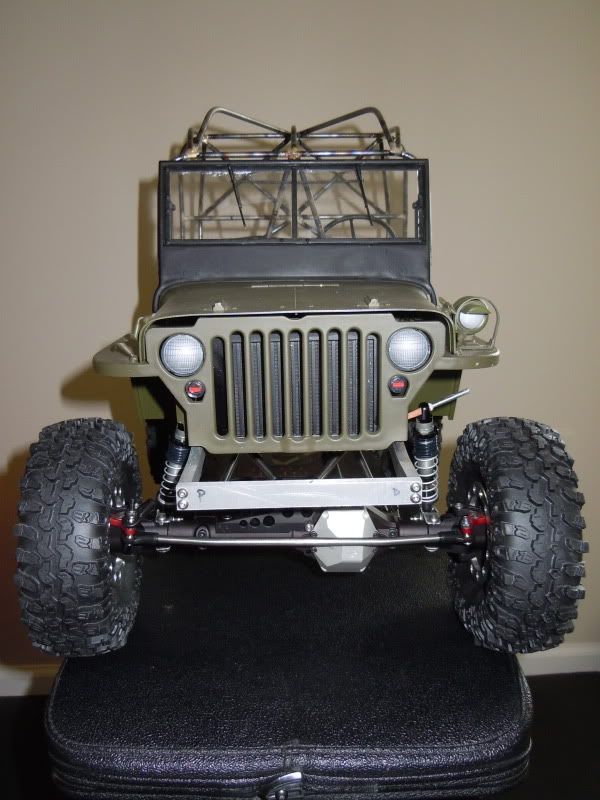 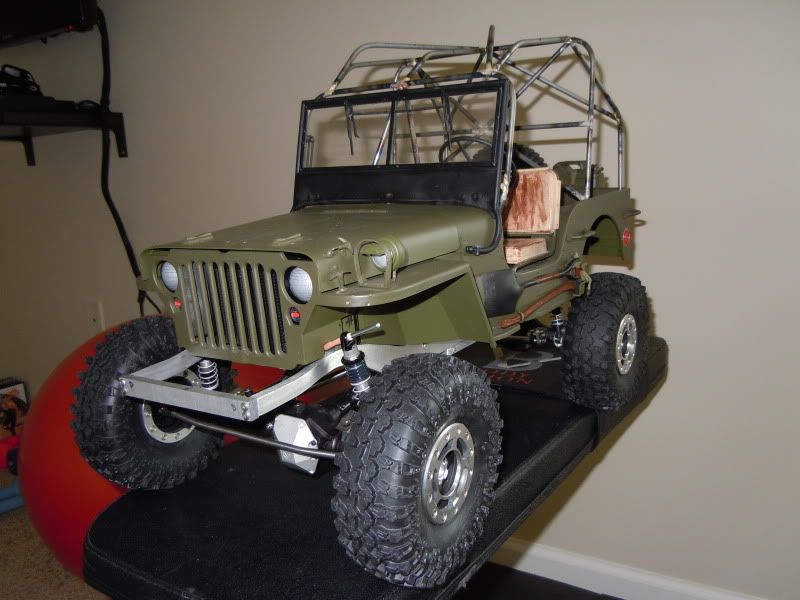  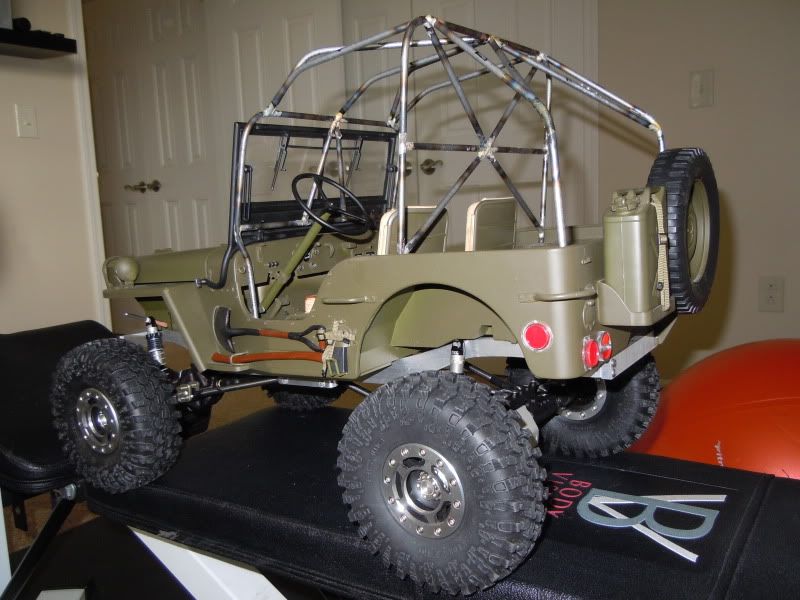 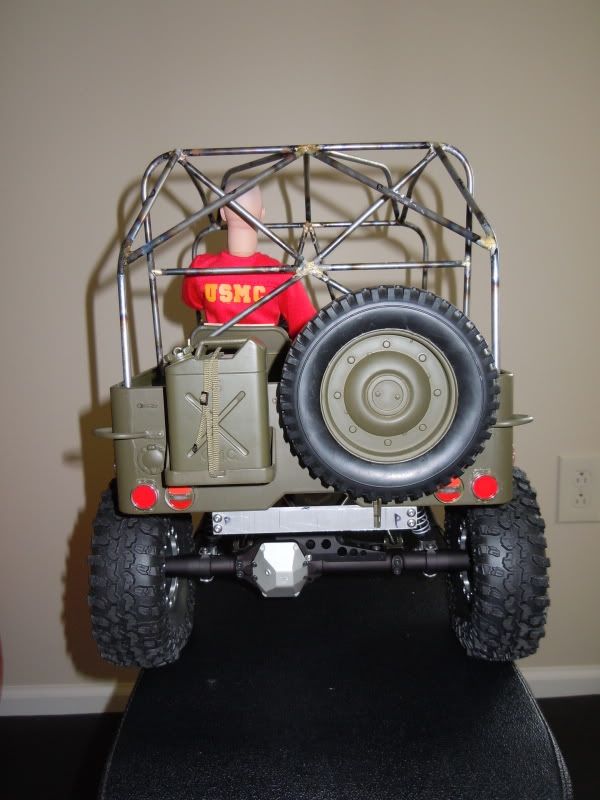 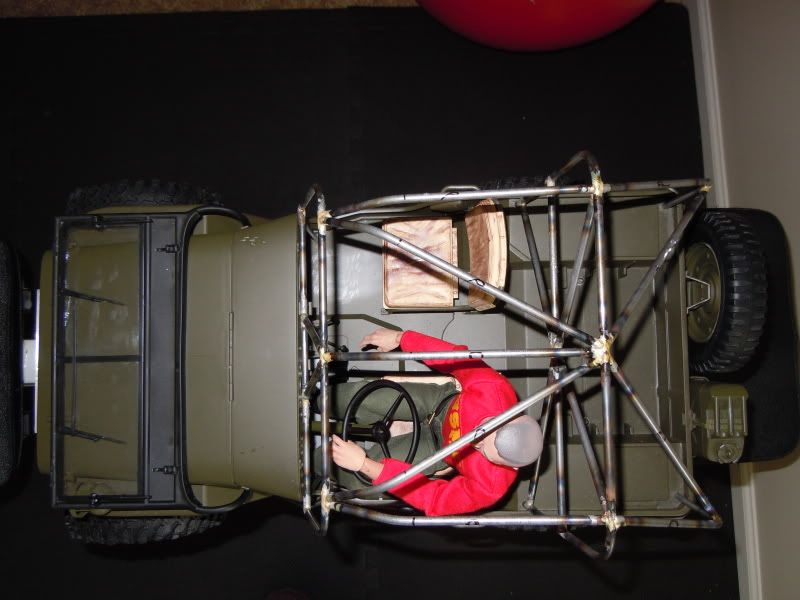 All these pictures equal one thing. A MOTIVATED GUNNY! 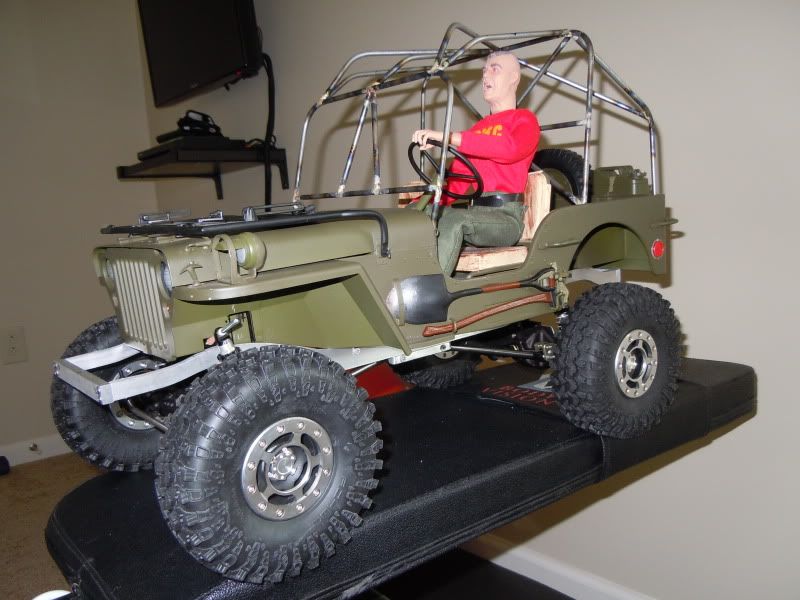 This build has a long way to go, but I almost have all the parts lined up and this cage is a huge step forward. Keep an eye out and I hope to have some more up dates sooner then later. Last edited by snydercj7; 02-15-2013 at 11:44 AM. |
|
| |
|
02-15-2013, 11:41 AM
| #89 |
| Quarry Creeper Join Date: Sep 2010 Location: where ever I layed my hat.
Posts: 225
|
A little teaser.... 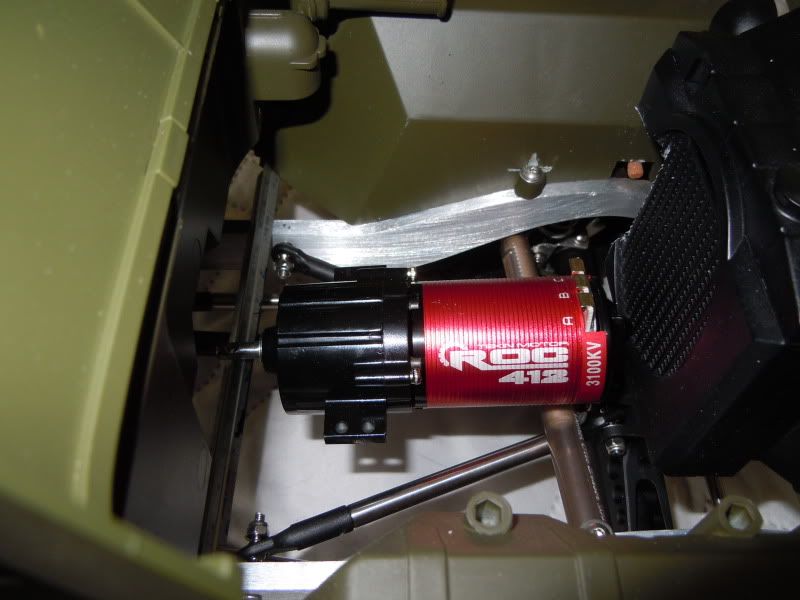 |
|
| |
|
02-17-2013, 06:31 PM
| #90 |
| Quarry Creeper Join Date: Sep 2010 Location: where ever I layed my hat.
Posts: 225
|
Some minor details knocked out. The cooling system is in place and ready to go. 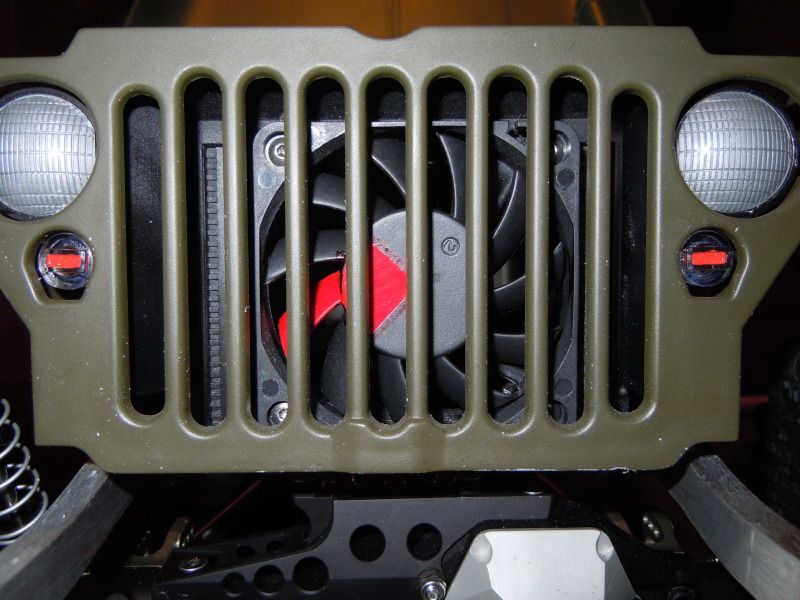 Think I got off easy with this slightly raised shifter to clear the disrupter transfer case. 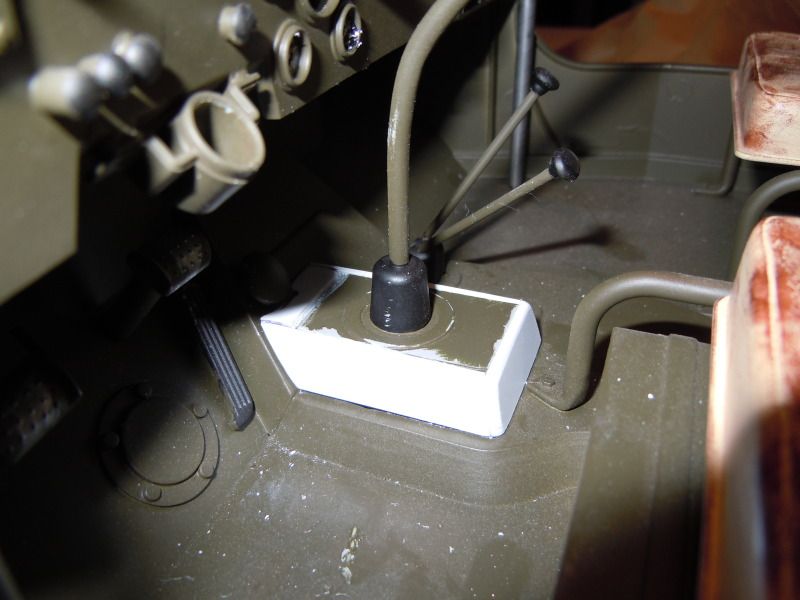 Gave the Gunny a little sun. 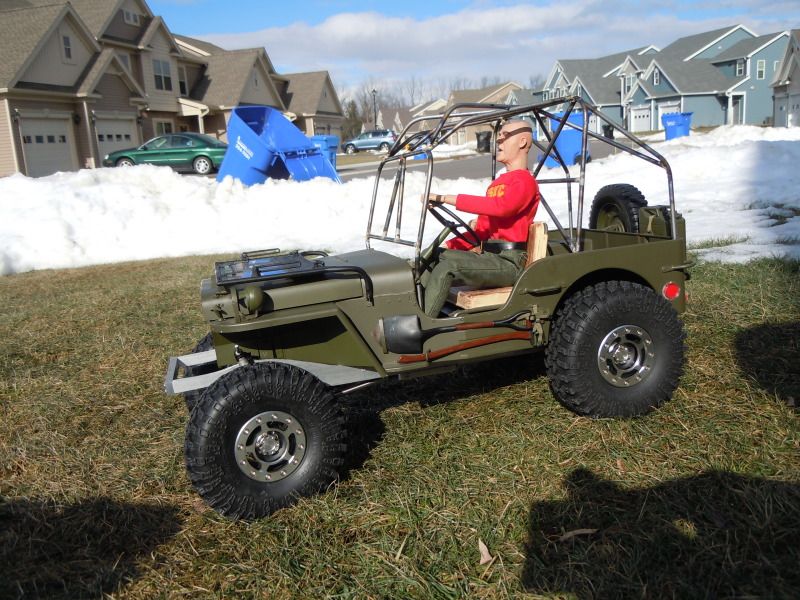 |
|
| |
|
02-25-2013, 08:23 AM
| #91 |
| Quarry Creeper Join Date: Sep 2010 Location: where ever I layed my hat.
Posts: 225
|
Not as far as I had hoped to get this weekend, but it is good to have the entire drive train tied together. 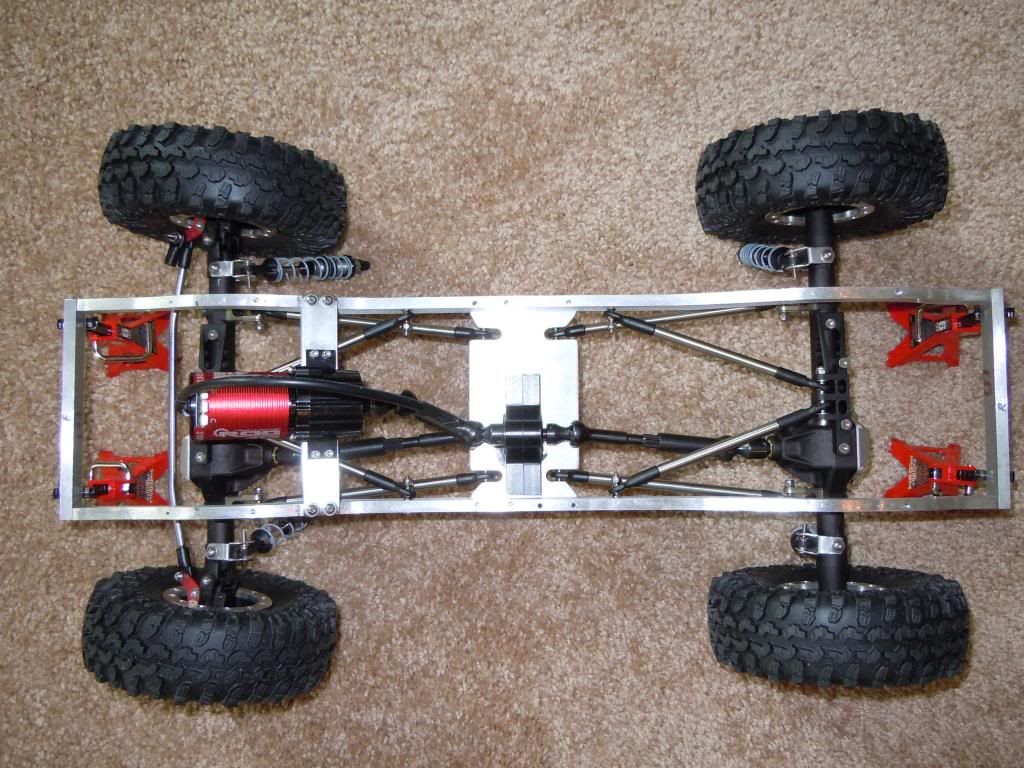 After calling MIP and finding the shortest shaft to tie the transmission and transfer case, I discovered the shaft would need an extra 3/8" removed from what I was already planning. Ended up taking the sleeve portion off each end then shortening the shaft on each case and redrilling for the set screws and trimming a little out of the shaft length itself. But the motor is in with a very tight tolerance between it and the cooling fan. Here it is all tucked in place. Also filled in the inner fender that the Dragon model has pushed out into the wheel well for some reason. Still need to do a bit of clean up work on the out side. Cant remember who's build showed the earth magnets. But I really liked that idea so those are mounted up and the metal tabs are in the hood. Really does hold the hood down good. 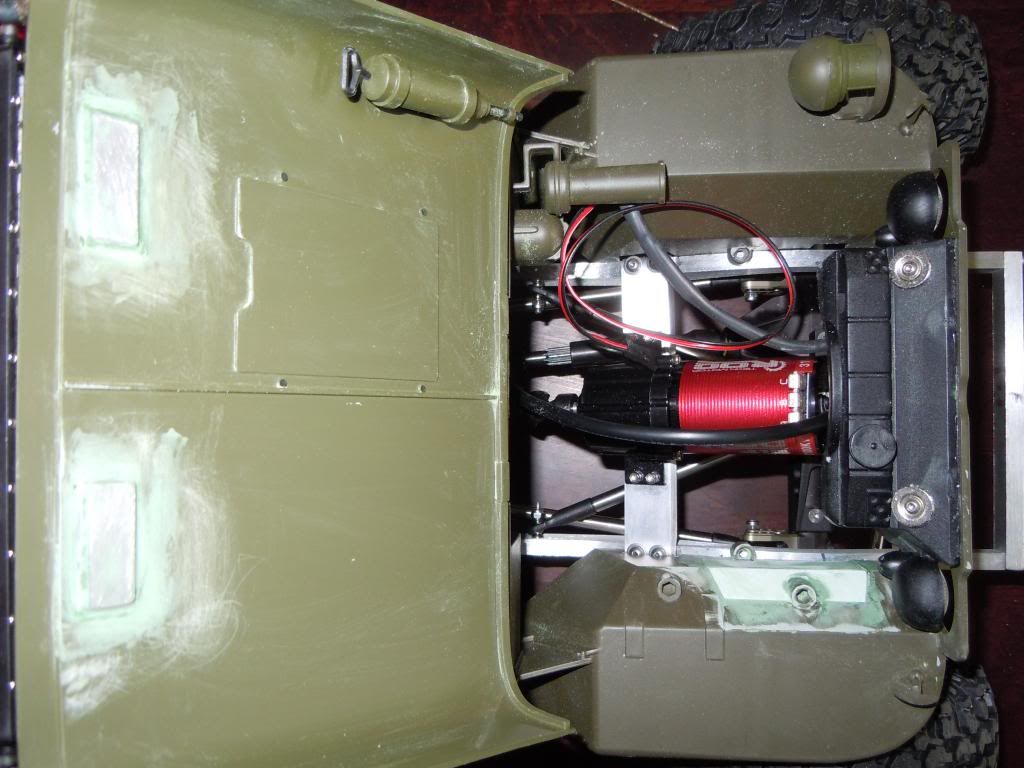 A little added bonus, I am looking to put a couple led bars between the frame rails as some super rock lights. 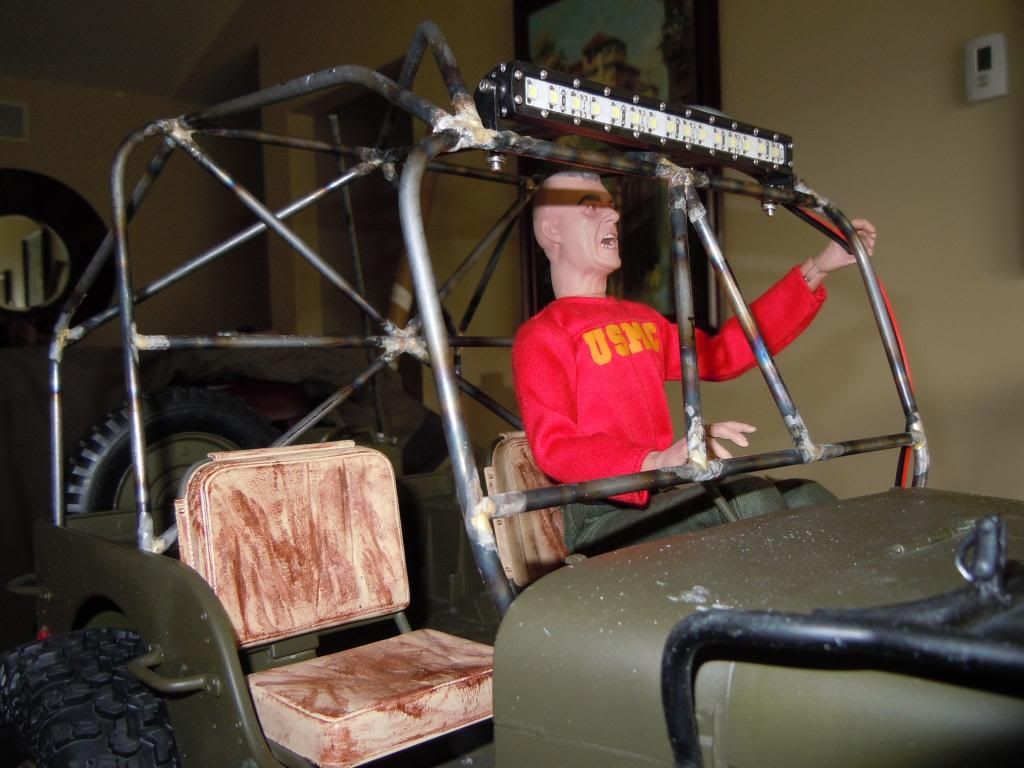 Had hoped to do the shock hoops, but I clearly need to dig around and see how I will make a bender to give me the tighter bends needed for the rest of my project. |
|
| |
|
02-25-2013, 03:50 PM
| #92 |
| I wanna be Dave Join Date: May 2008 Location: Baltimore
Posts: 4,442
|
Great build, good to see it in a running status. I'm not nit-picking, but the diffys on a 1:1 are offset to the passenger side. |
|
| |
|
02-26-2013, 08:34 AM
| #93 | |
| Quarry Creeper Join Date: Sep 2010 Location: where ever I layed my hat.
Posts: 225
| Quote:
LOL You scale guys are serious! BigSki I have to say you have built some great looking Willys. But what do I do about the non centered rear diff? By the way I think that was a late model Dodge I pulled that front end from. haha. So this is the last of the major parts. A few little extras will have every thing needed to get it driveable. I have to stop at Lowes and pick up the pieces for a bender that will give me tighter bends needed for the shock hoops. 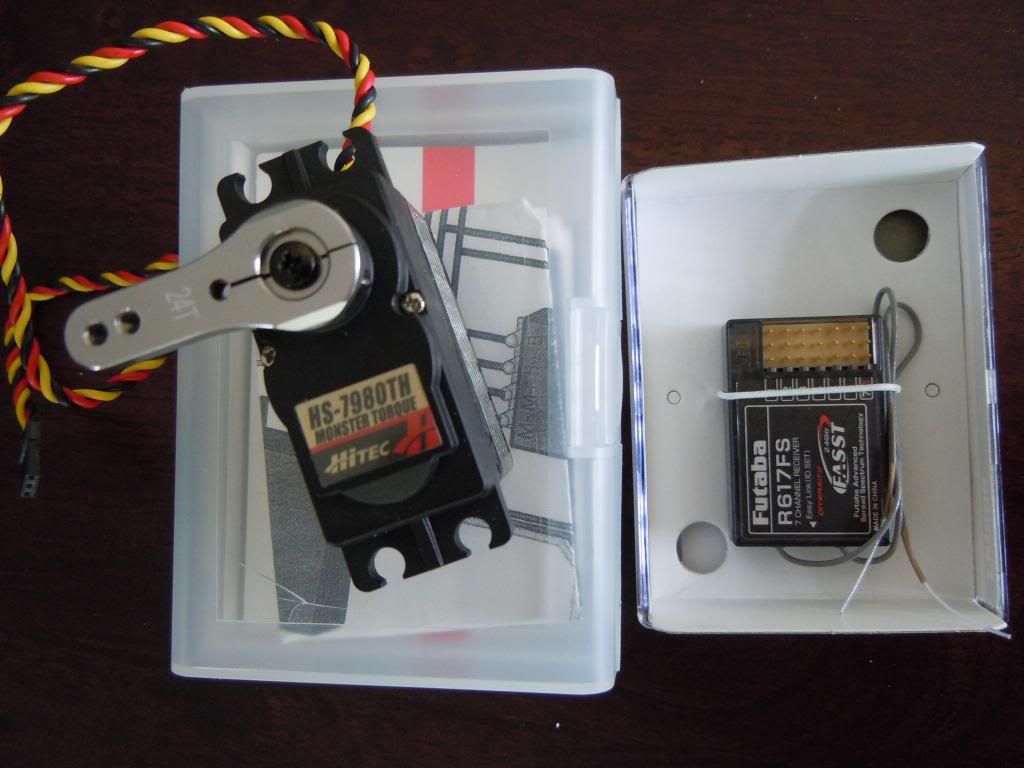 Jerry rigged the shocks just to get a better idea of what I am looking at for real flex. 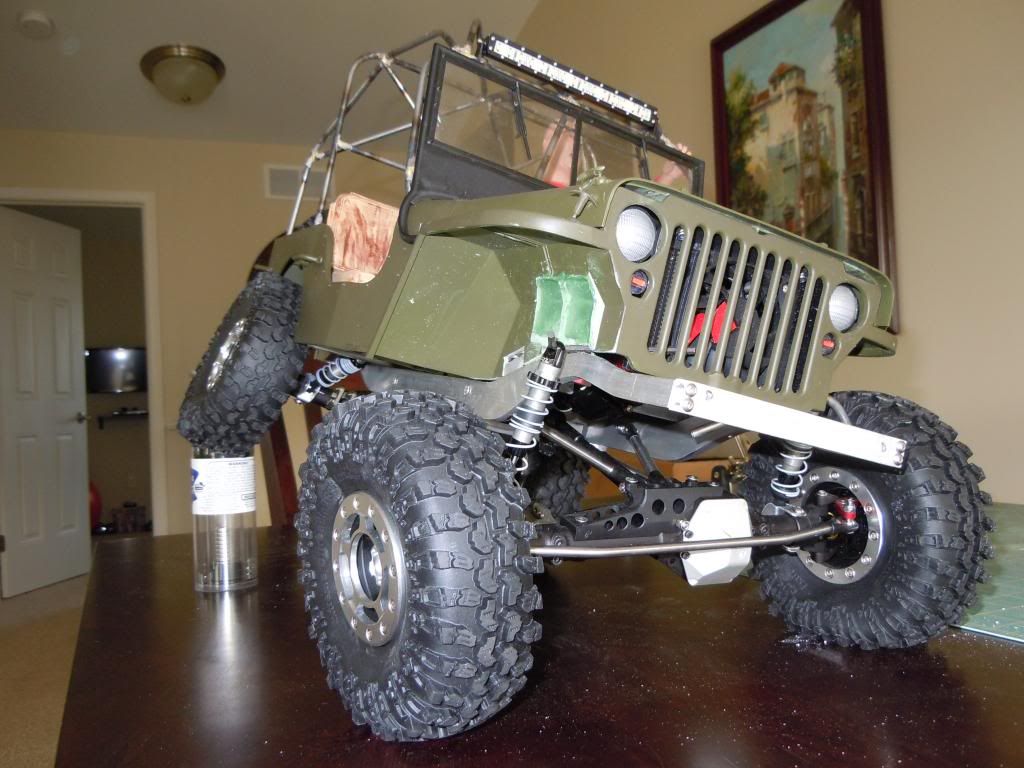 Out of curiosity I have been wondering how top heavy this pig is when it comes to off camber situations. I am happy with what I see. This is also a great thing seeing how the new Axial springs hold this thing compared to the ones that came with the Prolines. 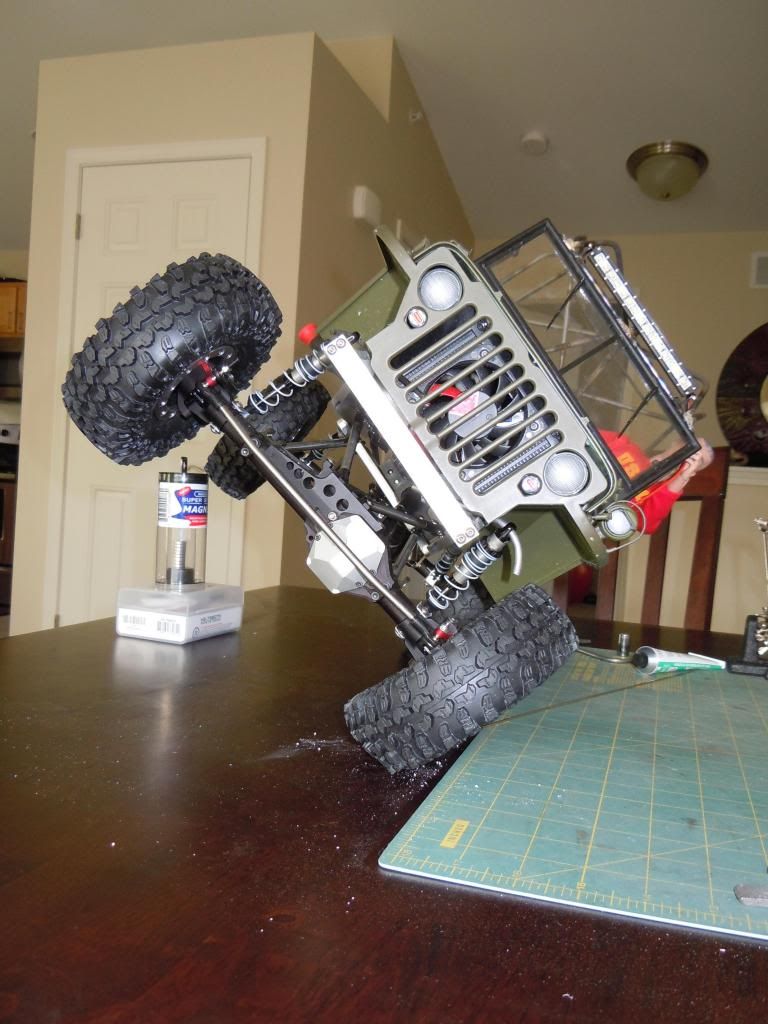 Last edited by snydercj7; 02-26-2013 at 06:06 PM. | |
|
| |
|
02-26-2013, 08:53 PM
| #94 | |
| I wanna be Dave Join Date: May 2008 Location: Baltimore
Posts: 4,442
| Quote:
| |
|
| |
|
03-11-2013, 10:52 AM
| #95 |
| Quarry Creeper Join Date: Sep 2010 Location: where ever I layed my hat.
Posts: 225
|
The smooth operation has not existed over the past week. Ordering the overall length of a drag link, learning how to use a home made bender, breaking off 3/32" drill bits into aluminum, etc, etc.... Here is some progress that I have managed. The strange bump has been removed from the passenger side wheel well. (edit) Just going thru May 2013 JP mag and in the Instant Old Jeep Guru article, I learned that bump was the "battery box bump". 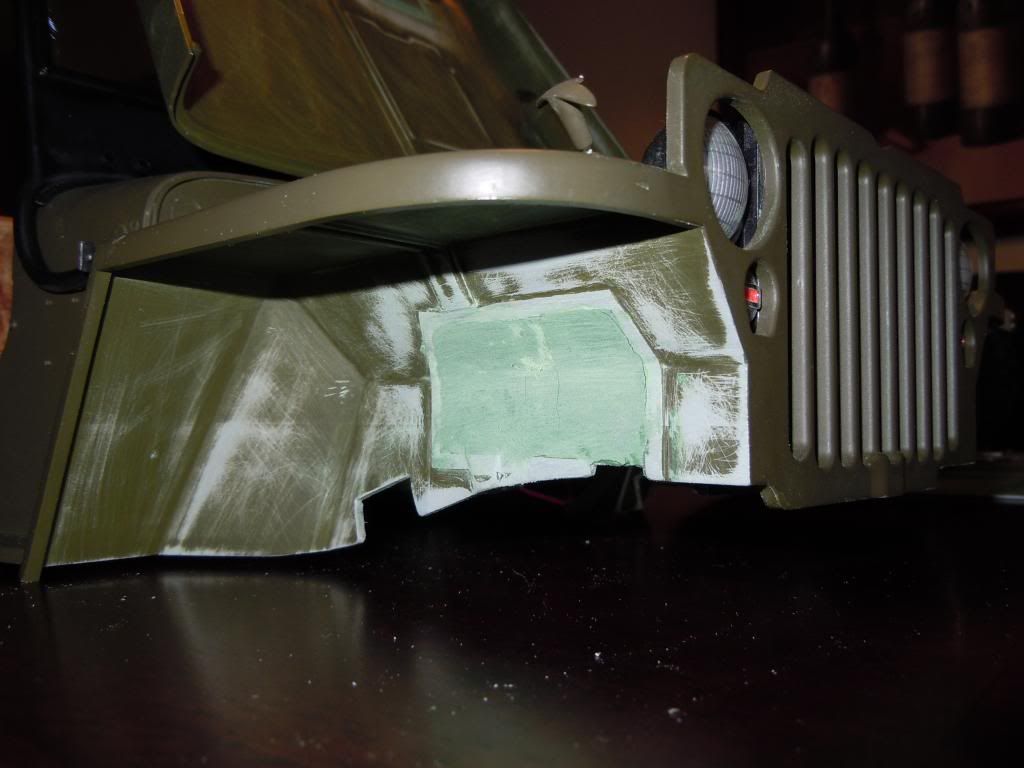 Some mounts are now in place, to include the esc mount which ties into the motor mount. 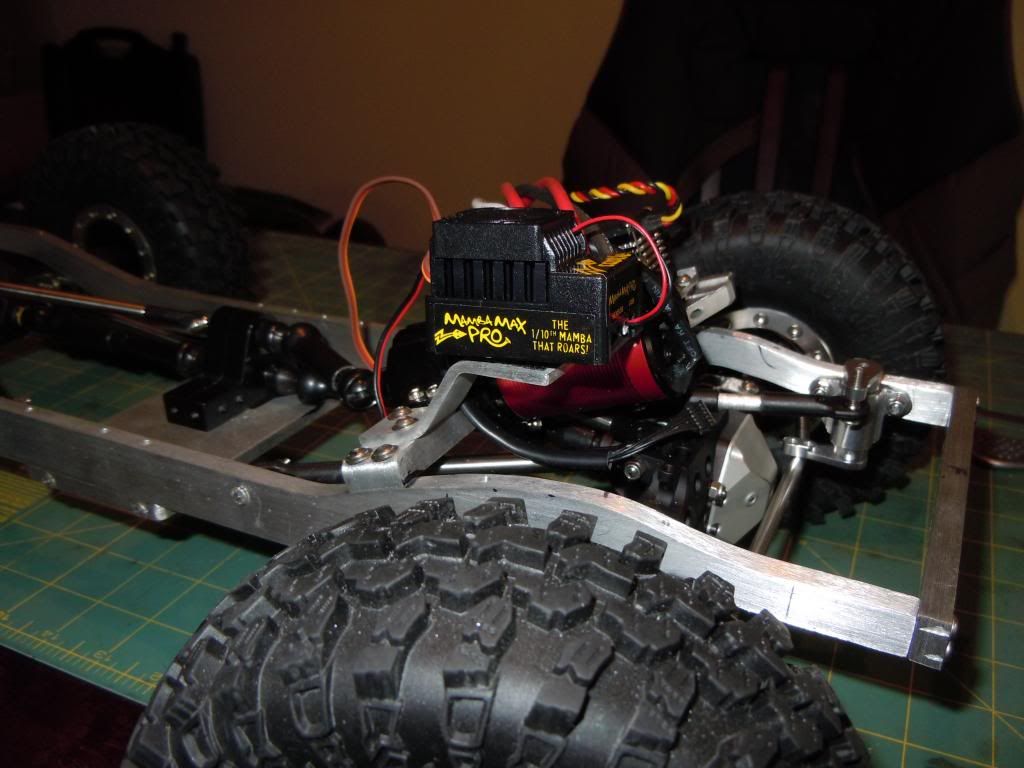 I also utilized the motor mount to attach the back half of the servo. I spent 4 wasted hours working on a front servo mount by building then rebuilding only to break off a 3/32" drill bit into the part. Here is the final result. You can also see the HR racing bell crank. Saw this on some one elses build and it looked like the answer for me. Just waiting for the correct size drag link to arrive from VP since the first one I ordered for the total length. 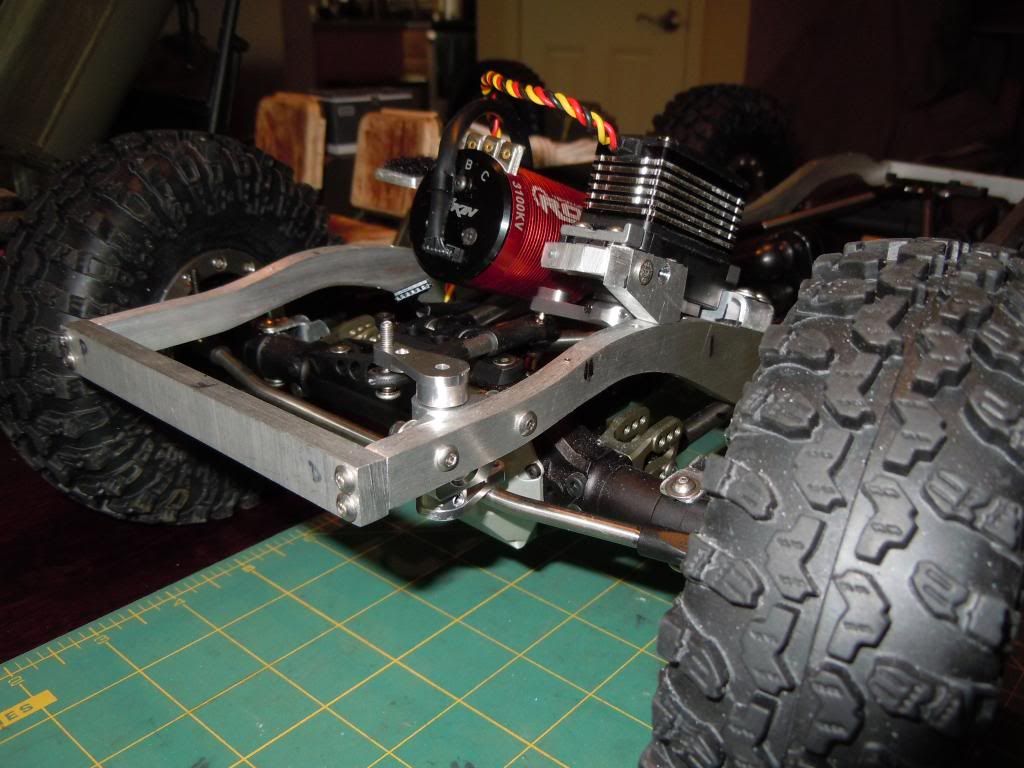 Been waiting for the temps to warm up to go down to the garage and work on these. Drilled cut, waiting to be fine tuned and cleaned up for brazing. The Jeep will finally stand on it's own once bolted to the frame! 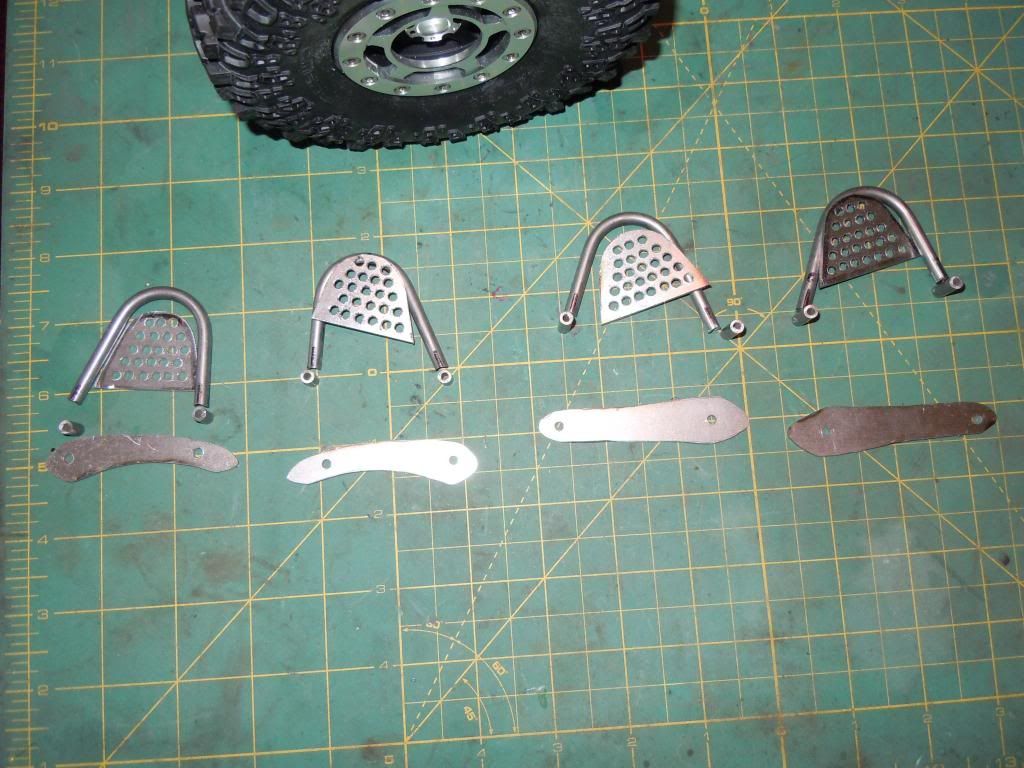 Last bit of real progress, a battery mount. 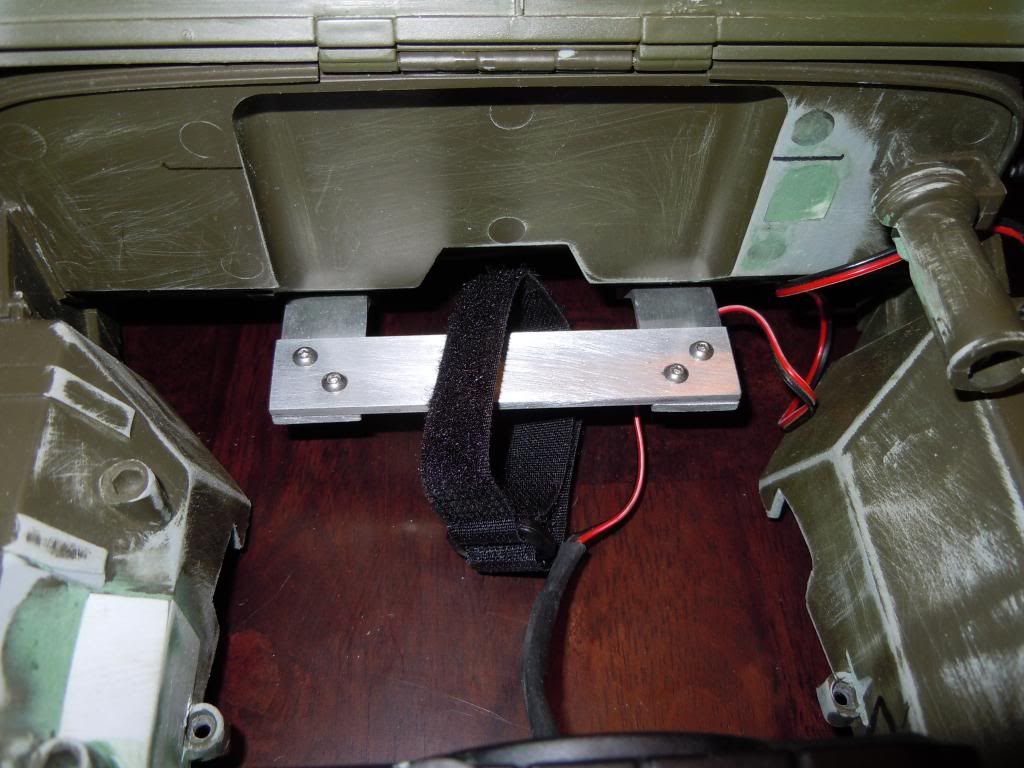 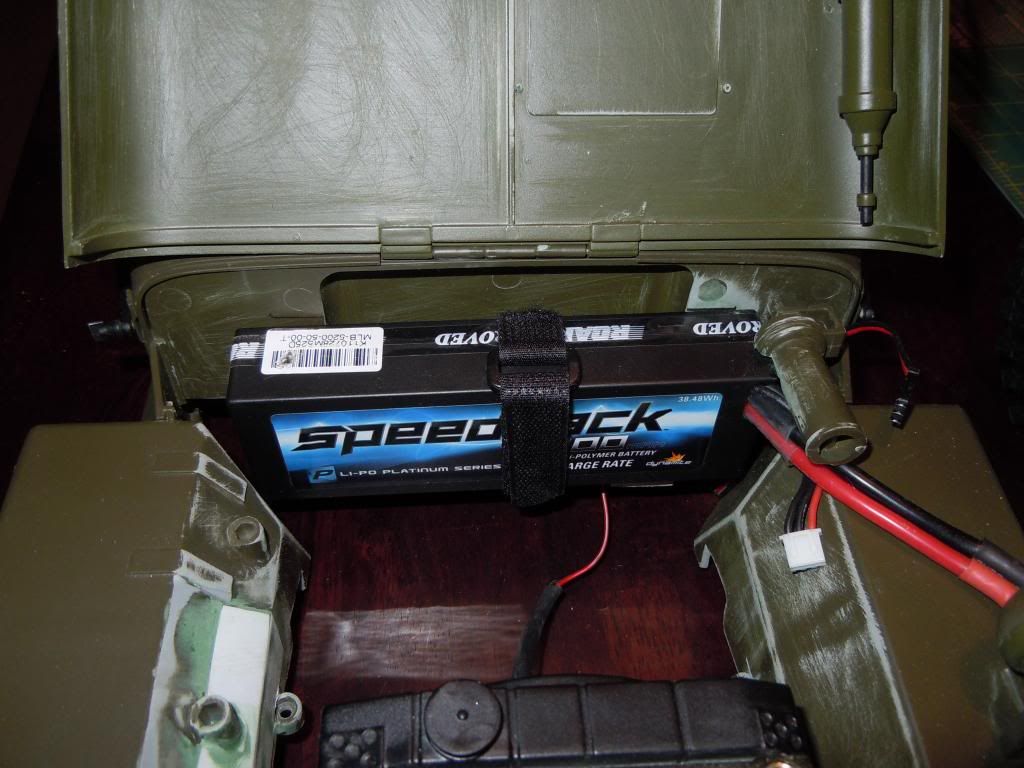 Hope my next update will show the Jeep standing on it's own with the engine bay resprayed and some under coating. Geez.... That would mean I should have the electronics wired up. This thing could be driving really soon! Last edited by snydercj7; 03-27-2013 at 08:52 PM. |
|
| |
|
03-12-2013, 12:08 PM
| #96 |
| Quarry Creeper Join Date: Sep 2010 Location: where ever I layed my hat.
Posts: 225
|
Not sure why I have been putting off soldering the electronics, tight fit but it's all there.  It's ALIVE! http://s140.beta.photobucket.com/use...9edb7.mp4.html Last edited by snydercj7; 03-14-2013 at 09:48 AM. |
|
| |
|
03-14-2013, 09:41 AM
| #97 |
| Quarry Creeper Join Date: Sep 2010 Location: where ever I layed my hat.
Posts: 225
|
The correctly ordered link arrived yesterday and this thing is really coming to life! DSCN0571_zps238b3dbe.mp4 Video by snydercj7 | Photobucket These things are almost done. A little tear down so I can tap and drill the frame and the Gunny should be able to go for a test drive this weekend. 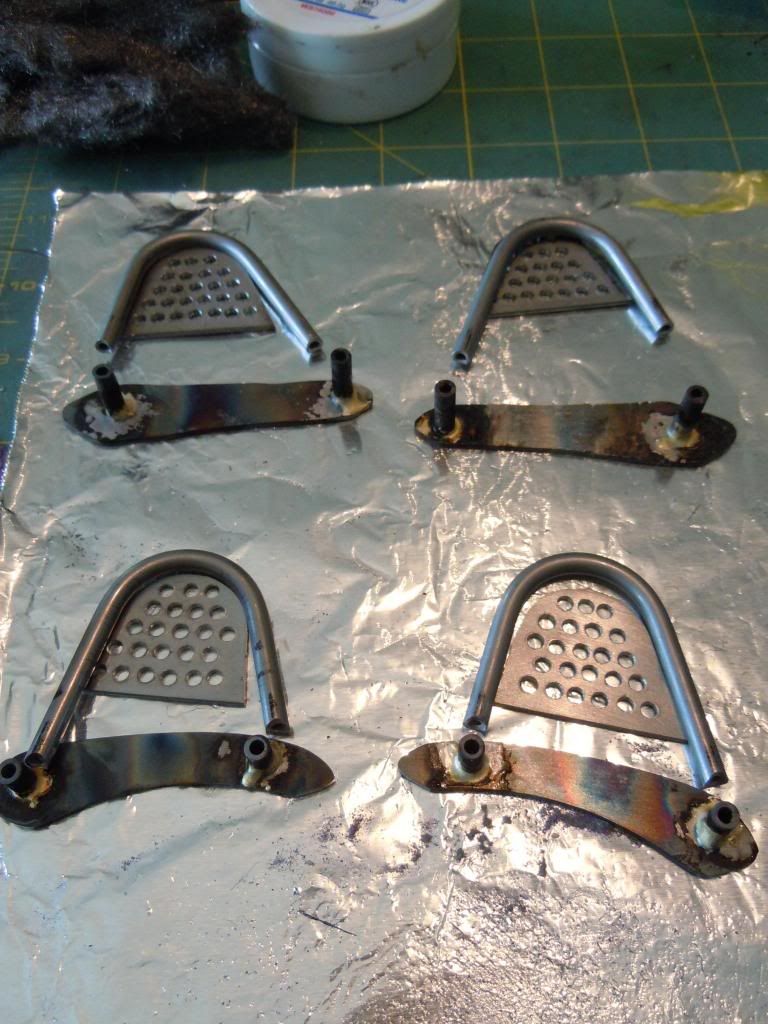 All brazed up with some place to go. These are not perfect, but absolutely what I had in mind. 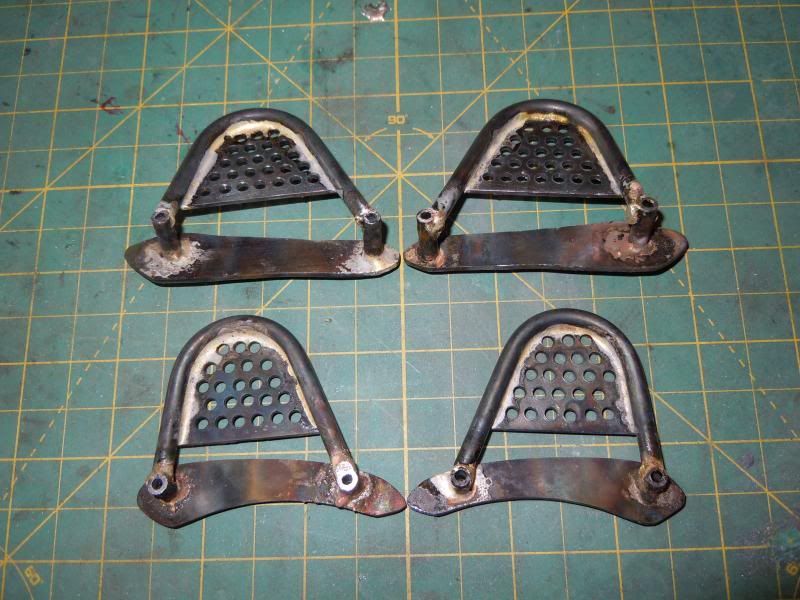 The Gunny is feeling more motivated then ever to get behind the wheel for a test drive. Last edited by snydercj7; 03-15-2013 at 01:02 PM. |
|
| |
|
03-15-2013, 04:42 PM
| #98 |
| Quarry Creeper Join Date: Sep 2010 Location: where ever I layed my hat.
Posts: 225
|
I will leave you guys with this to drool over the weekend. Man I am getting excited! 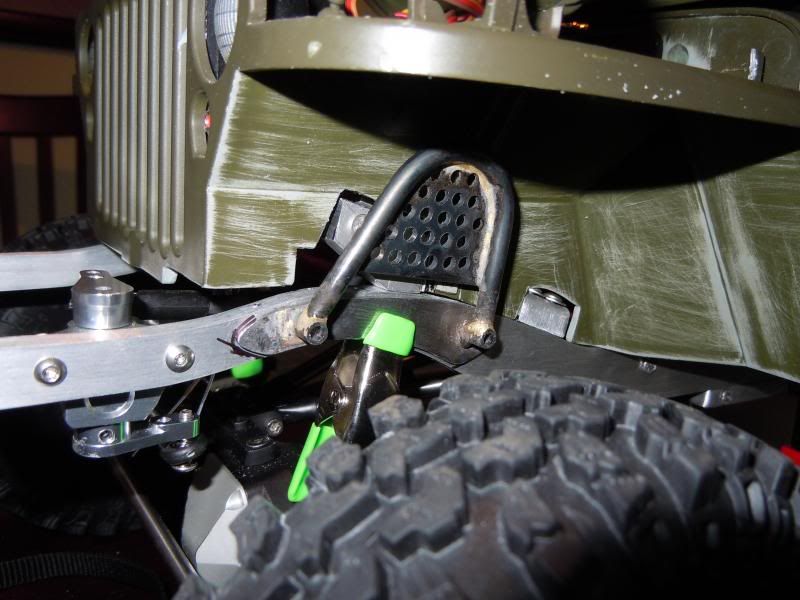 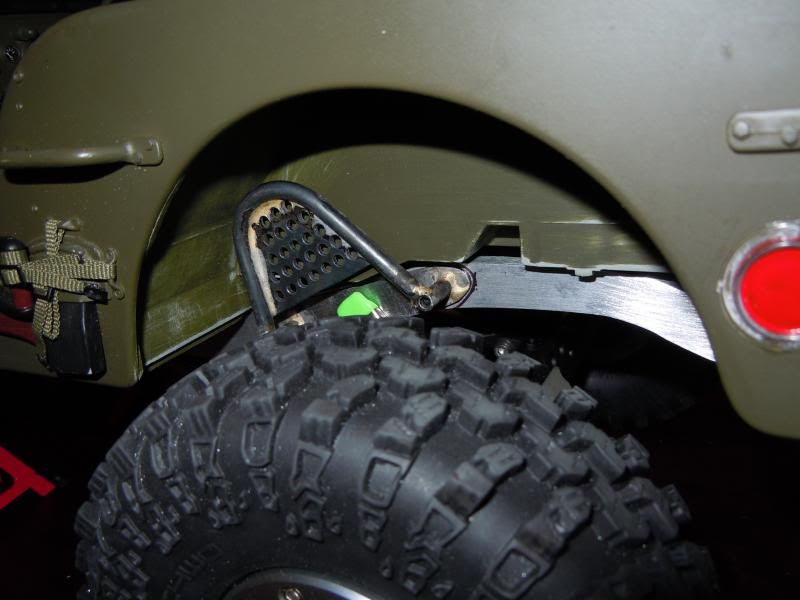 |
|
| |
|
03-17-2013, 08:52 AM
| #99 |
| Quarry Creeper Join Date: Sep 2010 Location: where ever I layed my hat.
Posts: 225
|
Yet another failed deadline, good thing this is being built for myself by myself. haha So no test drive this weekend, but since I had the Jeep tore down to the frame I could find no reason not to strip it all the way down and put some paint on. Found these in the mailbox section of Home Depot and thought I would give them a try. Not sure how well the reflection really is, but does not look so impressive in the pic. 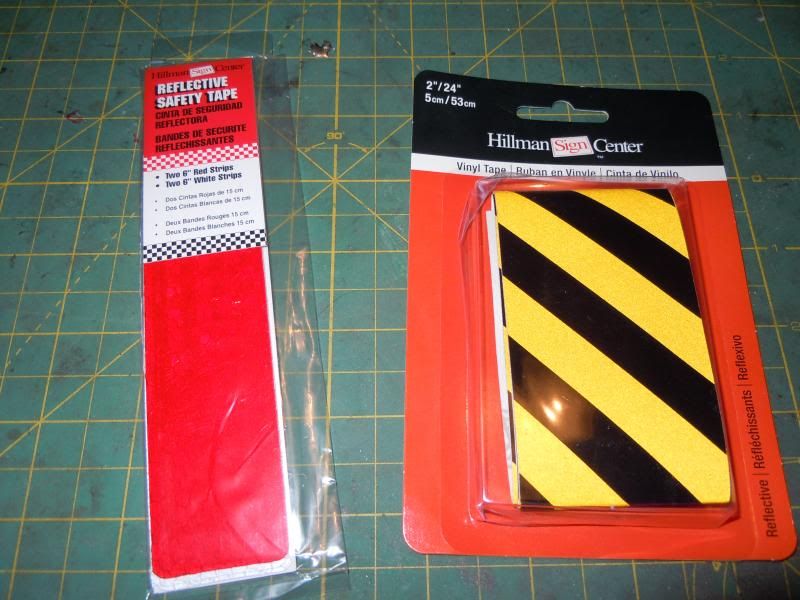 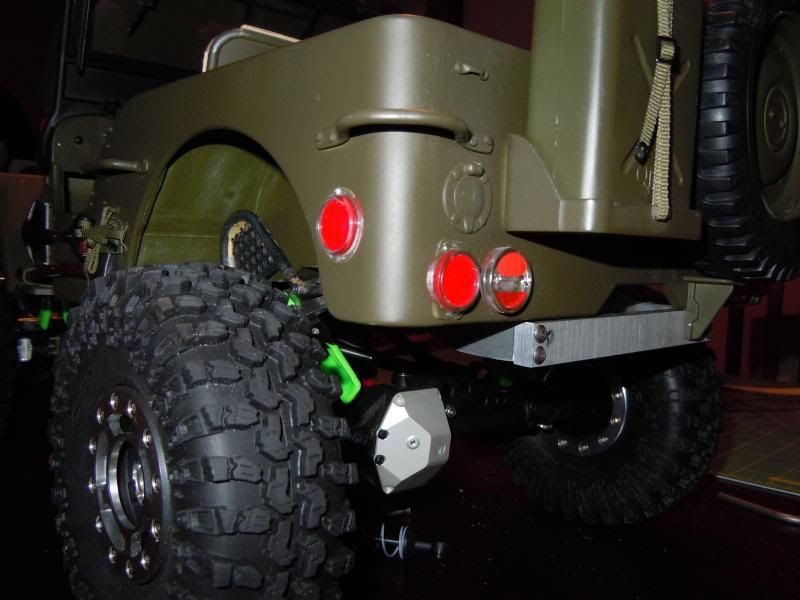 Shock hoops all secured to the frame nicely. So so close! 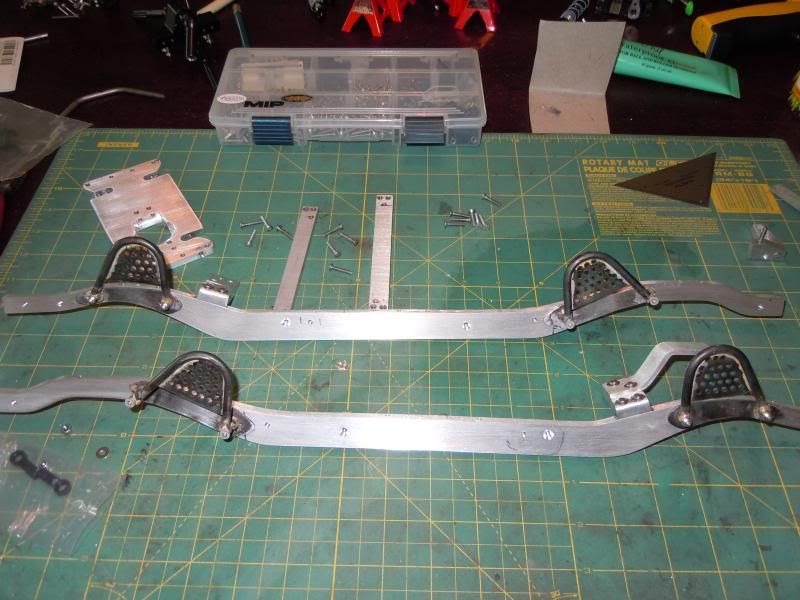 Here is to see how many are actually paying attention or to really mess with those who are. lol   |
|
| |
|
03-18-2013, 07:24 AM
| #100 |
| I wanna be Dave Join Date: Oct 2006 Location: Martinsburg WV
Posts: 2,781
|
Diggin' the shock hoops dude. Well done! Why you teasin' us with a blurry image of the painted chassis? |
|
| |
 |
| |


 Linear Mode


