| |
| |||||||
 |
| | LinkBack | Thread Tools | Display Modes |
 08-20-2011, 12:40 PM
| #1 |
| I wanna be Dave  Join Date: Oct 2006 Location: Martinsburg WV
Posts: 2,781
|
...I've wanted to do one of these for a couple years now. Watching videos and checking out Jeeps by guys like Zoso and BigSki etc. lately put the hook in me again. And then I ran across a good condition 2001 Hasbro donor body on Ebay a week ago and it pushed me over the edge: 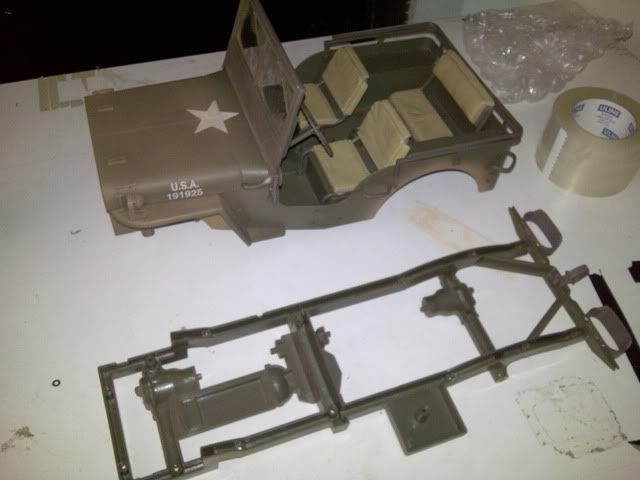 So being on a budget, I'm attacking some of the cheap stuff first. Bodywork doesn't cost a whole lot, and if you use stuff you already have, even better. I'm not going to use the back seat or the gun mount, so a little work with the cut-off wheel and out they go...  ...and a layer of black styrene covers the holes... 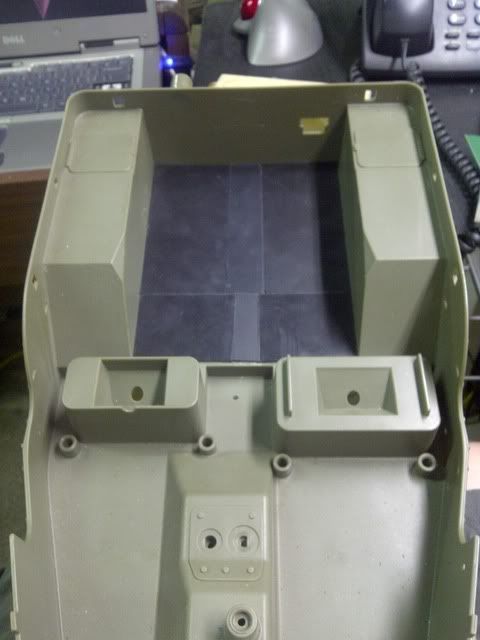 Don't need the stock hoop bumper things... 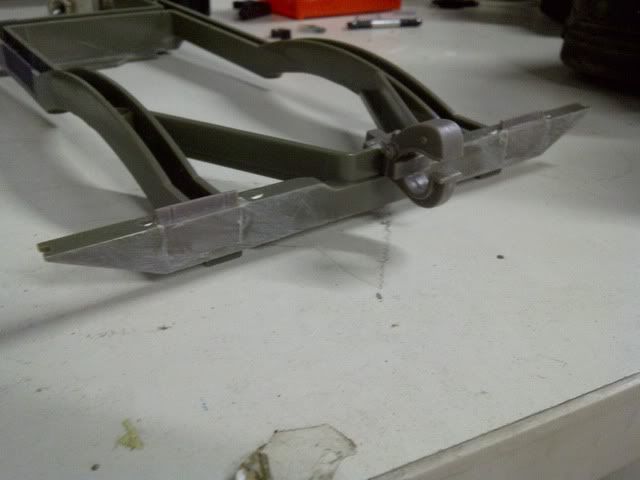 "Relocated" the fuel tank... 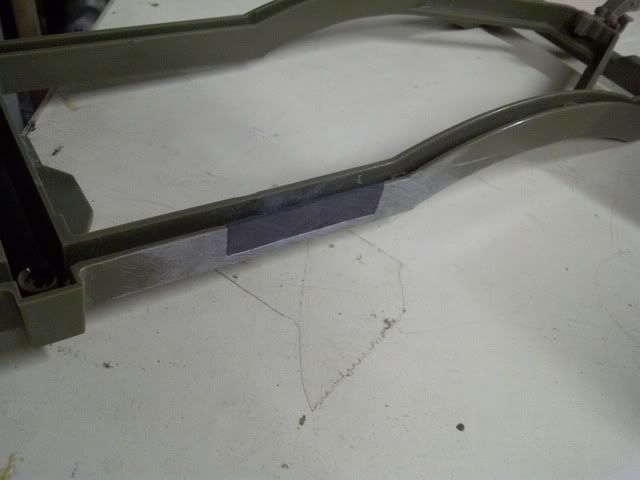 Broke out the carpet thread, and off with the hood... 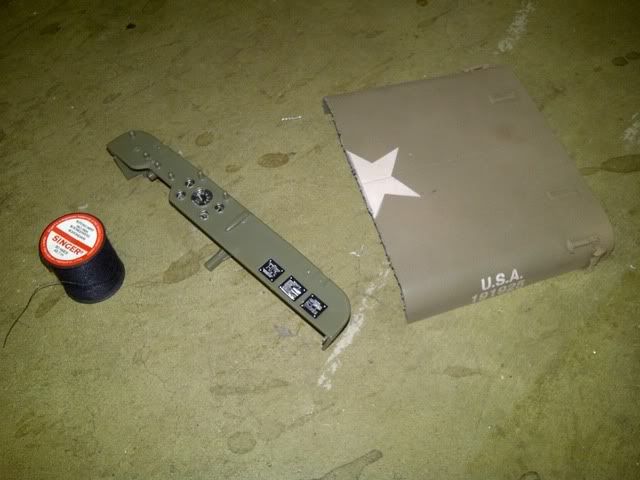 A pair of dollhouse hinges fit exactly in the spot where the molded-in "hinge" was removed from. Perfect... 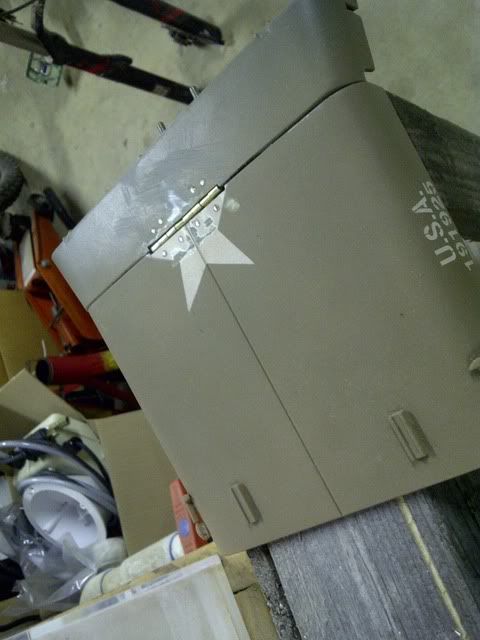 ...and I even managed to keep the center post - no loss of any structural rigidity... 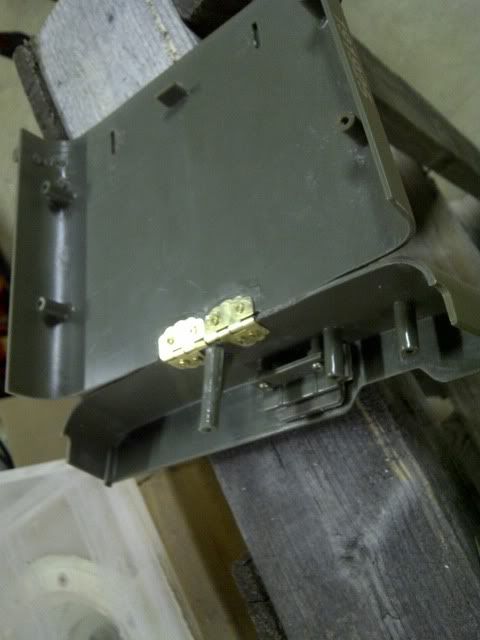 I already have 1/8" x 1/2" aluminum stock on hand. I figured doubling it up and epoxying all together inside the frame rails will be sufficiently strong. Instead of having to go looking for 1/4" x 1/2" stock... 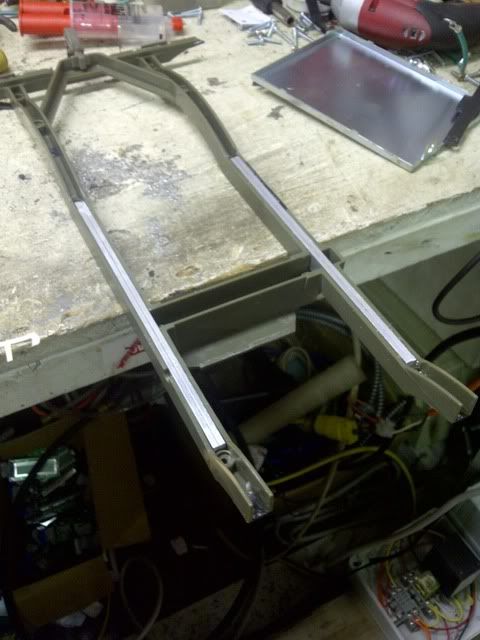 That's it for now... Last edited by Big Mike; 08-20-2011 at 12:44 PM. |

|  |
| Sponsored Links | |
| | |
|
08-20-2011, 04:13 PM
| #2 |
| Rock Crawler Join Date: Jan 2008 Location: Lincoln
Posts: 740
|
Very nice, I've got one of these jeeps coming in for myself. So I'll be taking notes...  |
|
| |
|
08-22-2011, 02:01 PM
| #3 | |
| I wanna be Dave Join Date: Oct 2006 Location: Martinsburg WV
Posts: 2,781
| Quote:
I kept most of the front bumper, just cut the ends off for clearance. Filled in the underside with a combination of 1/8" x 1/2" aluminum stock and epoxy putty. It's now as solid as a real bumper. A piece of 3/8" aluminum angle stock makes up the plate to mount an 1:8th scale 3Racing winch, and also serves as a rear mounting point for the whole bumper assembly... 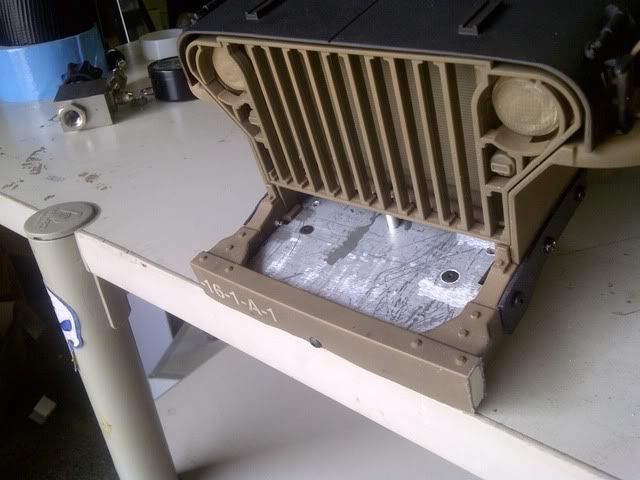 Then a pair of black styrene covers tie the sides together and makes it all blend in a little better and look like a "frame". Once it's all painted to match it should look decent... 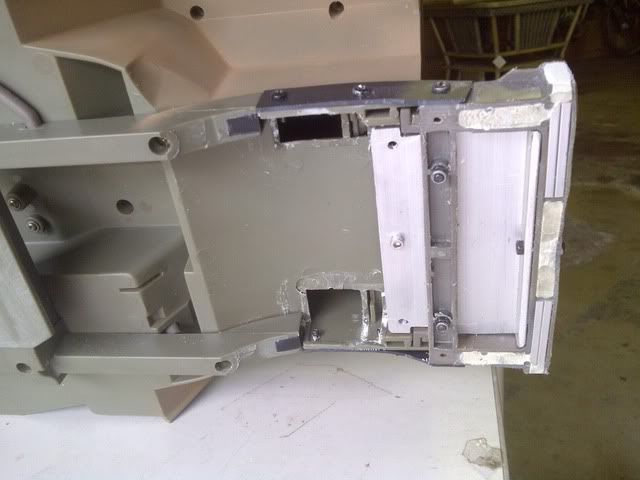 If all works as planned, the left rear of the winch plate will become the front of the steering servo mount... | |
|
| |
|
08-22-2011, 06:07 PM
| #4 |
| RCP CRAWLERS   Join Date: Nov 2007 Location: Upland CA
Posts: 1,541
|
you might want to move the bumper up you won't get much of an aproach angle on steep inclines or decents something like this: 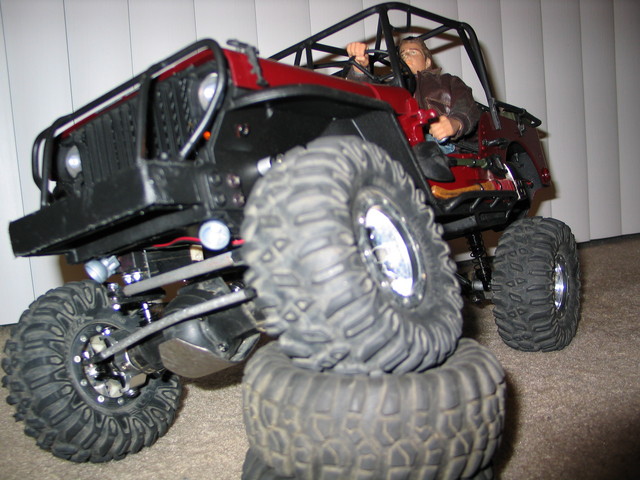 |
|
| |
|
08-23-2011, 09:28 AM
| #5 | |
| I wanna be Dave Join Date: Oct 2006 Location: Martinsburg WV
Posts: 2,781
| Quote:
Actually | |
|
| |
|
08-23-2011, 01:07 PM
| #6 |
| Rock Crawler Join Date: Mar 2010 Location: NRV
Posts: 958
|
I've been watching these on ebay for a while now & trying to figure out how I would do it. Budget is shot for the year so I'll watch you build yours. Nice work.
|
|
| |
|
08-23-2011, 03:06 PM
| #7 | |
| I wanna be Dave Join Date: Oct 2006 Location: Martinsburg WV
Posts: 2,781
| Quote:
Moving the bumper up allowed for a better mounting method as well... 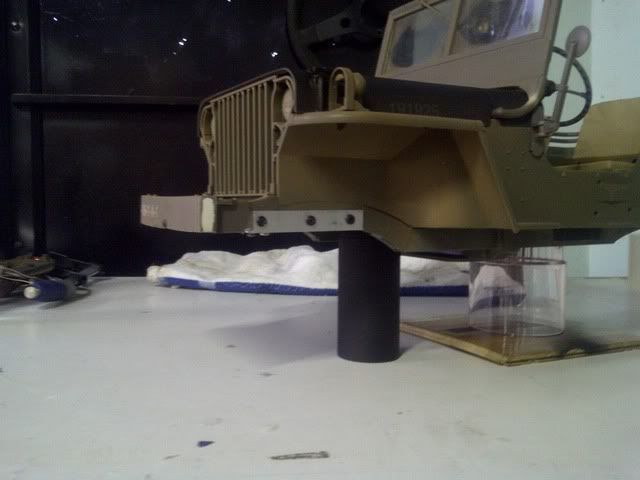 ...these rails are aluminum and wrap underneath for added strength... 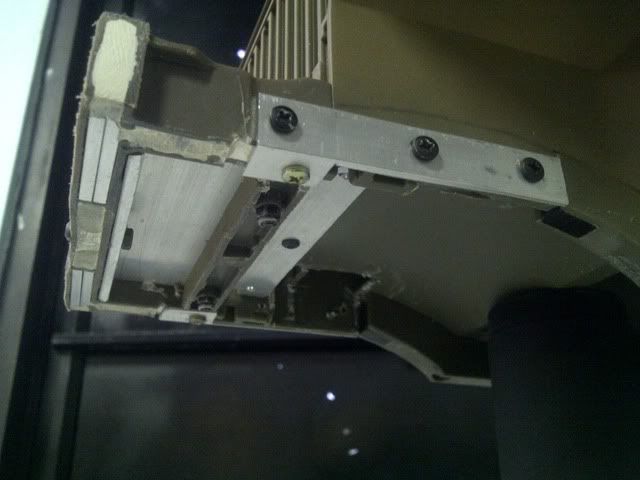 These are narrowed 2.2 Masher 2K's, they measure just under 5" tall. Some 2.2 Rok-Lox should work out just about perfect I think... 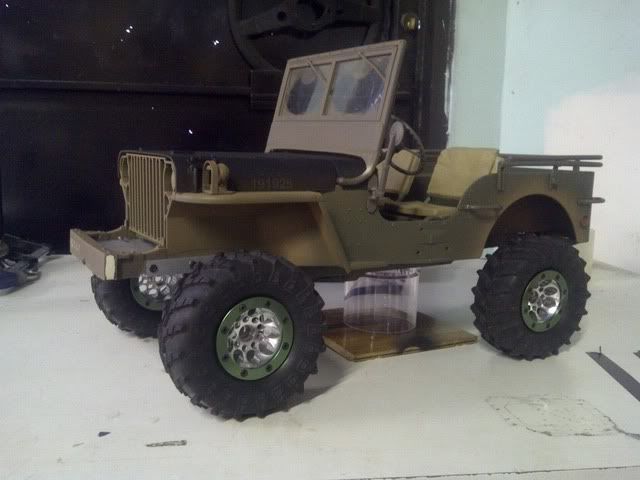 ...And started making up some link mounts. 1/8" x 1/4" aluminum channel stock (panel edging) Still need to be cleaned up a bit... 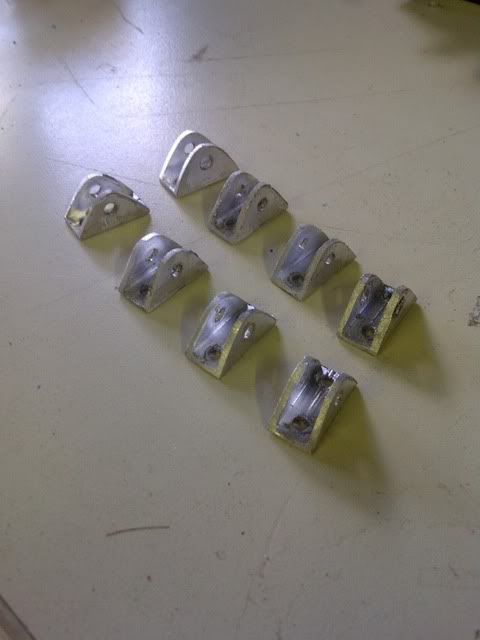 | |
|
| |
|
08-23-2011, 06:16 PM
| #8 |
| I wanna be Dave Join Date: Oct 2006 Location: Martinsburg WV
Posts: 2,781
|
Test installation of a cleaned up link mount. Two 4-40 button head screws... 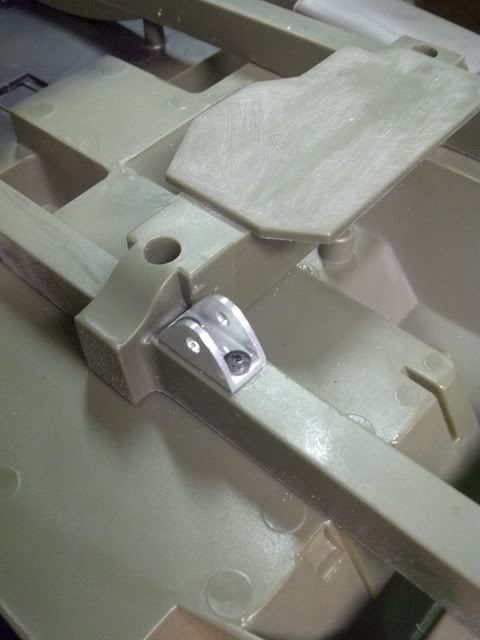 Should work I think... |
|
| |
|
08-23-2011, 07:57 PM
| #9 | |
| I wanna be Dave Join Date: May 2008 Location: Baltimore
Posts: 4,442
| Quote:
| |
|
| |
|
08-23-2011, 08:11 PM
| #10 |
| Quarry Creeper Join Date: Jun 2004 Location: 462-Da Fock
Posts: 352
|
I make the same kind of link mounts  Simple and easy plus makes it looks nice in my opinion. Nice work so far bud. Keep it up. Simple and easy plus makes it looks nice in my opinion. Nice work so far bud. Keep it up. |
|
| |
|
08-24-2011, 06:42 AM
| #11 | ||
| I wanna be Dave Join Date: Oct 2006 Location: Martinsburg WV
Posts: 2,781
| Quote:
Quote:
Yea I've got TLT mounts laying around in my hoard of stuff, but they've been used for several other builds and look pretty haggard. I had this piece of aluminum panel edging, and when I stuck a large Traxxas rod end in between it just by chance it was like Last edited by Big Mike; 08-24-2011 at 09:54 AM. | ||
|
| |
|
08-25-2011, 11:30 AM
| #12 |
| I wanna be Dave Join Date: Oct 2006 Location: Martinsburg WV
Posts: 2,781
|
More free home-made stuff. Since I removed the "stock fuel tank" from the frame rail, I made this to sit behind the seats in the floor. Once I give it a shot of some silver it'll look like a spun aluminum tank... 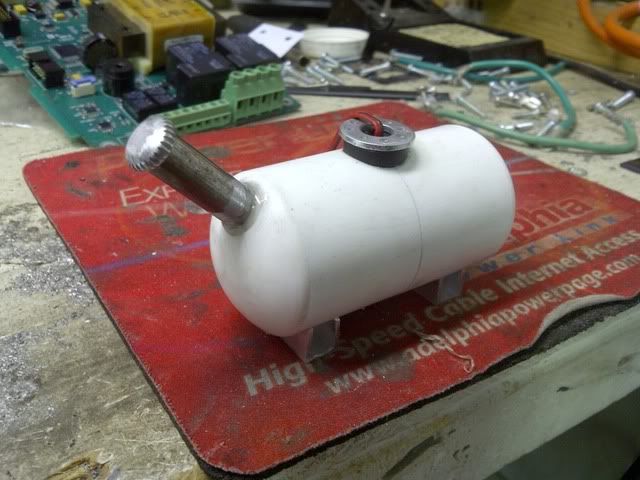 The "tank" is two 1" PVC caps, I trued up the ends and epoxied them together. The head of a large wood screw with some epoxy putty and creative filework make the cap, the screw itself holds the steel tube fill spout on the tank. The feet are the same panel edging stock I made the link mounts out of. Another piece of tubing, a washer dotted with a center punch and a short section of wire make up the inspection port with the sender for the fuel guage... Last edited by Big Mike; 08-25-2011 at 11:51 AM. |
|
| |
|
08-26-2011, 08:08 AM
| #13 |
| I wanna be Dave Join Date: Oct 2006 Location: Martinsburg WV
Posts: 2,781
|  Does anybody re-pop the 3 dashboard info plates? I meticulously masked over them, because they definitely were'nt comin' off intact. Only to have the masking tape pull half of the stickers back off Last edited by Big Mike; 08-26-2011 at 08:15 AM. |
|
| |
|
08-26-2011, 08:54 AM
| #14 | |
| Rock Crawler Join Date: Jan 2008 Location: Lincoln
Posts: 740
| Quote:
How did you make out with the front of the frame? Any pics? I'm due to start hacking mine up tonight, and what to save on the front end gets a little fuzzy. That tank looks awesome btw. | |
|
| |
|
08-26-2011, 09:10 AM
| #15 |
| RCC Addict Join Date: May 2008 Location: Green Bay
Posts: 1,138
|
Yup, There is a guy that makes them out of metal, look awesome. I have a set on mine. Here is the link, not sure if you need to join or not to view. Pics  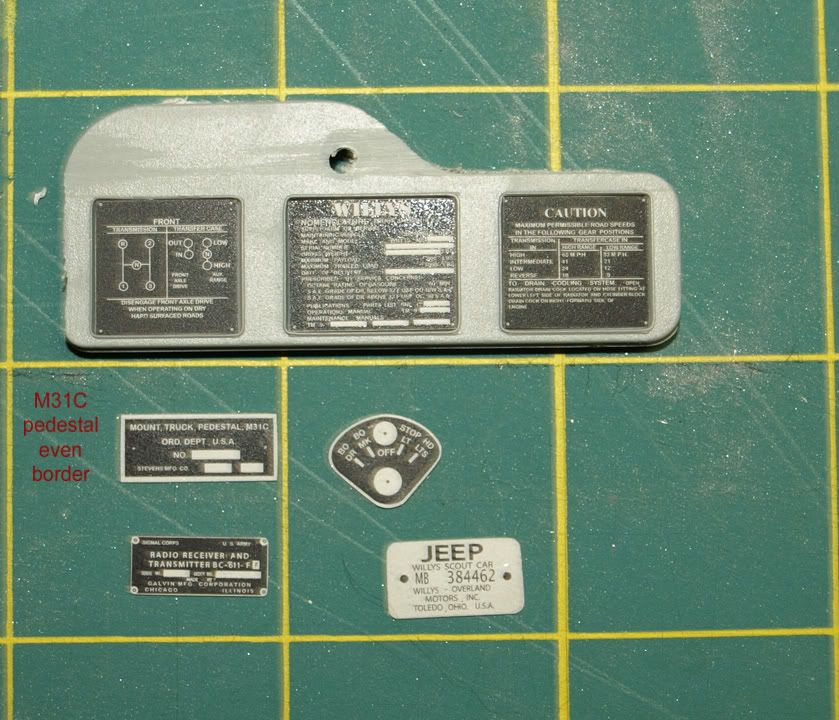 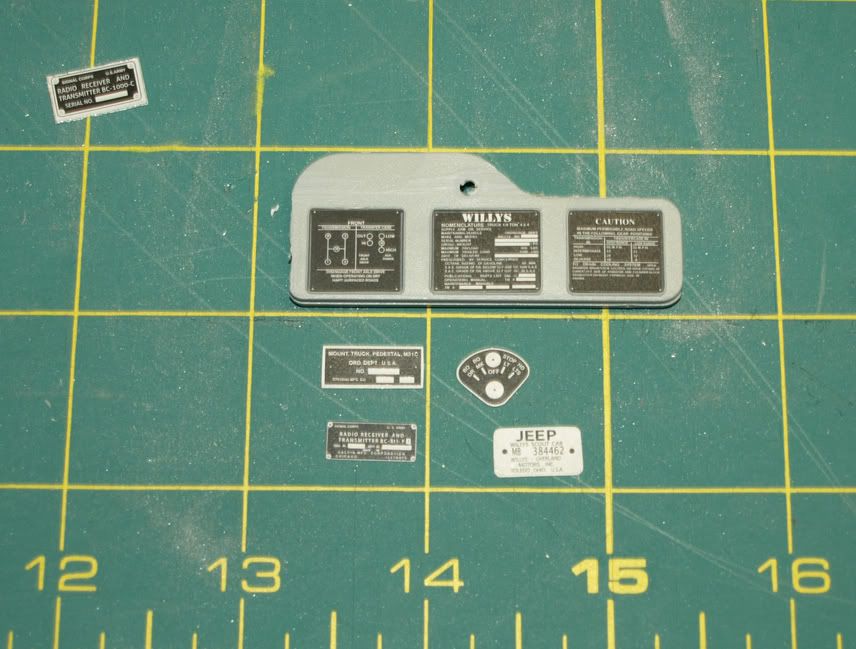 And link. http://www.sixtharmygroup.com/forums...rial-info.html I Highly recommend them. He is now making the gauges as well for it. |
|
| |
|
08-26-2011, 09:16 AM
| #16 | |
| RCC Addict Join Date: May 2010 Location: The heart of the south
Posts: 1,138
| Quote:
| |
|
| |
|
08-26-2011, 11:49 AM
| #17 | ||
| I wanna be Dave Join Date: Oct 2006 Location: Martinsburg WV
Posts: 2,781
| Quote:
Quote:
Painted mock-up... 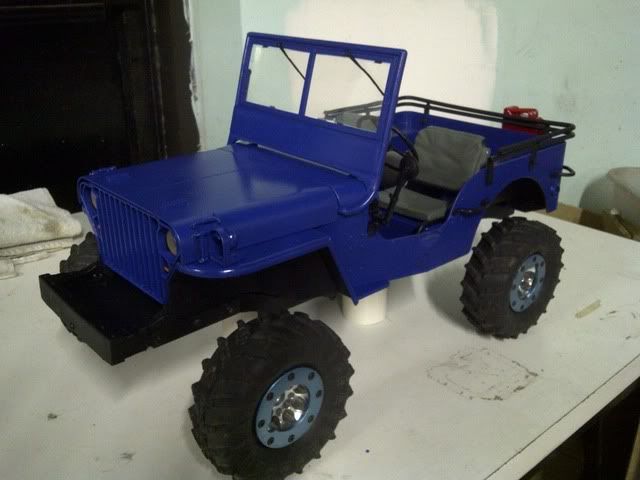 Just a simple blue paintjob (.99 per can Testors @ Big Lots ) Flat black underneath. And I "re-upolstered" the seats in grey...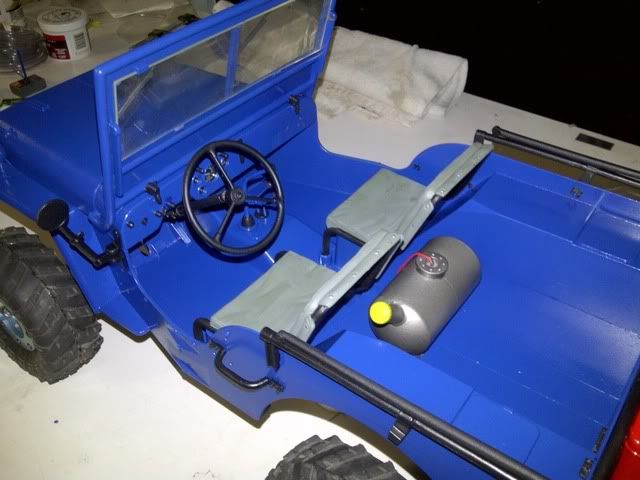 I painted the interior the same as the exterior, I figured if it were a real 1:1 MB that's probably what would happen anyway. I'm looking for something to use as "floormat" material, like thin rubber or EPMD foam or something similar. It's getting to be time to get the real camera back in action... | ||
|
| |
|
08-26-2011, 12:11 PM
| #18 |
| RCC Addict Join Date: May 2008 Location: Green Bay
Posts: 1,138
|
I've got some stuff you can have for a floor mat. Let me get home and get some pics up for ya. Here it is as a mat in the "shop". 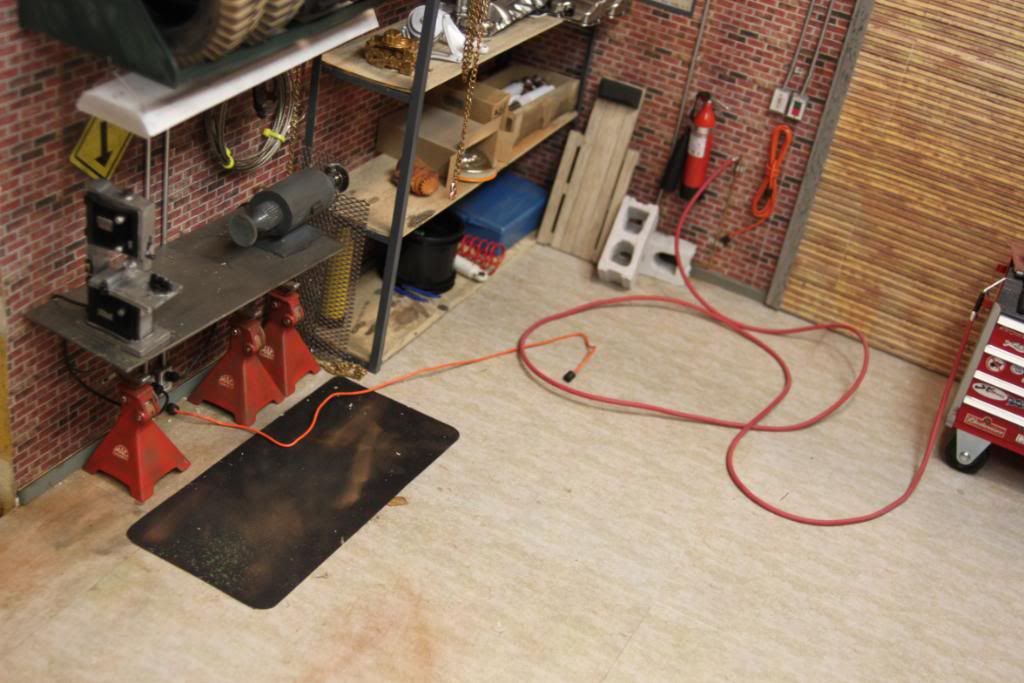 It is slightly textured on one side and smooth on the other. If interested, PM your addy and I'll get you out some. |
|
| |
|
08-26-2011, 12:36 PM
| #19 | |
| I wanna be Dave Join Date: Oct 2006 Location: Martinsburg WV
Posts: 2,781
| Quote:
I just found some black grip tape in my shop. It actually looks pretty decent, and it's adhesive-backed for ease of installation. Thanks though I appreciate the offer. I'd take you up on it, but I'm not sure how easy the grip tape will come back out! 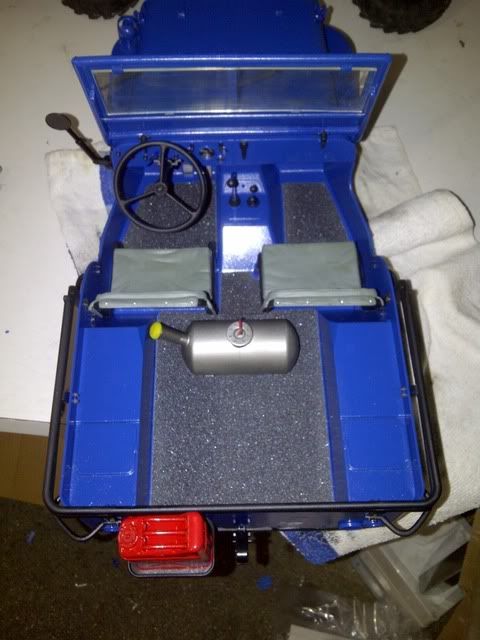 | |
|
| |
|
08-26-2011, 04:11 PM
| #20 |
| RCP CRAWLERS Join Date: Nov 2007 Location: Upland CA
Posts: 1,541
|
nice ......first blue willys I've seen I used cellphone mats ... the ones you put on your dash to hold your phone they're rubber with little dots, looks like a scale mat..just cut to fit keep up the good work |
|
| |
|
| |


 Linear Mode


