| |
| |||||||
 |
| | LinkBack | Thread Tools | Display Modes |
 12-12-2009, 01:44 PM
| #61 |
| RCC Addict Join Date: Jun 2007 Location: San Antonio, Tx
Posts: 1,093
|
Thanks Eddie! Me to man I have a long ways to go.
|

|  |
| Sponsored Links | |
| | |
|
12-13-2009, 11:23 PM
| #62 |
| RCC Addict Join Date: Jun 2007 Location: San Antonio, Tx
Posts: 1,093
|
this thing was begging to get some air so it got it a little trail run with some buddys 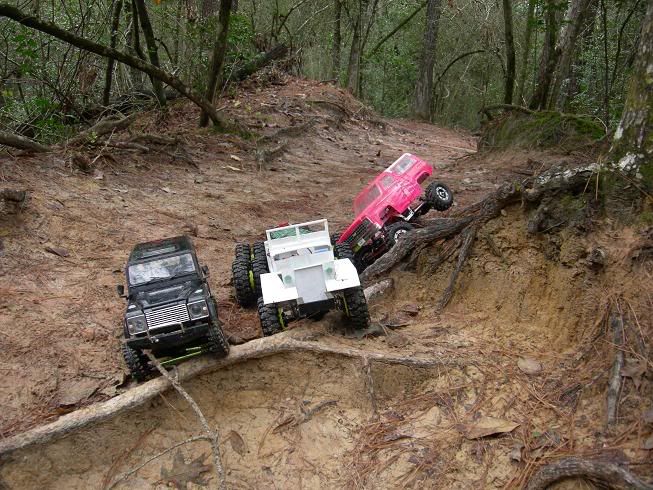 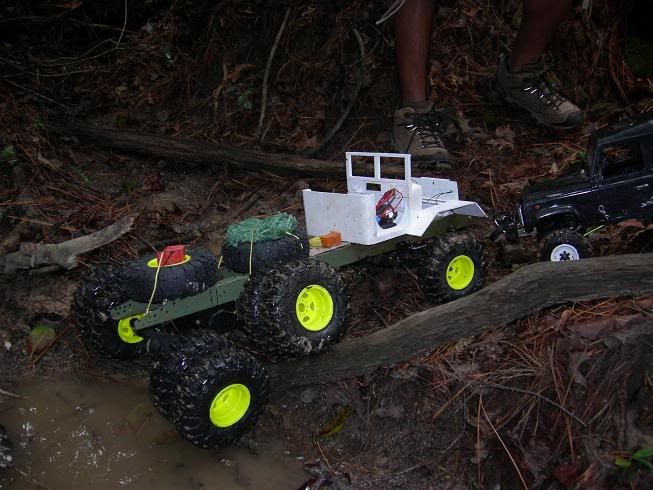 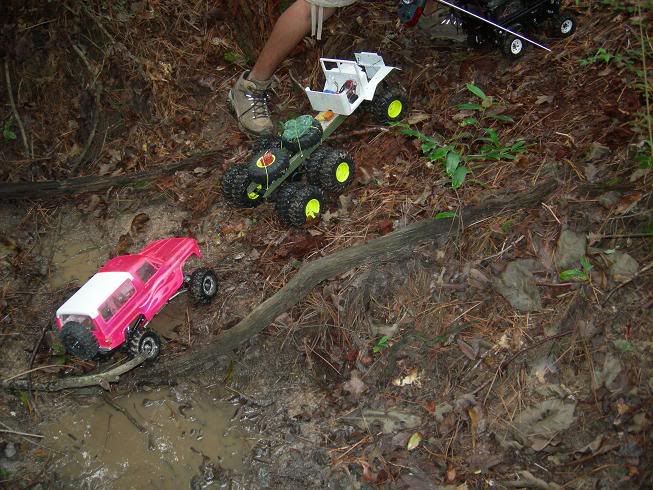  |
|
| |
|
12-13-2009, 11:36 PM
| #63 |
| Pebble Pounder Join Date: Mar 2009 Location: stayin fresh in the northwest
Posts: 129
|
how do the rear axles with the setup you have?
|
|
| |
|
12-14-2009, 04:57 AM
| #64 |
| Rock Stacker Join Date: Sep 2009 Location: Hopkins
Posts: 85
|
Looks sick as hell, how'd it do out on the trails?
|
|
| |
|
12-14-2009, 06:49 AM
| #65 |
| RCC Addict Join Date: Sep 2007 Location: Westland, MI
Posts: 1,508
|
Awesome so far.  |
|
| |
|
05-05-2010, 08:42 PM
| #66 |
| Rock Crawler Join Date: Jun 2007 Location: Nova Scotia,Canada
Posts: 561
|
The attention to detail on this build is out of this world.I drove the Canadian version called the MLVW and looking at the pics of the interior brings back many memories since they both have similar setups.I drove that truck like I stole it and put it through places I had doubts and done a lot of "black out driving "under the cover of complete darkness(no lights through the woods) and it never let me done once even if I verd off the trail and intto the tress once in awhile..... |
|
| |
|
05-05-2010, 08:54 PM
| #67 |
| Rock Crawler Join Date: Jun 2007 Location: Nova Scotia,Canada
Posts: 561
|
In the second pic did you make the derlin suspension to link the 2 rear axles,I would love to get a pattern from my hemtt 8x8 if thats ok or have you make another set for a price of course if you had the time. 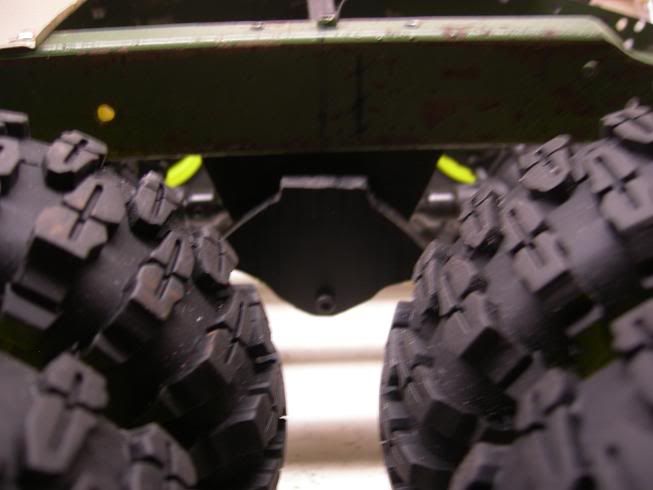 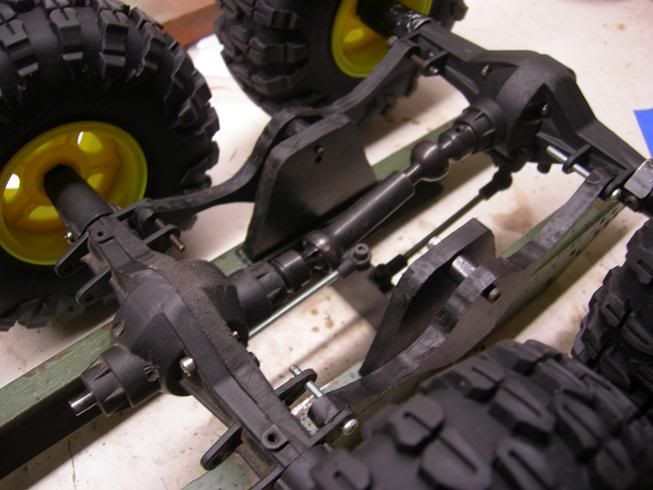 |
|
| |
|
05-18-2010, 10:11 PM
| #68 |
| Jeep whore  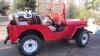 Join Date: Aug 2008 Location: Florida
Posts: 1,042
|
sweet build man!!! got any updates?
|
|
| |
|
06-02-2012, 11:31 AM
| #69 |
| RCC Addict Join Date: Jun 2007 Location: San Antonio, Tx
Posts: 1,093
|
I have finaly started messing with this thing over the past few weeks. Here I finished the driver side door jam and lock 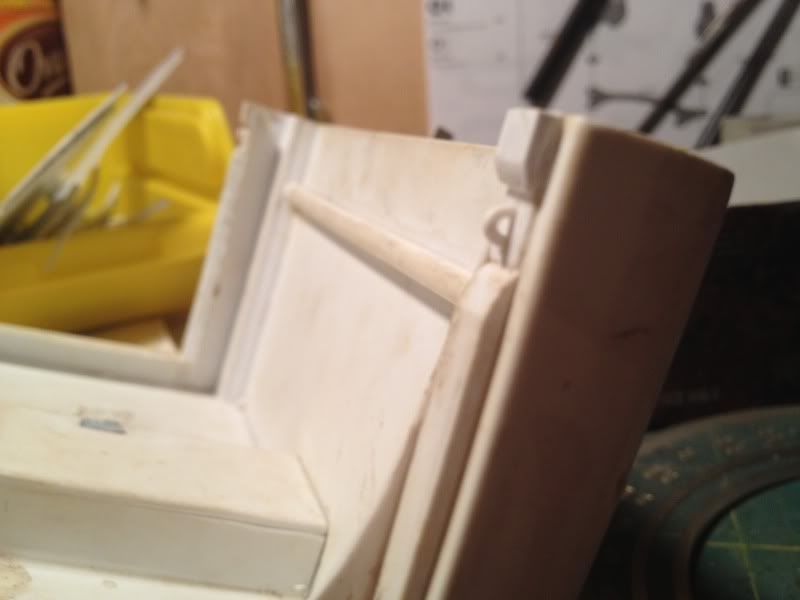 Also got the handles on the upper fenders vent. Here's a shot of the tiny nuts used above and below the handle. 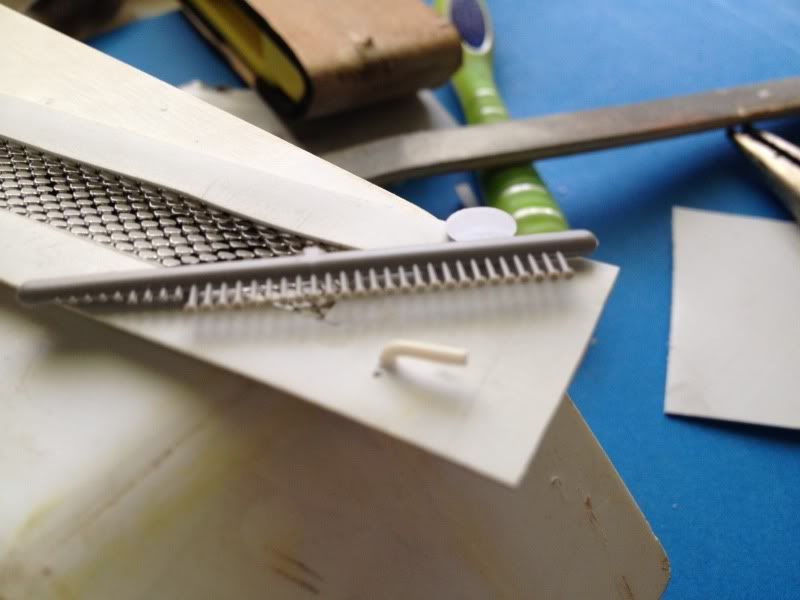 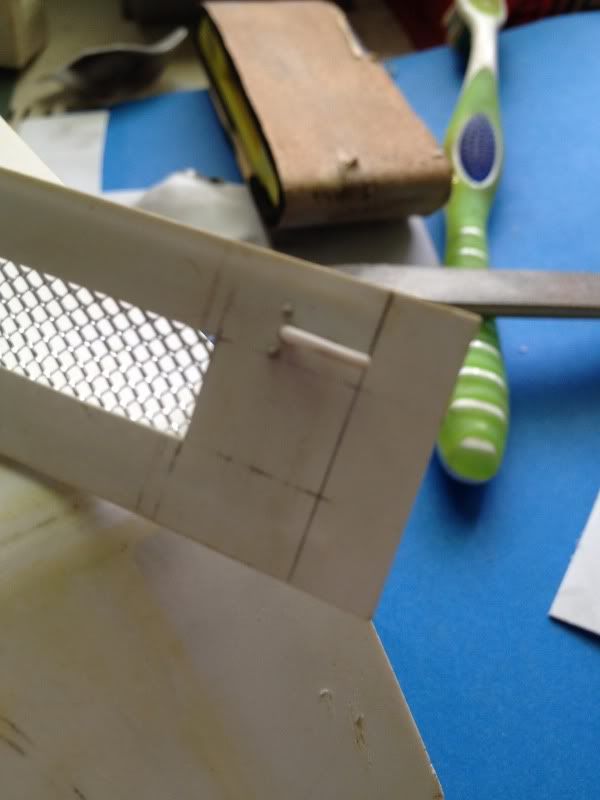 Drivers side upper fender vent 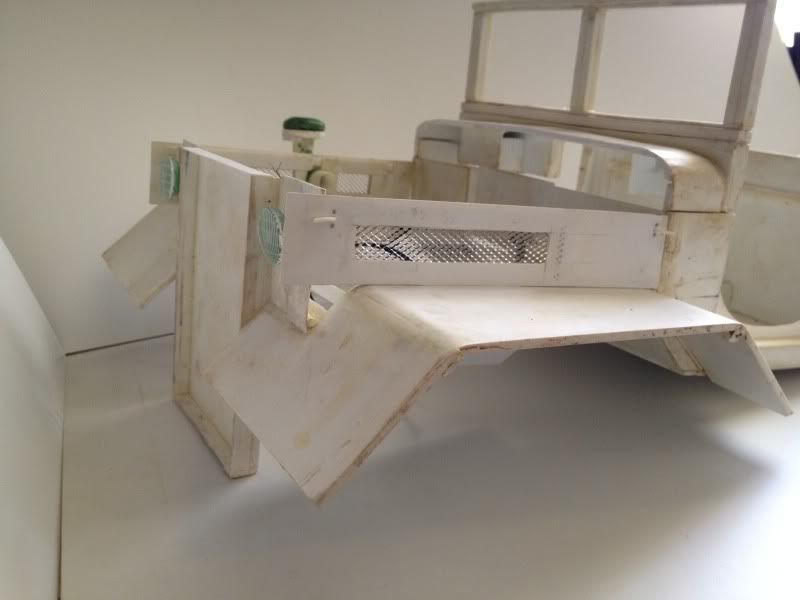 Drivers Side fender well 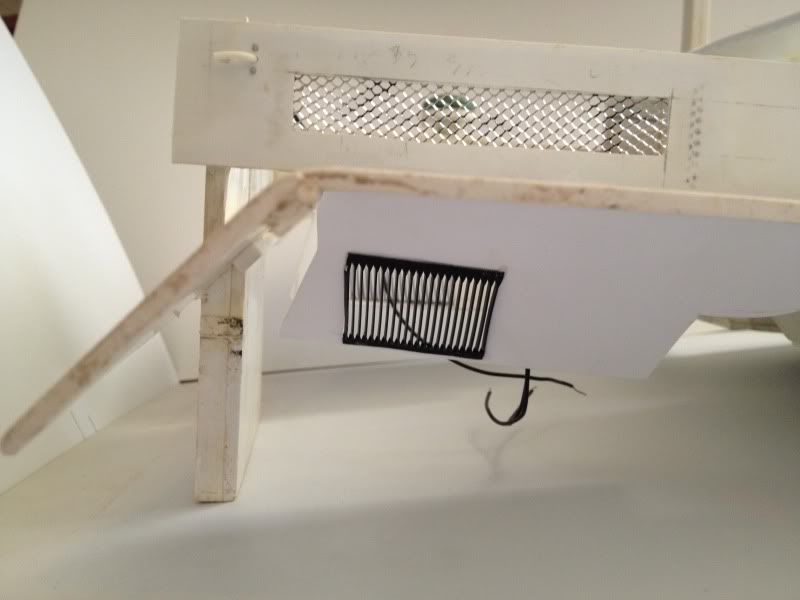 Passenger side upper vent 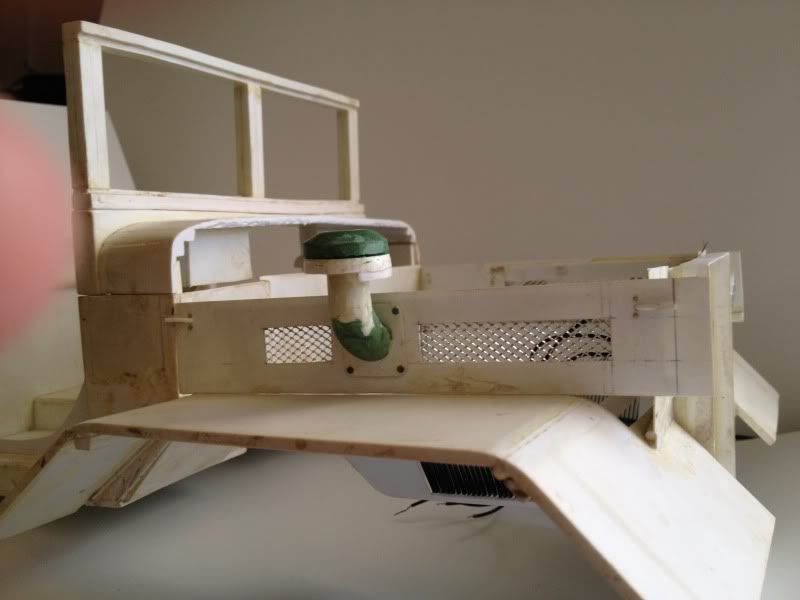 Passenger side fender well 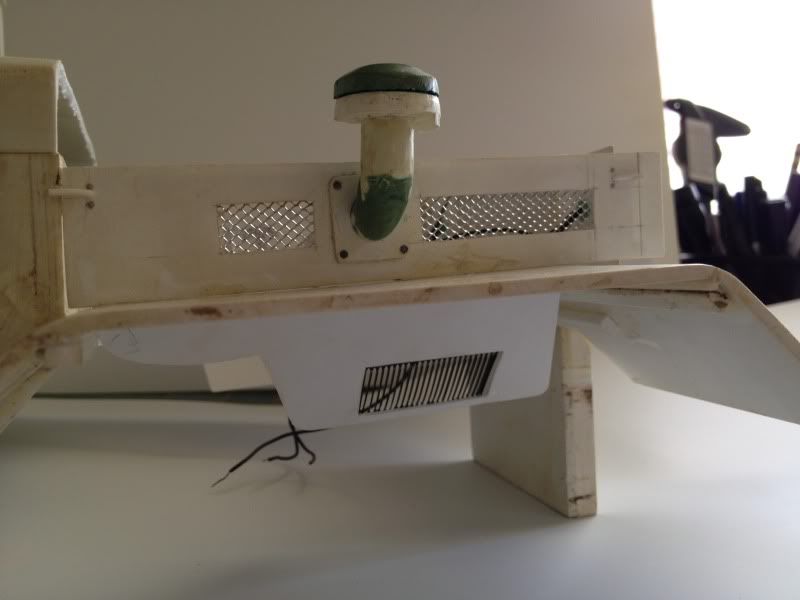 |
|
| |
|
06-02-2012, 03:32 PM
| #70 |
| Rock Crawler Join Date: Oct 2011 Location: Another place, another time
Posts: 575
|
Looks like you got some more desk space. It will be interesting to watch, hopefully next update won't take a couple of years. |
|
| |
|
06-02-2012, 11:26 PM
| #71 |
| I wanna be Dave Join Date: Sep 2009 Location: n. palm beach
Posts: 4,123
|
You have to laugh at this, I just finished making a set of the rear tandem axles. Then i saw this thread, I'll be damned.  . Nice job on this rig, you have done a fantastic job. Keep it up. I'll be watching. . Nice job on this rig, you have done a fantastic job. Keep it up. I'll be watching.By the way how do the rear axles hold up?????????? |
|
| |
|
06-04-2012, 05:00 PM
| #72 | ||
| RCC Addict Join Date: Jun 2007 Location: San Antonio, Tx
Posts: 1,093
| Quote:
Quote:
Got started on another part, the grill. 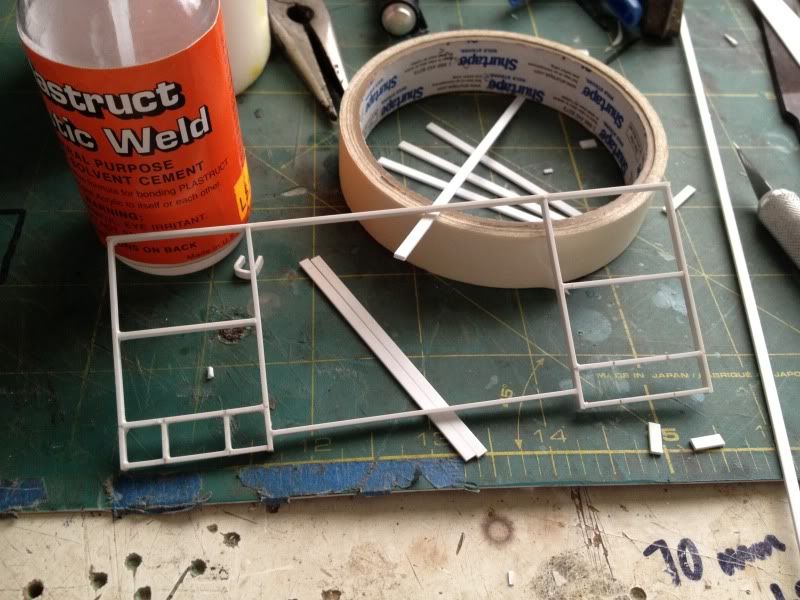 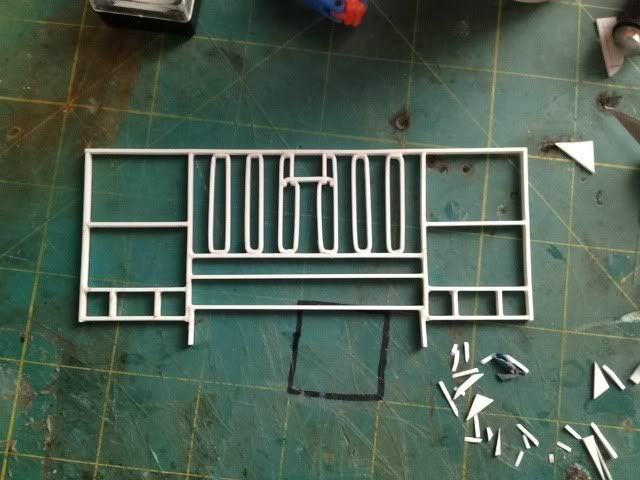 1:1 for referance 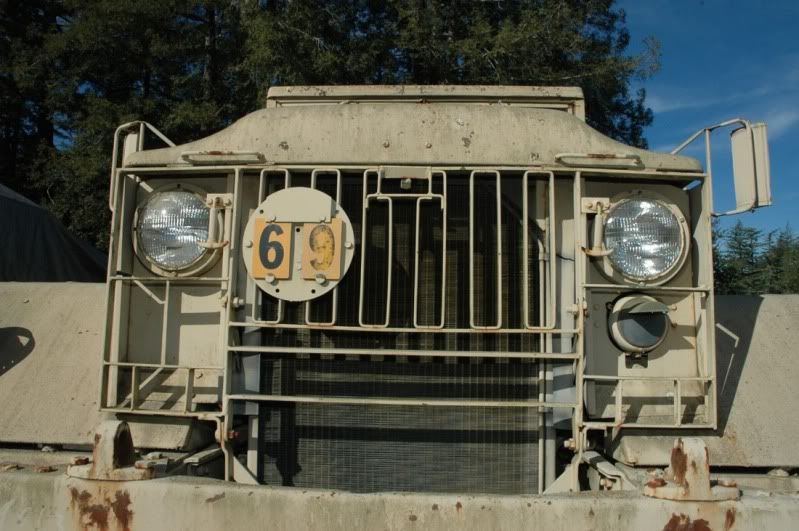 | ||
|
| |
|
06-08-2012, 01:12 PM
| #73 |
| RCC Addict Join Date: Jun 2007 Location: San Antonio, Tx
Posts: 1,093
|
I have been dreading doing the hood but for the past few days I've been glueing, dremeling, sanding and have come up with something I'm ok with, still have some more sanding to do on it. 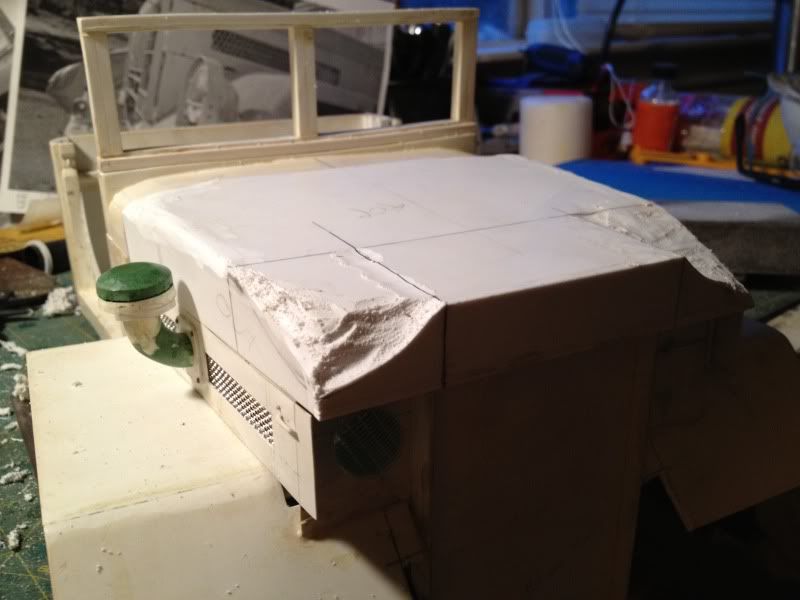 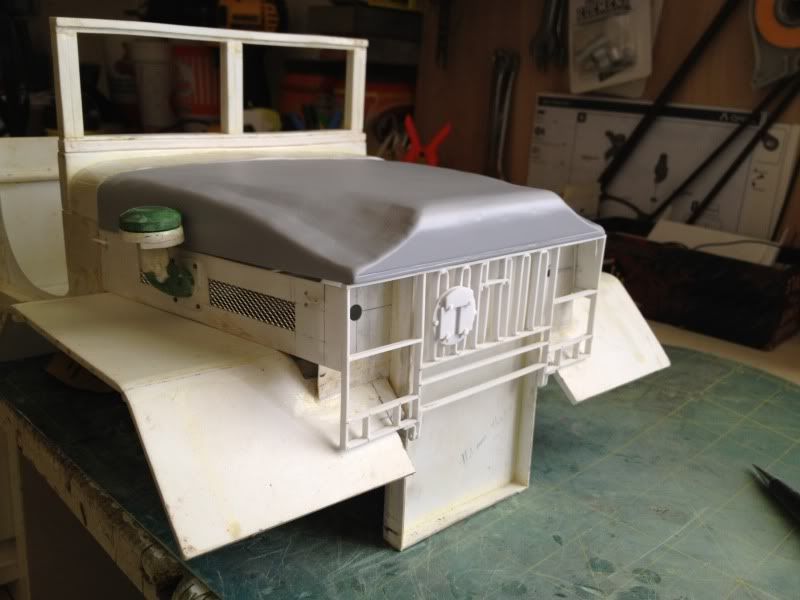 |
|
| |
|
06-09-2012, 12:00 AM
| #74 |
| Rock Crawler Join Date: Oct 2011 Location: Another place, another time
Posts: 575
| That looks very cool, it has a very real look to it. Dreading not needed. |
|
| |
|
06-13-2012, 07:41 AM
| #75 |
| RCC Addict Join Date: Mar 2007 Location: St. Louis (High Ridge)
Posts: 1,279
|
sorry i missed this build man, i have an m123e2 (same thing but with two midships winches) parked in the side yard. i'll get the soft top pics up for you. and was this what you meant by rear cab bracket earlier? this is off a 5-ton but should be pretty close. 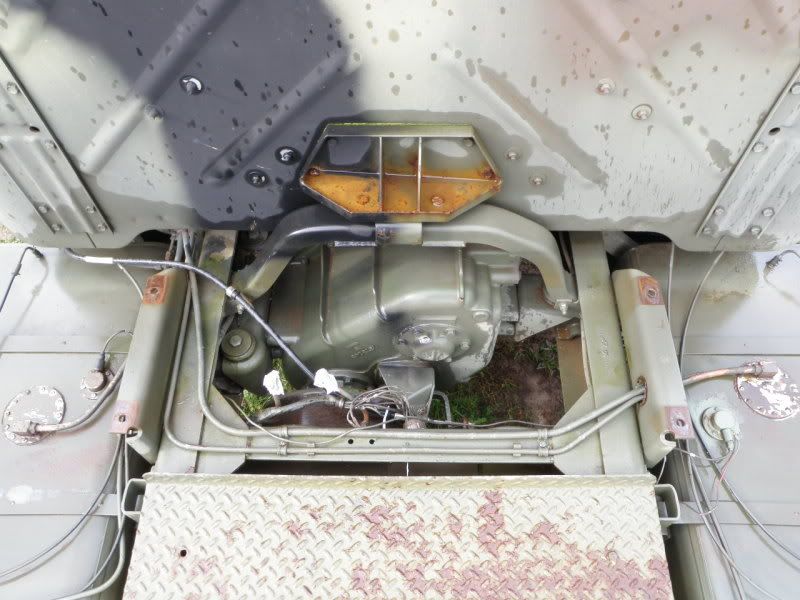 basically goes over the transfer case. 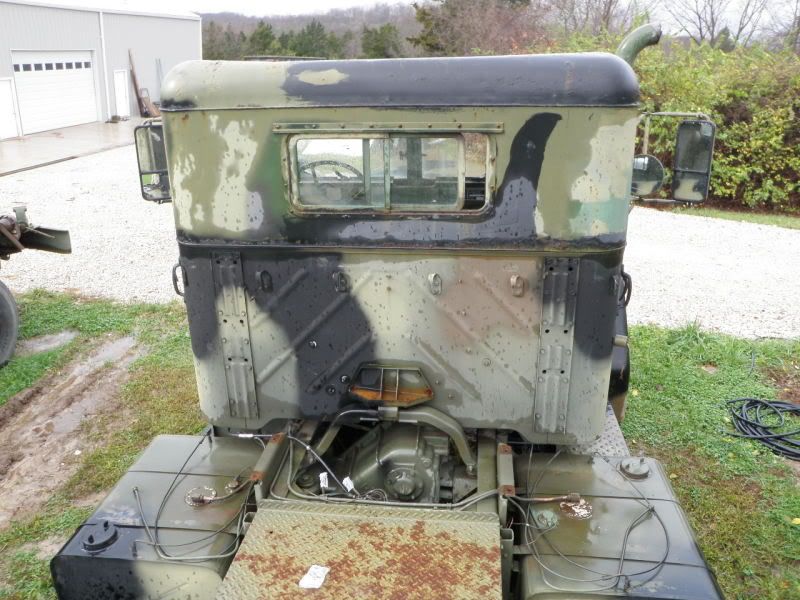 i have a m35 with no bed i can compare to, but the cabs are really pretty similar, just the front sheetmetal differs. Last edited by hairba11; 06-13-2012 at 09:26 AM. |
|
| |
|
06-13-2012, 03:40 PM
| #76 | |
| Quarry Creeper Join Date: Apr 2009 Location: San Diego,CA
Posts: 348
| Quote:
| |
|
| |
|
06-13-2012, 05:28 PM
| #77 | |
| RCC Addict Join Date: Jun 2007 Location: San Antonio, Tx
Posts: 1,093
| Quote:
  heres a picture of the rear of the cab  thanks for the help ! | |
|
| |
|
06-13-2012, 05:47 PM
| #78 |
| Rock Crawler Join Date: Oct 2009 Location: 6512 Elevation
Posts: 884
|
Wow mind blown!!!!!!!!!!!
|
|
| |
|
06-13-2012, 11:30 PM
| #79 | |
| RCC Addict Join Date: Mar 2007 Location: St. Louis (High Ridge)
Posts: 1,279
| Quote:
the picture with the shredded top helps. the B pillar hoop has a second bar that hinges off the back to tension the roof. again, pics in the morning will help. | |
|
| |
|
06-14-2012, 10:17 AM
| #80 |
| RCC Addict Join Date: Mar 2007 Location: St. Louis (High Ridge)
Posts: 1,279
|
ok, here we go. lower cab back. you can see the holes for the B-pillar posts for the top. 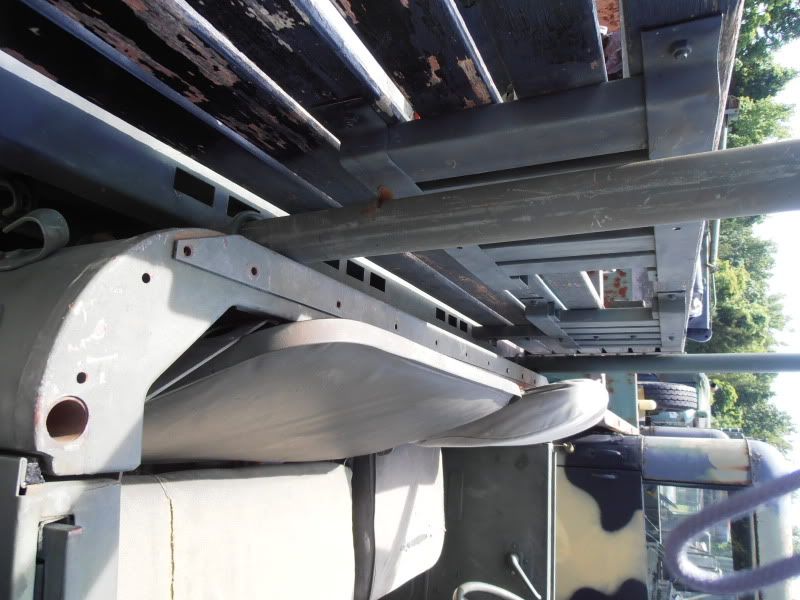 and the holes on top of the window frame, the square slots in the A-pillars for the top of the door frame. 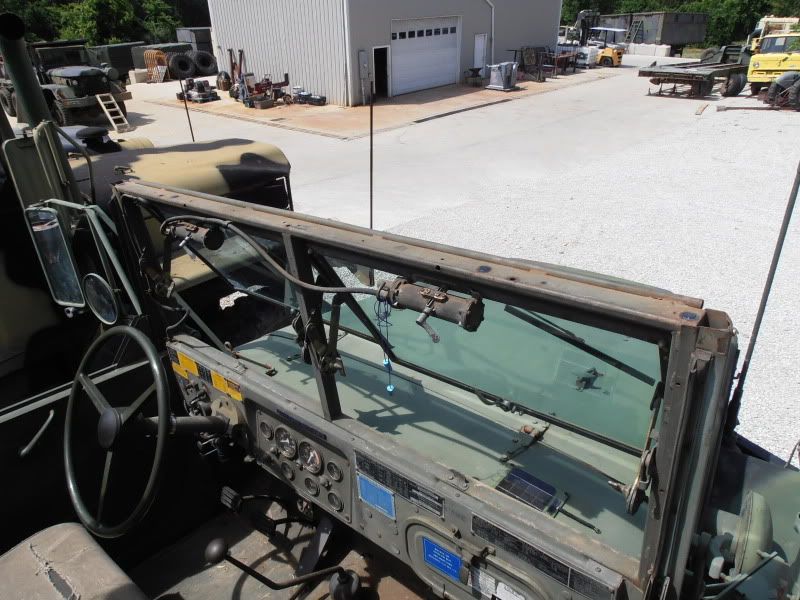 the top is held on the upper door frame by twist locks  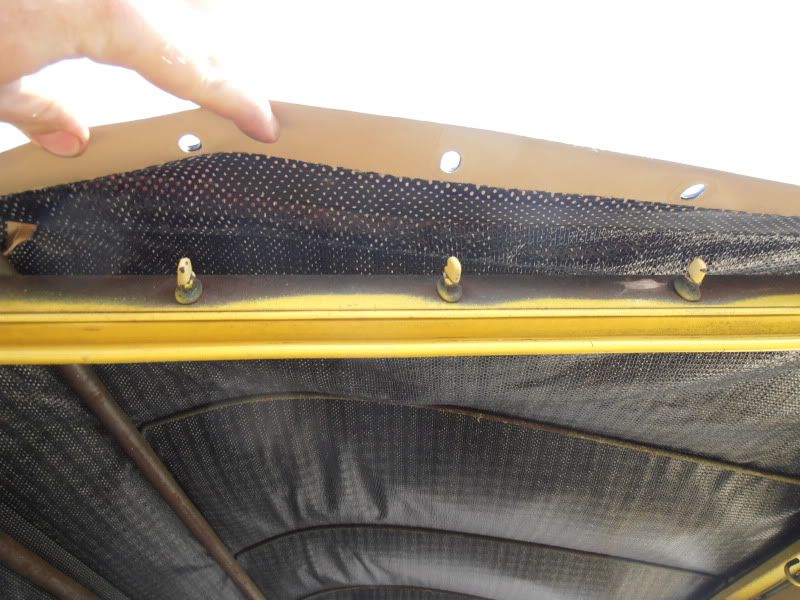 the upper door frame slots into the A-pillar and has a hook the goes over the edge of the windshield frame.  te rear edge of the upper door frame is hinged at a 45* to fold in against the B-pillar for storage. the main hoop is welded to the rear door frame, the tension bar is hinged off the back of the main hoop 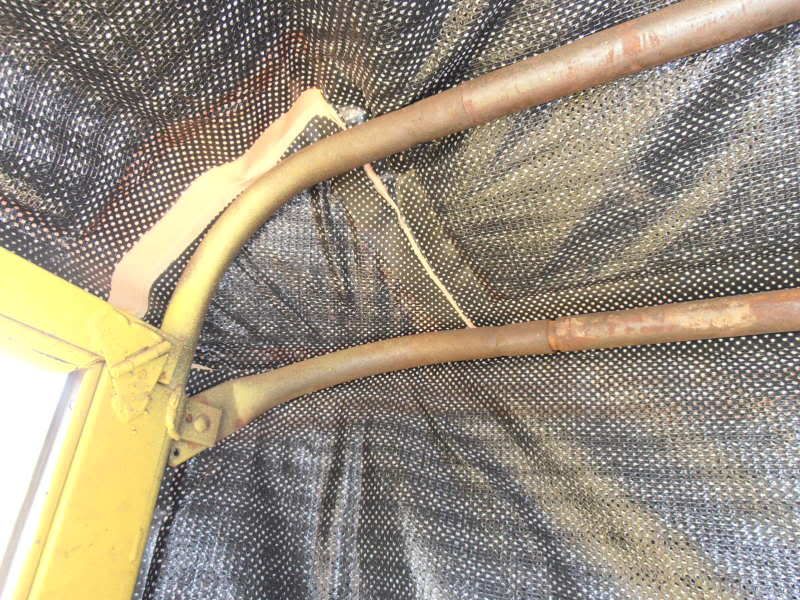 here is the main hoop with the three bows and the tension bar  the three bows slot into the windsheild frame. 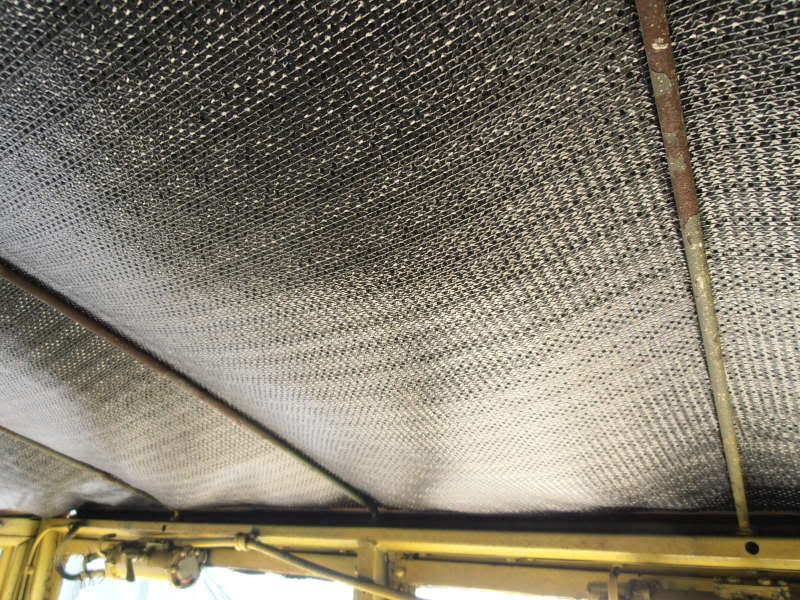 the windshield frame and the B-pillars have C shaped channels that bead welts slide into when installing the top. installation is : set up the frame with the tension bar against the main hoop. slide the front bead into the windshield frame C. slide the B-pillar beads into the B-pillar C's. draw up the top tension with the tension bar, then lash the rear of the top to the cab hooks. 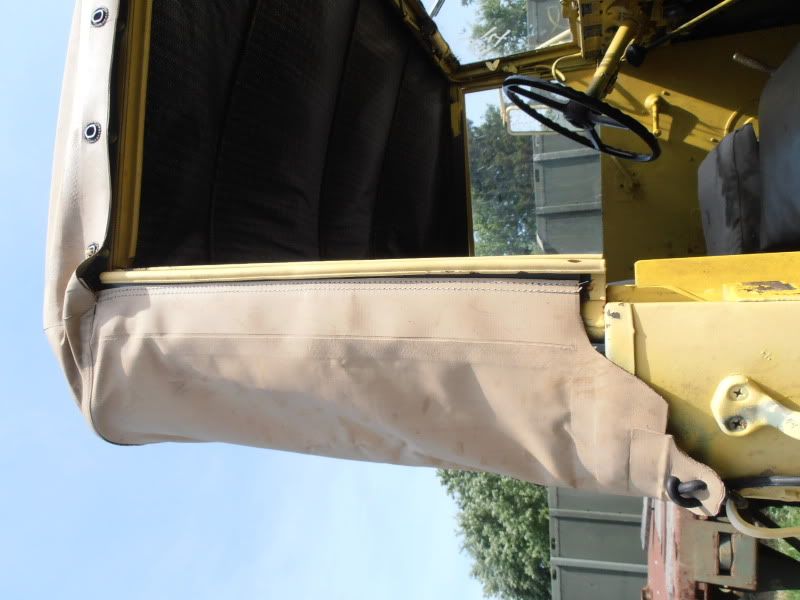 |
|
| |
|
| Thread Tools | |
| Display Modes | |
| |


 Linear Mode


