| |
| |||||||
 |
| | LinkBack | Thread Tools | Display Modes |
 10-14-2009, 08:47 AM
| #1 |
| I wanna be Dave  Join Date: Dec 2005 Location: Tax Nation
Posts: 2,289
|
The idea behind the project is a true "rat rod". Its going to be built from stuff I have laying around or can get free... other peoples junk basically. Body: Axial Rat rod (hope to be the only new piece) rear tires: TLT or WK (TLT shown for now) front tires: airplane chassis: home brew aluminum rear axle: see below Motor: ??? Trans: Have to see what I have so here is what I started with... a set of TLT tires, a Maxx diff, some maxx outdrives and axles connectors, and some 12mm hexes that actually fit the Maxx axles (no clue where I got them) I stuck the outdrives straight to the couplers:  Mounted them to the diff 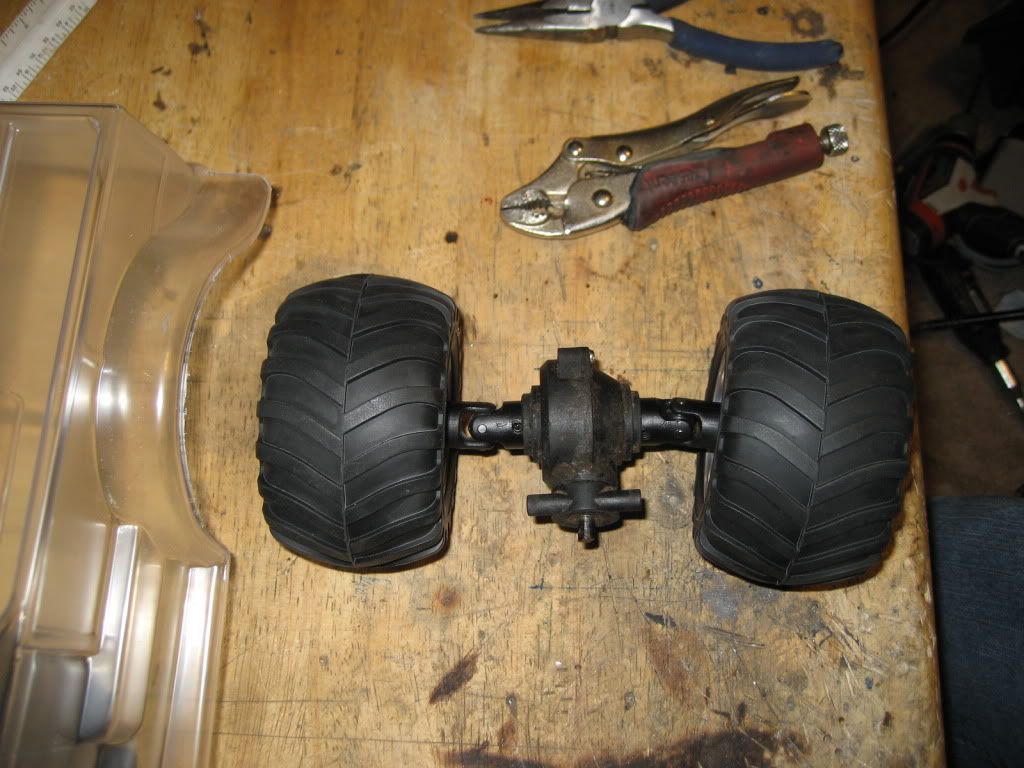 Then under the truck 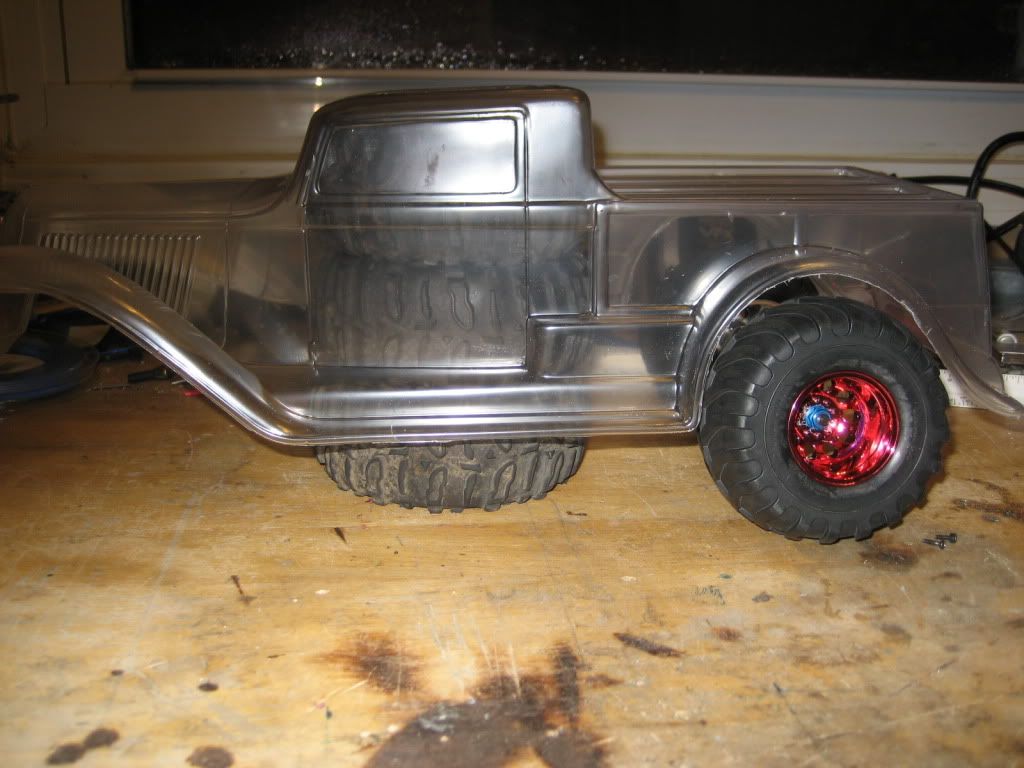 Whats not shown is that they are the perfect width. Now I am working on how to make it solid. Last edited by jetboat; 10-14-2009 at 08:55 AM. |

|  |
| Sponsored Links | |
| | |
|
10-14-2009, 10:34 AM
| #2 |
| RCC Addict Join Date: Jan 2008 Location: Lake Michigan
Posts: 1,898
|
Curious to watch how you make it solid. Only thing I can think of is to turn down the outmost part of the stub axle yoke and fit a bearing over it. Would one bearing surface be enough? What about using only the inboard yoke half on the dif. Then a piece of steel rod (local hardware style, so stiff yet can have a die run on it), the diameter of teh Max stub axle, run right in the center of the yoke for alignment (in the dif axle hole), pined through a hole and the holes in the yoke with a rolled pin. Then outboard, you run a die on the last 3/8" with a drive pin hole. It would give you a larger surface to for bearings. |
|
| |
|
10-14-2009, 10:56 AM
| #3 |
| I wanna be Dave Join Date: Dec 2005 Location: Tax Nation
Posts: 2,289
|
I have worked out 4 ideas.... Simply slide a piece of aluminum over the u-joints... would lock it out but not much support extend a tube over the axle with a bearing support in the end and then welded to the bulkhead... would require a lathe that I don't have and a tig welder I don't have. Lower A-arm with upper adjustable tie rod and bearing support at the end... easiest to make but would require some form of suspension (most likely solid rod) Solid rod straight thru the maxx diff... haven't looked to see if its doable I think 1 bearing right at the hex would be plenty |
|
| |
|
10-14-2009, 01:53 PM
| #4 | |
| Quarry Creeper Join Date: Sep 2007 Location: New Zealand
Posts: 366
| Quote:
If you were to use this method could you not make a truss tied into the diff pumpkin ? even if you made it a two peice truss so that it joined in the middle somehow so then at least you could still remove the axles. Then you would also have somewhere to mount 4 links if you are going to go that route ? Just a thought | |
|
| |
|
10-14-2009, 02:06 PM
| #5 |
| Hateraide  Join Date: Dec 2008 Location: Mission BC
Posts: 1,538
|
looks like a great start ive been thinking about using some of my old tmaxx diffs and doing something similair cant wait to see more  |
|
| |
|
10-14-2009, 04:07 PM
| #6 |
| Pebble Pounder Join Date: Aug 2009 Location: Fort Collins
Posts: 112
|
Why would there only be 1 bearing? i would try to use some sort of carrier for the bearings (like maybe a drilled out car or truck one) and then lock the 2 sides together and to the diff housing, on both the top and bottom of the carriers.
|
|
| |
|
10-15-2009, 04:04 AM
| #7 |
| I wanna be Dave Join Date: Jun 2006 Location: Here
Posts: 2,320
| I took the stock Ring gear, drilled it out to 1/4 or 5/8th of an inch I think, groved the inside of the hole. took the rod filed the ends for my application and cut groves into it. I then brazed it together and basically made myself a spool for nearly no $. I'm sure you can so the same, just use longer rod. You'll just have one wide spool. You can also reinforce it then by sliding brake line over it to match the bearing size and so you can still slide them off if needed. BTW do you have another diff? |
|
| |
|
10-15-2009, 06:24 AM
| #8 |
| I wanna be Dave Join Date: Dec 2005 Location: Tax Nation
Posts: 2,289
|
I pulled the diff apart and it was FULL of the nastiest grease you can imagine. So I soaked all the parts in Goo-gone then rinsed in a bath of dish soap and water. I let all the parts dry and then coated everything with a liberal coating of Moo-Slick from Cowrc.com. Once all the parts were handle able I grabbed an axle I had from when I had a duratrax evader (yes its new in package but I have had it for 3 yrs). Its about a perfect fit. All I need to do is drill a hole in the center for the center pin and figure out a good way to keep it from moving back and forth. 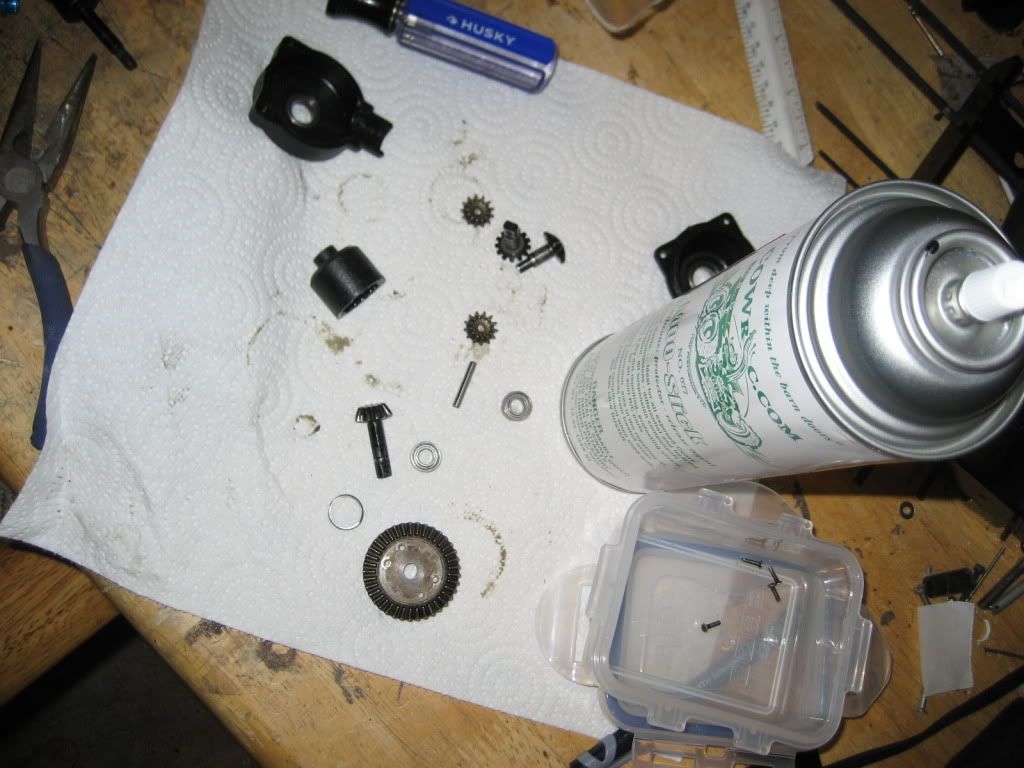 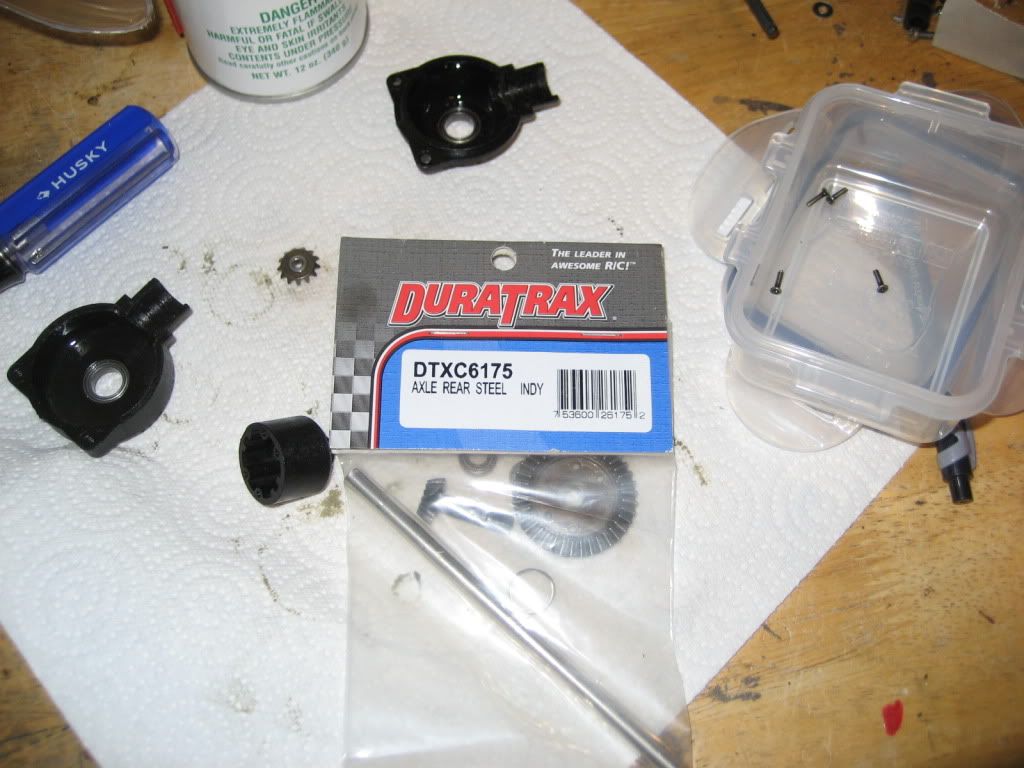 Im not certain if this is the method that I will go with but, its nice knowing it will work. |
|
| |
|
11-01-2009, 05:00 PM
| #9 |
| I wanna be Dave Join Date: Dec 2005 Location: Tax Nation
Posts: 2,289
|
Now that I hobby is over, I can get back to playing with projects. I drilled the 1/4" rod for the pin that was used in the maxx diff originally 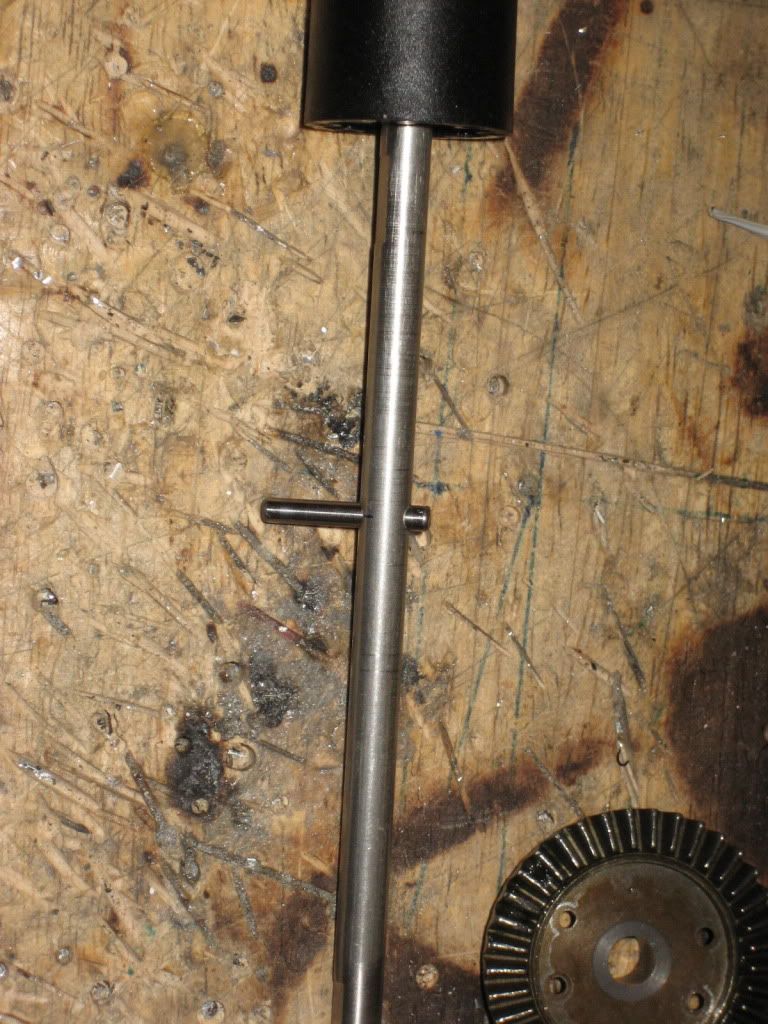 Then I drilled it for the hex pins 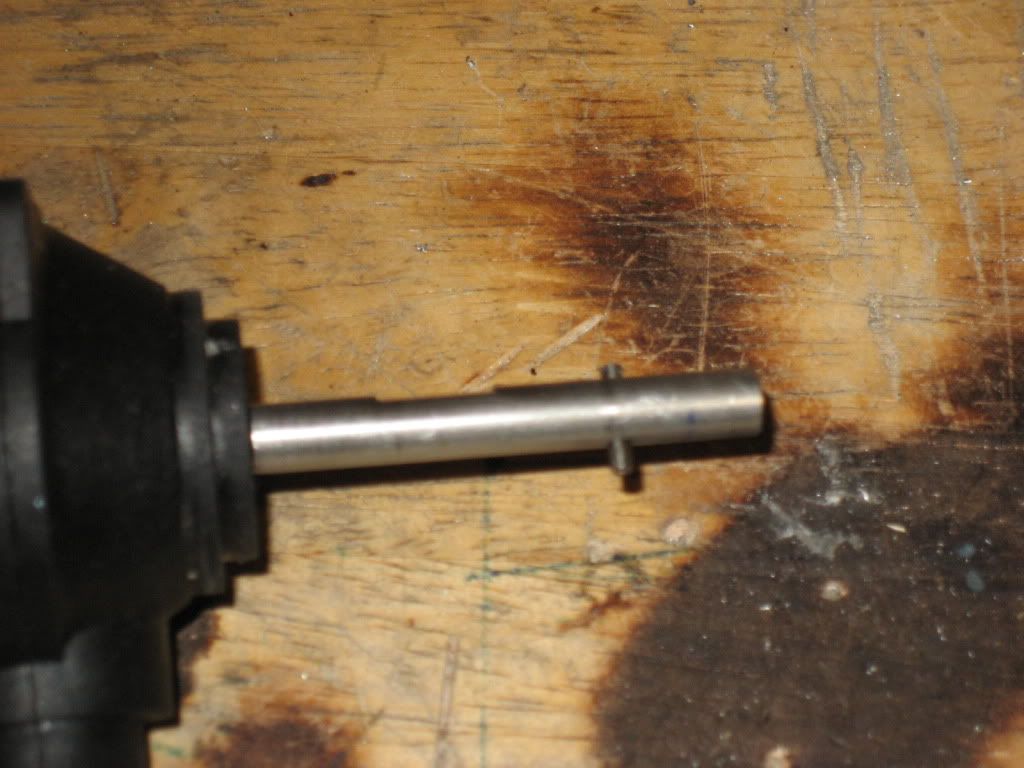 here it is mocked up, the wheels are just held on by gravity at this point. Im debating between using cable stops with set screws (easy method) and machining down and threading the rod (harder better method) 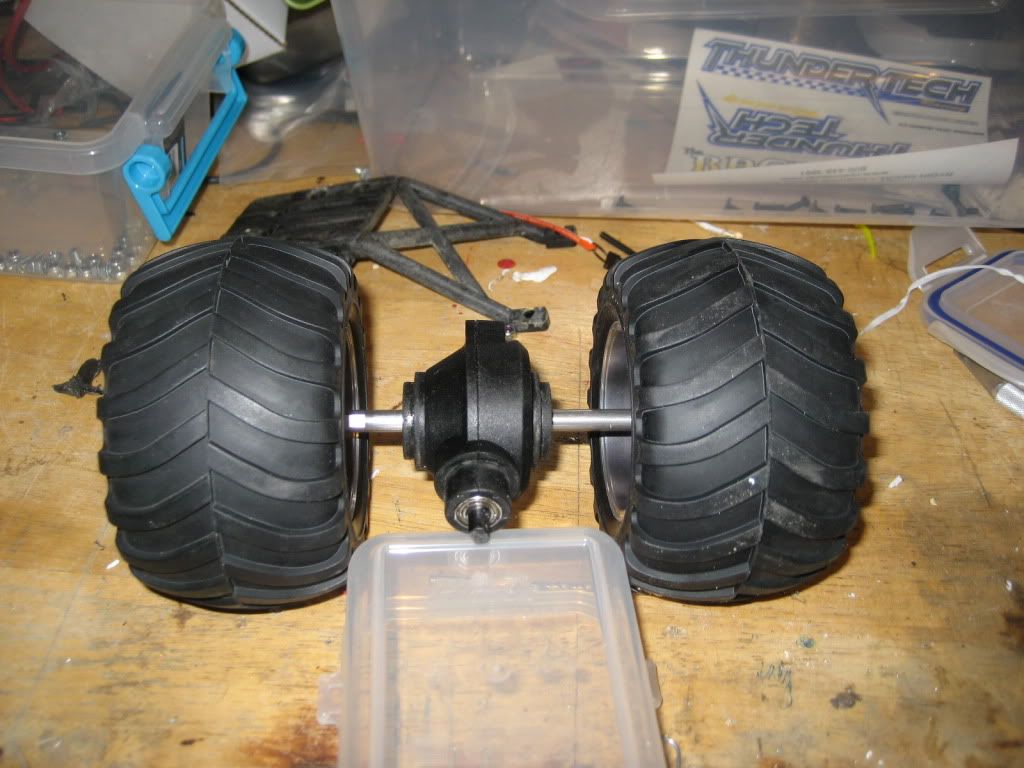 |
|
| |
|
11-03-2009, 06:35 PM
| #10 |
| Quarry Creeper Join Date: Jan 2008 Location: Antioch
Posts: 230
|
good to see those tlt wheels and tires are being put to use
|
|
| |
|
11-06-2009, 05:52 PM
| #11 |
| I wanna be Dave Join Date: Dec 2005 Location: Tax Nation
Posts: 2,289
|
I "finished" the rear end and fabbed up part of the chassis 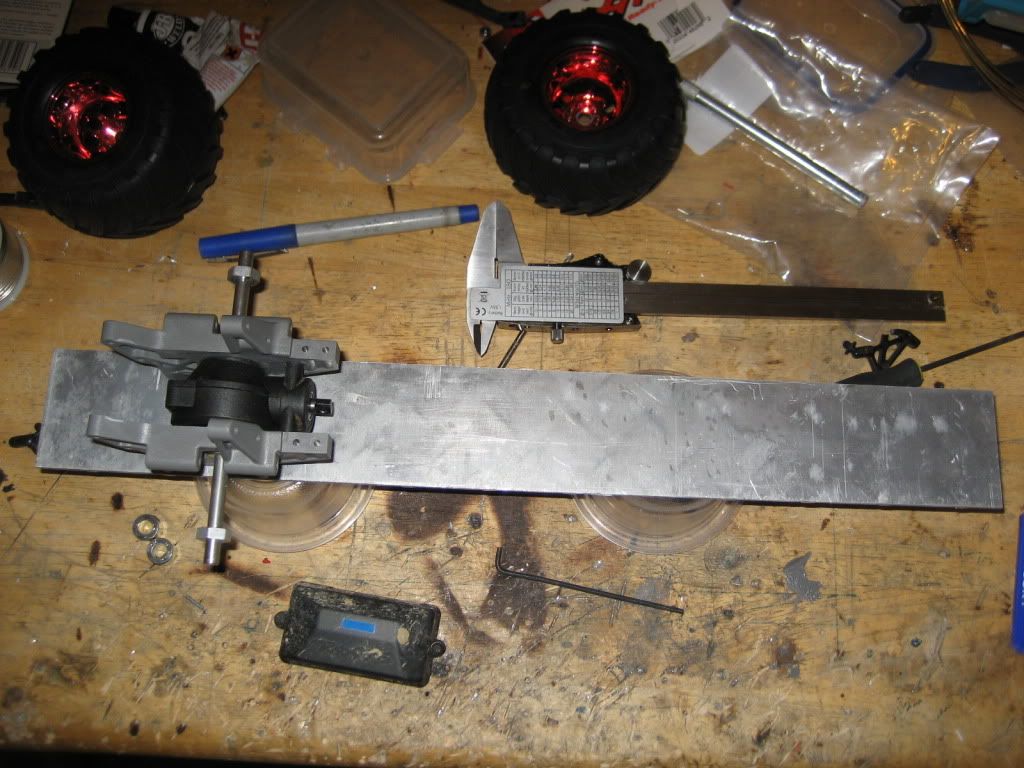 under the body  Here are the wheels I found for the front... they are larger than I wanted but look good. I have some chrome rear wheels to match. 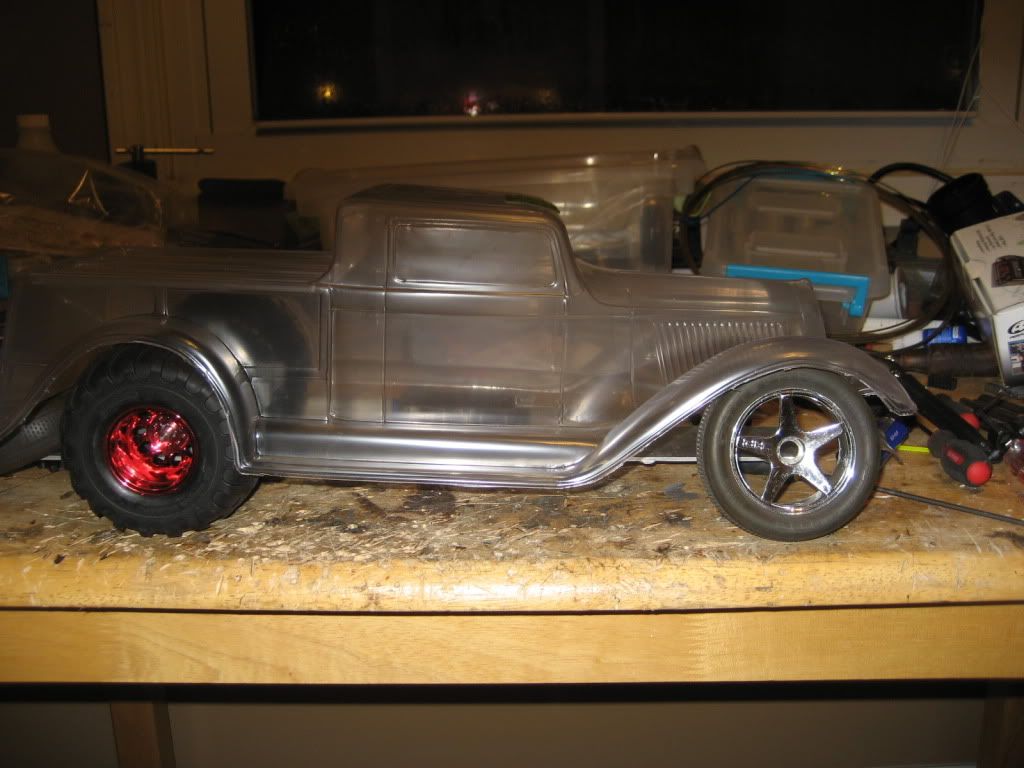 I did end up having to buy the maxx bulkheads. I could have made some but, it was far worth it to just buy the parts for no more than they were. |
|
| |
|
11-15-2009, 05:24 PM
| #12 |
| I wanna be Dave Join Date: Dec 2005 Location: Tax Nation
Posts: 2,289
|
I fabbed up a quick front axle. Nothing fancy, just a straight axle with some traxxas nitro rustler stubs. 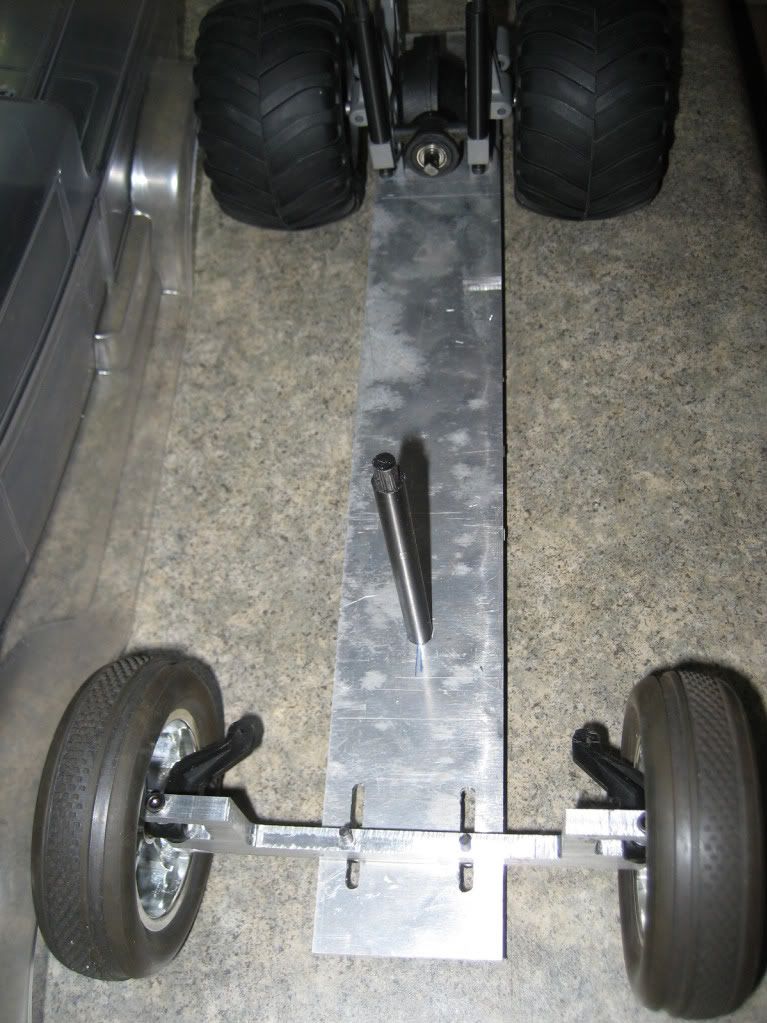 I need to raise the front end up just a little on the body. 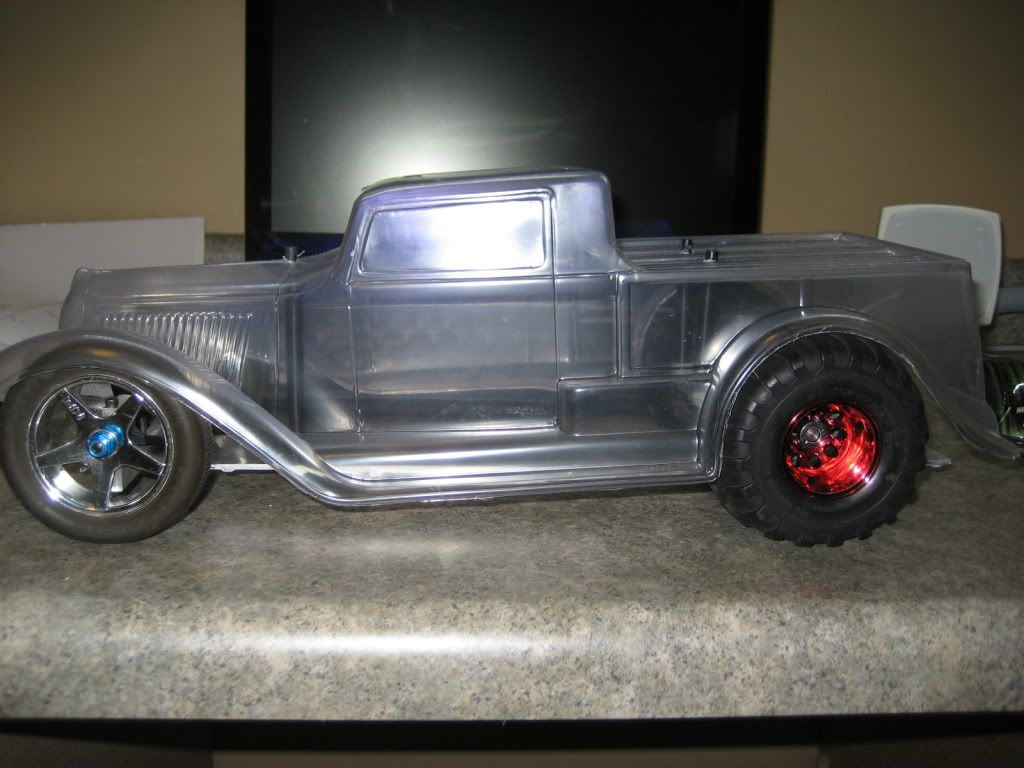 |
|
| |
|
11-15-2009, 07:33 PM
| #13 |
| Pebble Pounder Join Date: Nov 2008 Location: Reno NV
Posts: 100
|
looks great, I like the adjustable front end, how long did it take to make. |
|
| |
|
11-15-2009, 09:15 PM
| #14 |
| RCC Addict Join Date: Jan 2007 Location: caldwell,idaho
Posts: 1,309
|
looks really good ,i like the way you did the front that's the part i was having trouble with i kept breaking the front ,ended up using a complete losi front end.with really short shocks .
|
|
| |
|
11-16-2009, 05:57 AM
| #15 |
| I wanna be Dave Join Date: Dec 2005 Location: Tax Nation
Posts: 2,289
|
I think it took about 30mins to rough out the front axle. It needs to be cleaned up a little to look better and I want to machine a couple mm out of the knuckle area so I can add a couple washers.
|
|
| |
|
06-22-2010, 04:47 PM
| #16 |
| I joined the Band! Join Date: Apr 2007 Location: norfolk
Posts: 705
|
Any updates, That Bad ASS
|
|
| |
|
06-23-2010, 01:27 AM
| #17 |
| Pebble Pounder Join Date: Dec 2009 Location: salina,ks
Posts: 151
|
that is pretty whicked man would love to see more
|
|
| |
|
| |


 Linear Mode


