| |
| |||||||
 |
| | LinkBack | Thread Tools | Display Modes |
 12-18-2020, 07:15 AM
| #1 |
| I wanna be Dave Join Date: Sep 2011 Location: Douglassville, PA
Posts: 4,224
|
Had to have one... I have a thing for the Avante line. I remember staring at them in the catalog and in magazine ads (well thumbed paper catalogs and magazines, no digital back then) and just in awe of the design. There was nothing like it back then, and I'd argue there still isn't. I couldn't afford it - couldn't even afford to think about affording it - but I could look at it and dream... When it was re-released in 2011, I had to have one. Ordered and put it on the shelf, saving it for a special day when I could sit down, block out the world, and thoroughly enjoy the build. It's now been years, and I still haven't cracked it open. Not sure why honestly, I've had plenty of opportunities to build it up, but just haven't done it. Now it's been on the shelf for so long, it's kind of a fixture in the shop....the longer it goes, the more I hesitate the open it. Enter the VQS... the Avante's lighter, simpler brother. Same driveline, same basic suspension design, and none of the nostalgic hang-ups preventing me from building it. I have zero qualms about building and tinkering this one. Fraternal twins... 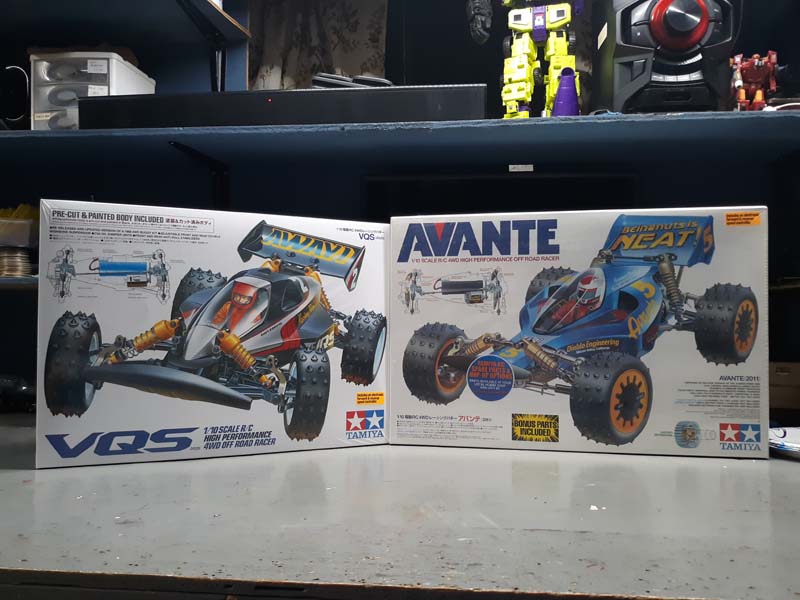 And Cousin Eddie. 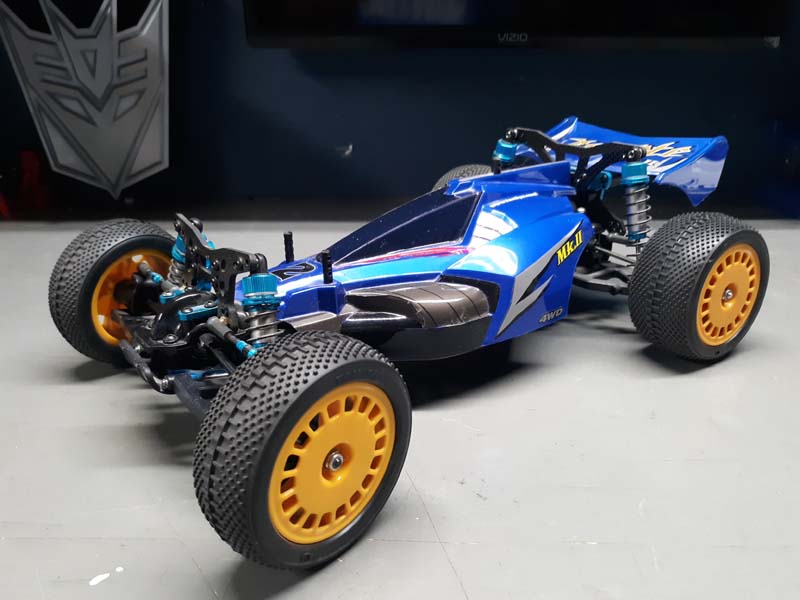 Opening the box...no blister packs, but there's always that Tamiya new kit smell.  Two box wrenches! Not sure if that's a screw up or intentional, but now I'm up to about 120 of these things floating around. I've got a box full here somewhere.  Digging right into the build. Interesting that the B parts tree has a unique textured finish to it. Very different from the usual ABS gloss of the other parts. Hard to capture on camera, but it's noticeably different.  Possibly the smallest 1/10 gear diff I've ever built. I thought the King Cab ball diff was tiny, I think this is even smaller. For a second, I debated tearing the diff out of the King Cab to compare, but only for a second. I get easily distracted.  Tamiya sometimes does odd things. The bearings on the diff outputs are enormous compared to the usual 5x11's, but the counter gear rides on teeny 5x8 bushings... Weird. Granted it's quite an old design. I replaced the bushings with bearings of course.  On a side note, when I was 15 and building my first kit, I asked Dad if I could use some of his grease I found in the garage. He recommended the Penzoil 705 tub, and I ran with it. I've been using this same tub now for nearly 30 years! I have no clue how old the grease is, but I know dad used it on his '65 Thunderbird so most likely it's older than I am. Works fantastic, my OG TA02T used this grease, and the gears still look great after years and years of running. I'll probably hand this stuff down to my kids.  And that's as far as I got. Not as far as I would like, but dad bedtime duties called. Next up is the center ball diff... Between "home schooling" and the holidays, build time is super limited right now...not to mention I'm building this the old fashioned way - no power drivers, dremels, or anything. Just a set of hand tools, an X-acto and some sandpaper - the way any vintage kit should be built.  |

|  |
| Sponsored Links | |
| | |
|
12-21-2020, 07:21 AM
| #2 |
| I wanna be Dave Join Date: Sep 2011 Location: Douglassville, PA
Posts: 4,224
|
Had some blessed free time this weekend and made a lot of progress on the Vanquish..Sorry, VQS! The rear gearbox taking shape... The counter gear rides on 3x8 plastic bushings.. For the price of this kit, plastic bushings are a flippin insult. I know it's a common theme with Tamiya kits, but if most of the driveline includes bearings, why skip these two? Ridiculous. I looked in my spares for a pair, and I actually had some though they were flanged, so no go. I placed an order for some replacements which should be here by summer at this rate. I'll install these grudgingly until the replacements arrive.  Completed rear gearbox.. Usually ball diffs give me hives....these old eyes, fat fingers and tiny diff balls are not a good combo, but this one went together fairly easily and is super smooth. 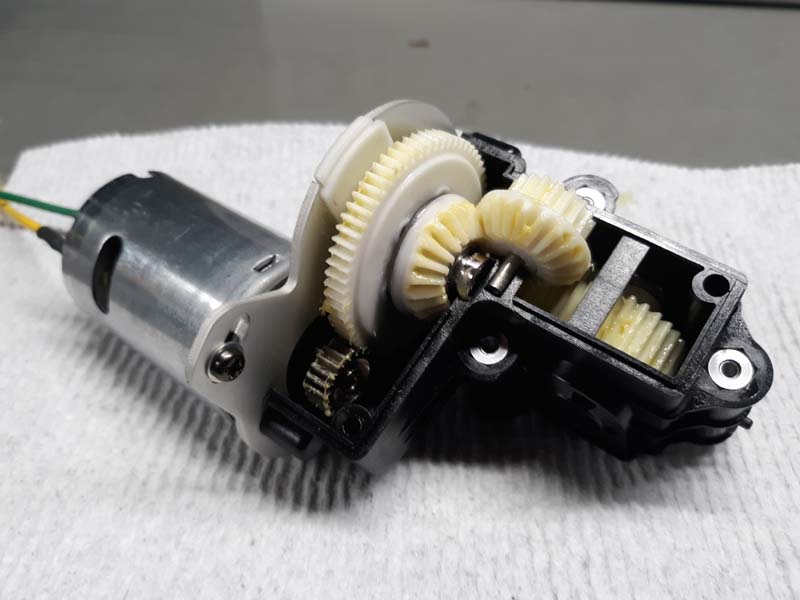 And mounted into the chassis. Starting to take shape! I always test out my drivelines with 3v to break them in a bit and make sure there are no issues before running...this gearbox is quite loud by Tamiya standards. I'm sure it'll settle down after a run or two.  Huh... molded parts included to help snap the balls into the suspension arms. Very clever! Definitely made life easier.  And found the reason for the 2 box wrenches, though I only needed one for this step - the locknut gripped onto the aluminum pretty well and cinched right up. But good to know! Here I thought I caught a rare mistake in a Tamiya kit....but no, not so much. 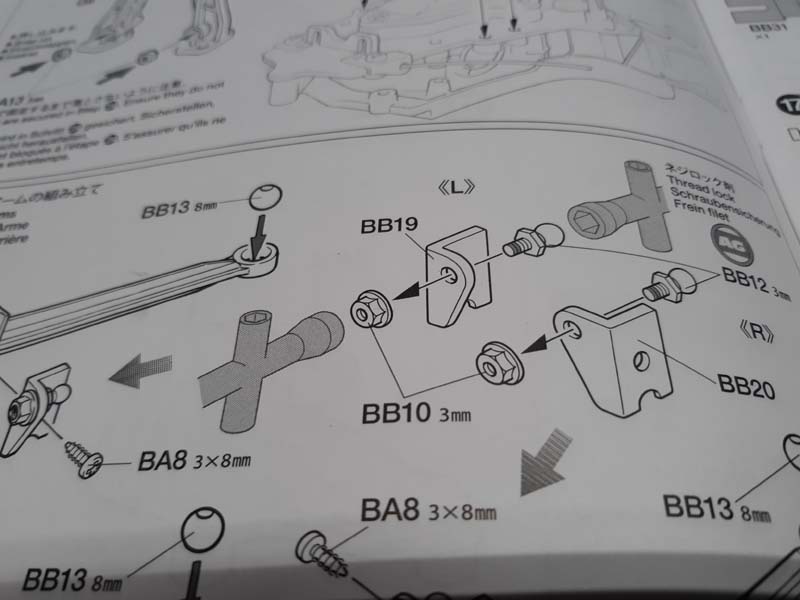 Yellow CVA's! Holy cow, I haven't built a new set of these in ages. Still great shocks - easily assembled and decently smooth. These shocks seem to last forever, some of my vintage kits are still running the originals and though the yellow is quite stained after years of grass, mud, and other debris getting tossed onto them, they are still leak free and smooth as the day I built them. 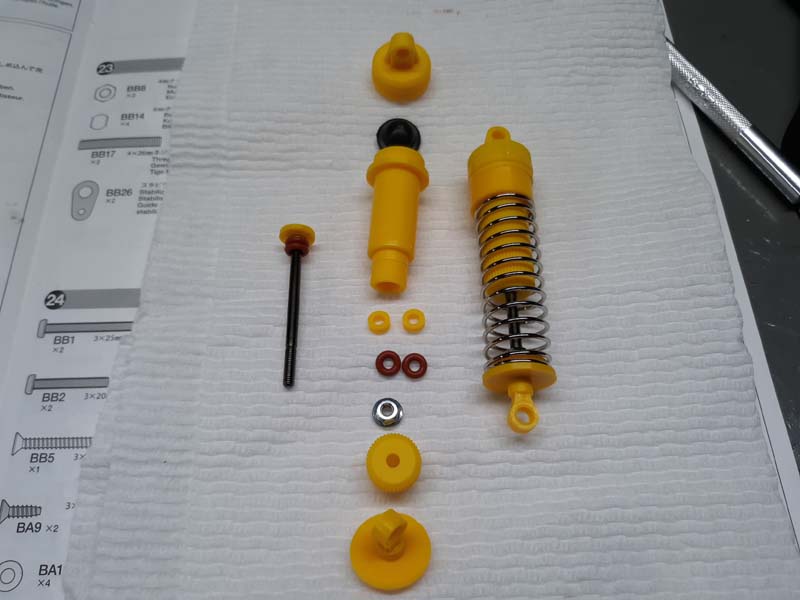 Suspension arms, bumper and shocks added. The suspension design is just so cool. I compressed the shocks a few times and giggled to myself..... a possible sign of impending lunacy maybe. 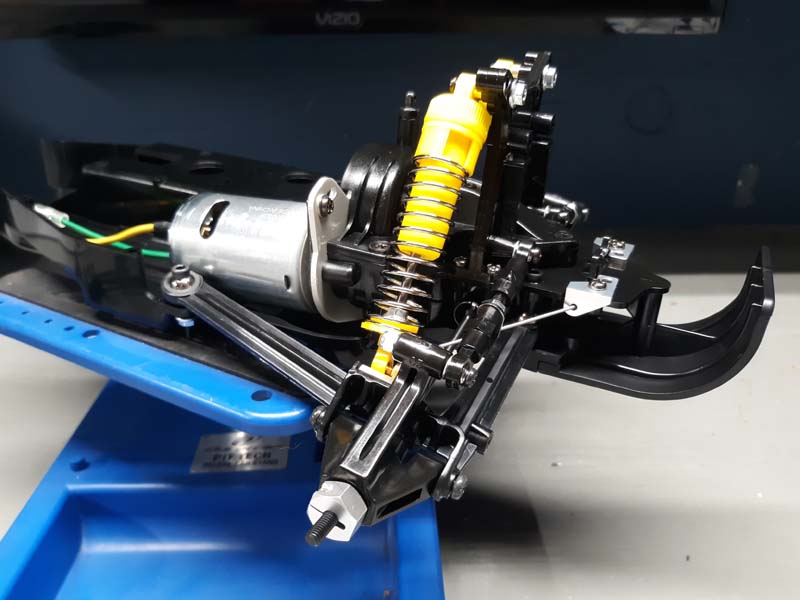 |
|
| |
|
01-06-2021, 08:05 AM
| #3 |
| I wanna be Dave Join Date: Sep 2011 Location: Douglassville, PA
Posts: 4,224
|
Moving on, I fell behind on the pics and updates over the holidays, but managed to finish up the VQS inbetween baking, wrapping, and all the Xmas madness... Such a darn cool buggy! What's this? Tire foams? In a Tamiya Buggy? Not sure the tire need it per-se as they are pretty stiff, but I installed them anyway. Interesting that even though the wheels and tires are staggered, the foams are the same size. 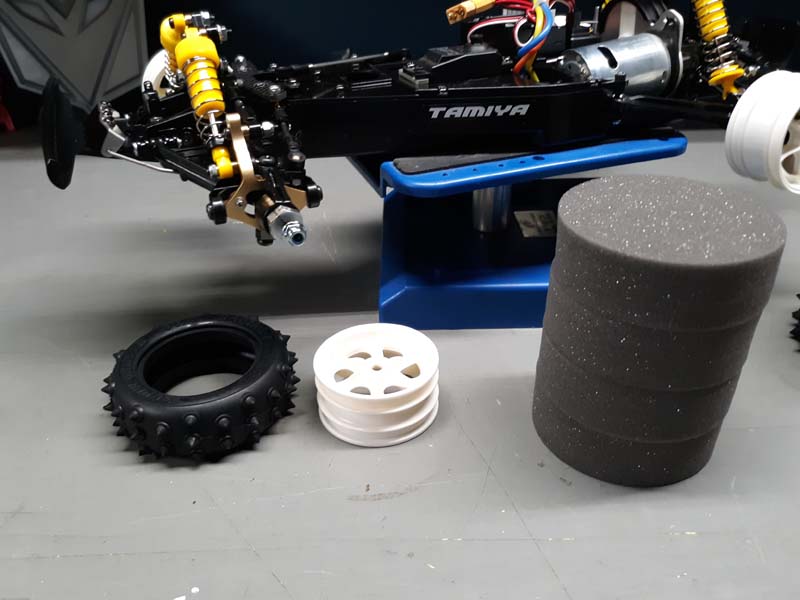 Speaking of, these are still a mother to install. My hands were definitely feeling it when done...they are quite stiff and spiky! Absolutely love the wheel and tire combo, one of my favorite things about the buggy. I looked up a spare set on Ebay and was stunned at the prices. Clearly, I'll be taking care of these - in fact, they'll most likely never see the outdoors.  Electronics sorted out...stuck with the included ESC and motor - plenty of power for a few easy runs in the driveway which is about all the action this one will see. I tucked in the wiring mostly under the chassis - I do move electronics around from time to time and hate to cut the wires to fit a specific build.  Body was already painted of course... I'd rather it had been clear as I would have preferred to spray on the stripes, but it is what it is. Went easy on the decals for a cleaner look and held off on installing the driver for now. LOVE how this came out, it's such a cool buggy!!  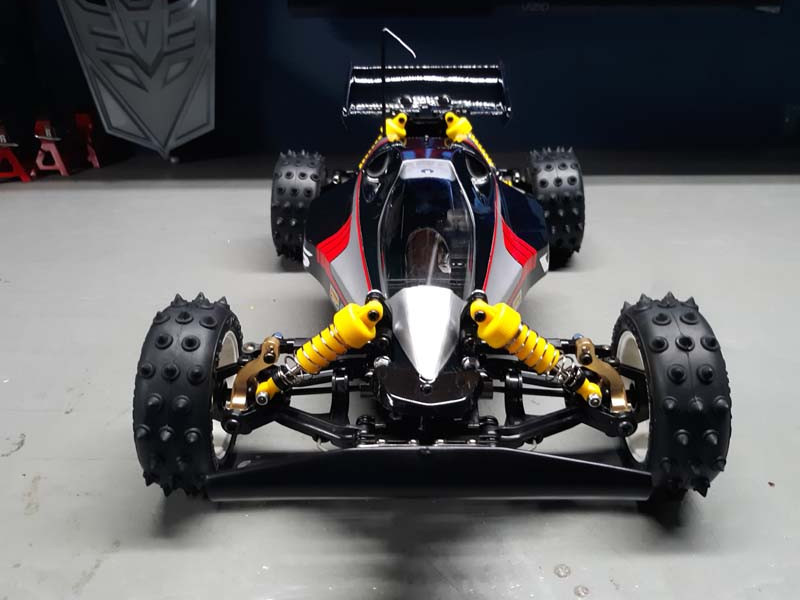   I put it on display for now. Once the post office catches up a bit, I'll order another set of wheels for running and take it for a spin. |
|
| |
|
 OS Goes Vintage - VQS Build - Similar Threads
 | ||||
| Thread | Thread Starter | Forum | Replies | Last Post |
| Vintage Losi rally weapon build | oldpunk | Rally | 8 | 04-29-2016 06:47 PM |
| Thread Tools | |
| Display Modes | |
| |


 Linear Mode


