| |||||||
Loading
 |
| | LinkBack | Thread Tools | Display Modes |
| |||||||
 |
| | LinkBack | Thread Tools | Display Modes |
| | #1 |
| I wanna be Dave Join Date: Jul 2010 Location: Toronto
Posts: 2,389
|
Without going into specifics in the painting process (as you should buy the guide), I wanted to document my experiences with these model heads. The detail is extremely impressive, right down to pores on the faces. Being solid resin, there is a lot of weight to them. They can be ordered to have a screw mounted in either the bottom for adding a body, or through the top for mounting to the top of a cage. IIRC correctly, this guy's name is Albert. 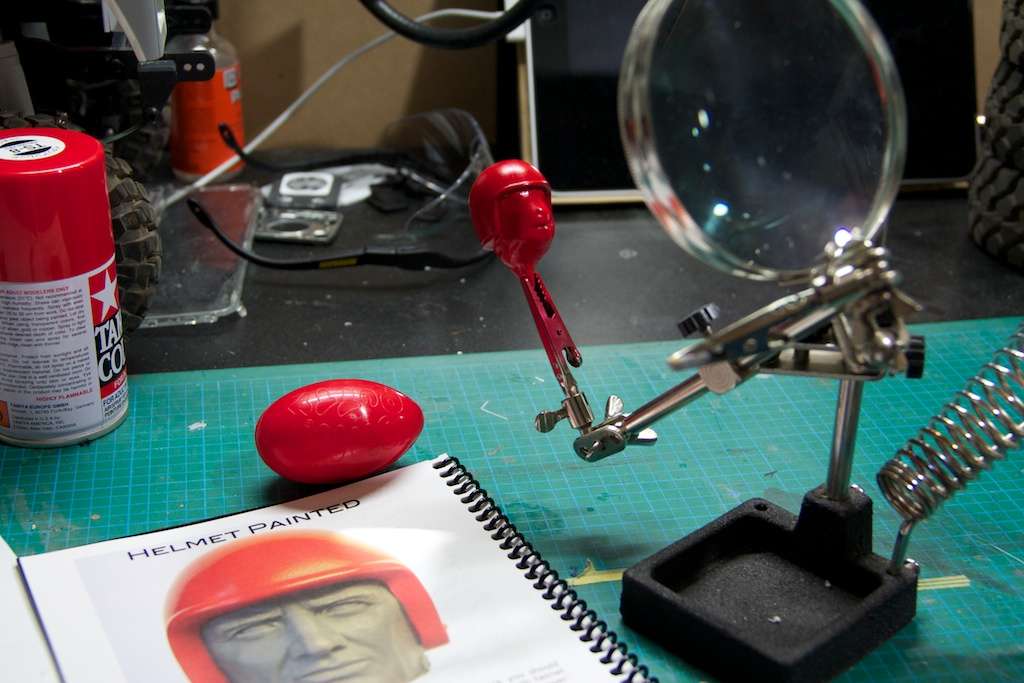 This is step one, painting the helmet. I used Tamiya Spray (Italian Red) to get a even, brushless coat of paint. You'll notice a trick that I picked up from Scale Auto Model Magazine, which suggests using Silly Putty to mask off difficult contours. What a brilliant idea. The putty manages to get into the nooks and crannies and will peel right off. Unlike masking tape which tends to bleed through, this is a great alternative. In the above picture I've applied six light coats to get the coverage and colour that I wanted. Because these heads are molded in grey resin, there's no need to prime. Stay tuned for step two!  Oh hai! |
| |  |
| Sponsored Links | |
| | #2 |
| I wanna be Dave Join Date: Jul 2010 Location: Toronto
Posts: 2,389
|
Step Two! Lay down a few very thin coats of flesh tones. I built up my flesh by using Tamiya colours: XF-2 Flat White XF-7 Flat Red XF-8 Lemon Yellow XF-15 Flat Flesh XF-83 Medium Sea Gray The real trick here is to thin your paint and apply light coats. Thin with water or thinner. I prefer water. 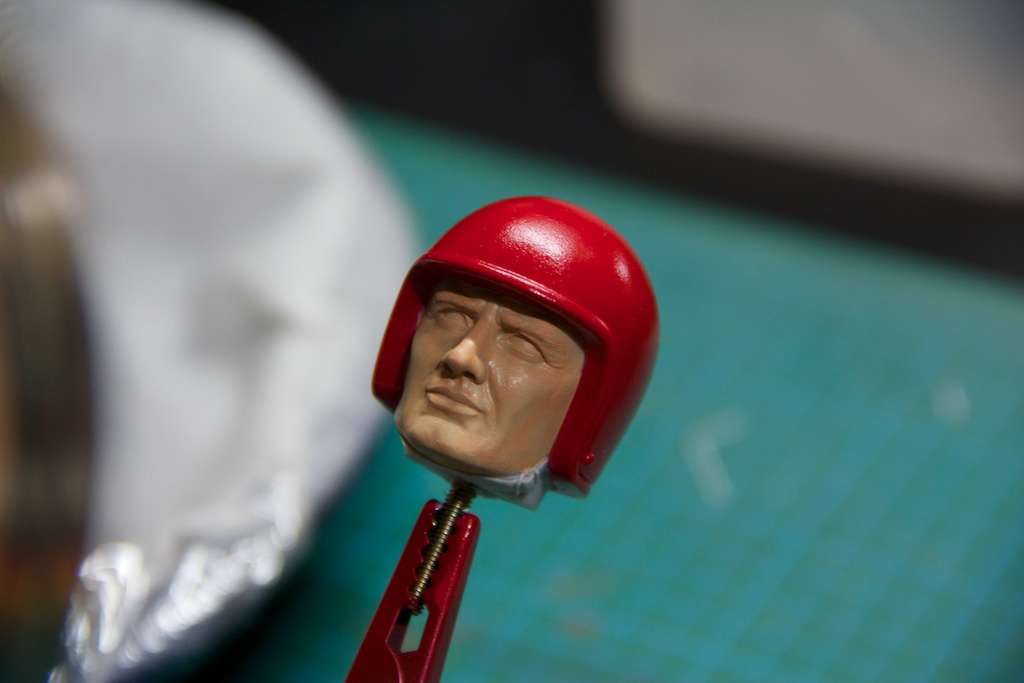 That's after one light coat. Here it is after three of four: 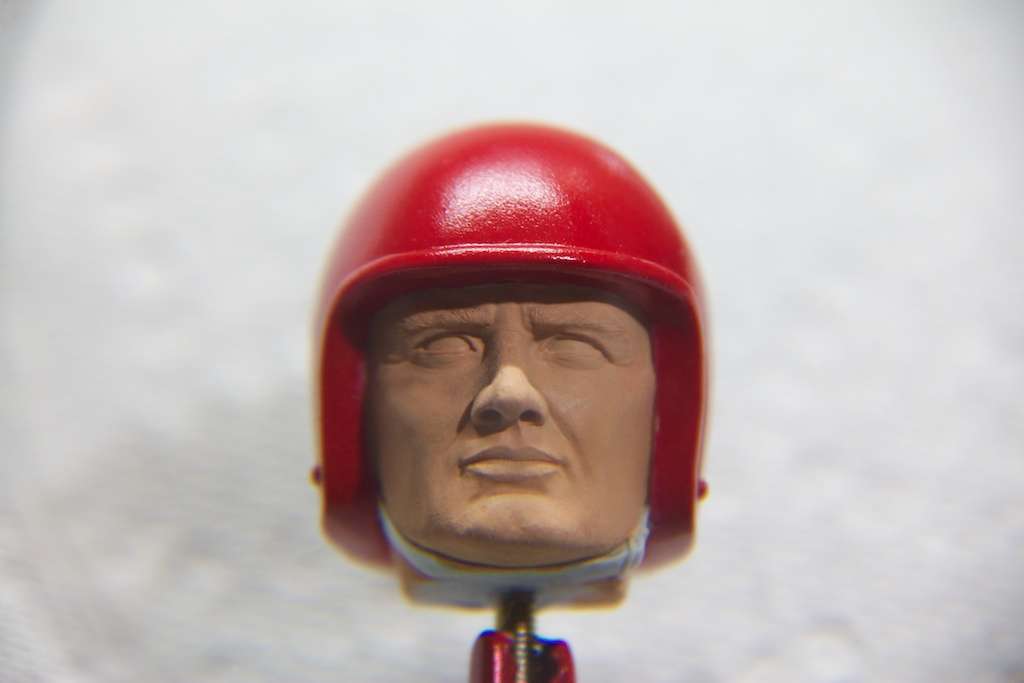 Looking pretty good so far! |
| |  |
| | #3 |
| No idea what I'm doing Join Date: Oct 2008 Location: Underground, CO
Posts: 4,529
|
Very cool....love the silly putty idea  Do you have a link to this guide? Do you have a link to this guide?
|
| |  |
| | #5 |
| I wanna be Dave Join Date: Jul 2010 Location: Toronto
Posts: 2,389
|
More progress. Worked through steps three, four and five. Step two involves laying down some flesh tone made previously, mixed with a tiny bit of blue to get some darker regions of shadow in the eyes, brow and cheekbones. 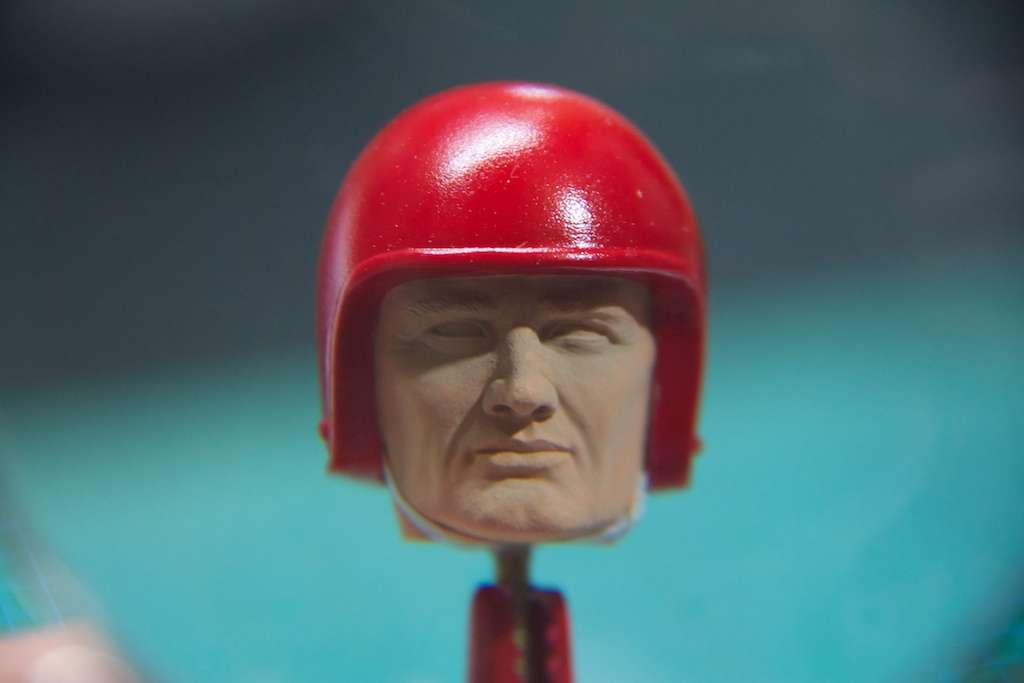 Once that's done, mix red with a little flesh and put some rose back into the cheeks and nose, as well as some in the chin. 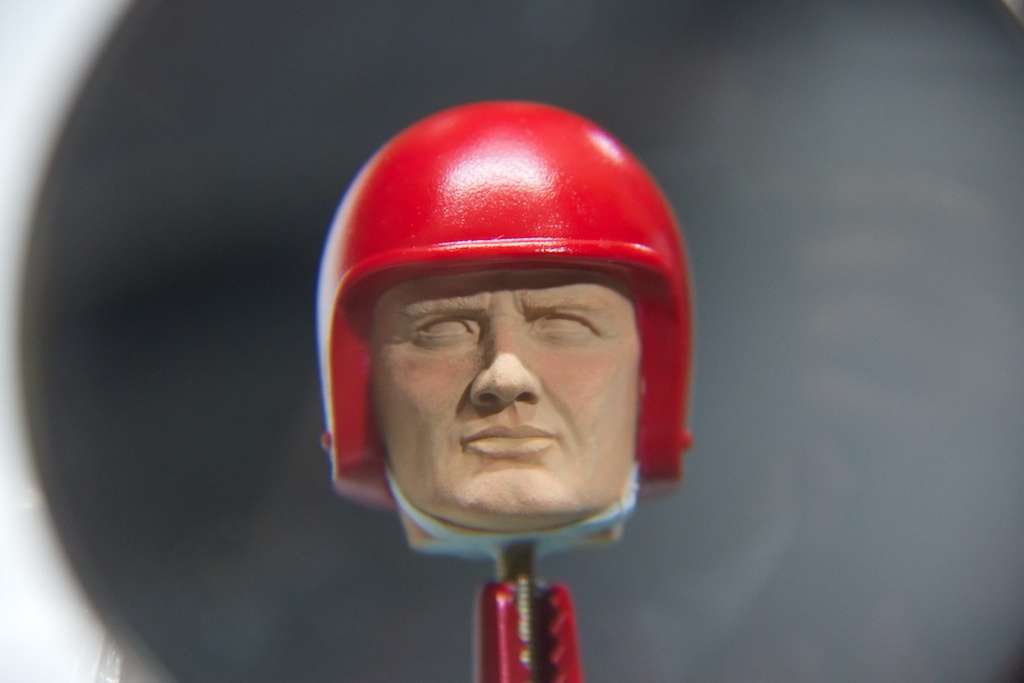 Step three is tarting up his lips. Right now it looks like he's out for a night on the town, but that will get toned down in step four. 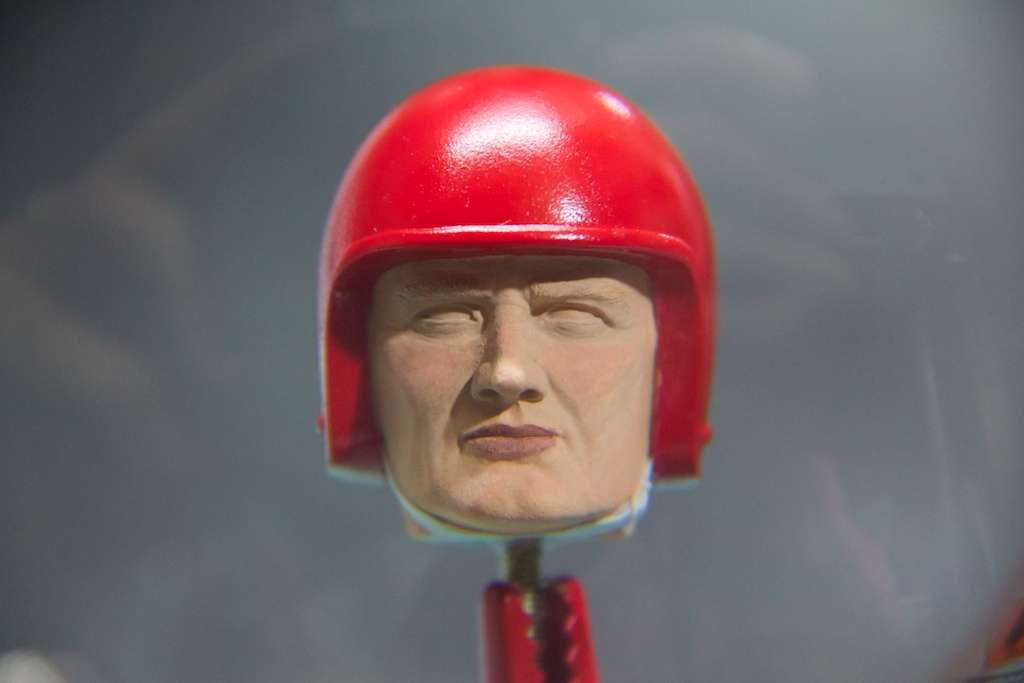 |
| |  |
| | #6 |
| Rock Stacker Join Date: Feb 2011 Location: Alberta, Canada
Posts: 73
|
Thats impressive! any idea on the the pricing?
|
| |  |
| | #7 |
| I wanna be Dave Join Date: Jul 2010 Location: Toronto
Posts: 2,389
| IIRC the heads are around 12 AUS dollars each. The guide came in around 20. Okay, here we go. After knocking back the lips I did the first shade of white in the eyes. Ghost eyes! The idea here is to dull back the white so it's not so bright. Eyes aren't totally white after all. Also added some yellow mixed with flesh around the eyes to add some depth and age. 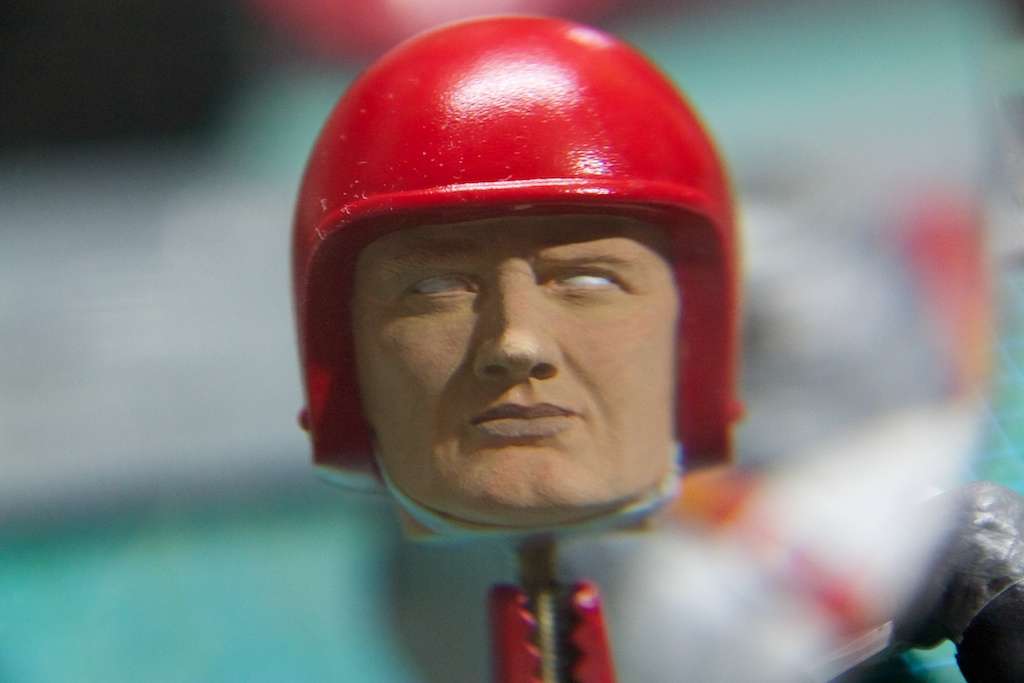 Next, reduce the amount of white around the edges, and paint some pinkish flesh into the corners of the eyes. Start adding in 5 o'clock shadow by mixing a black, blue and white mixture with a lot of water to get a nice even wash. Paint back over it as you see fit to get it looking correct. 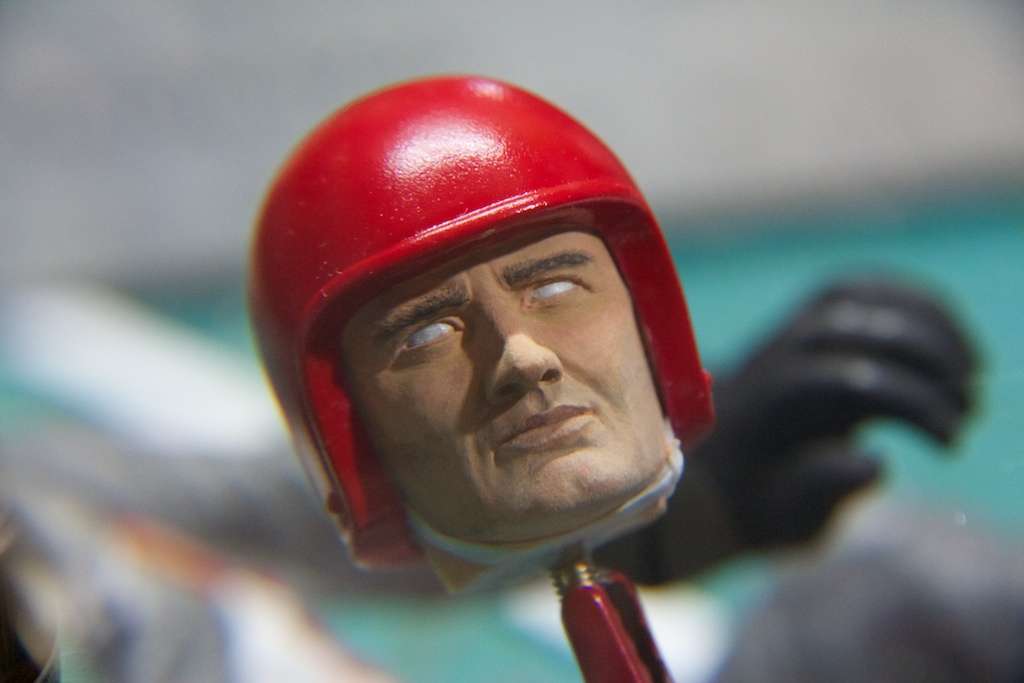 Start doing the iris of the eye. Go from dark to light. Add the pupils, and then a white dot to represent reflection. Cover everything in clear. 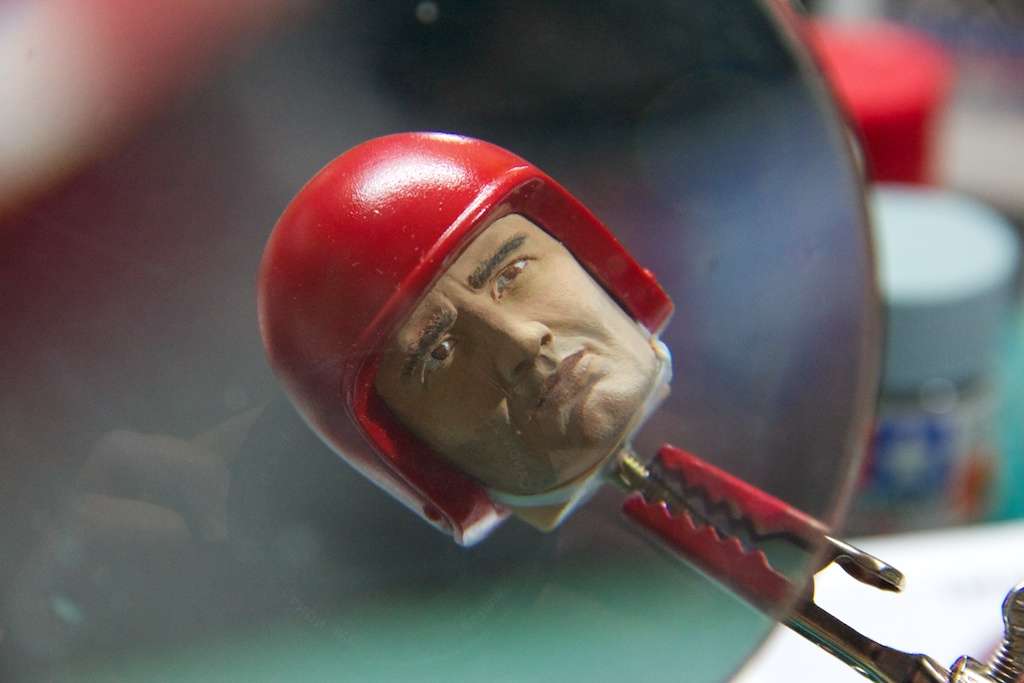 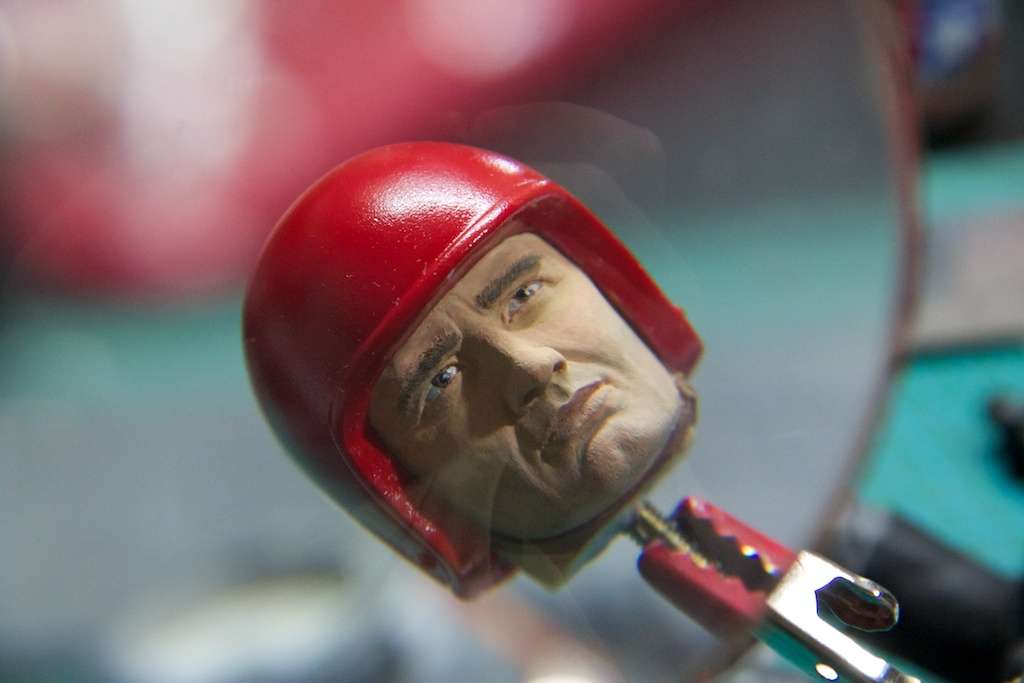 Finish off the details like the strap. 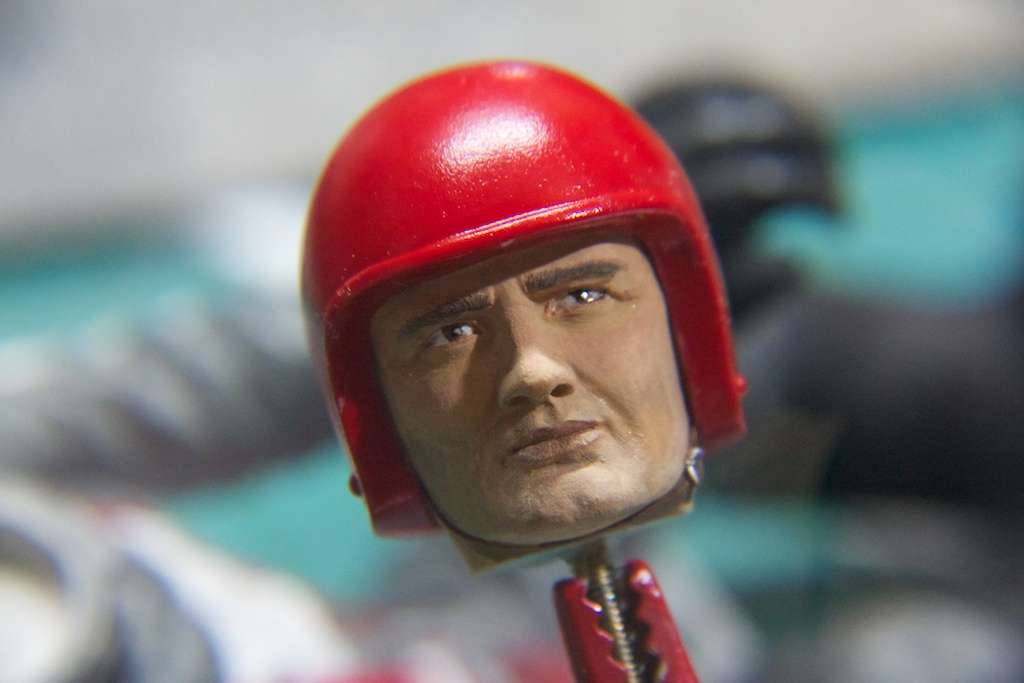 Put him in your truck and marvel in the awesomeness! 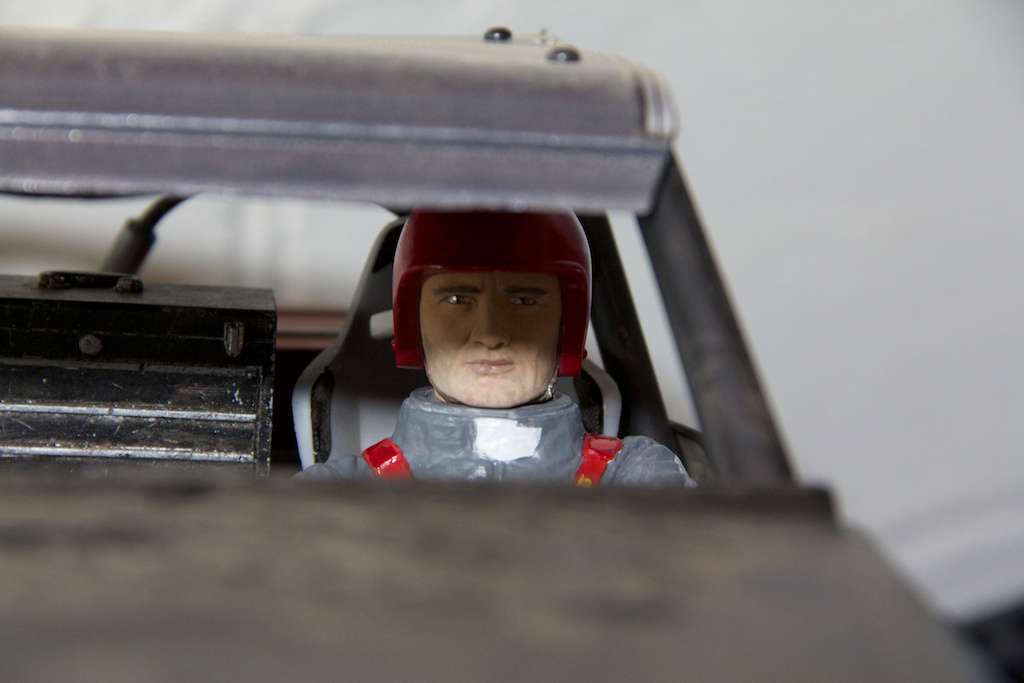 |
| |  |
| | #8 |
| Pebble Pounder Join Date: Aug 2008 Location: Living in Paradise
Posts: 193
|
Great write up on an awesome scale head and paint job ITG!  |
| |  |
| | #9 |
| Pebble Pounder Join Date: Apr 2011 Location: Cerritos
Posts: 99
|
wow that is nuts, great work!!
|
| |  |
| | #10 |
| RCC Addict Join Date: Mar 2009 Location: Across the street from Folsom Prison
Posts: 1,081
|
Turned out nice. Actually looked pretty good at post 2  |
| |  |
| | #11 |
| Newbie Join Date: Jun 2011 Location: Newfoundland, Canada
Posts: 36
|
I've never seen how its done step by step like that before, gotta say though it turned out really nice
|
| |  |
 |
| |