| |
| |||||||
 |
| | LinkBack | Thread Tools | Display Modes |
 09-23-2012, 10:56 PM
| #41 |
| Pebble Pounder Join Date: Jan 2012 Location: a box
Posts: 132
|
we think alike!!!! lol same brass stock!  |

|  |
| Sponsored Links | |
| | |
|
09-30-2012, 08:06 AM
| #42 |
| Rock Crawler Join Date: Apr 2012 Location: Chattanooga
Posts: 639
|
I guess just about everyone knows this but you can mount the rims backwards for a different look and a little more offset. 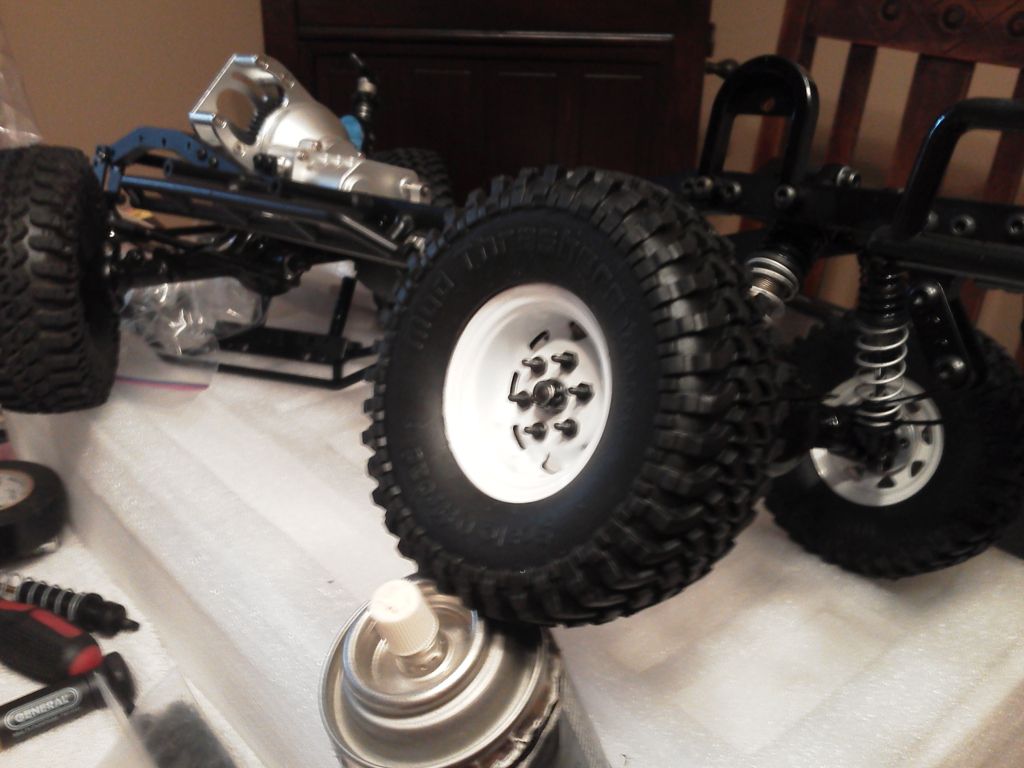 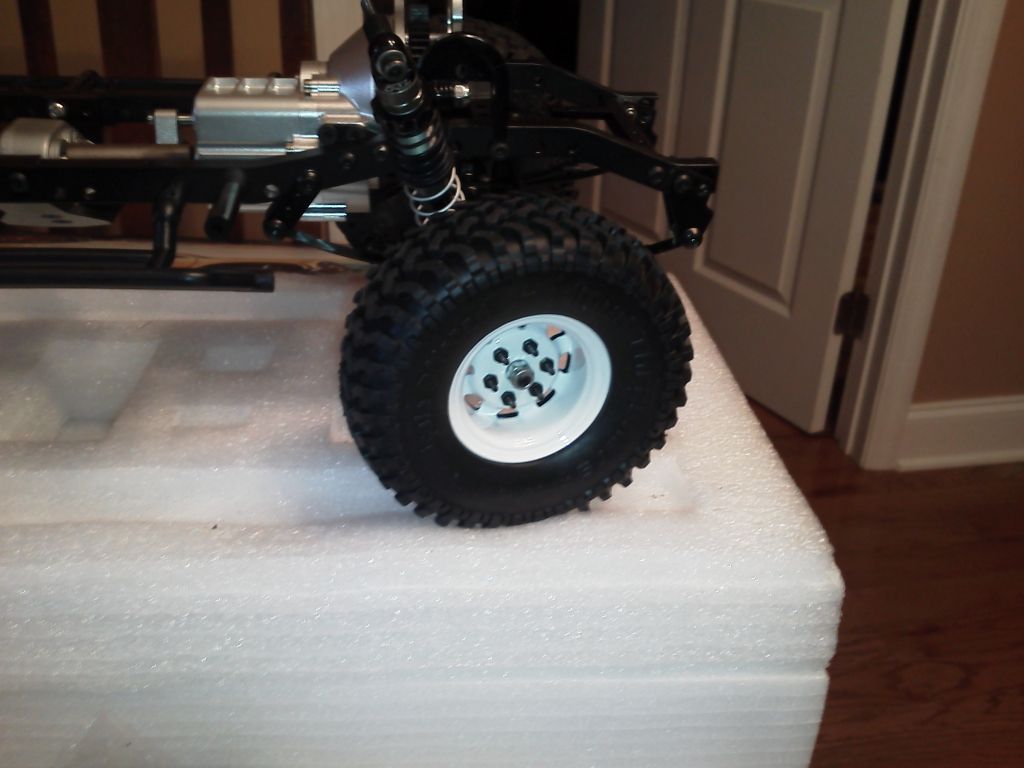 Last edited by Jeepfixer1; 09-30-2012 at 08:11 AM. |
|
| |
|
10-09-2012, 12:09 PM
| #43 |
| RCC Addict  Join Date: Jul 2008 Location: Fox Valley WI
Posts: 1,691
|
Here is my crudely-fashioned shift servo mount. After moving the radio/battery plate forward to clear the bed bottom for a 3 cell lipo, it was necessary to redo the servo and linkage. This was a test piece, so it will probaby get redone in aluminum.
|
|
| |
|
12-17-2012, 05:02 PM
| #44 |
| Rock Crawler Join Date: Apr 2012 Location: Chattanooga
Posts: 639
|
Well guys I thought I'd share a couple tips that worked out for me that I haven't seen elsewhere. First is cheap but better side protection. Better in the sense that Axial seems to have a tougher plastic. It works out using the same holes you just have to turn the two mounts to the outside. You will also have to cut some off the end as the frame on the TF 2 is wider than the scx. 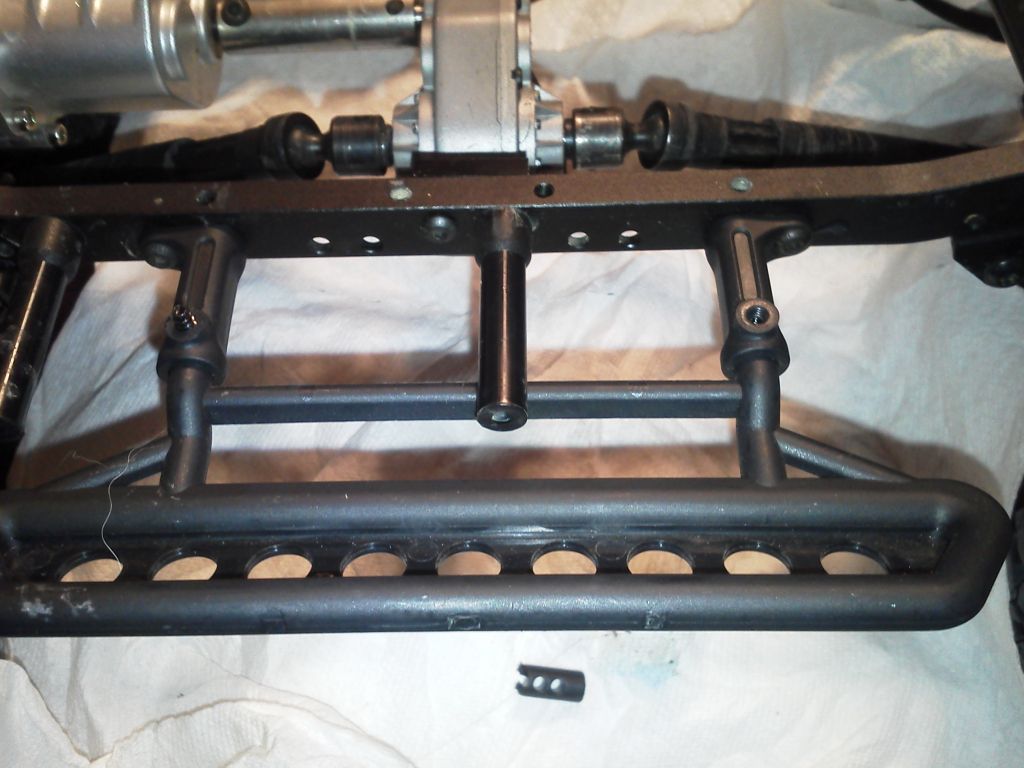 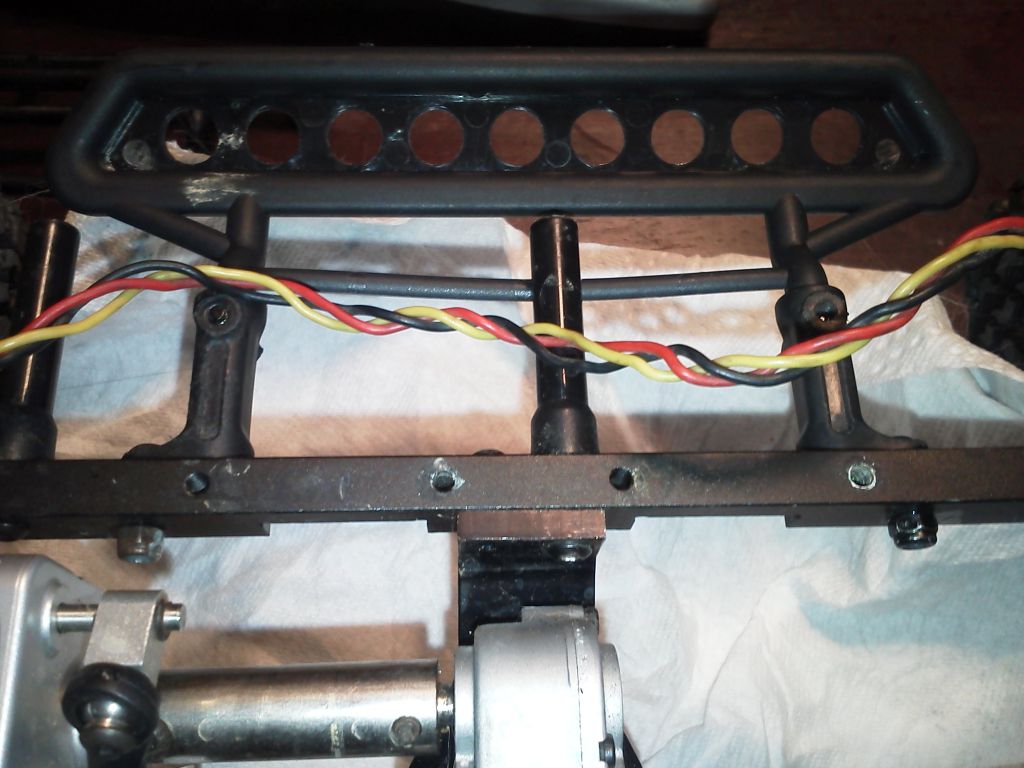 Here is the 2nd part which is a cheap way to install longer shocks on the front. I have used Axial SCX shock mounts. They bolt right up without having to drill any holes too. You will have to move the mounts back one set of screw holes. The rear screw is the one that also is for your trans mount. You will however need some 3x12 mm screws for the rear holes. I am using the scaler shocks that are 95 mm with the rod ends I have on. I have about 1/2 inch plus of shock shaft showing at ride height.  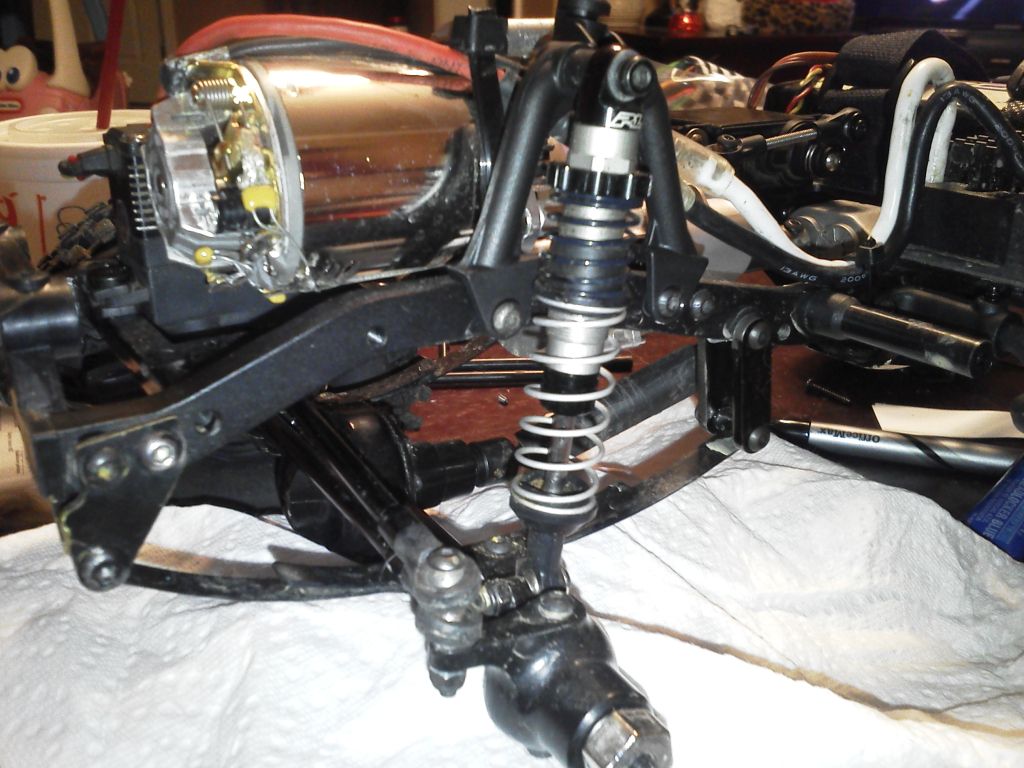 Let me know if you have any questions. I really like the nice side tubes that RC 4wd makes but I had these soo for now.... |
|
| |
|
12-19-2012, 11:01 PM
| #45 |
| RCC Addict Join Date: Nov 2008 Location: Central, WA
Posts: 1,176
|
Searched for this thread and figured it would be here. Didn't see it but it's definetly worthy of this thread. ***Overdrive Underdrive Project *** Last edited by ToyZuki; 12-19-2012 at 11:04 PM. |
|
| |
|
12-19-2012, 11:04 PM
| #46 | |
| Sinking with the ship   Join Date: Mar 2005 Location: El Capitan...sole survivor and sinking fast
Posts: 8,864
| Quote:
Having a lot of stickies clutters forum Thanks for adding it here  | |
|
| |
|
01-06-2013, 09:21 PM
| #47 |
| Newbie Join Date: Nov 2012 Location: balikpapan
Posts: 9
|
Why is there no instructions to set the slipper clutch in the manual? Being so cheap, i had to figure out to keep my plastic axle shaft has a longer life. So I set my slipper in 2nd gear, the fastest one, had slip when trying to climb steep angle. Kind of more scale to me, I had to switch to lower gear to be able to climb. Don't forget to put a locktite on slipper nut. |
|
| |
|
01-07-2013, 01:39 PM
| #48 |
| Pebble Pounder Join Date: Jan 2012 Location: a box
Posts: 132
|
i made some leaf spring compressors that hold the rear of the spring from seperating now when it gets into a tough spot the leafs hold much much better |
|
| |
|
01-29-2013, 07:42 PM
| #49 |
| Newbie Join Date: Jan 2013 Location: Baltimore
Posts: 45
|
I found that for the shift servo the small round servo horns from a Clodbuster B tree have the perfect amount of throw. If you have ever owned a Clod you probably have tons of these laying around. It sits low so it fits under the floor in my interior too. 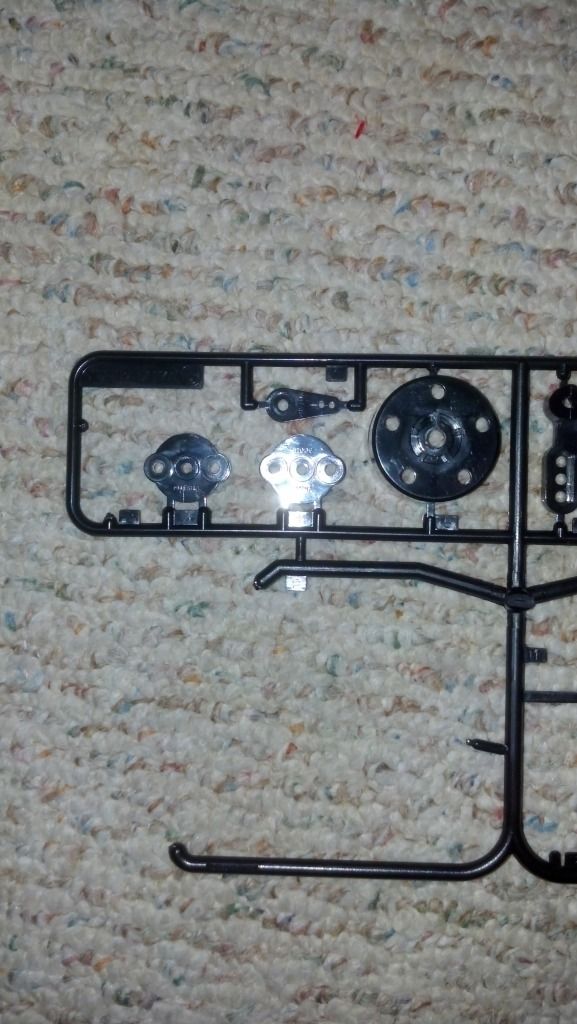 |
|
| |
|
02-19-2013, 03:17 PM
| #50 |
| Newbie Join Date: Feb 2013 Location: Kempsey
Posts: 48
|
The rear solid spring hanger is the perfect template to make plates off for the front spring hangers (when swapping the shackles from front to back). The holes line up perfect and just notch the inner 2 plates so that the front bar mount can still be used, the rear hangers can be left in place and add the shackles to the rear so you get alittle lift too. javascript:void(0); Last edited by Scales; 02-19-2013 at 06:23 PM. |
|
| |
|
02-26-2013, 10:31 AM
| #51 |
| Rock Crawler Join Date: Apr 2012 Location: Chattanooga
Posts: 639
|
Welp guys, I finally got my RCmodelex front arb bumper, woo hoo! Anyways I had to make some custom brackets to install this as its not made for the tf2 so I thought I'd take some pics and help others out. First the finished result. 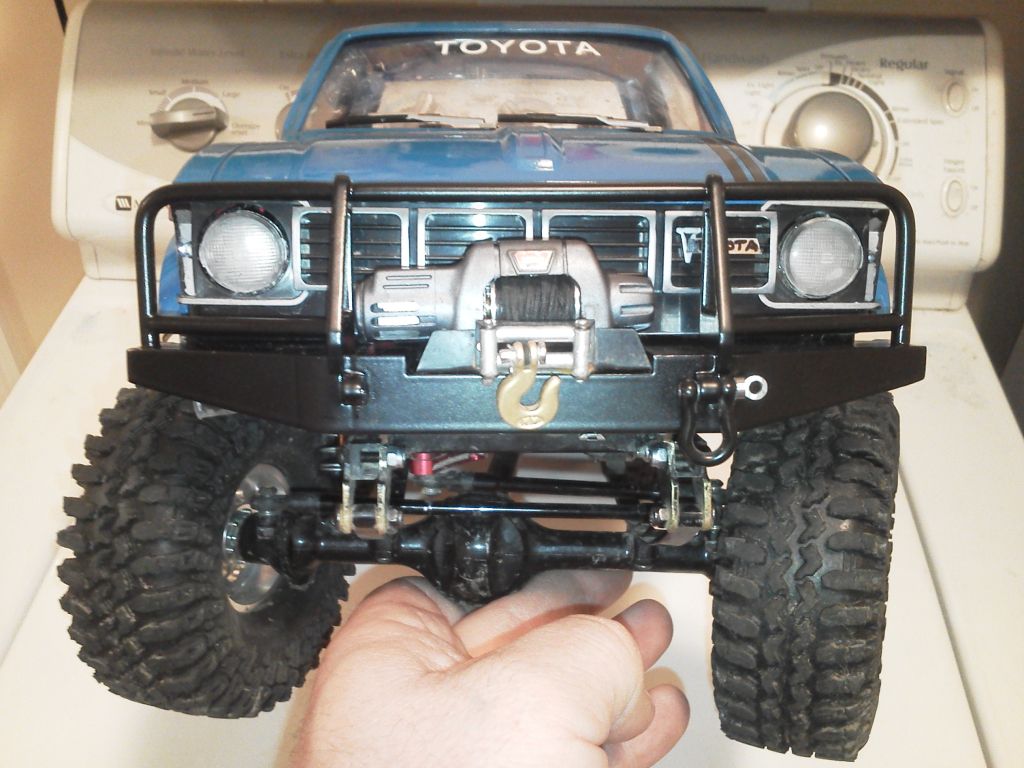 Now mine is a little different because I'm running a body lift made out of my origional shackles. 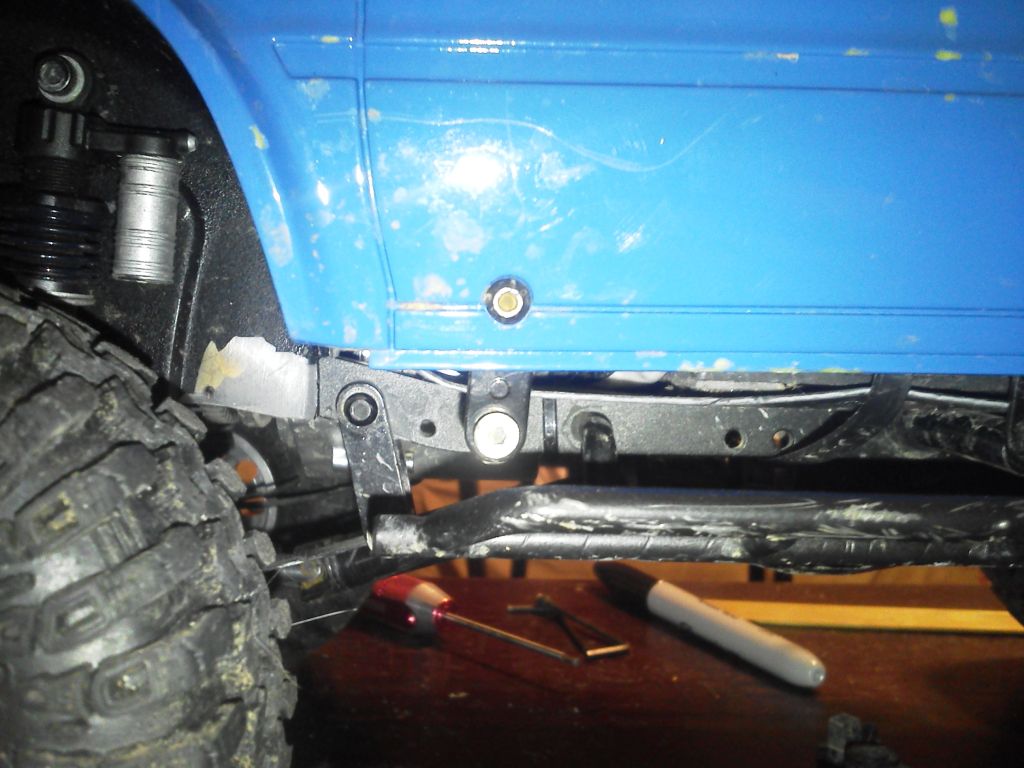 Next the bumper is deep and I didn't want all that hanging out front so I figured I'd cut the body off right where the stock bumper light pockets were. 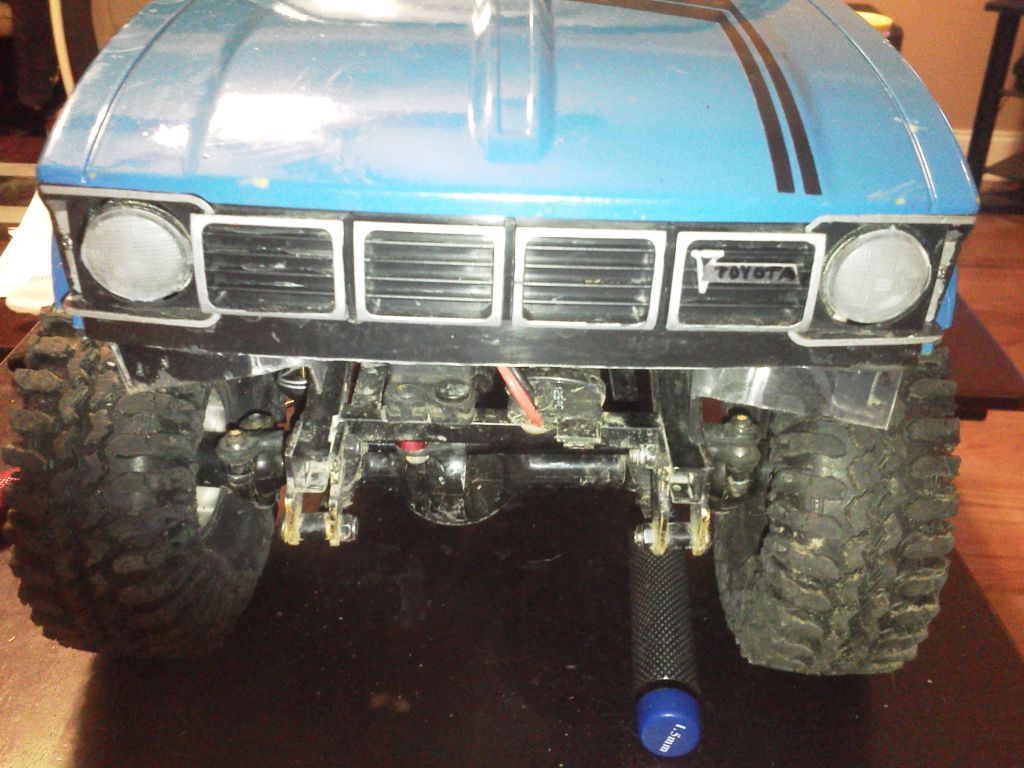 Then I'd stick about 8mm of the bumper under the body 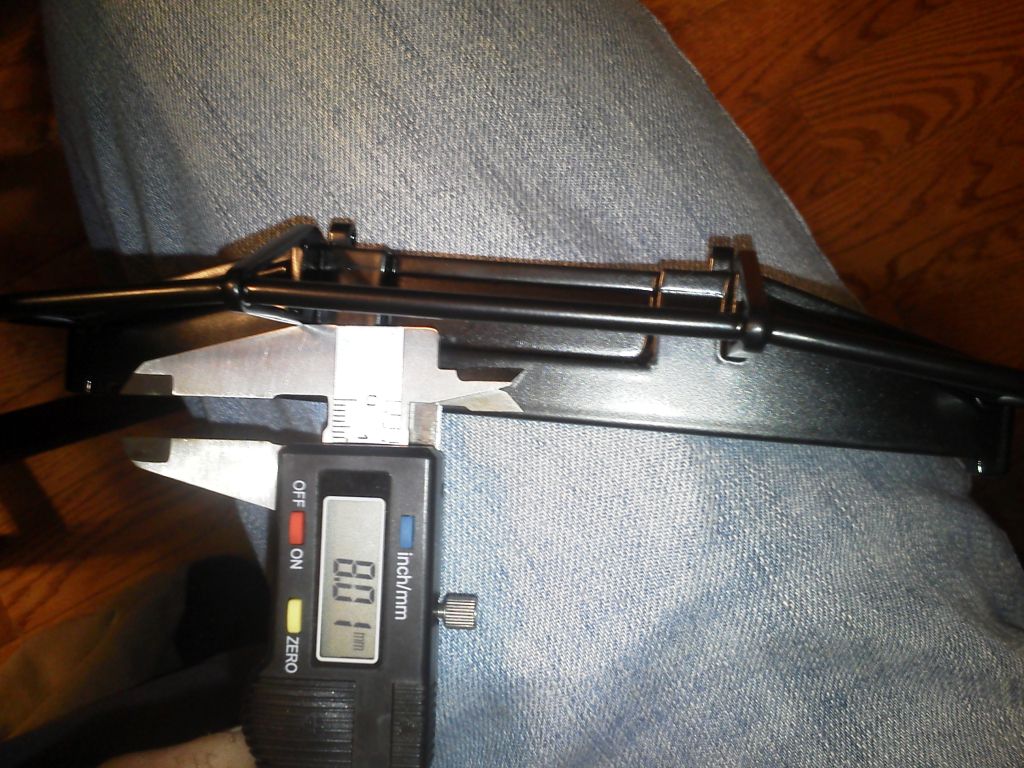 Then I figured that the front of the body sticks out about 8-10mm in front of the frame (hard to see in this pic,angles off) 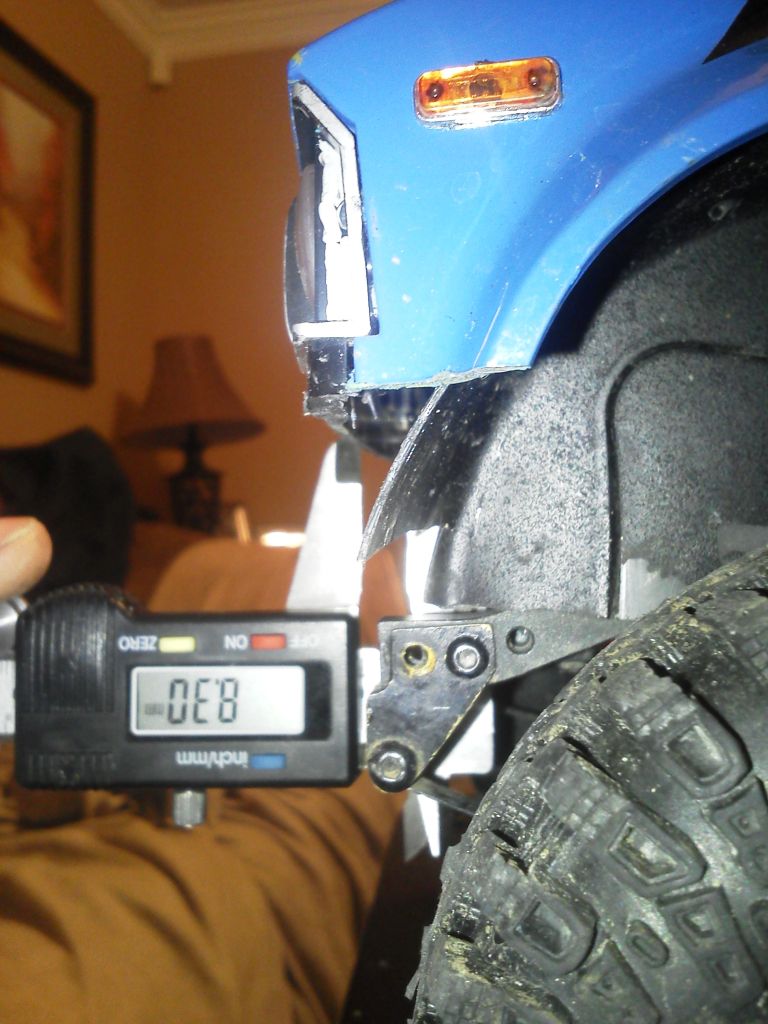 Then I decided that I'd use some 19mm tall brass stock that I'd gotten at the Lhs to use to mount the bumper with. I also decided To use the origional front shock tower mount hole to mount it to. (my towers are back one hole) 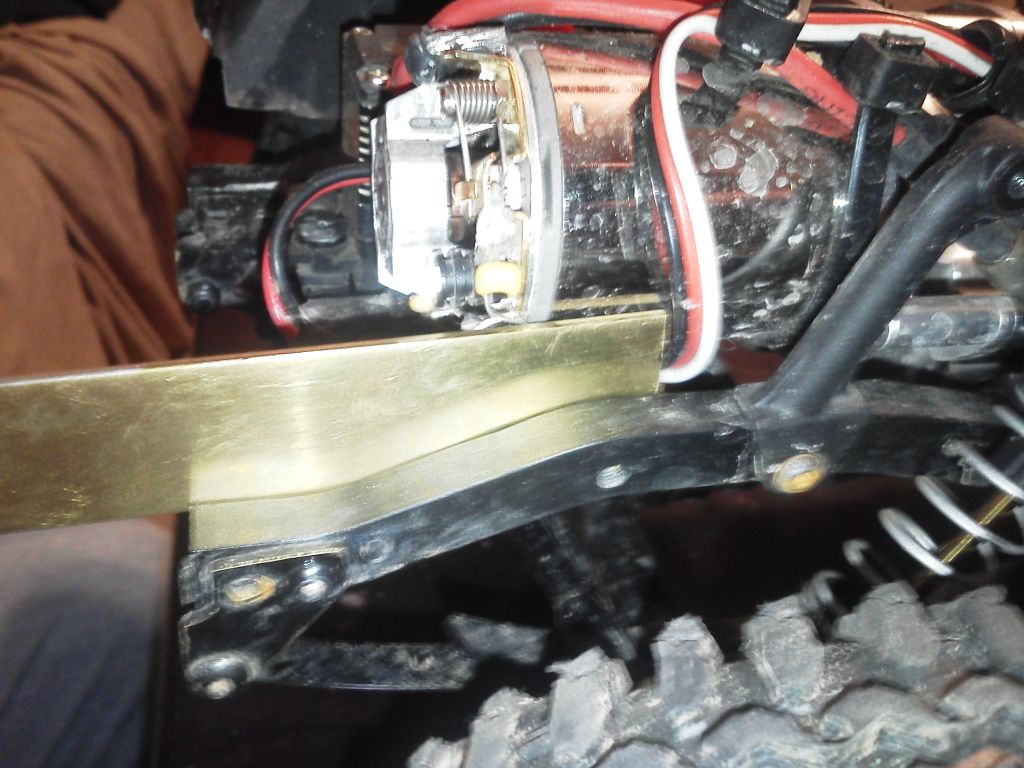 Then I made some measurements of the brass plates on where to cut and drill the holes. 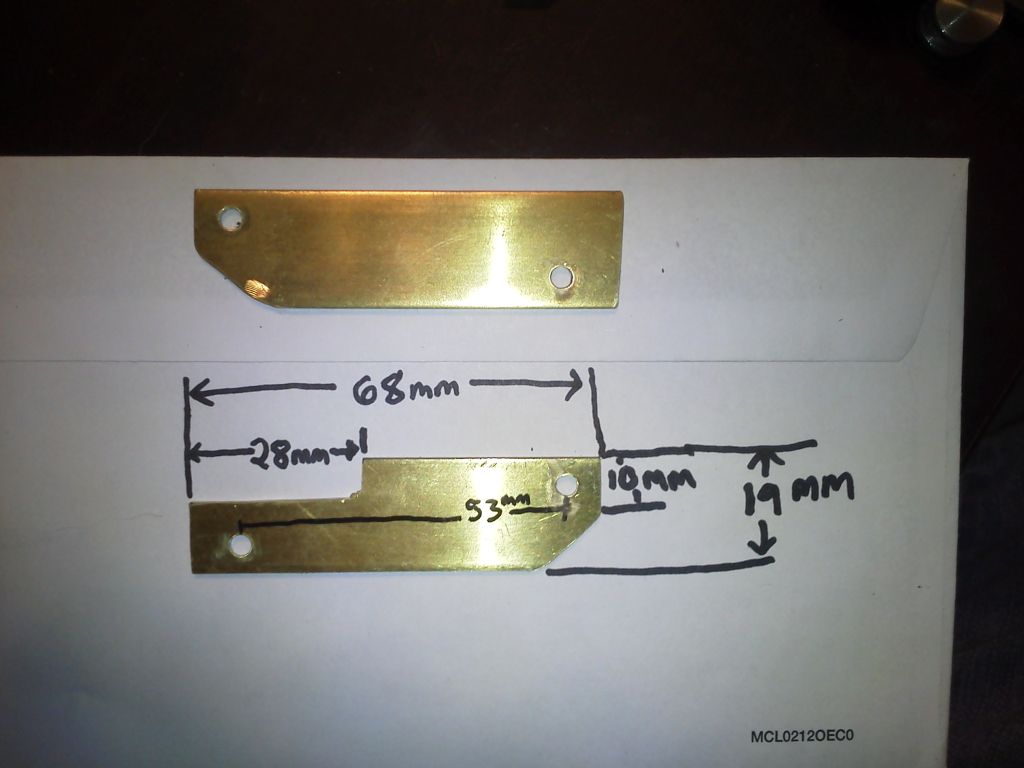 Then I bolted them in. Note: the piece I notched is for extra clearance around the motor. 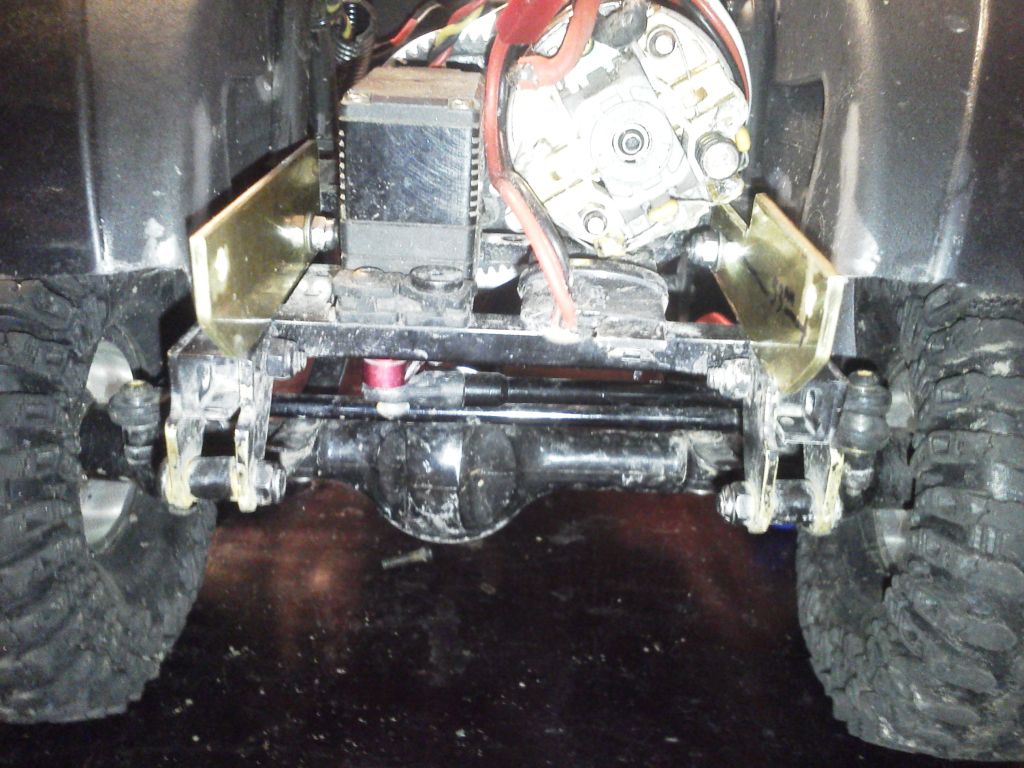 Here is a side shot of them sticking out in front of the frame. 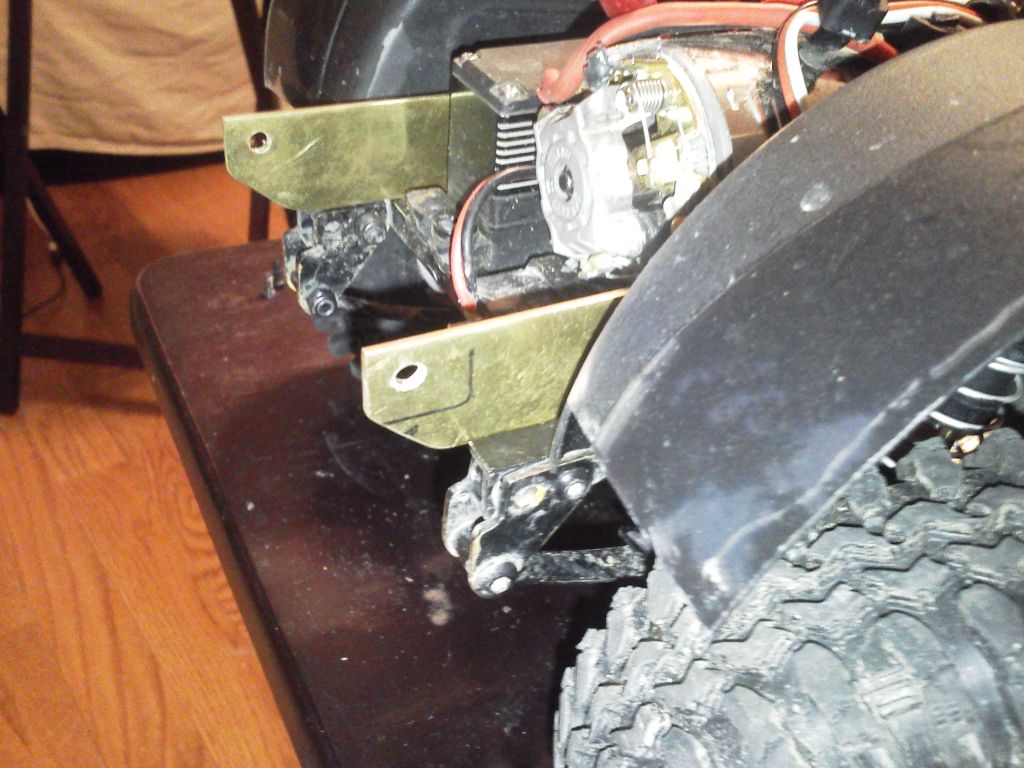 Next all you have to do is line the bumper up and install your screws. The bumper is just a mm or 2 narrower than the plates so you will have to push in slightly to get it started. 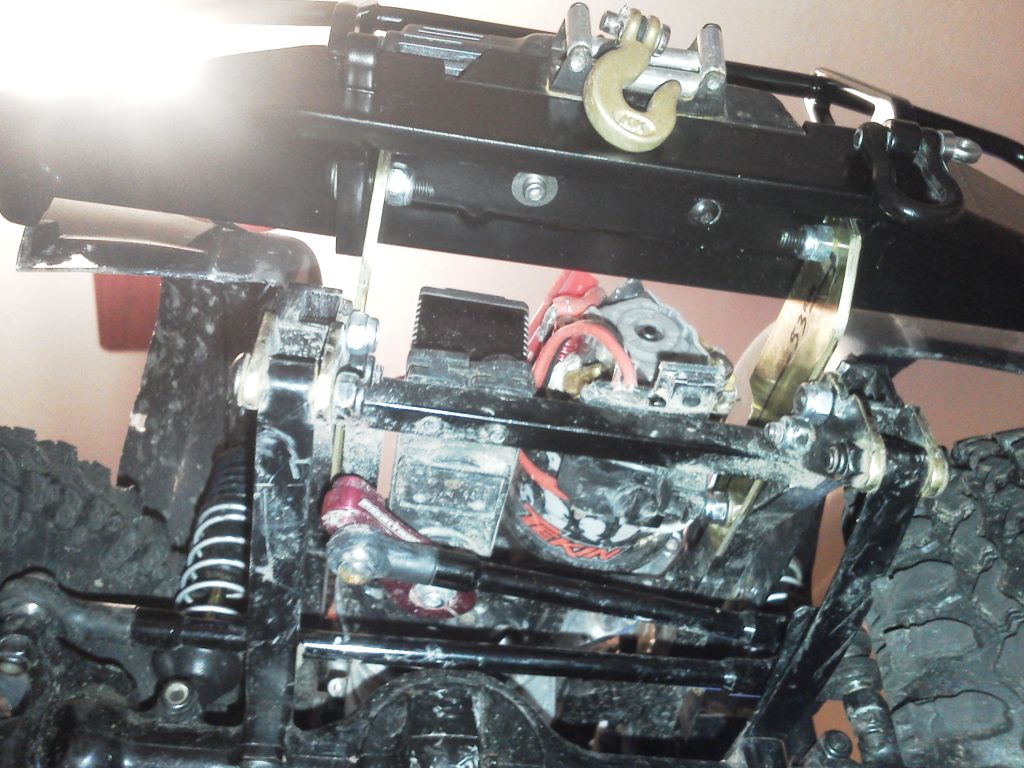 Top view. Wait till you put your body back on to tighten the bumper bolts. 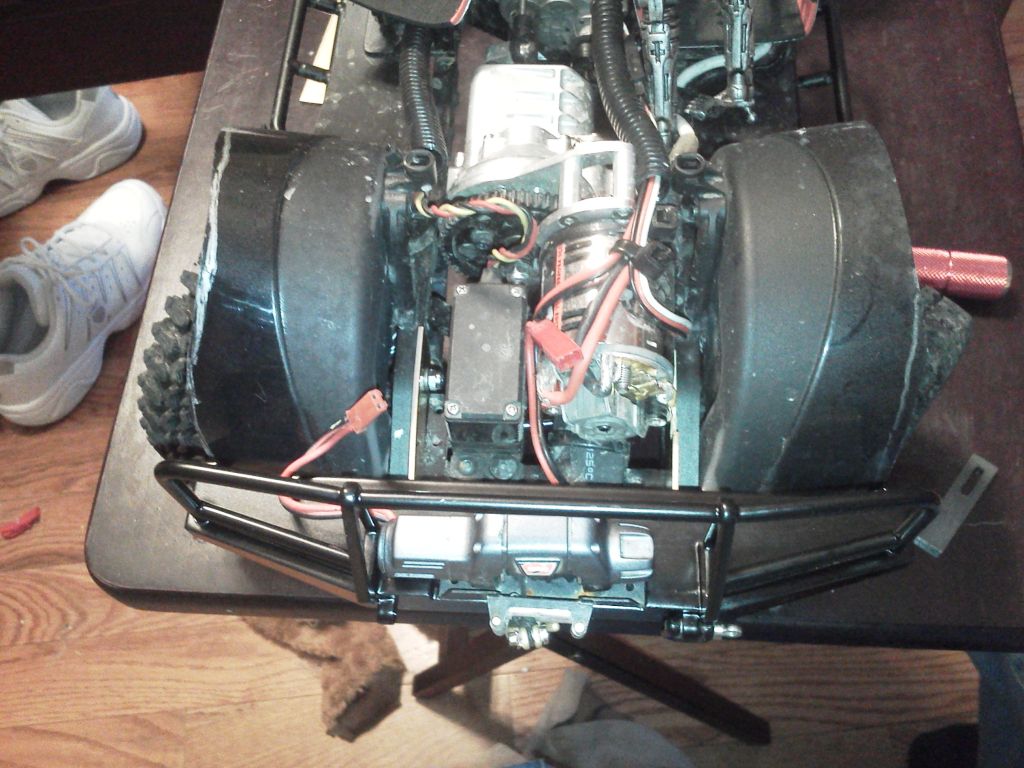 |
|
| |
|
02-26-2013, 03:32 PM
| #52 |
| Rock Crawler Join Date: Apr 2012 Location: Chattanooga
Posts: 639
|
Now this has worked out real well. As you can see in this pic that you could add about 5mm to your brass stock or at least drill your back hole a few mm back to get more plate under your bumper although you don't have to as this has turned out to be really strong. I can't budge it with the bolts tightened down. 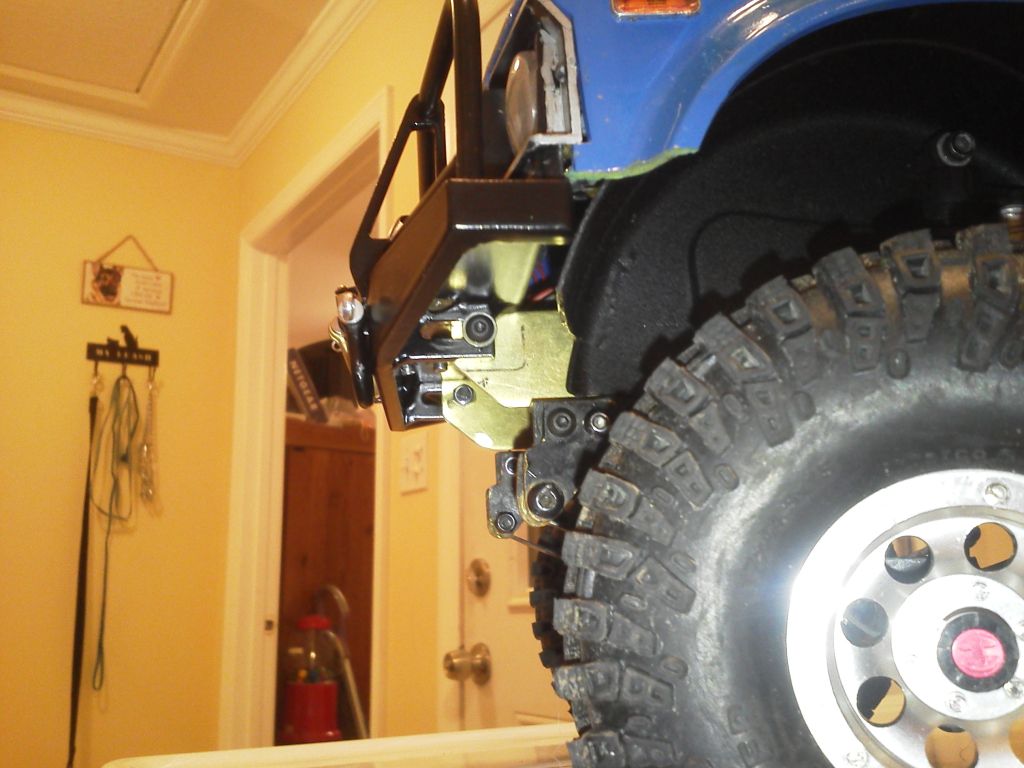 Another side pic! 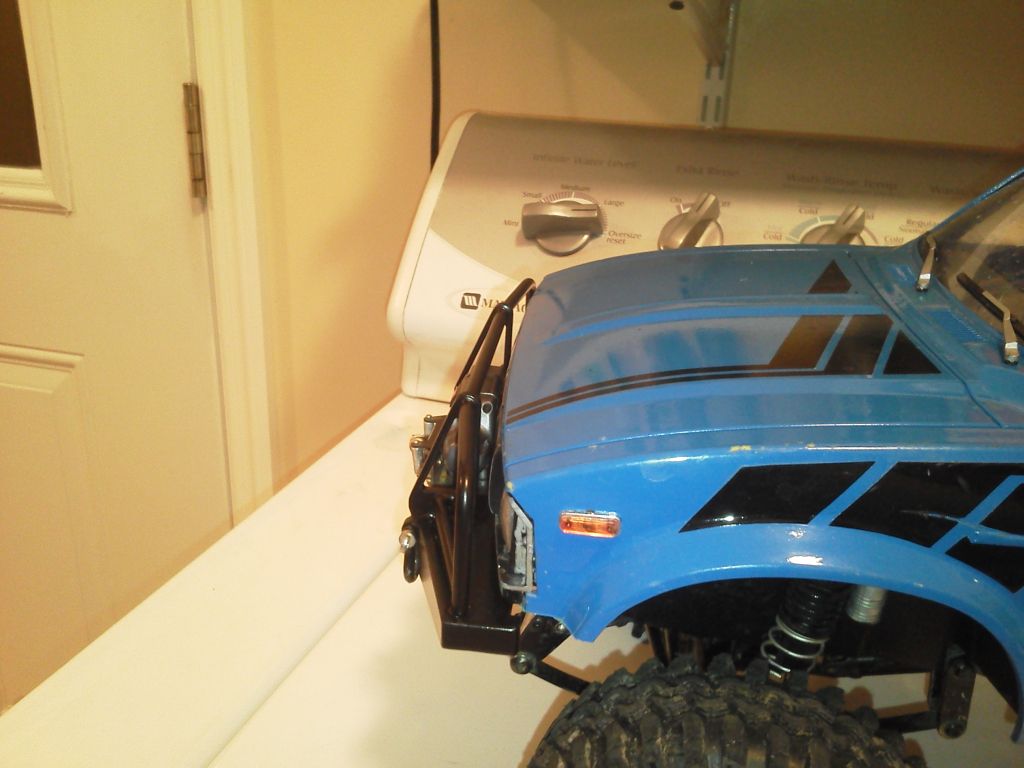 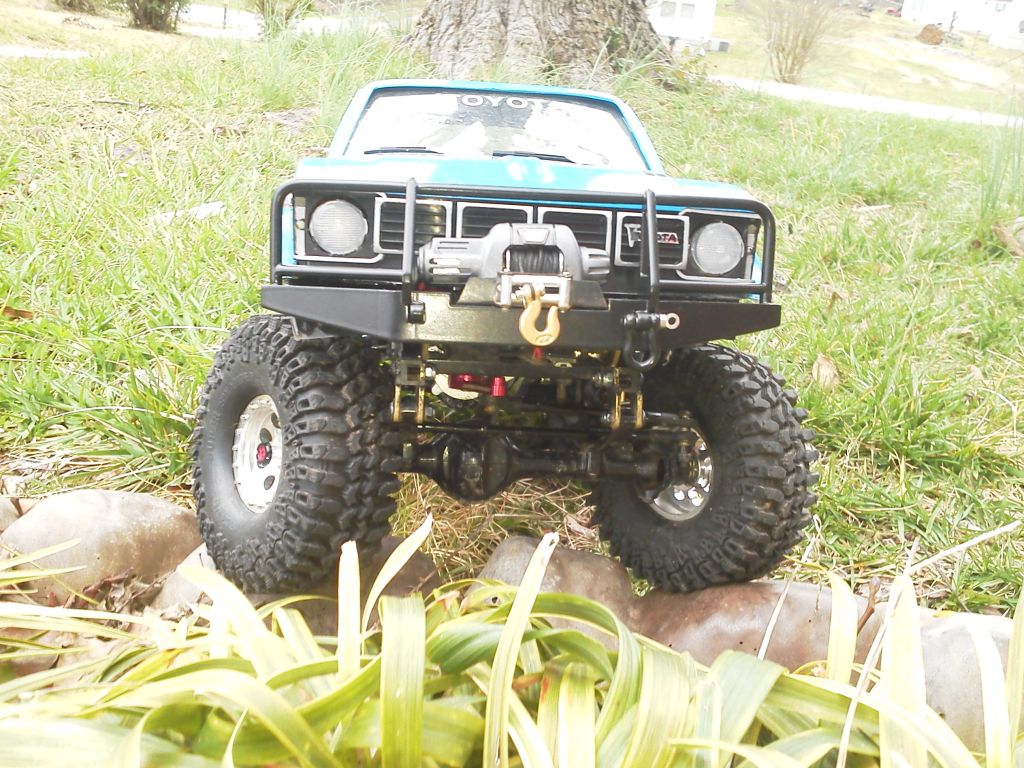 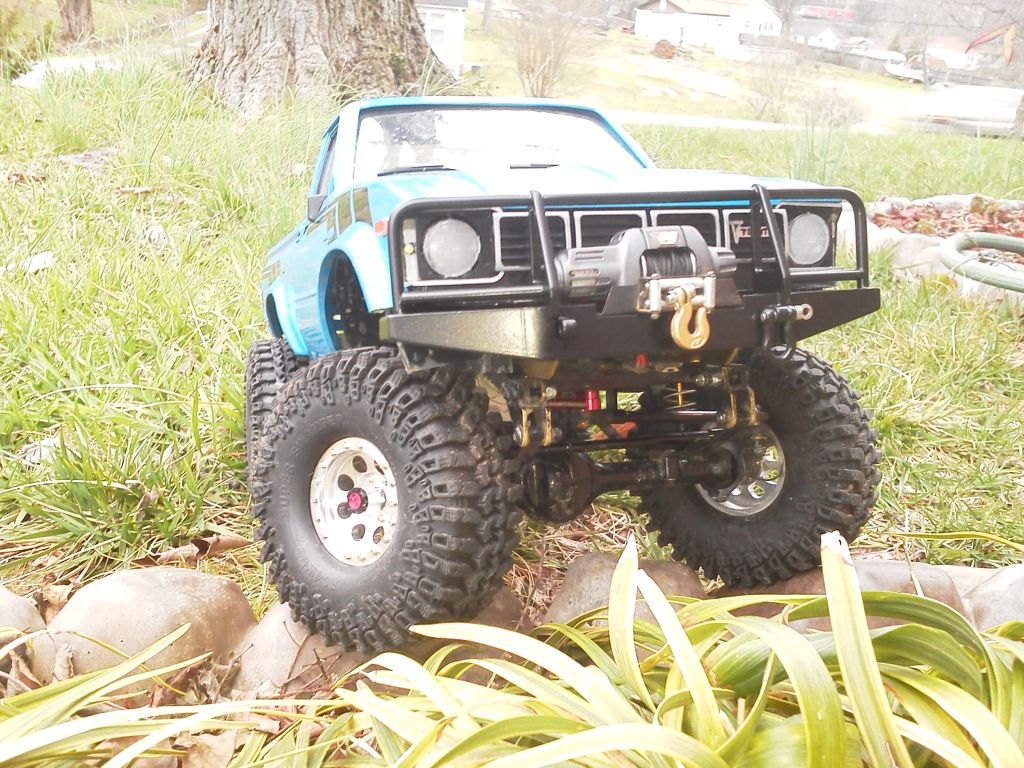 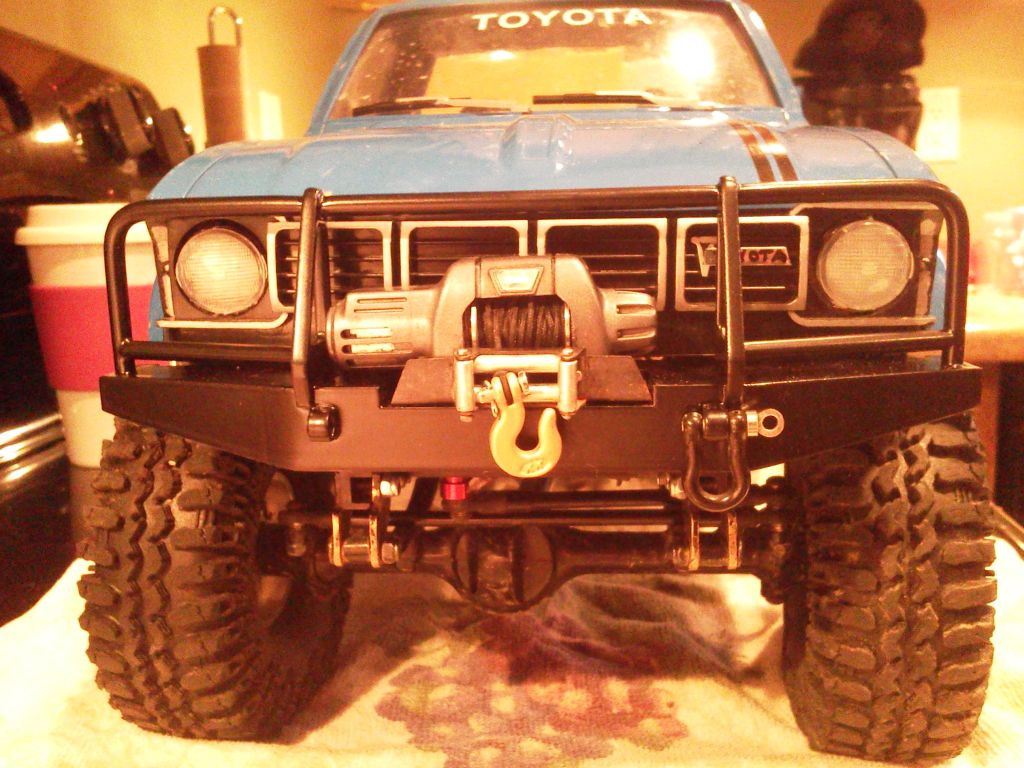 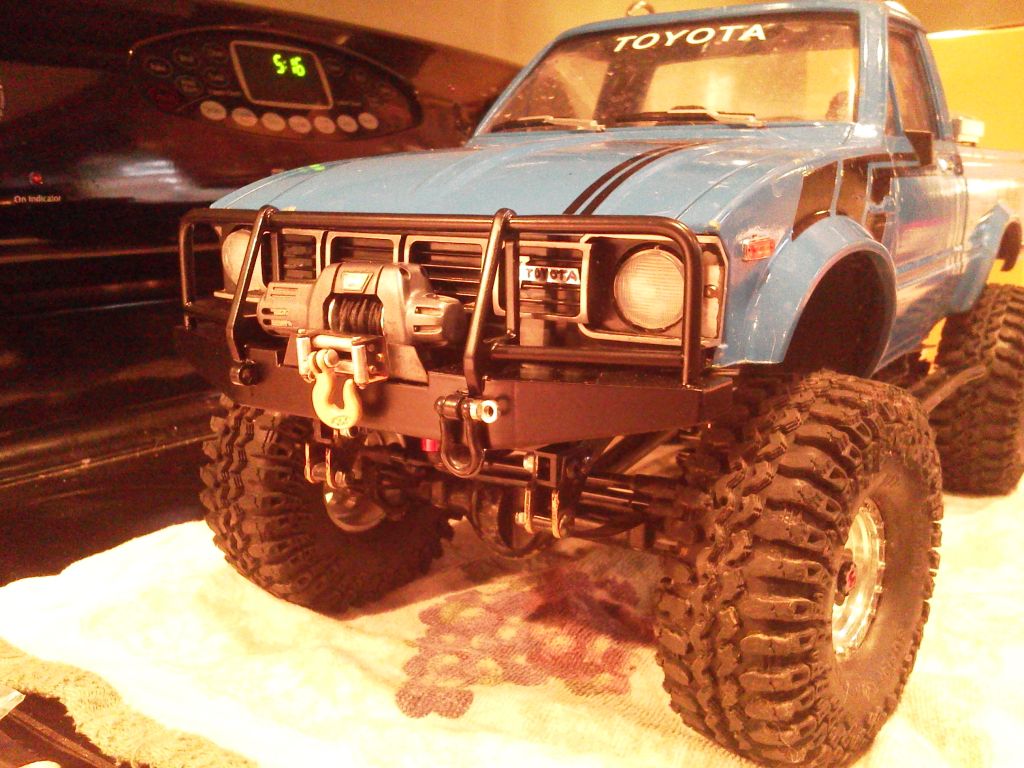  |
|
| |
|
03-01-2013, 04:29 PM
| #53 |
| Newbie Join Date: Aug 2006 Location: vancouver, BC
Posts: 38
|
heres my shackle mod using old tlt stays i had layin around. remove shaded material in pic 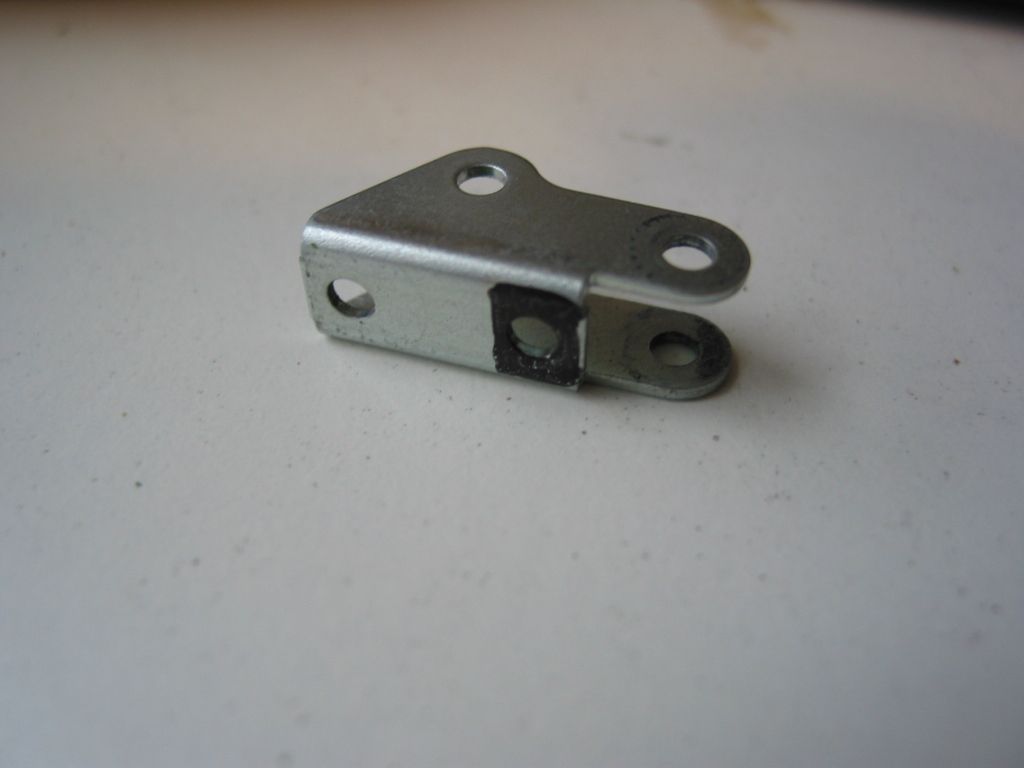 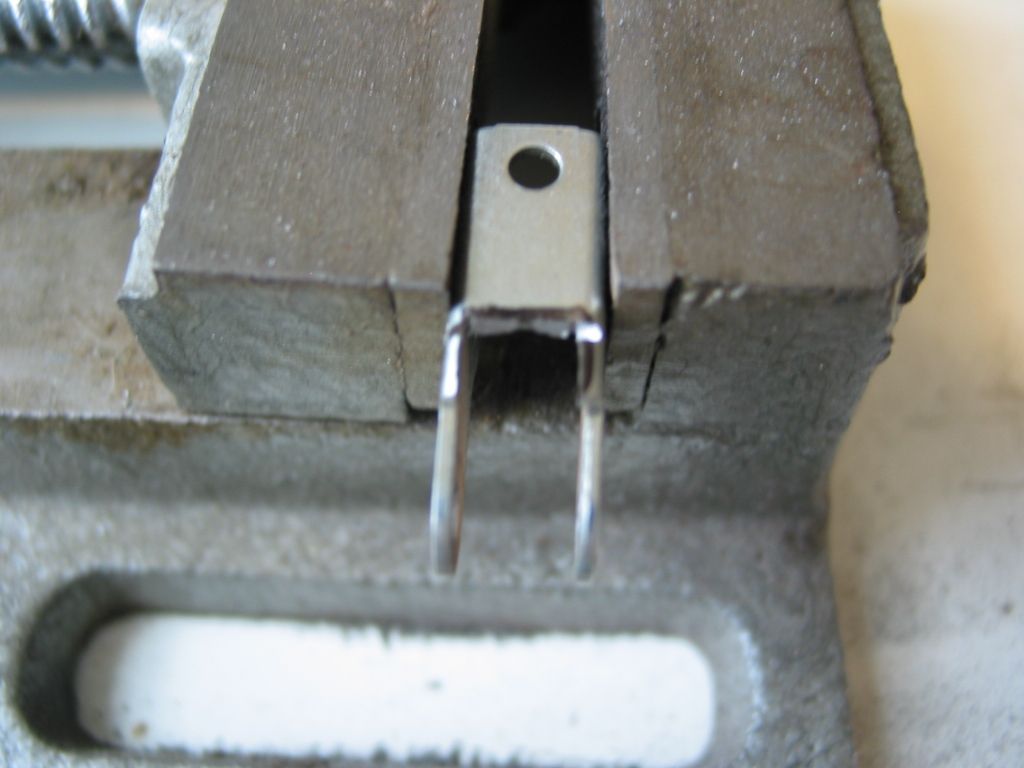 mount to original shackle hole, but using 3x12mm screw instead of shoulder bolt, to pinch in place 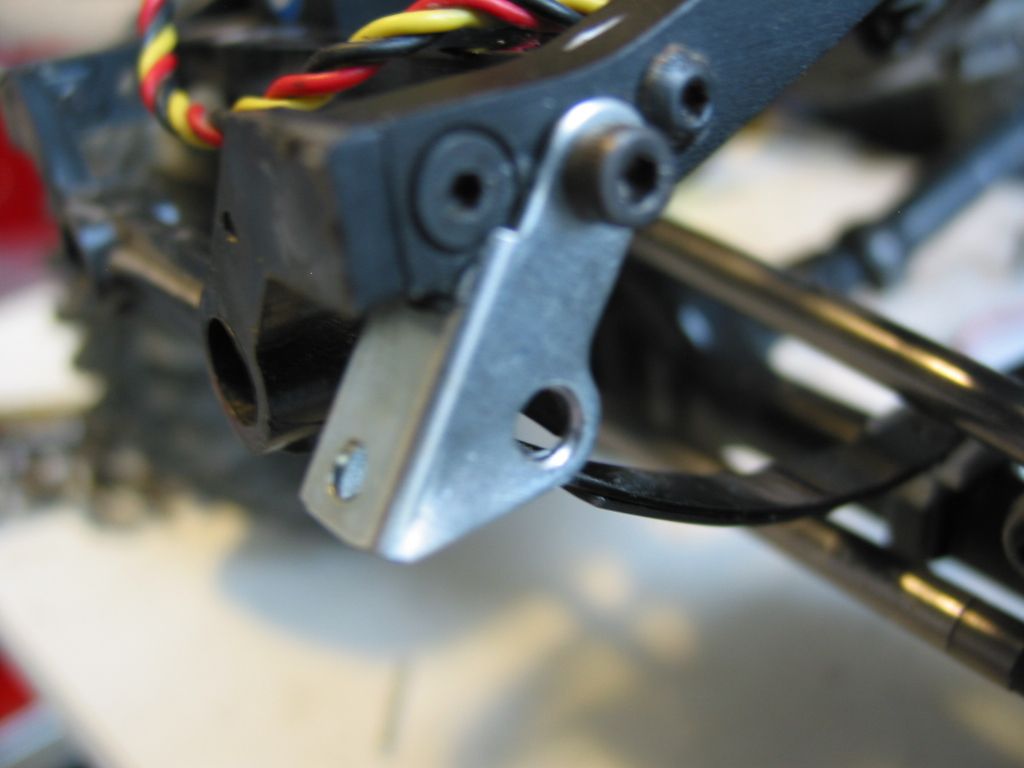 drill out lower hole to allow shoulder bolt to pass thru and put the swing shackle on the back, where it should be gives u a little lift and more travel in about 10 mins |
|
| |
|
03-23-2013, 12:05 AM
| #54 | |
| Rock Stacker Join Date: Feb 2010 Location: Paradise
Posts: 59
| Quote:
Thanks! Also was wondering what 2mm spacers you guys used to move the place above the transfer case. I can't seem to find any 2mm spacers anywhere.. Last edited by xBLAKEx; 03-23-2013 at 12:31 AM. | |
|
| |
|
03-25-2013, 10:45 PM
| #55 | |
| RCC Addict Join Date: Dec 2010 Location: middle,tn
Posts: 1,326
| Quote:
| |
|
| |
|
05-04-2013, 06:52 PM
| #56 |
| I wanna be Dave Join Date: Jun 2008 Location: Vermont
Posts: 2,016
|
Not sure if it's been mentioned, but as most people know the stock thin hexes cause binding with the stock wheels. The Axial scx-10 thin hexes are a perfect fit. They just about exactly match the depth of the hexes on the wheels. |
|
| |
|
05-04-2013, 09:16 PM
| #57 |
| I wanna be Dave Join Date: May 2011 Location: Lost in Oregon
Posts: 4,450
|
Really....nice call Jus |
|
| |
|
06-16-2013, 04:40 AM
| #58 |
| Quarry Creeper Join Date: Apr 2011 Location: bay area
Posts: 214
|
I use nail polish to do touch up work or to paint small parts
|
|
| |
|
06-29-2013, 07:42 AM
| #59 |
| RCC Addict Join Date: Feb 2011 Location: York
Posts: 1,125
|
Reposting this from a thread I made in General Scale a while back. Flares are cool. I always want them but on my last few Toyota pickups I never pulled the trigger for two reasons. The first reason was I felt the builds were a bit too conservative for the Bushwhacker Cut out look. The second reason was I wasn't sure how different the flares were. On my past 1:1's that I've used flares (Bushwhacker cut out flares) I trimmed a copious amount of fender away and attached the flares. They gave me more tire coverage, but also gave me more room for articulation before rubbing. This was a nice option on my '99 XJ as even with lots of lift, only modest tires fit due to the narrow wheel wells. I wasn't really sure what scale flare would give me these benefits (Or drawbacks should you not want to trim plastic.)  RC4wd Big Boss Flares  SDI 4X4 Round Flares  You can see the big difference in the two. The SDI flares are rounded and will fit other applications. They require, in the case of the Hilux, the fender to be trimmed, much like a 1:1. The RC4wd flares fit on the stock fenders and use scale hardware and adhesive for mounting. For installation of the SDI's I trimmed away the existing fender lips with an air cutter.   Once everything was cut away I marked where I needed to trim the actual flares to match my arches (these are universal don't forget). They cut easily with a new #11 blade and I then used ZapGoo for my adhesive. I used some small metal clamps to hold everything in place while the Zap set up.  For the RC4wd flares I started by lining the flares up and marking where I would need to drill. The flares are held on primarily with adhesive but the scale hardware does some work and adds a nice look. They also trimmed up well (only needed to do this up front where the grill and fenders were trimmed).  Once all the holes were drilled I, once again, used ZapGoo to get things stuck.  Both styles have a place. While the RC4wd flares stick farther out and have more beef, the SDI's are lower profile, but provide for less rubbing because of the cutting. For a product that one would assume is very similar, they're quite different both in installation and in function. For my white truck the SDI's blend well with my look while offering a bit more tire coverage and a lot more room. The Look of the flares matches the mild look of the truck. They're a bit more invasive to install On the green truck, the burlier looking Big Boss flares play well with the 1.9" Rock Crusher X/T II's and it's overall beefy feel. The double wall design of the flares take up more space in the wheel well so unless you do some cutting you may find these, at best, give you no more or less room than stock. At worst, they may rub a bit more.    Lots more pics of both styles on the Kraftwork Page |
|
| |
|
07-26-2013, 05:12 PM
| #60 |
| Pebble Pounder Join Date: Jul 2007 Location: A-pop-kuh, FL outside Orlando
Posts: 136
|
Any pointers on mounting the tf2 tires so they don't bulge around the rim? I'm at my wit's end with these wheels and tires! sent from my GNex |
|
| |
|
 TF2 tips and tricks thread - Similar Threads
 | ||||
| Thread | Thread Starter | Forum | Replies | Last Post |
| Official RS10 tips and tricks thread. | jsowens | Redcat Crawlers | 214 | 02-07-2020 08:01 PM |
| Tips and Tricks Thread | Lemonlegs28 | Axial SCX-10 | 375 | 01-20-2019 10:52 AM |
| Sc tips and tricks thread | cmyers1 | South Carolina | 2 | 11-24-2011 02:56 PM |
| Any tips or tricks.... | suicide_silence | Axial SCX-10 | 2 | 10-26-2010 09:35 AM |
| |


 Linear Mode


