| |
 01-02-2011, 12:46 AM
| #1 |
| Wanna get? Gotta want.  Join Date: Apr 2010 Location: SLC, UT
Posts: 7,052
|
I ended up getting a mini for myself after going to a couple of comps and finding that the comps went by too fast. With this little guy it will be nice to double the time that I can drive. I ended up getting one used. I knew that I would probably be changing most of the parts and doing my own thing but I wanted to at least have the basics to work with. It came with a mini skeeter chassis and a new in the box GC3. I dont see much wrong with the skeeter so I think I will run it. For some reason the motor sicking out the side of the GC3 just really bothers me. Here is the plan: Mini skeeter chassis 7955tg servo 2s lipo Losi Frenzy Sidewinder micro Chisels Axial beadlocks Losi shocks (hope to have the upgraded cartridges here soon) Metal lockers Traxxas over drive in the front MIP driveshafts Dlux Titanium links 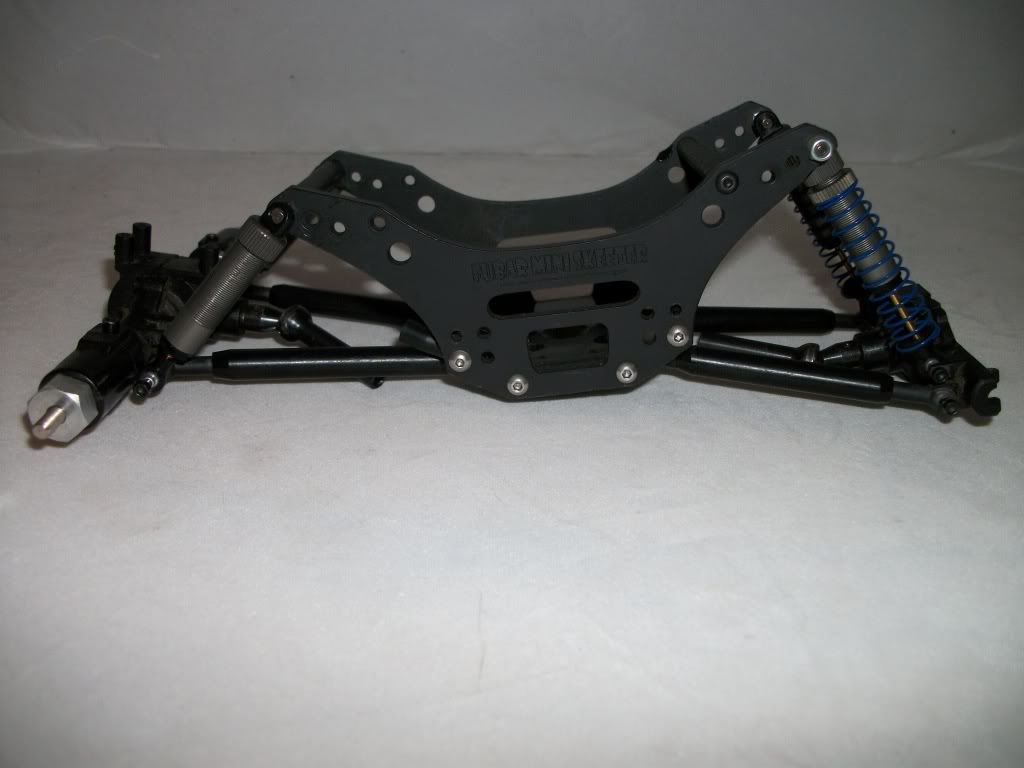 |

|  |
| Sponsored Links | |
| | |
|
01-02-2011, 12:50 AM
| #2 |
| Wanna get? Gotta want. Join Date: Apr 2010 Location: SLC, UT
Posts: 7,052
|
When I got the car it was RTR. I pulled it out of the box, plugged in a lipo and ran it for at least 10 seconds before the ESC went up in flames. LOL. So, while I am waiting for parts I tore the car down to the basics to attempt to get it to a good starting point. I started with basics. I wanted the shocks outboarded but with the skeeter it seems that the shocks needed to be more outboard than just placing the shock outside its mount. I ended up moving it down, outside the lower link mount. My theory is that this will allow for more pre load but give me the same ride height as the front??? 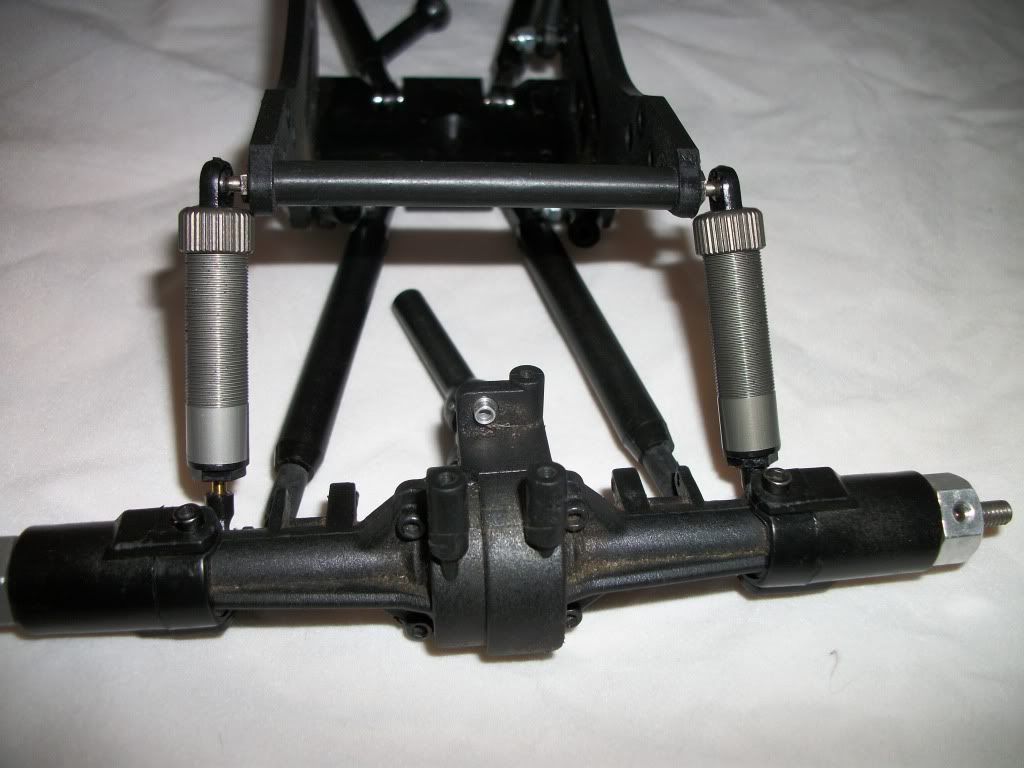 In order to do this you need to clearance the hubs. I cut the section where there was interference. 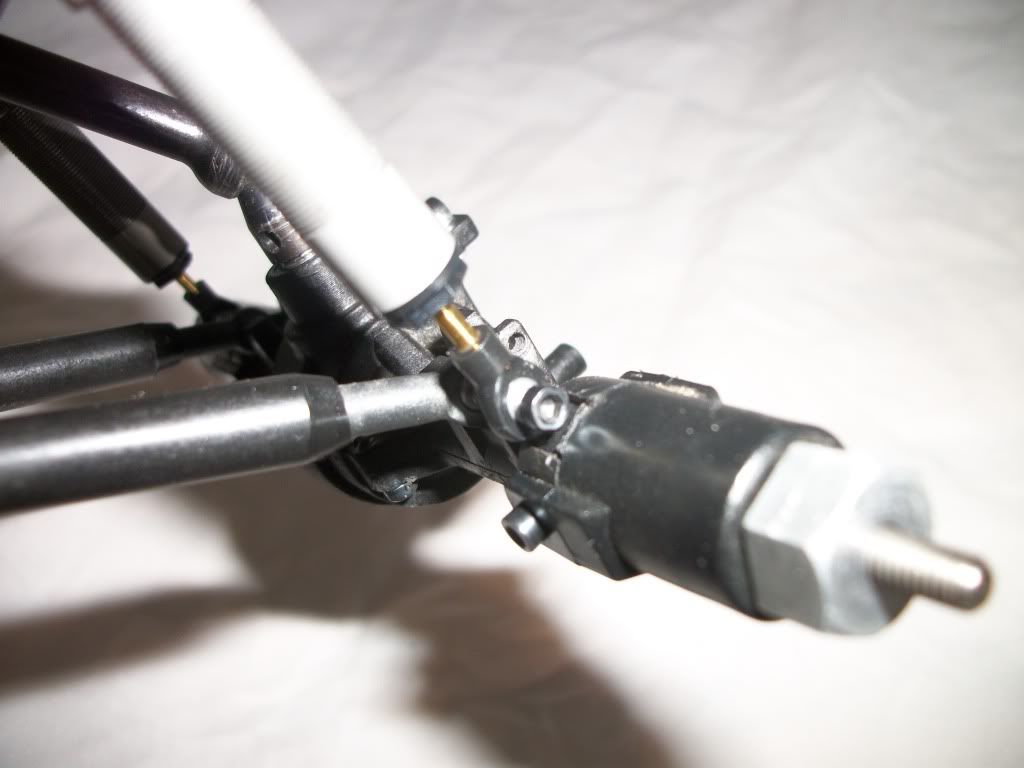 |
|
| |
|
01-02-2011, 12:55 AM
| #3 |
| Wanna get? Gotta want. Join Date: Apr 2010 Location: SLC, UT
Posts: 7,052
|
I also knew that I would regret not chasing a few free grams while I had everything torn down. I drilled some holes in the skid plate. Only lost 1g 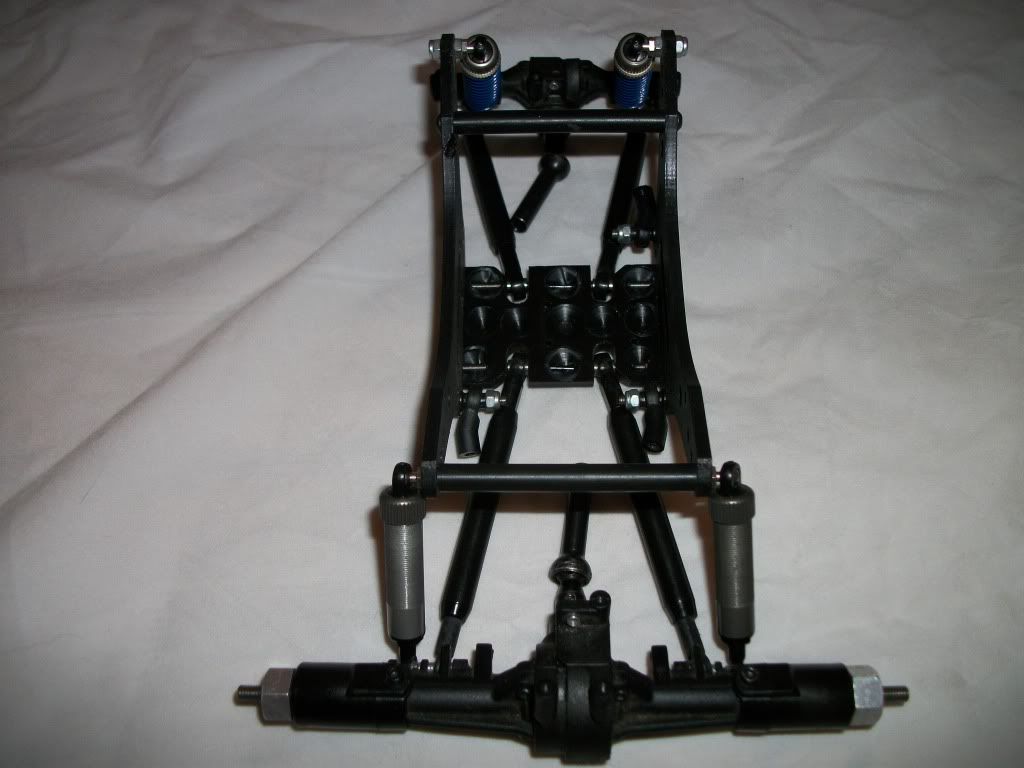 I had always wondered about removing the RX case and shrink wrapping it. I was surprised to lose 5g and obviously a lot of bulk. 10g before heat shrink 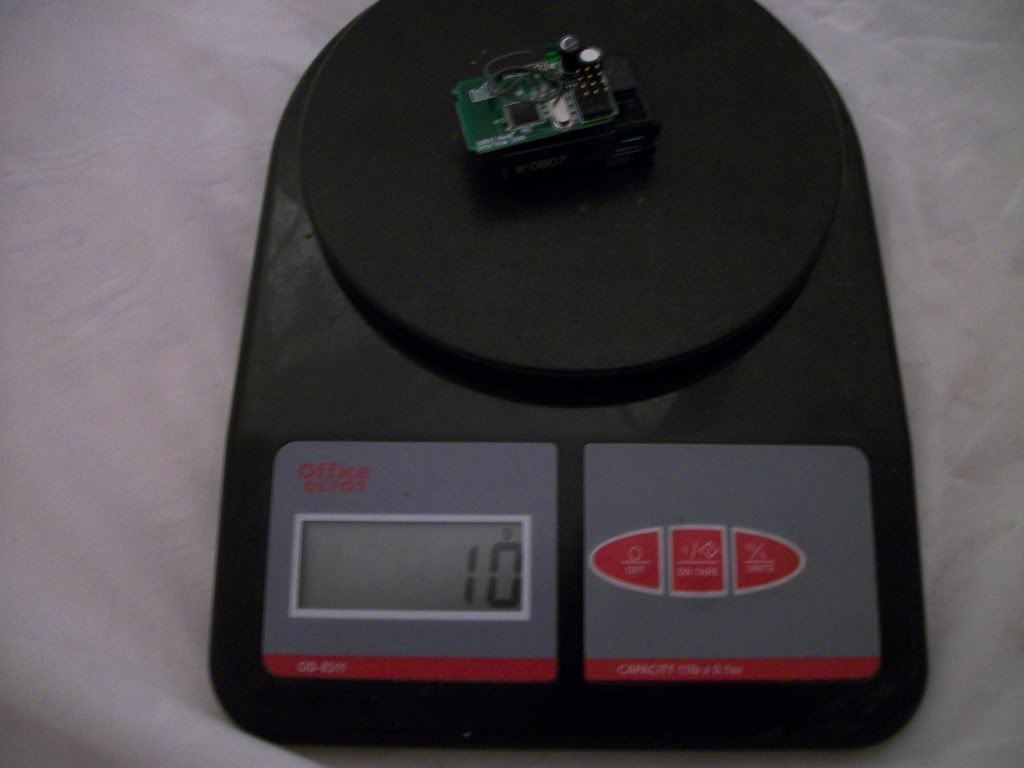 5g after 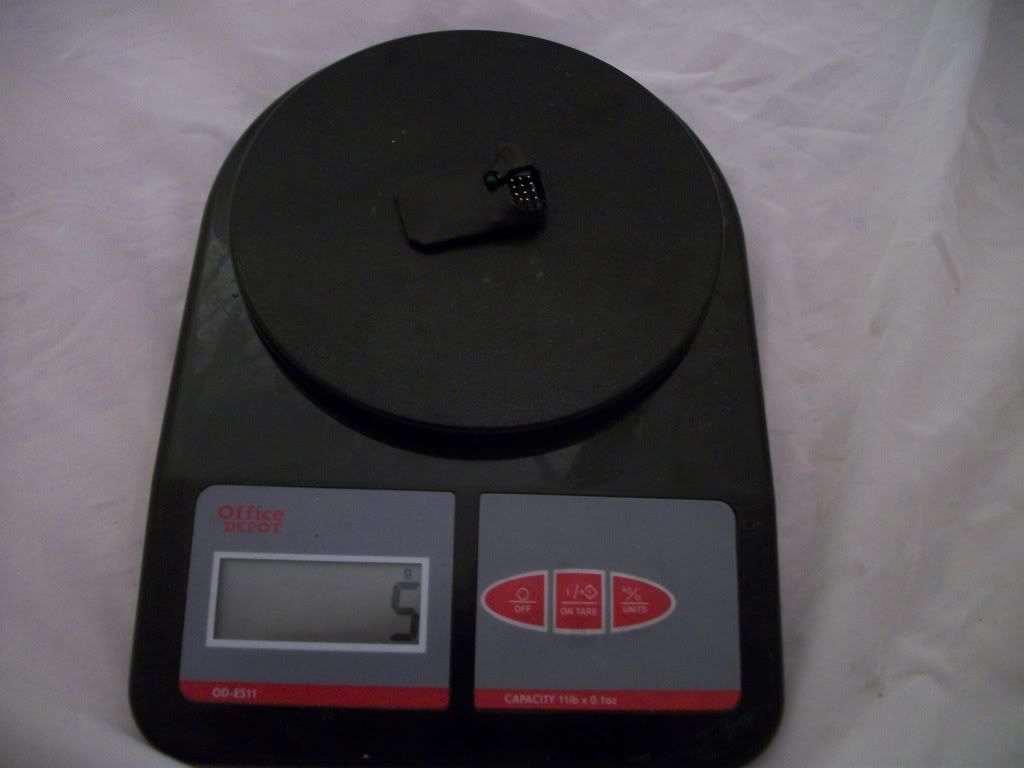 |
|
| |
|
01-02-2011, 12:59 AM
| #4 |
| Wanna get? Gotta want. Join Date: Apr 2010 Location: SLC, UT
Posts: 7,052
|
The tires and wheels seemed pretty wide and I wanted to narrow them up a touch. I took the stock axial wheels and narrowed them a touch. Went from .855 wide to .763 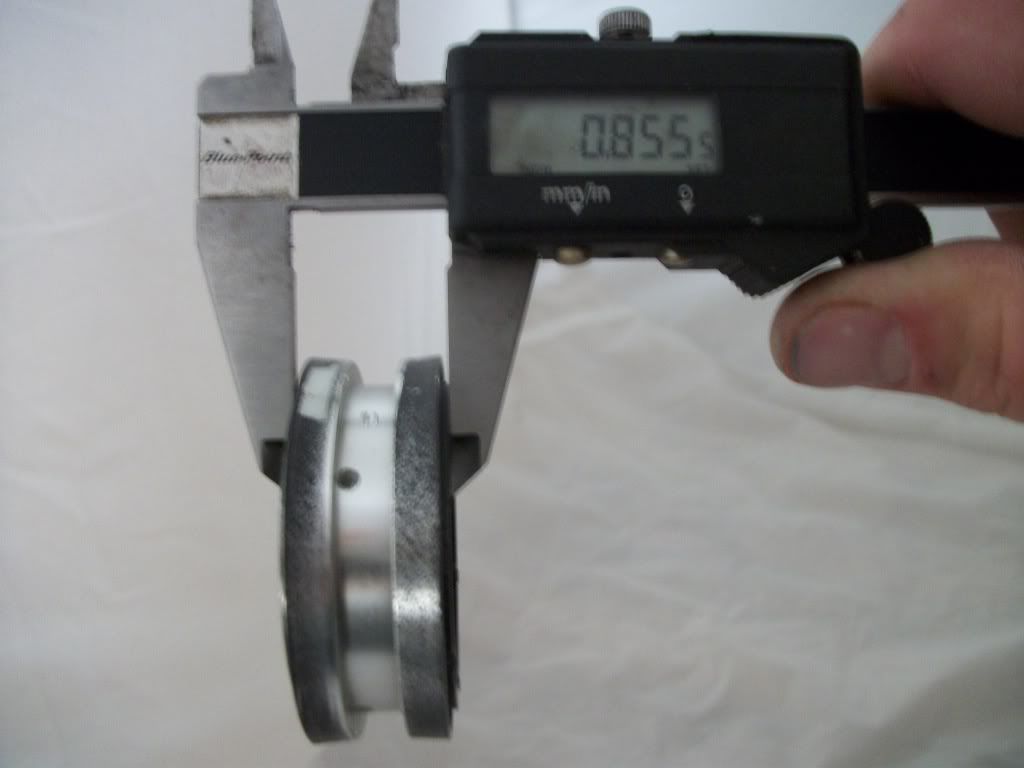 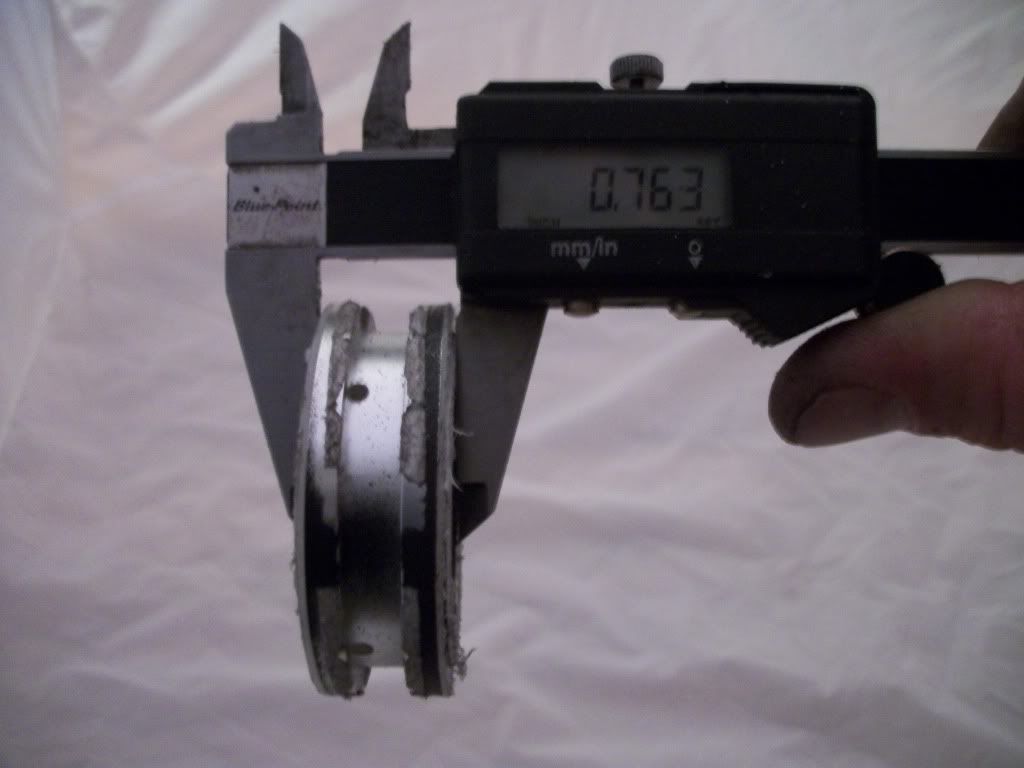 Not too much difference. Gave me a little bit better sidewall height. Before: 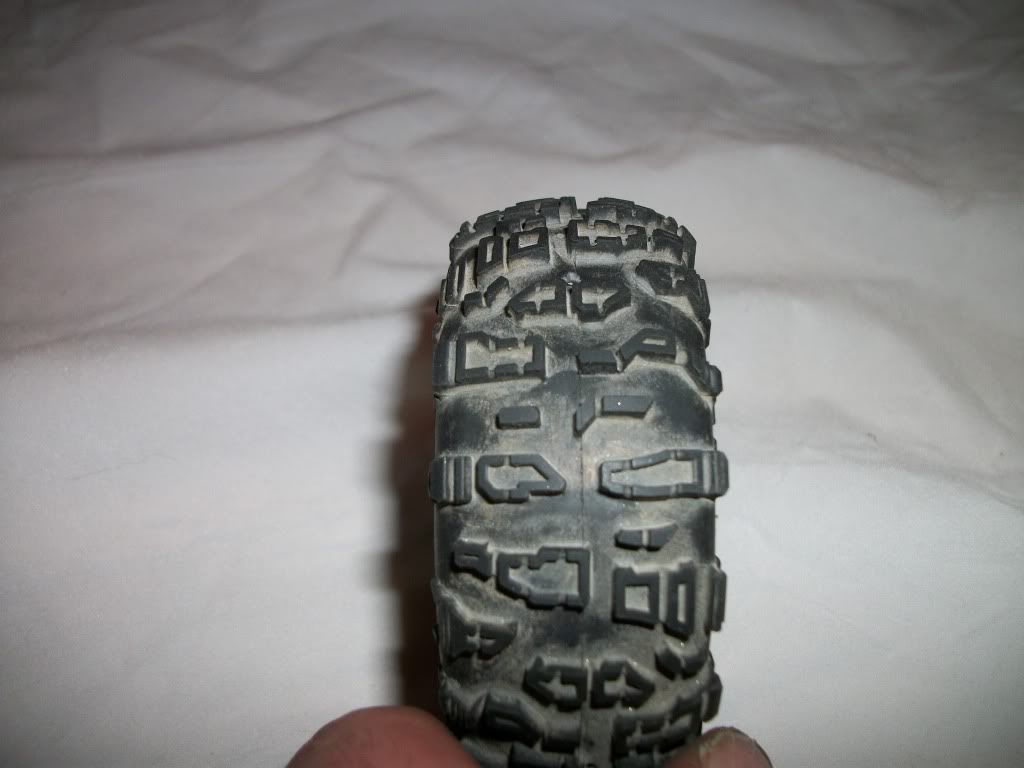 After: 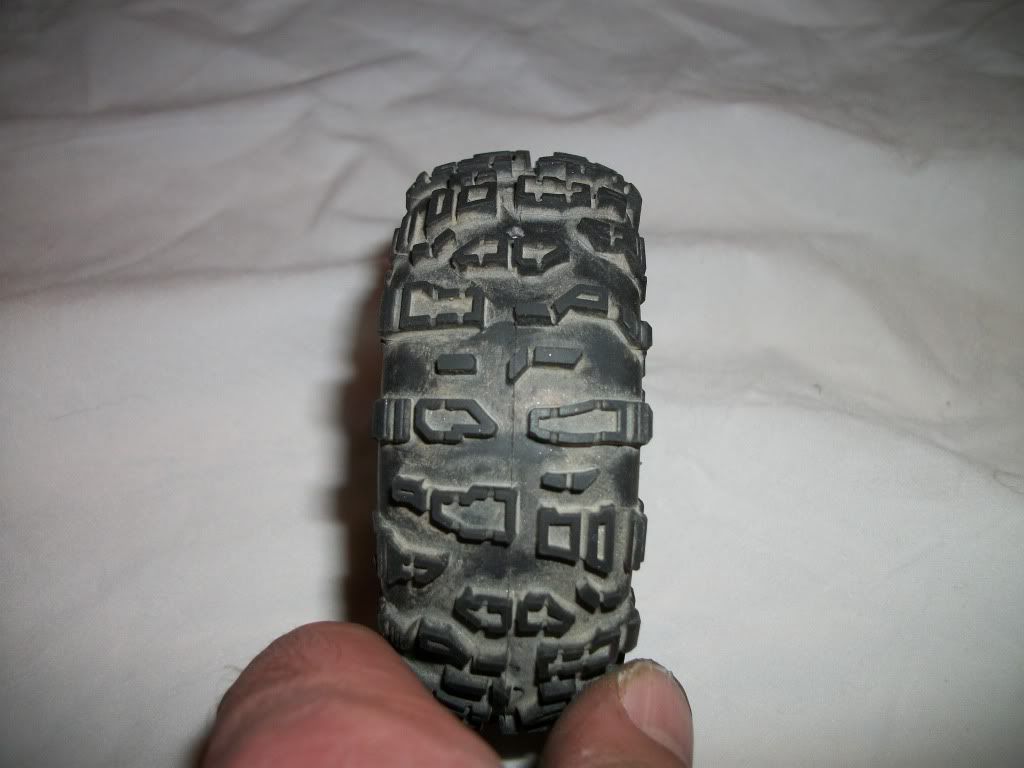 |
|
| |
|
01-02-2011, 01:01 AM
| #5 |
| Wanna get? Gotta want. Join Date: Apr 2010 Location: SLC, UT
Posts: 7,052
|
When doing the Traxxas overdrive I read that most were just dropping it in and running it? When I put it in I found that the notch for the driveshaft was not far enough in. If I were to run it like that it could cause some slop and allow the pinion to move in and out. I took a minute and did some grinding for the driveshaft to slide on a bit further. 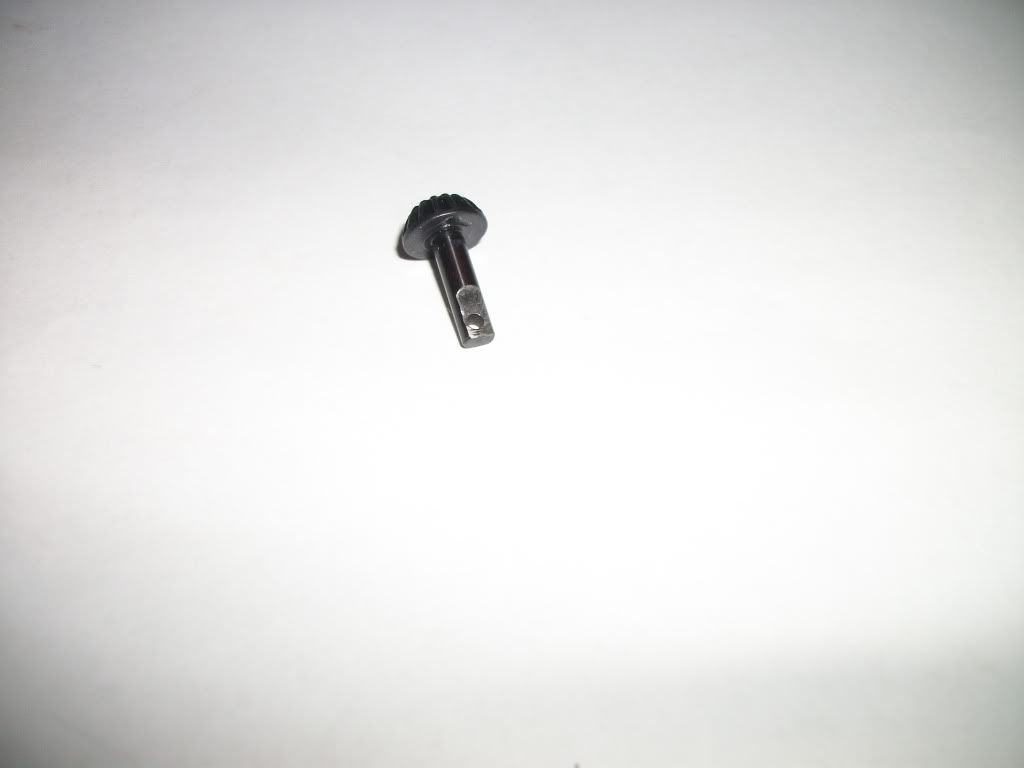 |
|
| |
|
01-02-2011, 01:06 AM
| #6 |
| Wanna get? Gotta want. Join Date: Apr 2010 Location: SLC, UT
Posts: 7,052
|
Next, I went ahead and built some titanium links. I love titanium for its strength, weight and how slick it is on the rocks. I saw that most are getting away with the stock lowers so I got my hands on some .125 for the uppers and .187 for the lowers. I was skeptical of the .125 but once I had it cut down to size I could see how strong it was. I went for the .187 lowers since I knew I was going to bend them. I just cant trust less than that for lowers. Links 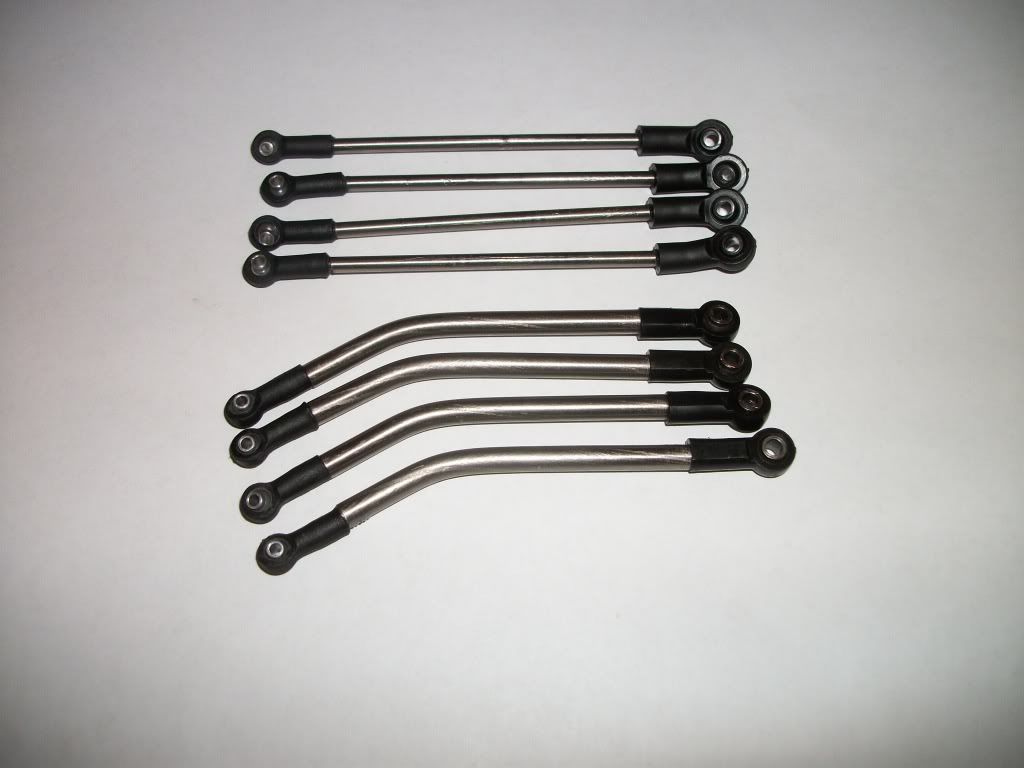 Installed. I am pretty happy with the clearance  I had to do some bending to clear the lowers in the rear and to clear the shocks/lowers in the front. 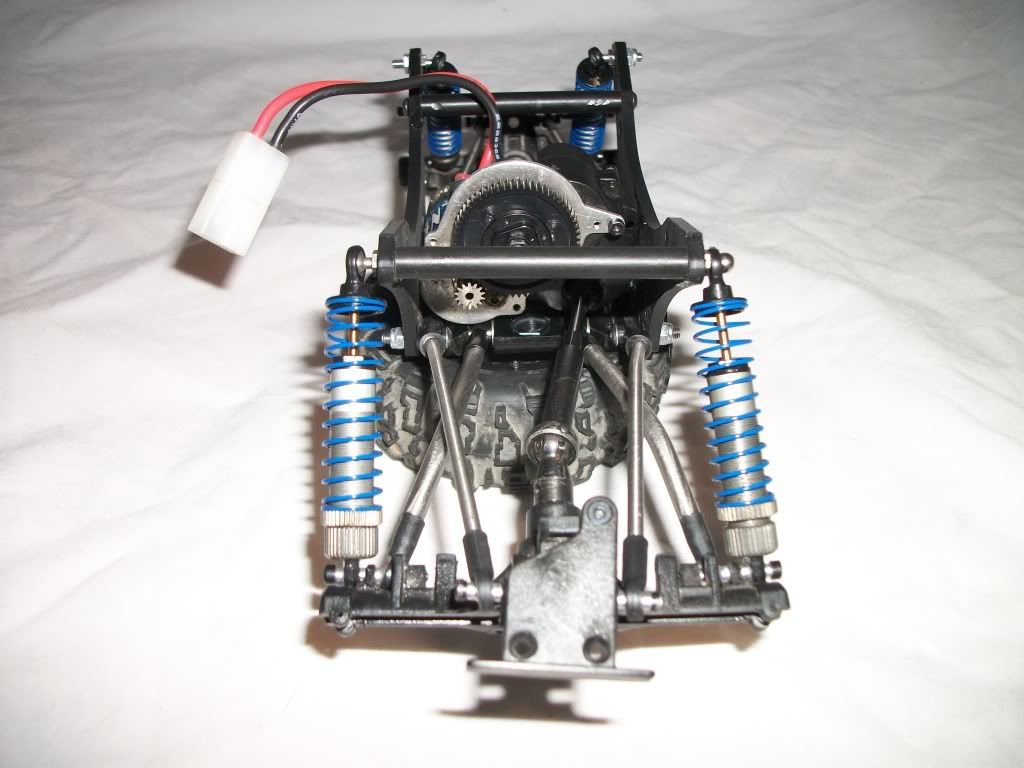  |
|
| |
|
01-02-2011, 11:25 PM
| #7 |
| Wanna get? Gotta want. Join Date: Apr 2010 Location: SLC, UT
Posts: 7,052
|
After the links were done and I had my pinions/axles clocked, I wanted to tackle the front axle. I wanted to be careful because I knew I wanted to run 20+ degrees of caster but I also wanted to run my steering behind the axle. While sitting and thinking I had a moment of clarity... 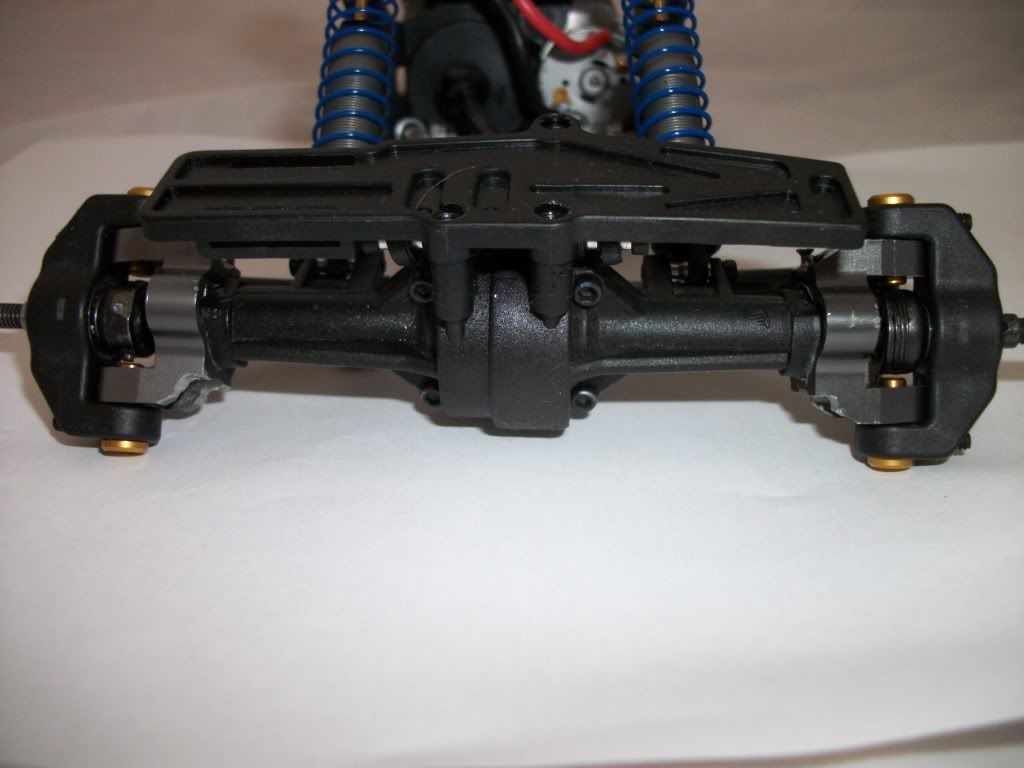 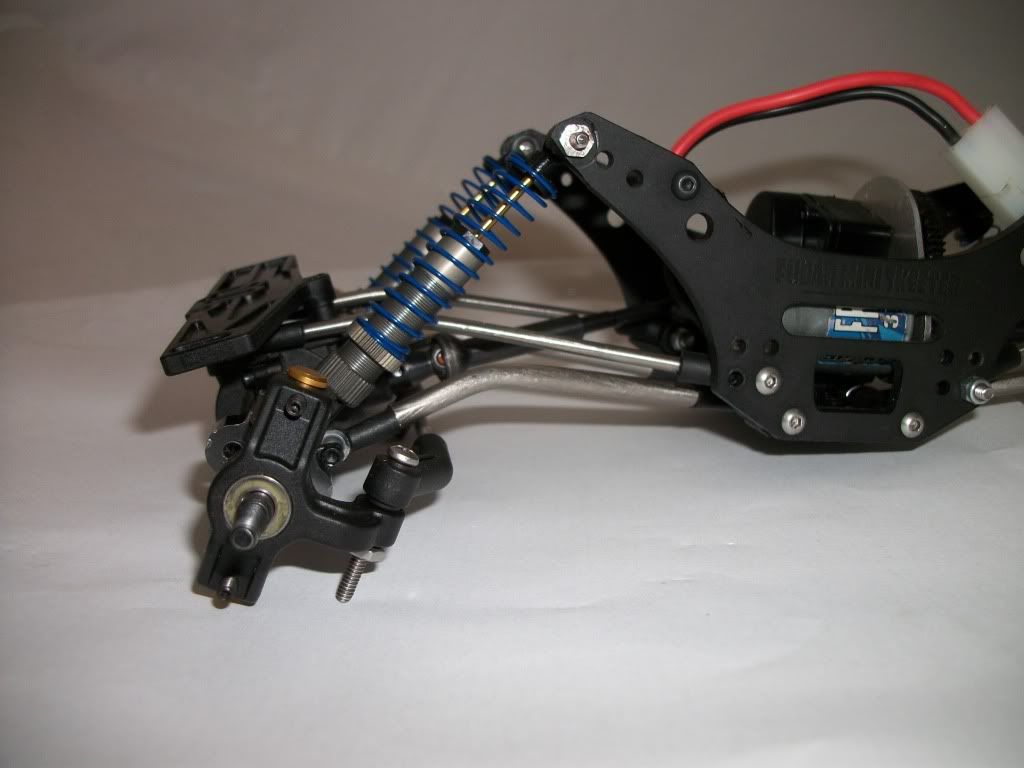 |
|
| |
|
01-02-2011, 11:28 PM
| #8 |
| Wanna get? Gotta want. Join Date: Apr 2010 Location: SLC, UT
Posts: 7,052
|
After fitting the "C"s, everything just feel into place. Knuckle weights! Booyah!  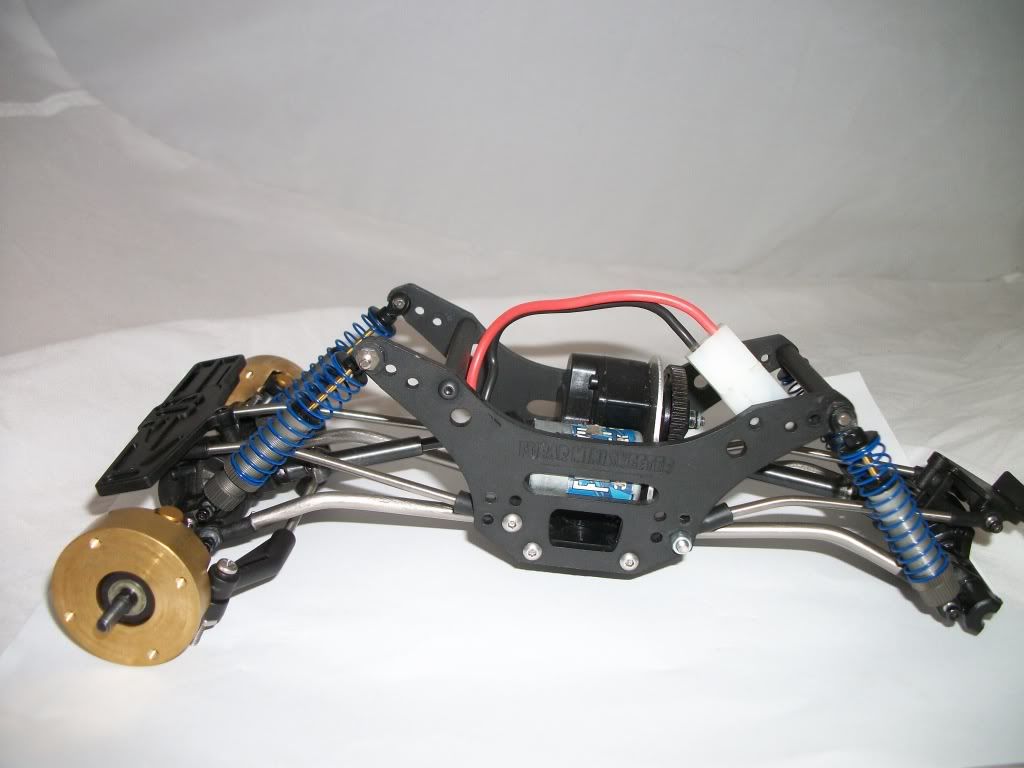 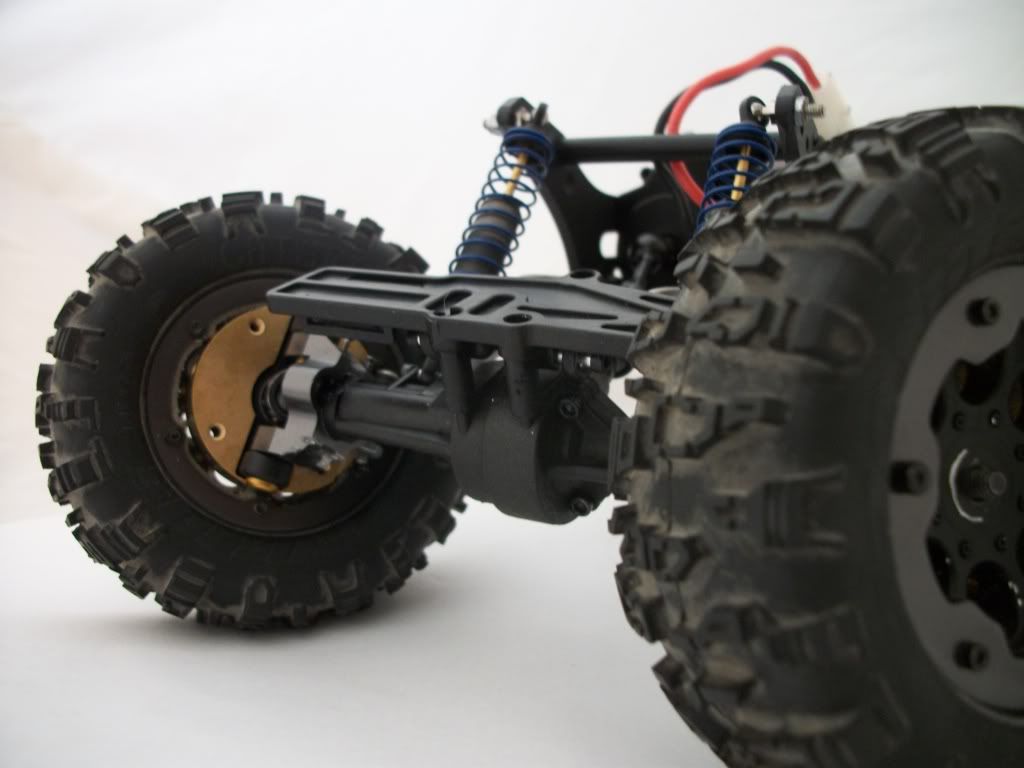 |
|
| |
|
01-02-2011, 11:36 PM
| #9 |
| Wanna get? Gotta want. Join Date: Apr 2010 Location: SLC, UT
Posts: 7,052
|
Next up I ran into sort of a jam. At full lock the tire was going to get into the battery and servo. I needed to figure out a way to narrow the wheels or do some wideners. I dont want to run a widener yet if I dont have to. I would like it to be an option and not a requirement. I sat and looked at the wheel for a bit and it took awhile to figure out how to narrow it. I took a piece of steel and machined it so it was the perfect width and so it had a groove for the bead. It worked out awesome. Only problem was that I knew that narrowing the wheel really meant commitment to the wheel weights because I knew there really would not be room for weight on the inside now. Knowing this, I also took as much material out of the back of the wheel as I could to try and fit more rings on. 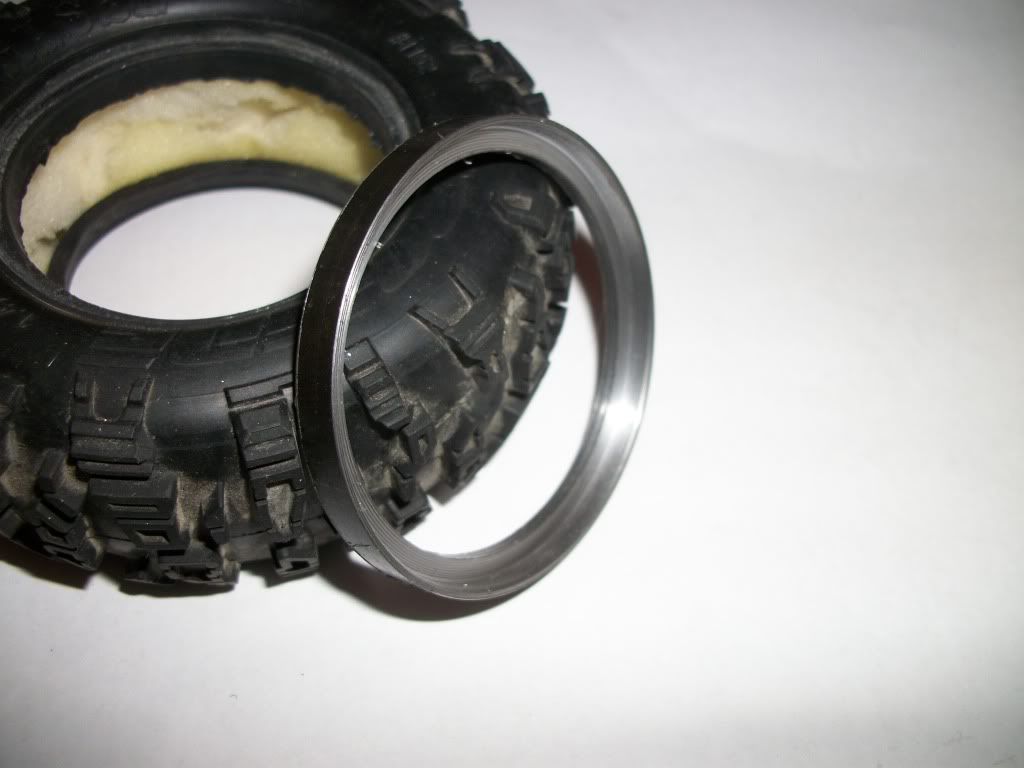 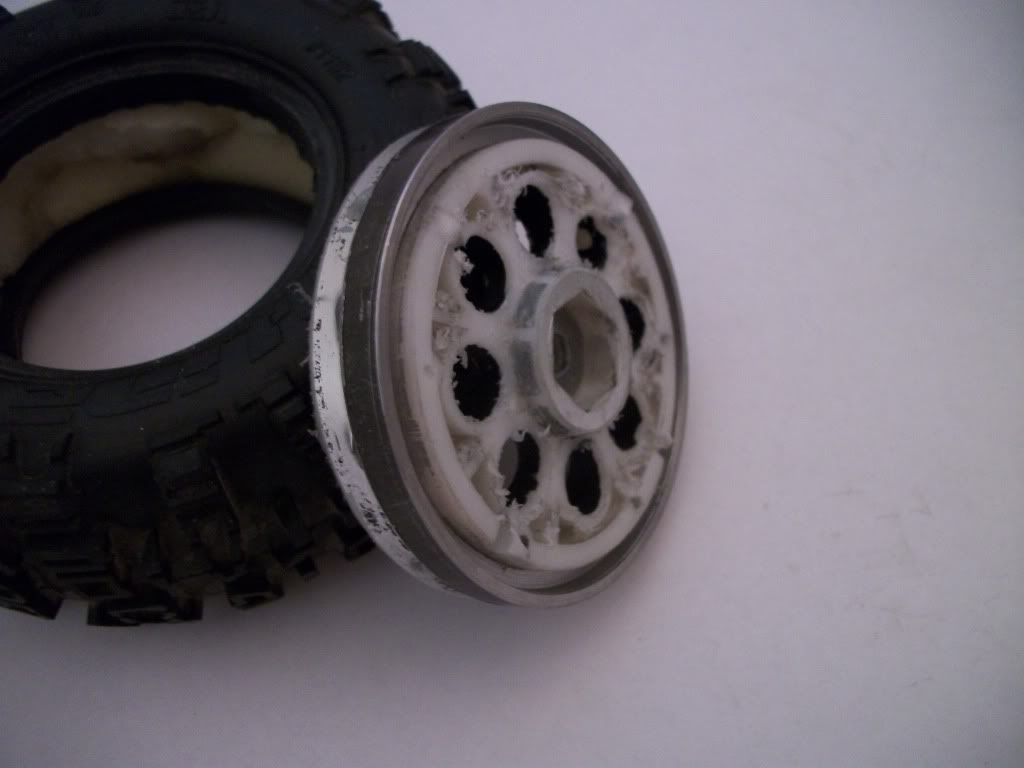 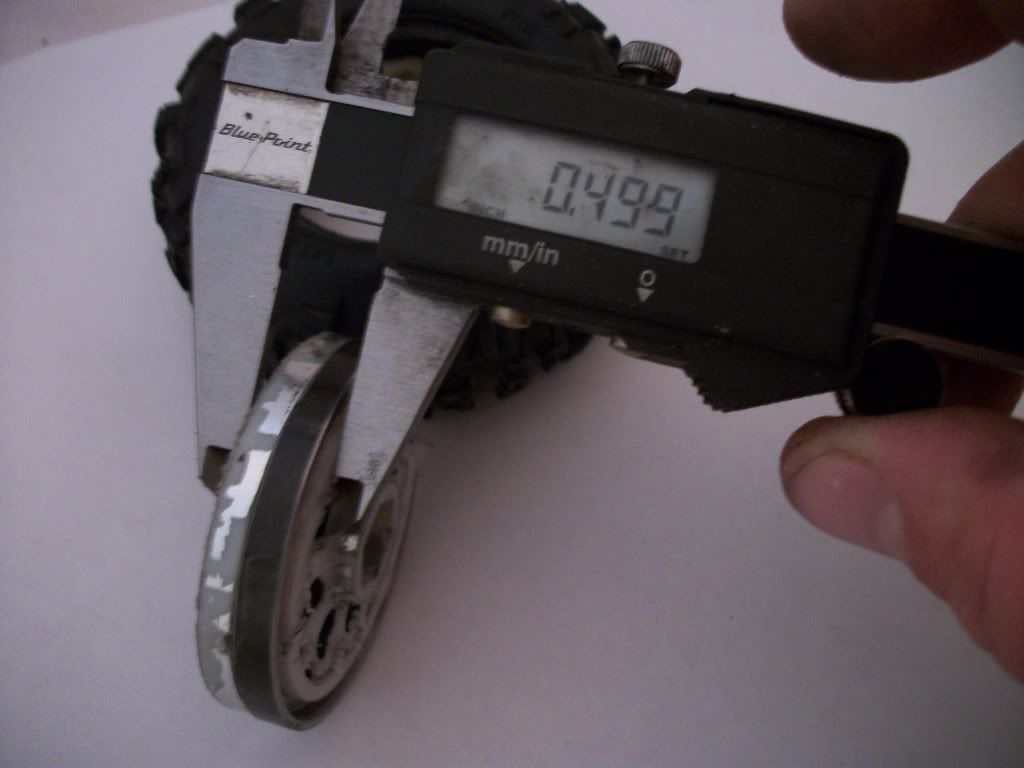 .5 wheel next to the old .750 wheel  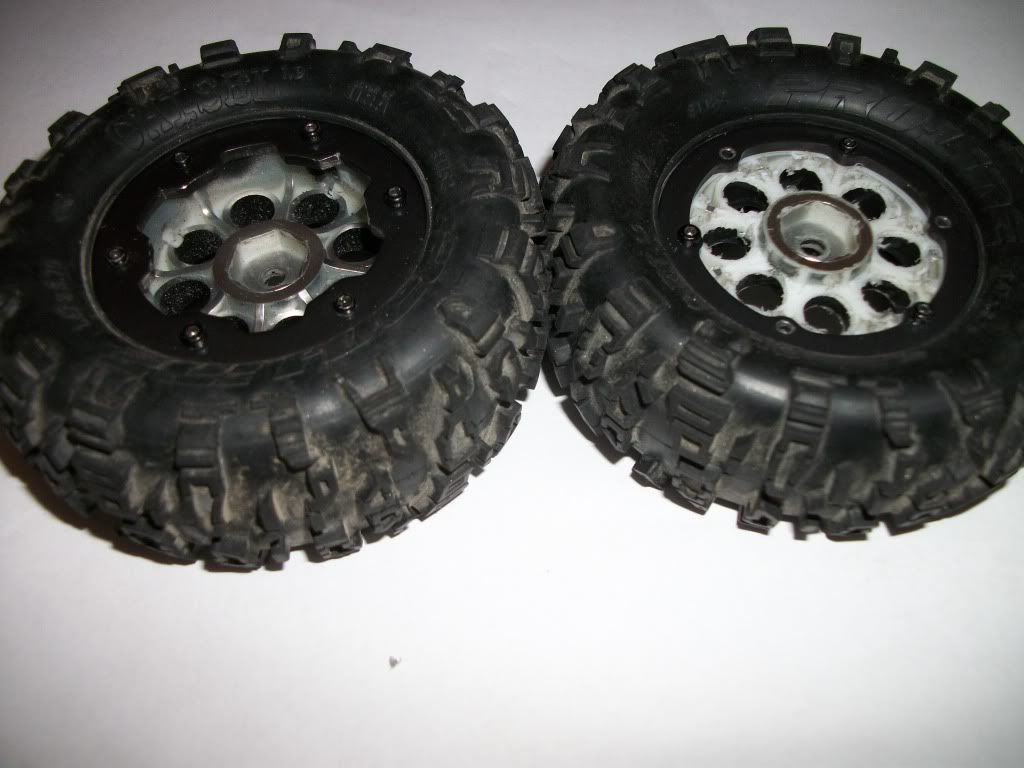 |
|
| |
|
01-02-2011, 11:37 PM
| #10 |
| Wanna get? Gotta want. Join Date: Apr 2010 Location: SLC, UT
Posts: 7,052
|
Here is where I was sitting before the narrow wheels and after. I should be able to squeak by now. 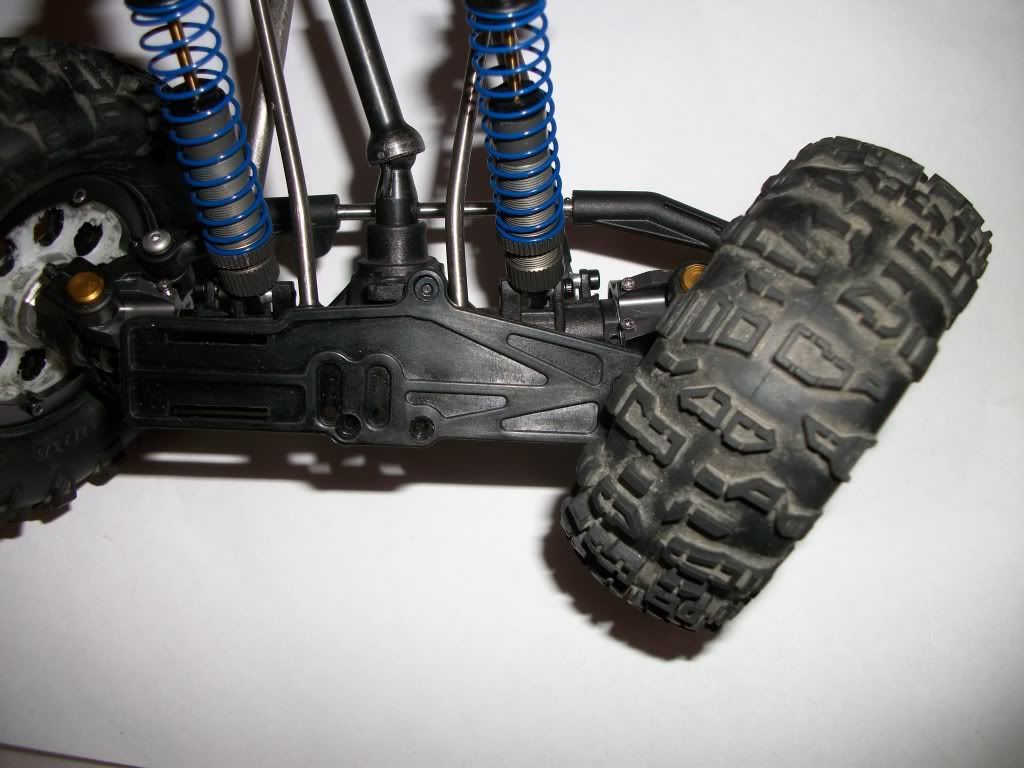 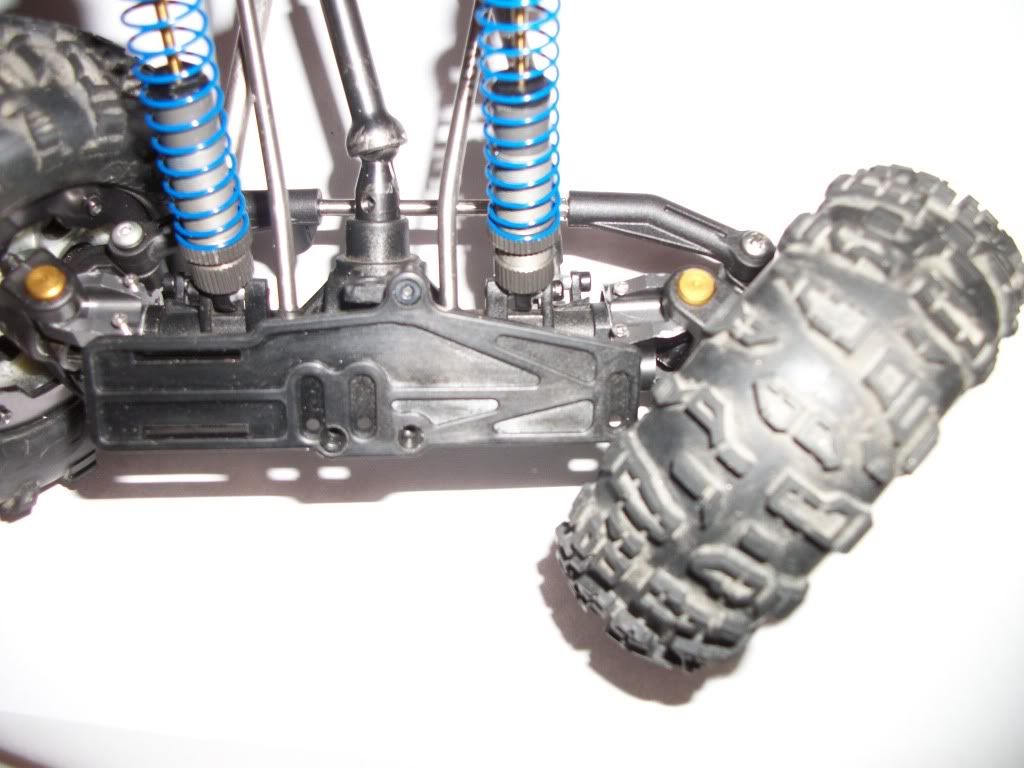 |
|
| |
|
01-02-2011, 11:46 PM
| #11 |
| Wanna get? Gotta want. Join Date: Apr 2010 Location: SLC, UT
Posts: 7,052
|
Now to the commitment of the knuckle weights... I was able to squeeze: Knuckle weight 2.3oz 2- .100 ring per side .45oz ea 1- Large outer steel ring per side 3.4oz Total of 6.6oz of just knuckle weights! The tire/wheel combo weighs a svelte 3.1oz 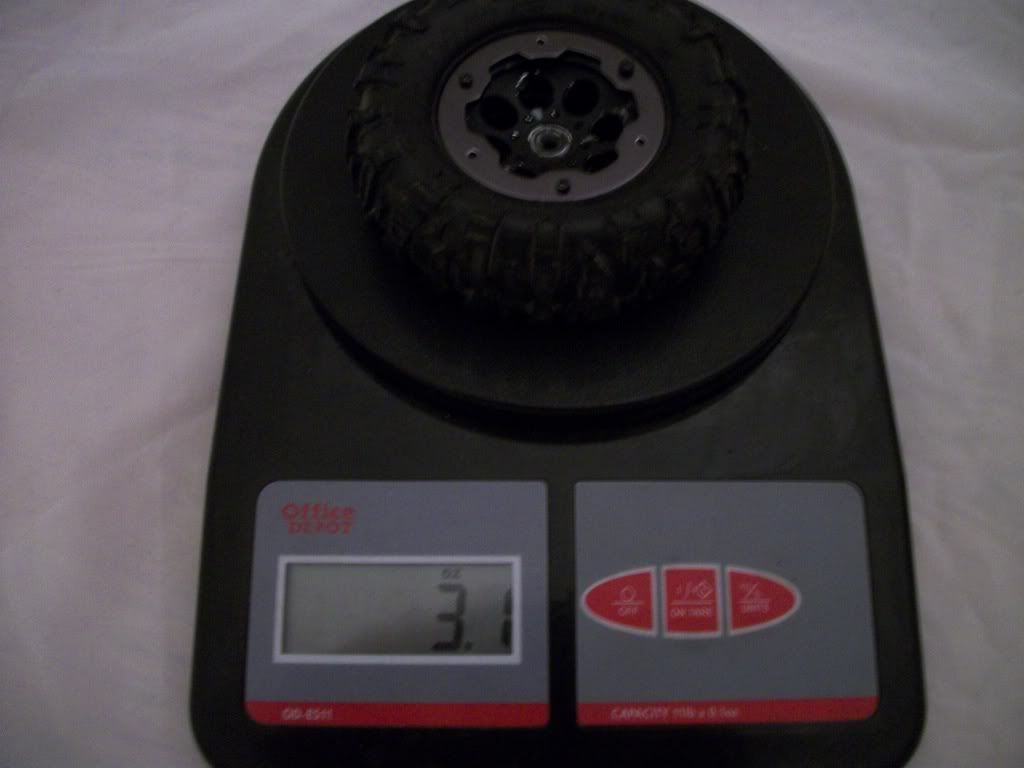 Wheel/tire/weights can be adjusted up to 9.9 oz per side. 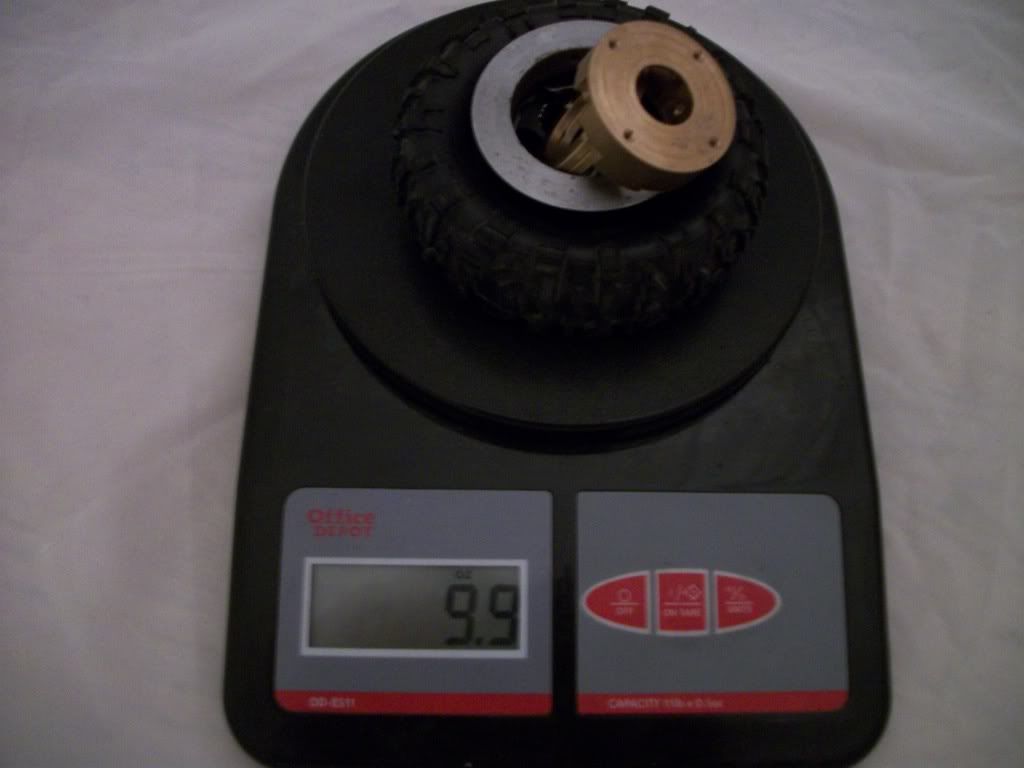 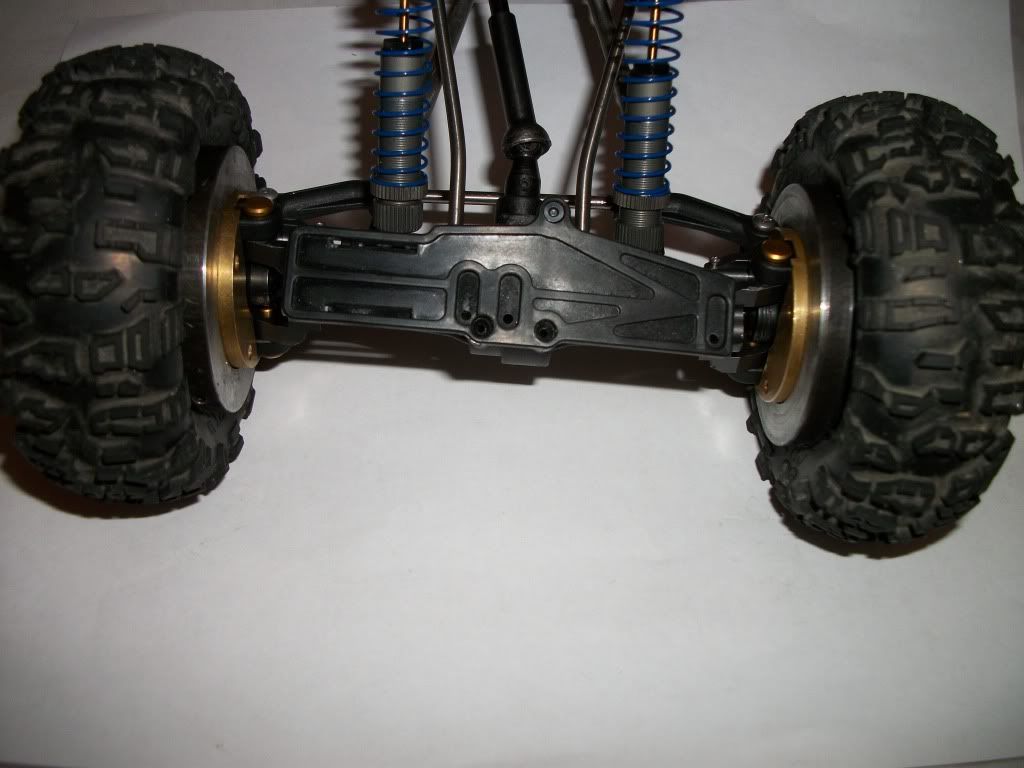 |
|
| |
|
01-02-2011, 11:48 PM
| #12 |
| Wanna get? Gotta want. Join Date: Apr 2010 Location: SLC, UT
Posts: 7,052
|
Last thing I got finished was the BTA steering. Everything on the lower tie rod is above the axle center line. 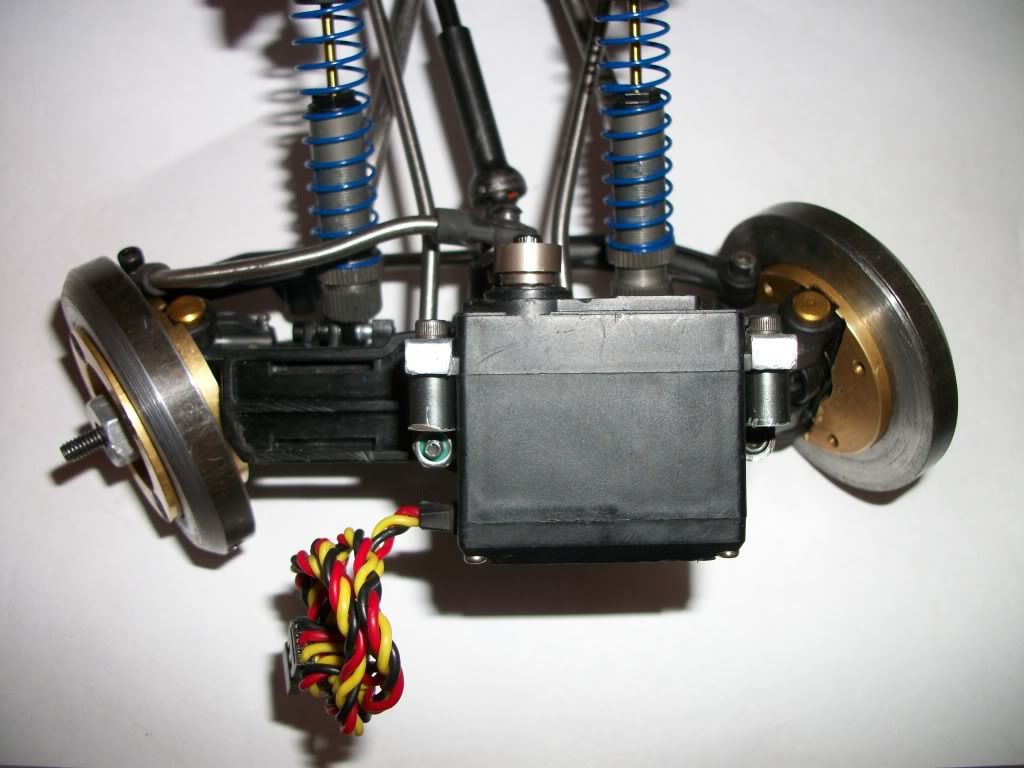 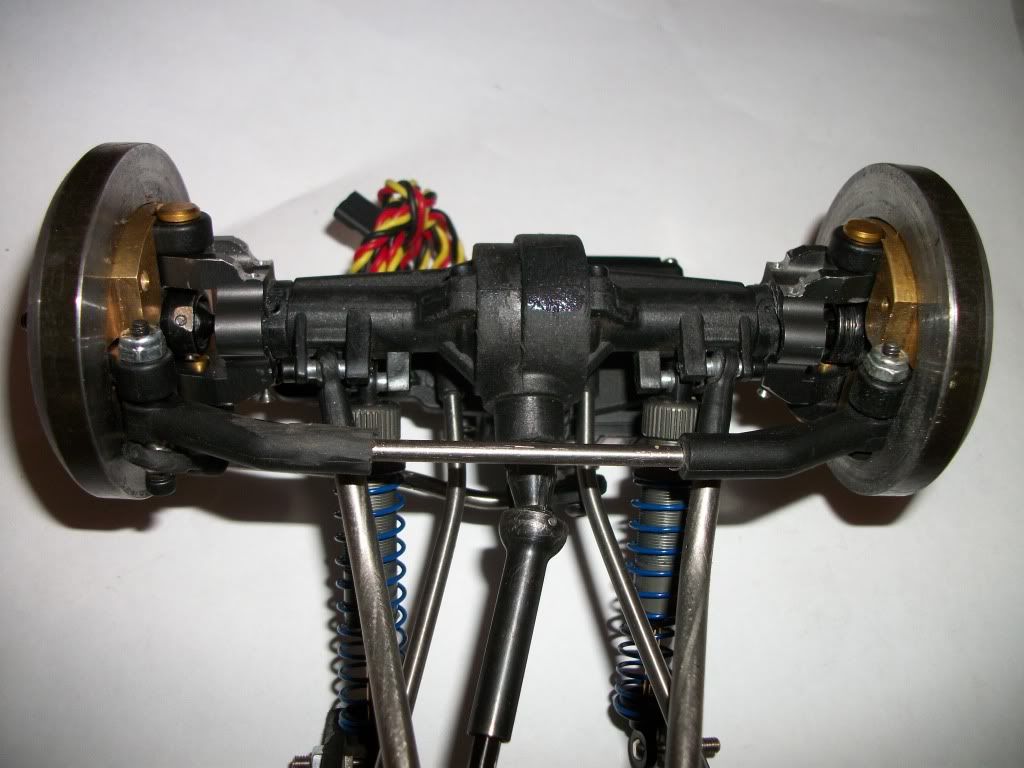 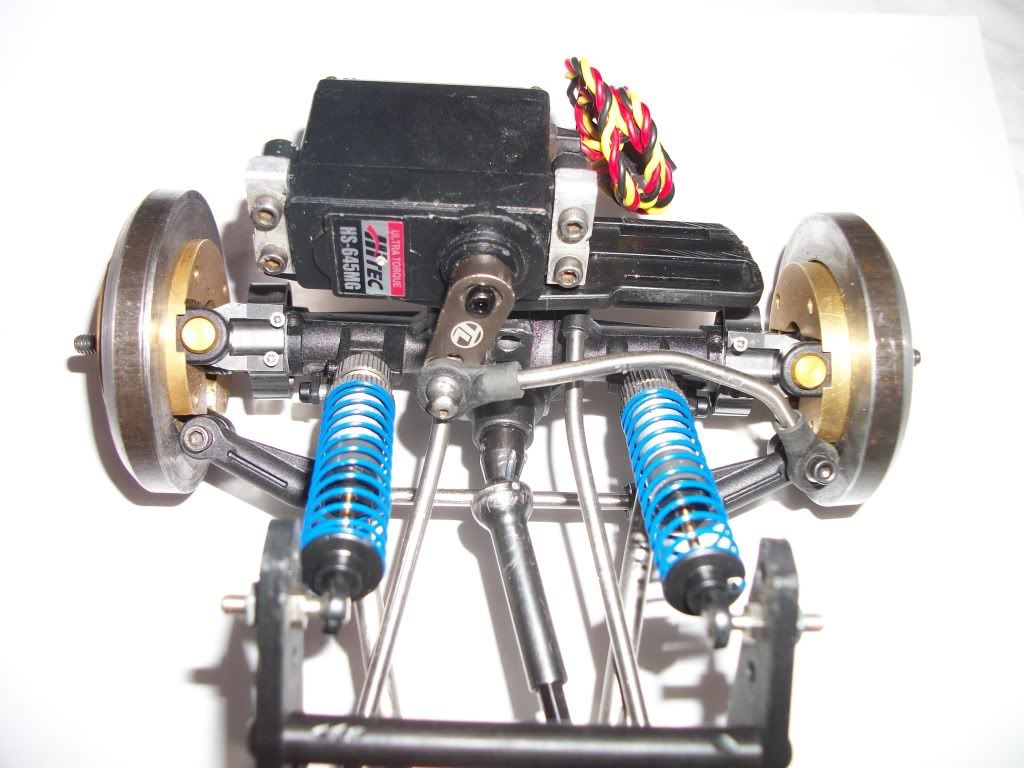 |
|
| |
|
01-02-2011, 11:51 PM
| #13 |
| Wanna get? Gotta want. Join Date: Apr 2010 Location: SLC, UT
Posts: 7,052
|
Thats where I am currently. As soon as my parts show up (after a 6 day delivery from less than 10hrs driving distance A couple of mandatory 20+* full turn shots. 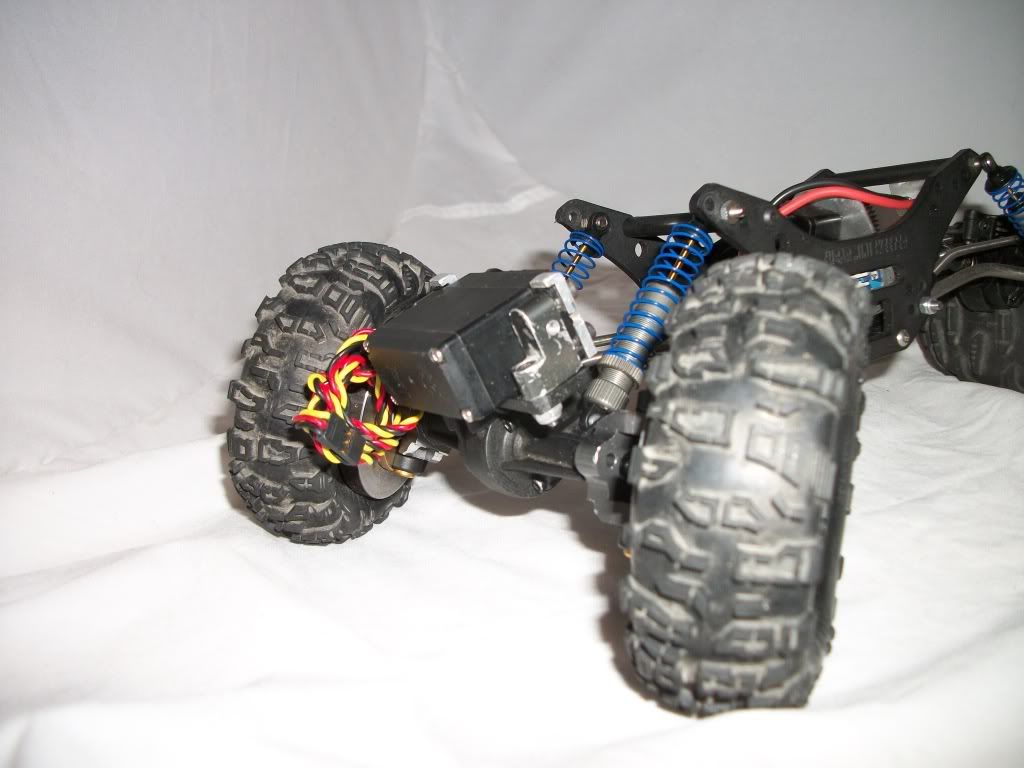 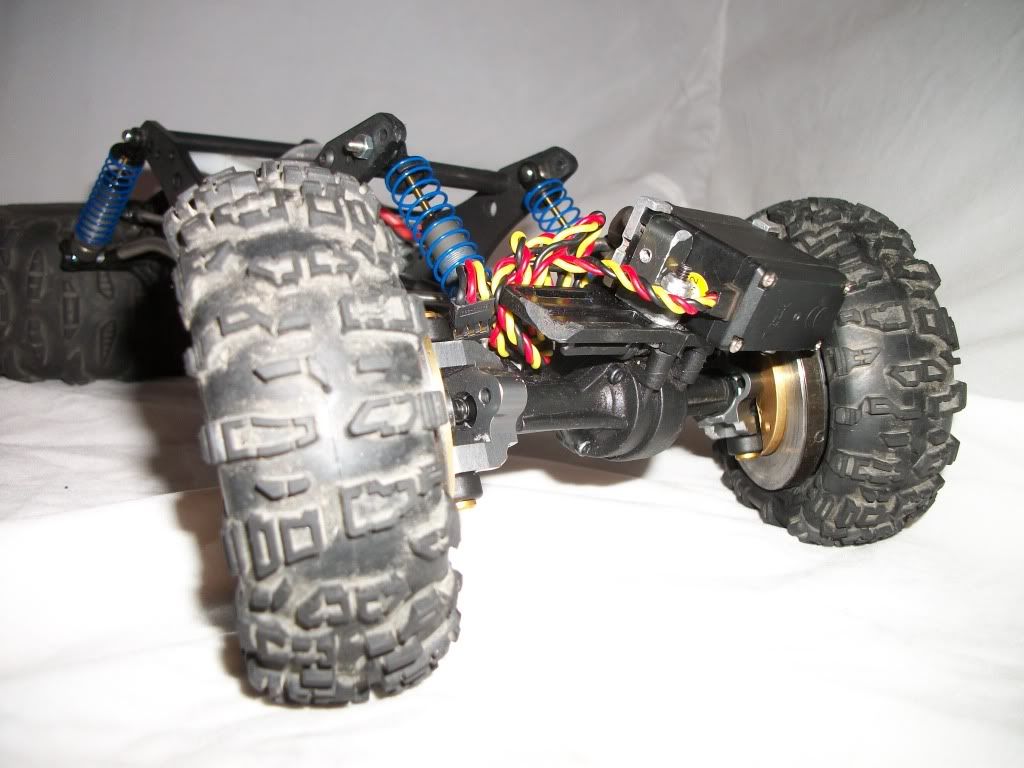 |
|
| |
|
01-03-2011, 12:18 AM
| #14 |
| I wanna be Dave Join Date: Jan 2009 Location: laying low
Posts: 2,508
|
awesome build....can I get some of those weights? I like the BTA...I have about 20* on mine but i'm not real happy with the steering...I think I need to tweak the linkage some more... nice work...cant wait to check it out at the black rock comp this next sat..  |
|
| |
|
01-03-2011, 07:13 AM
| #15 |
| Quarry Creeper Join Date: Oct 2009 Location: Athens
Posts: 474
|
Fantastic build, what knuckles are they?
|
|
| |
|
01-03-2011, 07:25 AM
| #16 |
| I wanna be Dave Join Date: May 2010 Location: Stowe
Posts: 3,987
|
Great Job Erik, I wish they had the 20* knuckles for the MRC like they do for the LCC. I looks like you are going to smash your servo with it pointed like that. Last edited by Jslick; 01-03-2011 at 09:29 AM. |
|
| |
|
01-03-2011, 07:44 AM
| #17 | |
| I wanna be Dave Join Date: Sep 2005 Location: Houston, TX
Posts: 16,952
|
Nice work Erik! Quote:
| |
|
| |
|
01-03-2011, 07:49 AM
| #18 |
| Rock Crawler  Join Date: Mar 2009 Location: Grand Jct.
Posts: 581
|
Very creative with the LCC knuckles and C's. |
|
| |
|
01-03-2011, 09:28 AM
| #19 |
| Quarry Creeper Join Date: Apr 2009 Location: Hampshire, UK
Posts: 396
|
Those knuckle weights are just fantastic ! Wish I could just pop out back and machine stuff that was needed for a build - great job |
|
| |
|
01-04-2011, 11:02 PM
| #20 | |
| Wanna get? Gotta want. Join Date: Apr 2010 Location: SLC, UT
Posts: 7,052
| Quote:
All you need is some LCC C's and knuckles and you too can have knuckle weights. Hopefully I will be bringing it to Black Rock.... When I first got this I plugged my battery in and the ESC lasted less than 20 seconds until it fried. It was a Mamba 25. I didnt know the history of it so I just chalked it up to being old/abused. I put my new Mamba micro ( I just got yesterday) in tonight and it lasted about 10 seconds before going up in smoke. I have no idea why they burned up. The only constants are my 3s lipos and the Losi Frenzy motor????? I run the 3s with no problem in my LCC so I dont know that they would be the problem. Would it be the motor? Tomorrow I am going to go see if I can buy ANOTHER micro sidewinder and a new motor. Hopefully it wont smoke the ESC again. | |
|
| |
 |
| |


 Linear Mode


