| |
 07-19-2010, 02:51 PM
| #21 | ||
| I wanna be Dave  Join Date: May 2006 Location: HONDURAS...ROCK HEAVEN
Posts: 5,076
| Quote:
 Quote:
Last edited by cartronicshn; 07-20-2010 at 11:44 AM. | ||

|  |
| Sponsored Links | |
| | |
|
08-01-2010, 10:24 AM
| #22 |
| Pebble Pounder Join Date: Jan 2010 Location: Glenview
Posts: 129
|
made some progress, cnc'ed up some 6061 servo mounts. Also got the linkages done for front and rear steer... 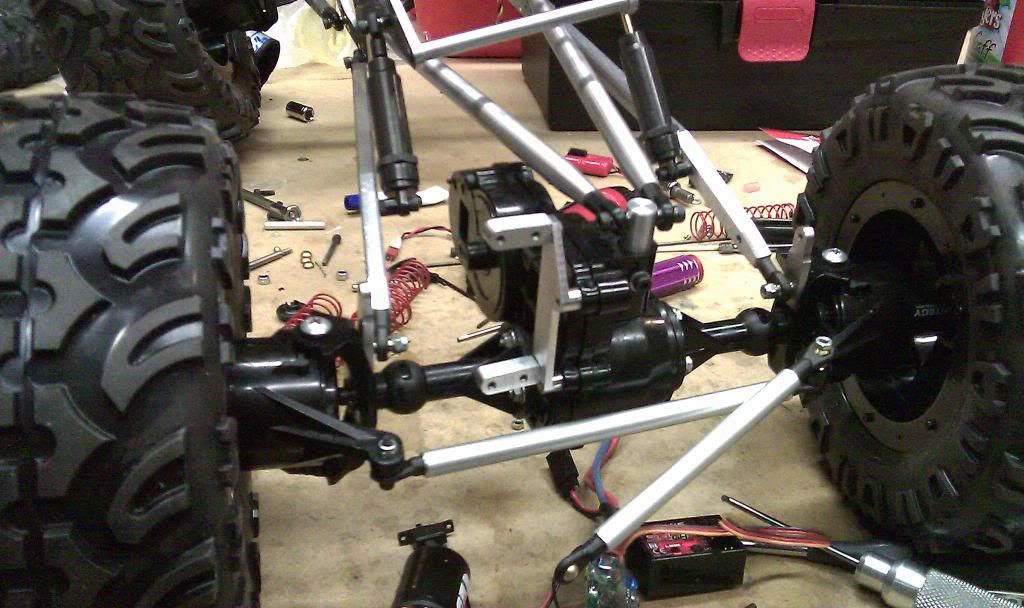 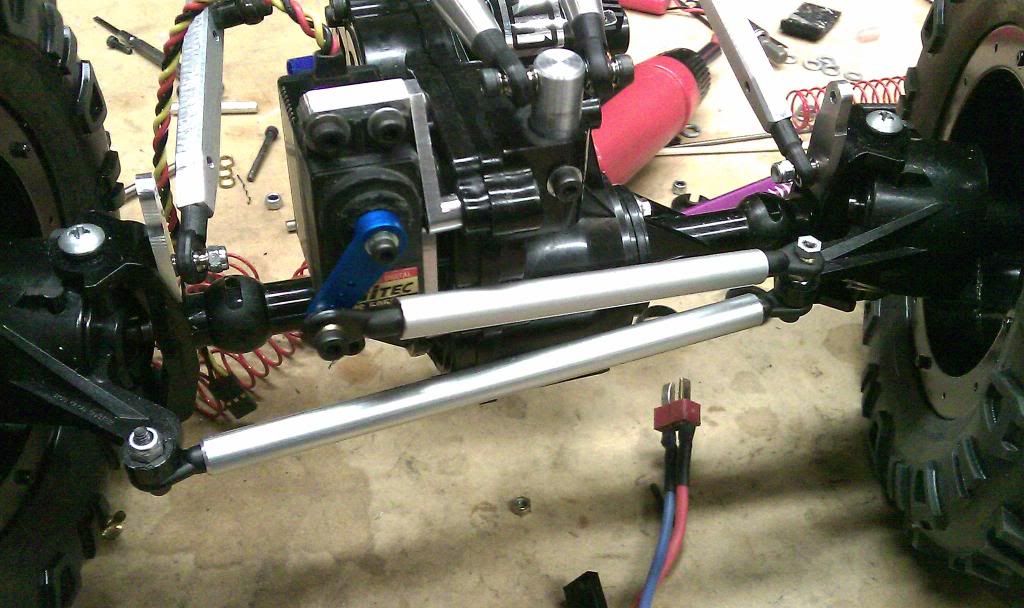 Also cut the delrin skid, need to drill it and do the 45 degree chamfers on it... |
|
| |
|
08-02-2010, 03:49 PM
| #23 |
| Rock Crawler Join Date: Aug 2008 Location: Strugglin
Posts: 963
|
Looks great .But those rod ends look small might want to go with 4mm revo ends..
|
|
| |
|
08-02-2010, 04:46 PM
| #24 |
| Pebble Pounder Join Date: Jan 2010 Location: Glenview
Posts: 129
|
More progress, finished the two piece light bar, (still need to install LEDs and wire them)  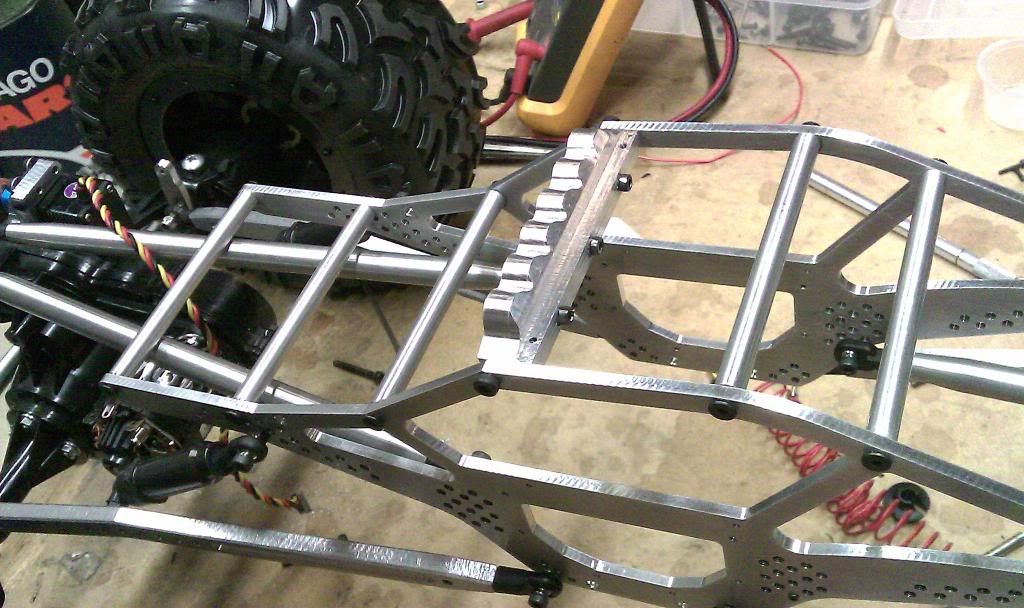 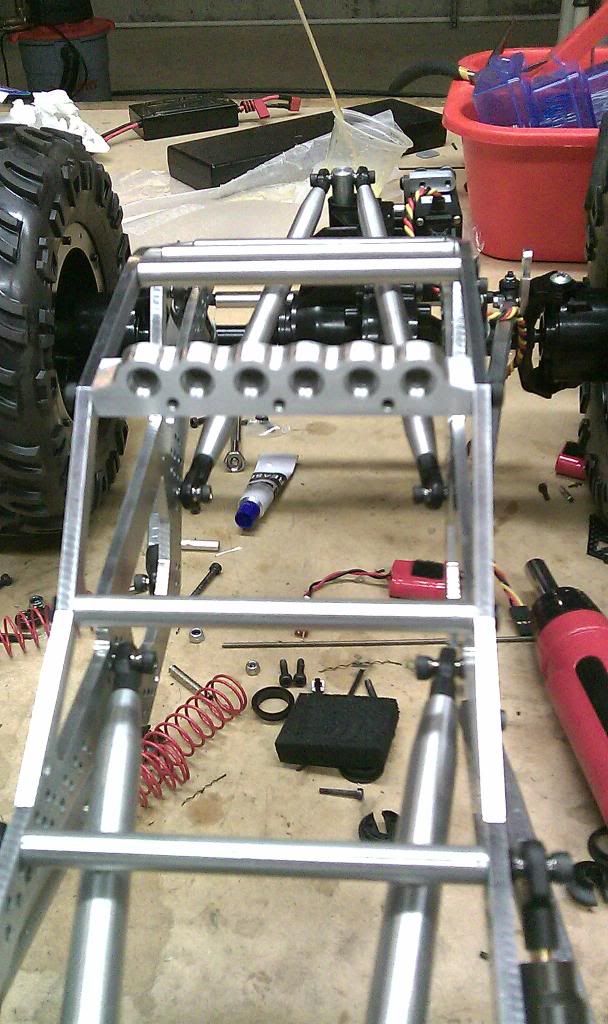 |
|
| |
|
08-02-2010, 04:50 PM
| #25 |
| Pebble Pounder Join Date: Jan 2010 Location: Glenview
Posts: 129
|
Thanks Hardhead, Re: rod ends, for the 7 bucks it cost me for this set, I'm going to give them a whirl and if it doesn't work, the drill and tap to 4mm is only a mild annoyance and pretty easy to do. But good suggestion... |
|
| |
|
08-02-2010, 04:55 PM
| #26 |
| Pebble Pounder Join Date: Jan 2010 Location: Glenview
Posts: 129
|
Finally got a spool of lead rope, any suggestions on starting point for weights fr/rear? I've got 5lbs worth so as long as the total doesn't go over that, I'm good |
|
| |
|
08-03-2010, 01:05 PM
| #27 |
| Rock Crawler Join Date: Jan 2007 Location: Do I look like a freaking people person?
Posts: 874
|
That light bar looks TOUGH!! |
|
| |
|
08-03-2010, 03:58 PM
| #28 |
| Pebble Pounder Join Date: Apr 2006 Location: Destin, Fl.
Posts: 109
|
Nice setup you have and some very nice work youve done Like the light bar, nice tuch to a great looking custom truck. I would love to have a small cnc and lath set up. Keep up the great work. Looking forward to seeing the finished truck. |
|
| |
|
08-04-2010, 12:22 PM
| #29 |
| Pebble Pounder Join Date: Jan 2010 Location: Glenview
Posts: 129
|
Thanks guys. A bit more progress last night, I'm inching along here... 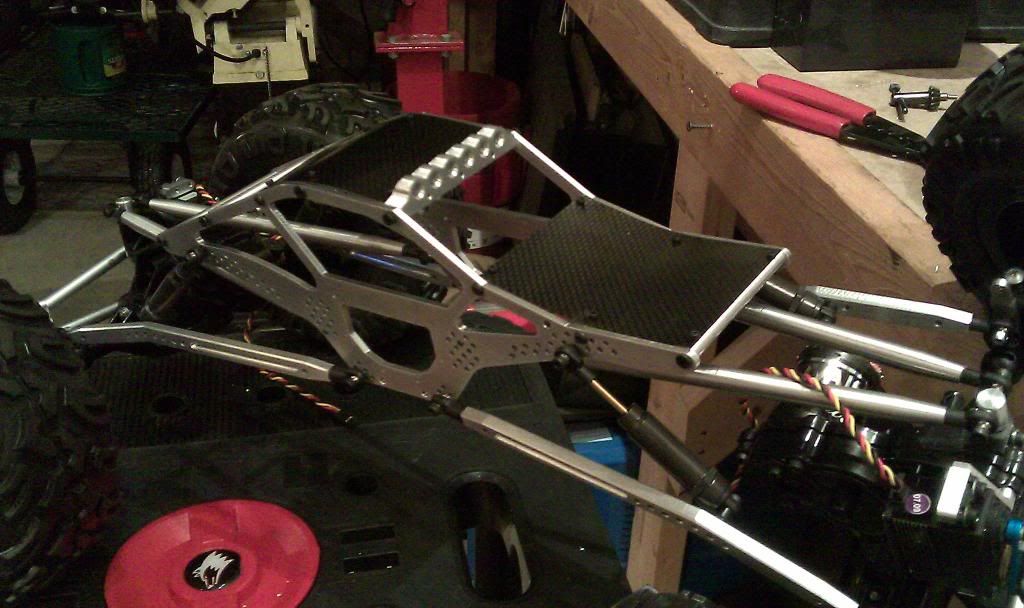 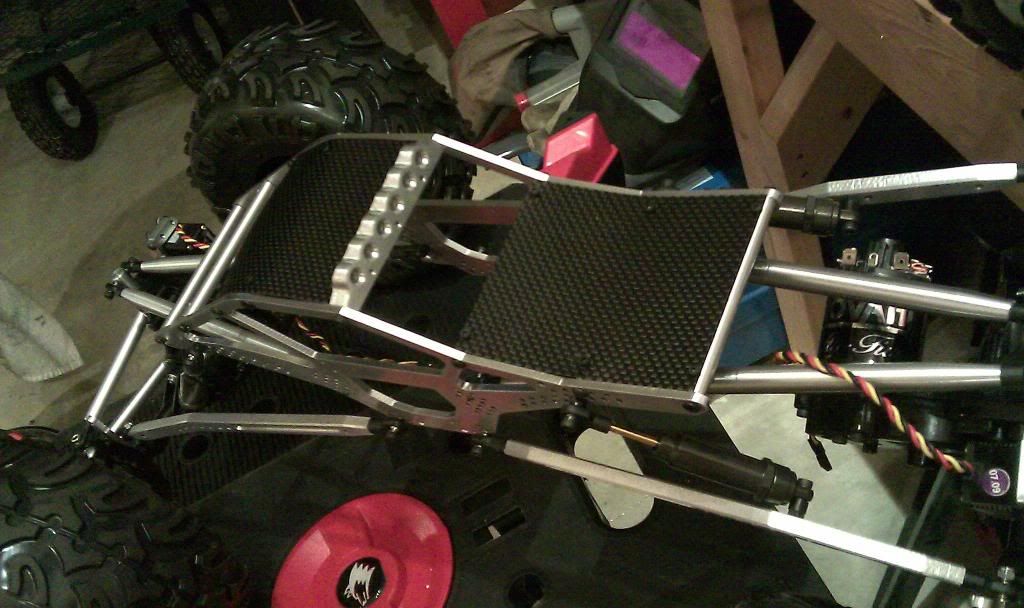 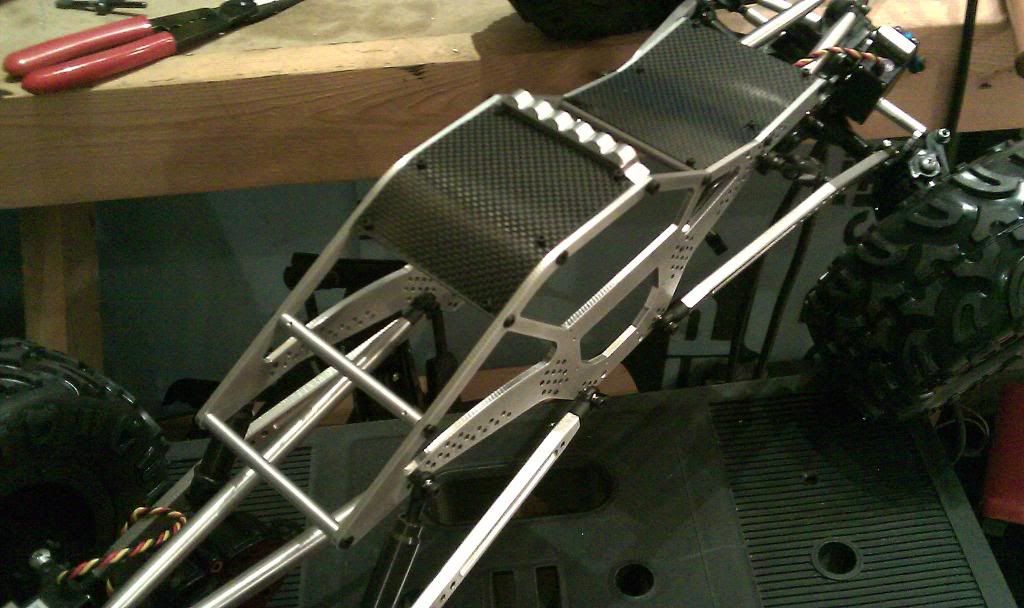 |
|
| |
|
08-05-2010, 07:43 PM
| #30 |
| Quarry Creeper  Join Date: Nov 2006 Location: out in boonies!!
Posts: 349
|
geez that's one slick build..... on way u did it.
|
|
| |
|
08-08-2010, 12:55 PM
| #31 |
| Pebble Pounder Join Date: Jan 2010 Location: Glenview
Posts: 129
|
more progress, finished rear grill/ light bar and back trunk panel 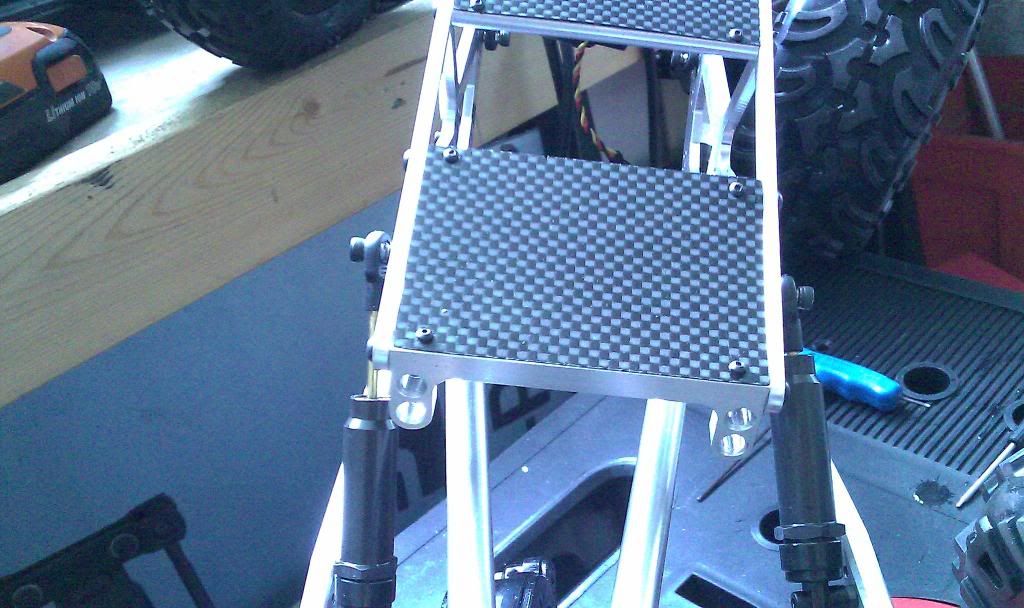 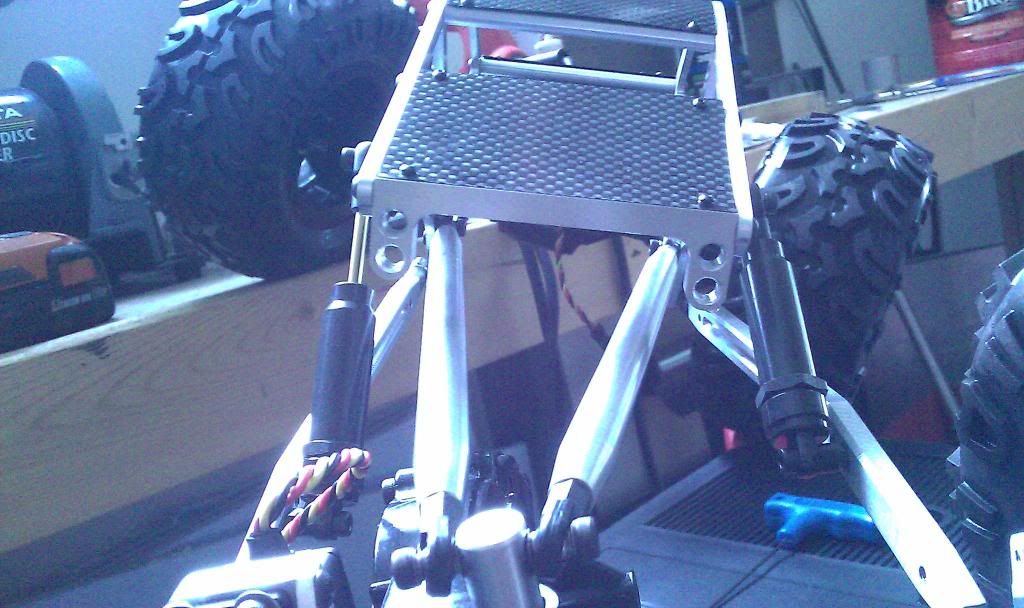 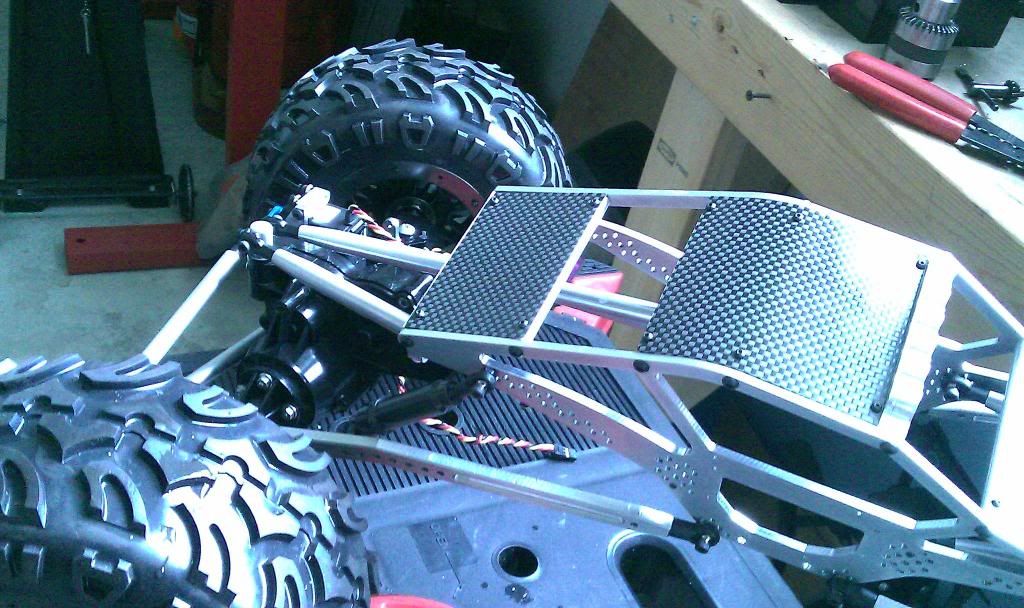  |
|
| |
|
08-17-2010, 06:08 AM
| #32 | |
| Newbie Join Date: Feb 2008 Location: somewhere
Posts: 33
| Quote:
| |
|
| |
|
08-17-2010, 07:35 AM
| #33 |
| Pebble Pounder Join Date: Jan 2010 Location: Glenview
Posts: 129
|
My understanding is that it helps get more pressure on smaller surface area of the tire to get better traction when you don't have a lot of rock surface area to put rubber on. Common sense tells me this is a bit of a balancing act though. Any of the professors here care to clarify? |
|
| |
|
08-18-2010, 03:23 AM
| #34 |
| Pebble Pounder Join Date: Oct 2006 Location: australia
Posts: 104
|
This thing is prime man good job on the milling an CNC. Youve done an awesome job |
|
| |
|
08-23-2010, 06:03 PM
| #35 |
| Pebble Pounder Join Date: Jan 2010 Location: Glenview
Posts: 129
|
Thanks Hodgy. Updates: 1) Cut a delrin lower skid with chamfered edges 2) Modified my Tq2.4 4 ch tx to change the red thumb button on ch3 to a 3 position switch (to allow rear, both, and front dig selection) 4) built the prototype TQ steering mixer for the 4th channel. The steering mixer takes input from channels 4, 5, and from the second channel 1 space on the TQ receiver. By flipping the channel 4 switch I can now select 4 wheel steering (mixed directly proportional to the steering channel input), crab (again mixed directly proportional to the steering channel), and locked out for front only steering. This is based on a 12F683 PIC with some pretty basic code. 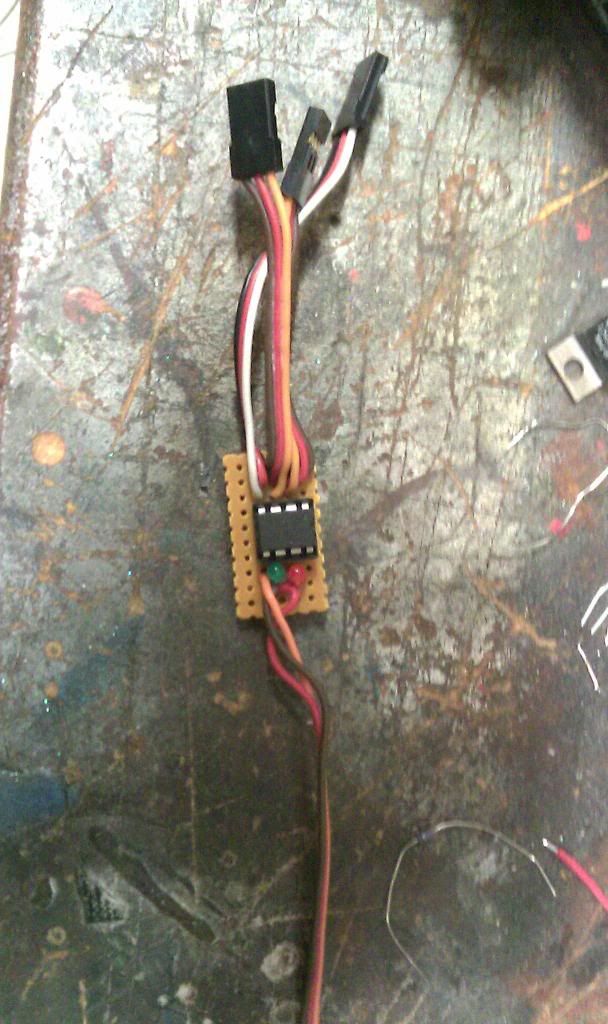 Next step is to build the throttle/DIG mixer... |
|
| |
|
08-27-2010, 01:13 PM
| #36 |
| Pebble Pounder Join Date: Jan 2010 Location: Glenview
Posts: 129
|
Got it running! Finished the electronic mixers and got everything hooked up (provisionally, now I need to tune). Quick vid of the DIG and steering mixing using a TQ2.4 radio with a 3 way switch added to it: 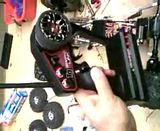 And a semi-final pic 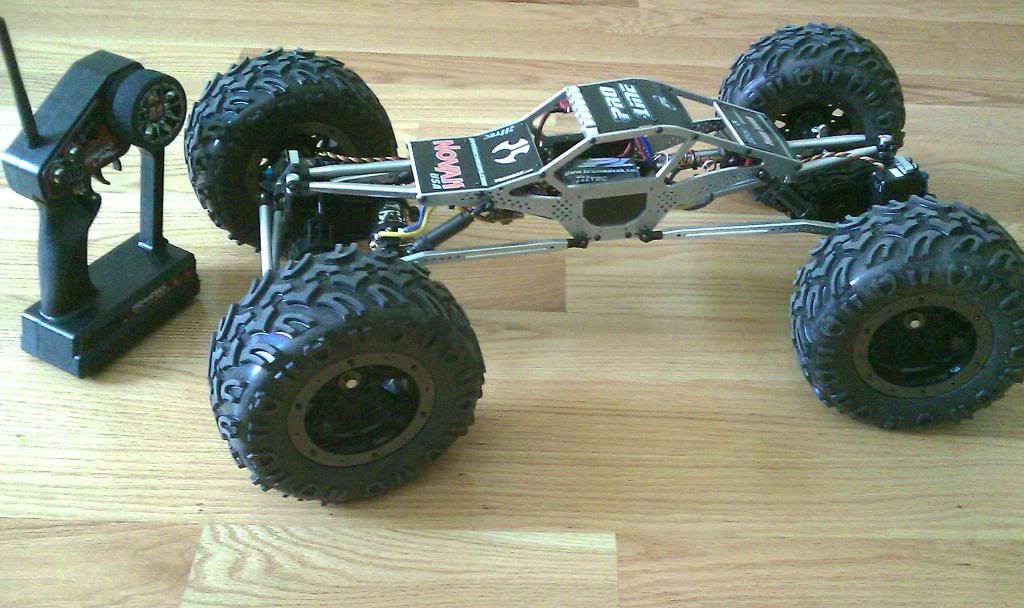 |
|
| |
|
08-27-2010, 01:17 PM
| #37 |
| Pebble Pounder Join Date: Jan 2010 Location: Glenview
Posts: 129
|
Now I need to weight the wheels, work on suspension tuning, and figure out if I have the right gear ratio. I ran it on the rock pile in the back and it was ok on the jagged horizontal stuff but the vert felt a bit anemic. I might look into a lowered gear ratio. I alread broke and replaced a knuckle, I'm starting to think I may be reaching the limits of the clod axles and I'm actively working on figuring out how to get a hold of a set of super bullys (maybe with the 65/1 gear ratio)... |
|
| |
 |
| |


 Linear Mode


