| |
 05-08-2008, 01:16 PM
| #1 |
| Rock Crawler Join Date: Jul 2007 Location: central PA
Posts: 679
|
So one rig wasn't enough Gatekeeper Designs Delrin GC-2 Axial tranny TLT axles Bearings throughout RCP Super-Max clearance knuckles RCP ring/pinion front JB welded stocker rear...until RCP is back in stock with R/Ps RCP CVDs front RCP straight axle adapter Stainless Steel C's RC4WD straight axle Losi 4" w/ whites and trinity 30wt Traxxas steel links with Revo ends Traxxas Steel hd outputs all around 87/14 gearing RC4WD Super Narrows Pronline Eight-Shooters Losi Claws Pronline Badlands M2 Proline Flatirons M2 Jato driveshafts and homeade jato shaft dig Losi Grappler body...thinking of black for the color. JR XS3 sythensized cheapie JR dig servo...worked fine on my other homeade disconnect Things to add: Mamba Max 35t lathe Castle BEC Hitec 5995 ?????or??? 8-cell saddle Truck is basically in mock up..nothing is tightened down or greased. I tried to keep the link geometry as close to the Axial axles as possible. In the front, I mounted the upper links to the top of the link plate instead of the bottom. They were then hitting the plate under artic, so I put some flanged aluminum spacers under them. On the rear, my goal was to raise the upper links on the axle. I milled out some make-shift spacers from UHMW plastic and put them under the rear link attachments. This gave me link geometry VERY close to the Axial  Still waiting on some parts to come in...such as the driveshafts and new lower links. Then the entire rig will be torn down, greased as necessary, and put back together...ready for electronics. I'd like to take it to some comps, but it'll mainly be a basher rig. Sorry for the crappy pictures...but I will post better ones once the rig continues progress. 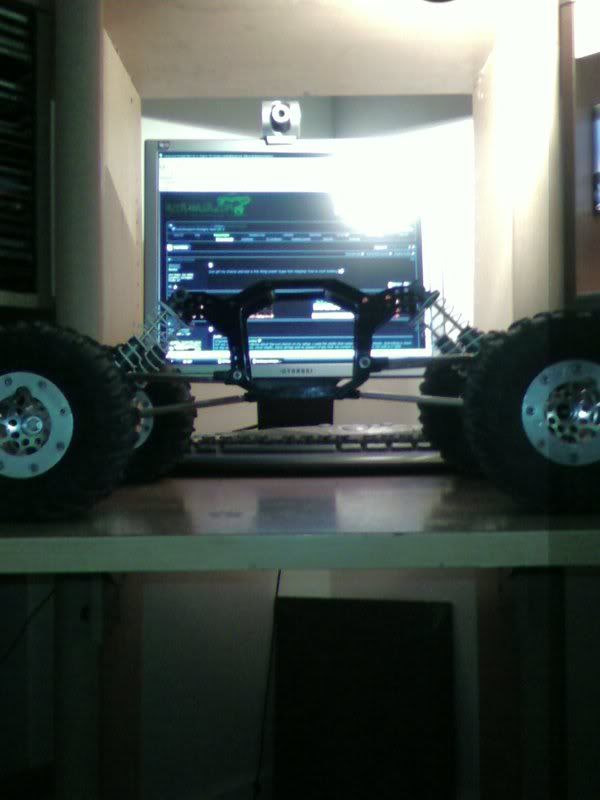 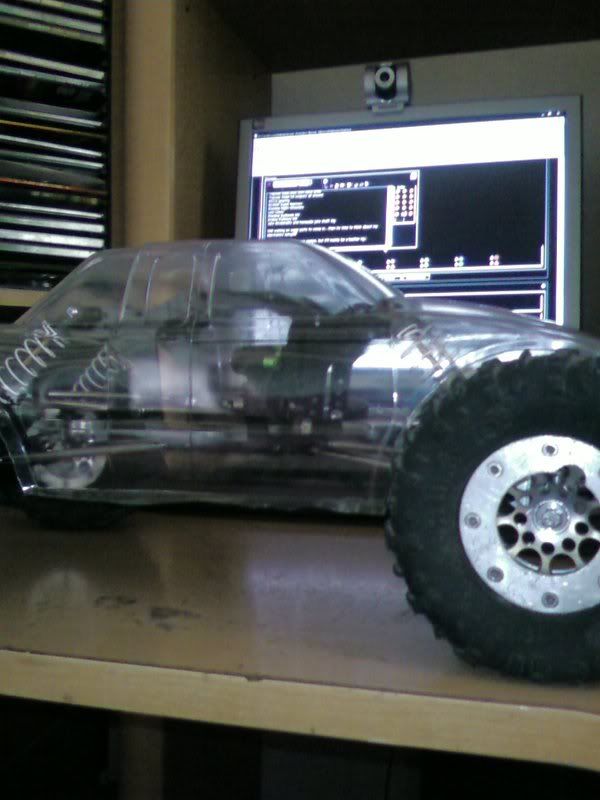 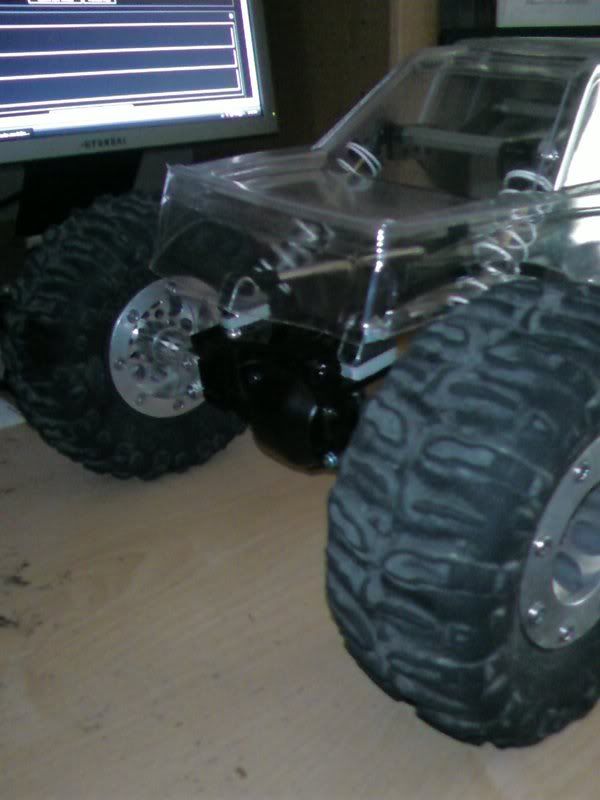 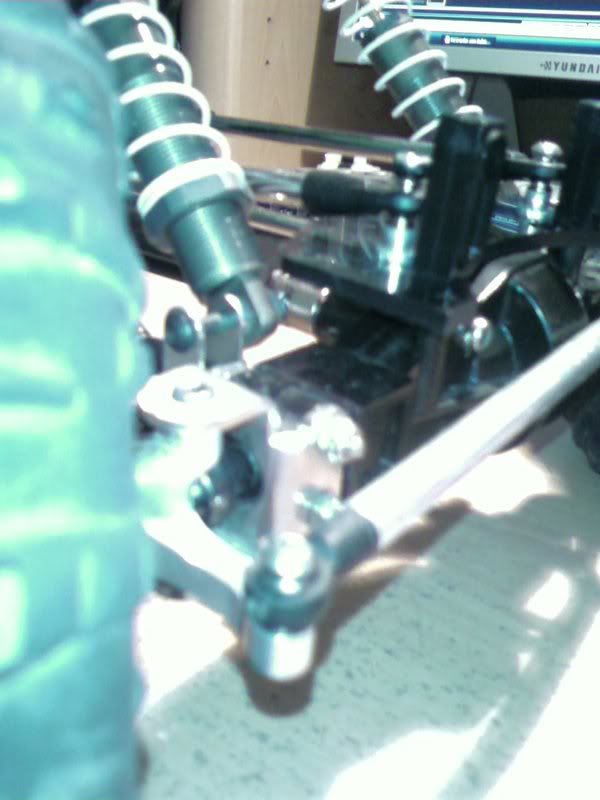 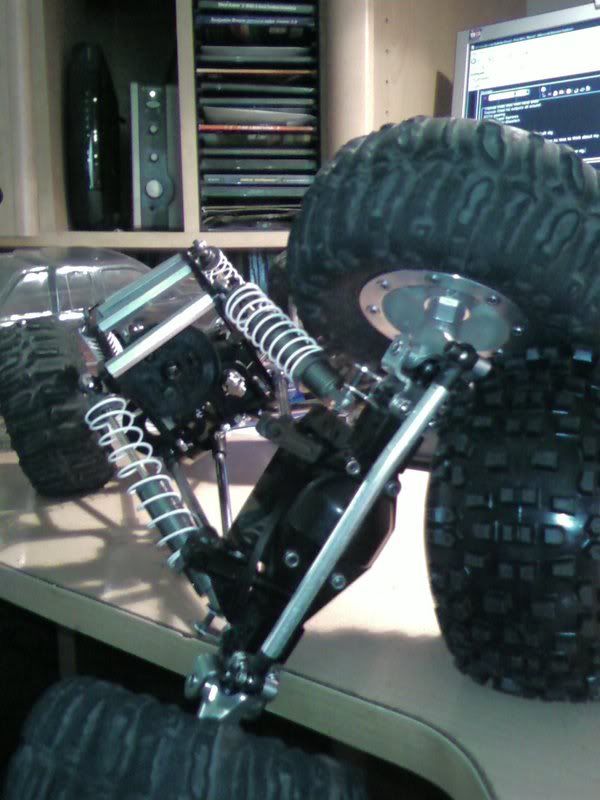 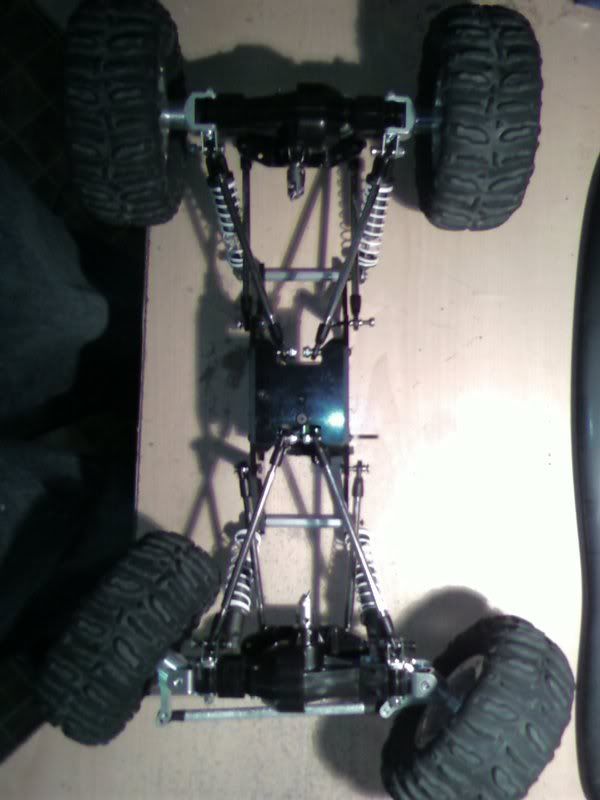 Thanks For Looking Hildy Last edited by Hildy; 05-08-2008 at 01:34 PM. |

|  |
| Sponsored Links | |
| | |
|
05-08-2008, 01:48 PM
| #2 |
| Tire&Foam Extraordinaire   Join Date: Jun 2007 Location: C.I. Compound, Tyler, Texas
Posts: 5,601
|
Looks good so far. How do you plan to mount the 8 cell saddle? The GC1 & 2 link plates are not the easiest plates to run 8 cell saddle packs with. Especially with TLT's. |
|
| |
|
05-08-2008, 02:05 PM
| #3 |
| Rock Crawler Join Date: Jul 2007 Location: central PA
Posts: 679
|
Nova, after thinking about that...I grabbed my 7 cell saddle pack and checked if the 4-cell cells together would fit in there. Well...it does...but its not gonna be pretty I don't want to go Lipo because Im hard on electronics and I don't want to spend all that money to just fry it anyways. lmao |
|
| |
|
05-08-2008, 02:41 PM
| #4 |
| Tire&Foam Extraordinaire Join Date: Jun 2007 Location: C.I. Compound, Tyler, Texas
Posts: 5,601
|
Hildy, I have two GC1's already. One is my son's and the other is mine. Mine has TLT's and is still under construction but my son's was done and was using Axial axles. I just traded his Axial axles and some other items for two sets of TLT's. Everything I own is Tamiya whether it be High Lift, TLT or Clod axles. My son was the odd ball with the Axials so I decided to switch him over to TLT's. He was running an 8 cell 2/3A saddle packs on his GC1 AX-10 and when I went to mock up the 8 cell with TLT's, it was not pretty like you mentioned. I have decided I am just going to make a custom upper link plate, wide enough to cover the top of the axle in order to mount the saddle pack. I can trace the GC1 plate over the new plate so that all the mounting holes are correct. I was also planning to slot the plate for velcro straps to hold down the batteries. It's just a thought, but you might want to do the same. It's the only way I can figure to cleanly mount the saddle pack on the front axle and make it easily accessible to swap out battery packs. Plus I was already planning to go ten cells for him when I get around to buying a new pack for him. By making the plate, it will allow for that. As for you comment on lipos, I totally understand. I did make the switch though and it's working out well for me. One 3S lipo 1300 mah in my 2.2 scaler yields an hour run time so it should do pretty well in a comp rig. Plus they are easier to mount. You will have to compensate for the lite weight of the lipo, but at least then you can put that weight where you want it. |
|
| |
|
05-10-2008, 06:33 PM
| #5 |
| Keep it real   Join Date: Jun 2006 Location: Yakima,WA
Posts: 6,532
|
Hildy, since you mounted the upper links directly behind the servo posts, you could cut off the link plate on either side, to allow more room for the saddle packs |
|
| |
|
05-11-2008, 09:26 AM
| #6 | |
| RCC Addict 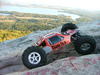 Join Date: Oct 2005 Location: Trussville, AL
Posts: 1,762
| Quote:
| |
|
| |
|
05-11-2008, 09:51 AM
| #7 |
| Rock Crawler Join Date: Jul 2007 Location: central PA
Posts: 679
|
Thanks for the great ideas guys! Ya know...the more I hear lipo the more I want to try it out. I'm sure the difference in performance is significant. But I think for now I'll try the saddle packs. I did a few small things to it since the start of this thread such as driveshafts, new lower links, and other misc. things toward the end of a roller build I tried to mount my Badlands to the RC4WD wheels and they wouldn't hold a bead. So those rims will hold Losi tires from now on I also did not like the NARROW stance of the truck with the Proline or RC4WD rims so I got the Eritex Inc black solids on sale for 60 shipped Thought that instead of getting wideners..why not just get rims with more offset |
|
| |
|
05-11-2008, 10:09 AM
| #8 |
| Tire&Foam Extraordinaire Join Date: Jun 2007 Location: C.I. Compound, Tyler, Texas
Posts: 5,601
|
I got a set of those Eritex wide offset comp heavies last night to . Lipo is great. The intial cost of a quality charger, batteries and balancer baords can be a set back, but it you take care of them, they work really well. I am still using 2/3A's for my RC18MT and my son's crawler, just because they are simple and easy to use. There is no worry about draining those packs to low and ruining them like a lipo. I did not pay close enough attention to the photos On the RC4WD bead locks, I had to mill the lip on the bead lock down on the two sets I own in order to get them to hold Mashers or Badlands. The lip sticks out to far and when the ring is screwed down, it does not pinch the bead of the tire into the bead lock far enough. Do you have any up dated photos? |
|
| |
|
05-11-2008, 10:28 AM
| #9 | |
| Keep it real Join Date: Jun 2006 Location: Yakima,WA
Posts: 6,532
| Quote:
| |
|
| |
|
05-11-2008, 10:55 AM
| #10 | |
| I wanna be Dave Join Date: Jun 2005 Location: KENNEWICK, WA
Posts: 2,513
| Quote:
"Hijack off"
| |
|
| |
|
05-11-2008, 11:06 AM
| #11 |
| Rock Crawler Join Date: Jul 2007 Location: central PA
Posts: 679
|
New pictures for now...not much new but gives a better look at it. Dont mind the mixmatched tires and rims...it'll be sporting Eritex/Badlands here soon. I'll get more as it progresses. Here shows max artic. I think I'll limit it some. Notice the slight bend in the tierod to clear the diff at 44* steering 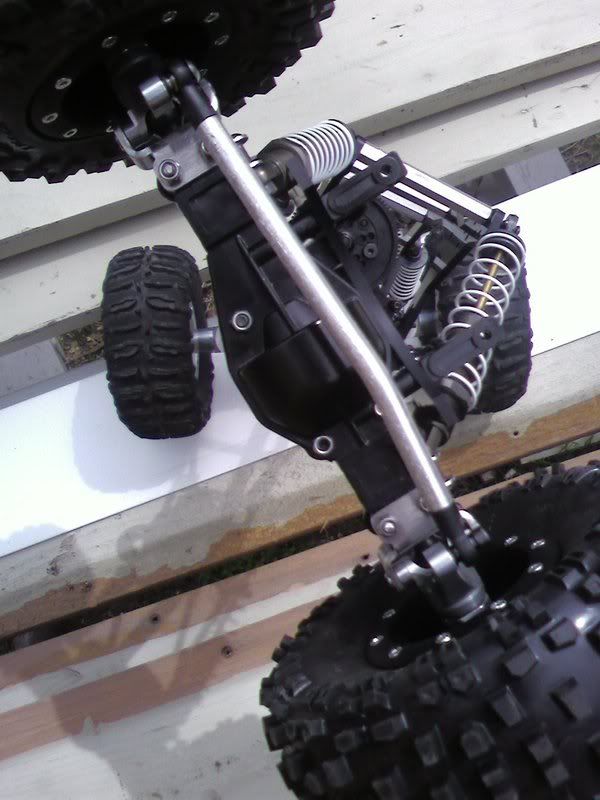 Full suspension compress 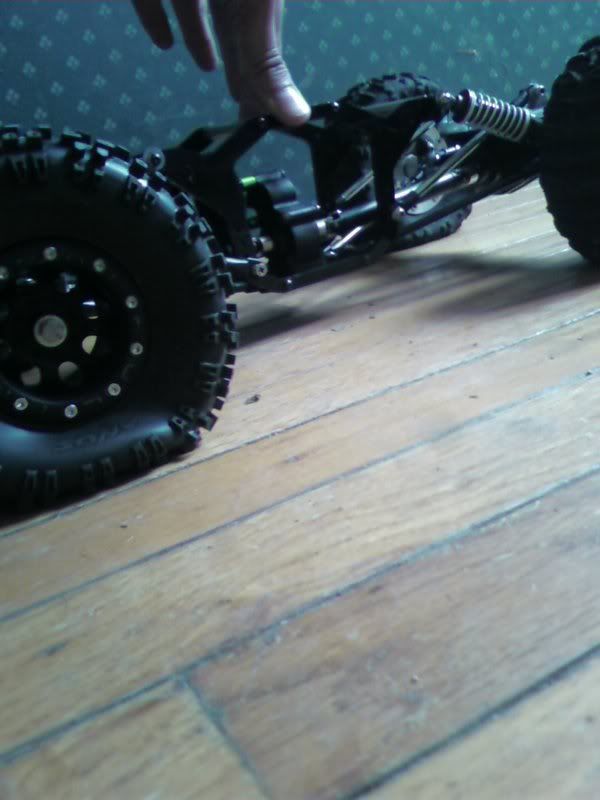 This show past vert. I know it'll be different when everythings installed 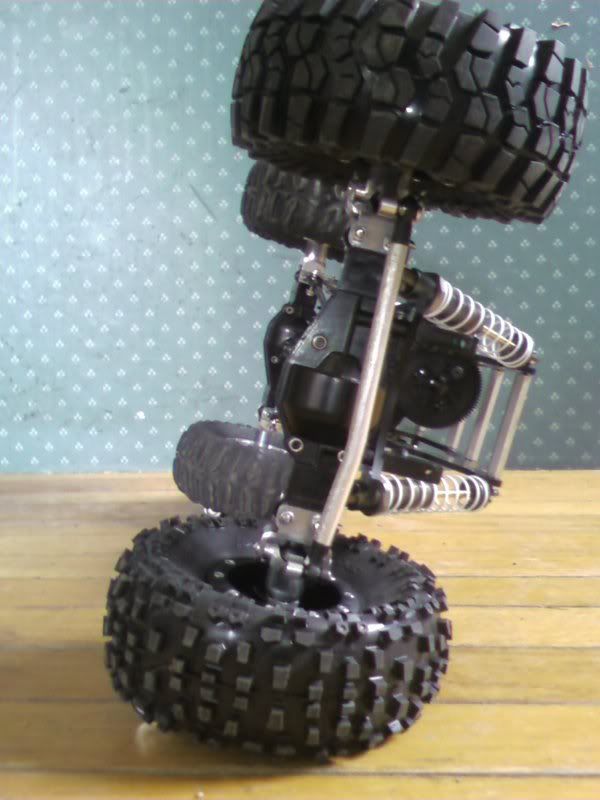 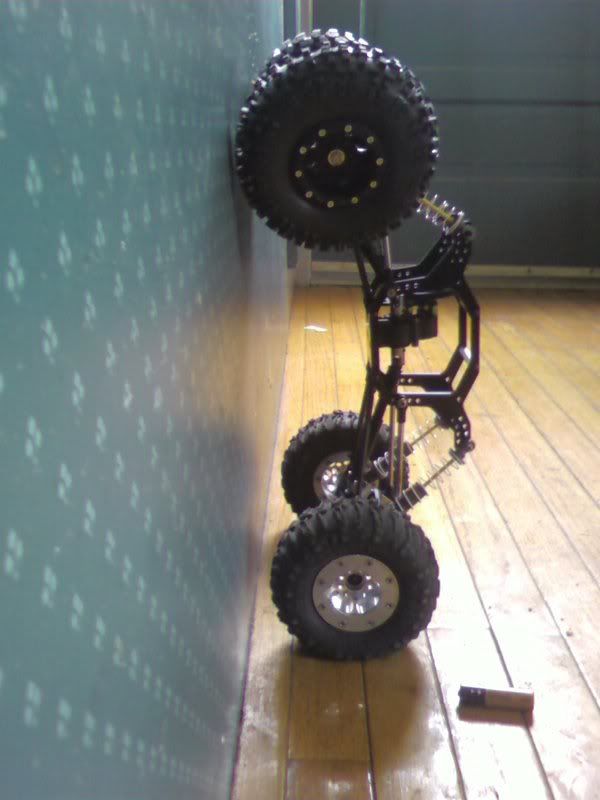 First time on the rocks...just posing 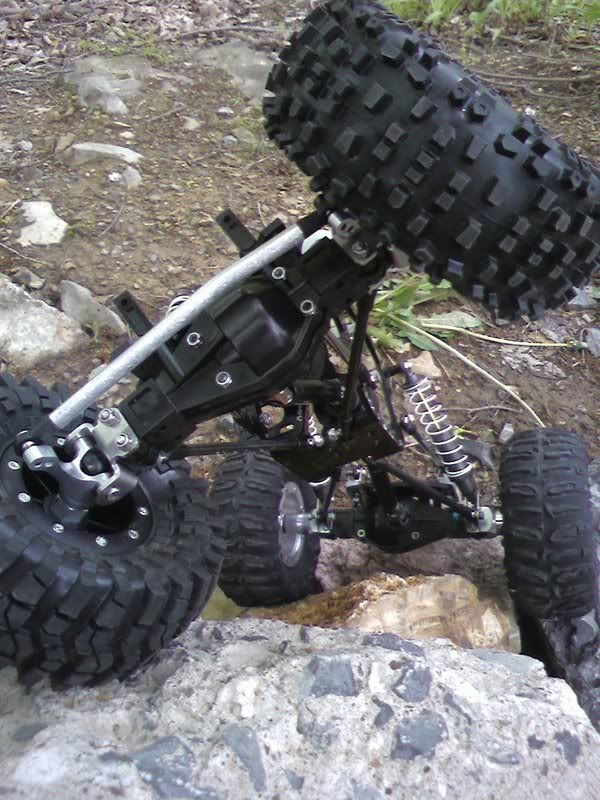 another with the body...gonna mount that sucker LOW as can be 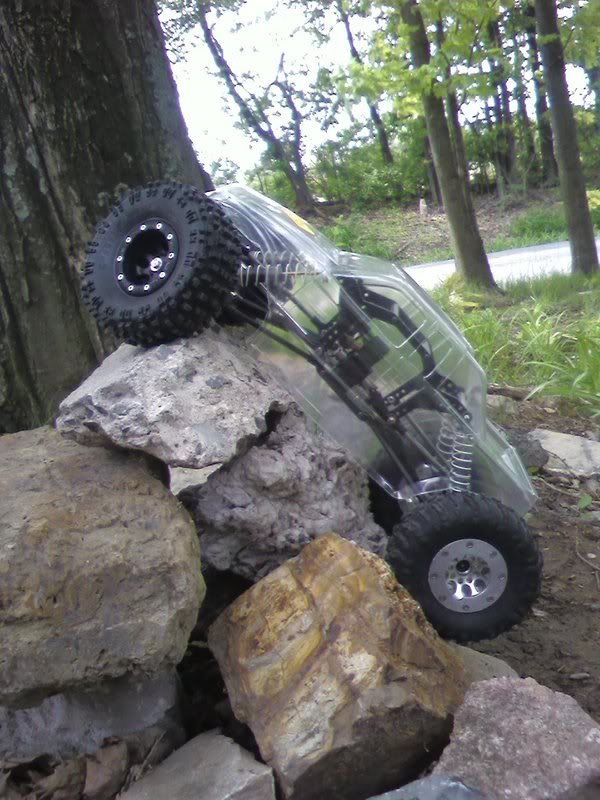 I just love the look of the truck. The suspension is very smooth even without everything being tightened down. 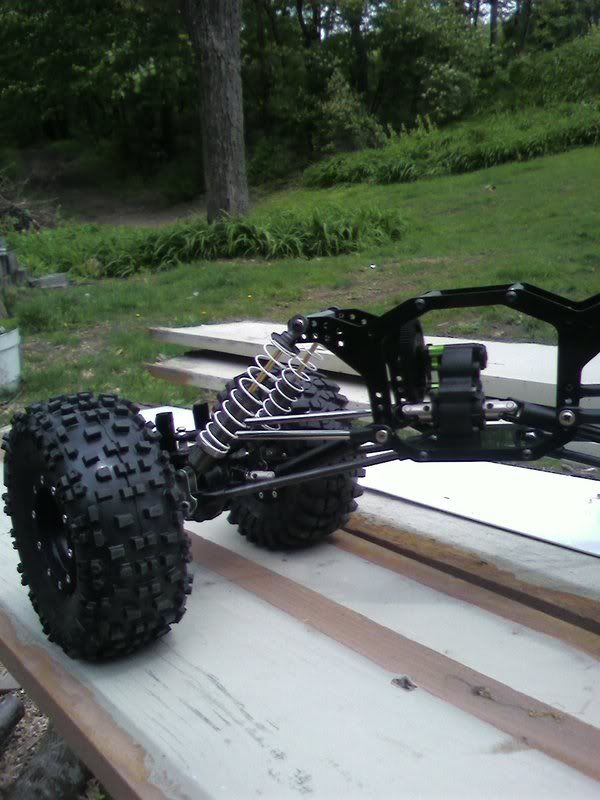 Gotta get to workin on that Grappler 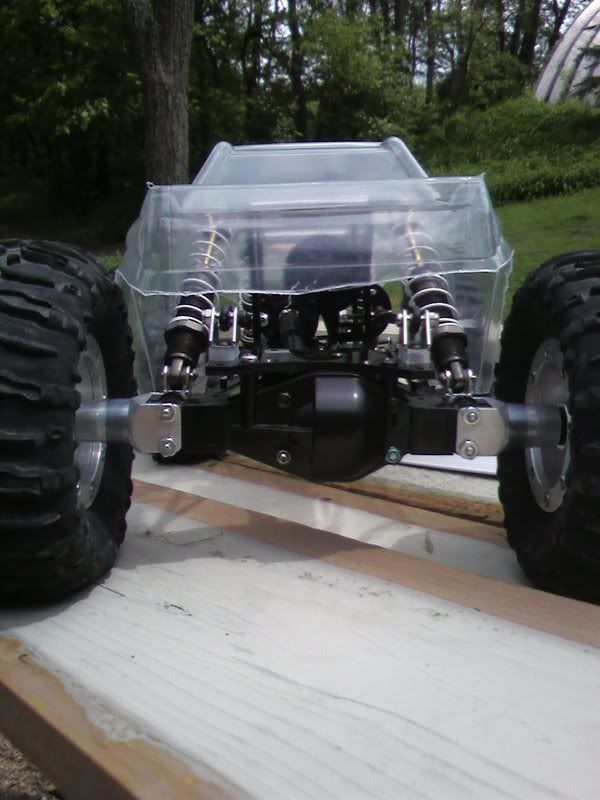 UPDATE 5/12 Tore the truck back apart and greased the axles. Also added quality hardware all around and tightened everything up. Just tightening all of the bolts up limited the suspension about 10* less than the artic picture. The suspension is very smooth...better than any other setup Ive seen. Just waiting on my Eritex black solids and I'll mount the M2 Badlands. Then I'll throw in a leftover esc and servo and give it a run until I order new electronics for it. Last edited by Hildy; 05-12-2008 at 04:03 PM. |
|
| |
|
05-12-2008, 03:49 PM
| #12 |
| Quarry Creeper Join Date: Feb 2008 Location: New Rochelle
Posts: 363
|
On the front what are your upper links mounts and what did you use for spacers on the rear.
|
|
| |
|
05-12-2008, 03:59 PM
| #13 | ||
| Keep it real Join Date: Jun 2006 Location: Yakima,WA
Posts: 6,532
| Quote:
Quote:
| ||
|
| |
|
05-12-2008, 05:51 PM
| #14 |
| Quarry Creeper Join Date: Feb 2008 Location: New Rochelle
Posts: 363
|
So all that is up front are ball post with flanged spaces under them? can i do they same thing with gas line to space them?
|
|
| |
|
05-12-2008, 06:06 PM
| #15 |
| Rock Crawler Join Date: Jul 2007 Location: central PA
Posts: 679
|
No you can't use fuel tube because it will allow the link to wiggle around. You need a solid spacer...the ones I use allow just enough for the links the clear the link mount.
|
|
| |
|
05-12-2008, 06:09 PM
| #16 |
| Keep it real Join Date: Jun 2006 Location: Yakima,WA
Posts: 6,532
|
Looks like a solid start to your build Hildy, looking forward to seeing you get it completed and on the rocks.
|
|
| |
|
05-12-2008, 08:42 PM
| #17 |
| Quarry Creeper Join Date: Feb 2008 Location: New Rochelle
Posts: 363
|
why did you use the balls connectors in front and the tlt link mounts in the rear. so if i dont make this speacer then the links will hit the servo mounts plates in the from and back? |
|
| |
|
05-12-2008, 09:01 PM
| #18 | |
| Rock Crawler Join Date: Jul 2007 Location: central PA
Posts: 679
| Quote:
Not sure what you mean by "balls connectors" in front. If you are asking why I used the flanged spacers rather than the TLT link mounts its because 2 things: 1- Uppers mount closer to axle centerline this way 2- The TLT link mounts won't fit in the location I have my upper front links As for the spacer, it is not required. I stated in my previous post that I wanted to get the link geometry closer to the Axial axles and to do this I made the spacers. You know, all builds and setups are different...this is just what works for me. | |
|
| |
|
05-14-2008, 12:46 PM
| #19 |
| Rock Crawler Join Date: Jul 2007 Location: central PA
Posts: 679
|
Well I got the GC2 on the rocks for the first time today. My Eritex Black Solids showed thismorning and I mounted the Badlands with PL mem foam front/ stock unut foam rear. No weight added. I had to drill out the two front wheels so the CVDs would fit through. Let me say I am very impressed with the Eritex wheels. They are very well machined and hold thw bead better than other rims I've used. I would reccommend these wheels to anyone looking for a stout beadlock at an excellent price. Next thing was mounting (take that loosely Here's what I had laying around: -55 t -crawler esc -Towerpro 946r -Elite 1500 7 cell I only ran it on a small rock pile but it seemed to handle very nice. It really likes the verticals and sidehills very well. Where my other rig would flip back, this one will just dig right up First thing I noticed I need to do is limit the shocks a little. Also need to loctite several parts and work on my foam/weight setup. Here's pictures after the run. Both rear yokes came loose and I lost a setscrew while running so I decided to take a look at things before more things disappear 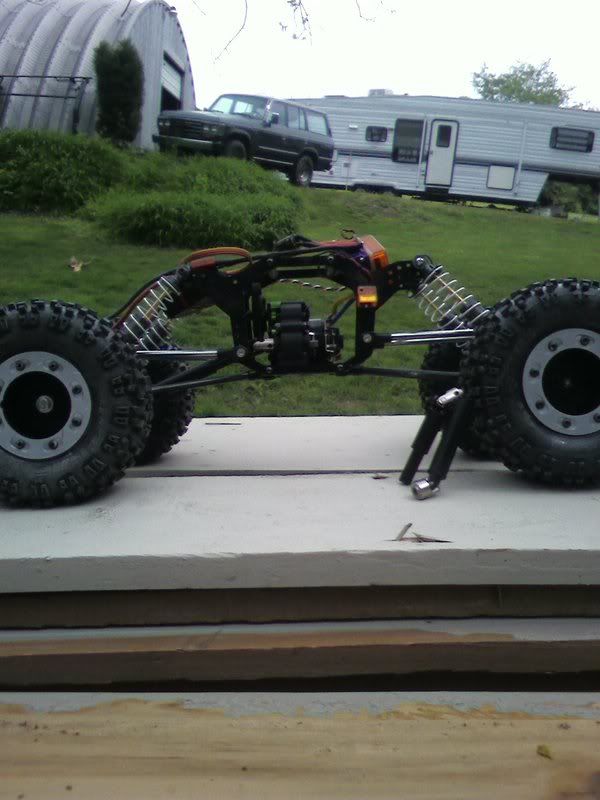 I like the Eritex/Badland combo. Now I'll compare the RC4WD SNs/Claws to see which one performs better 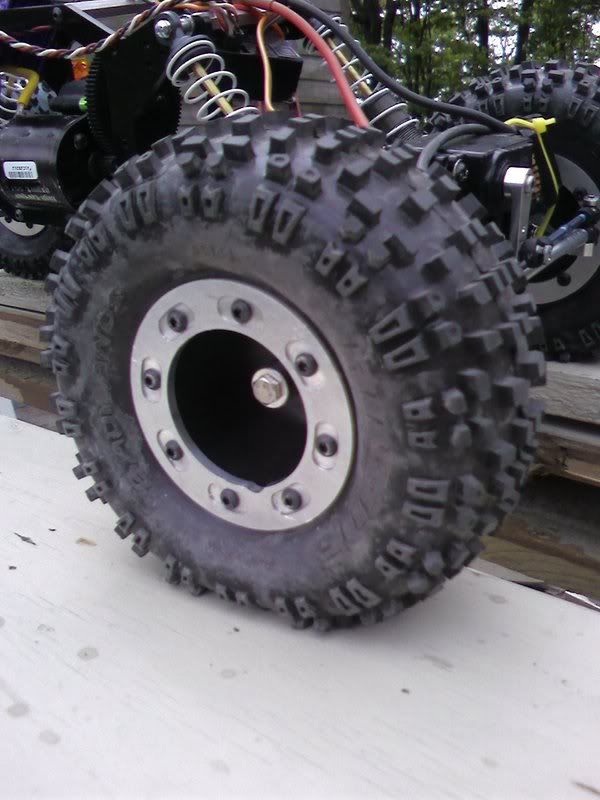 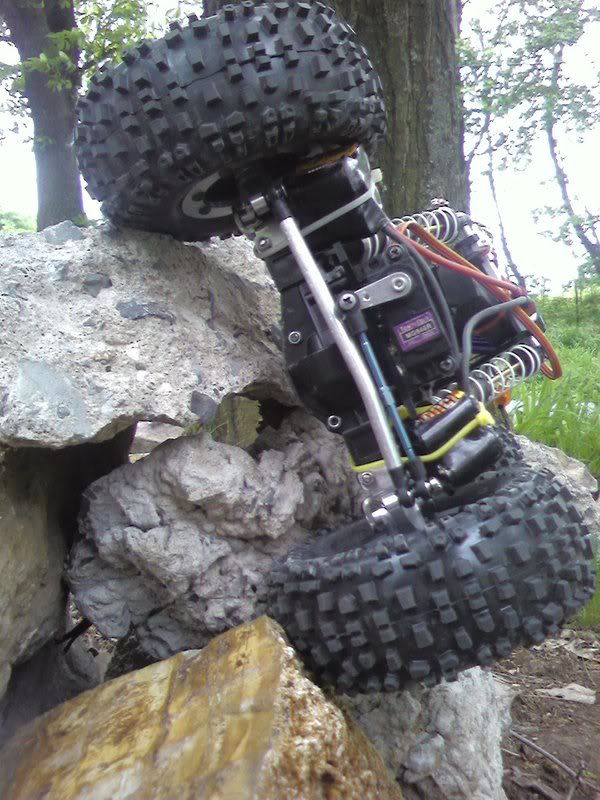  Next thing on the list is to start the Grappler and work out some small bugs. Then I'll be ordering the elecs for this beast Last edited by Hildy; 05-14-2008 at 02:09 PM. |
|
| |
|
05-15-2008, 12:51 AM
| #20 |
| Keep it real Join Date: Jun 2006 Location: Yakima,WA
Posts: 6,532
|
Looks like you had fun The same thing happened to me the first run, I had forgotten to locktite a few things, and I had go hunting for parts on the ground |
|
| |
 |
| Thread Tools | |
| Display Modes | |
| |


 Linear Mode


